


This post is sponsored by Tulip and contains affiliate links.
Learn to make a tie dye dress, perfect for beating the summer heat! In this is beginner-level tutorial, we’ll share all the must-know tips and tricks for fail-proof tie dyeing.
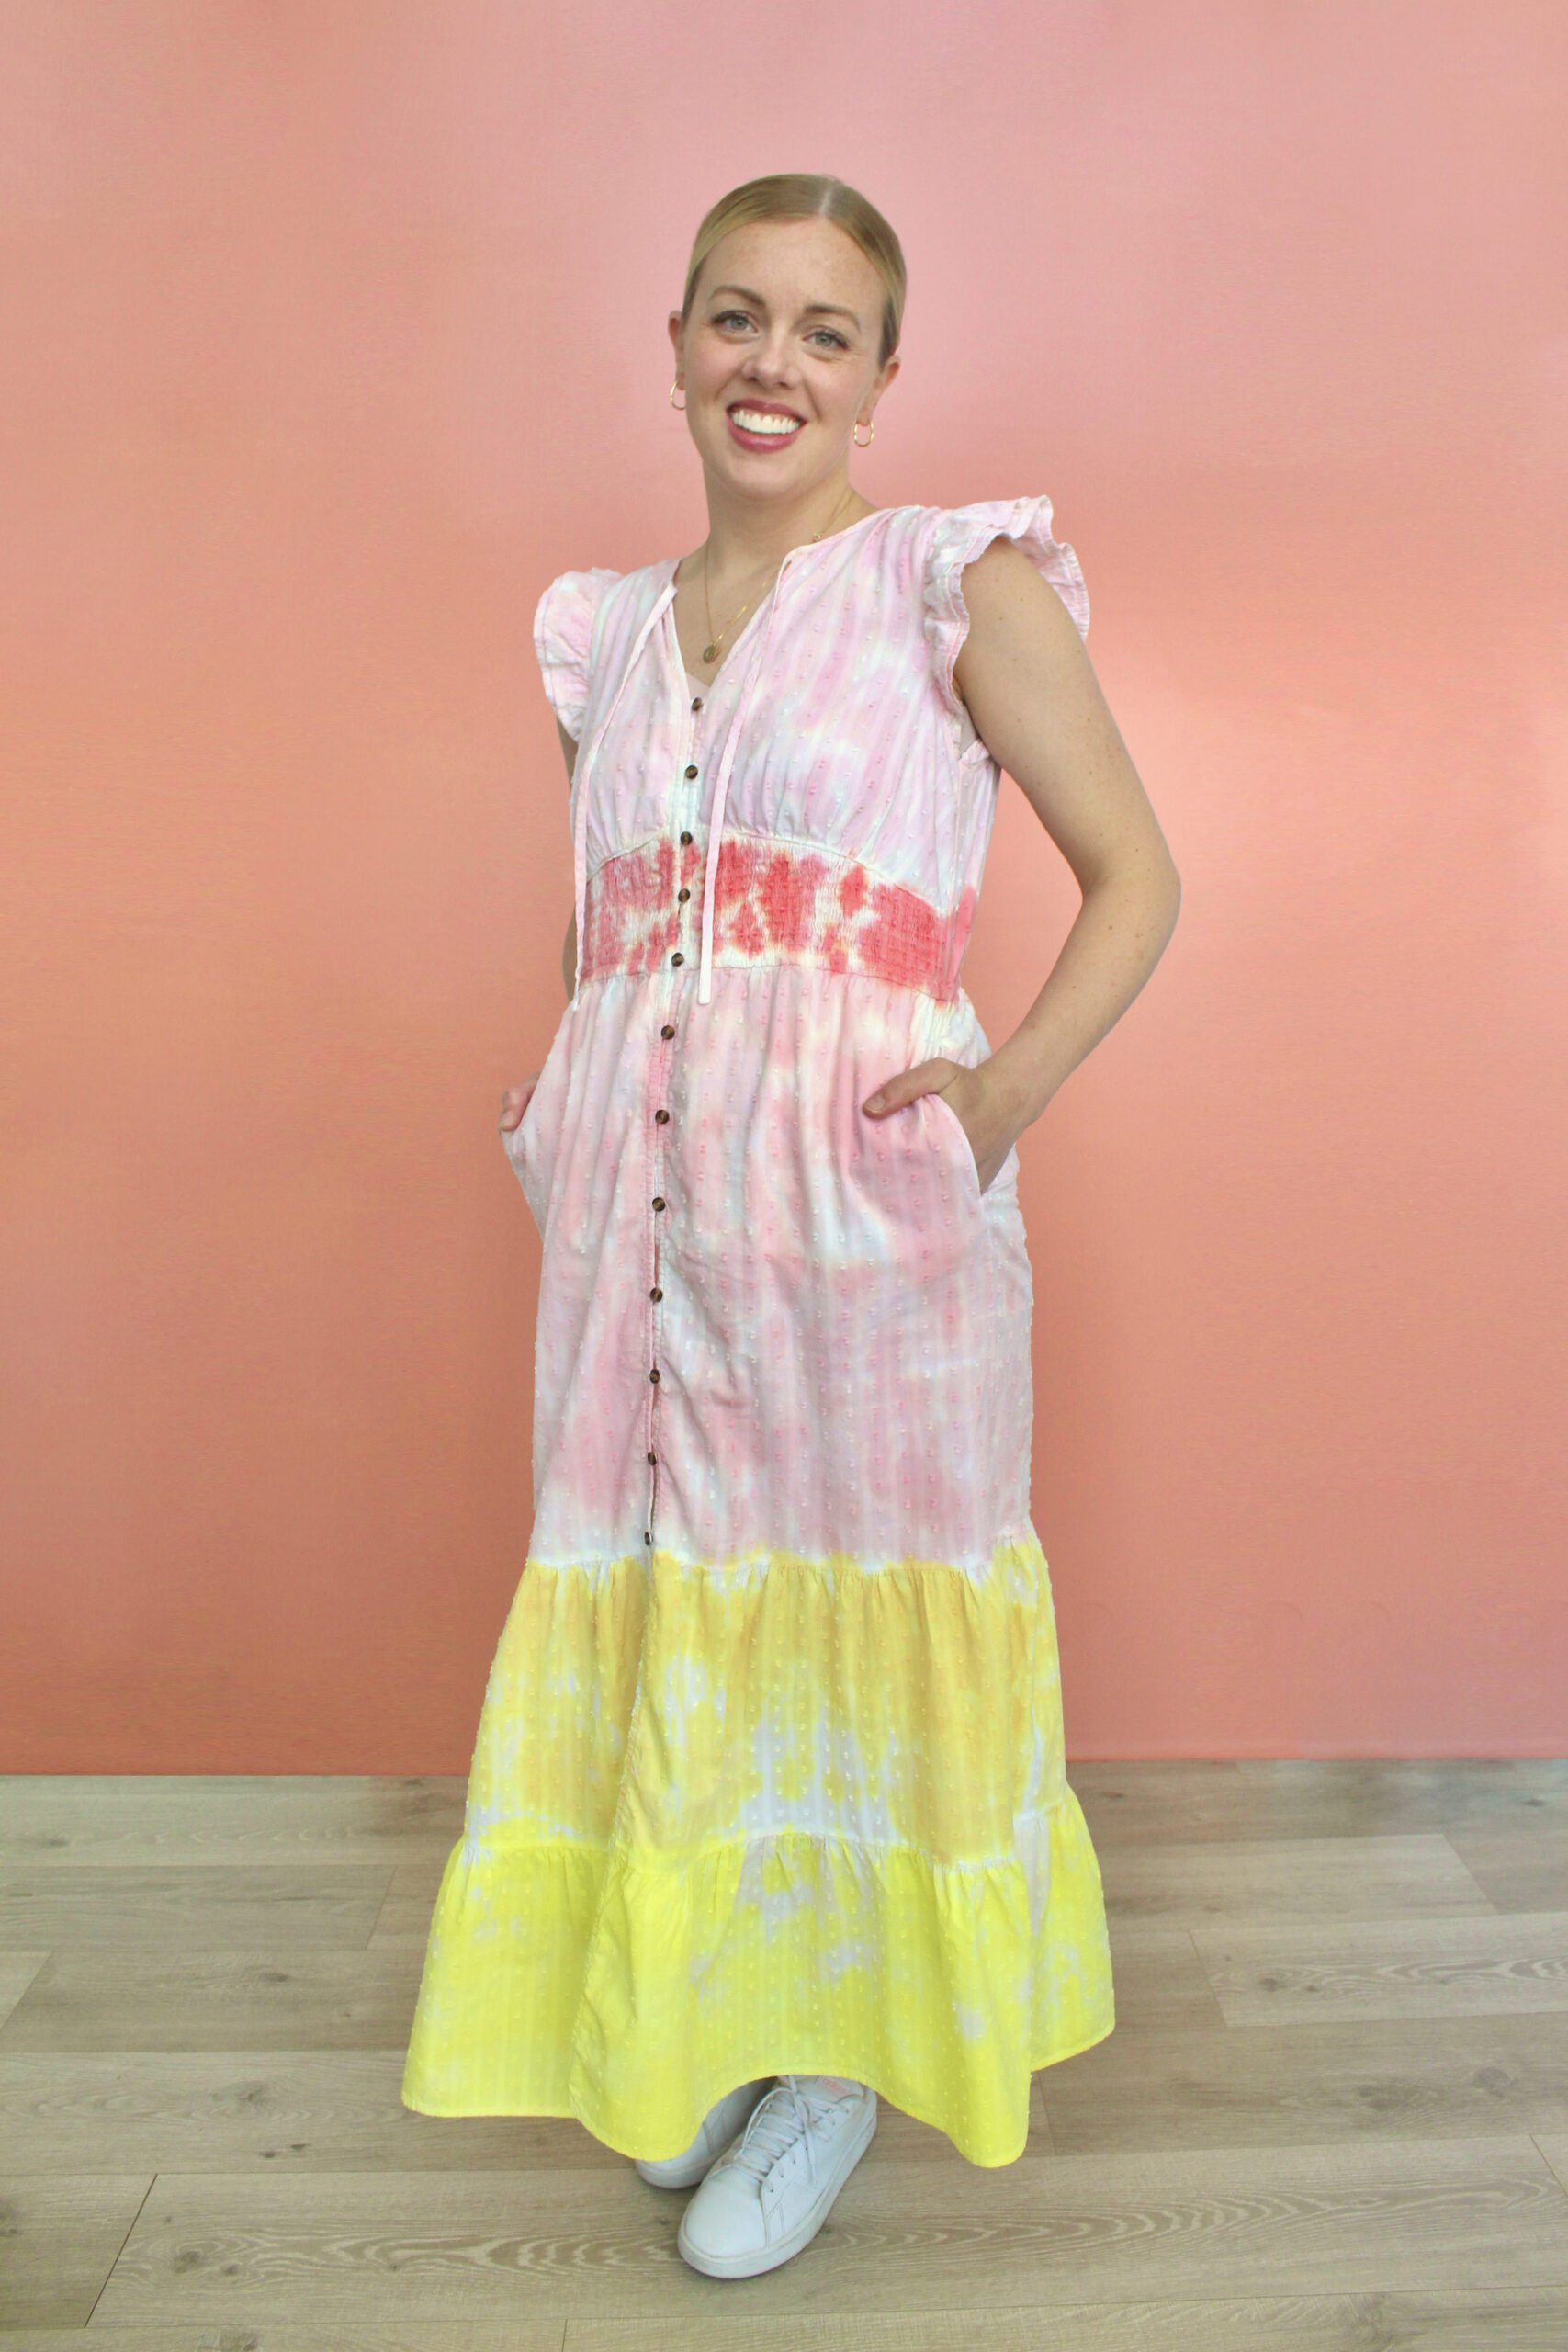
Tie Dye Dress for Summer
We love a flowy, breathable dress when the weather gets hot, and nothing screams summer like tie dye! So of course we’re going to be making tie dye dresses all season long!
How do you tie-dye a dress?
In order to get the best tie dye results, use a 100% cotton dress. Pre-wash the dress before dyeing to remove any sizing or finishes that might repel dye from the fabric.
Dampen your fabric and bind it using your favorite tie dye technique. Then apply, set, and wash the dye according to package directions.
Stripes tie-dye technique
For this project, we used the stripes tie dye technique to line up with the tiers of the dress.
After dampening the fabric, fold the dress into pleats lengthwise. Then use rubber bands to bind your pleated fabric along the dress’s tiers. Add as many or as few rubber bands as you’d like to create more or fewer stripes!
Best tie dye kits
We love using Tulip One-Step Tie Dye because there is no need for fixatives, pre-soaks, etc. Each tie dye bottle is pre-filled with dye powder and soda ash, so all you need to do is fill them up with water.
Additionally, each tie dye kit comes with rubber bands, gloves, and instructions, so all you need is your tie dye substrate.
Supplies needed to make a tie dye dress
- White cotton dress
- Tulip One-Step Tie Dye Kit, Sunshine
- Rubber bands
- Gloves
- Container for dyeing or stainless steel sink
- Wire rack
- Plastic wrap

How to make a tie dye dress for Summer
Follow the steps below to make your own tie dye dress for summer!
1. Prepare your workspace and supplies
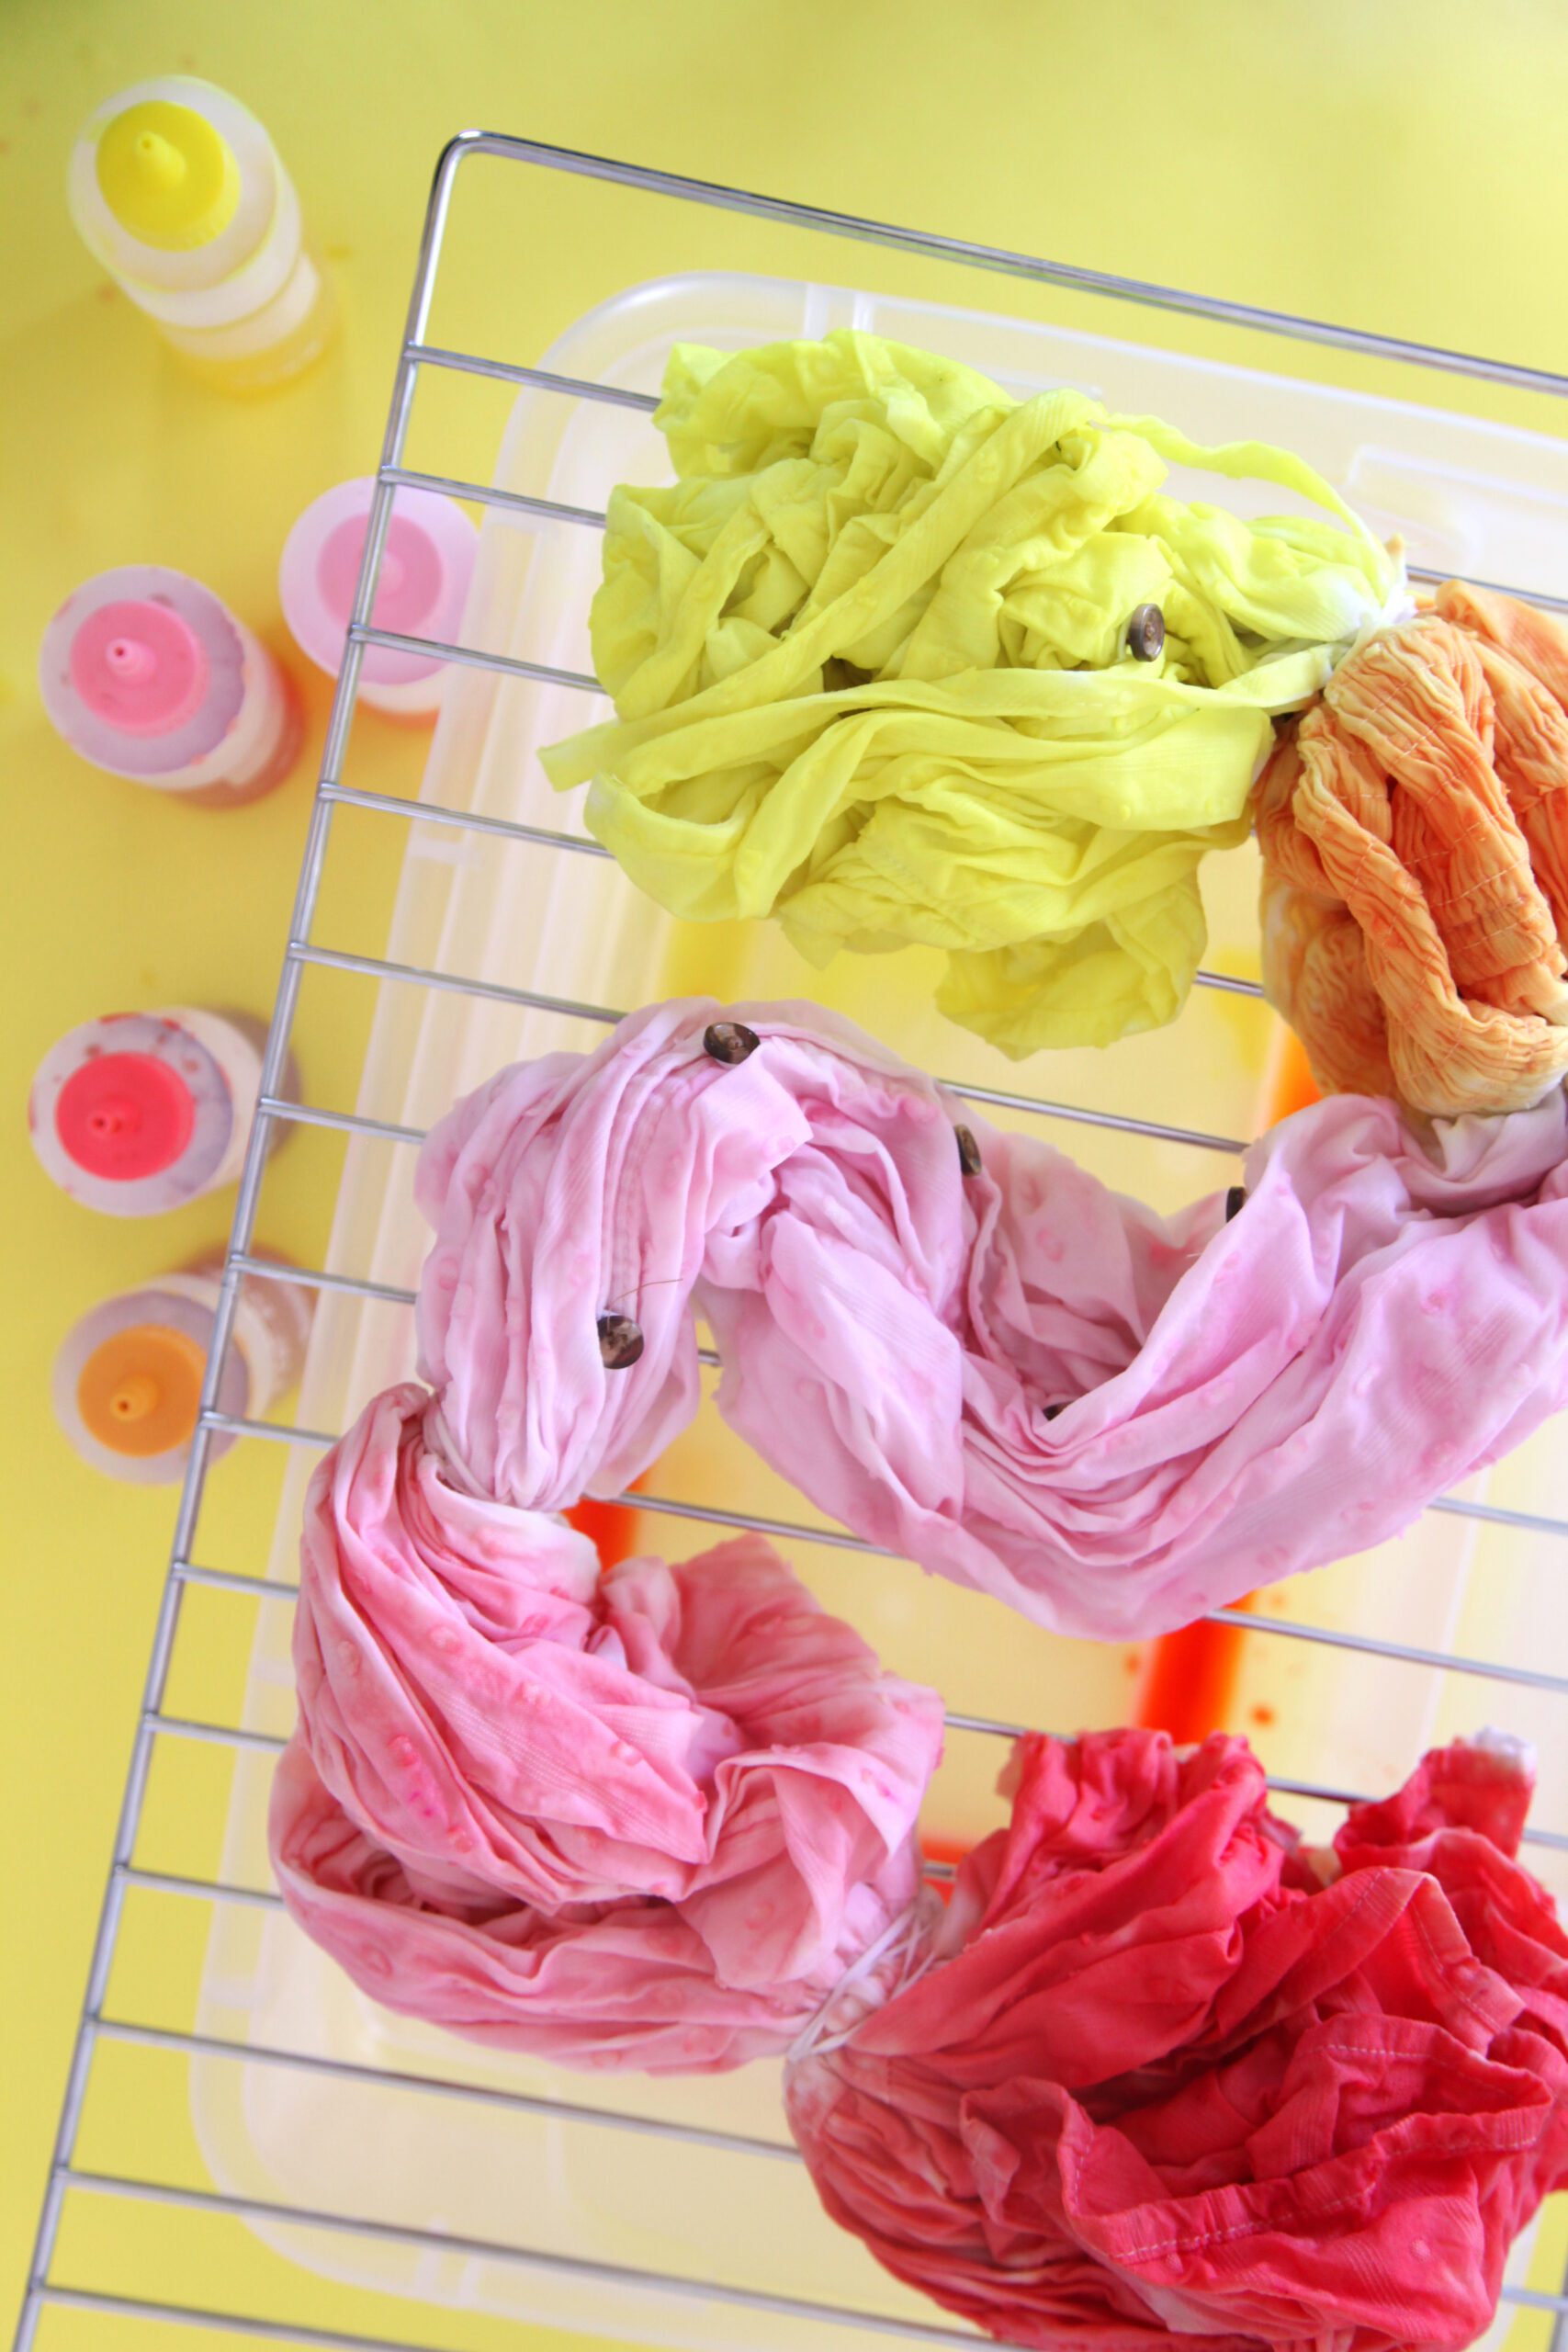
Prepare your work surface by placing a wire rack on a container, and prepare your tie dye in the squirt bottles according to package directions.
Wet the dress completely and wring out any excess so its only damp.
2. Bind the dress
Bind the dress in sections using the stripe binding technique by first folding the dress into pleats lengthwise. Then use rubber bands to bind your pleated fabric along the dress’s tiers.
3. Apply the dye
Place the bound dress on the rack and put on gloves. Begin to apply the first dye color to the first bound section by squirting it with dye. Coat the section in dye until it is saturated.
Tip: To ensure that the white lines between the colors come through, apply dye with about an inch buffer between the dye and the rubber bands.
Carefully apply the next color to the next section. Repeat this process until each of your bound sections is saturated with your desired dye colors.
4. Set the dye
Once the dye is applied, wrap each section individually in plastic wrap to keep colors separated while setting.
Let dye set in plastic wrap for 8-24 hours or according to your dye package directions.
5. Rinse and wash
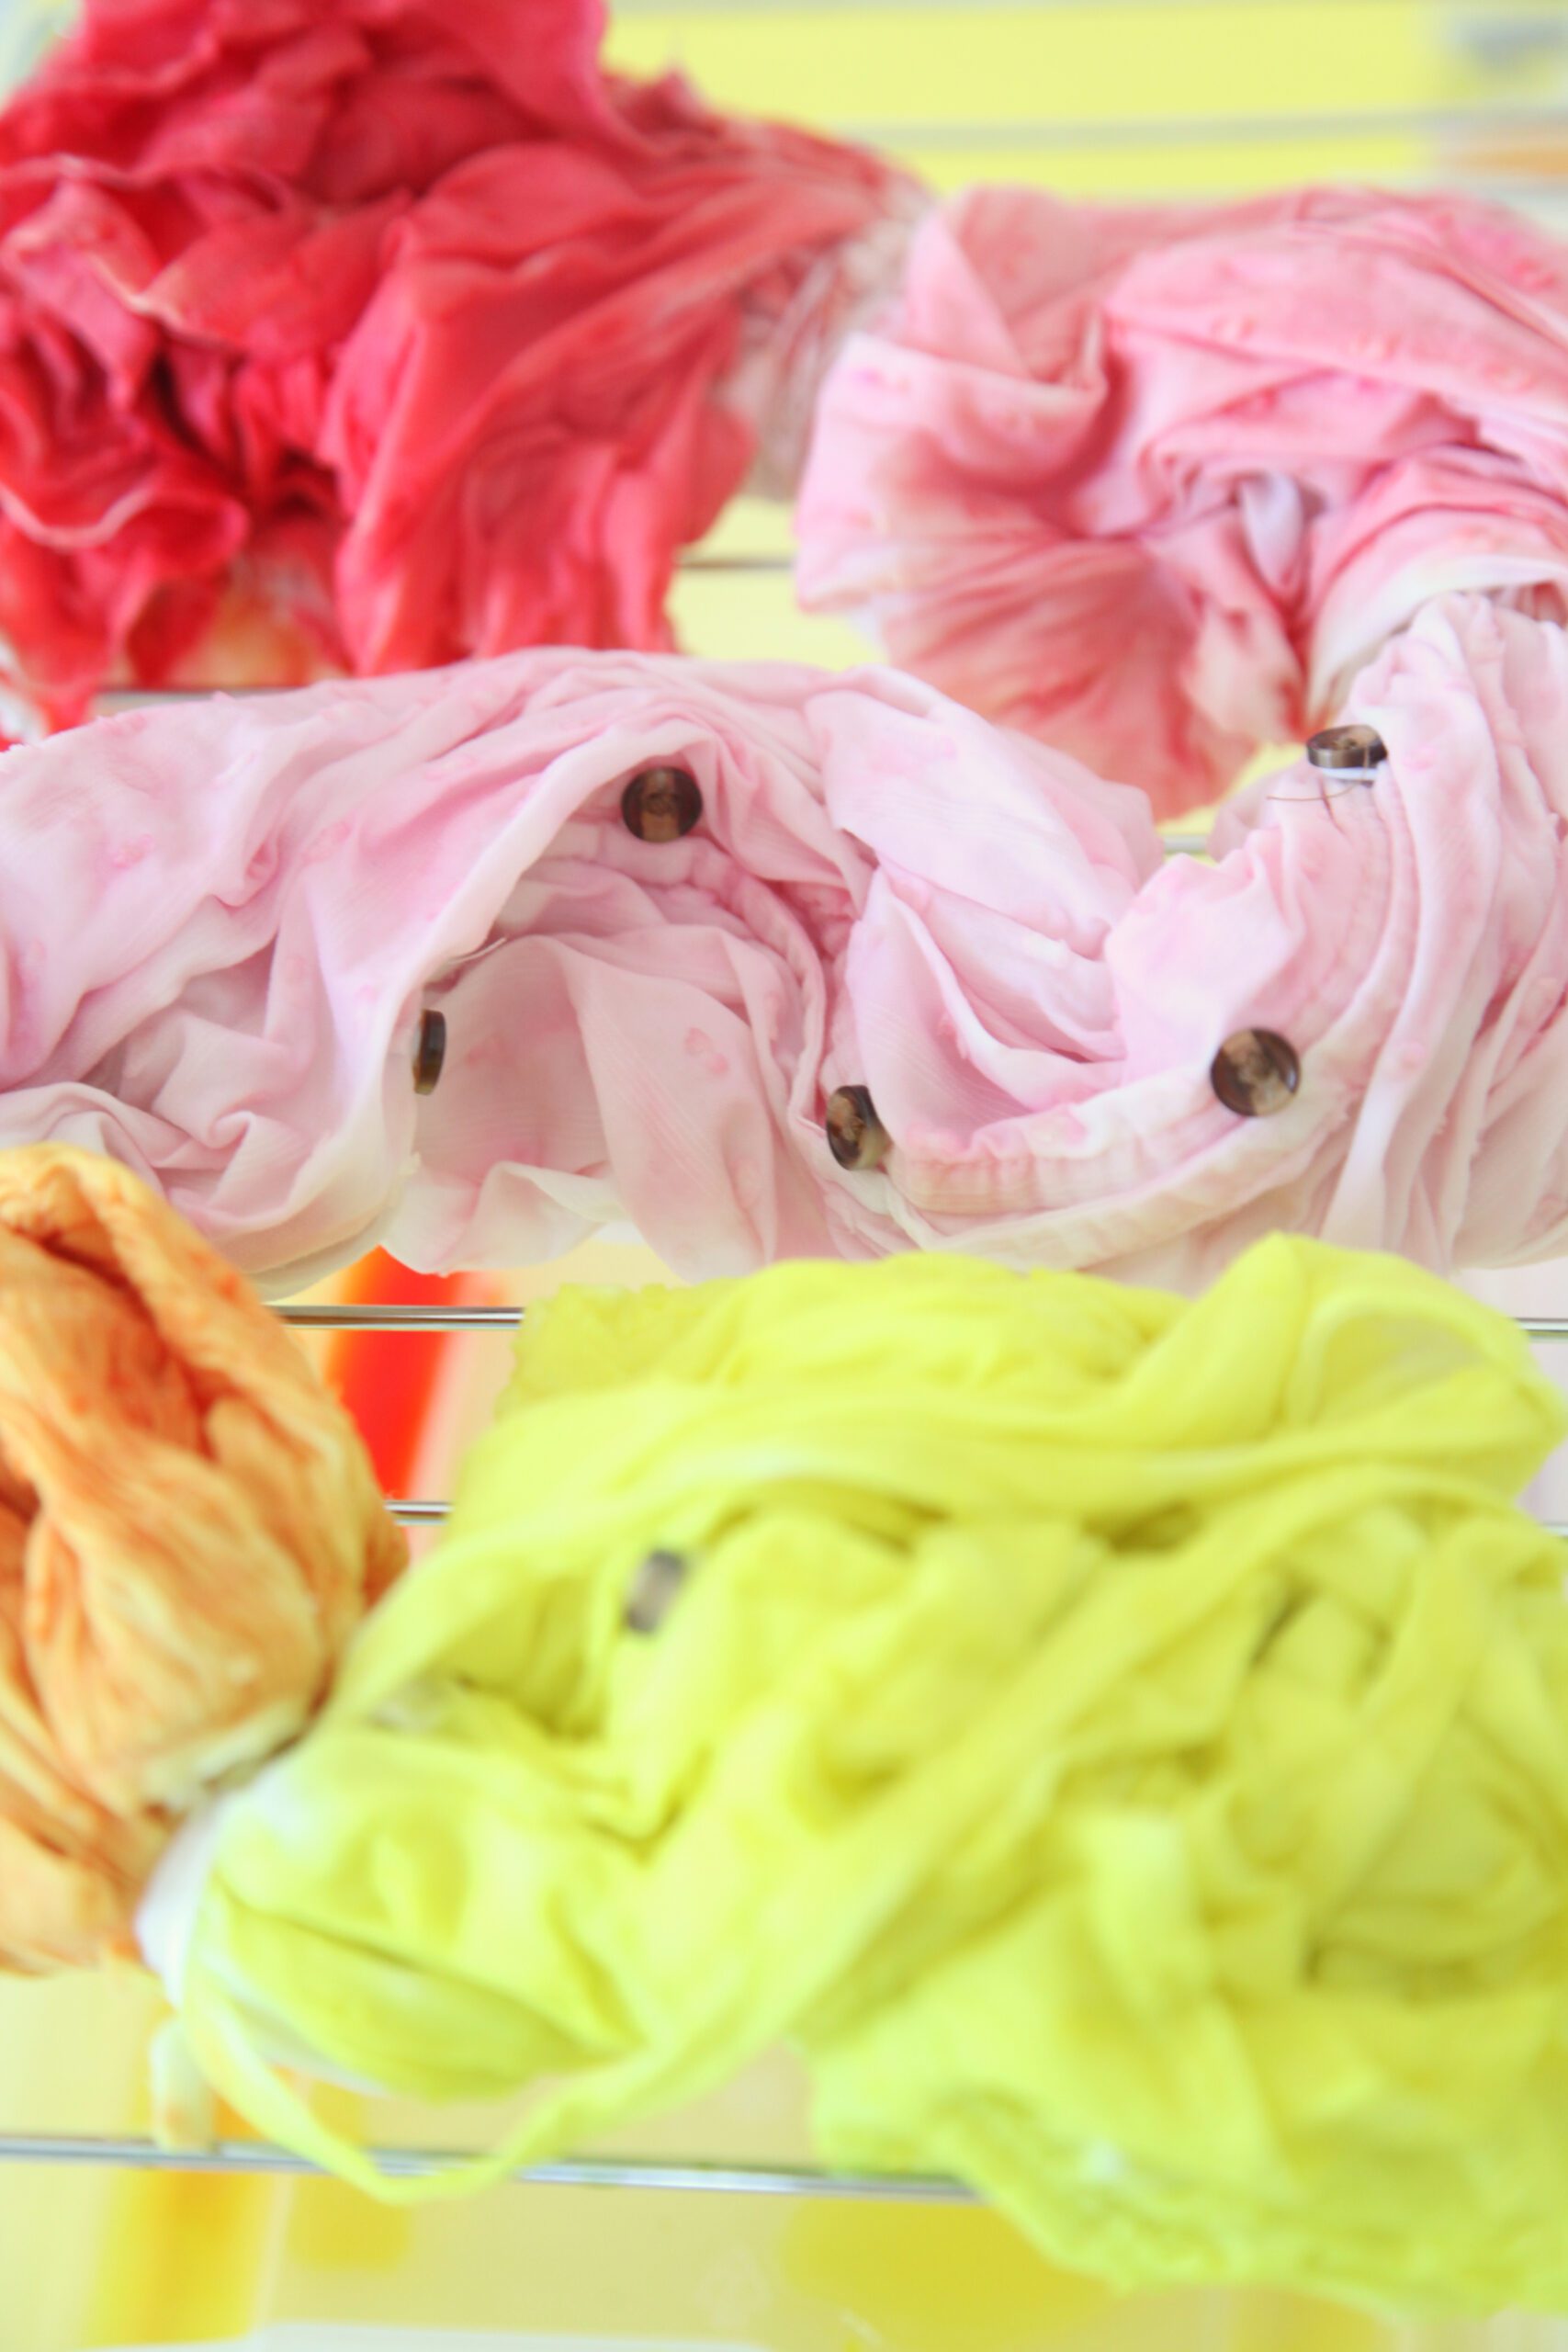
Once set, remove the rubber bands and rinse the dress in cold water until the water runs clear, then wash and dry the it alone, or according to dye package directions.
Save this post for later!

Learn more about tie dye in our book DIY Guide to Tie Dye Style: The Basics and WAY Beyond!
Happy making!
ox. Liz and Sam

