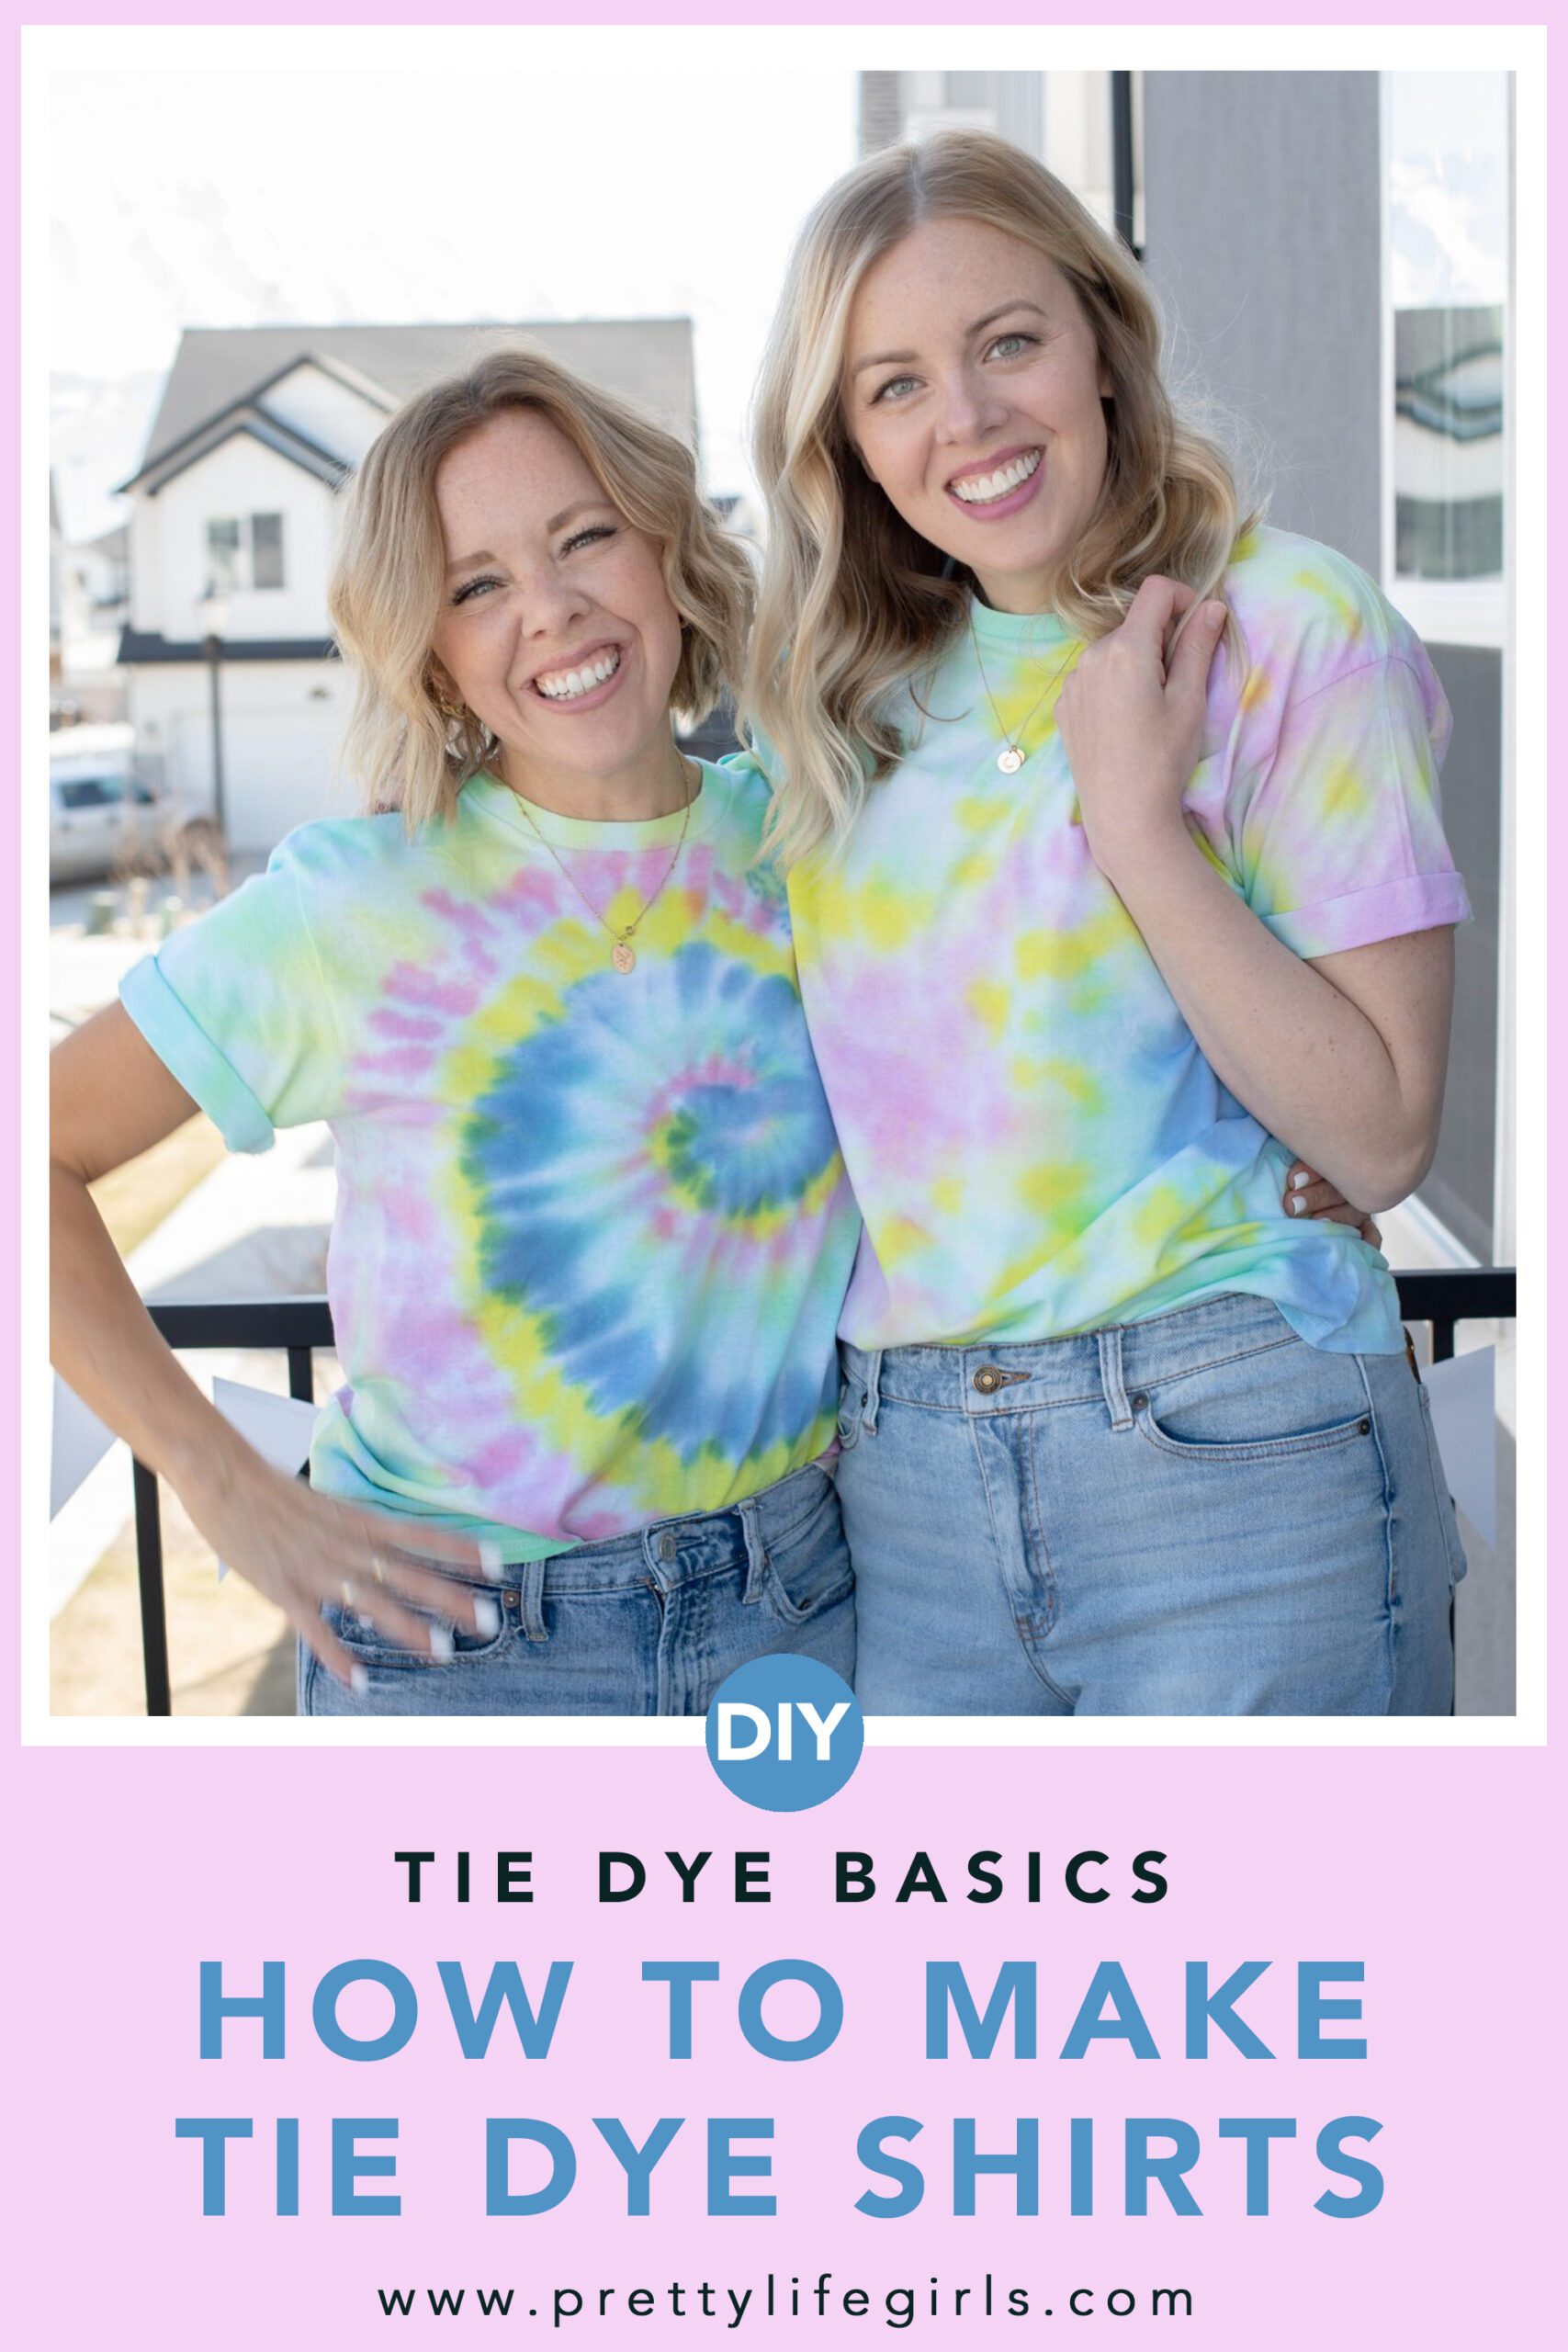
Learn how to make your own tie dye shirts with a few simple steps! We’ll share our tips for success and some favorite products, and we’ll walk you through the processes of creating crumple and spiral patterns.
How to Tie Dye
Tie dye is one of our favorite crafts. We love how hard it is to mess up (if you do it with an open mind), and how it is impossible to create two tie dye pieces that are exactly the same.
We love twisting and tying to create endless pattern possibilities, combining those patterns with beautiful color combos, and the excitement of revealing a unique creation at the end of it all!
Tie dye can be a little tricky, but there are some factors that will improve the end result each time. Let’s talk about them!
What is the easiest way to tie-dye?
If you are looking for the easiest way to tie dye, look no further than Tulip One-Step Tie Dye kits. These kits come with gloves, rubber bands, instructions, and (our favorite) one-step dye.
All you have to do is fill the dye bottles with water and shake well, and you’re ready to start dyeing—no need for vinegar baths or salt or fixatives.
How do you get the best tie-dye results?
In order to get the best tie-dye results, follow these tips:
- Apply tie dye on a raised baking rack to better control the mixing and muddling of colors.
- Dye substrates made of natural fibers like cotton, wool, and silk. Synthetic fabrics won’t absorb the dye.
- Pre-wash your substrates to remove any dirt or finishes that might be on the fabric.
- For more organic and soft patterns, dampen (don’t soak) your substrate to make it easier for the dye to move and be absorbed into the fabric. For sharp lines, try dyeing dry fabrics.
- For best results blending dye colors, use variations of primary colors, or stick with like (warm or cool) colors.
- Play with different binding supplies. Rubber bands are great, but you can achieve fun and different results with zip ties, twine, sinew, etc.
- Speed up the setting process by using 2 Minute Tie Dye containers.
- Wash your dyed projects alone the first time or two so you don’t get dye on other items.
- To modernize your tie dye projects, stick to one single color.
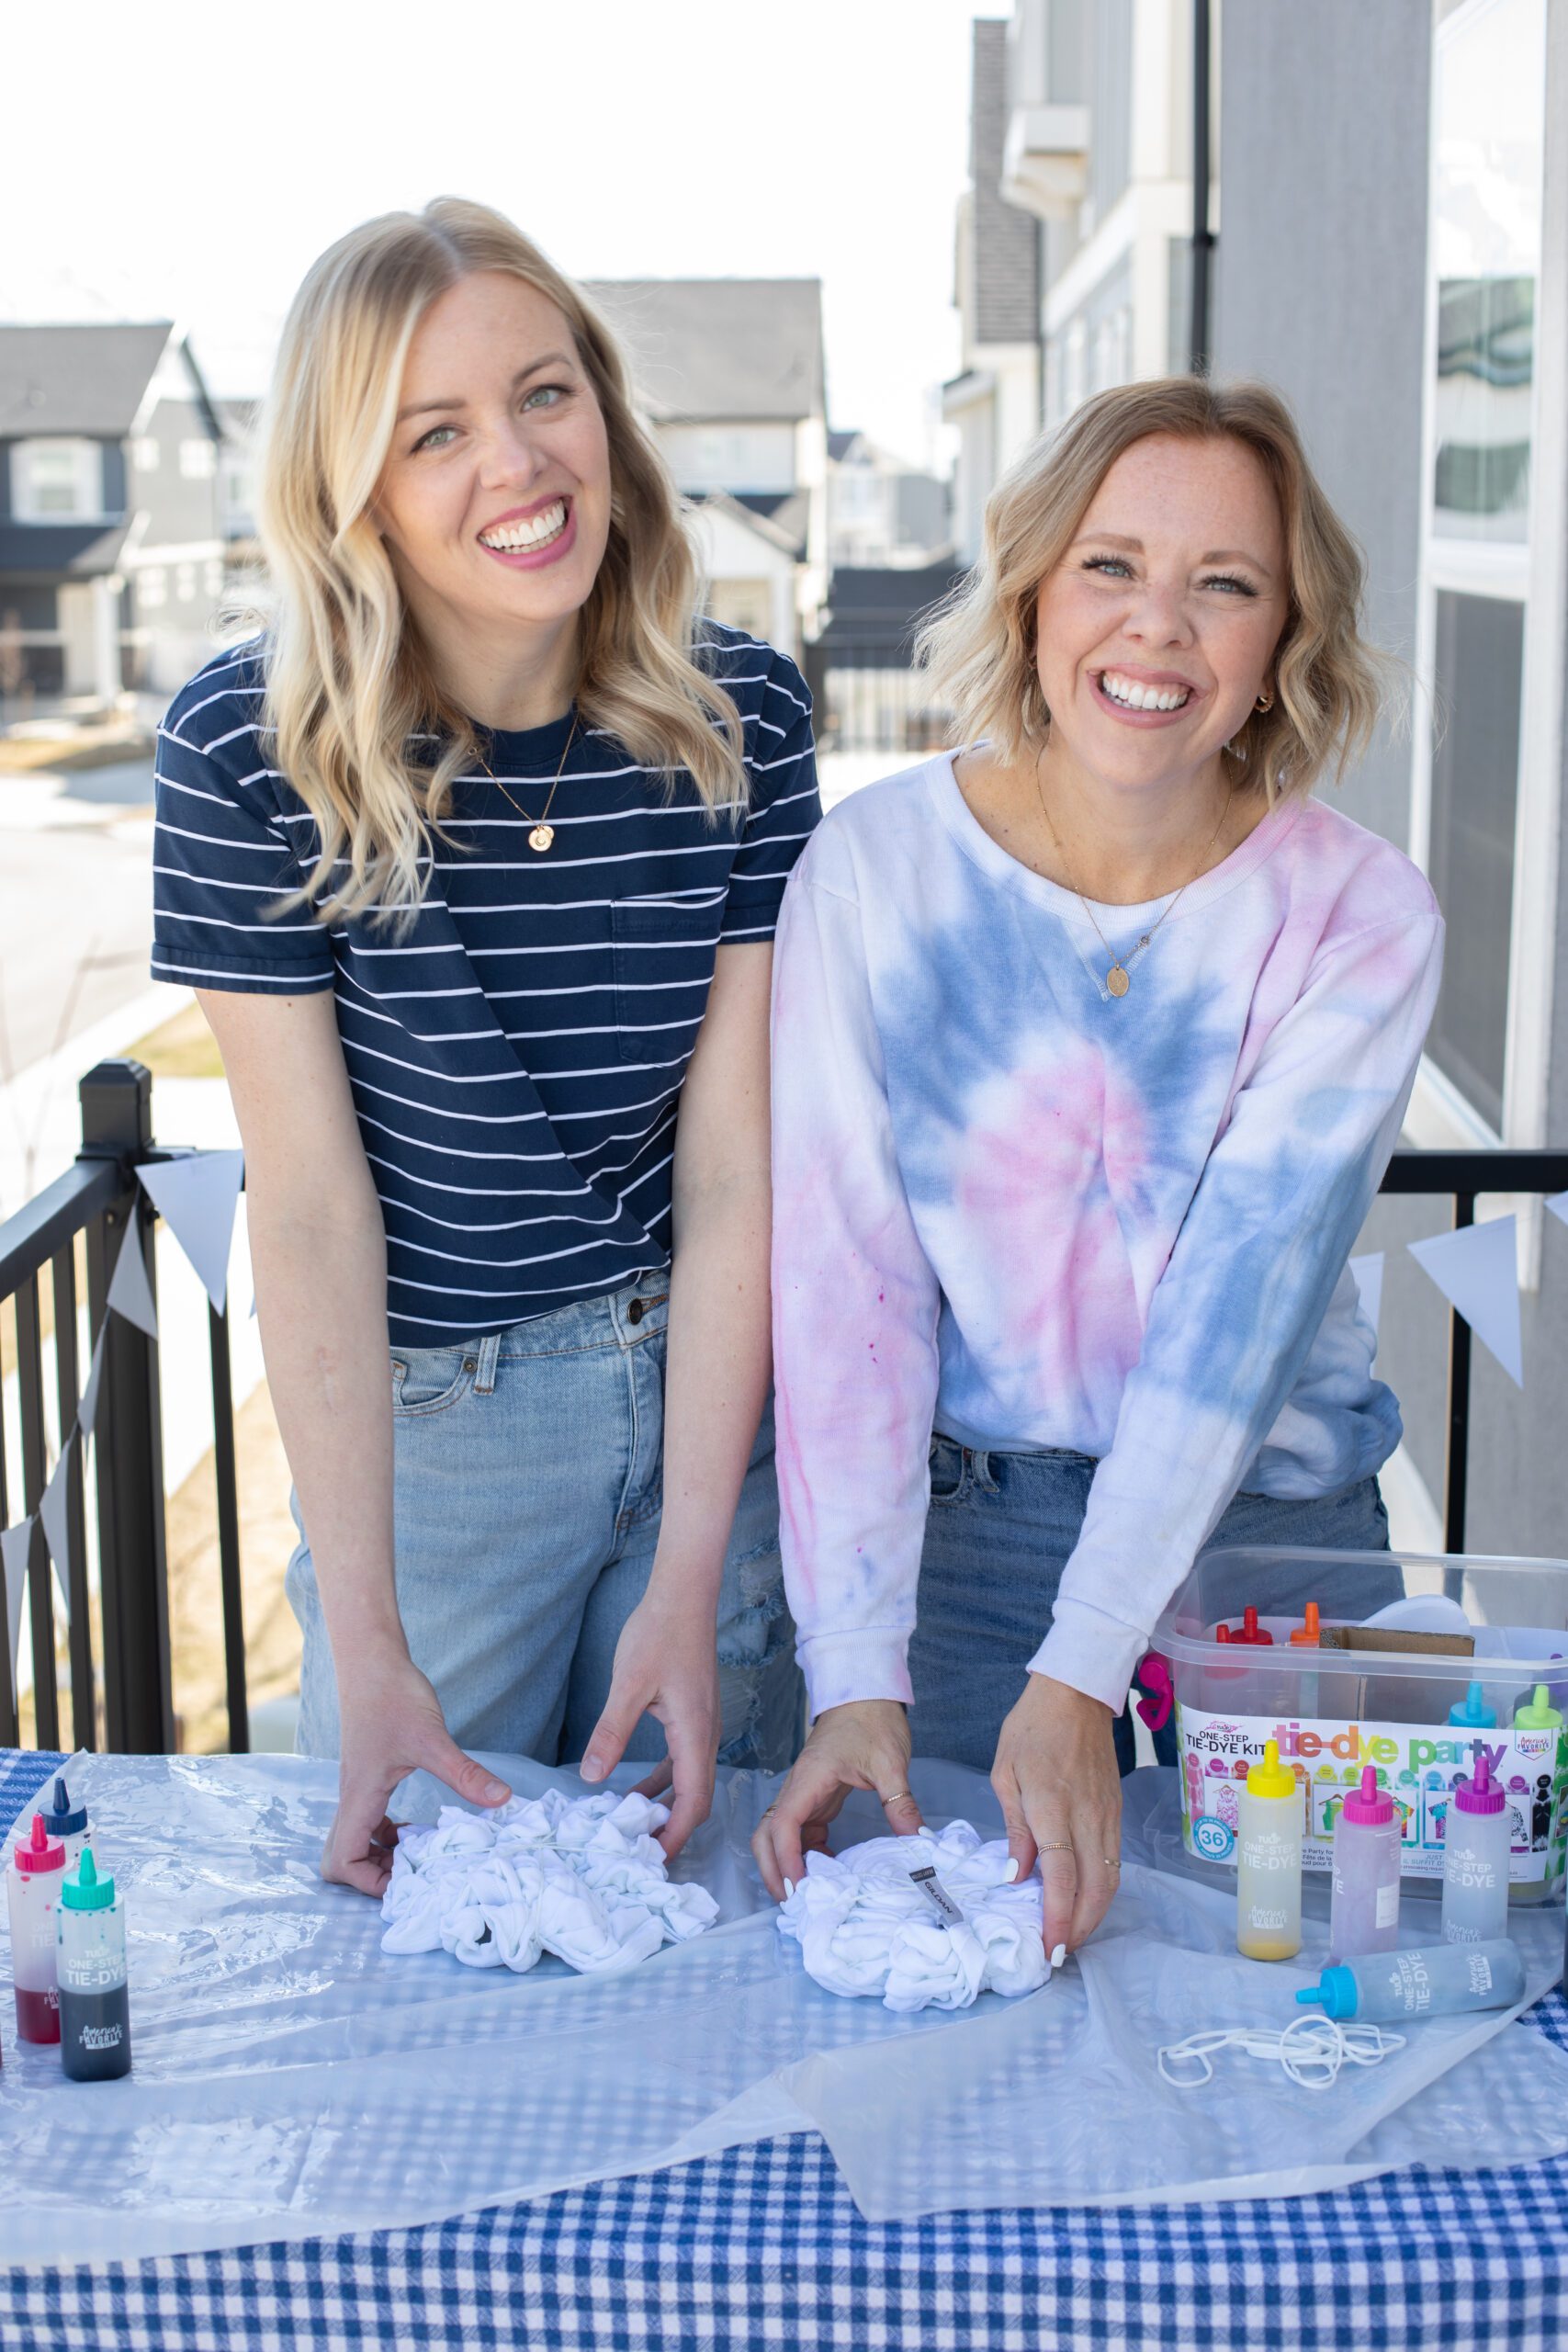
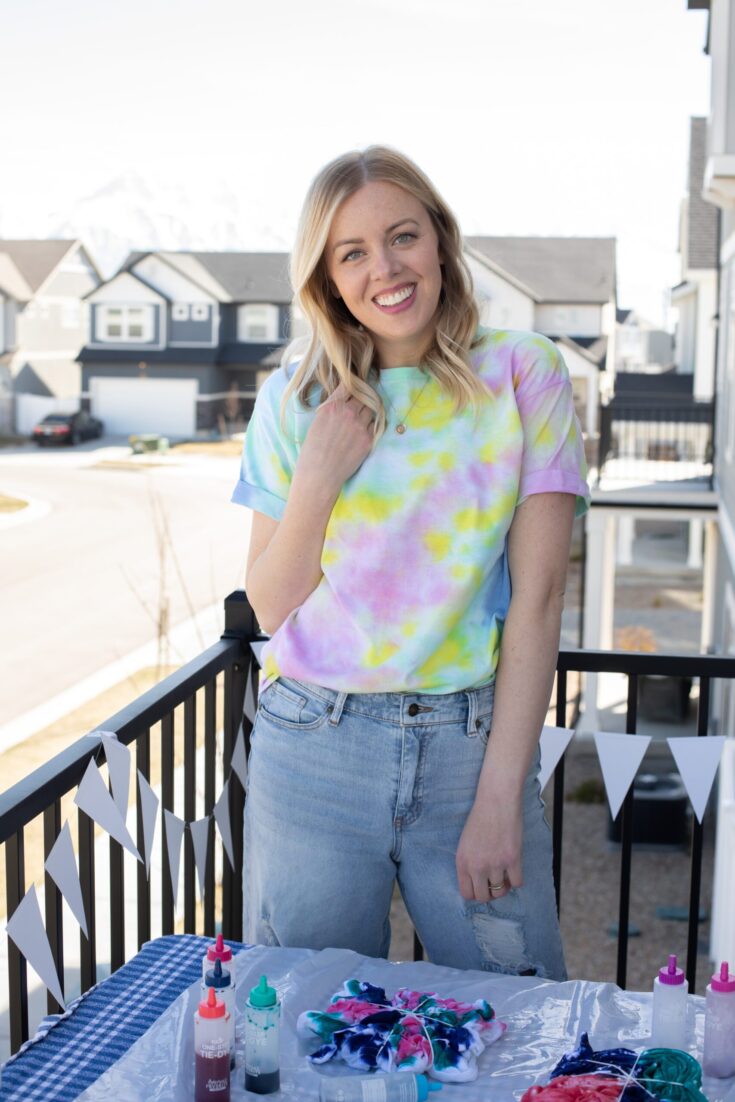
Supplies needed for tie dye shirts
100% cotton shirt
Tulip One-Step Tie Dye Kits
Gloves
Rubber bands
Plastic table cloth (or other protective covering)
Raised baking rack
Two-Minute Tie Dye containers or plastic bag
How to tie-dye step by step
In this post, we’ll walk you through the crumple and spiral tie dye patterns, but check out this post for a few other tie dye binding techniques to try!
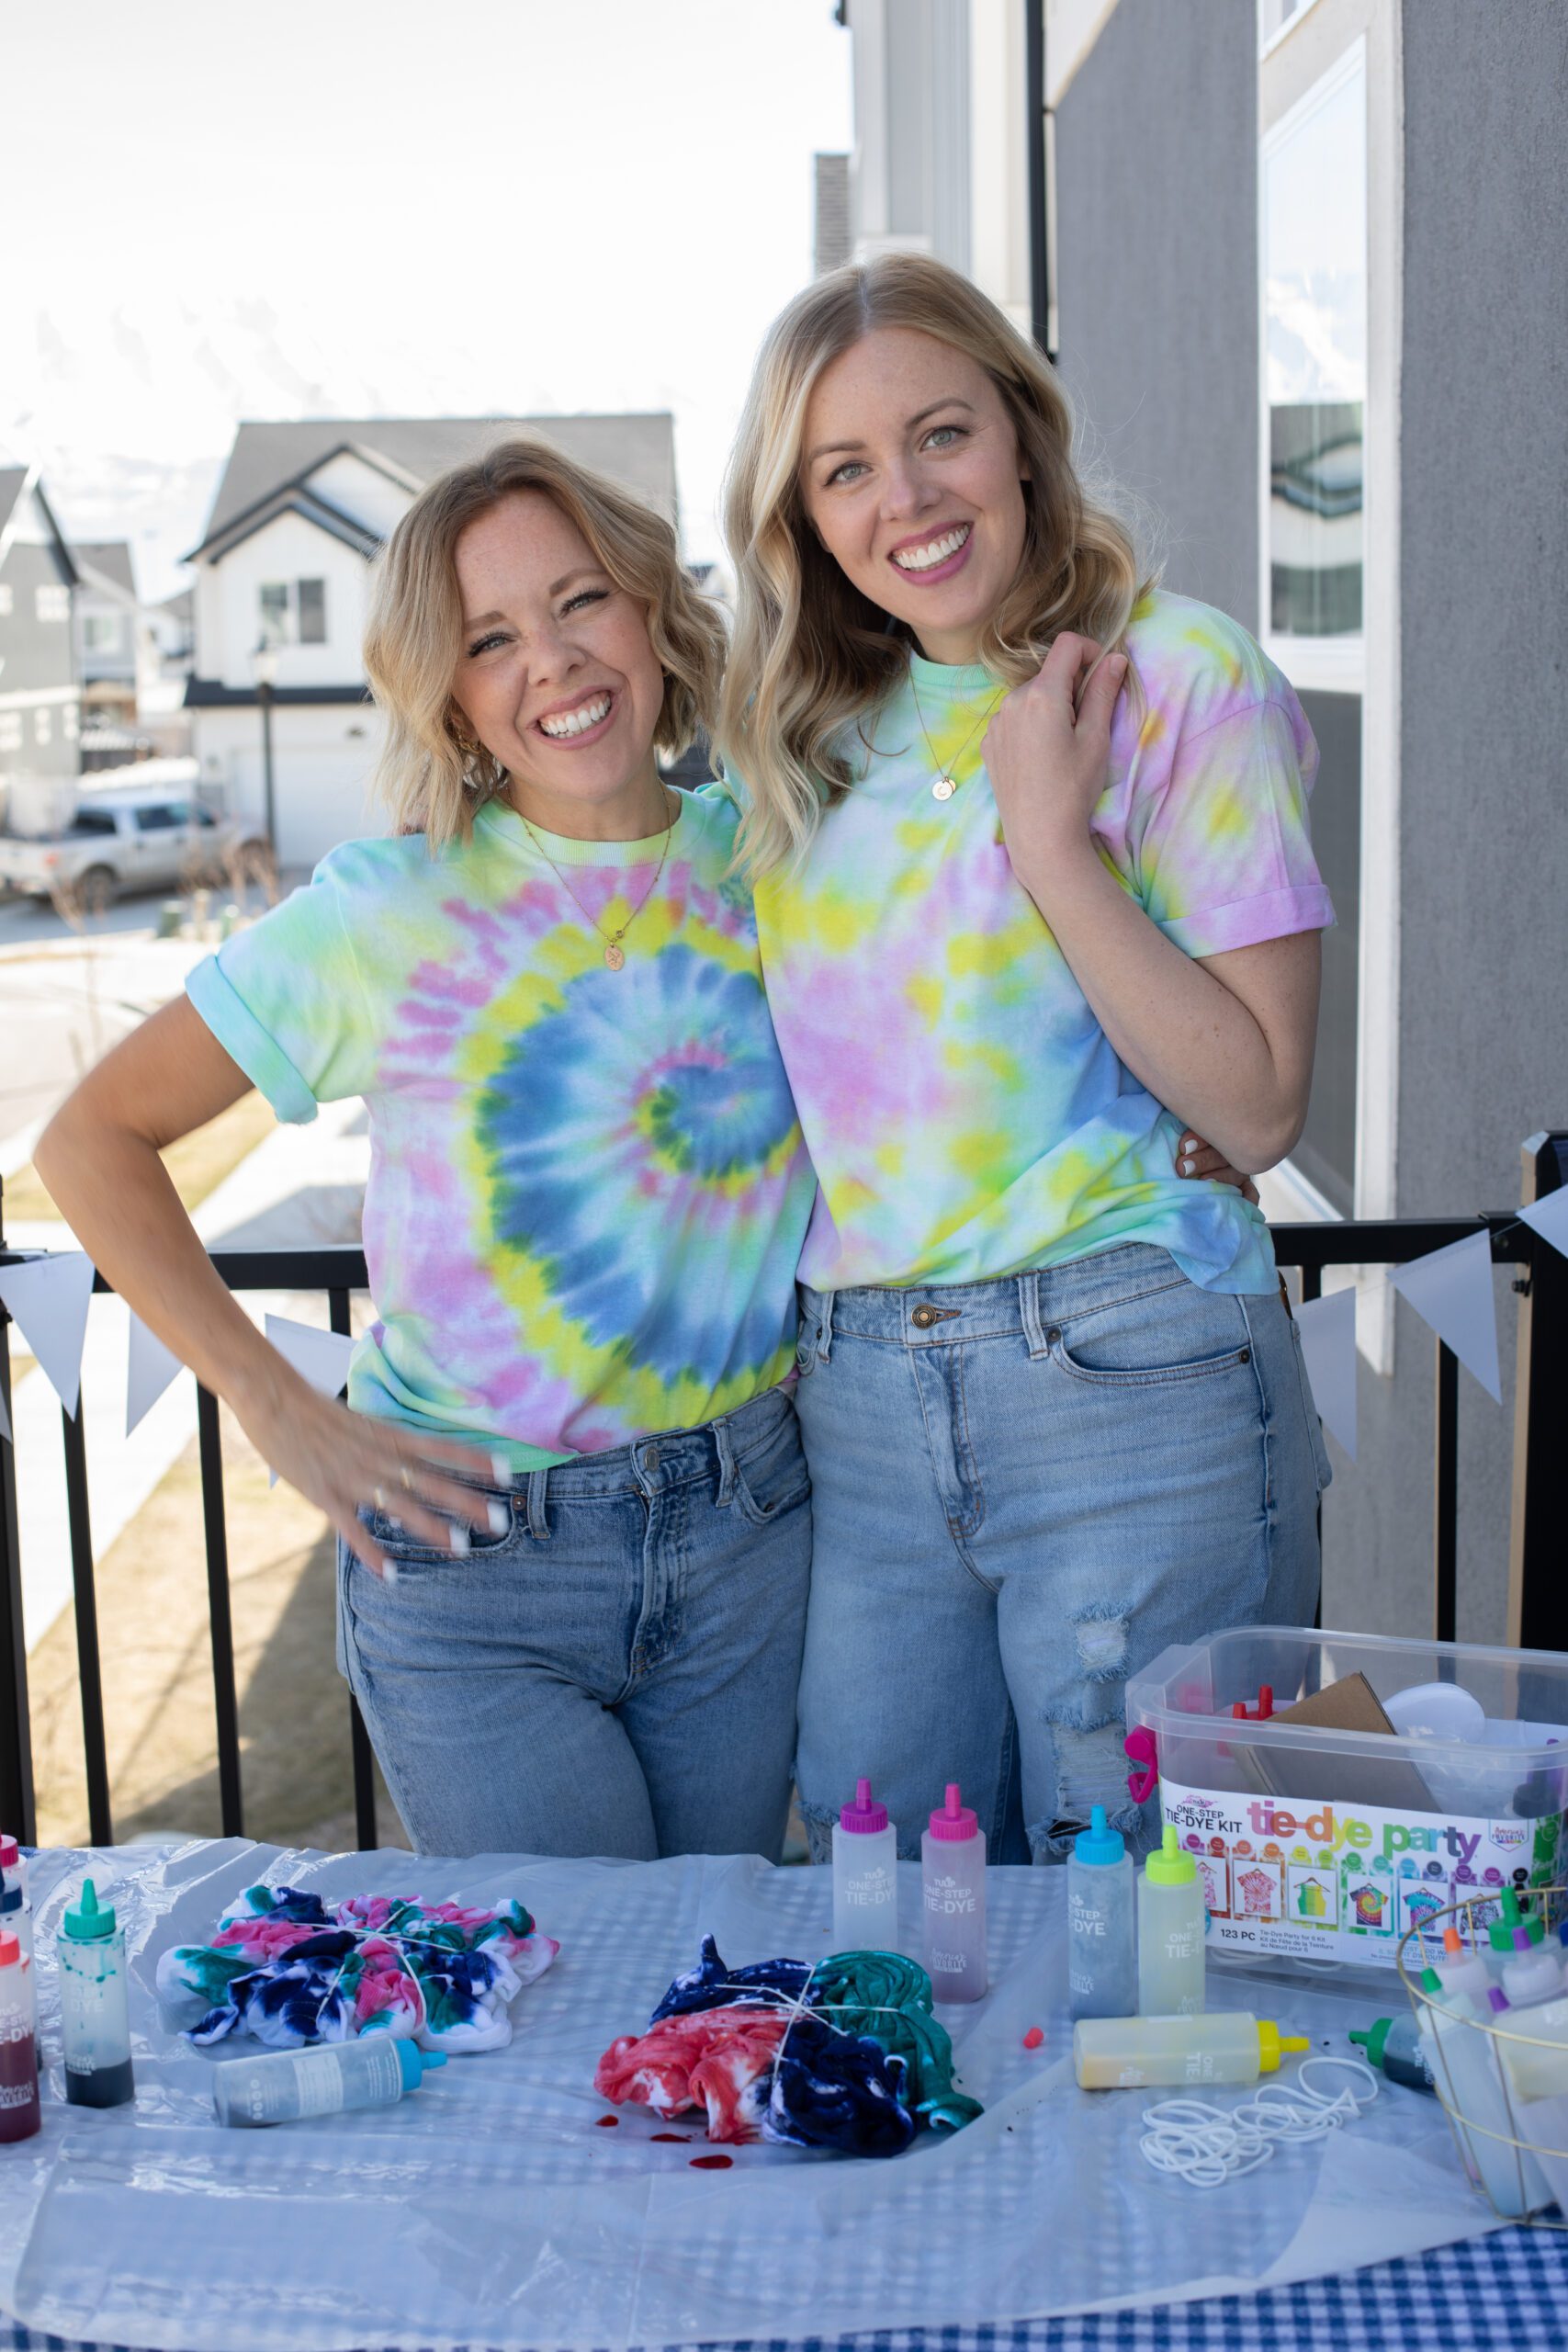
How to Crumple Tie Dye
Step 1: Mix your dyes according to the package directions.
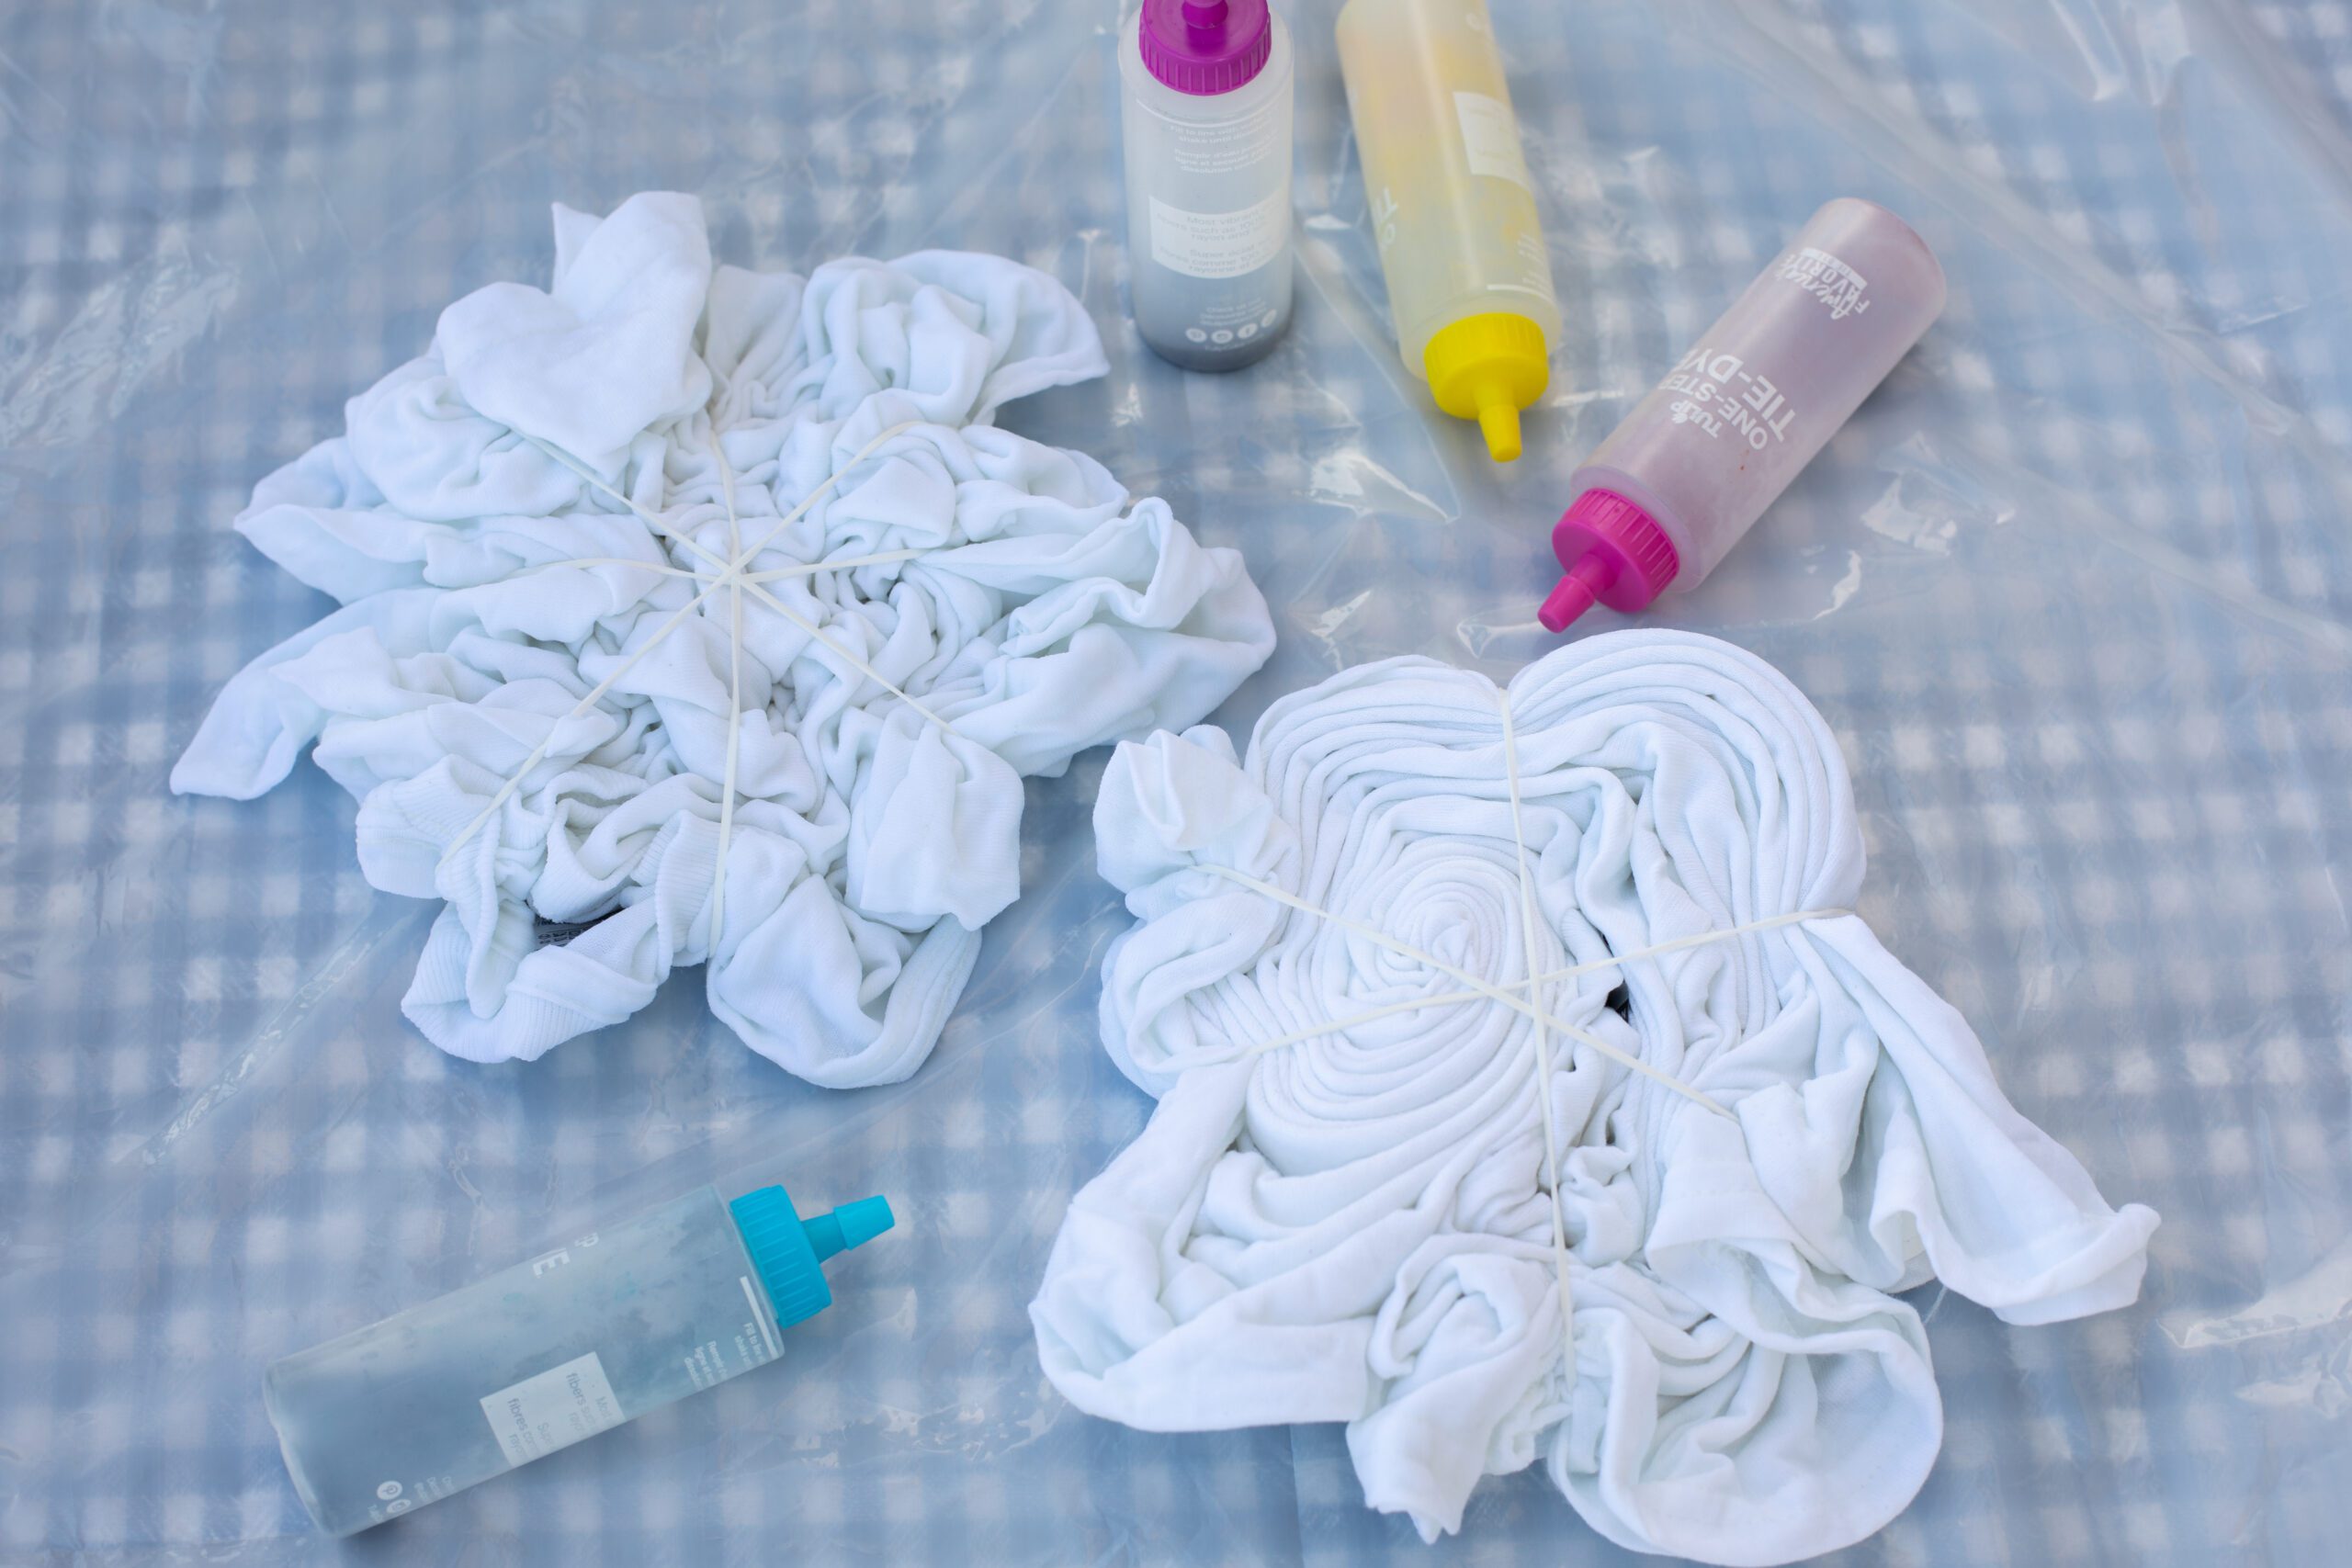
Step 2: Lay damp fabric flat on your work surface. Bunch the fabric into a mound. Bunch the fabric tightly or loosely for varying patterns.
Step 3: For a more defined pattern, secure the bunched fabric with rubber bands. The tighter you bind the fabric, the more white will remain after dyeing.
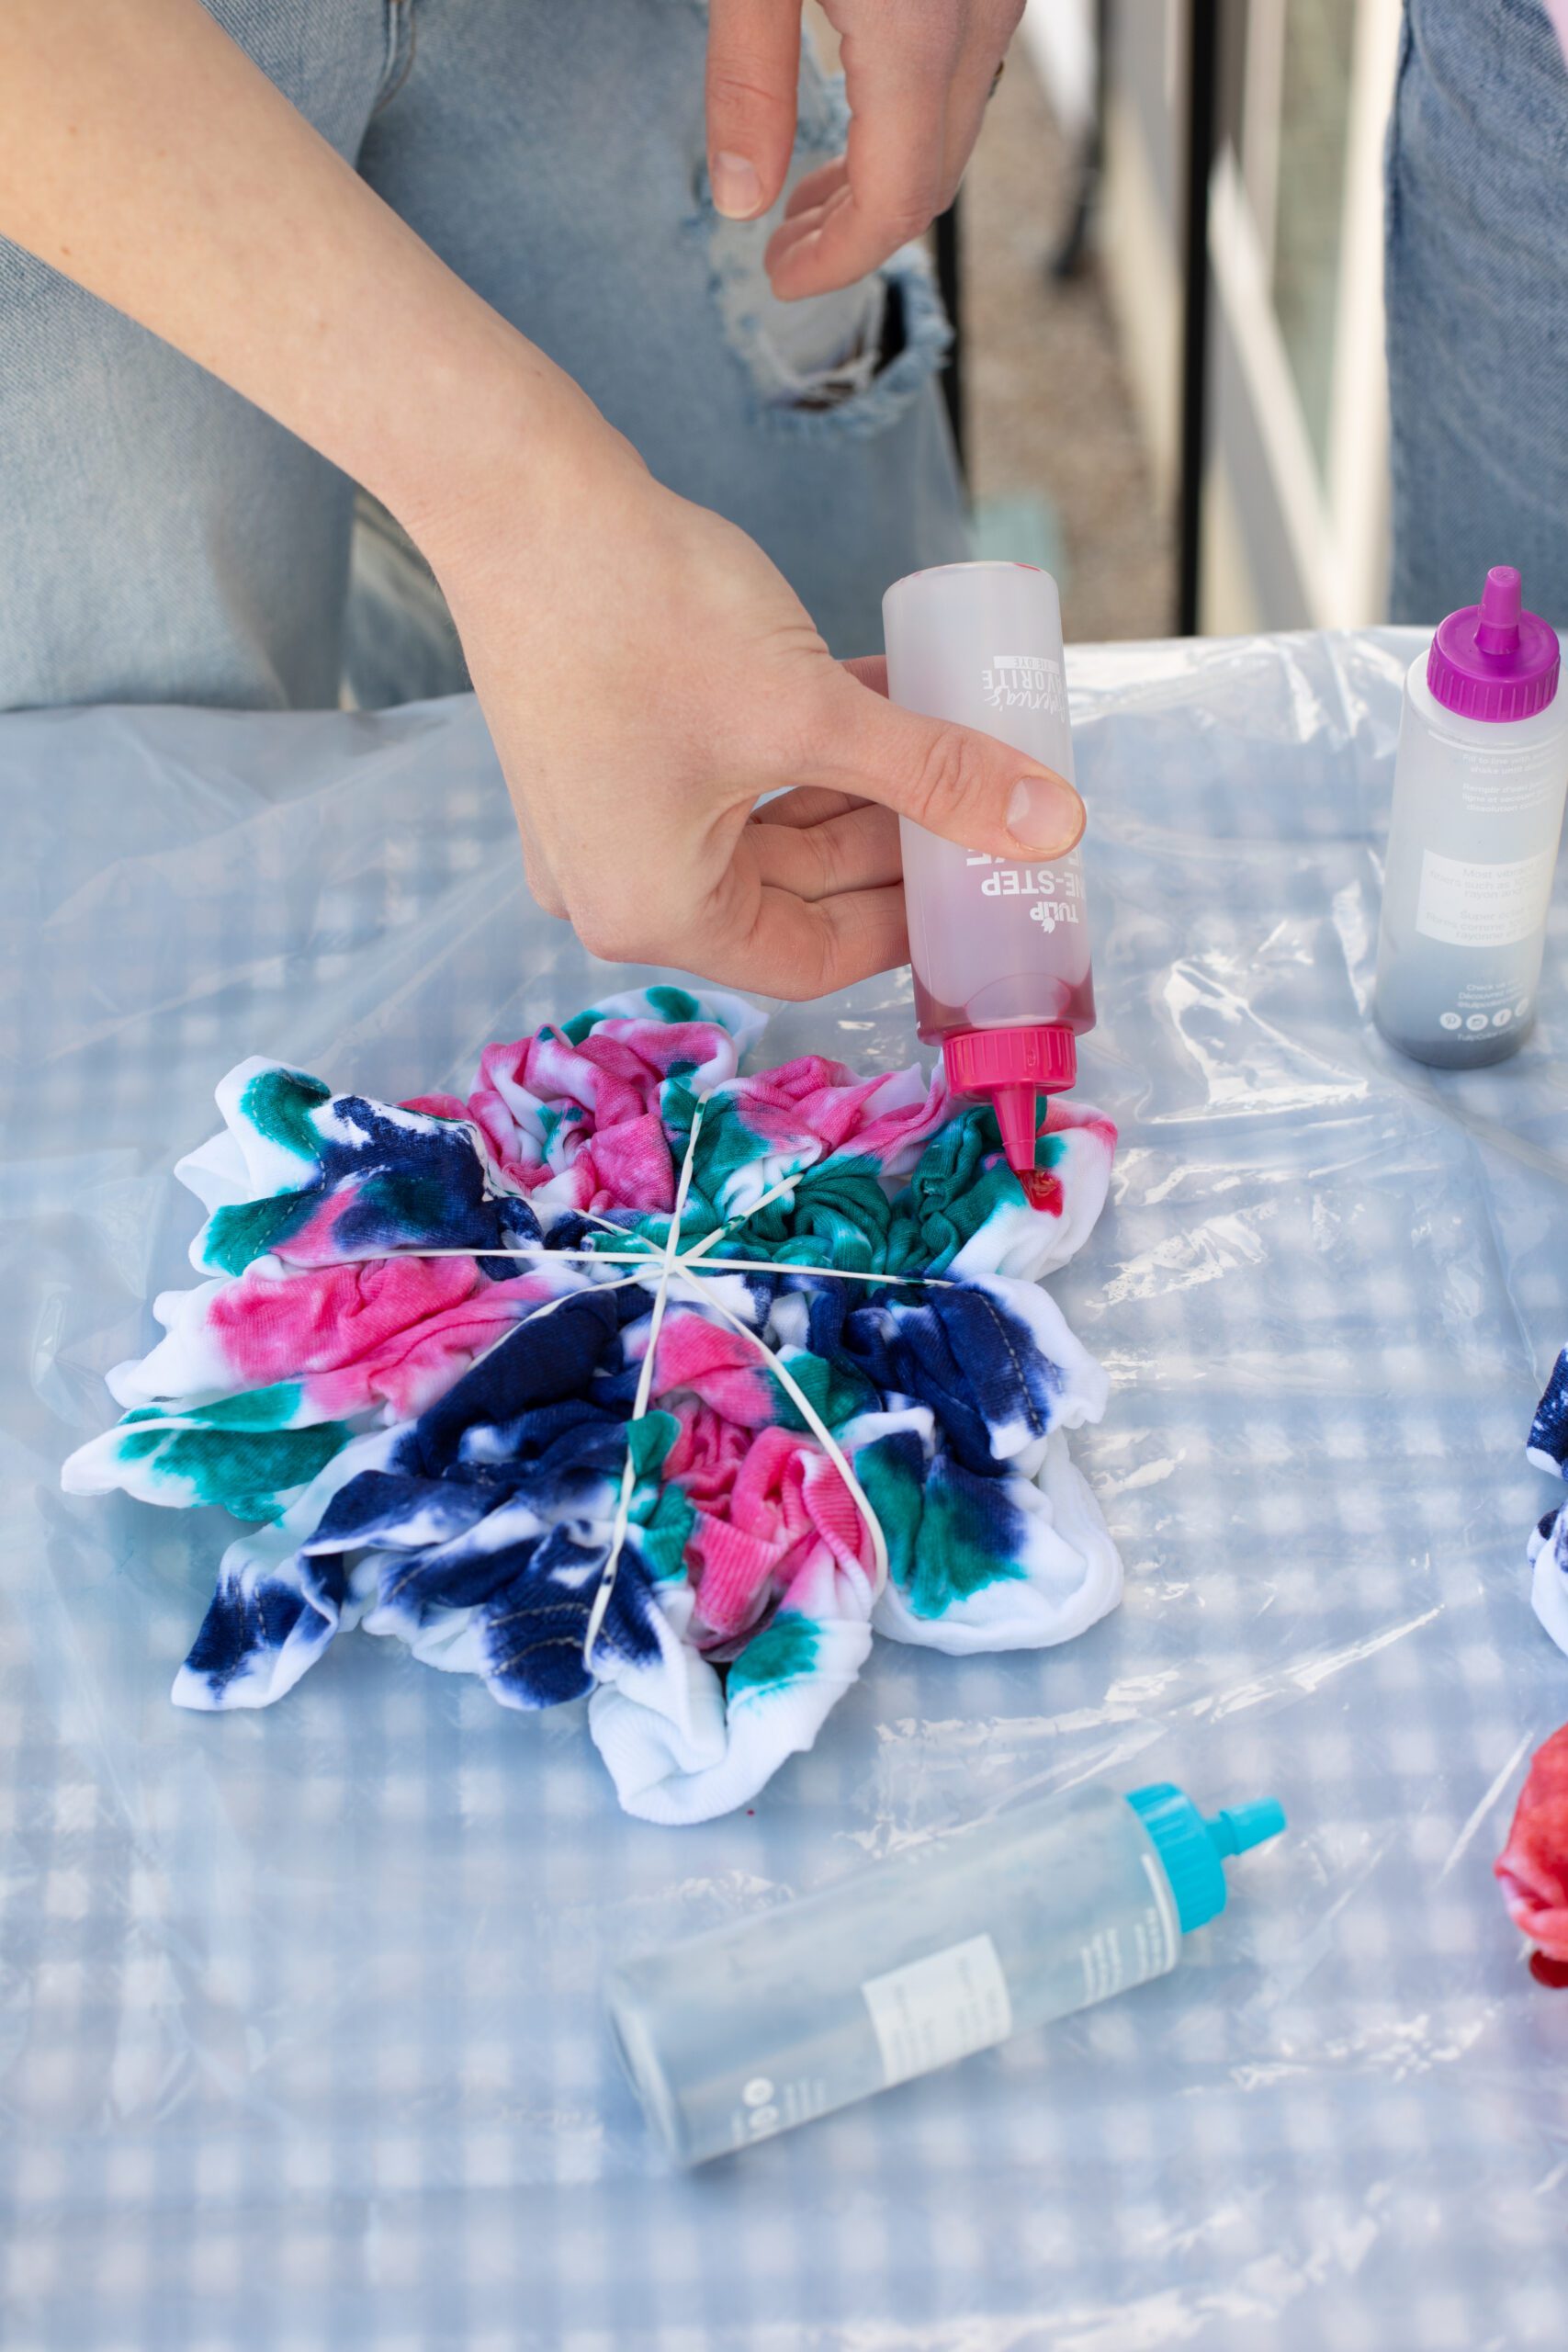
Step 4: Apply the dye to the front and back of the fabric bundle.
Step 5: Let the dye set according to the package directions.
Step 6: Once set, rinse the fabric until the water runs clear and remove the rubber bands.
Step 7: Wash and dry.
How to Crumple Tie Dye
Learn how to make your own crumple tie dye shirt with a few simple steps!
Materials
- 100% cotton shirt
- Tie dye
- Gloves
- Rubberbands
Instructions
- Mix your dyes according to the package directions.
- Lay damp fabric flat on your work surface. Bunch the fabric into a mound. For a more defined pattern, secure the bunched fabric with rubber bands. The tighter you bind the fabric, the more white will remain after dyeing.
- Apply the dye to the front and back of the fabric bundle.
- Let the dye set according to the package directions.
- Once set, rinse the fabric until the water runs clear and remove the rubberbands.
- Wash and dry.

How to Tie Dye a Spiral Pattern
Step 1: Mix your dyes according to the package directions.
Step 2: Lay damp fabric flat on your work surface. Pinch the center of the shirt and twist it into a spiral bundle. Secure with two rubber bands, dividing the spiral into four sections. If you have never bound this way before, this is a great reference.
Step 3: Apply one color to each section of the bundle. Flip the bundle and repeat on the back.
Step 4: Let the dye set according to the package directions.
Step 5: Once set, rinse the fabric until the water runs clear and remove the rubber bands.
Step 6: Wash and dry.
How to Tie Dye a Spiral

Learn how to make your own spiral tie dye shirt with a few simple steps!
Materials
- 100% cotton shirt
- Tie dye
- Gloves
- Rubberbands
Instructions
- Mix your dyes according to the package directions.
- Lay damp fabric flat on your work surface. Pinch the center of the shirt and twist it into a spiral bundle. Secure with two rubber bands, dividing the spiral into four sections.
- Apply one color to each section of the bundle. Flip the bundle and repeat on the back.
- Let the dye set according to the package directions.
- Once set, rinse the fabric until the water runs clear and remove the rubberbands.
- Wash and dry.
Happy making!
Liz & Sam
Save this post for later!