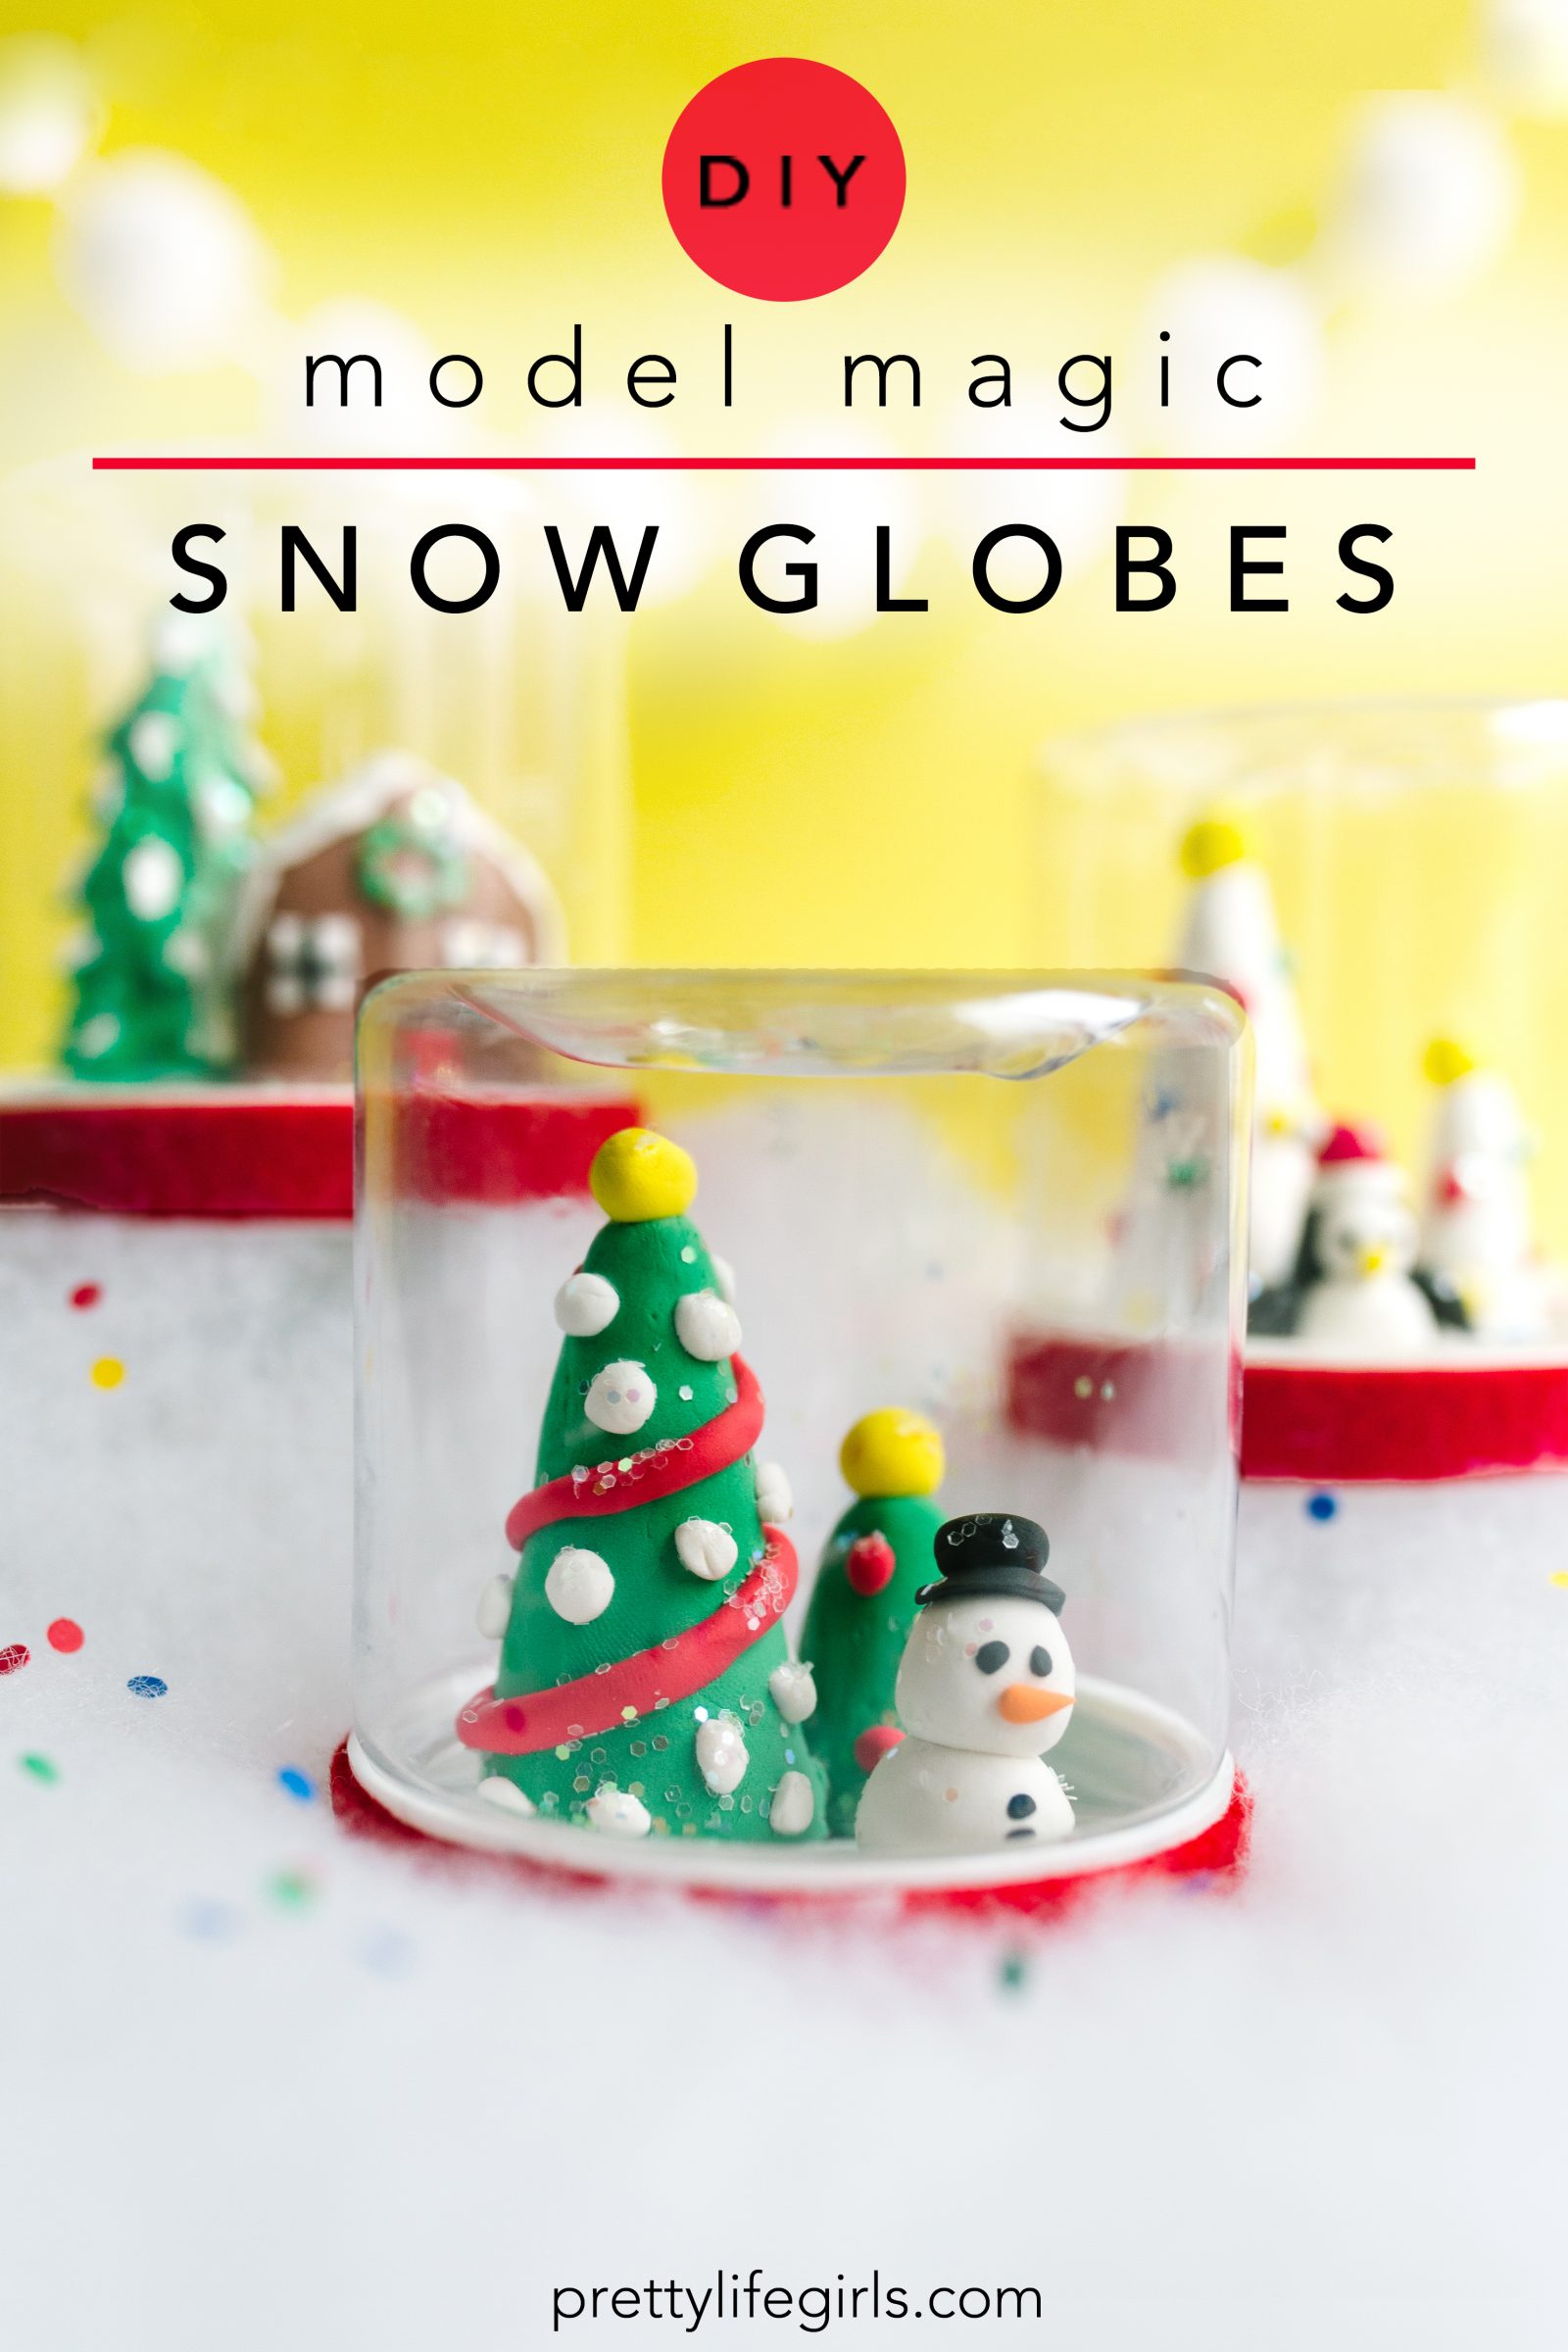
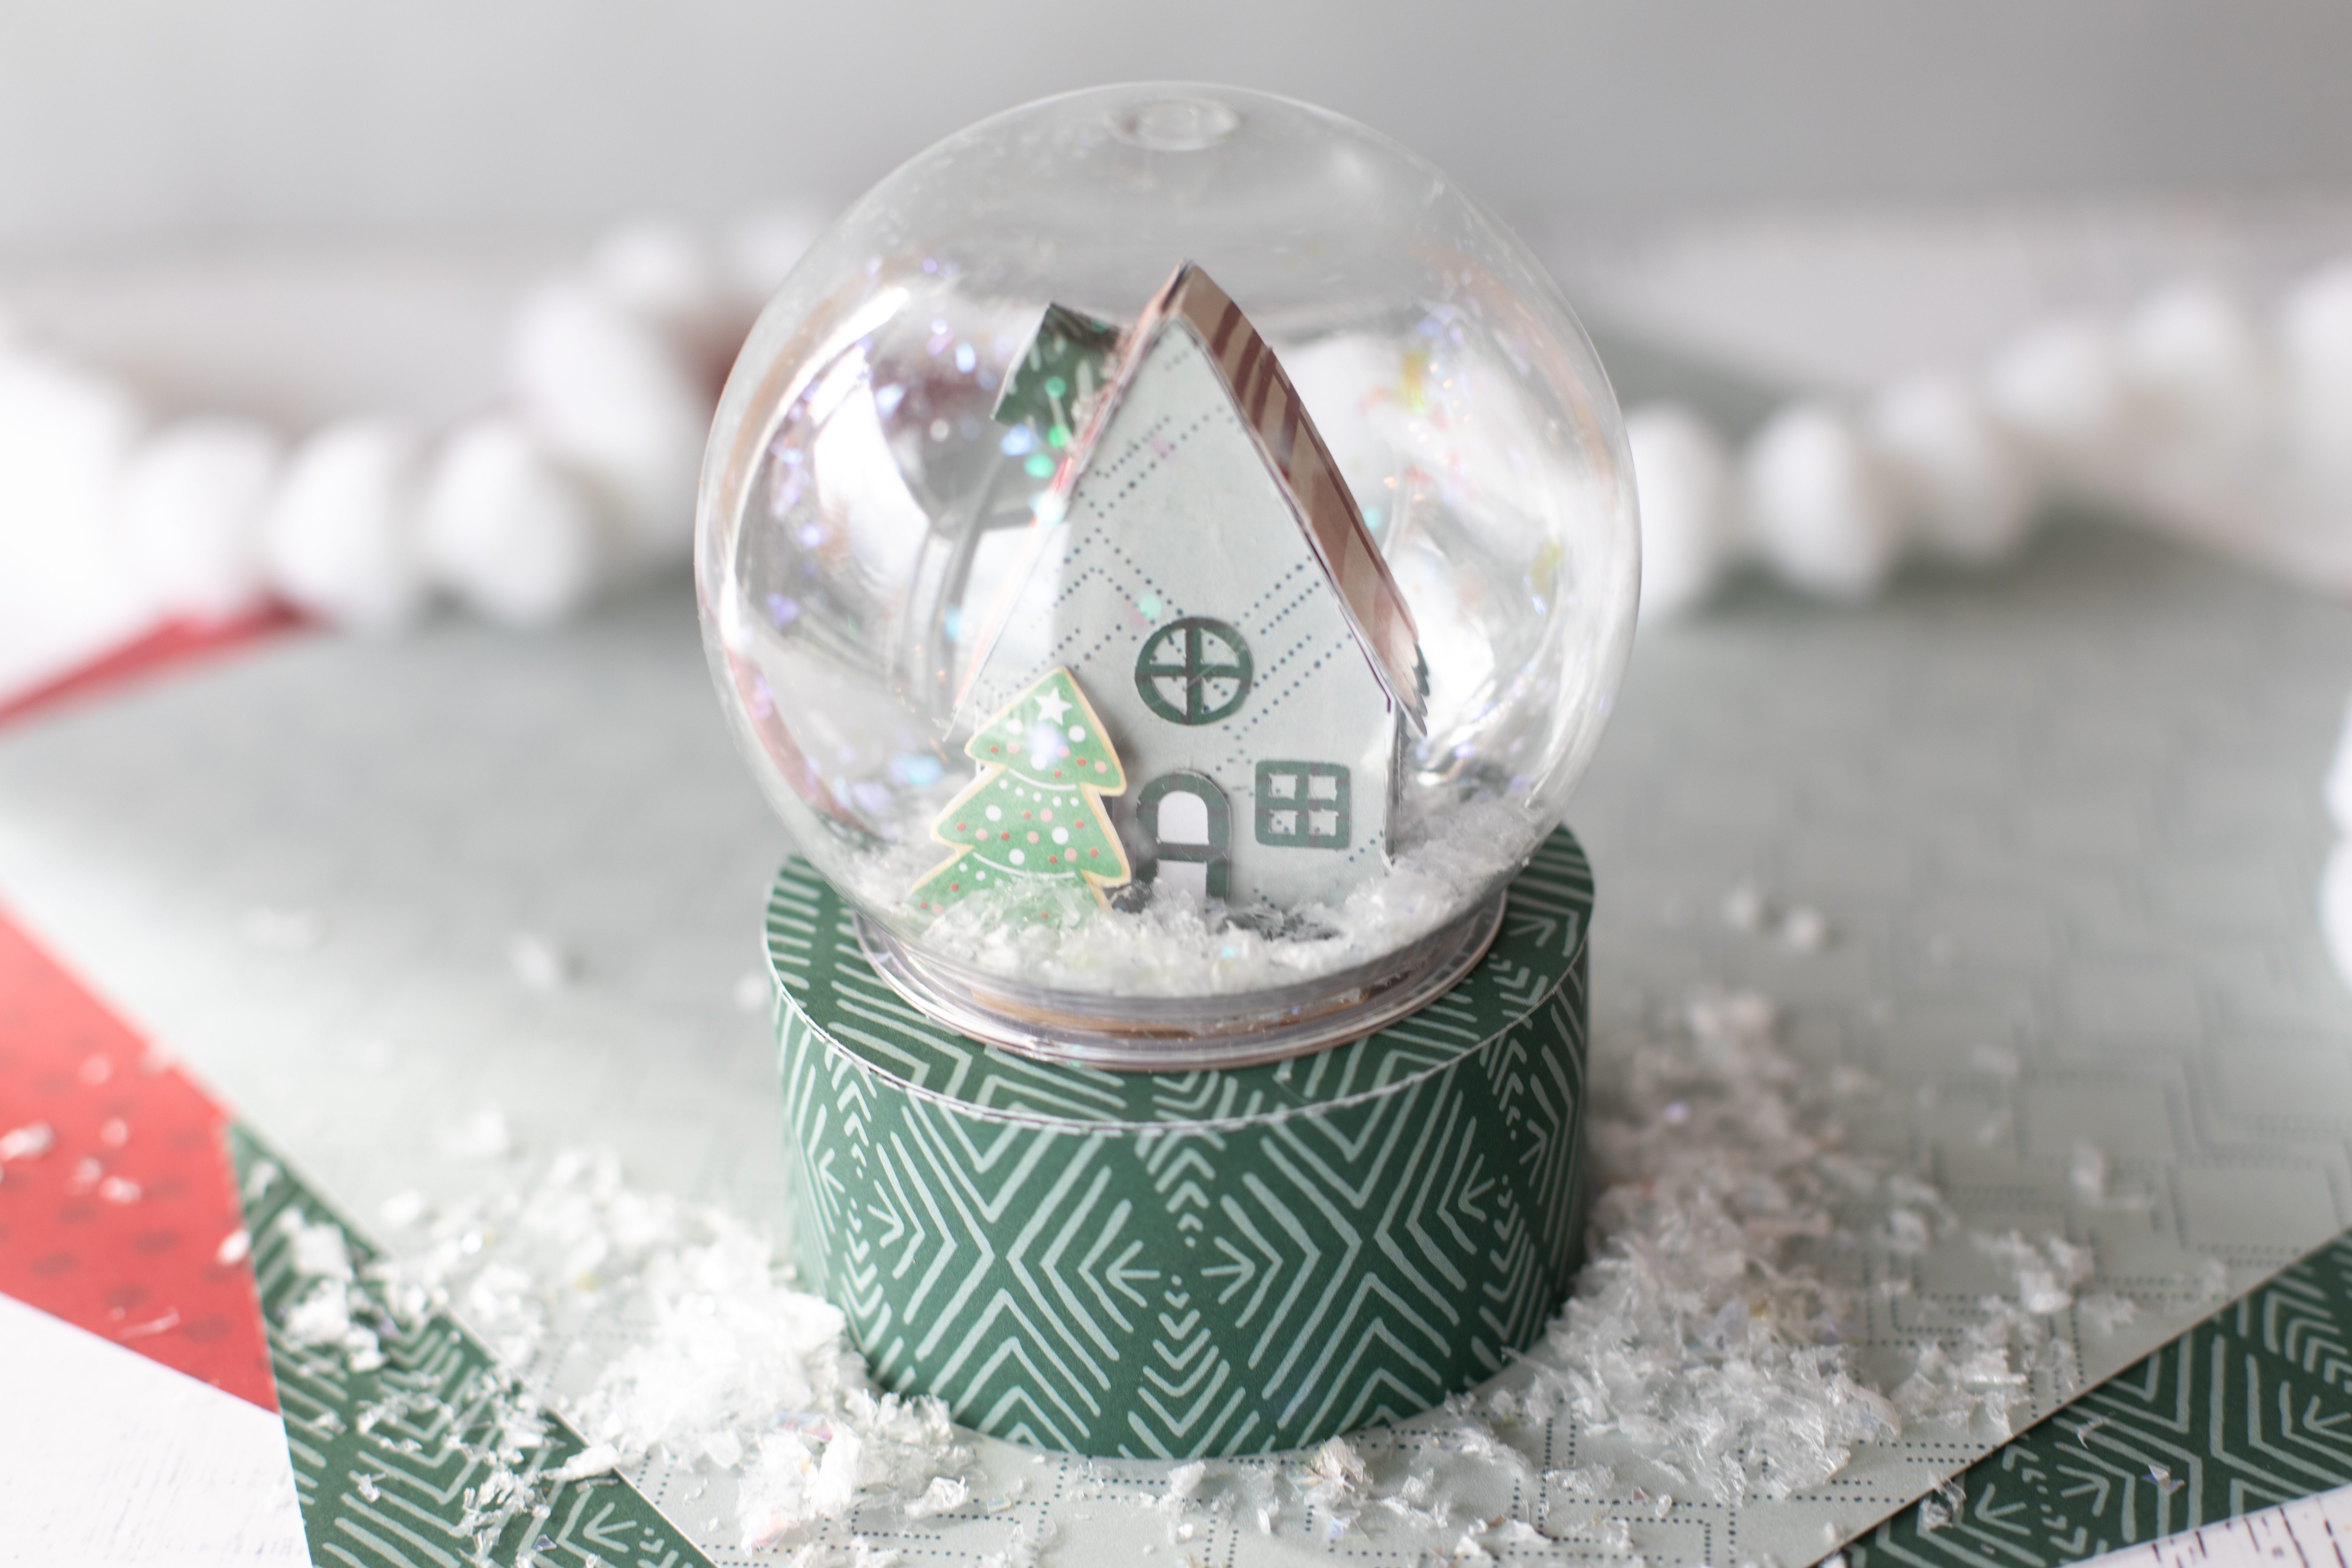
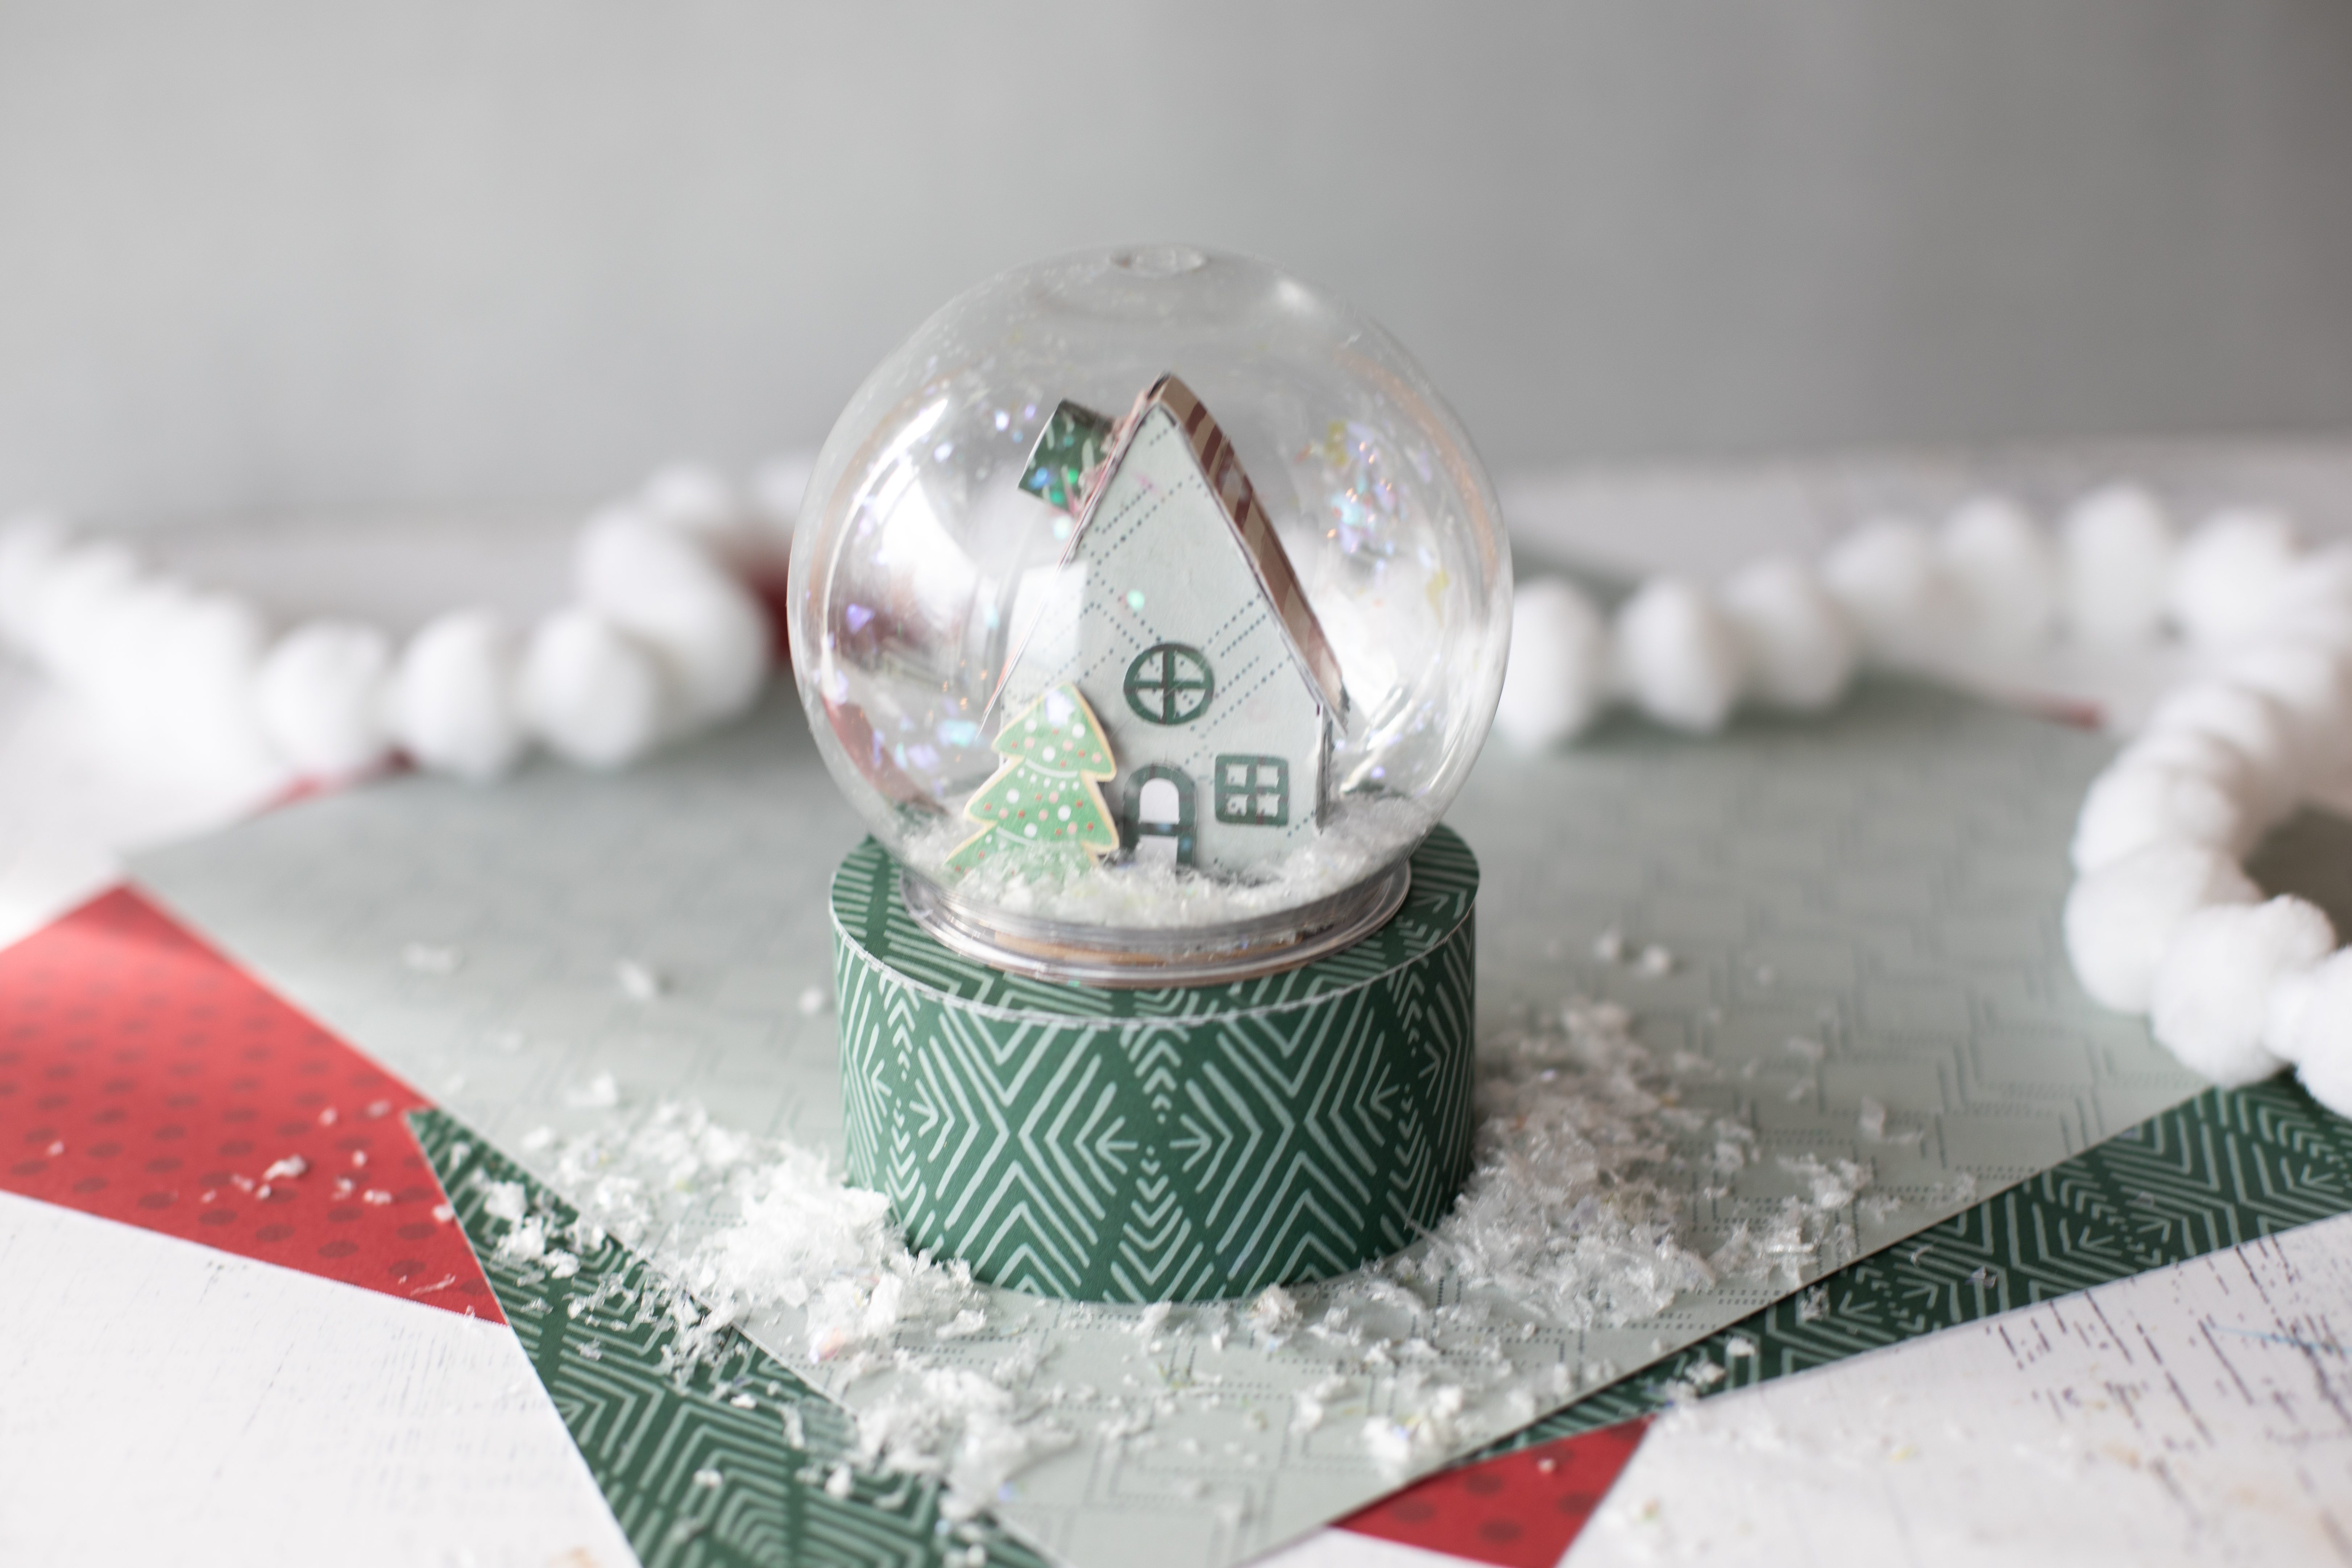
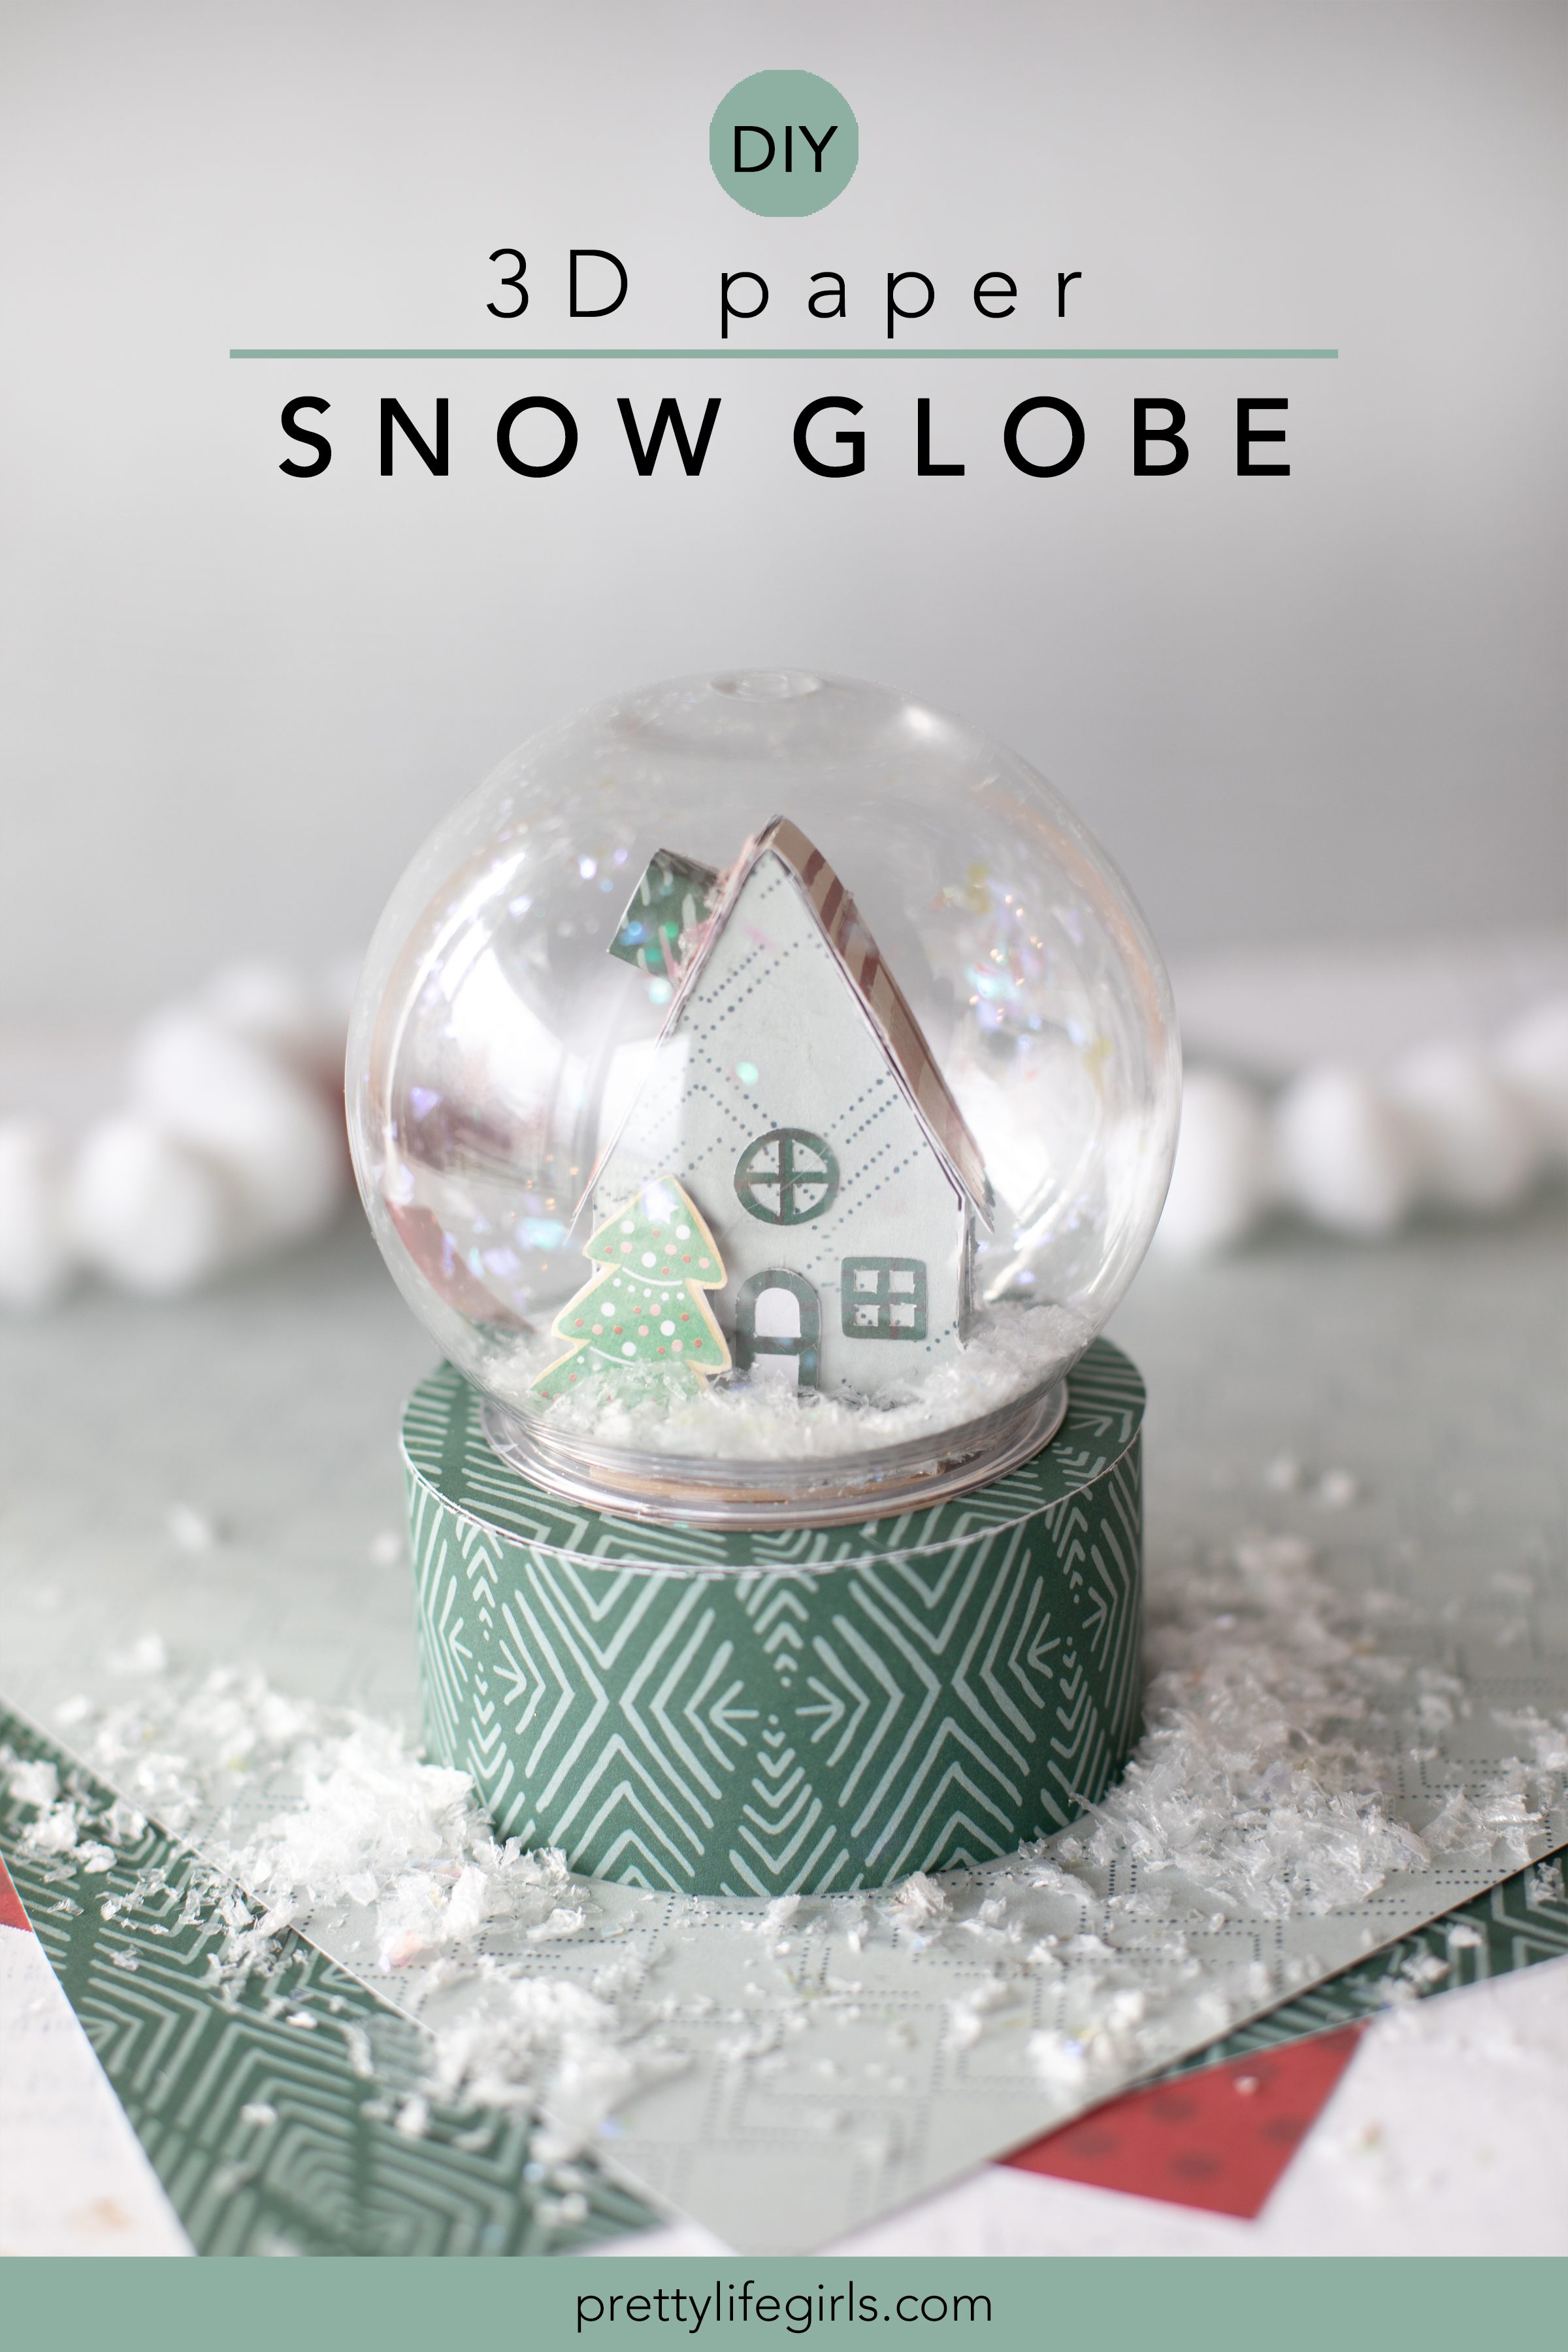
Snow globes are such an iconic part of the holiday season and it’s so fun to try different ways to make them! Using mason jars was a huge snow globe trend a few years ago, and last year we simplified that trend even more to make them for kids using air dry clay! This year we wanted to make them with a method we hadn’t tried before – a DIY Paper Snowglobe – and obviously that led us to using our beloved Silhouette machine to make it happen!
If you are a Silhouette user but you haven’t yet set foot in the world of 3d paper crafts, allow us to be your guide! We love making 3d paper crafts with our Silhouette machine because the Silhouette store designs combined with the Silhouette Studio software make it so slick! We’ve made 3d paper villages, Christmas ornaments, and much more using our machine, and once you get the hang of it you will feel like a wizard! Let’s get started with our snow globes and I will show you what I mean.
Supplies needed to make a DIY Paper Snowglobe
Silhouette Machine (we used the Cameo 4)
Snow Globe Cut File
Unfinished Snow Globe
Ruler or measuring tape
12 x 12 Cardstock
Hot Glue Gun + Sticks
Fake Craft Snow

How to make a DIY Paper Snowglobe
Step 1: Purchase your design from the Silhouette Design Store, then open your Silhouette Studio and open your design.
Step 2: Using your ruler or measuring tape, measure the opening of your snow globe. Then, resize your design so that it will fit in your globe.
Step 3: You will likely want to cut the various pieces of the house on different papers. To do this, remove any pieces from your cutting mat in Silhouette Studio that you do not want to cut on your current paper. Once you have selected a paper and the pieces you’d like to cut on that paper, place your paper on the cutting mat and load it into your machine.
Step 4: Change your cut settings to cut cardstock and do a test cut to make sure you get a clean cut. If the test is successful, send your design to cut. If not, adjust your settings.
Step 5: Repeat steps 3 & 4 for all of the pieces of the village, changing out papers and moving the design pieces where desired.
Step 6: Begin assembling the house by folding on the dotted lines. Then, apply a line of glue to the flap pieces and press them into the underside of the house to attach.
Step 7: Attach all of the remaining pieces of the house (windows, door, roof, etc.) using hot glue.
Step 8: Attach the house to the paper circle piece using hot glue. Then, attach the paper circle to the base of the snow globe lid using hot glue.
Step 9: Assemble the base of the snow globe by pressing down the flaps on the top and the side. Bring one end of the base piece toward the other to make a ring shape, then place a line of glue on the flap and press it to the inside of the ring to secure. Apply more glue to the top flaps and press the ring-shaped paper piece into the flaps.
Step 10: Fill the snow globe with the desired amount fake snow.
Step 11: Twist the paper base around the base of the globe.
Step 12: Carefully slide the lid with the house attached into the globe and twist the lid to secure.
Tip: If desired you can add additional details to fit your style! We cut out a tree from one of our papers and attached it using hot glue.
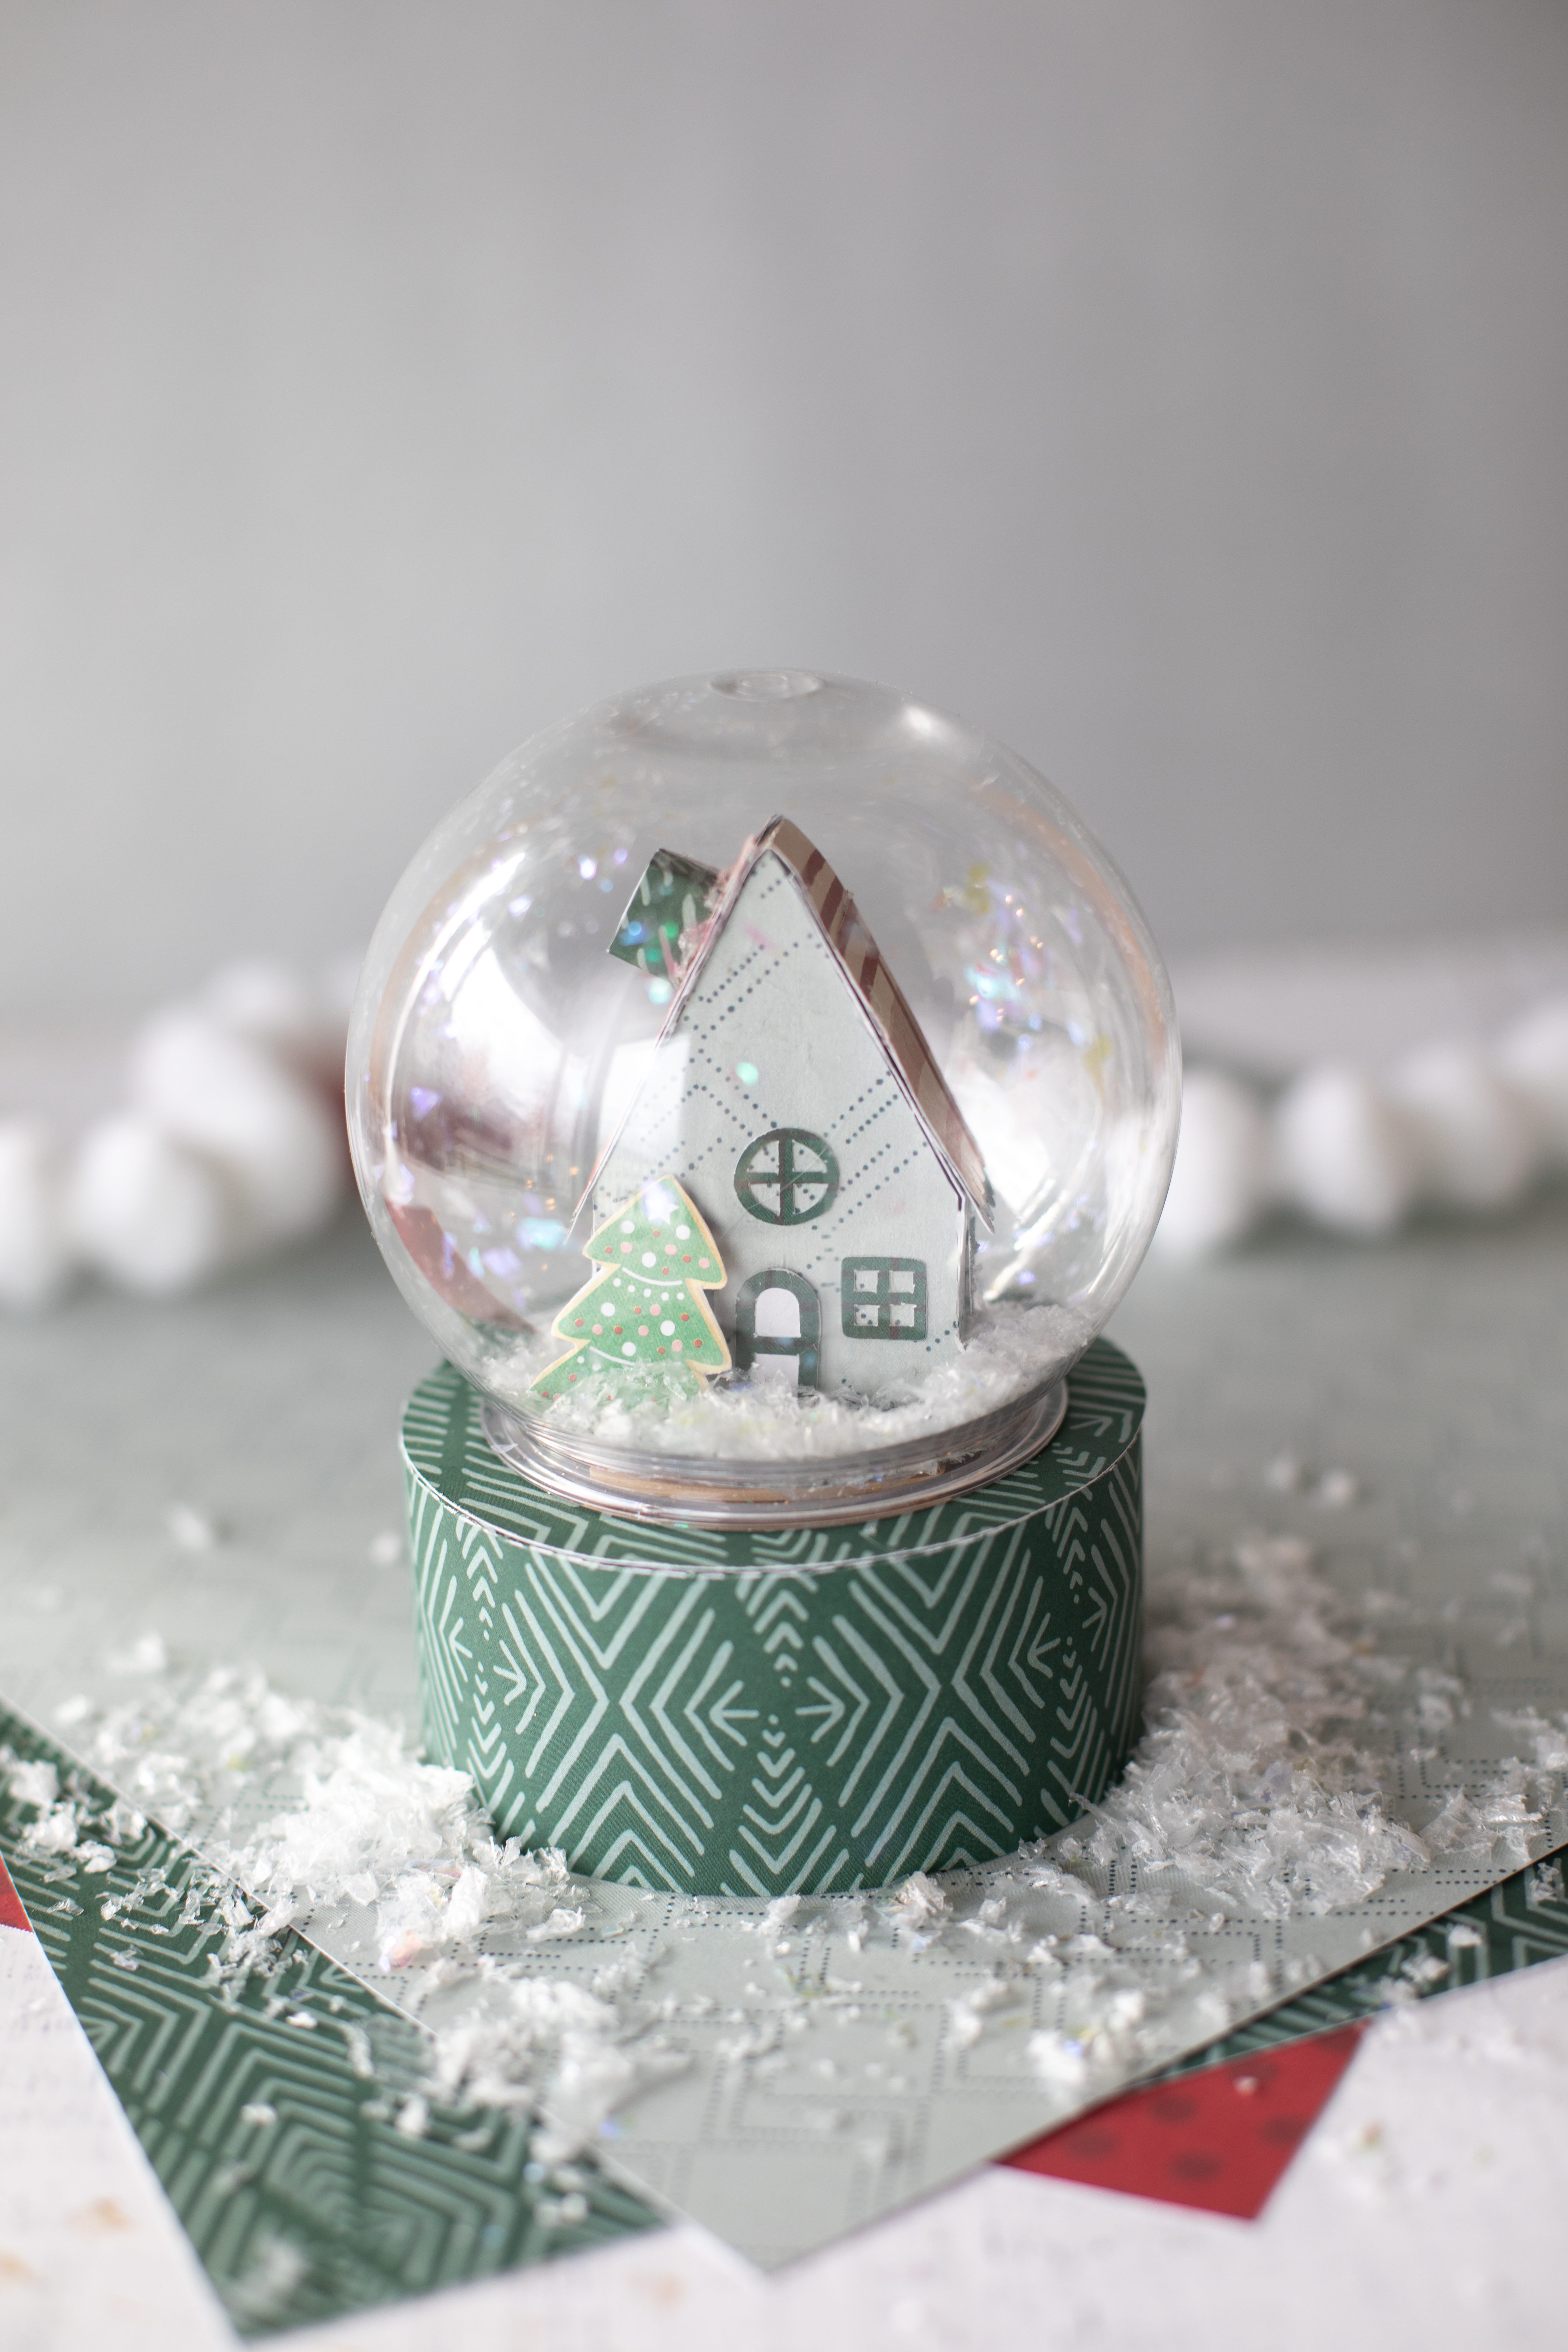
Isn’t it so sweet? And with the endless options for patterned papers, you can make snow globes that fit any style or aesthetic! The possibilities!
 Happy making!
-Liz
If you liked this post, check out these related projects!