This Ice Dye Sweatshirt tutorial is sponsored by Tulip. All opinions are ours alone.
This post may contain affiliate links, which help us support this site.
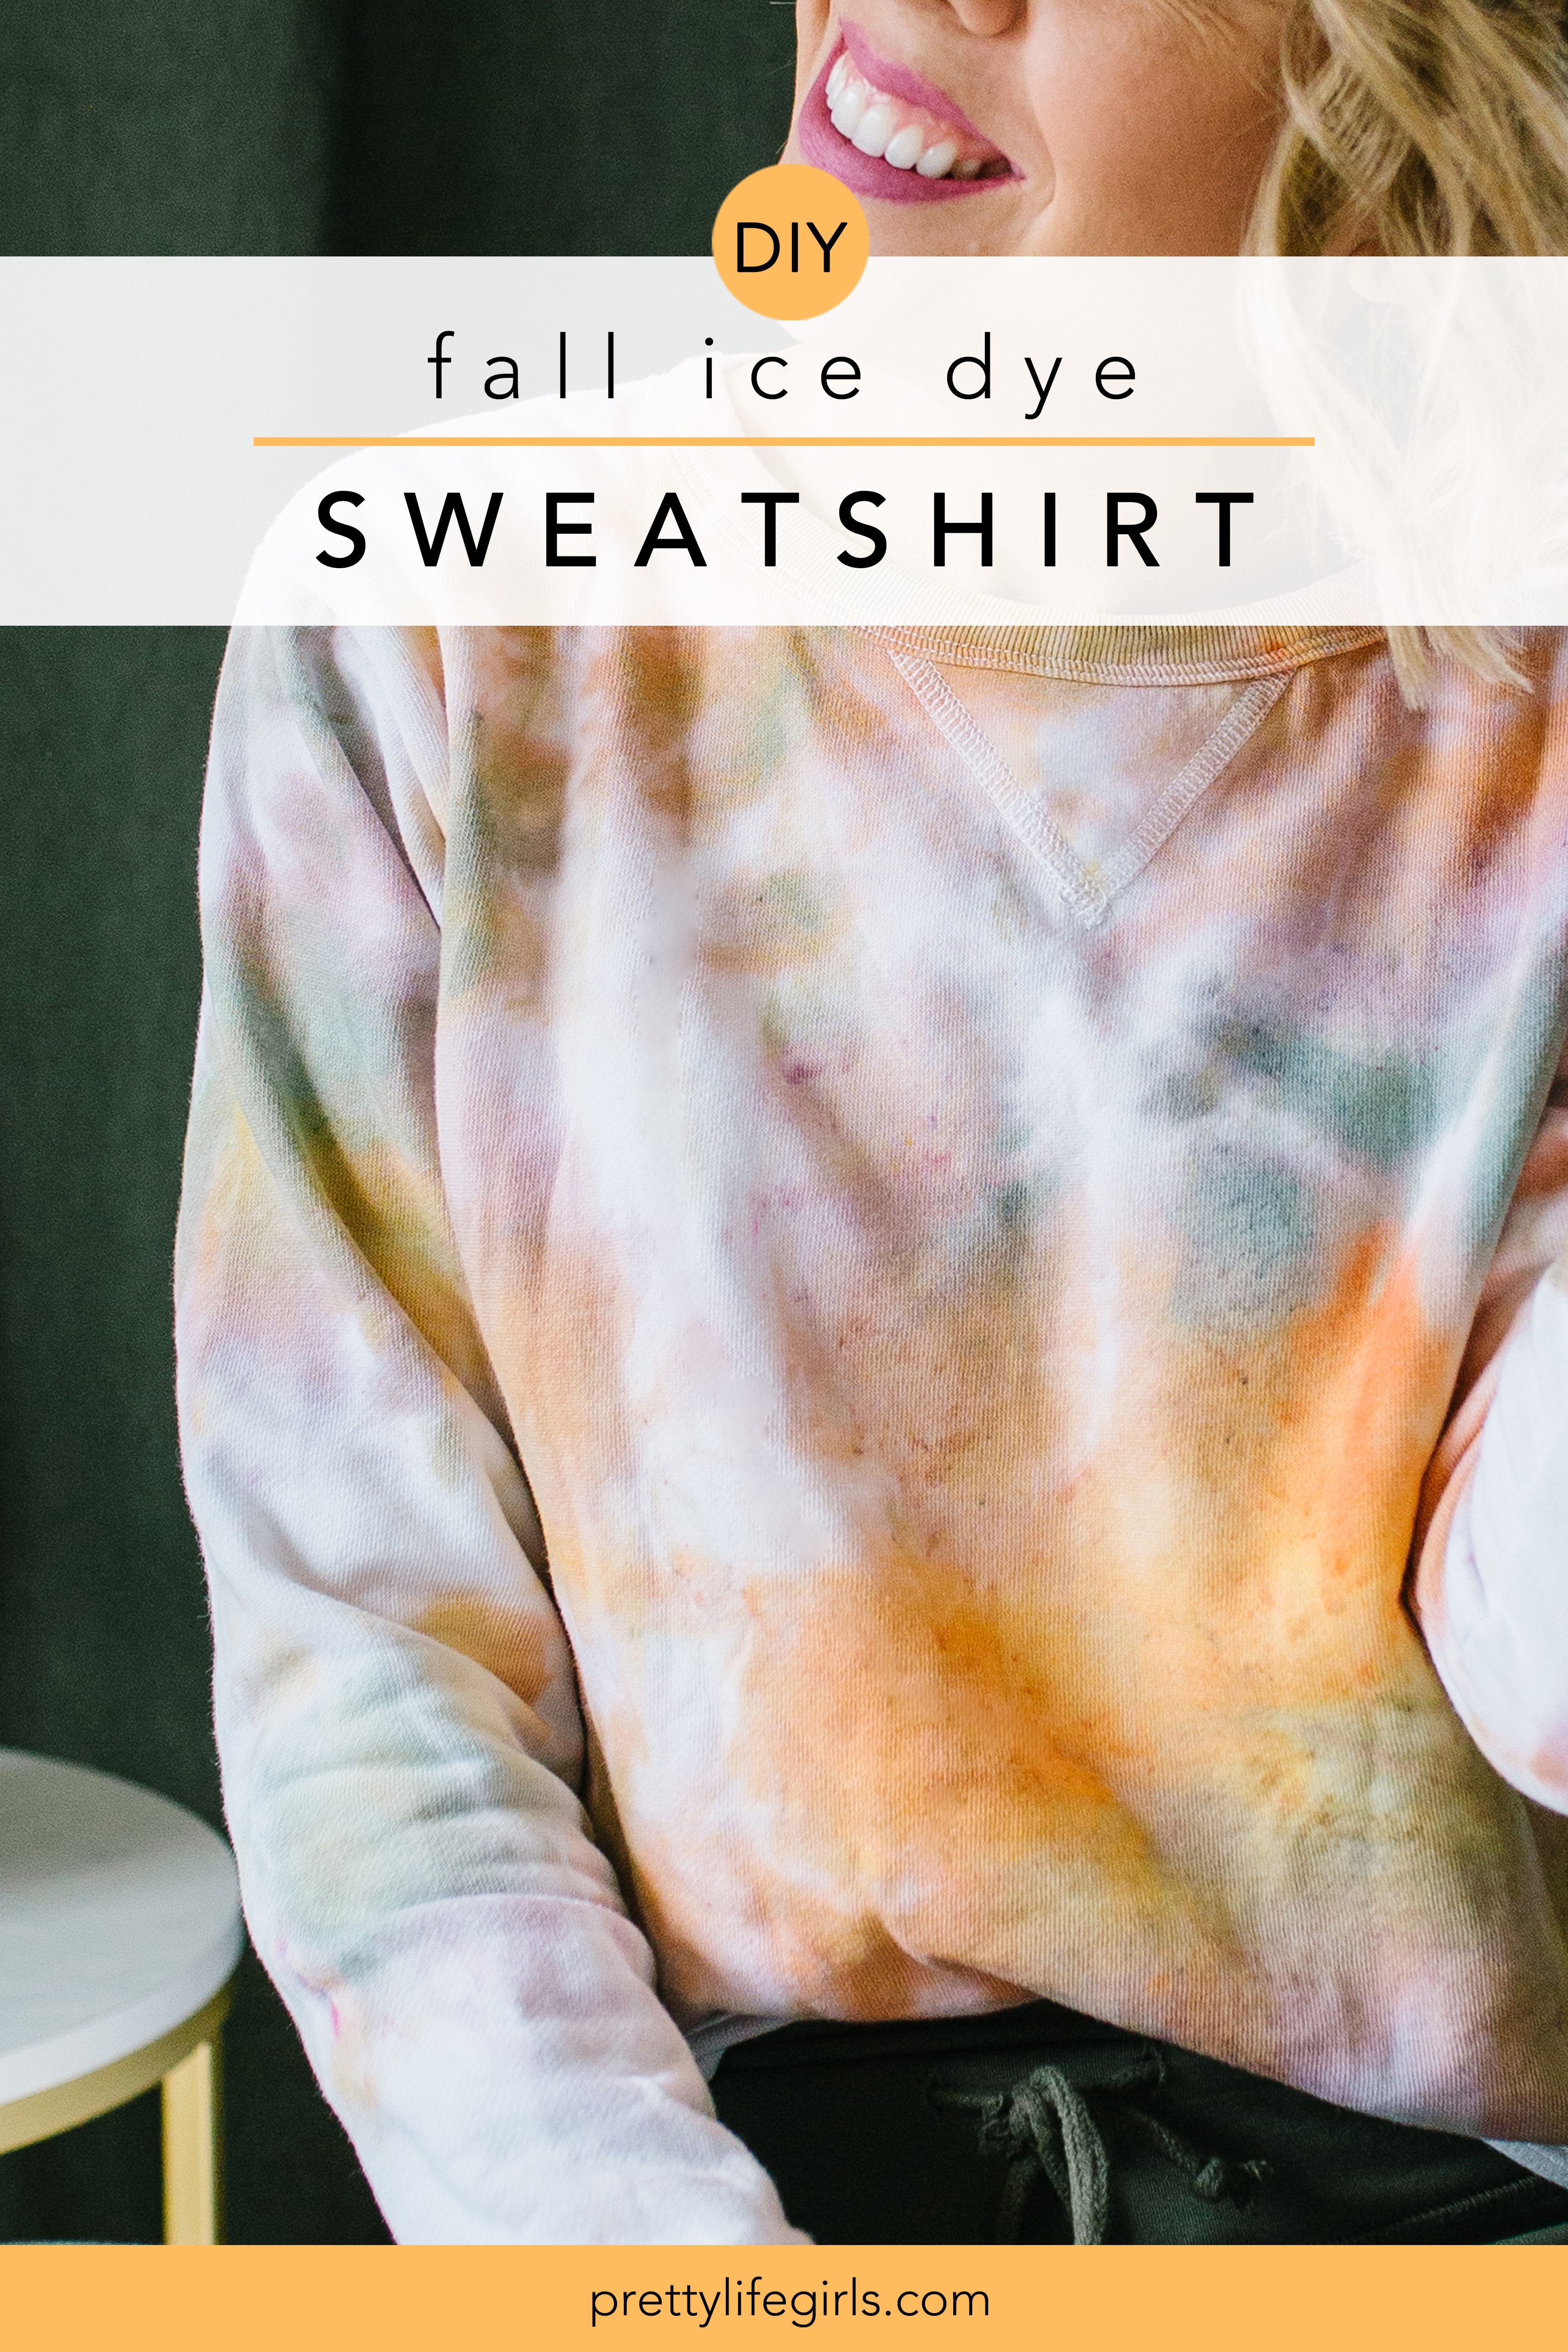
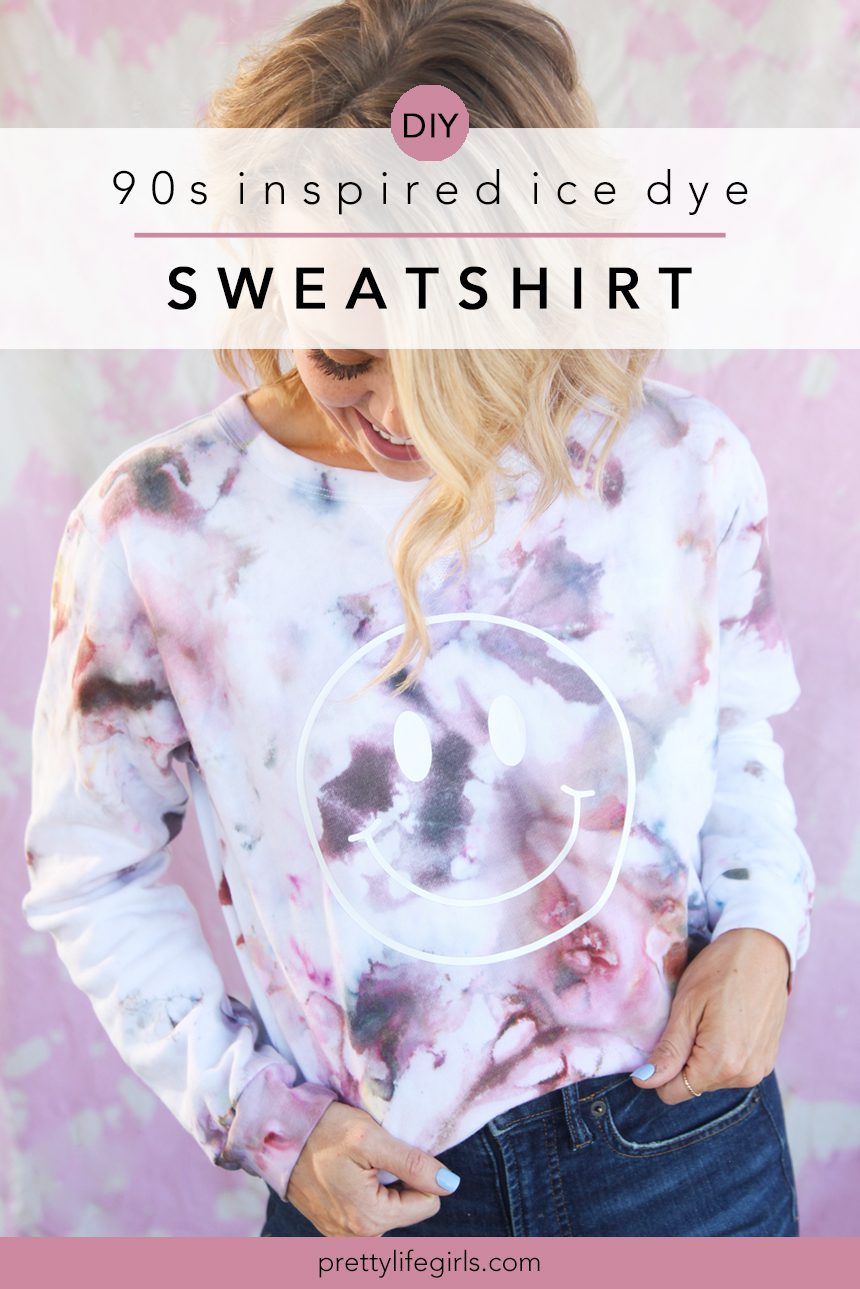
If you have loved tie dye all summer long and are feeling sad that you will soon have to put your tie dye tees and tanks away for another year, do not fret! Tie dye is for winter and fall, too, and this 90s inspired Ice Dye Sweatshirt project is going to have you begging for cooler temps so you can get tie dye cozy.
One easy way to transition your tie dye projects into fall is to change out your color palette! So, instead of the bright, bold colors you have been working with in summer, opt instead for more muted hues. Some of our favorite kits for achieving this are the Tulip One-Step Tie Dye Kits with 12 colors! These kits have such a great variety of colors that will help you create all of the tones you’ll want for fall. Plus, they come with everything you need to make your projects — bottles, gloves, rubberbands AND a perfect powdered dye that doesn’t require a fixitive! Plus, when you use Tulip One-Step dyes you can be sure that you’ll get beautiful results every time.
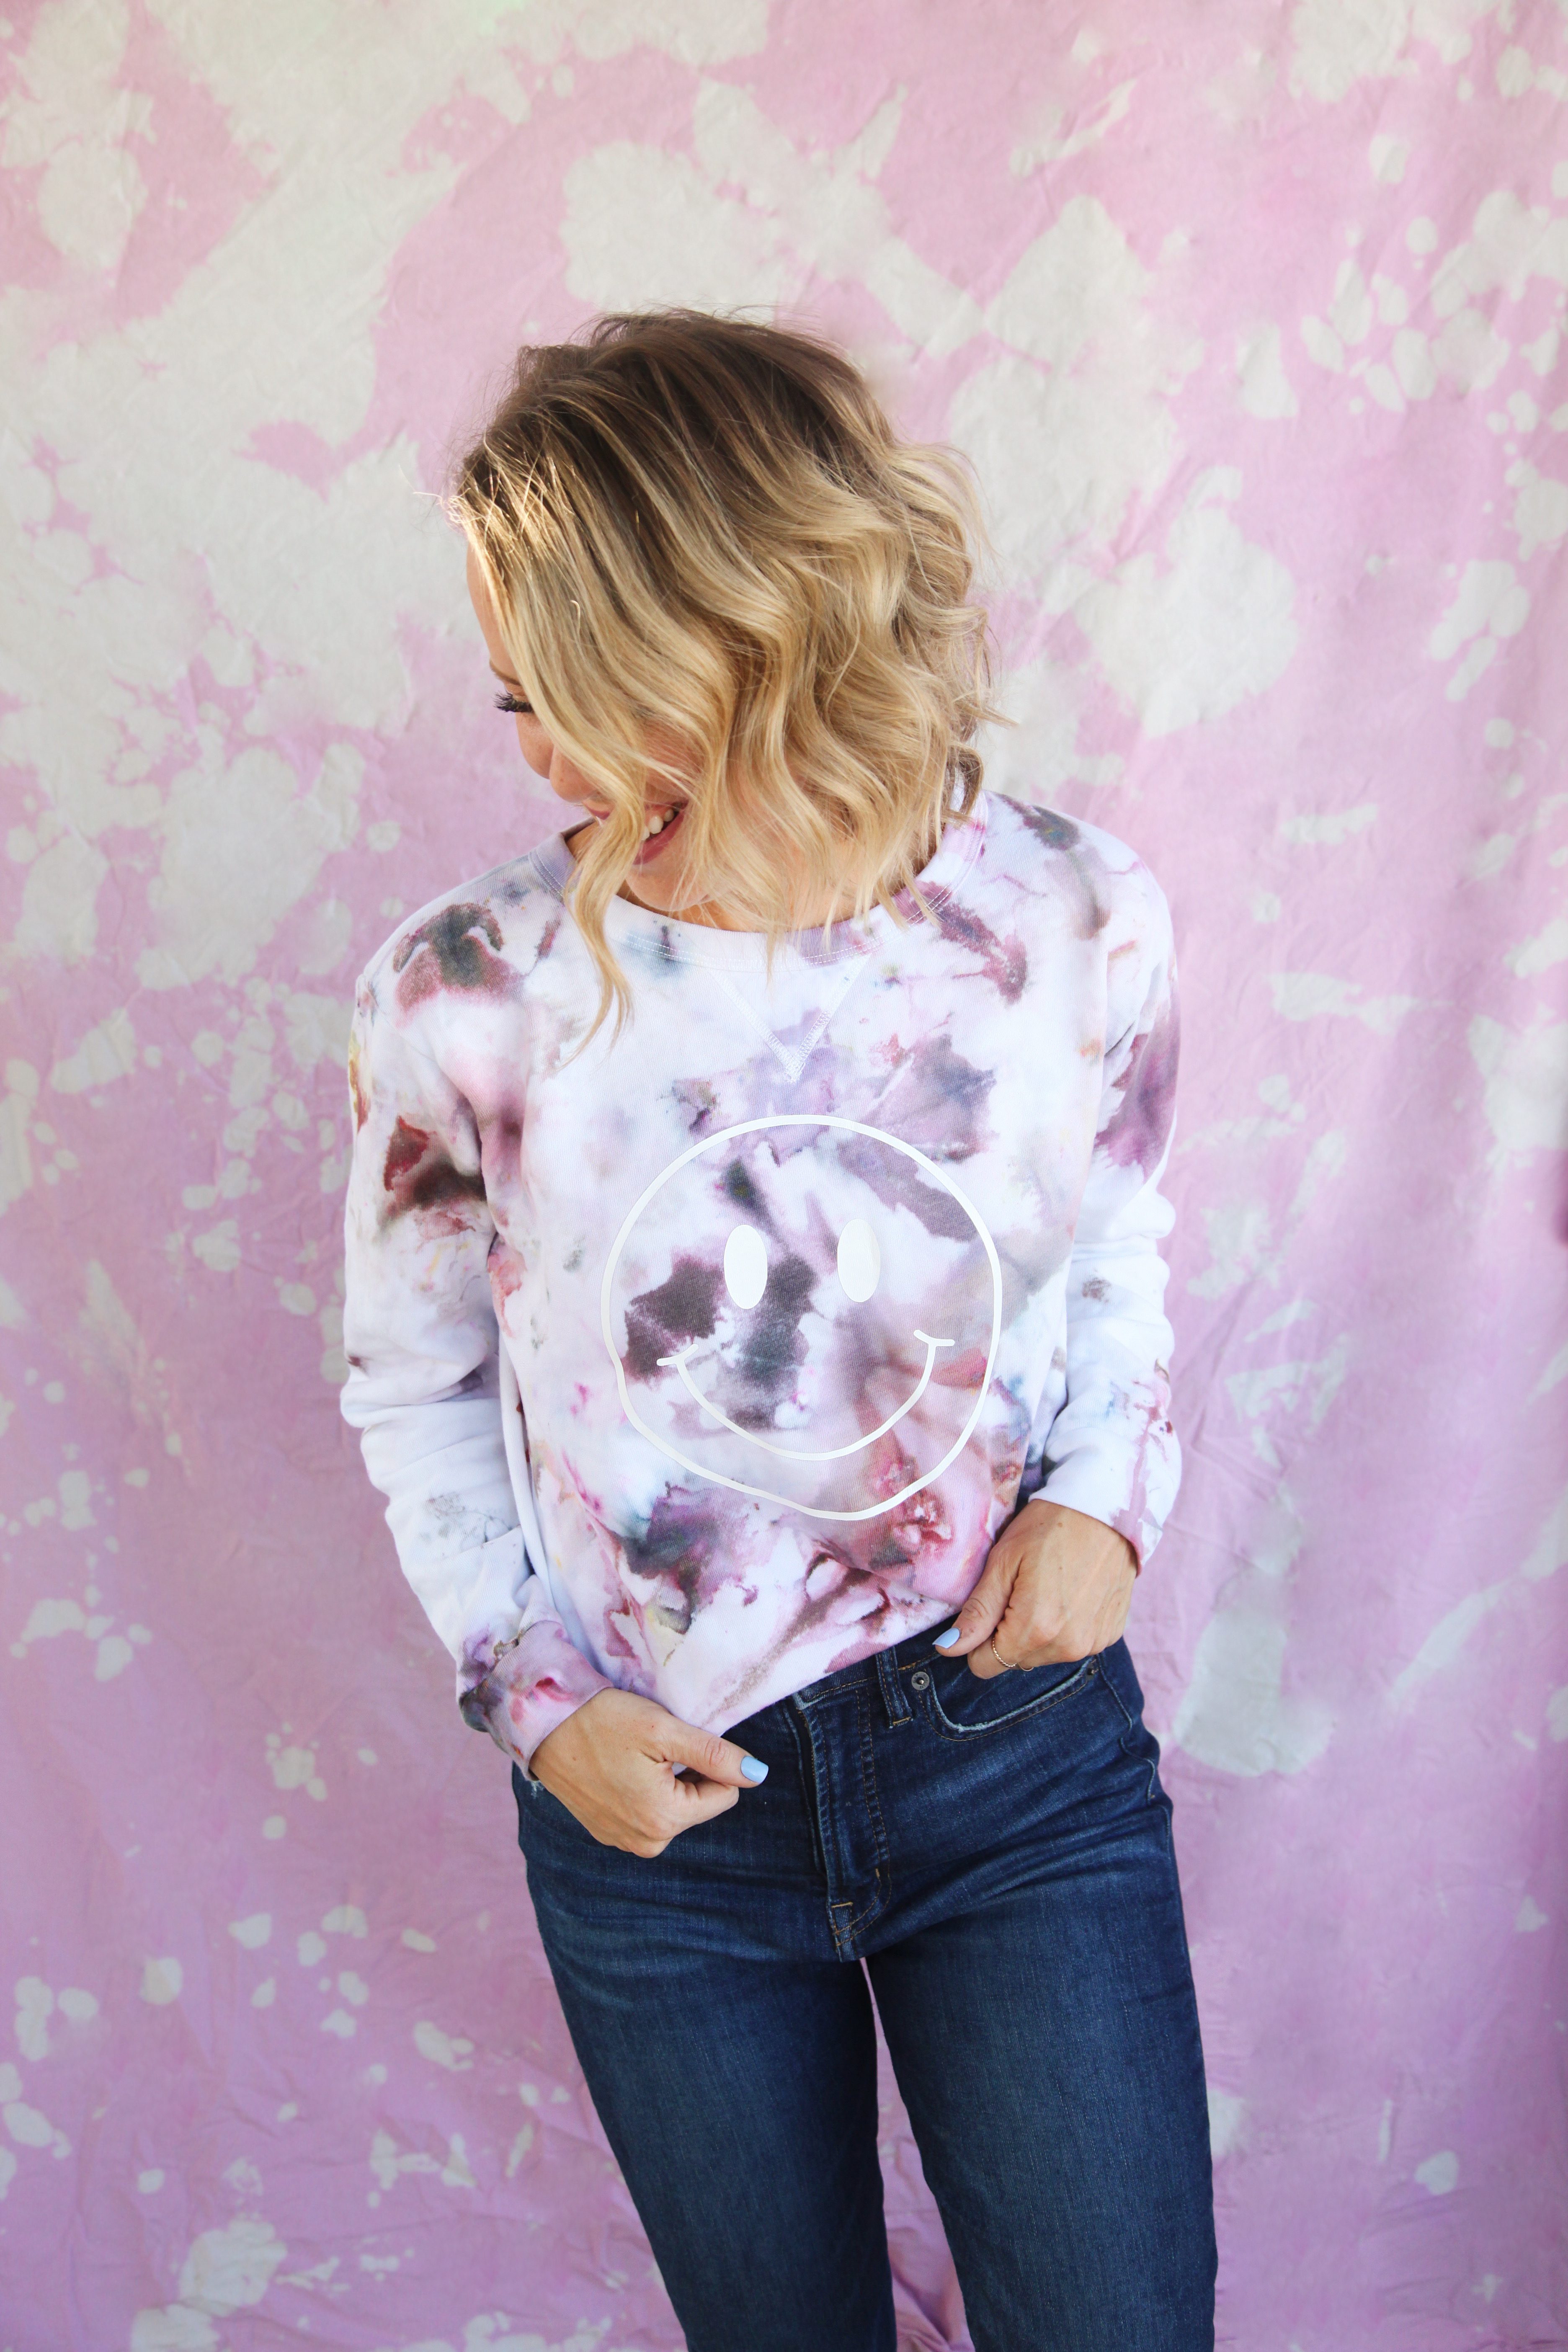
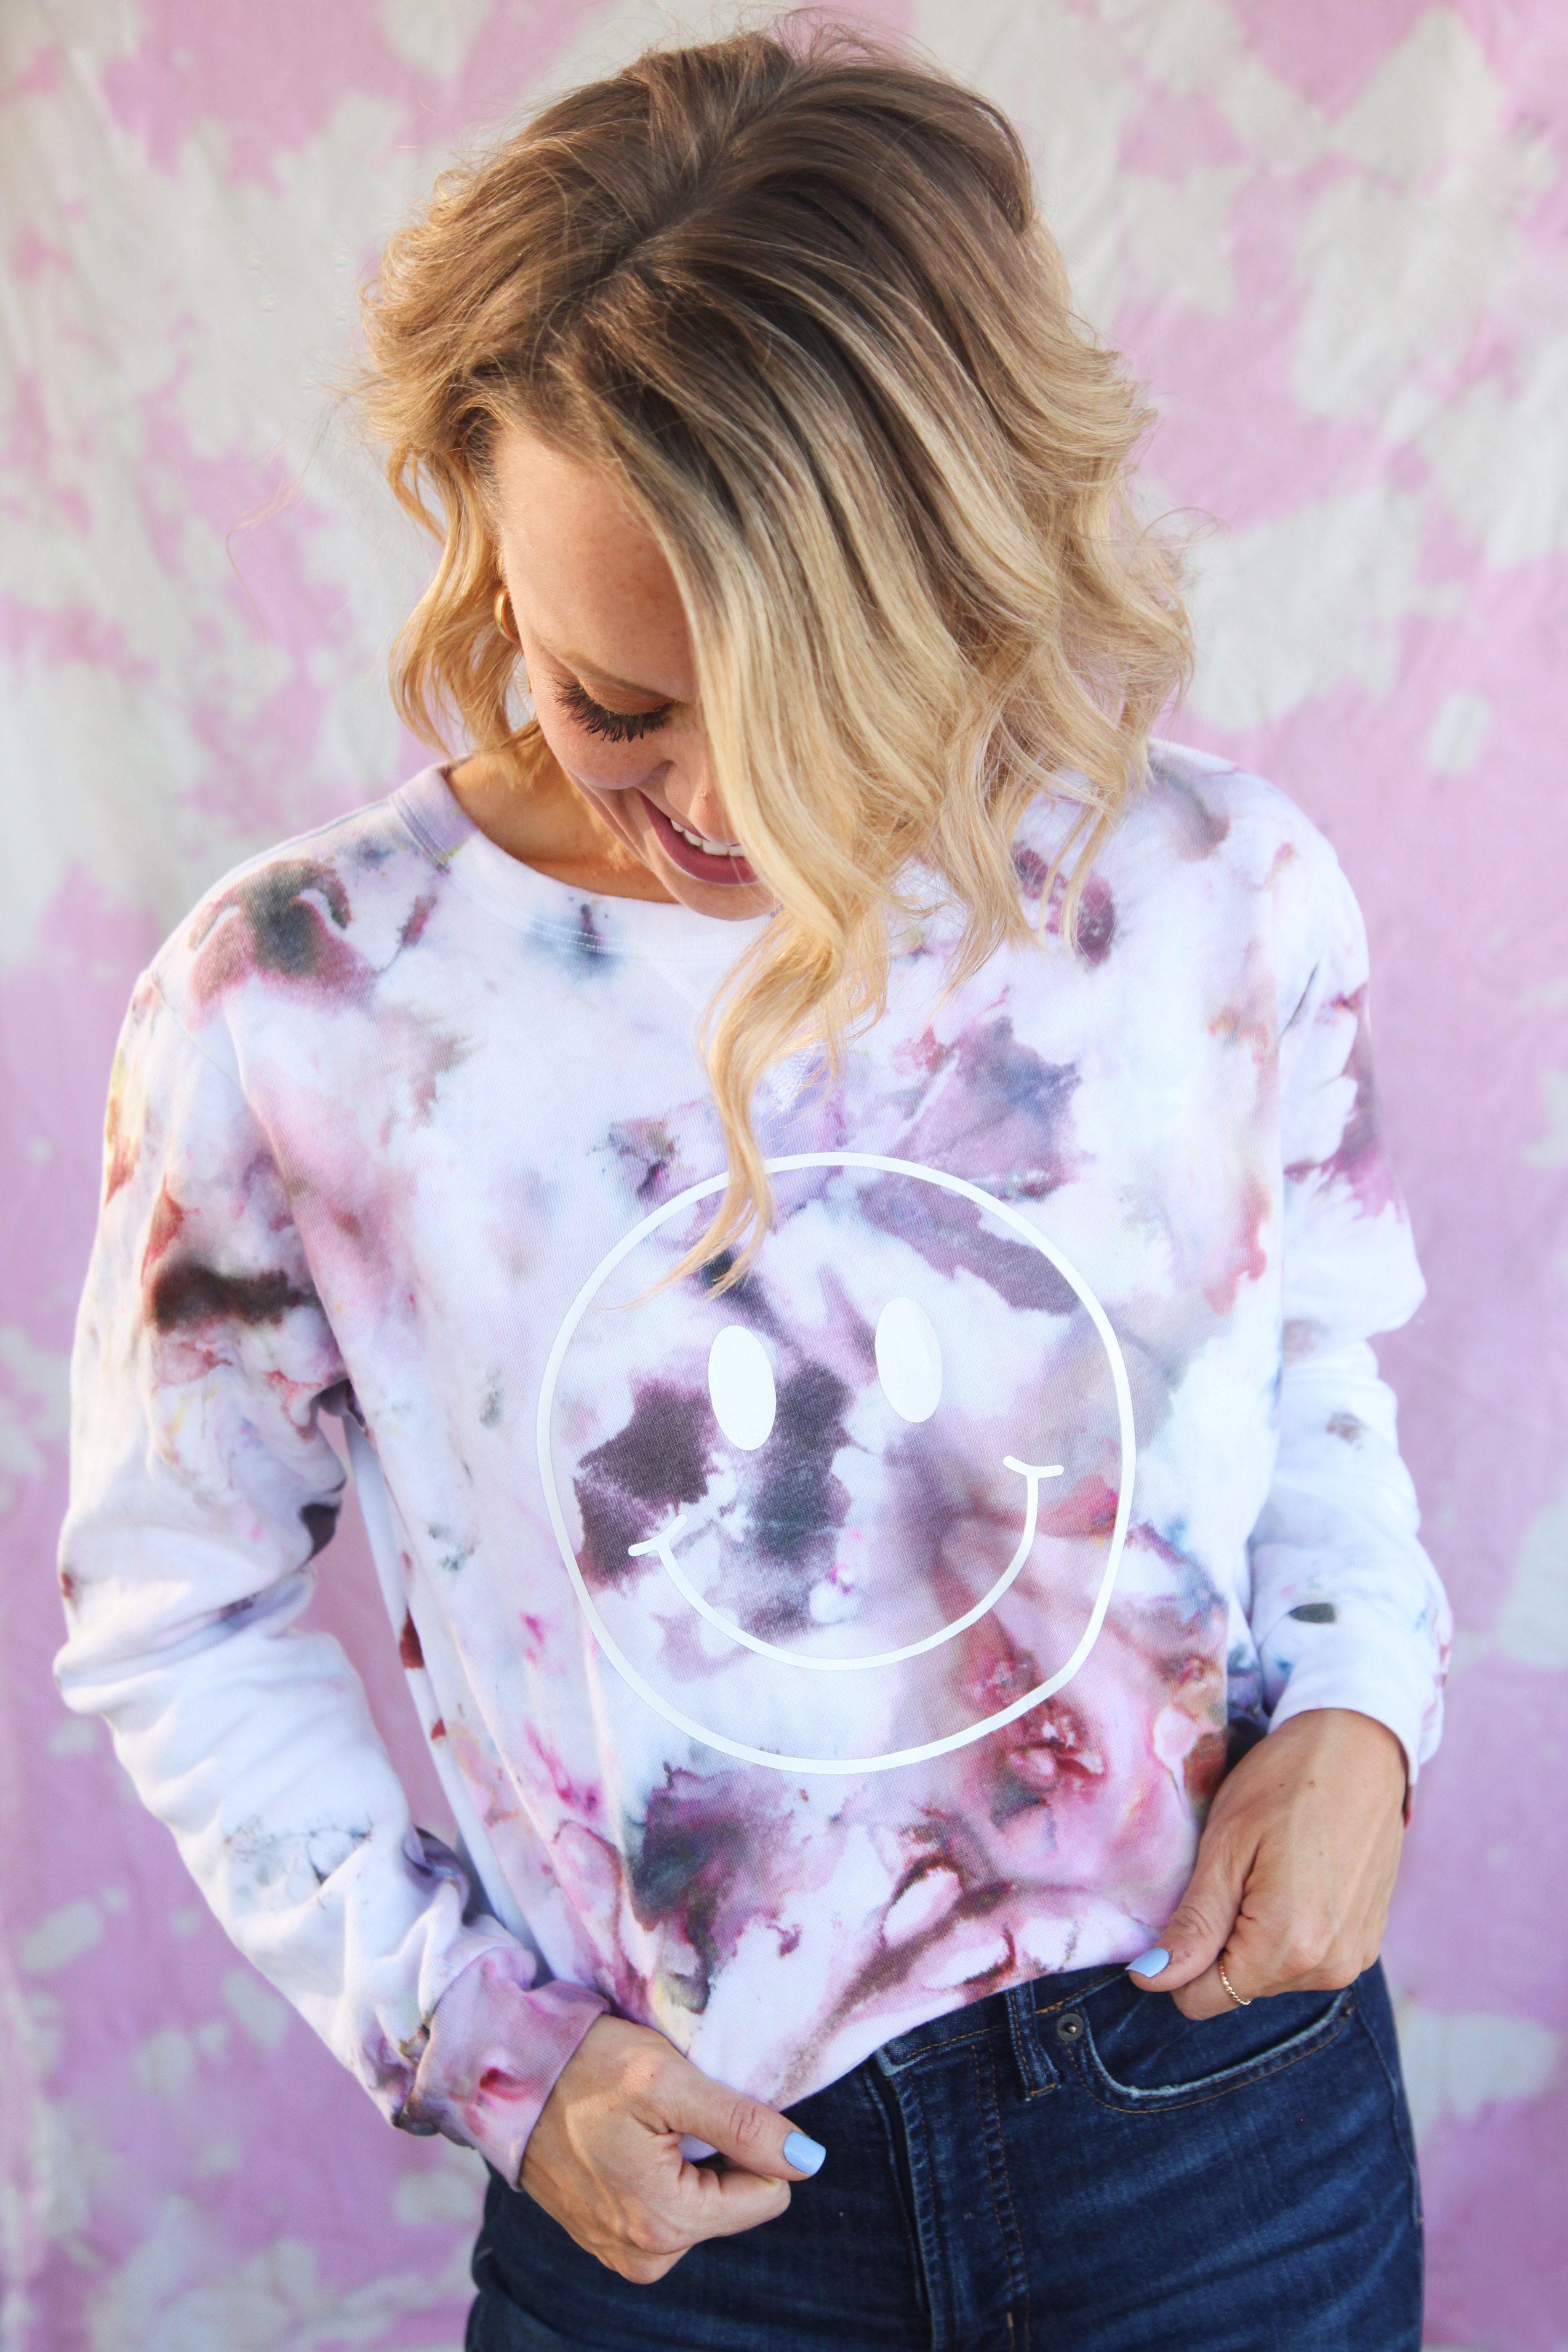
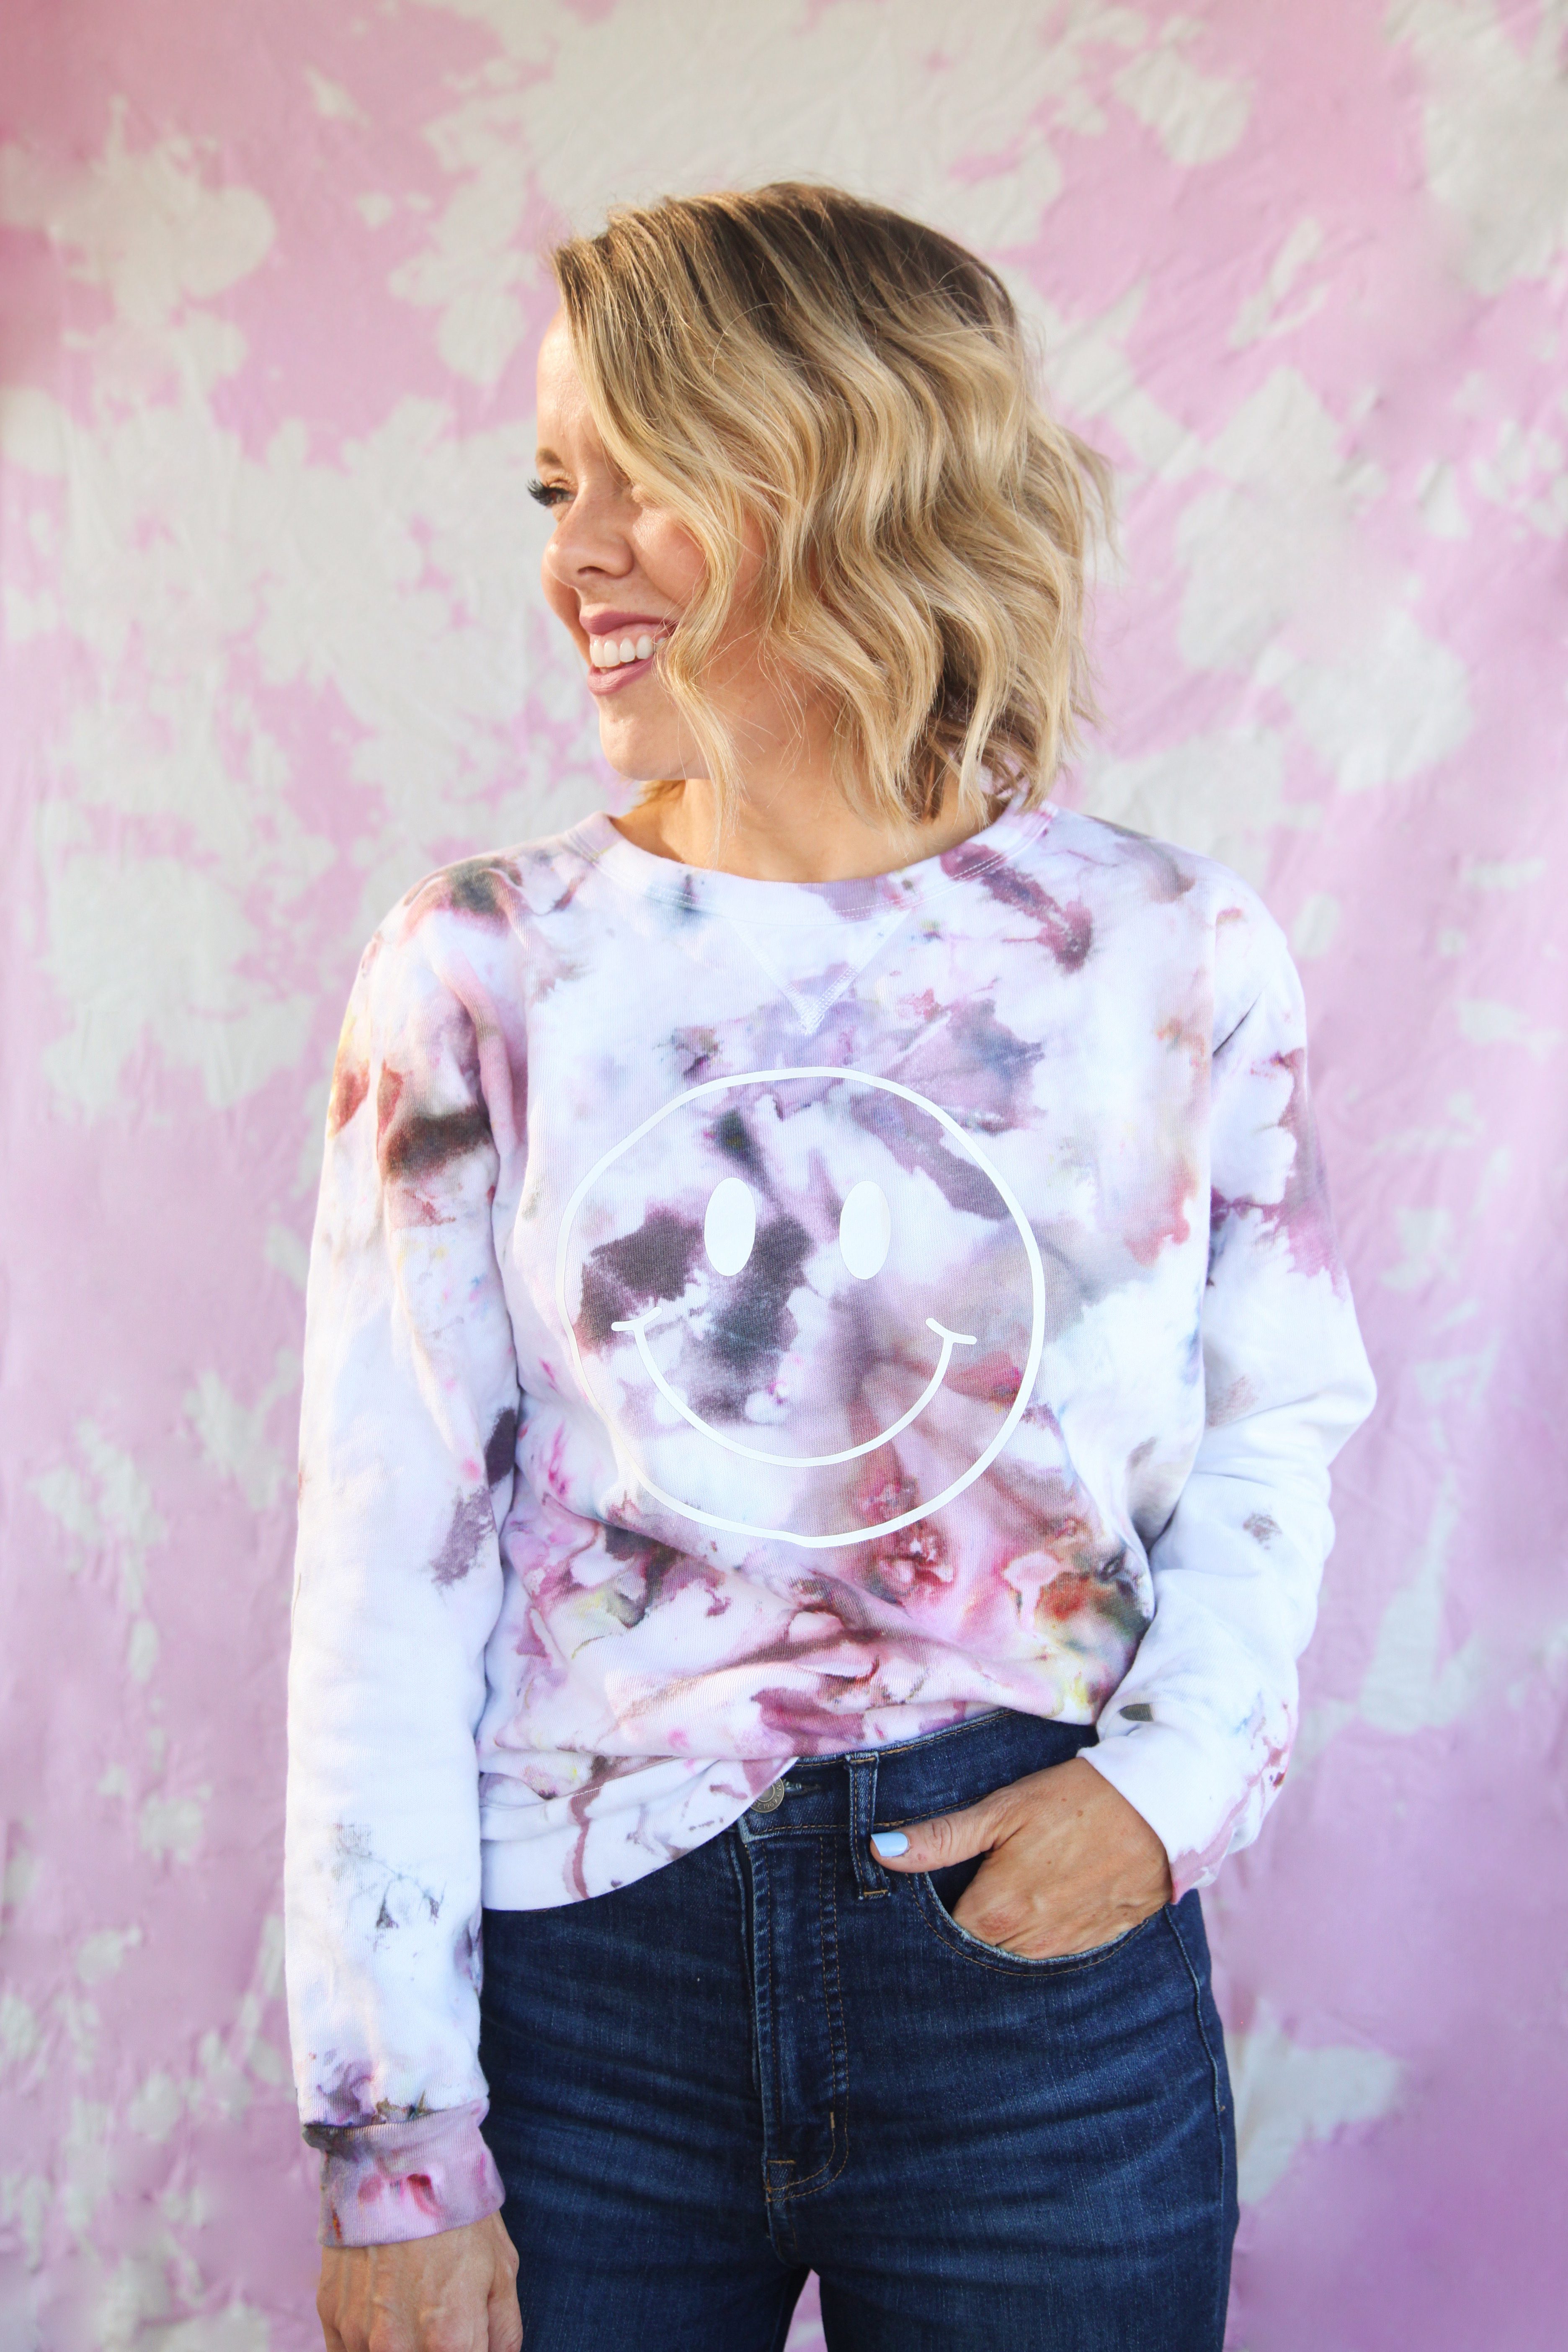
For this sweatshirt we used a mixture of the brown, black, wine, coral, yellow, and a little purple and we applied them using the ice dye method so that they could mix together in an organic way, resulting in moody results that are perfect for fall! Plus, we added a fun smiley face graphic detail to give it a bit of the 90’s flair that is so on-trend at the moment!
Here is what you need to get started:
Supplies needed to make an Ice Dye Sweatshirt
Tulip One-Step Tie Dye Kits
White Sweatshirt
Ice
Wire tray or rack
Dye-safe container
Gloves
Plastic Wrap
Scissors
White Heat Transfer Vinyl
Smiley Face Design
Cutting machine (we use a Silhouette Cameo)
Iron
Plastic wrap
How to make an Ice Dye Sweatshirt
Watch the video (and be sure you subscribe to our YouTube channel), or read the steps below!
Step 1: Place your wire rack or tray over your container. This will keep your sweatshirt over your container so that as the water can drip down and your sweatshirt will not sit in dye. (If you want to see how we set up for ice dye you can watch our video on making an ice dye apron, here! You can also visit this post with images showing how we made a different ice dye sweatshirt.)
Step 2: Wet your sweatshirt completely. Then, bunch up the sweatshirt on the wire rack or try, making sure that none of the fabric hangs over the container. (Tip: A flat bunch works better than a balled-up bunch because there will be fewer layers for the dye to seep through.)
Step 3: Cover the sweatshirt in ice. (The size of the ice does not matter — it can be big pieces or pebbles!)
Step 4: Sprinkle the dye over the ice, covering it completely with dye. I used wine, black, brown, coral, yellow and purple. (Note: If you use the kit we linked, know that I did not use all of the contents of the bottles. I just sprinkled where I wanted with the colors I wanted. With some colors it was more and with some it was less.)
Step 5: Let the dye melt completely. (You can sit the container in the sun to speed up the process, if desired!)
Step 6: Once the dye has melted completely, put on gloves and wrap the sweatshirt in plastic wrap or place in a ziplock bag. Let set overnight.
Step 7: Once set, rinse sweatshirt until the water runs clear. Wash the sweatshirt by itself in the washer and hang to dry.
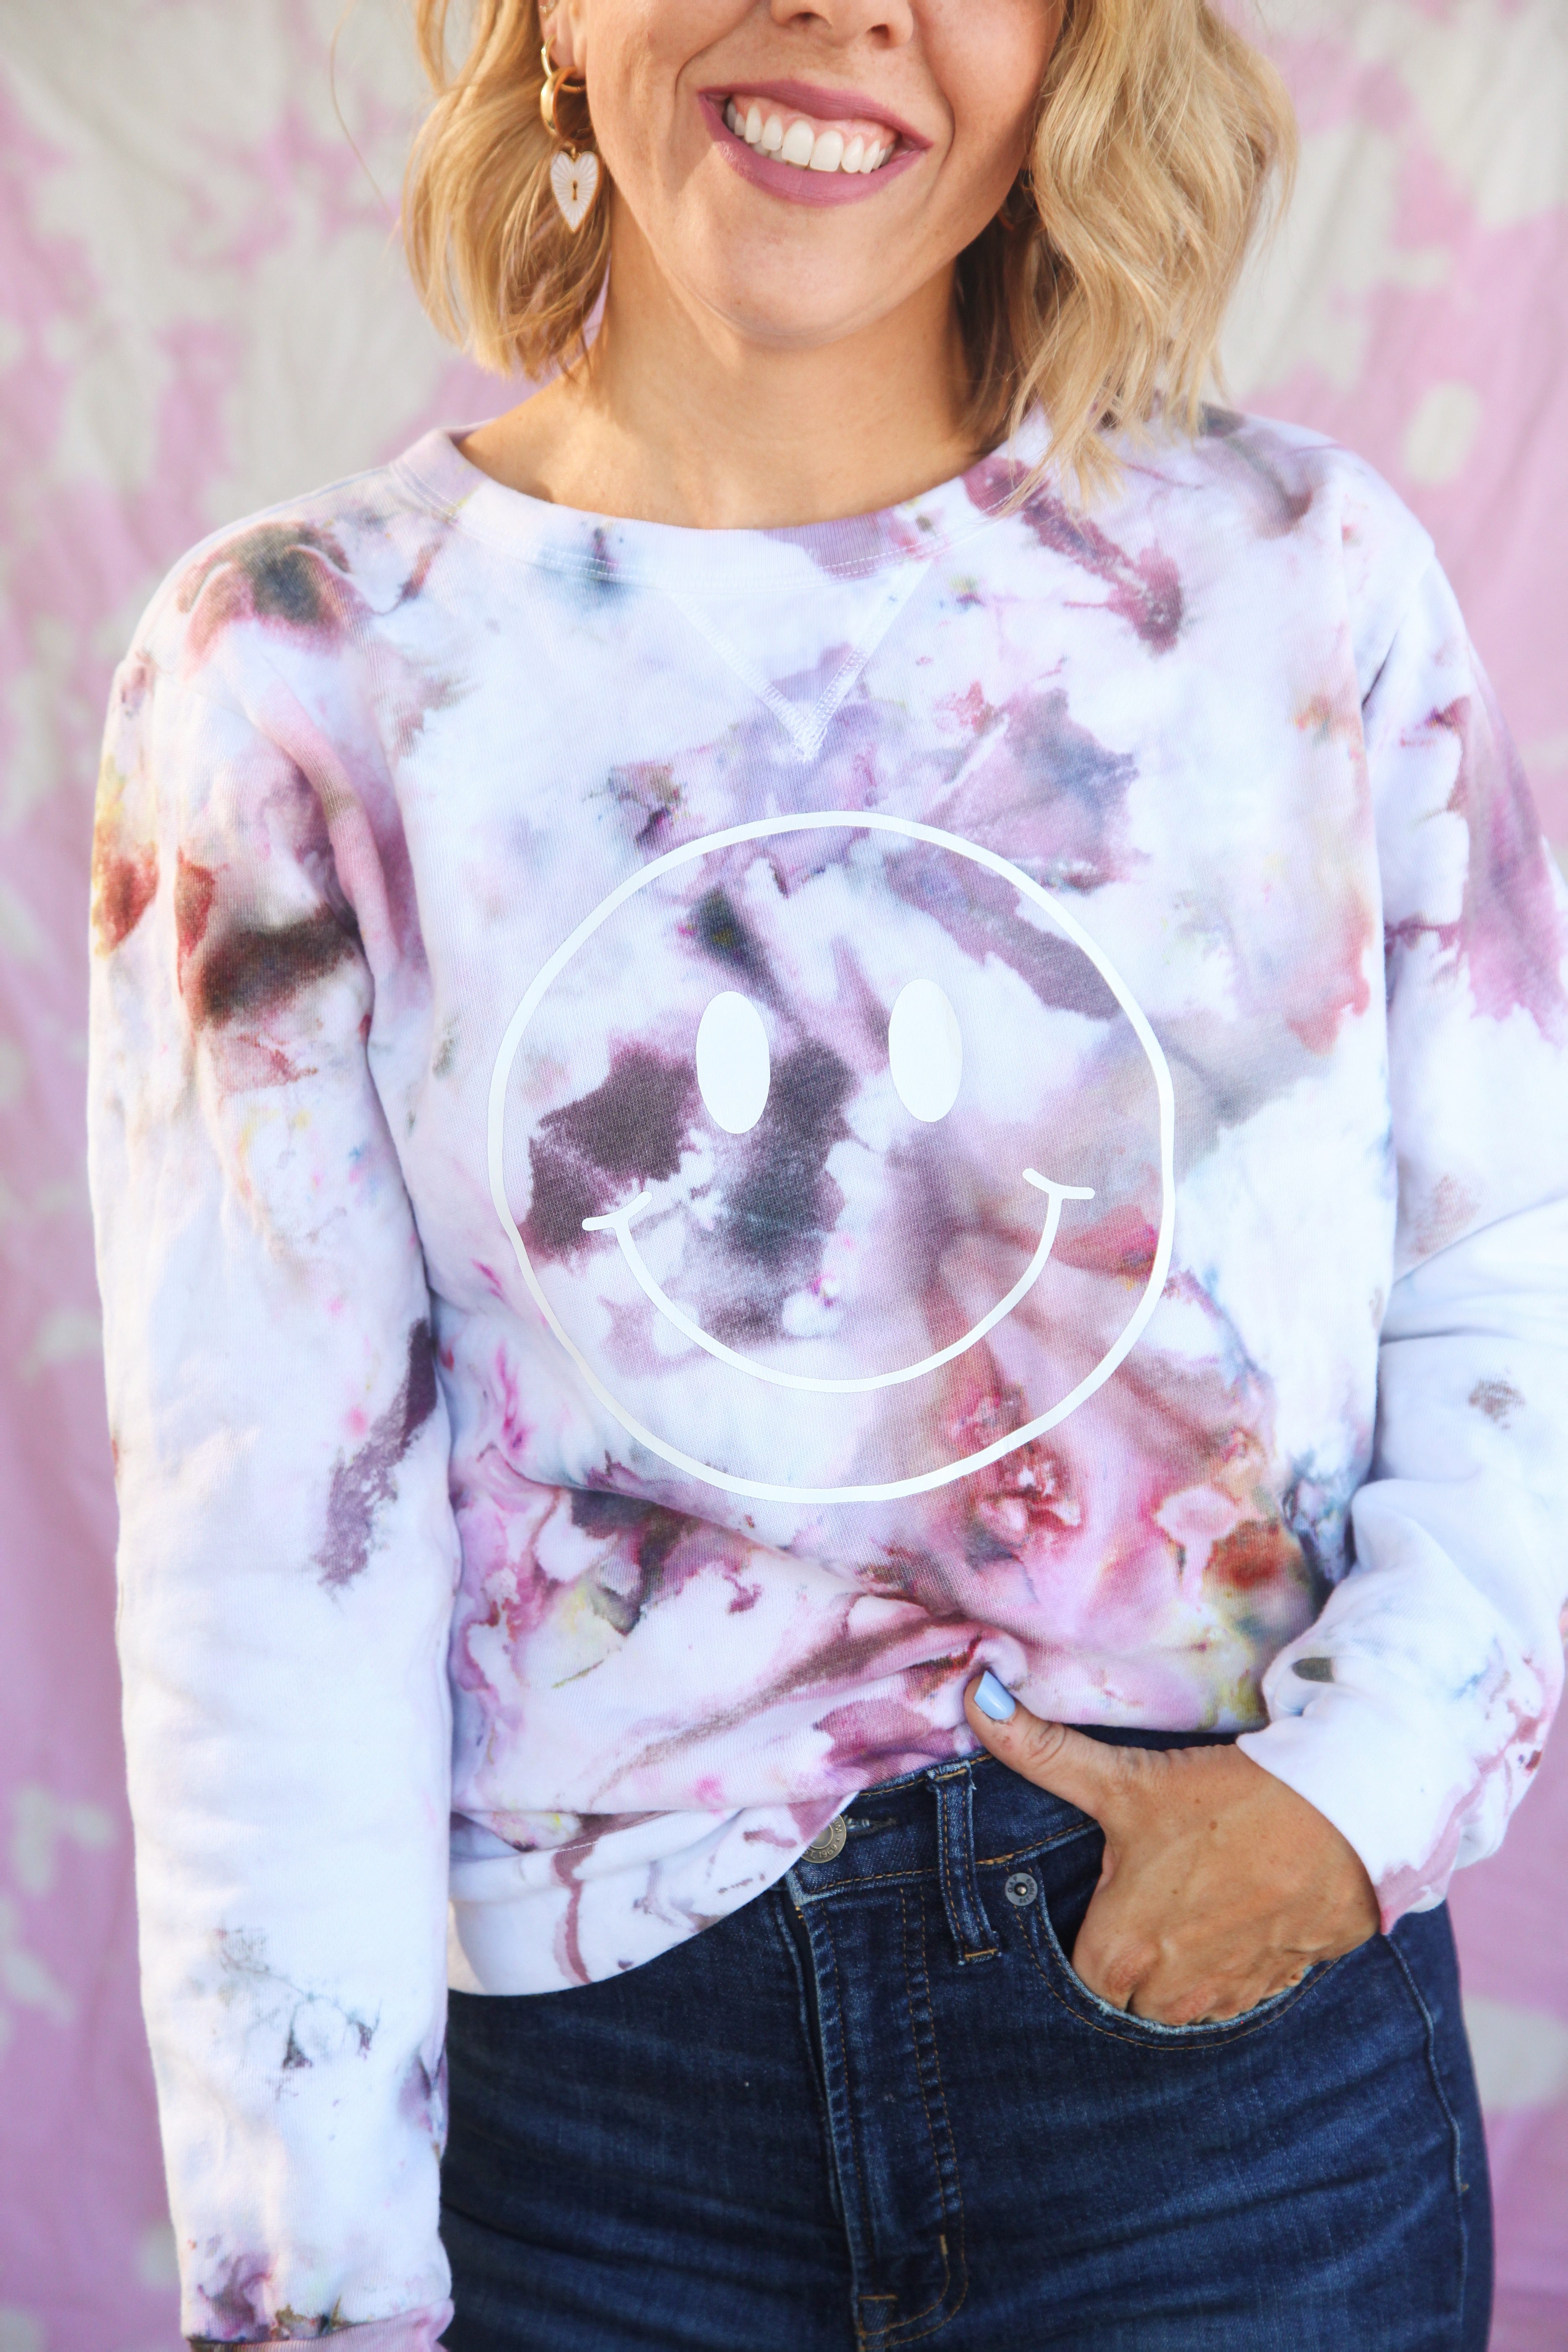
Step 8: Cut the your desired smiley face design (we found ours by googling “smiley face clip art”) out of heat transfer vinyl using your craft cutter (If you have never done this before, visit our tutorial here.) and weed the excess.
Tip: If you do not have a craft cutter, you can print your smiley face onto printable transfer paper and apply it that way.
Step 9: Place the design on your shirt where desired (backing-side up) and iron the design to the shirt using a hot, dry iron, working in 30 second increments until it has adhered completely. Then, remove the backing from the design.
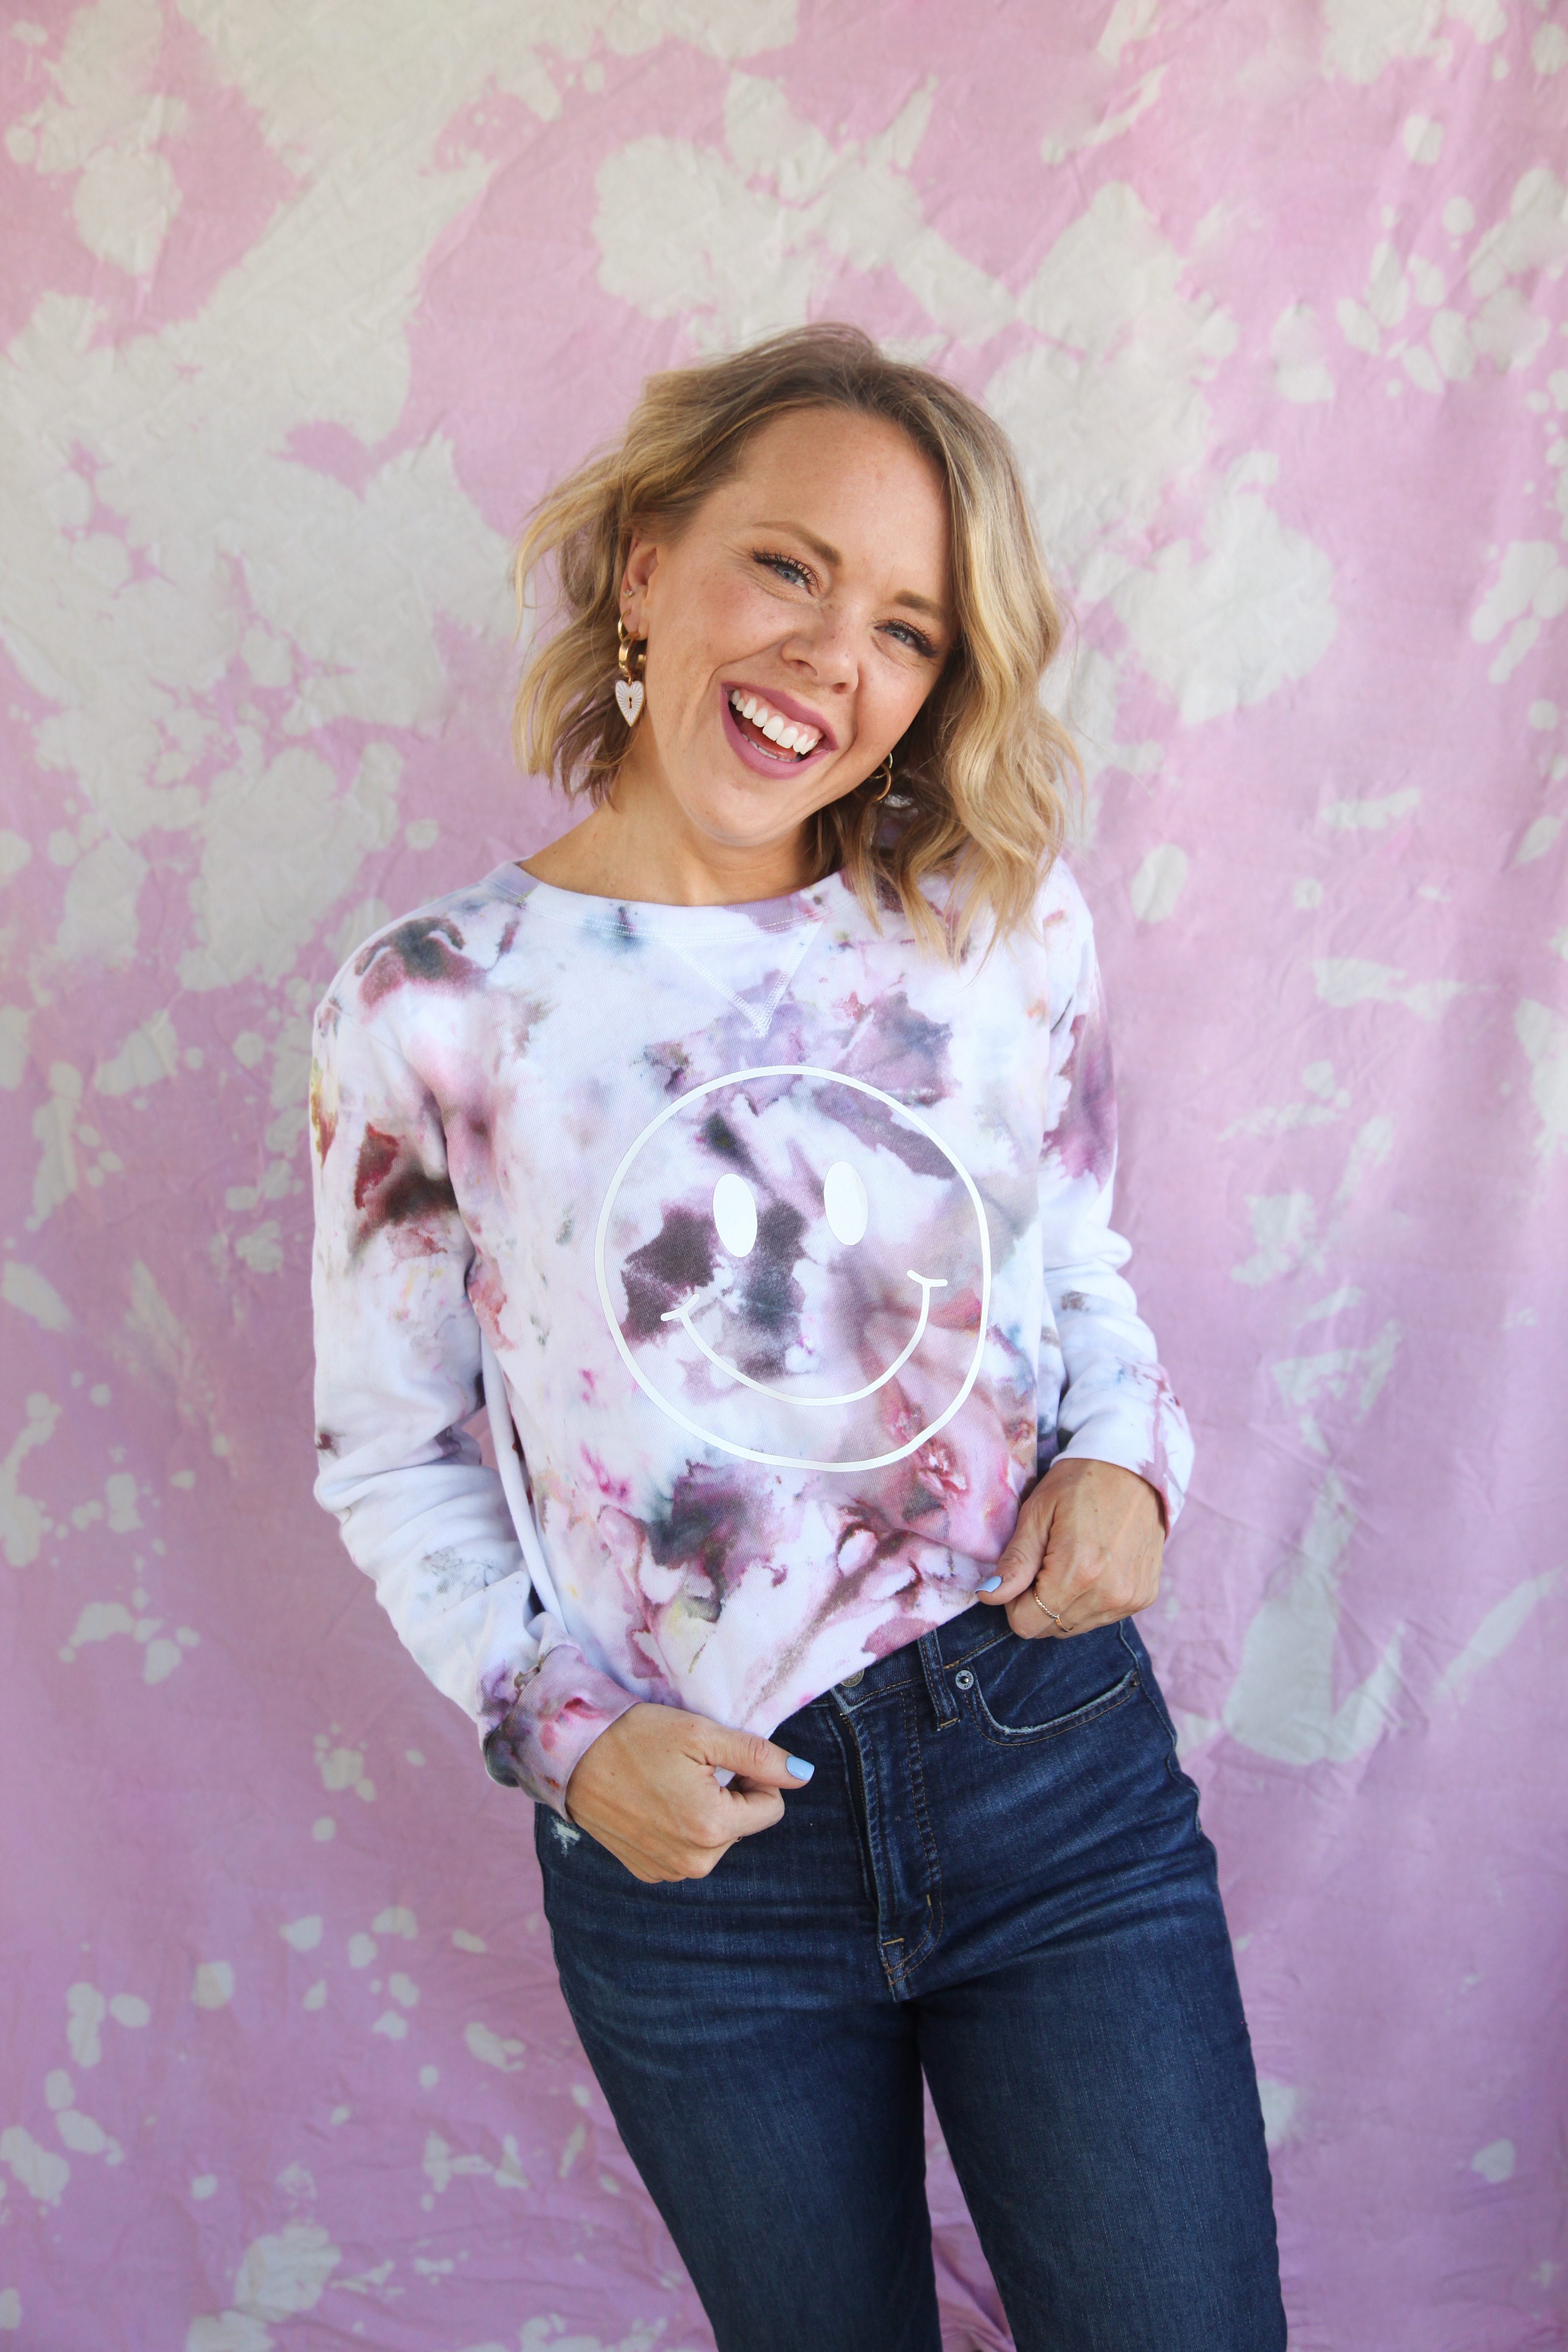
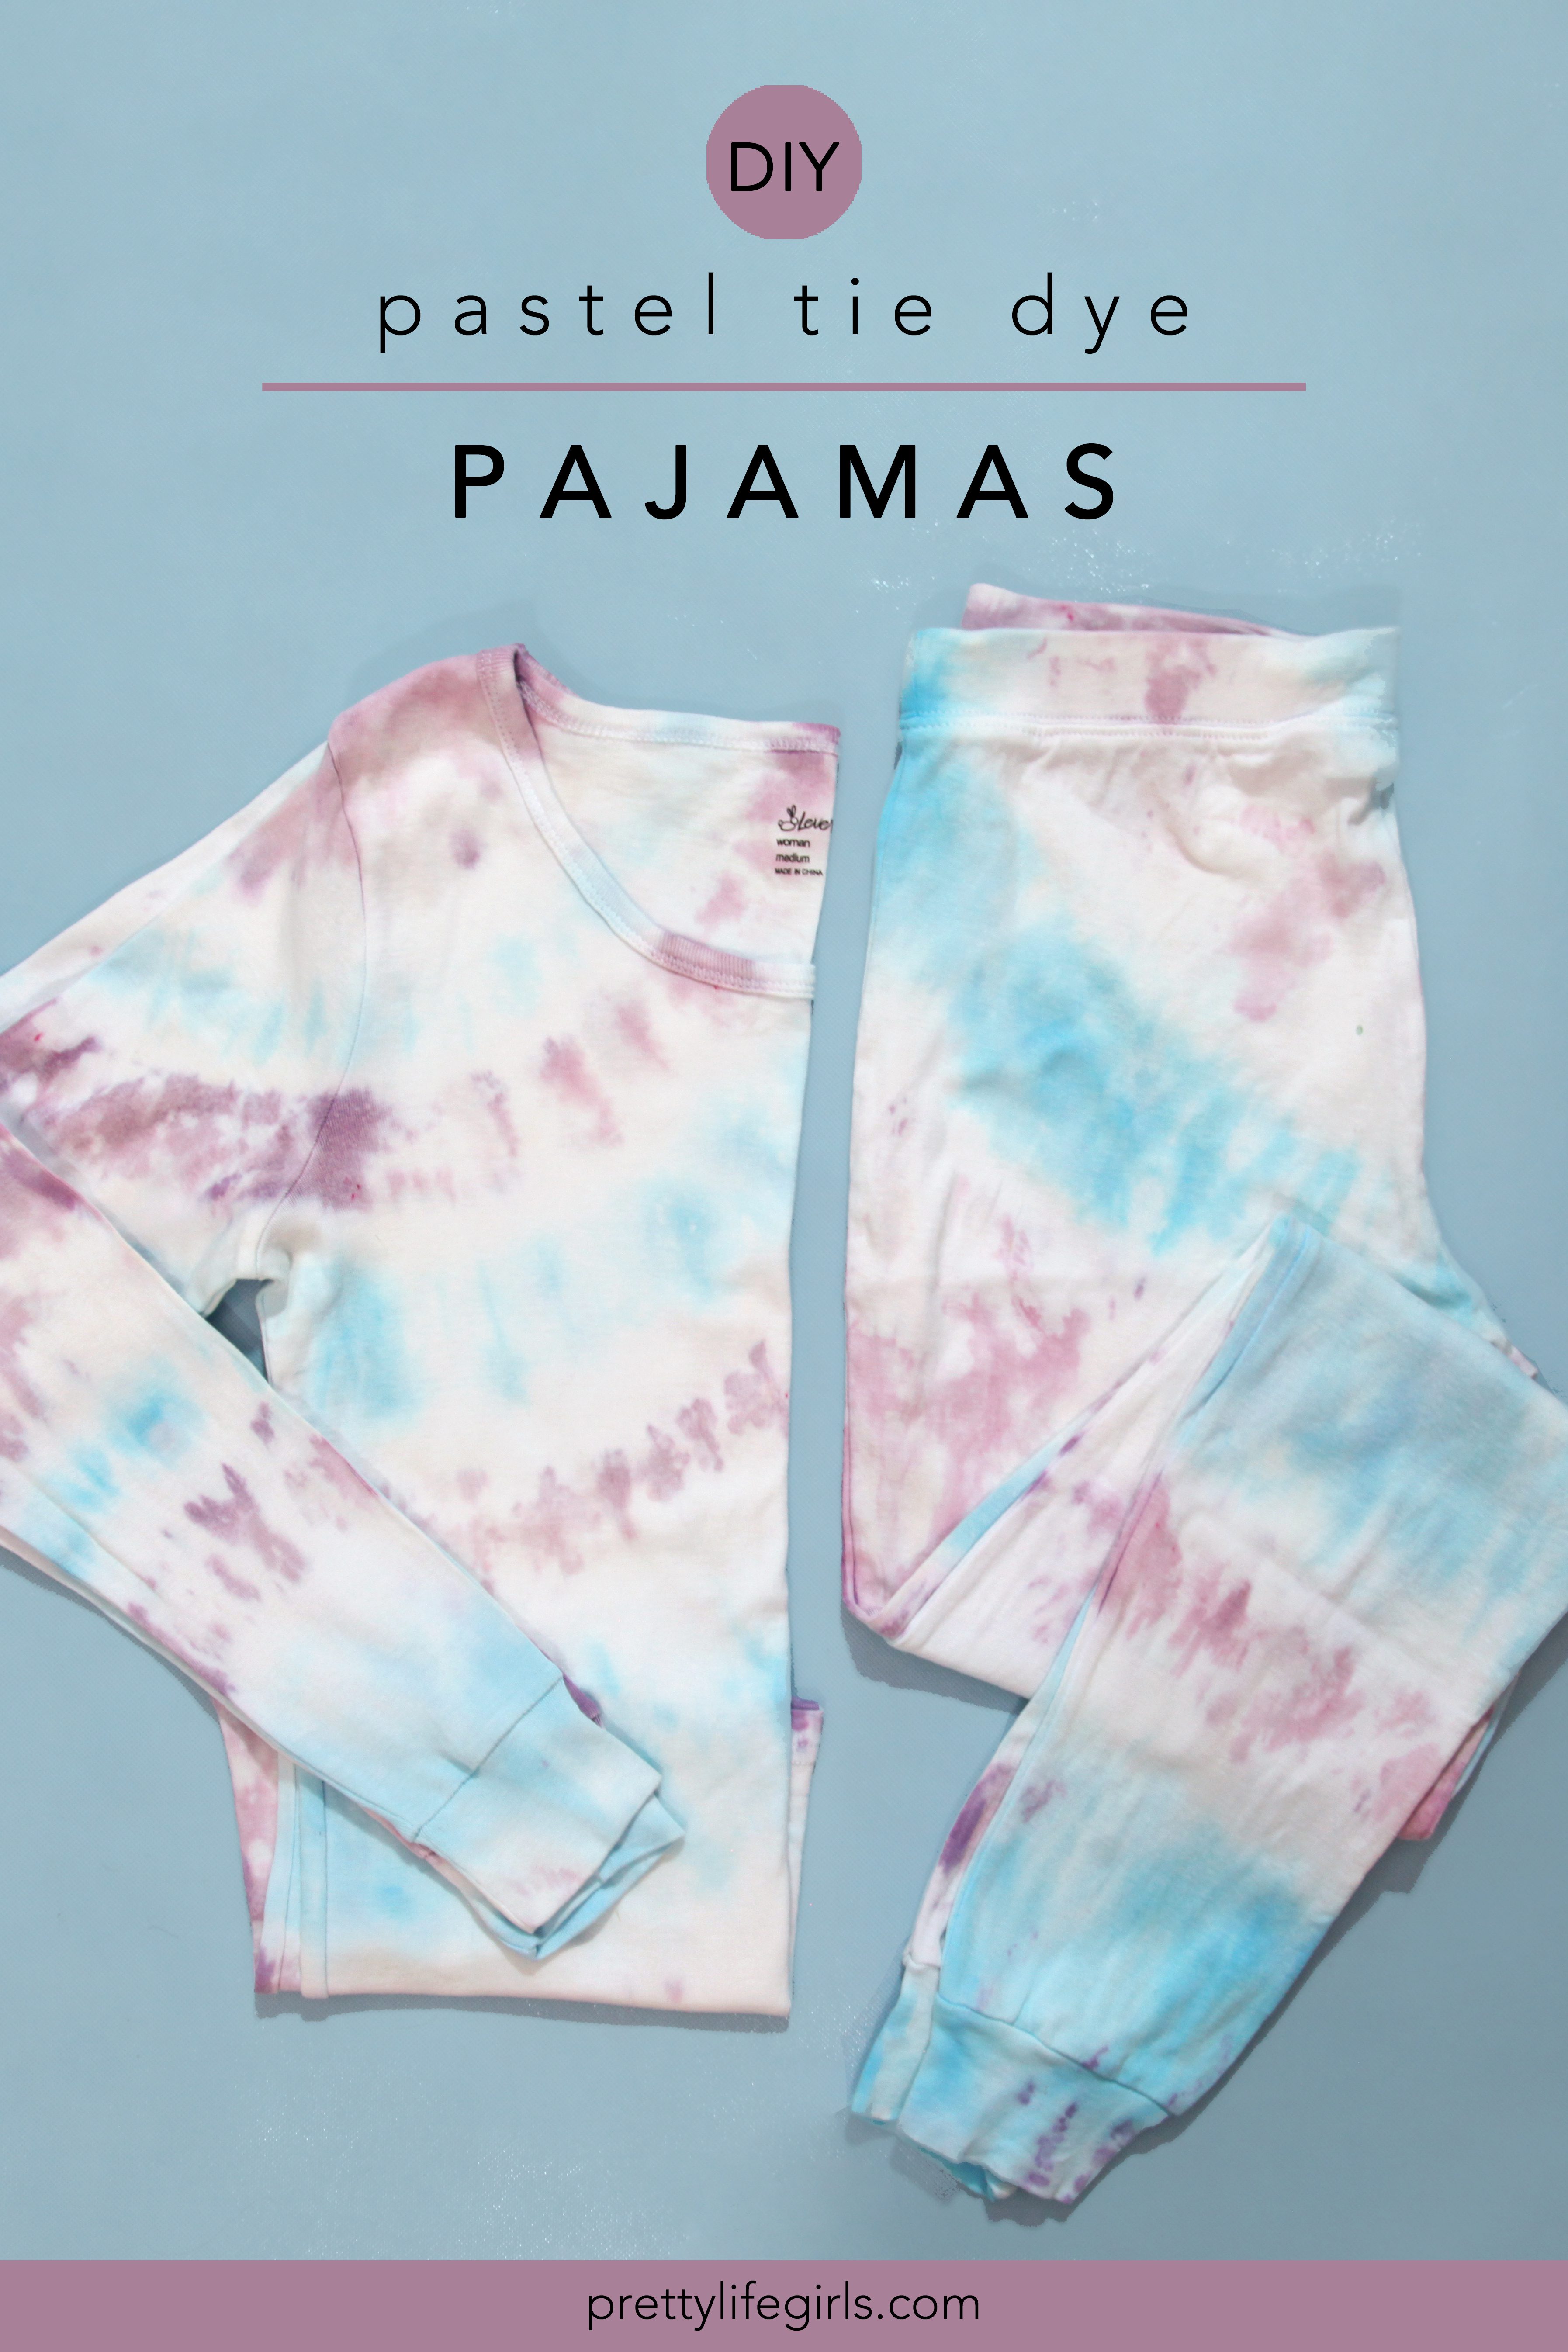
 That’s it! Now you’ve created the perfect sweatshirt for keeping cozy all fall long! And if you used our fave Tulip One-Step Tie Dye Kits, you likely have plenty of bottles leftover to make your next project! (Might we suggest trying out this comfy and cute PJ set we recently made with Tulip Dye?)
Happy Making!
ox. Liz