


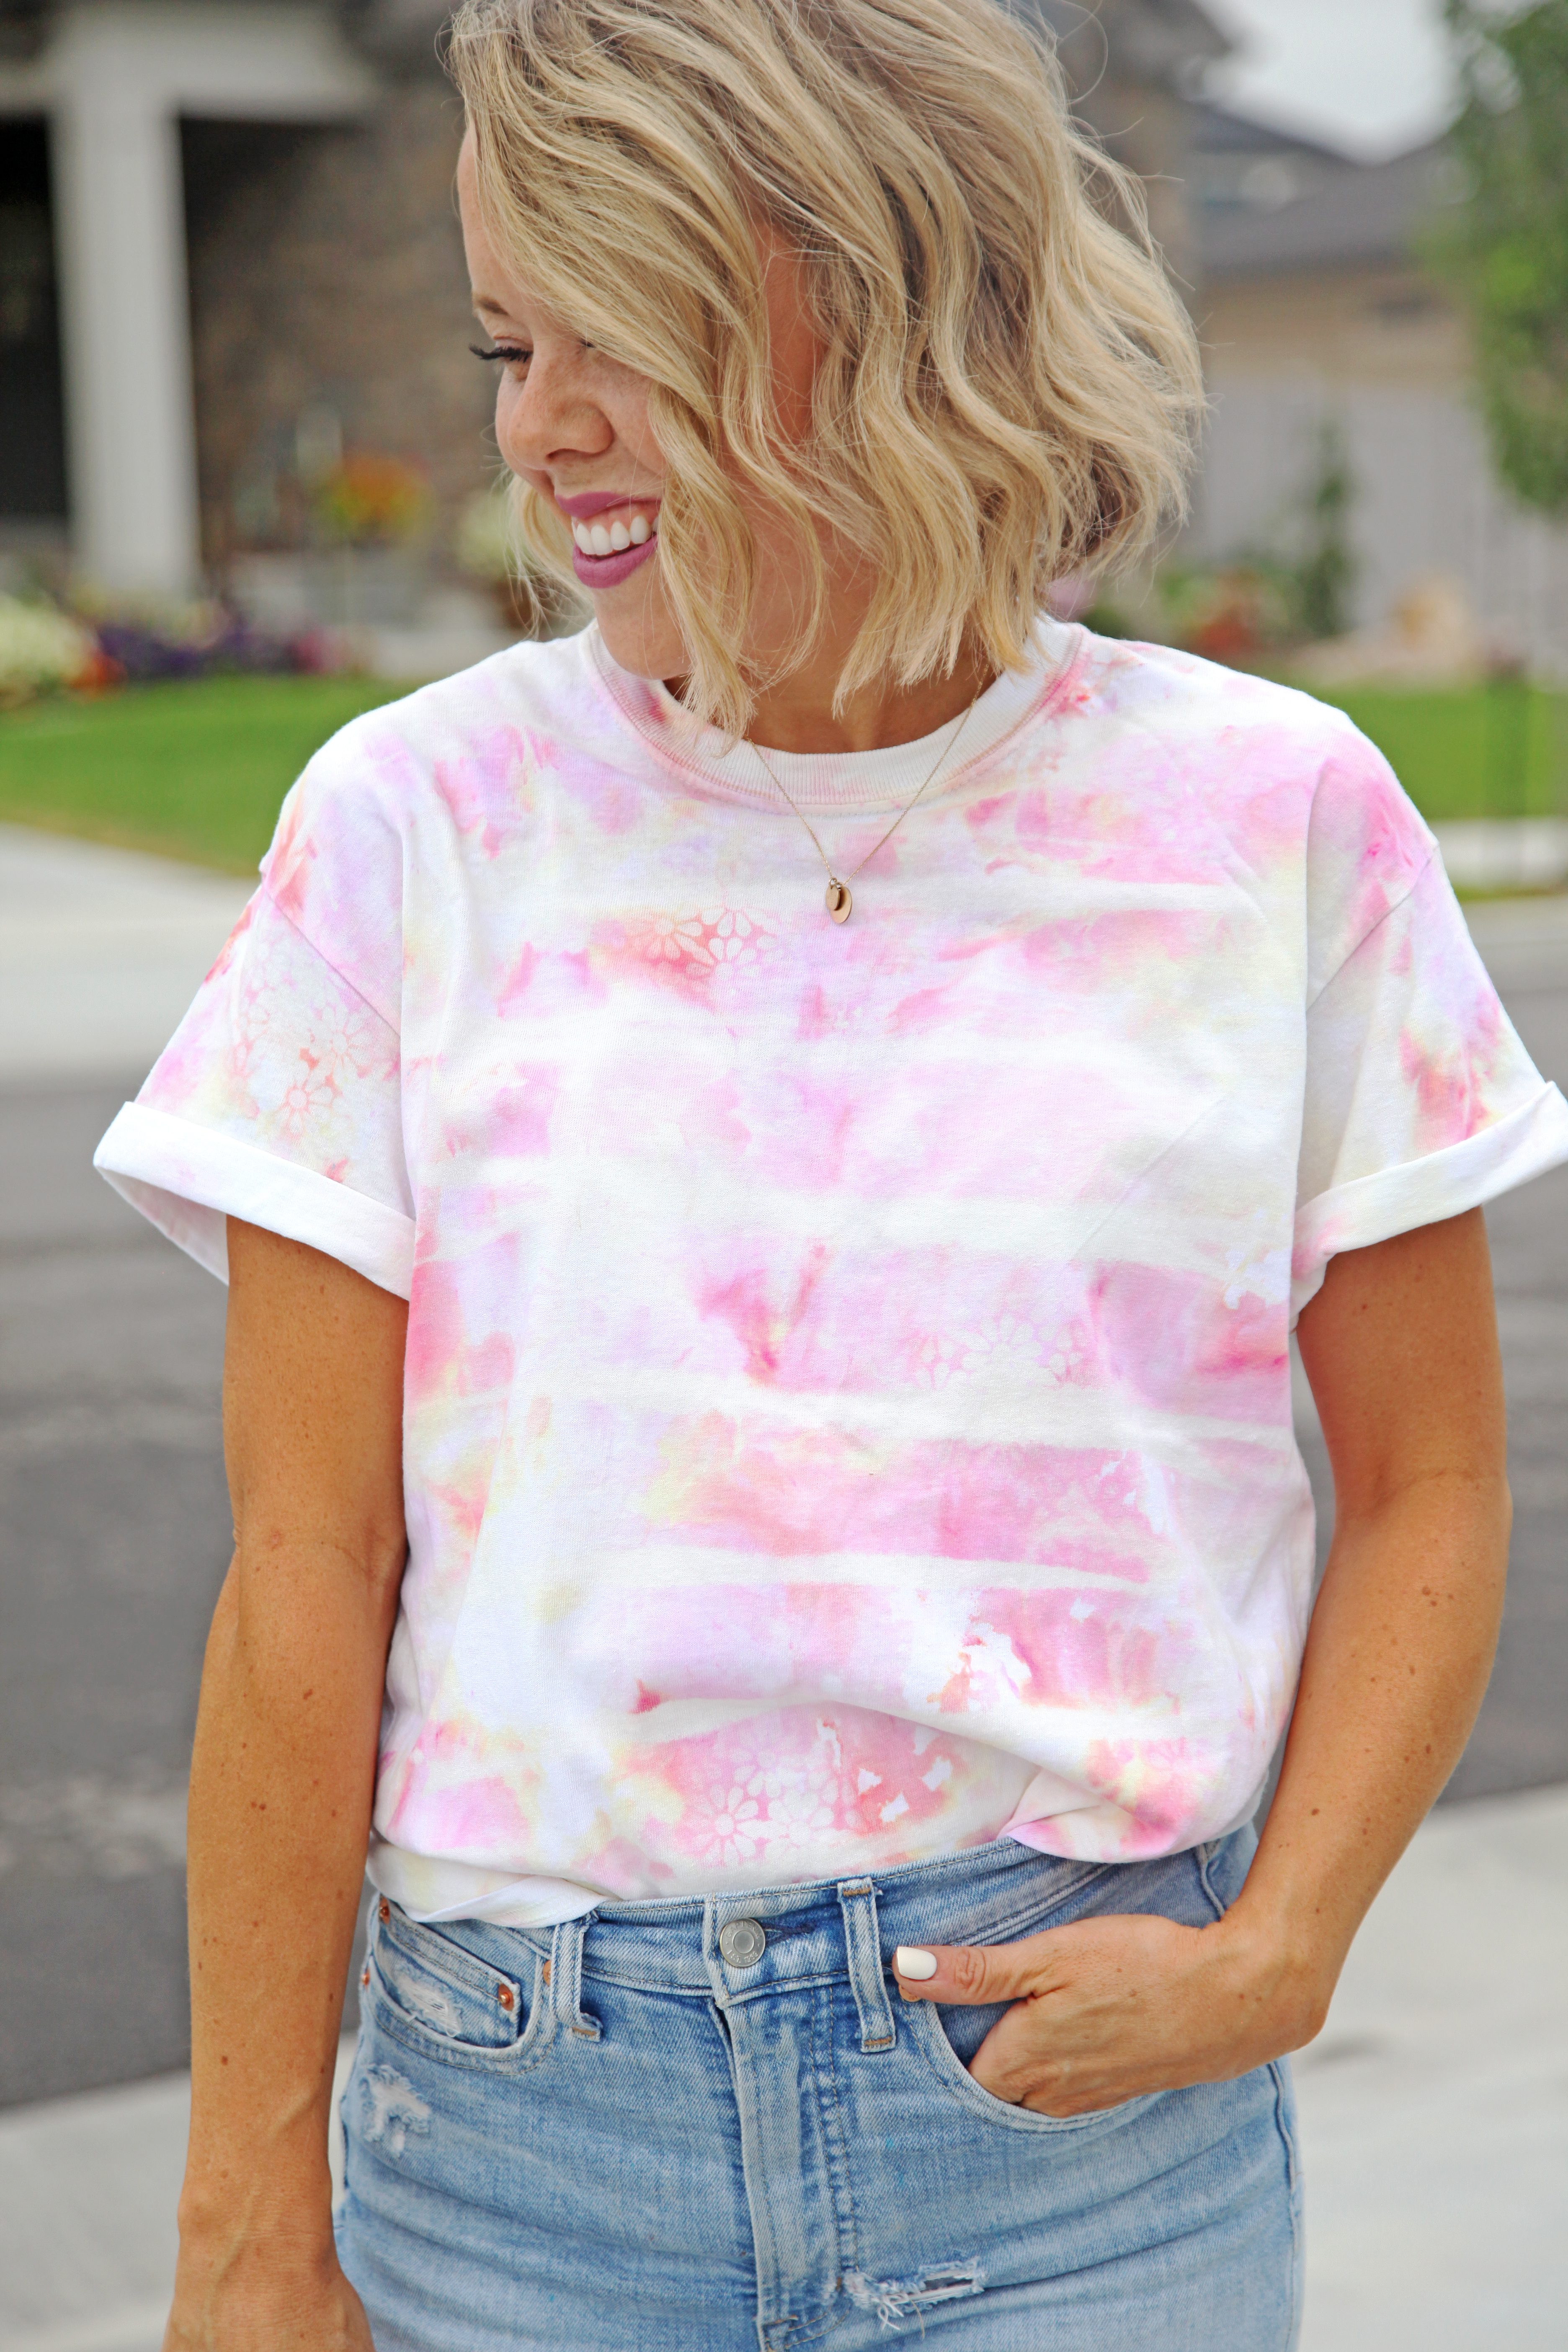
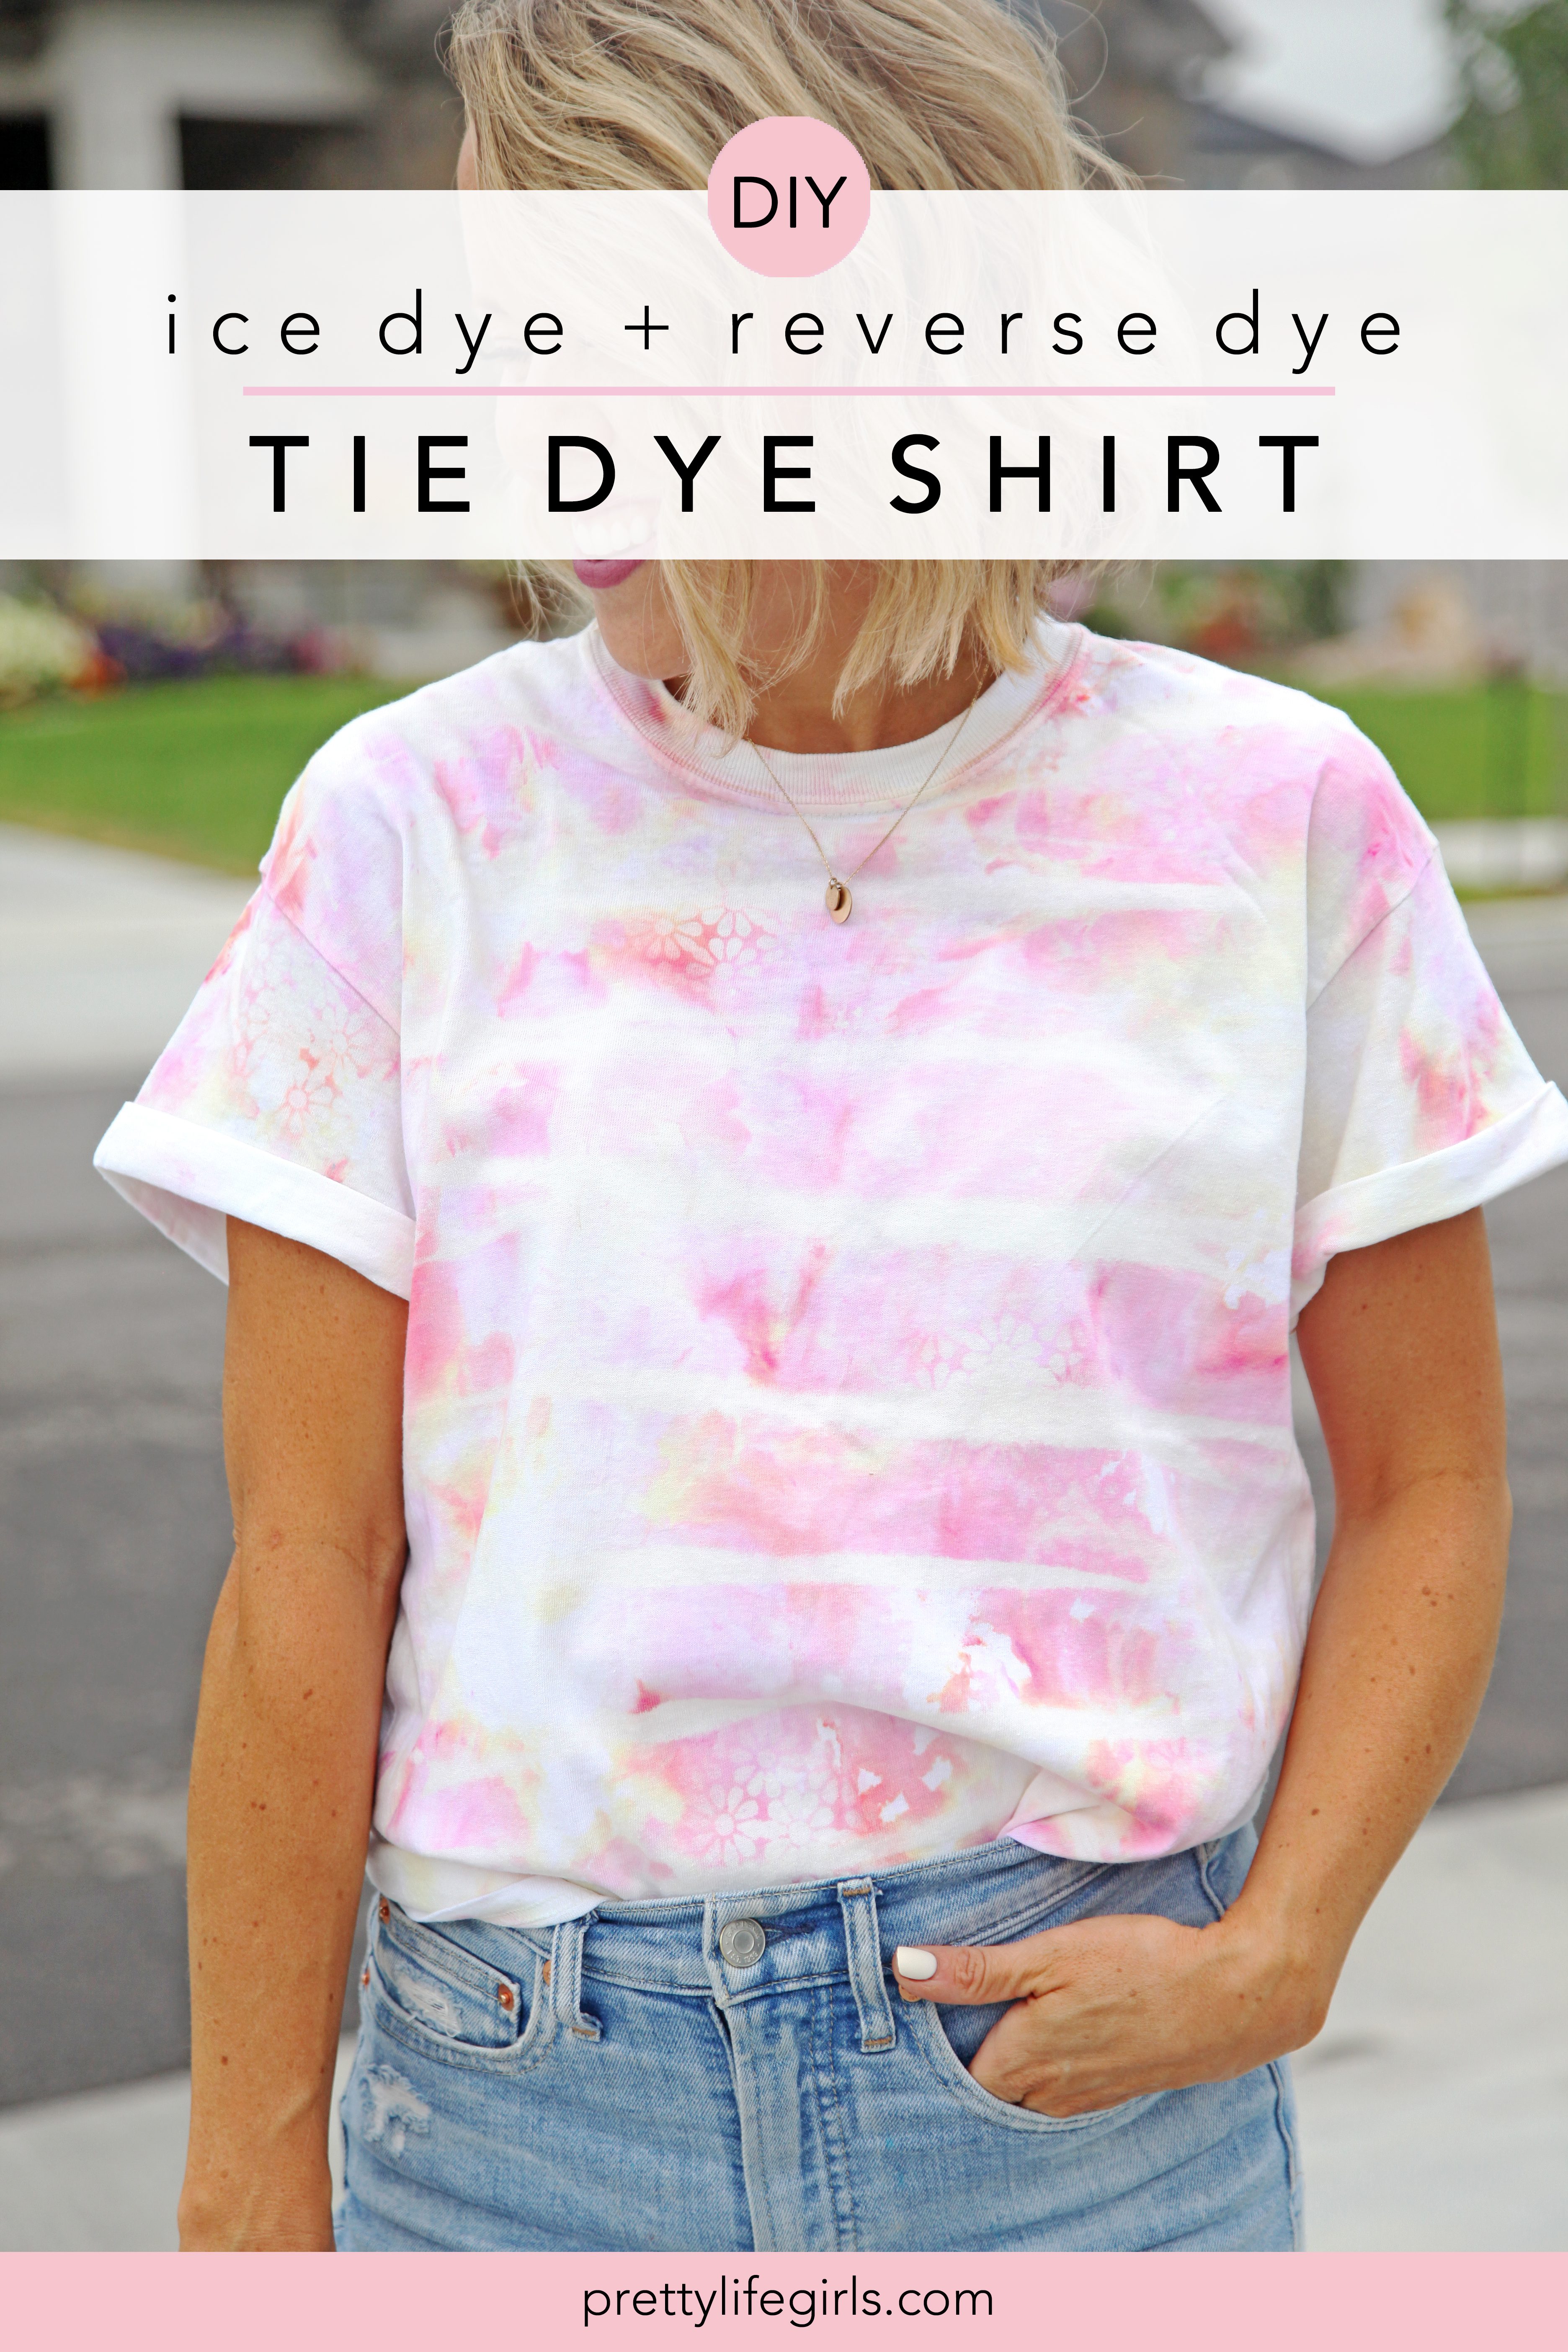
Today’s tie dye tee was created by layering a couple techniques resulting in a wow result. First, we added swirly colors using the ice dye technique, then, once it was set, washed, and dried, we used bleach to reverse dye some of the color, creating a graphic design that is truly one-of-a-kind! You’ve gotta try this Ice Dye shirt with Reverse Dye details. Here’s what you’ll need:
Supplies needed to make an Ice Dye Shirt
100% Cotton T-Shirt
Tulip One-Step Tie Dye in pink, orange, and yellow (do not add water)
Ice
Raised cooling rack
Gallon zip lock bag or plastic wrap
Container for dyeing
Bleach
Spray bottle
Floral stencil (if desired)
How to make an Ice Dye Shirt
Watch the video (and be sure you subscribe to our YouTube channel), or read the steps below!
Step 1: Prepare your surface for ice dyeing by placing your raised cooling racks inside of your container for dyeing. This rack will allow the melting ice to drip down and prevent your shirt from sitting in the dye. Note: We like the fit of the youth shirts for our sizes. They are slightly more boxy, and usually cheaper! As a reference, youth medium fits like a women’s small.
Step 2: Crumple your shirt on top of the rack and cover the surface of the shirt with a pile of ice. Then, sprinkle the powder dye over the ice.
Step 3: Let the ice melt completely. As it melts the dye will mix with the water and dye the shirt!
Step 4: Once the ice is completely melted, place the tee in a gallon ziplock bag or wrap in plastic wrap and let set for at least 8 hours.
Step 5: Once set, remove the shirt from the plastic and rinse until the water runs clear. Then, wash and dry the tee alone.
Step 6: While the shirt is drying, fill a spray bottle with a 1:1 ratio of water and bleach.
Step 7: Take the dried tee and place it outside on cement (This works best on a warm, sunny day because the sunlight will help the bleach along.) fold it accordion-style, working from top to bottom (this doesn’t have to be exact, you just want to create some stripes.)
Step 8: Spray the shirt with the prepared bleach mixture and allow the sun to set the tee. Once it is has reached your desired lightness (should only take a minute or two), rinse it to stop the bleaching process.
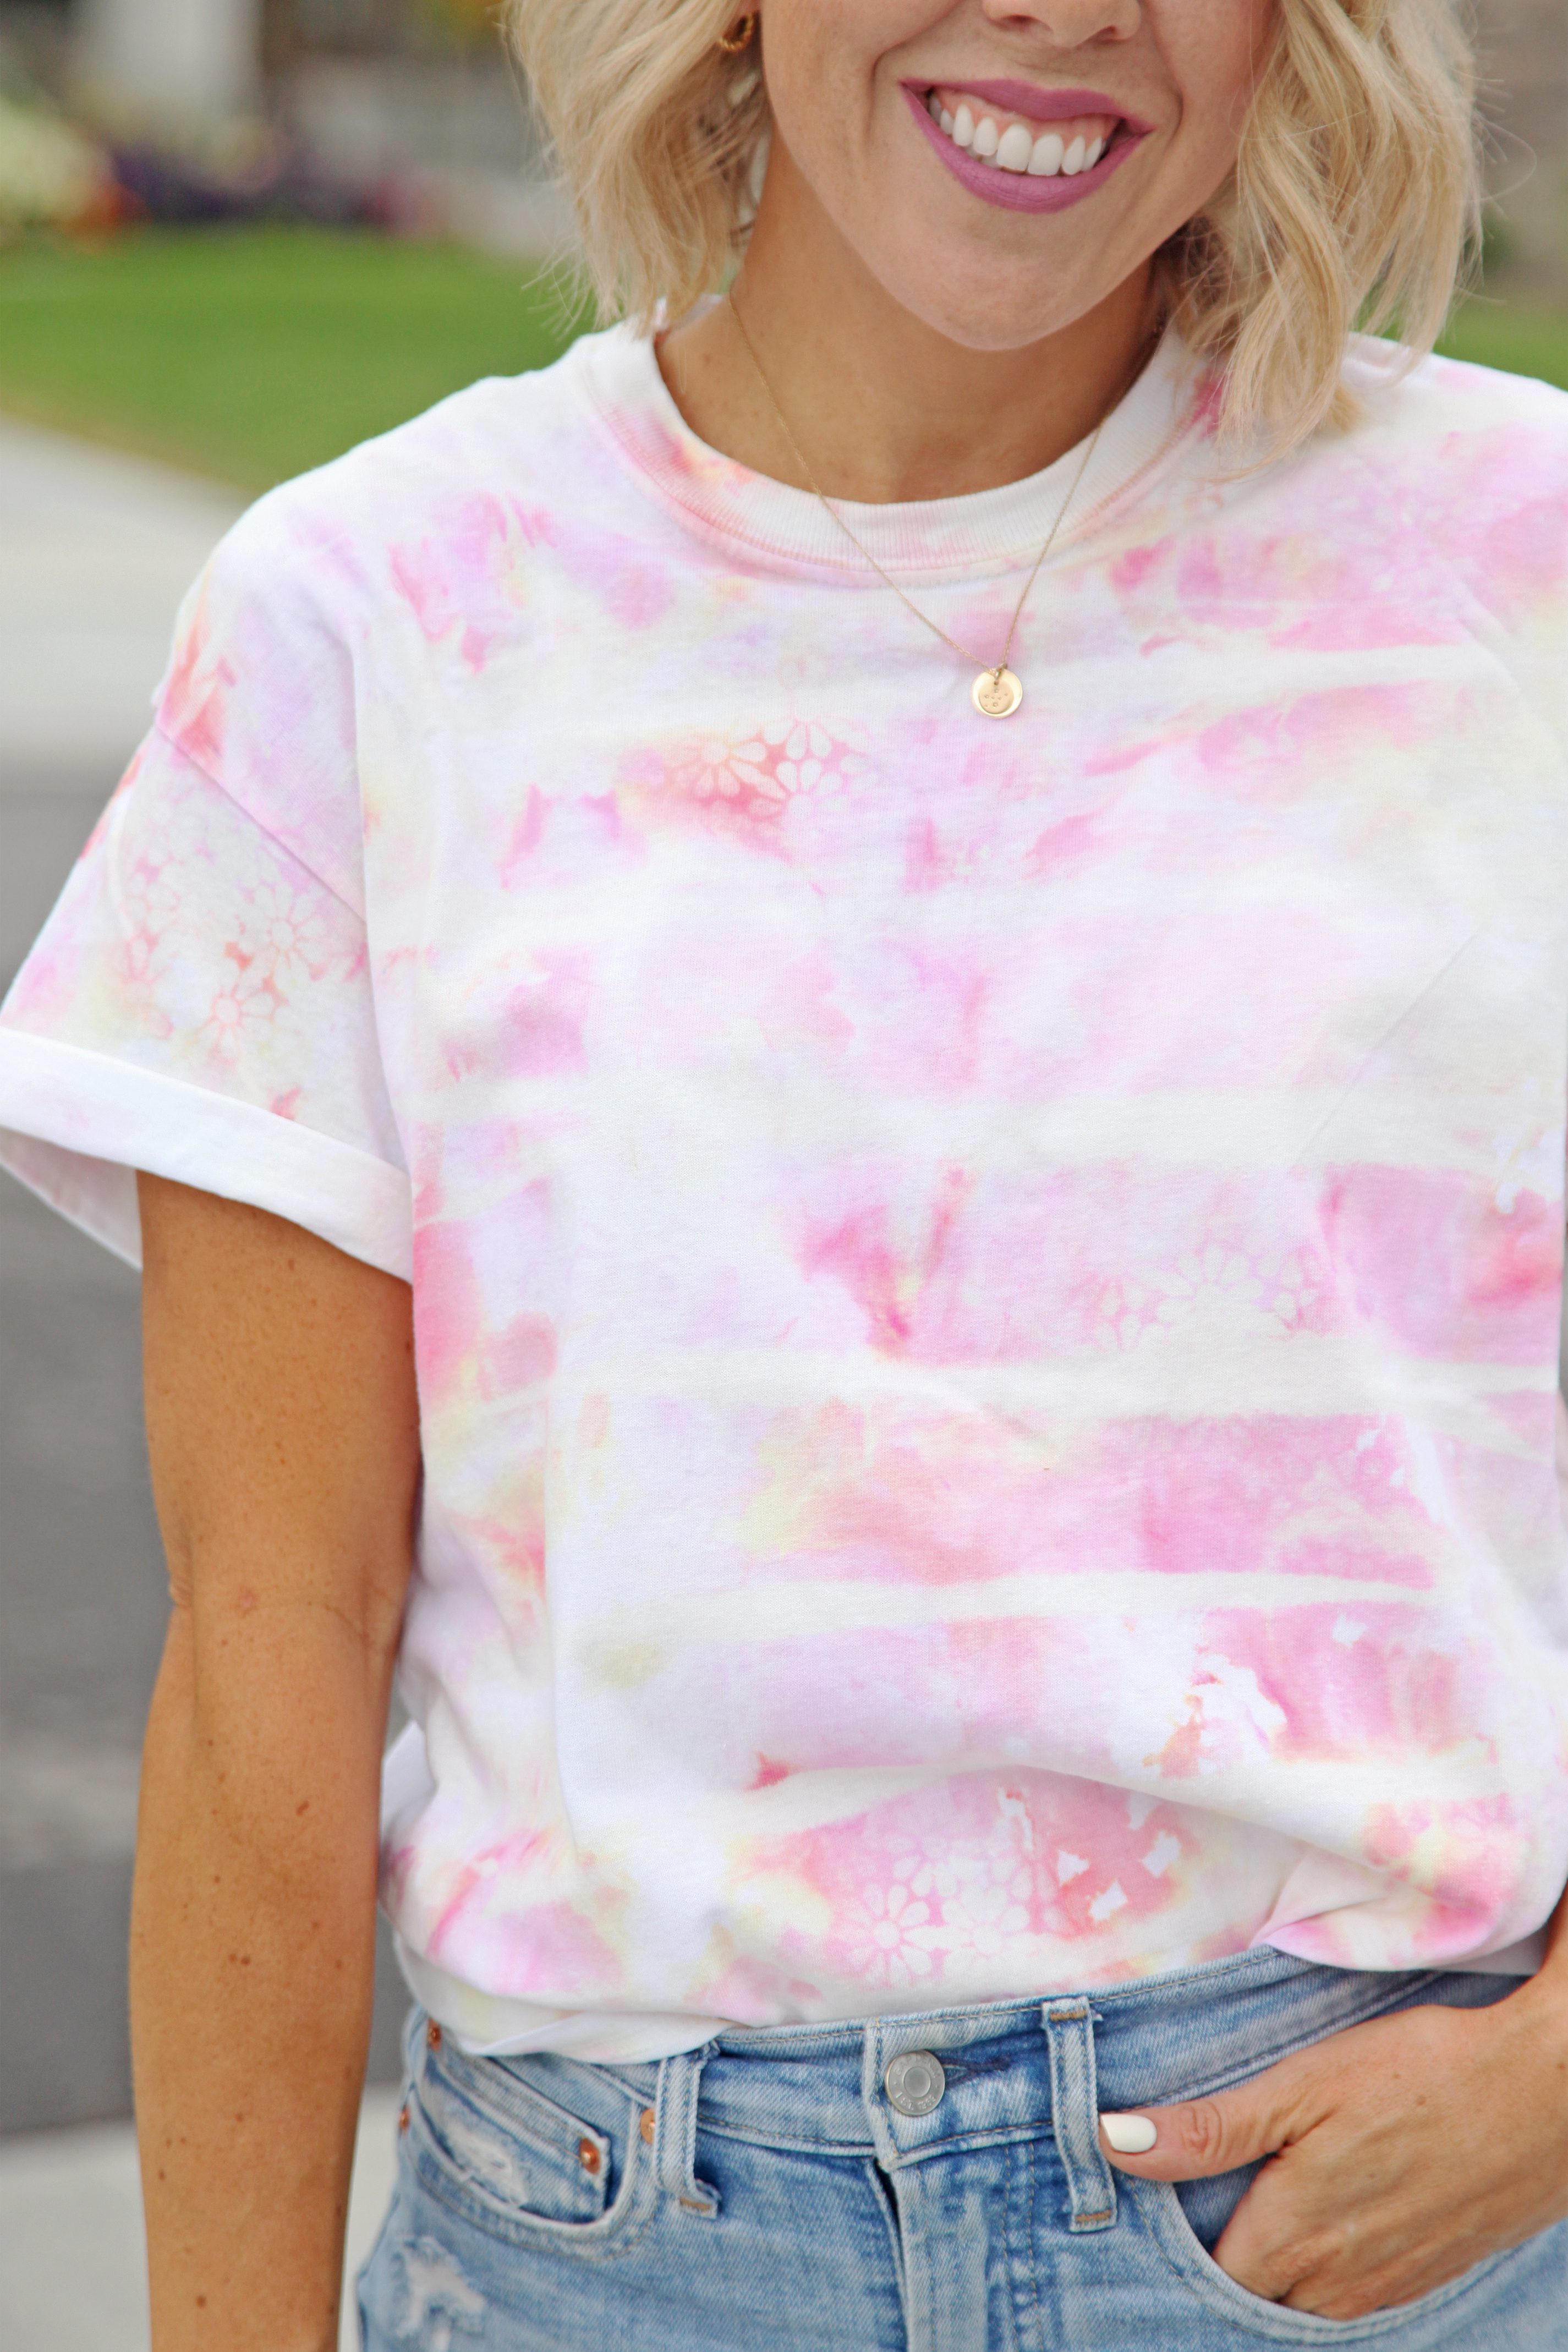
Step 9: If you’d like to add some floral details, place a floral stencil over the shirt and spray, then, remove the stencil immediately. Once the design appears, rinse the shirt to stop the process.
Step 10: Once you have added all of the bleach details you’d like, wash and dry the shirt again. Then, wear and enjoy!
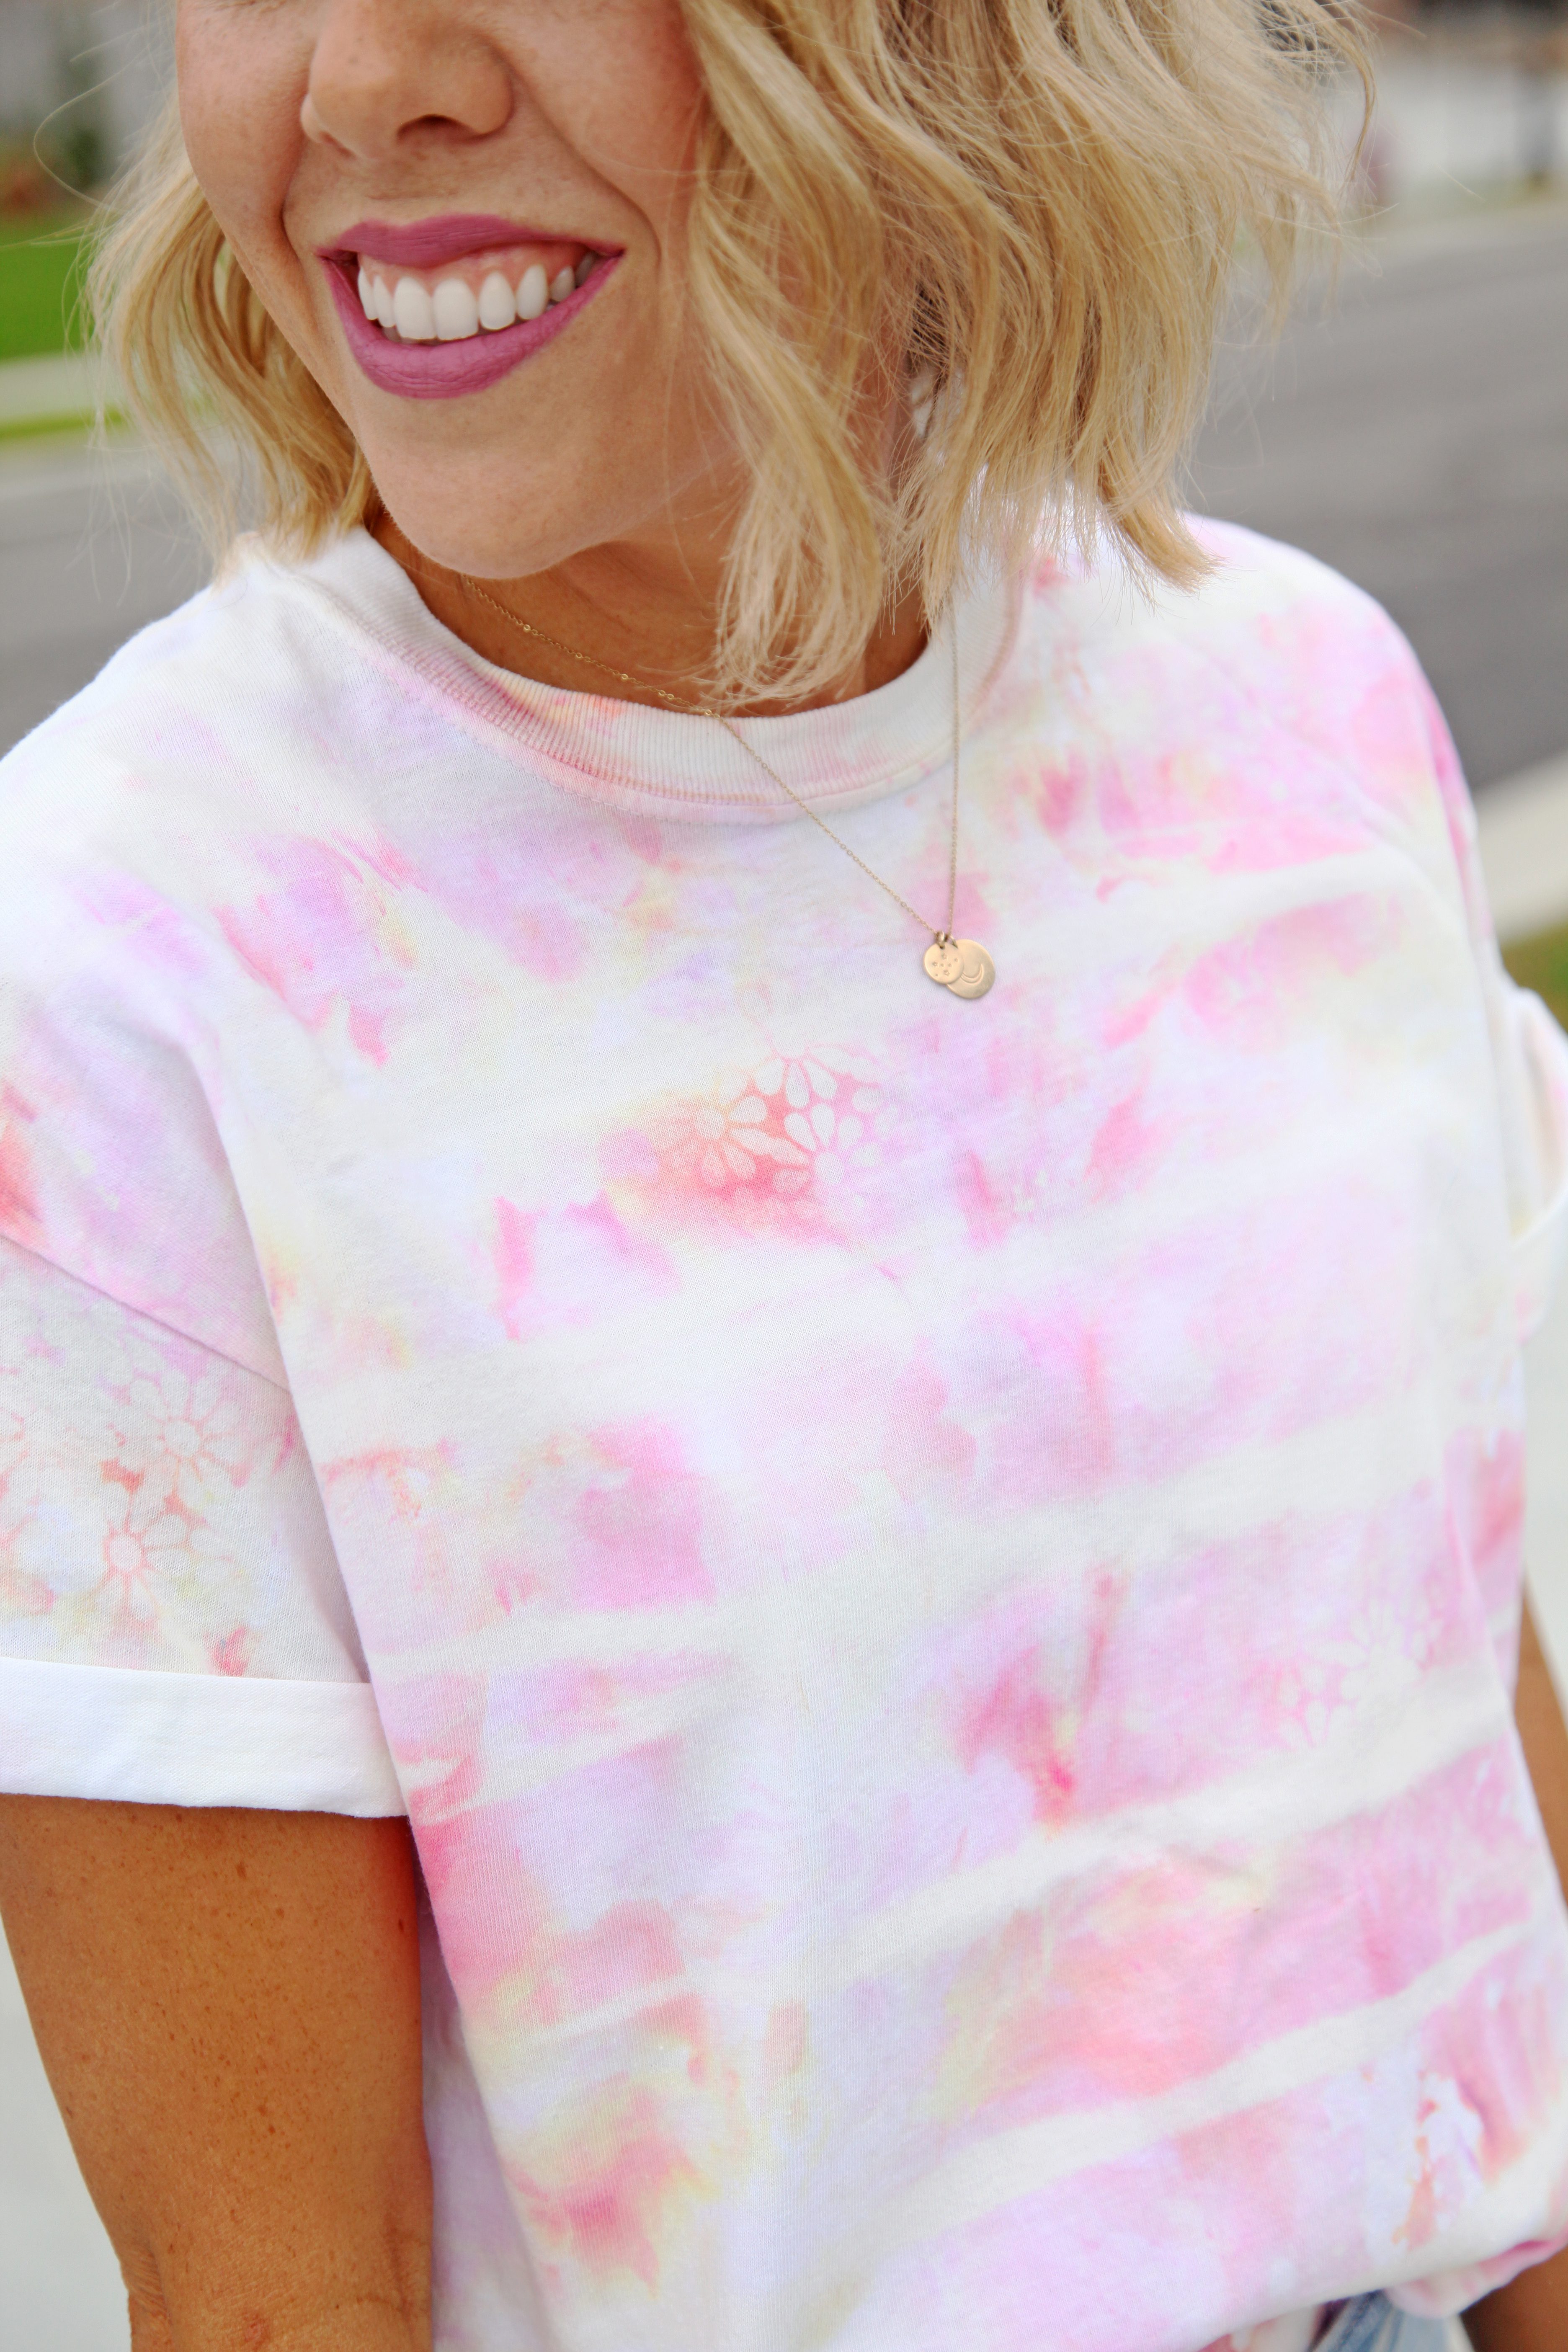
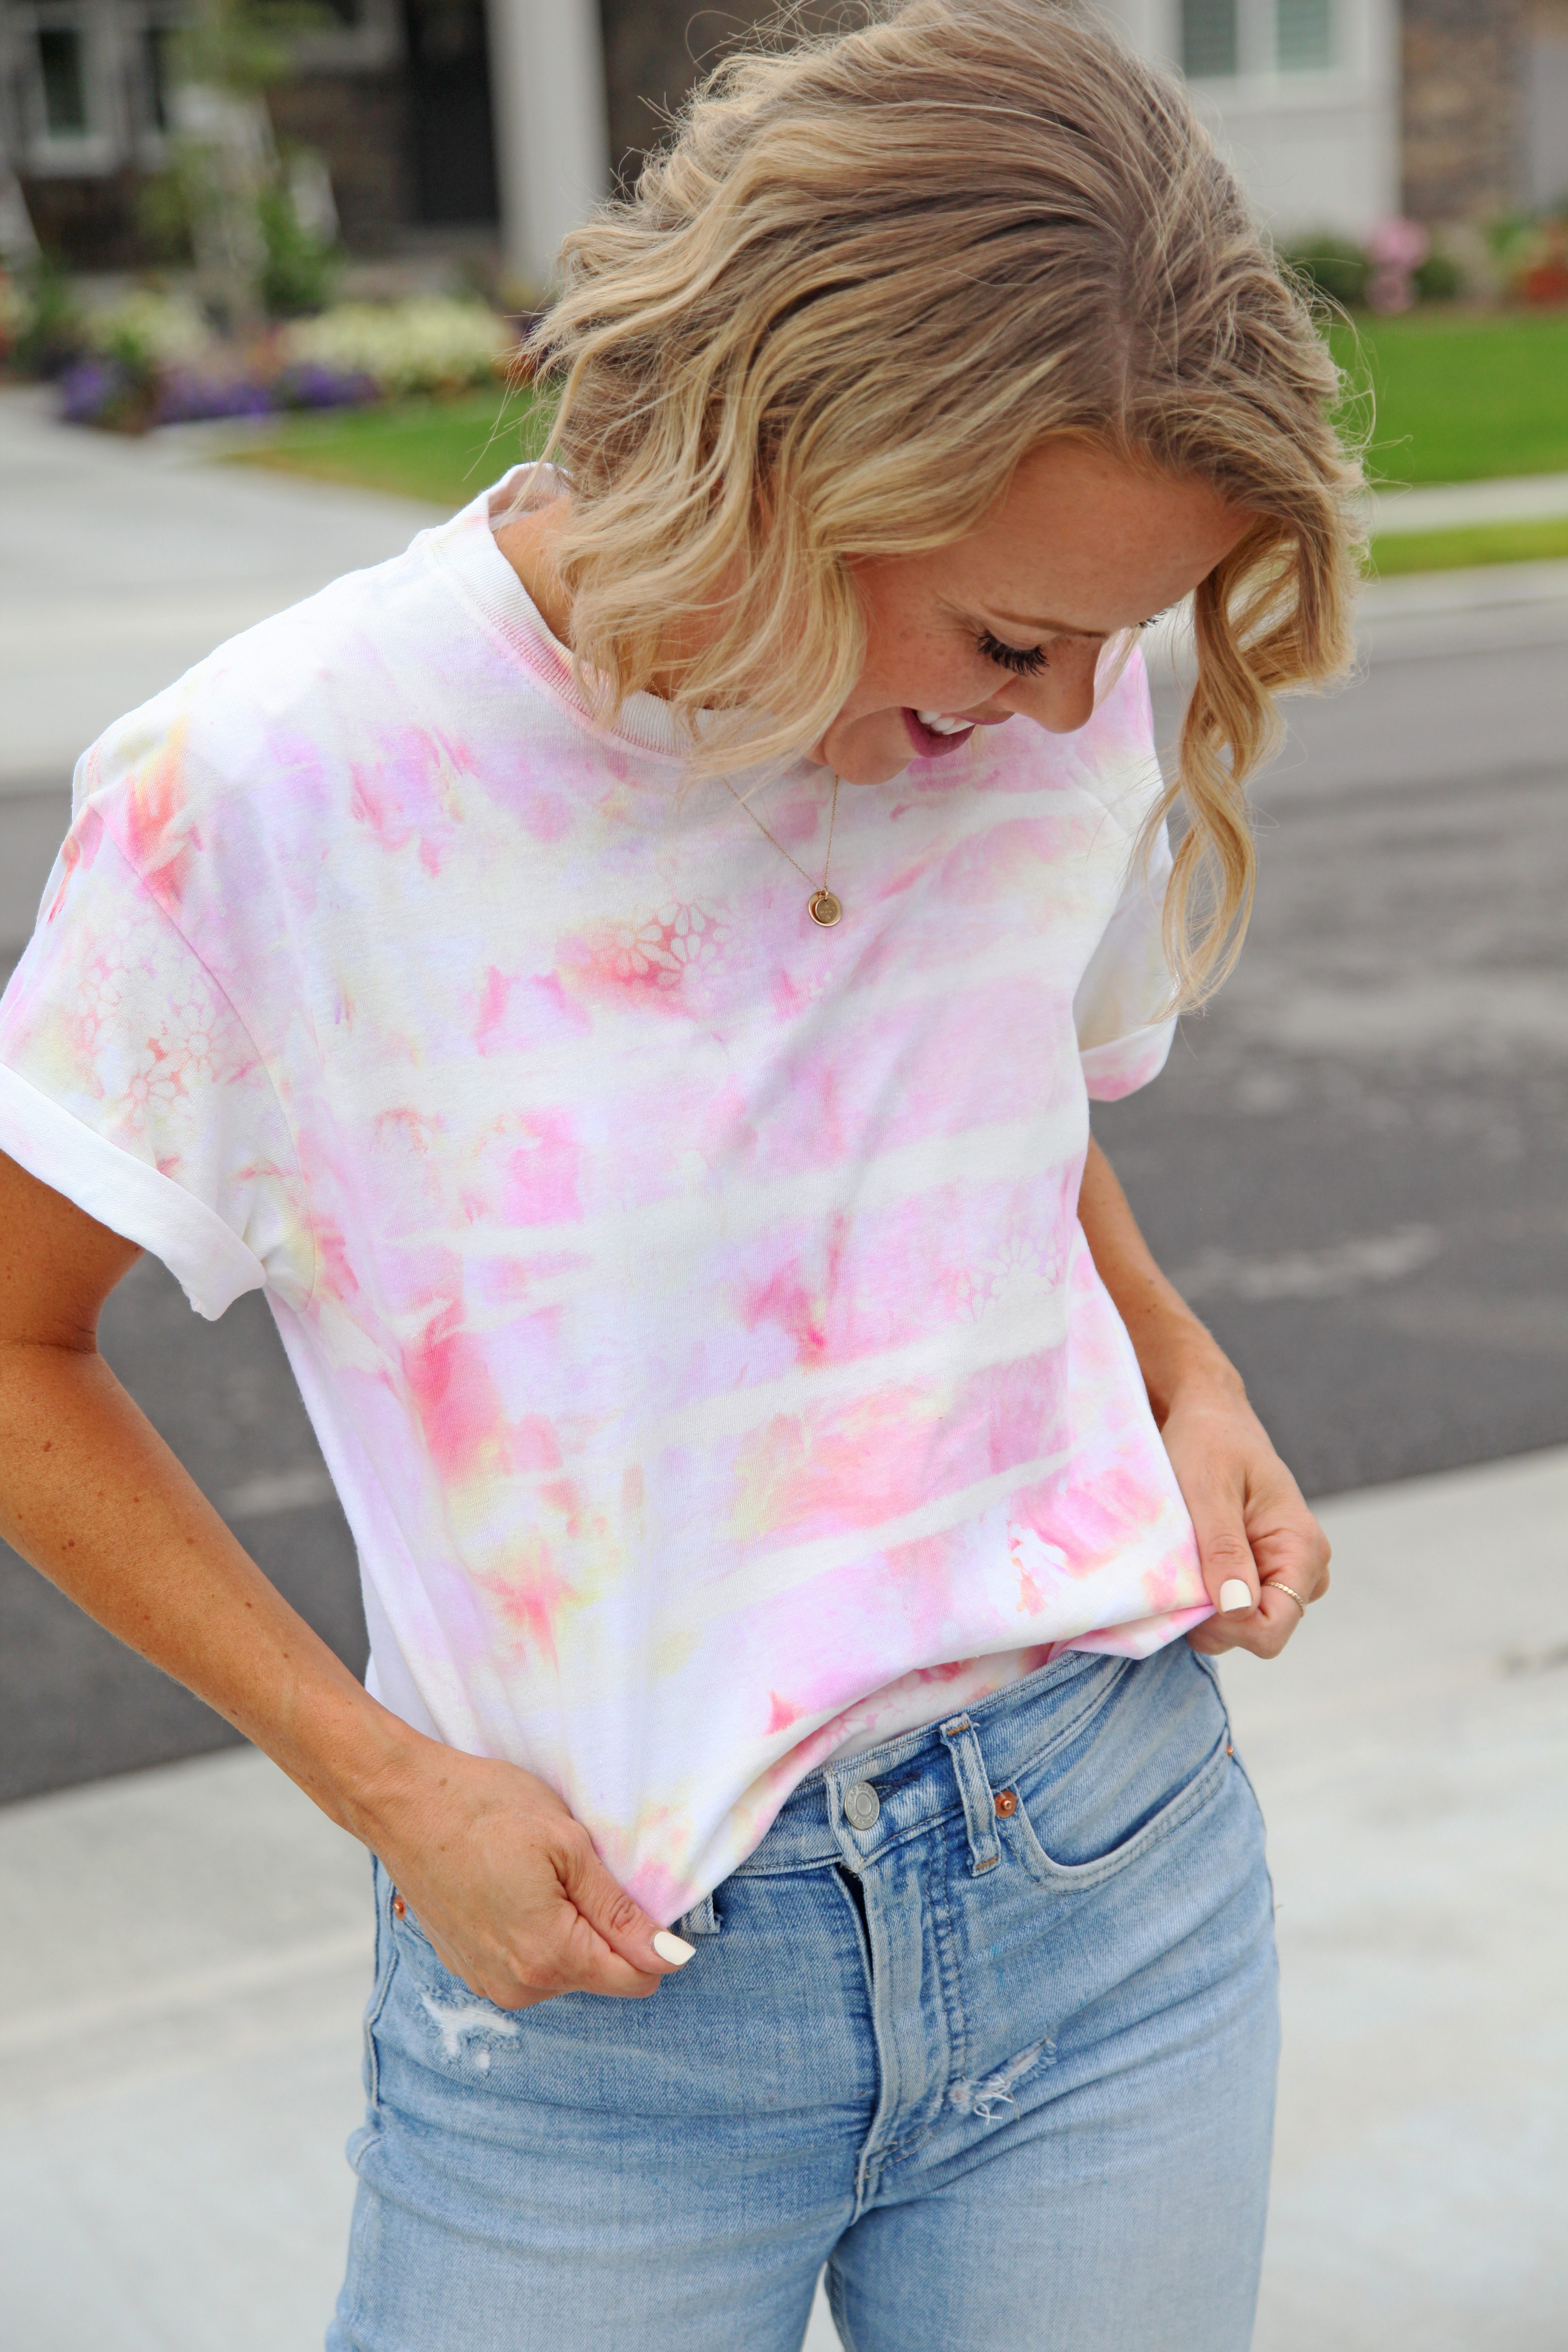
Don’t you love these results? First, the swirling of the colors that the ice dye creates and then, the graphic details that the reverse dye adds? It’s so unique and fun. Would you try this one?

Happy making!
ox. Liz and Sam
Looking for more Tie Dye Shirt inspiration? Check out these projects!
 How to Make a Purple Pastel Tie Dye Tee with HTV Graphic
 Summer Crafts: Bright Reverse Tie Dye Shirts


So cute! And what a fun idea to add the stenciling!