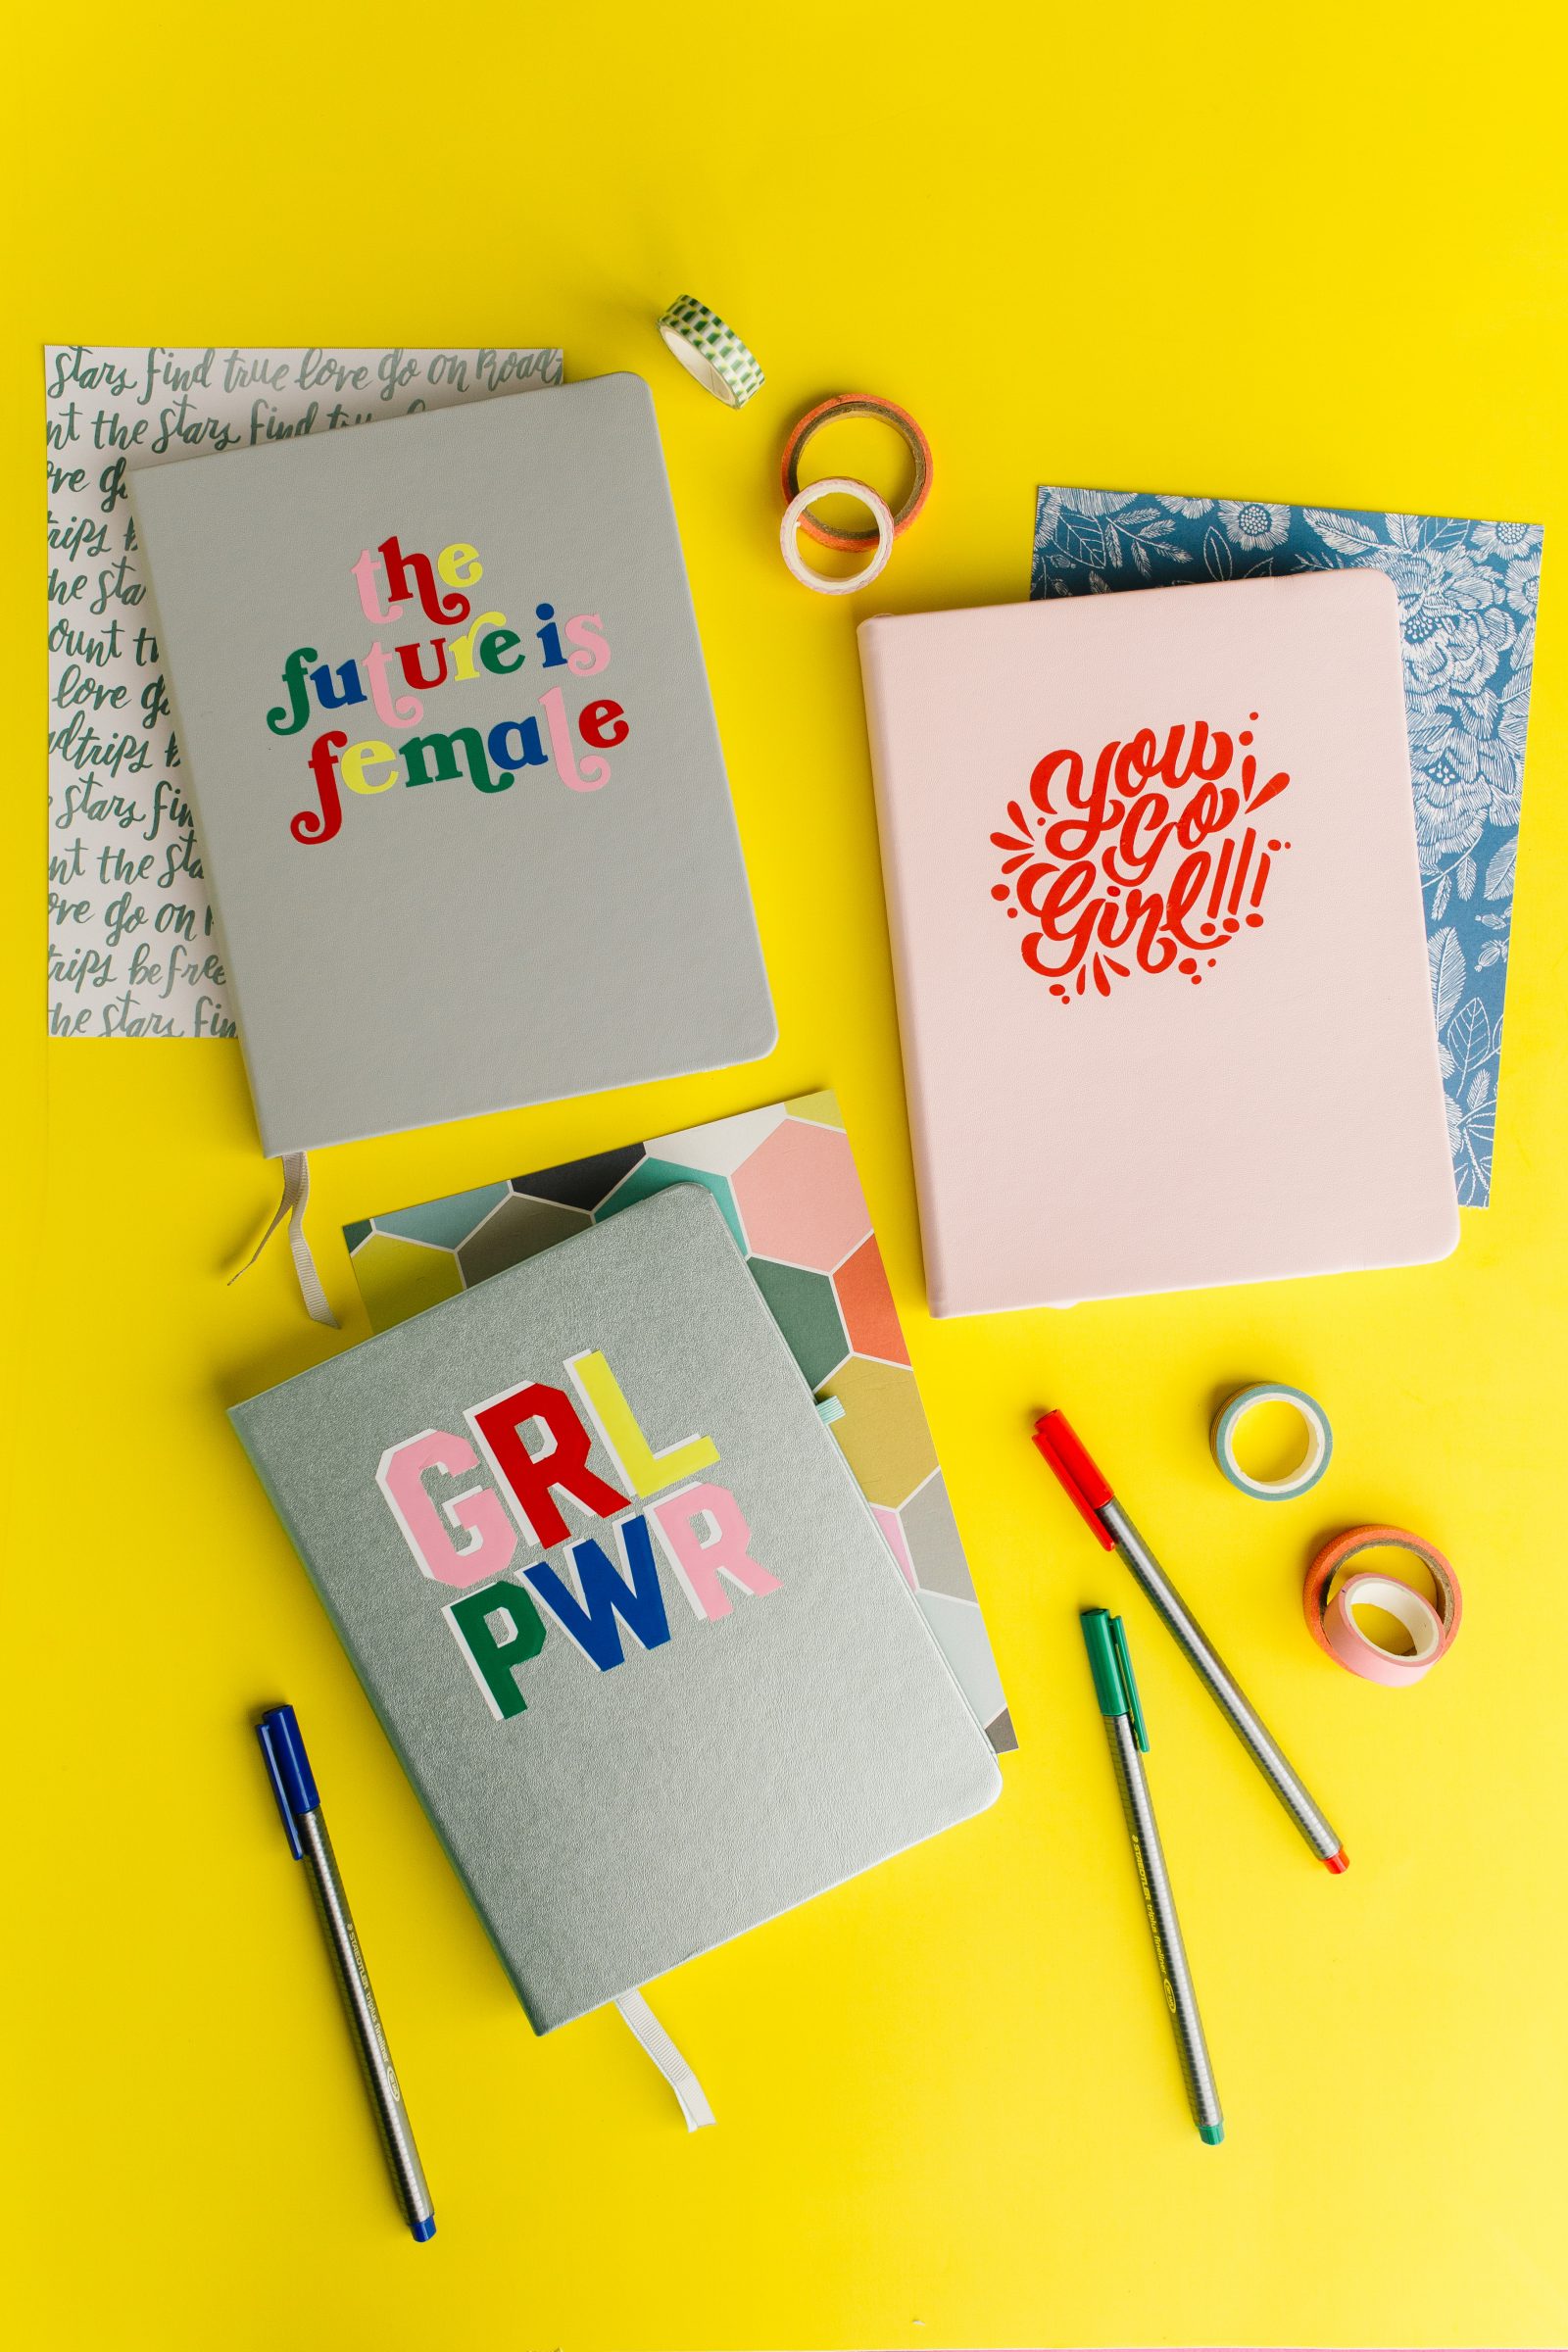
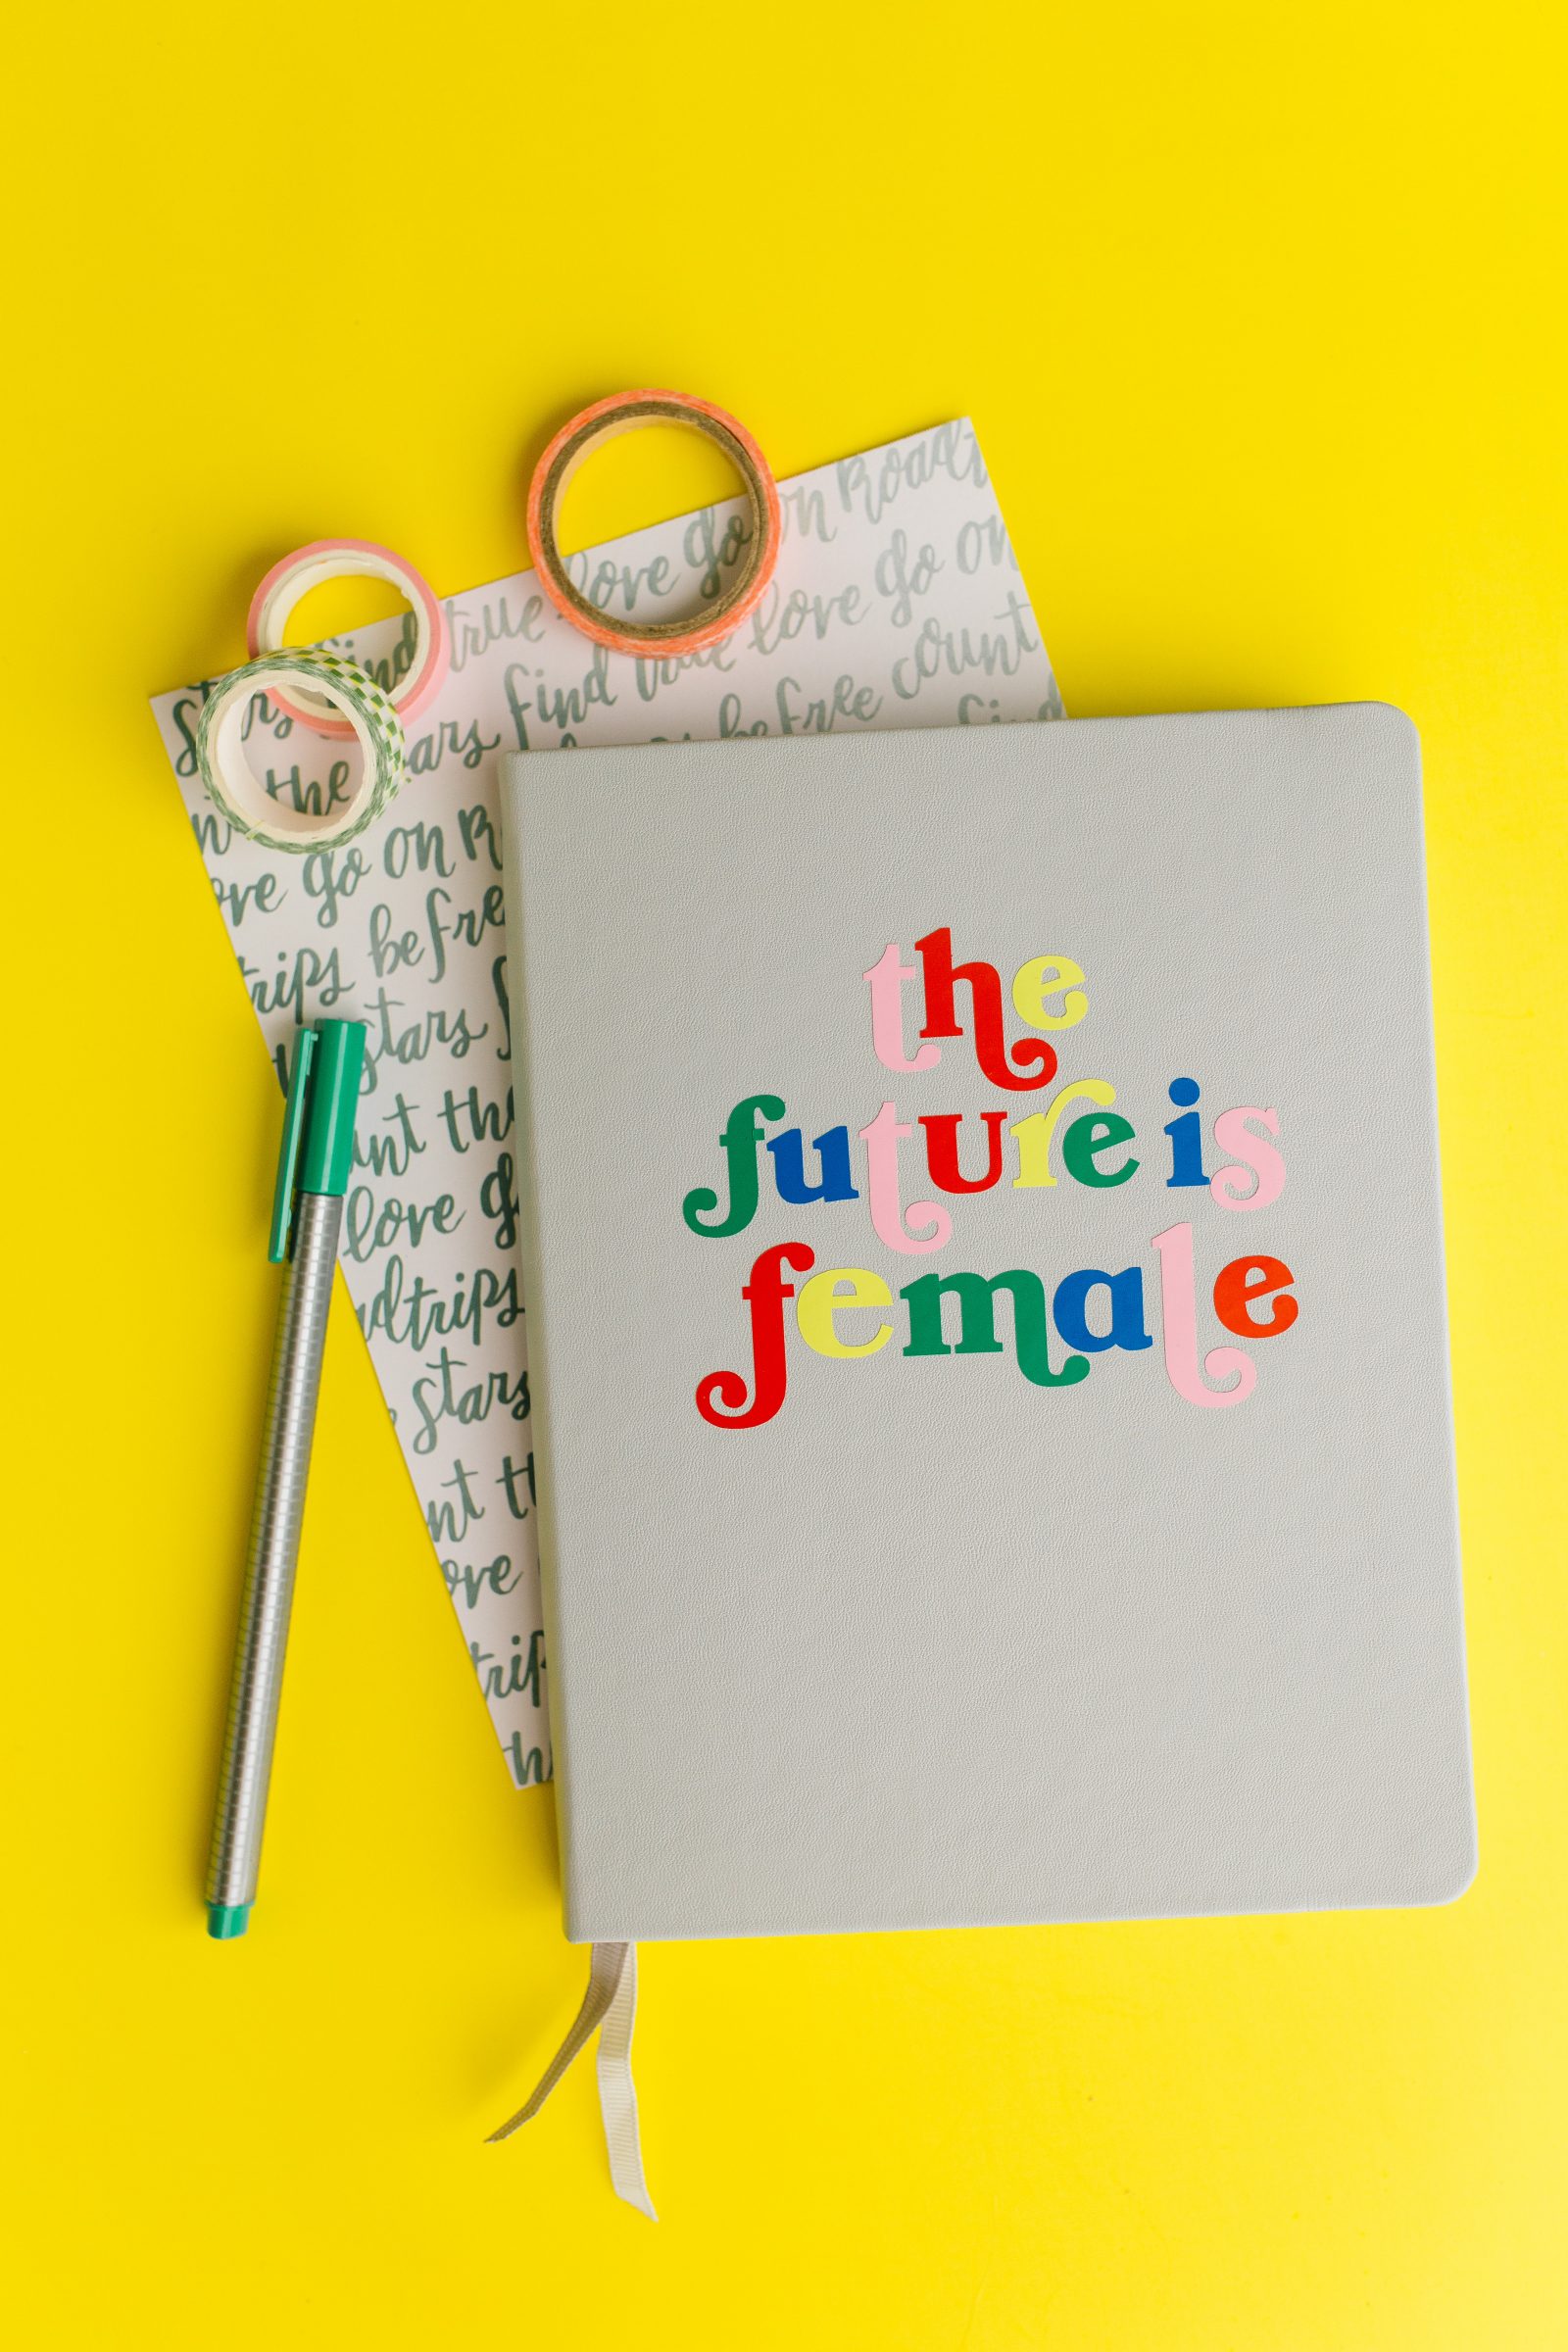
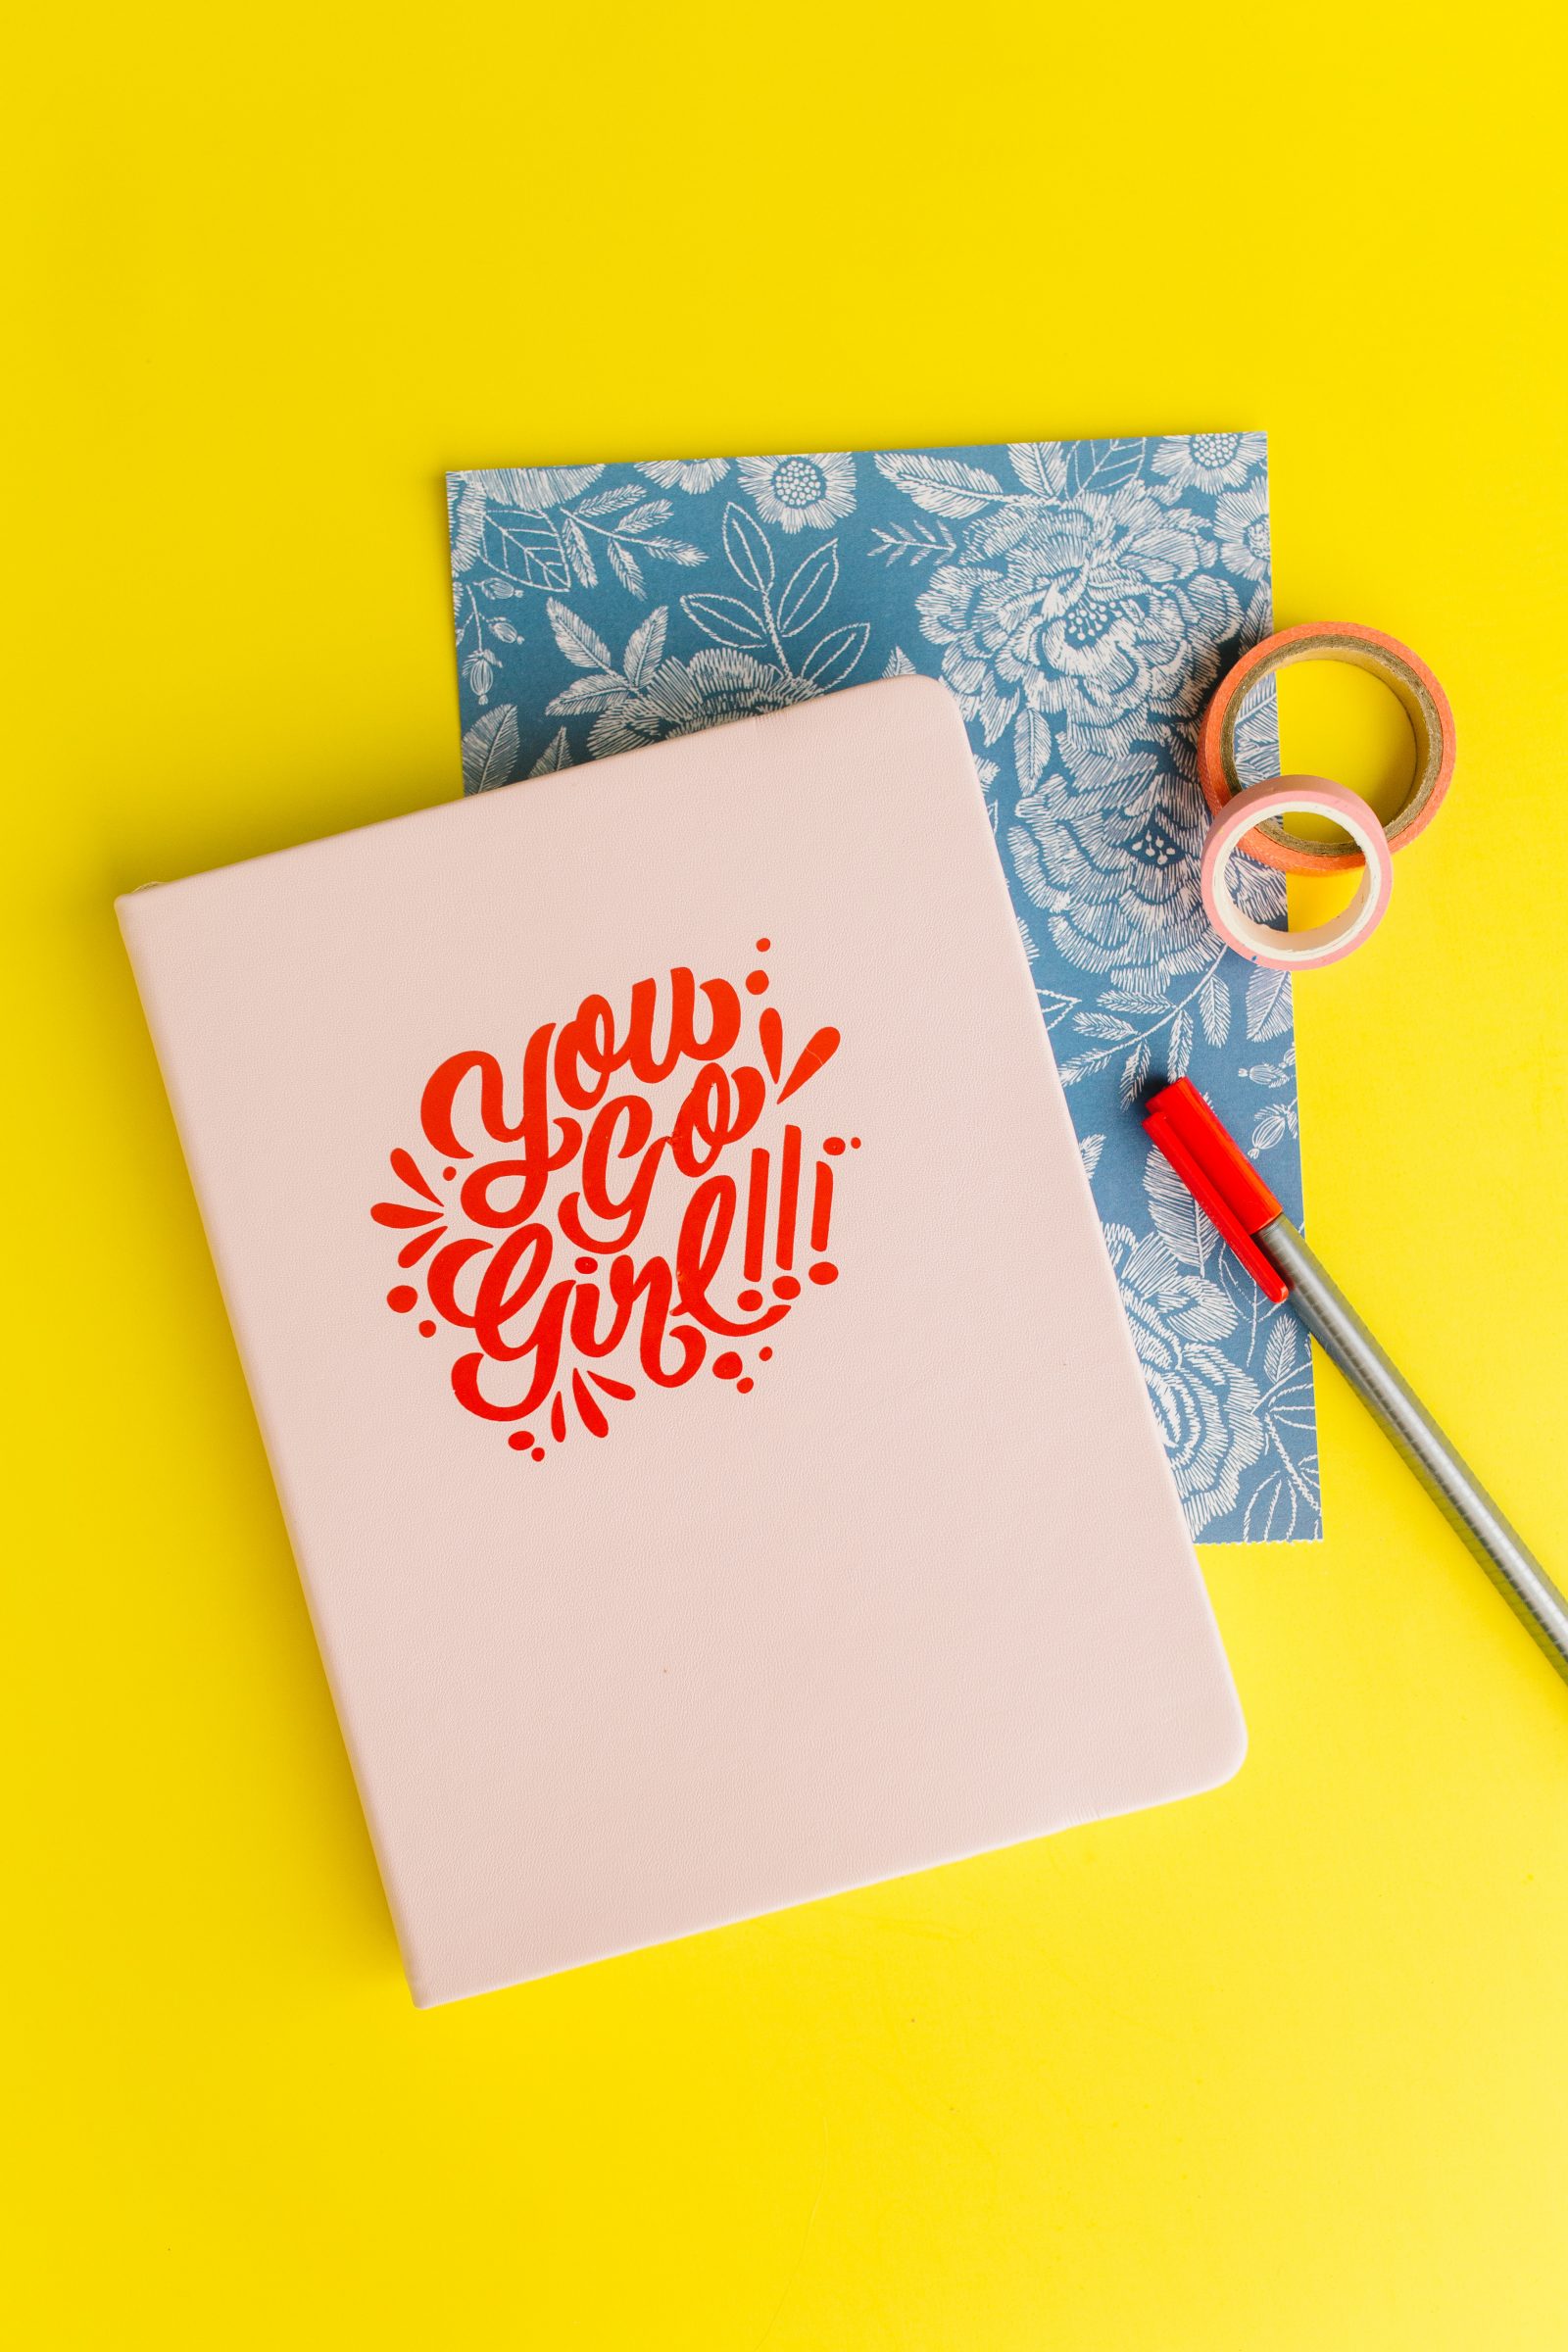
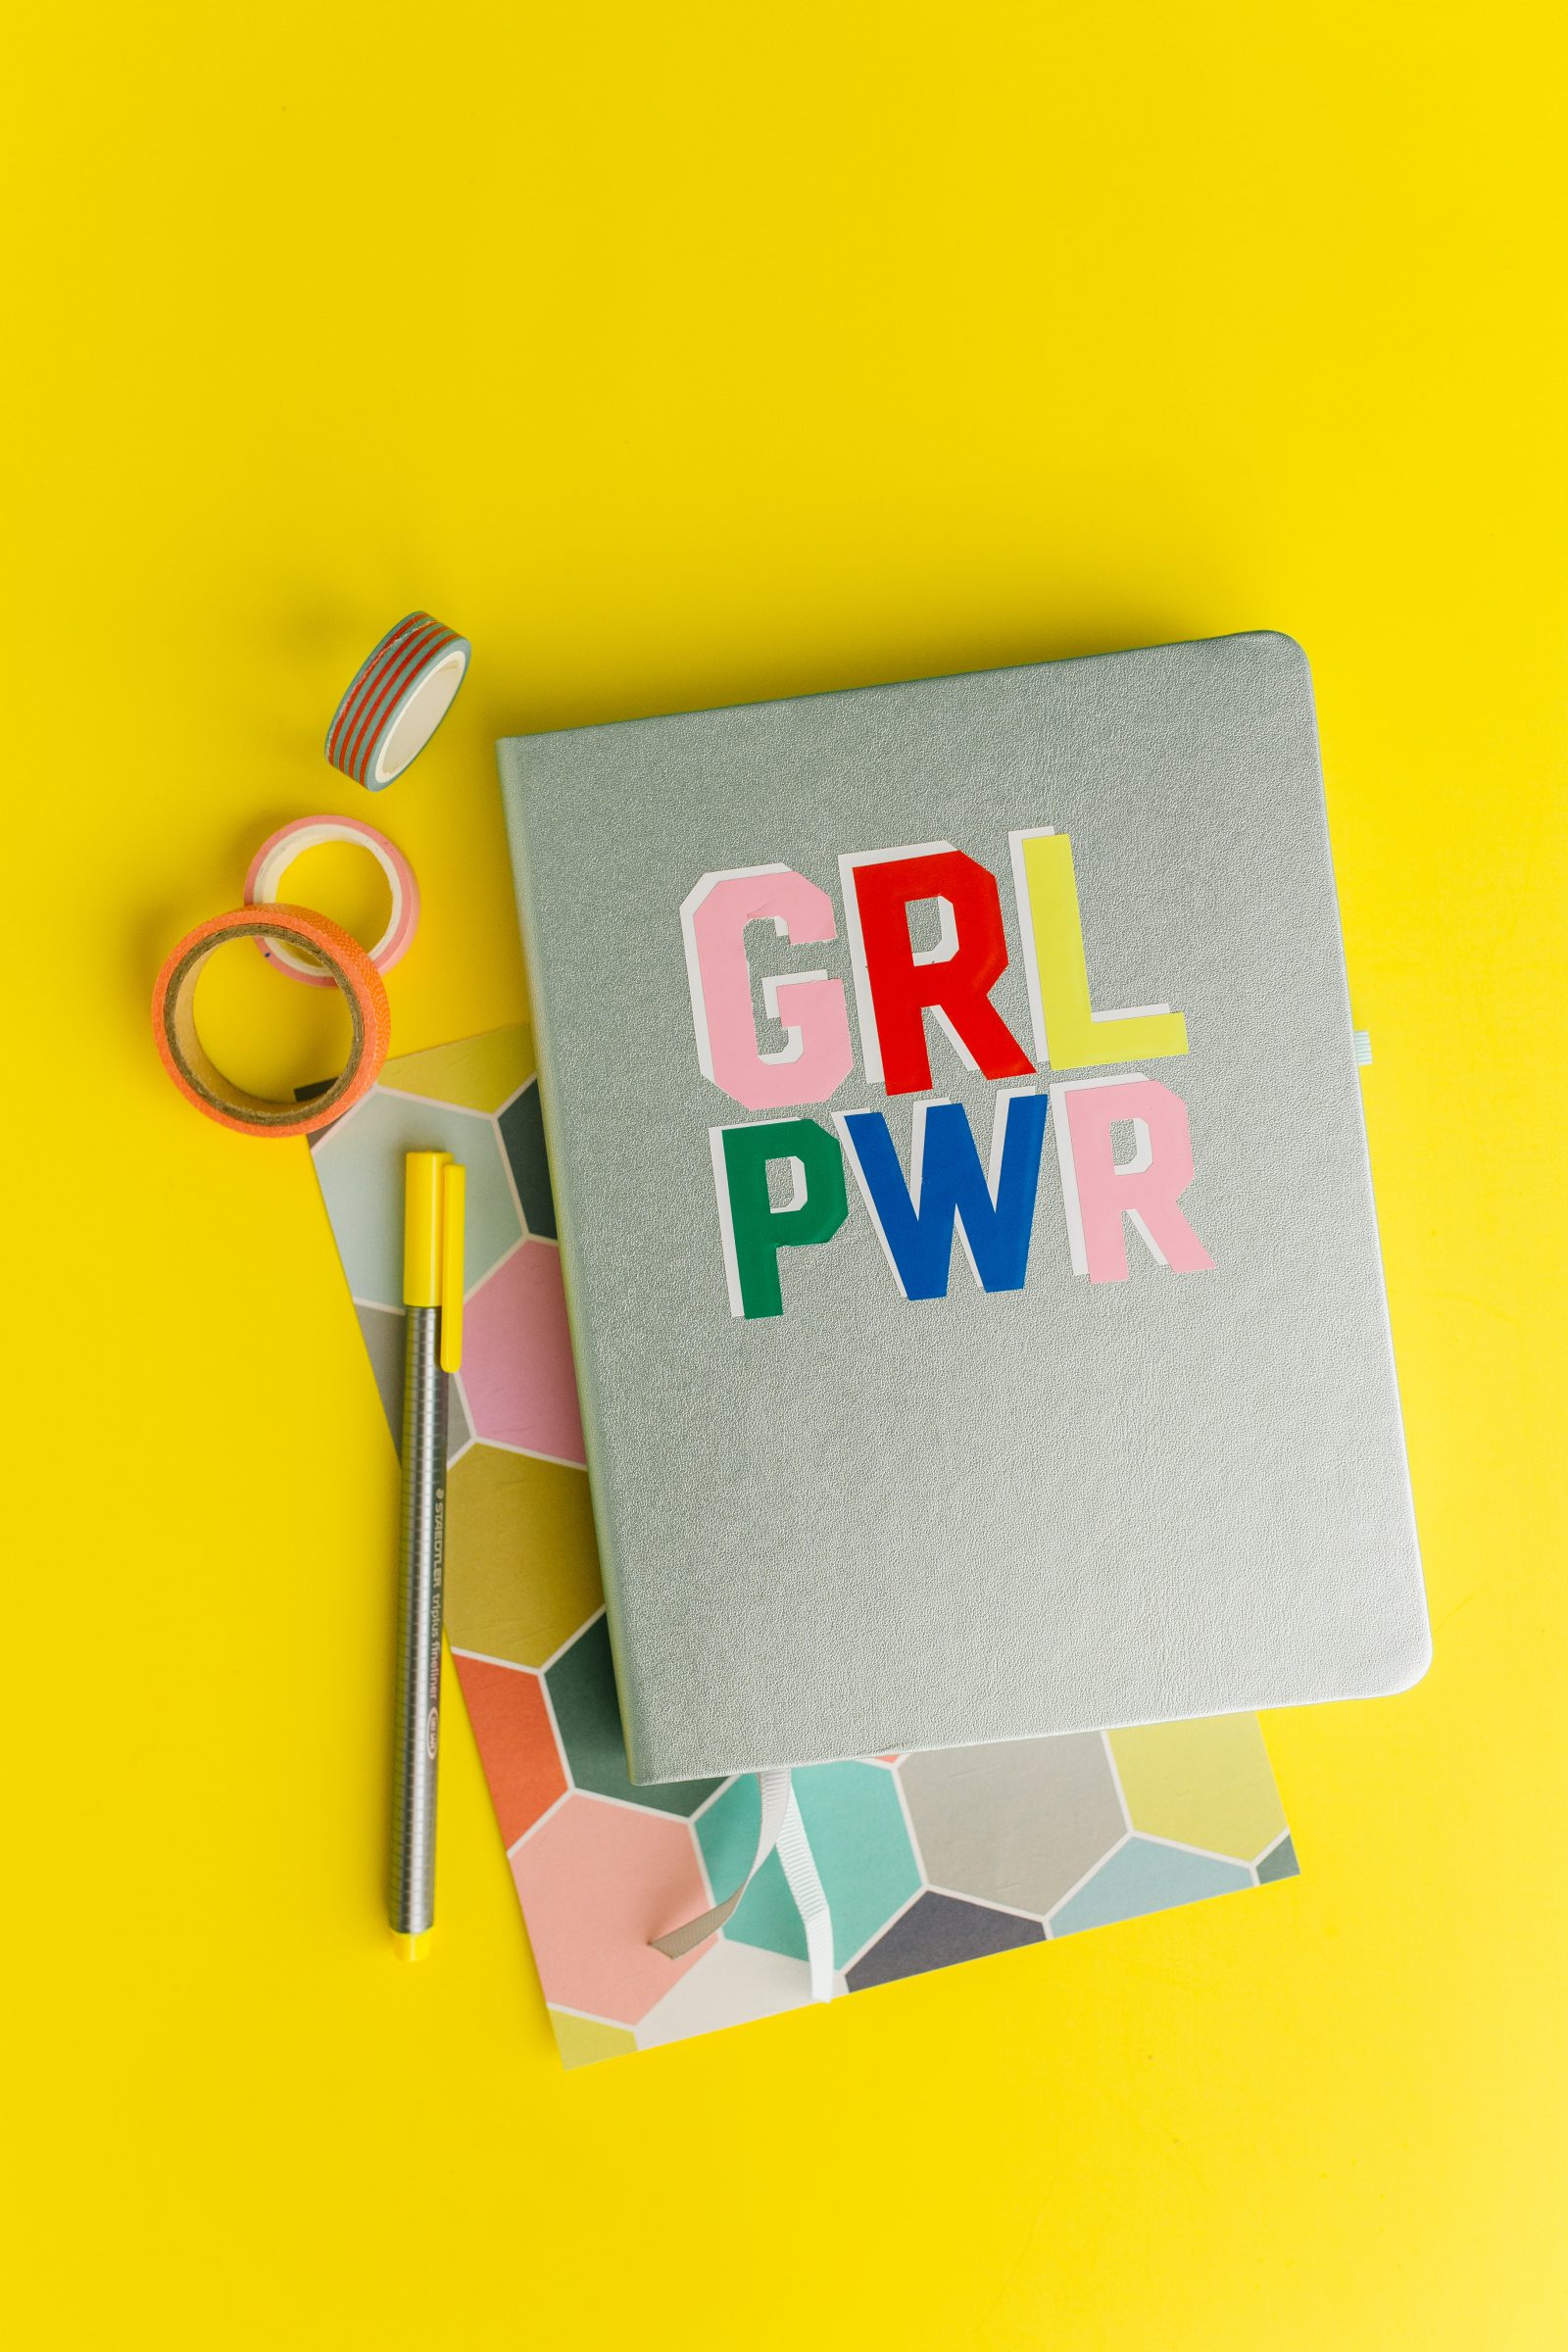
During Women’s History Month in March, we had the best time creating a DIY Women’s History Journal that is perfect for helping you write down and organize your plans for taking over the world! To do it, we used our Silhouette Cameo, some colorful vinyl and a few fun girl power designs from the Silhouette Design Store! Plus, we used a couple of different application techniques to make it happen!
If you’ve never applied adhesive vinyl this is a great first project, or if you have but haven’t tried layering vinyl, we’ll show you that, too! Plus, if you scroll down you can watch our full workshop for this project that we filmed for Michael’s Stores and hang out with us while we walk you through it! Let’s start with what you’ll need to make them:
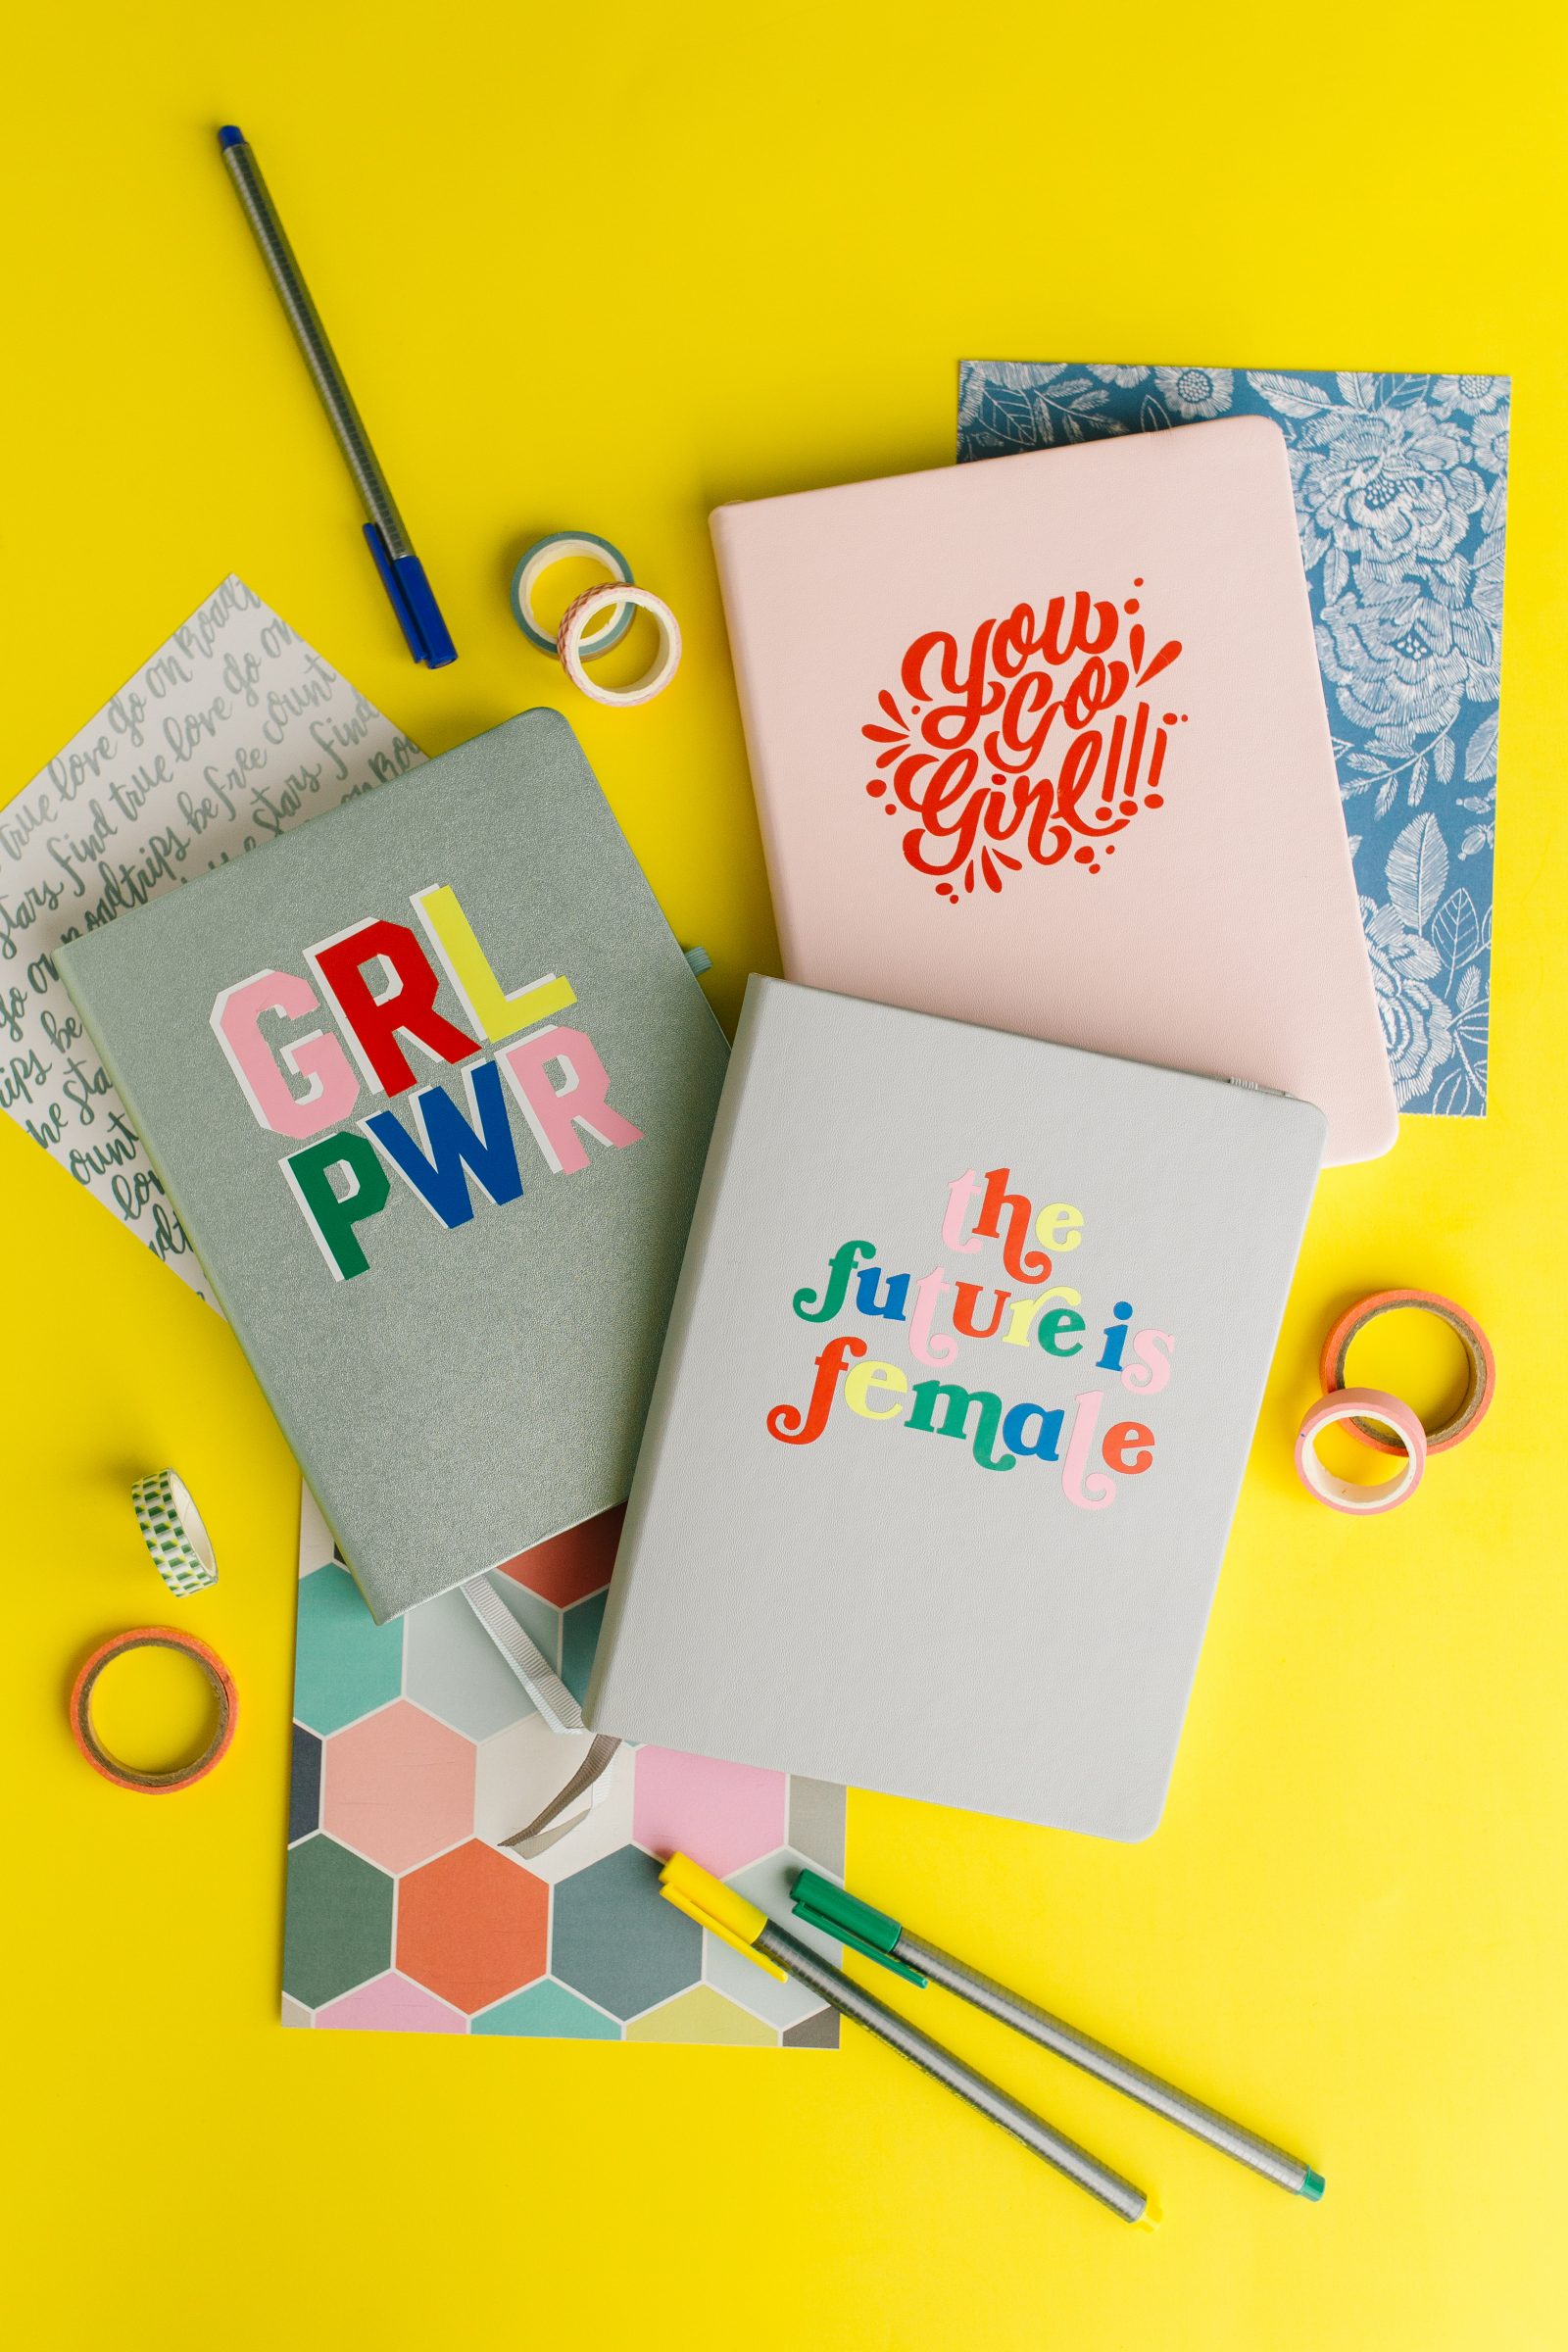

Supplies needed to make a Women’s History Journal
Blank journal (we used Stone, Light Pink, and Mint)
Silhouette Portrait
Adhesive vinyl (red, yellow, pink, green, blue, white)
Weeding hook
Transfer tape
Scraper/credit card
How to make a Women’s History Journal
Watch the video or read the steps below! You can also see our live class at the bottom of this post for a detailed walkthrough.
Step 2: Adjust the fill colors in your design to match your vinyl. Add three rectangles above the design. This will help with layering the vinyl later.
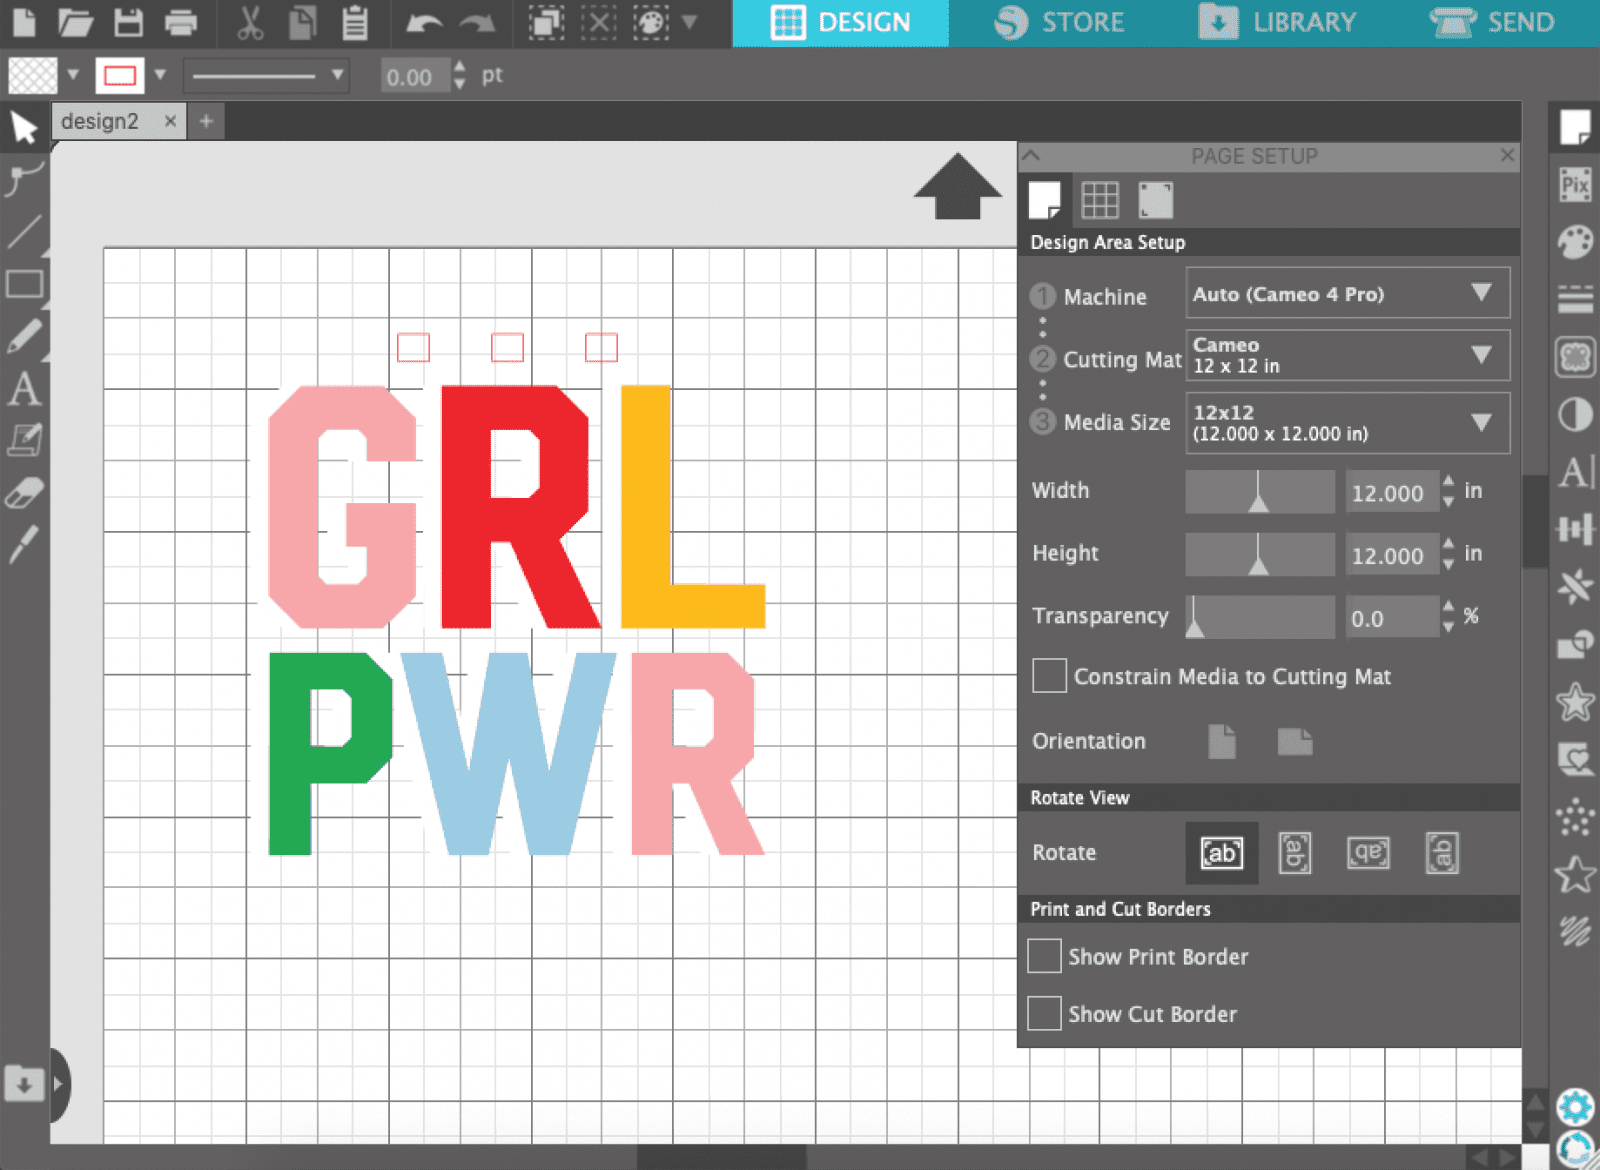

Step 3: Click the Send panel and cut the design by fill, selecting individual colors and the no color option (alignment rectangles) for each cut. You can learn more about cutting by fill here.
Step 4: Weed the excess vinyl from each color of your design.
Step 5: Use transfer tape to remove one vinyl color from the carrier sheet. Use the rectangles on each subsequent vinyl color to align the design on the same piece of transfer tape.
Step 6: Place the design on the desired spot on the journal. Use a scraper or credit card to press the design onto the journal. Avoid pressing the rectangles. Carefully remove the transfer tape.





xo, Sam & Liz
Looking for more Silhouette crafting ideas? Check out these projects!
