This post was originally published April 2021 and updated as of July 2022.
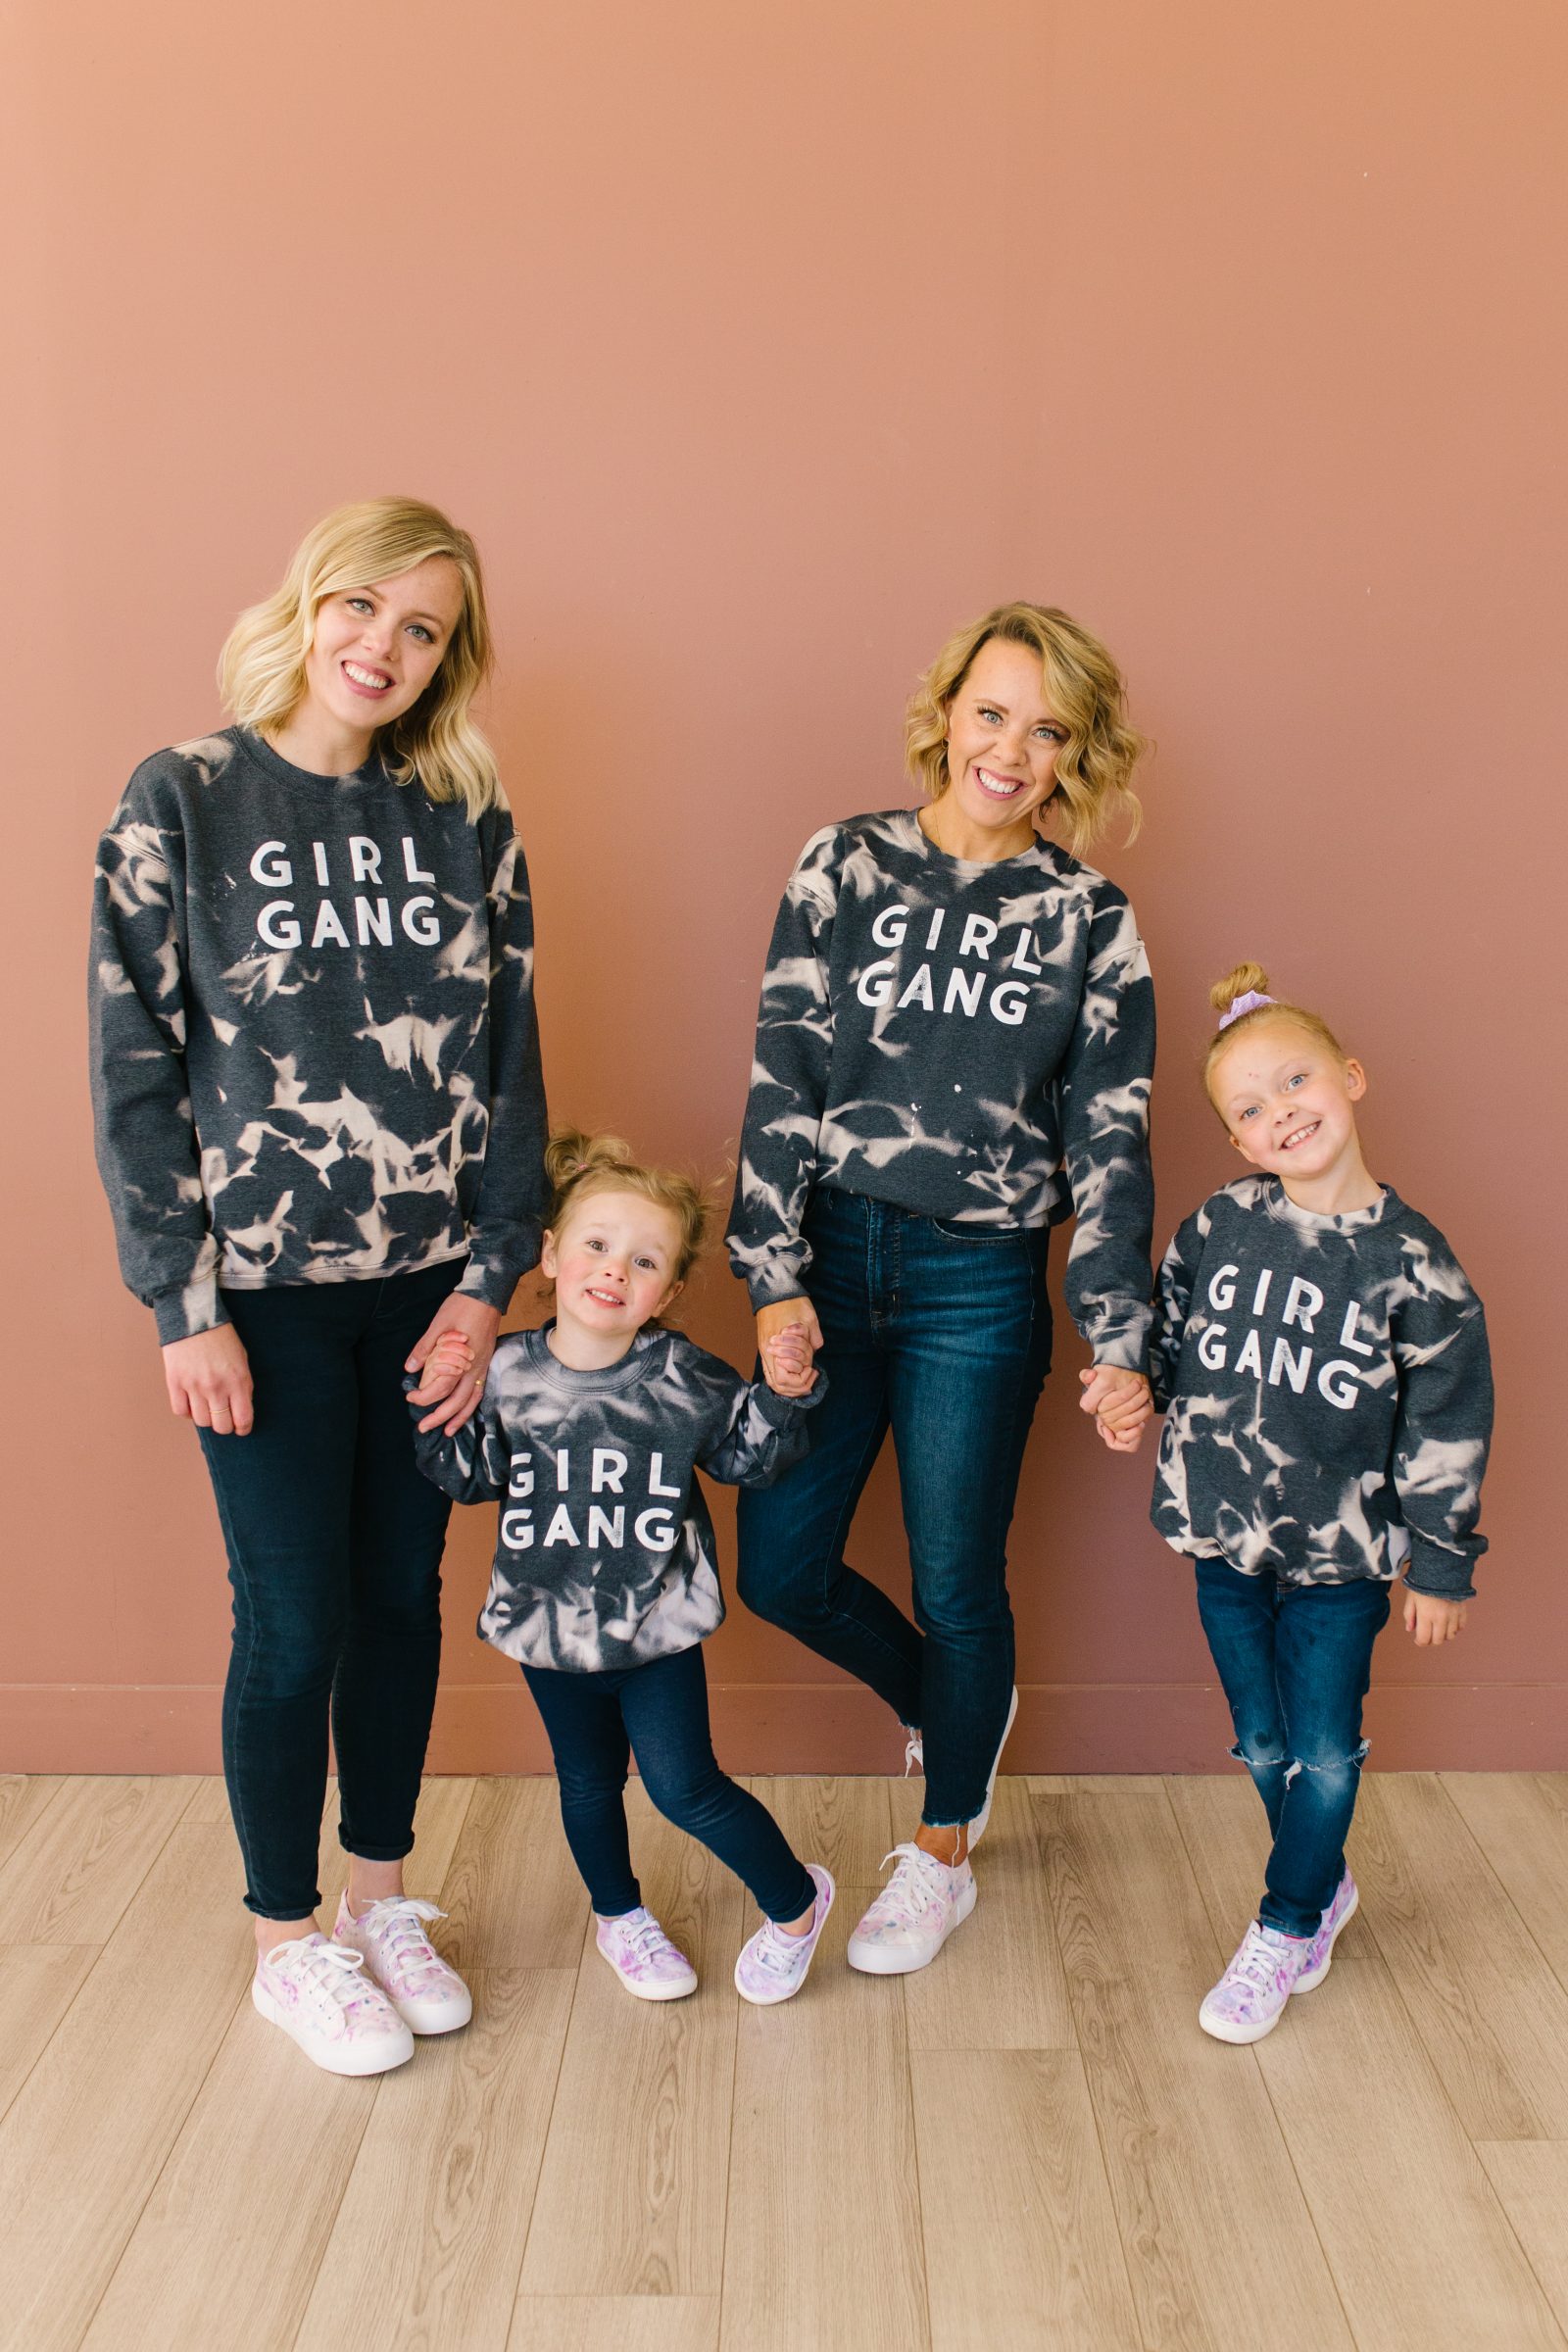
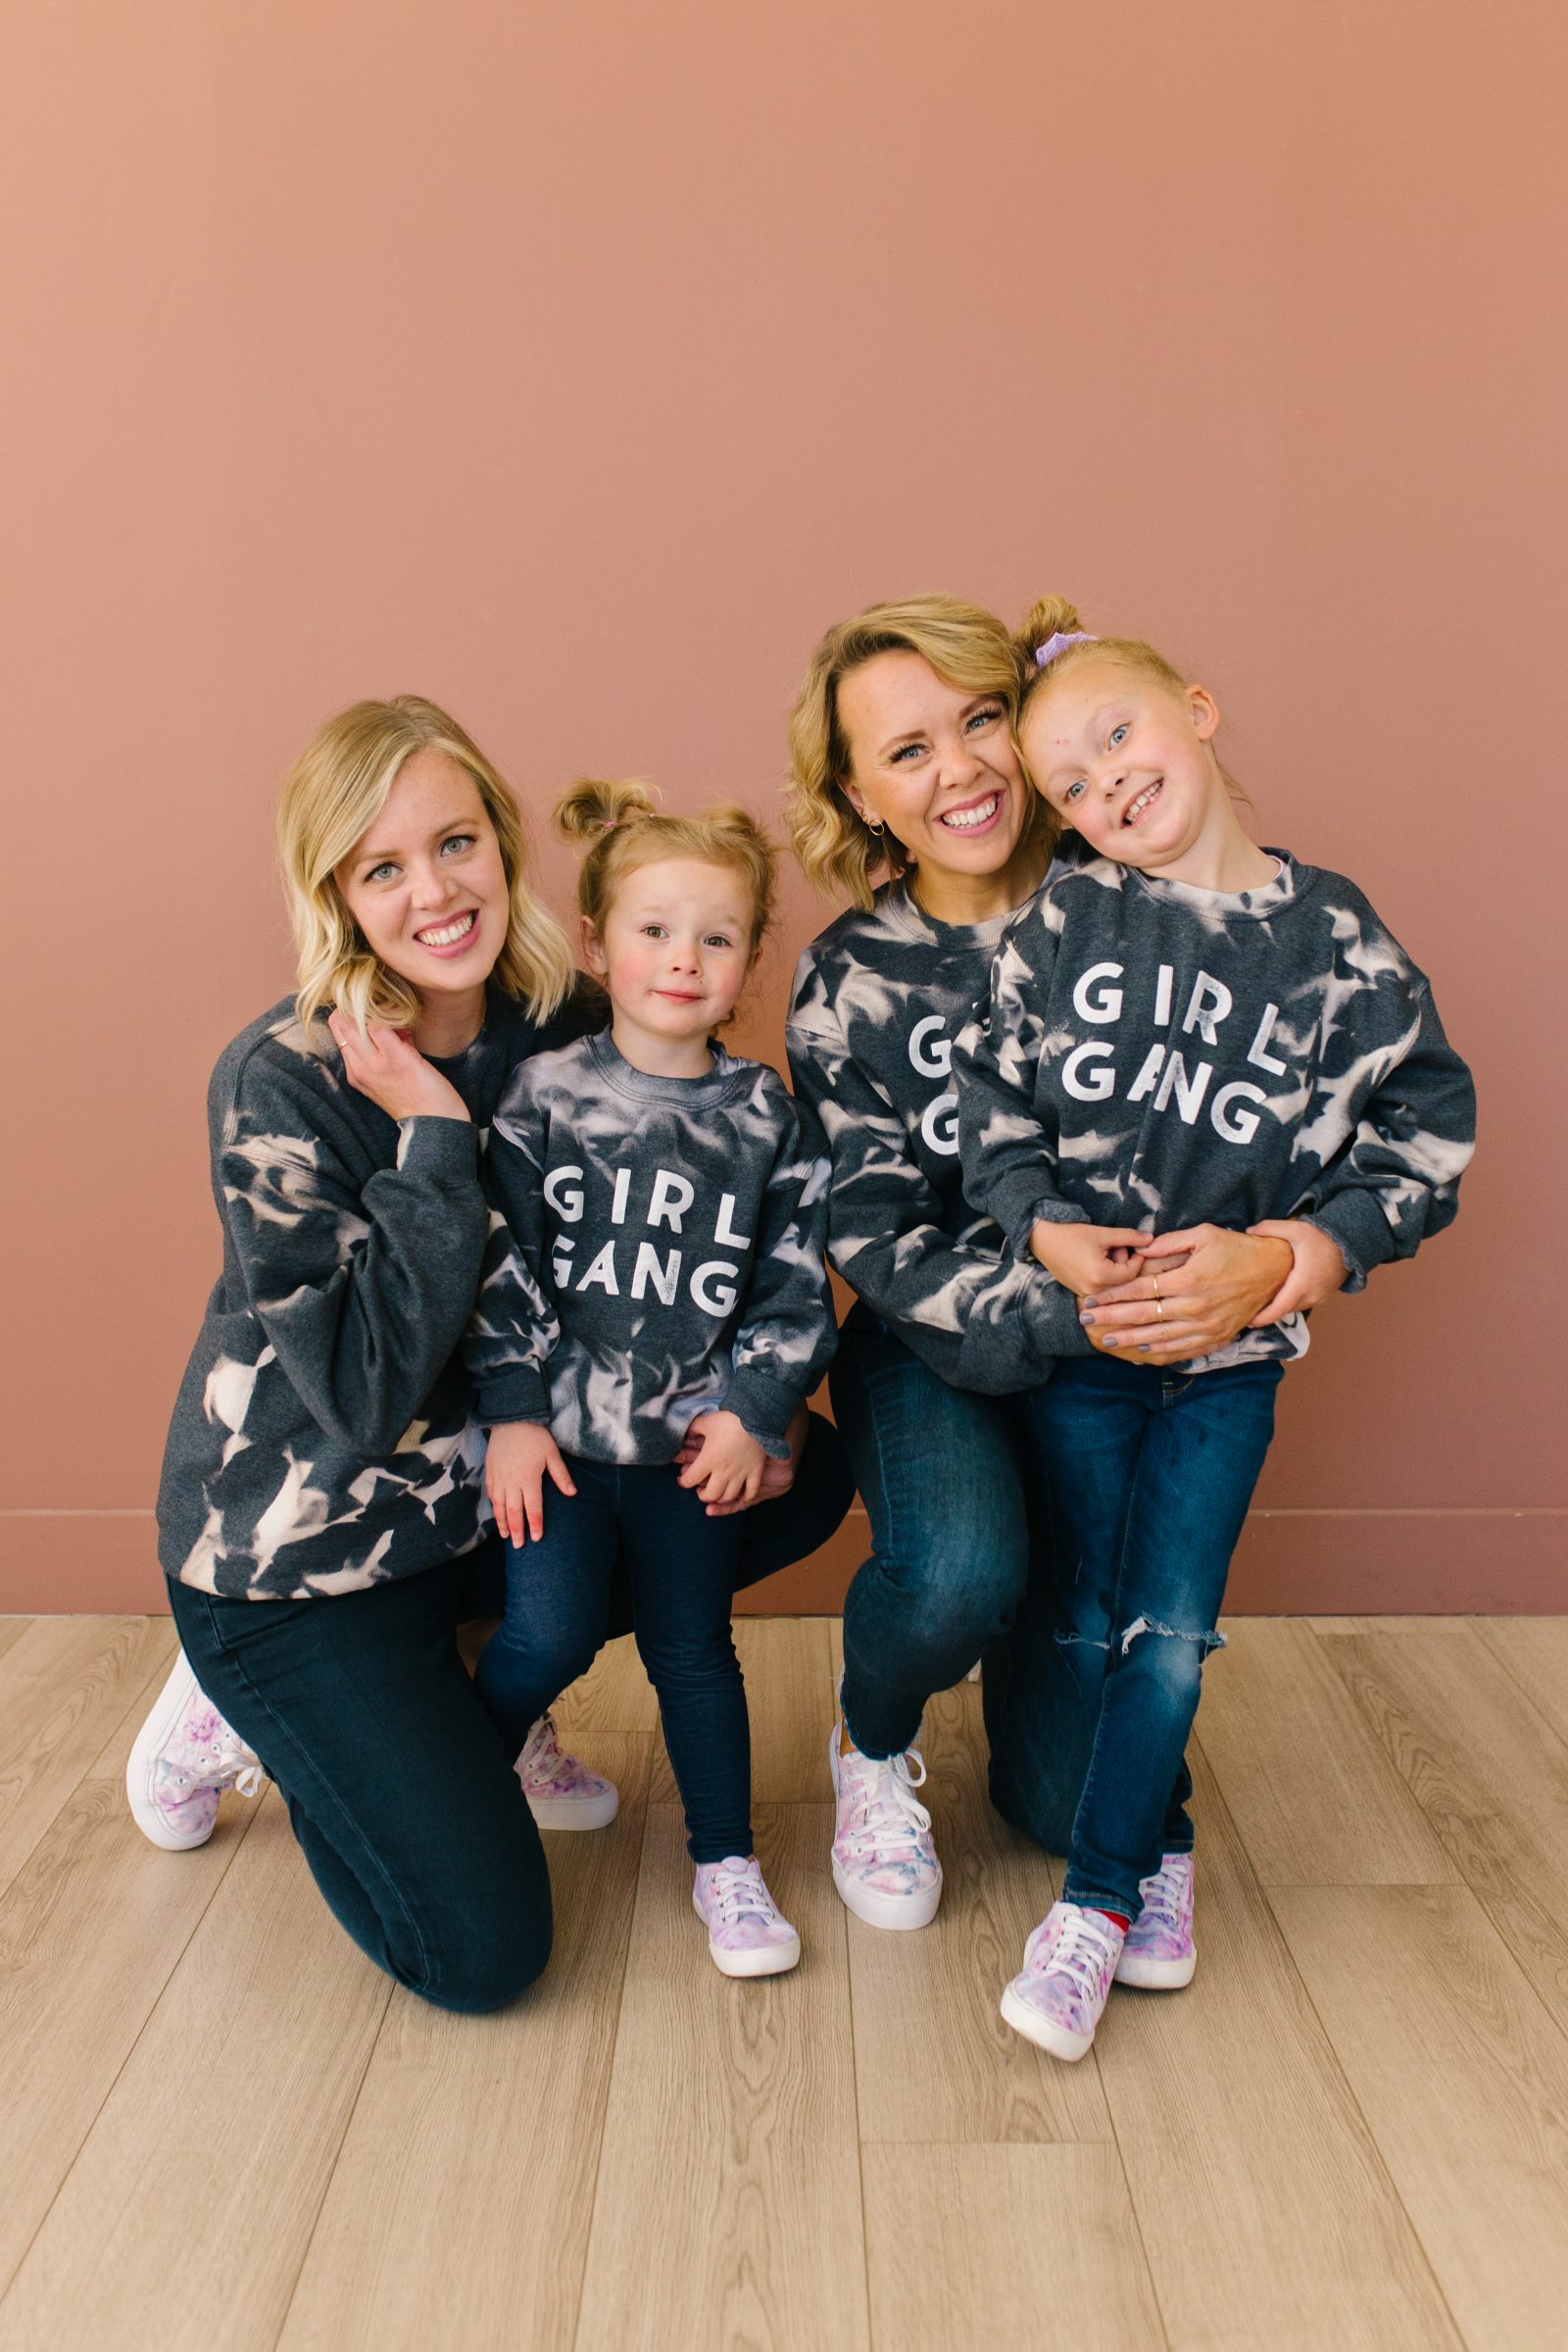
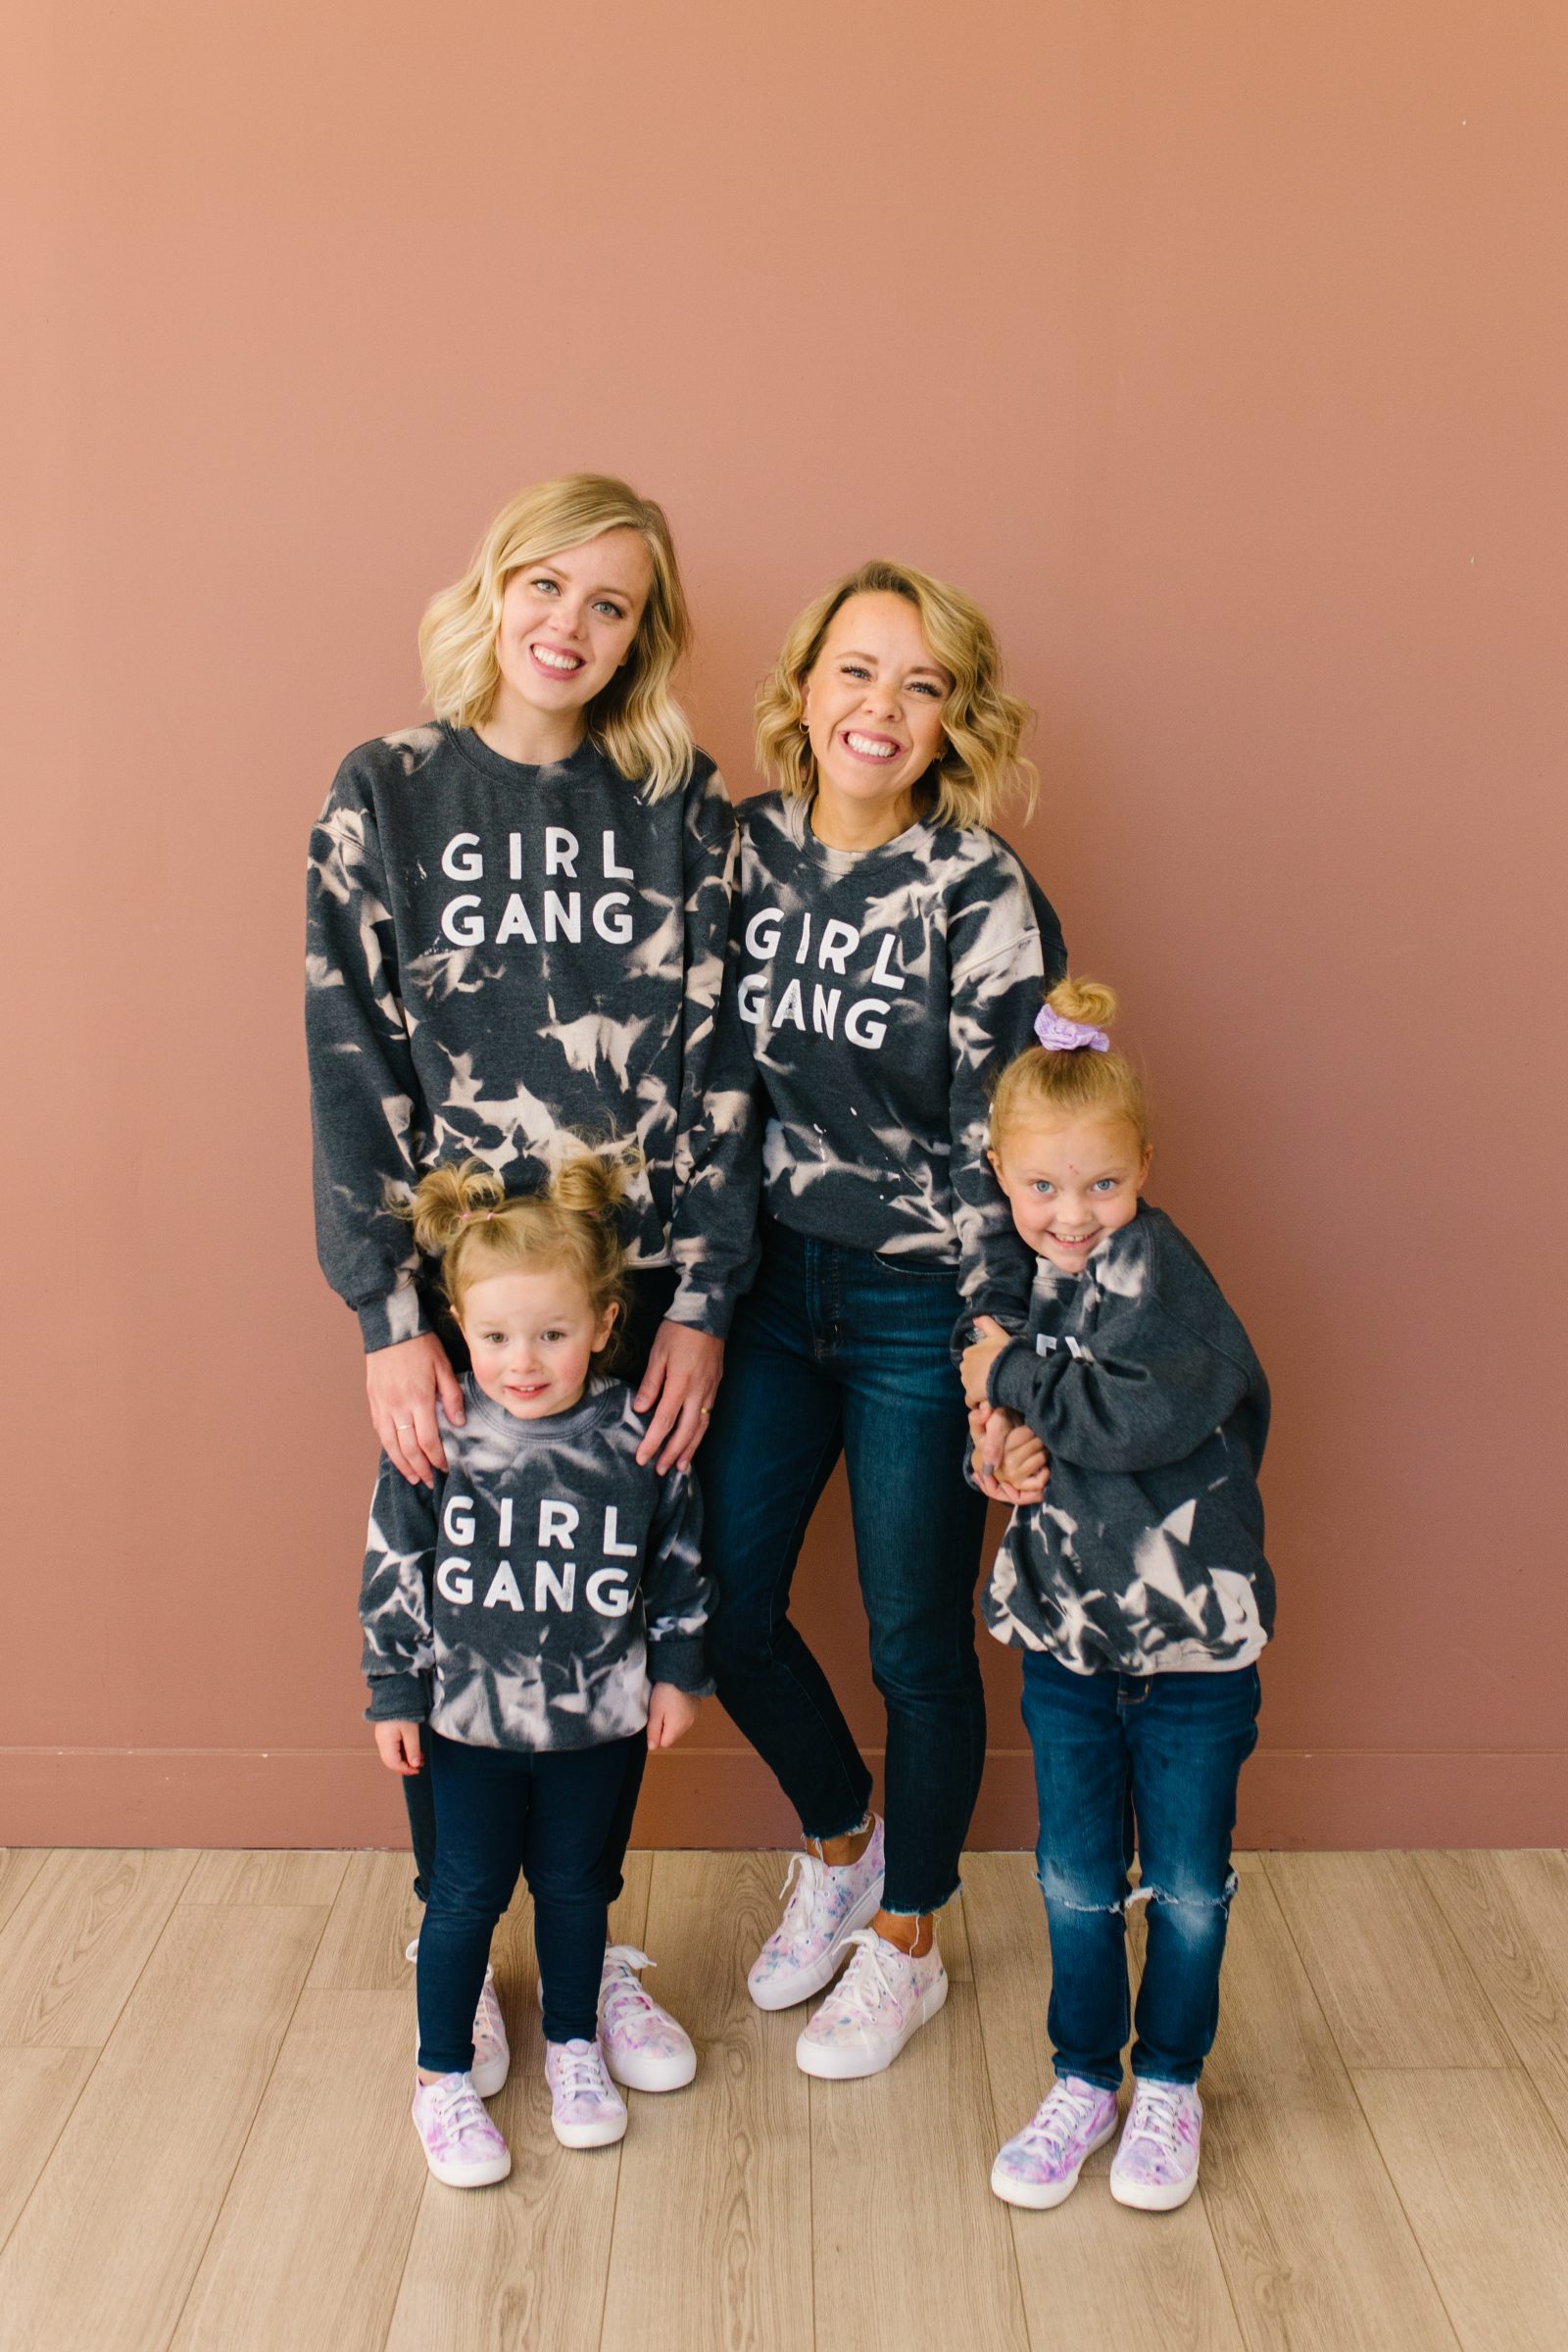
Today we are sharing the tutorial (and some helpful tips) for DIY reverse tie dye sweatshirts! We got the adult and youth Girl Gang sweatshirts from our friends at Wildberry Waves, so we could match with our girls, and then we added some sassy details using reverse tie dye with bleach! Keep reading to learn more!
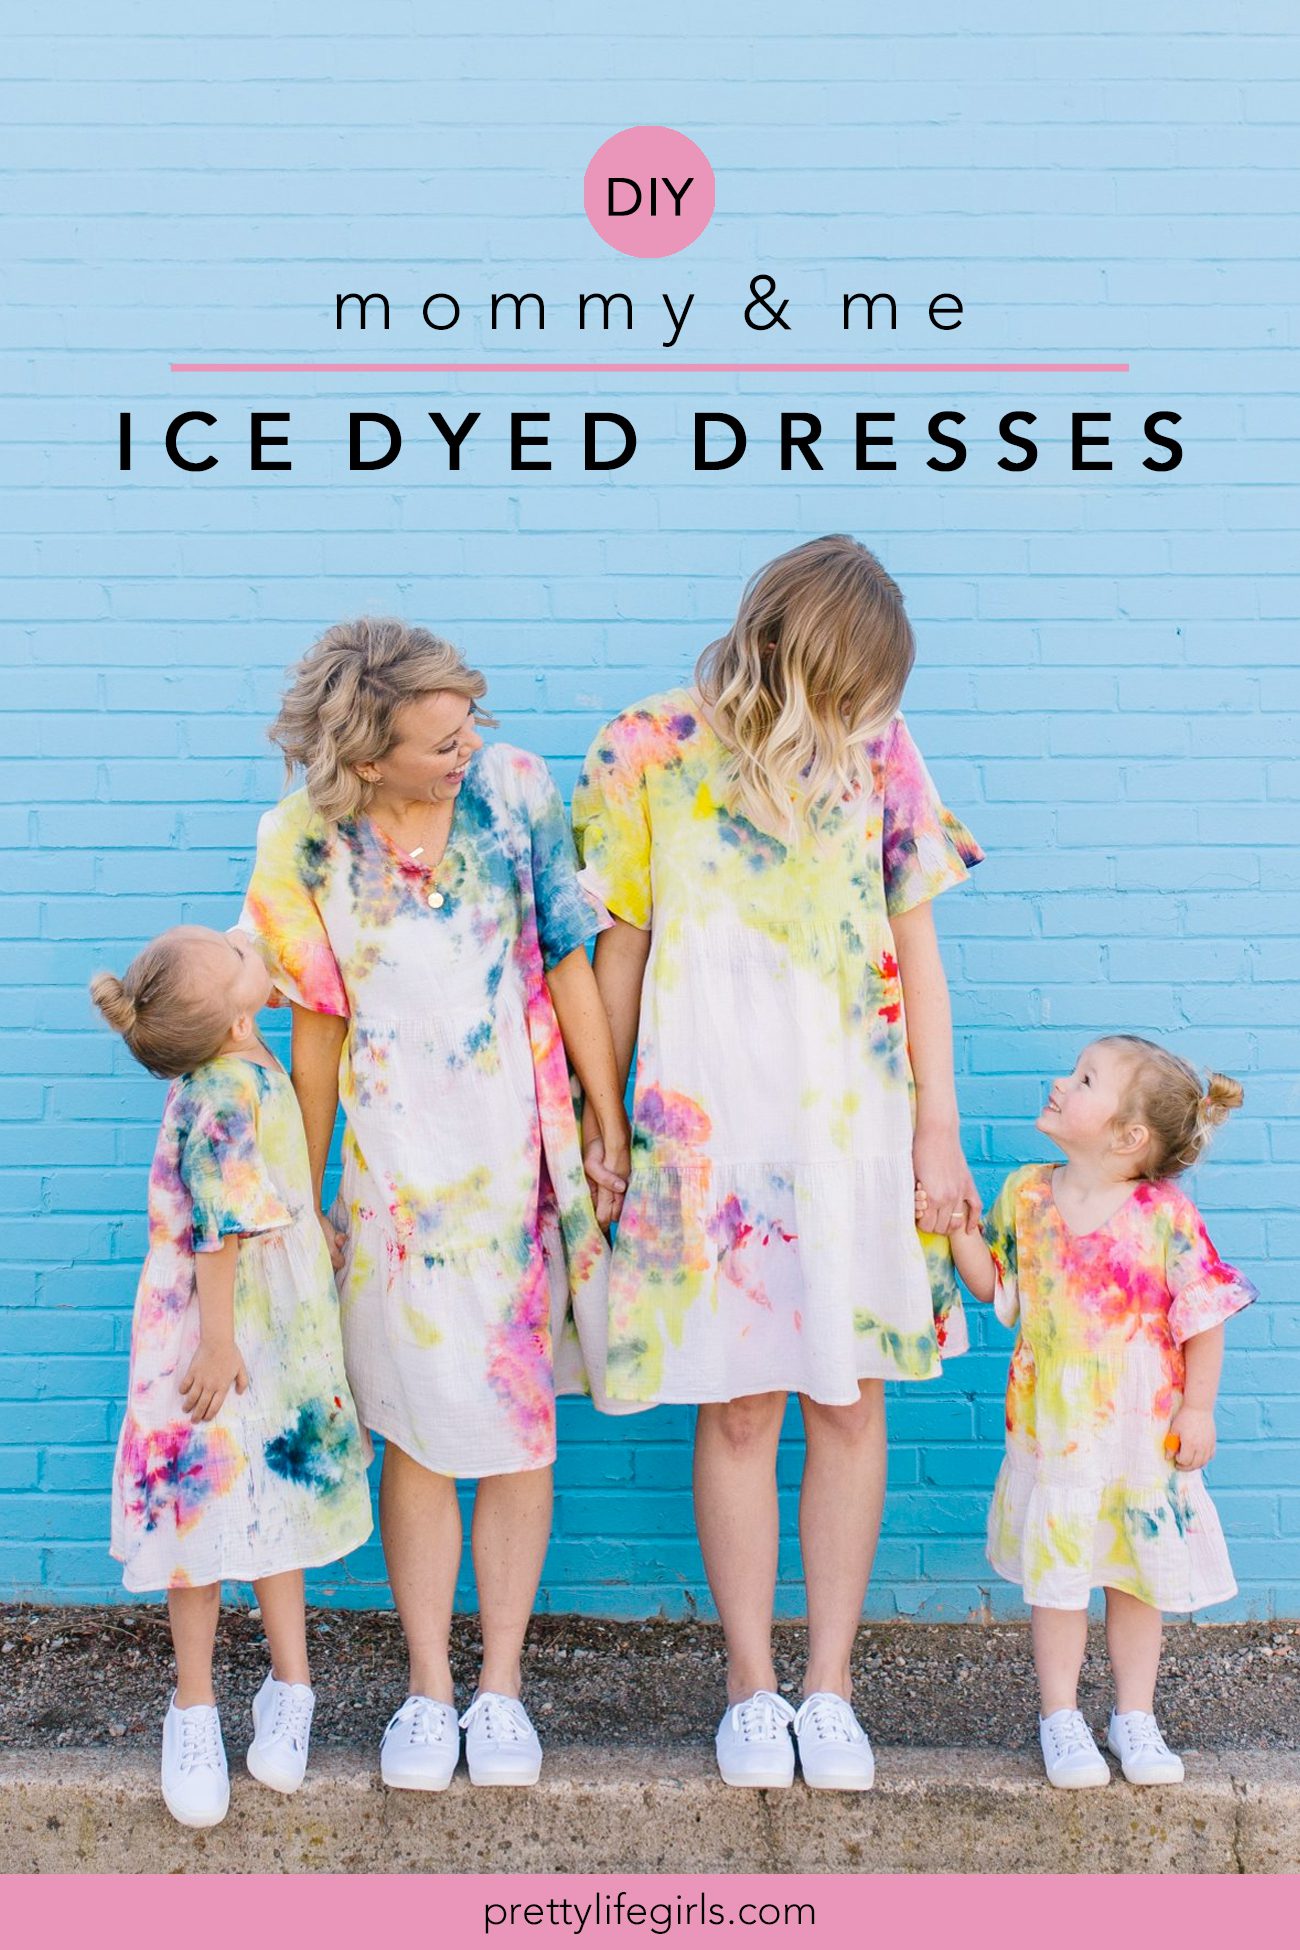
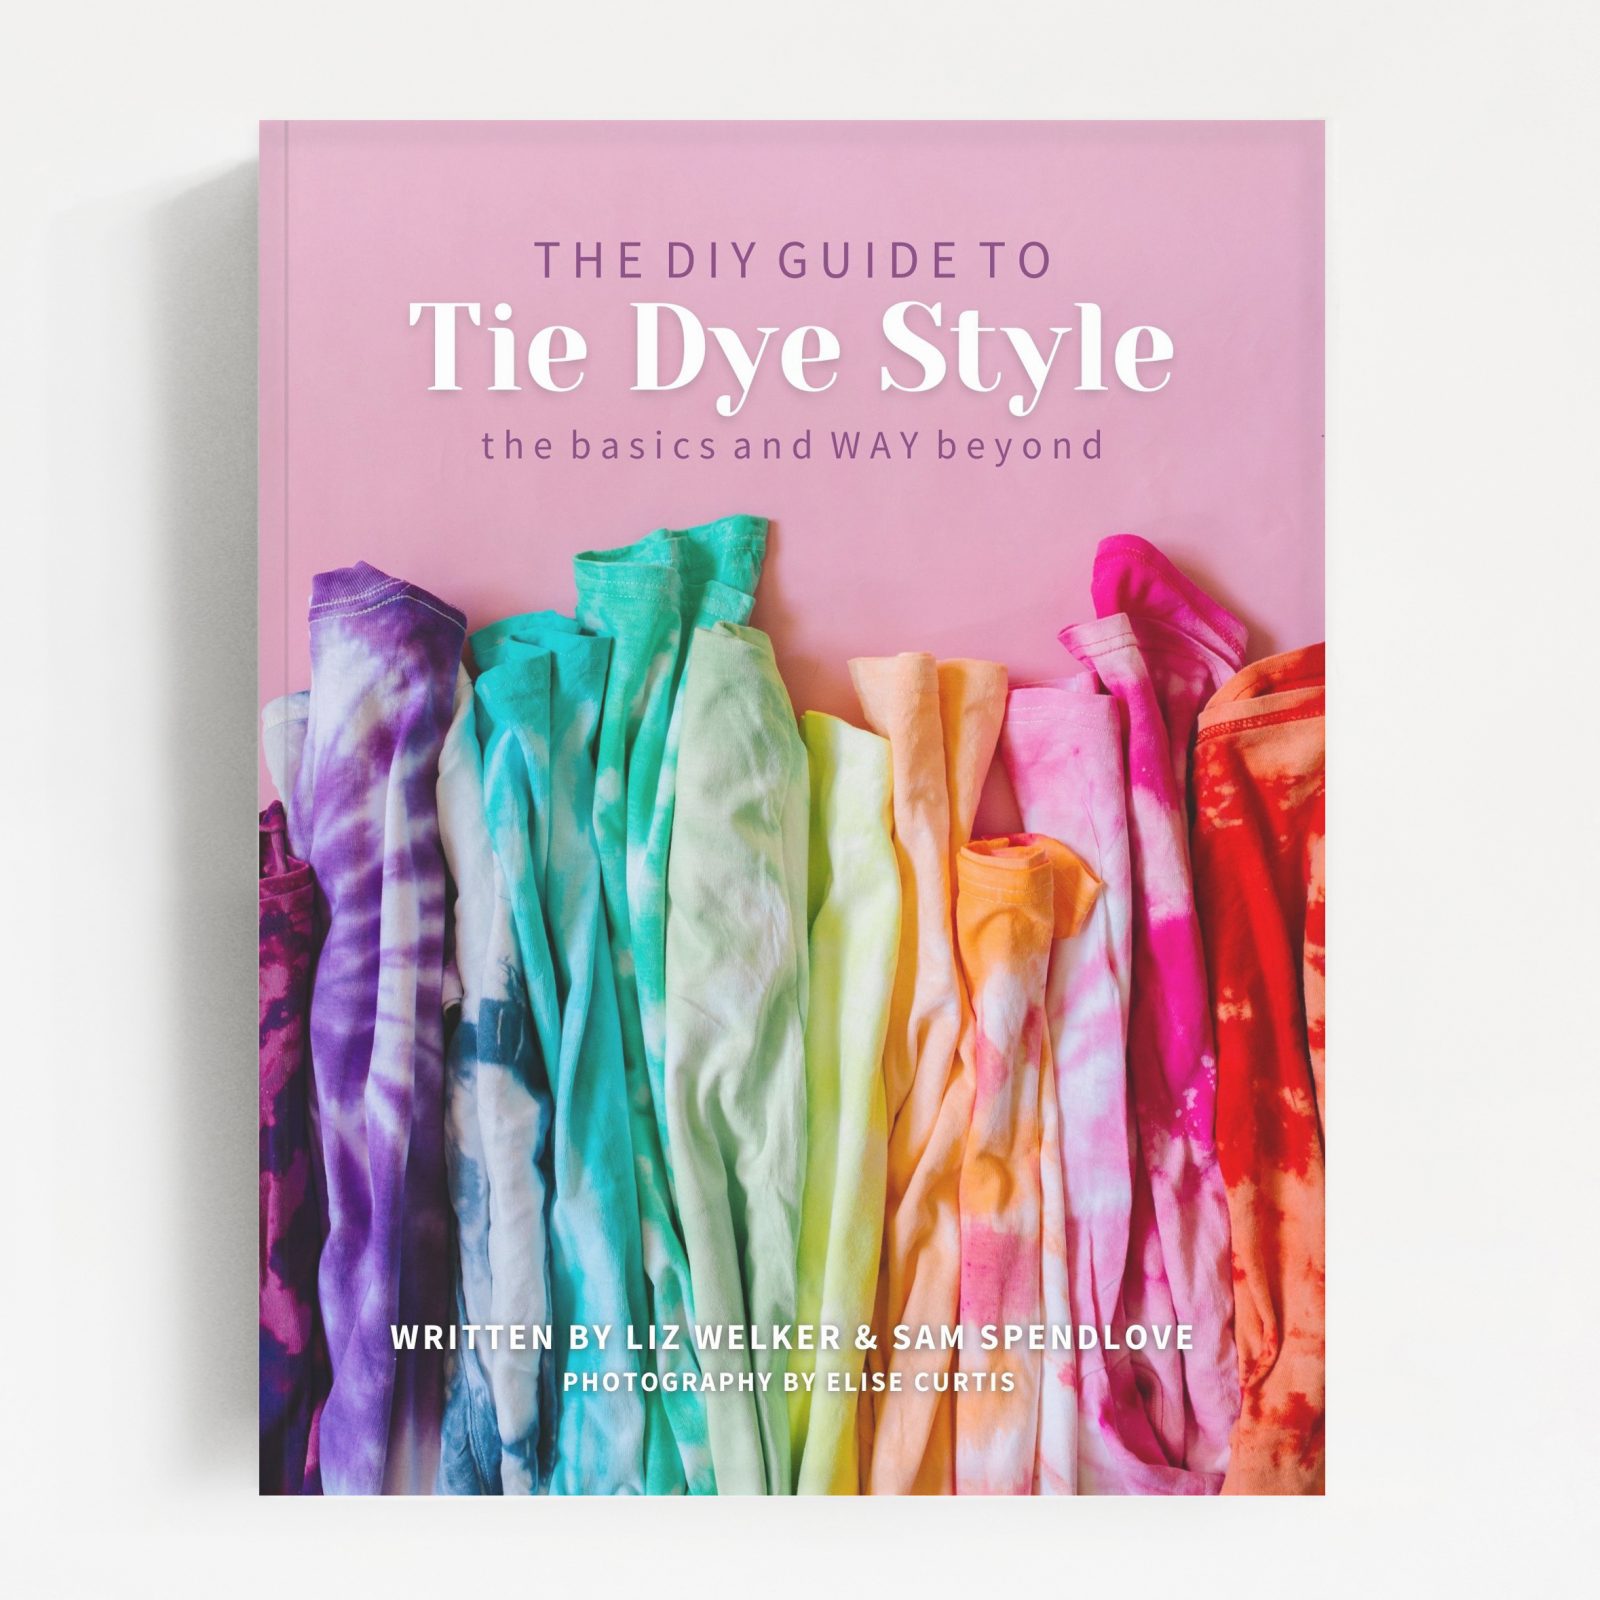
In our new book, DIY Guide to Tie Dye Style, we walk you through tie dyeing all types of fabrics and teach you how to know what type of dye to use based on what’s on your tag, and this tutorial is just a taste of the types of projects you’ll find inside! This beautiful book includes 20 modern tie dye projects from wearables to home decor, party decor and gifts as well supply lists, dye setting tips, and a variety of guides for achieving all kinds of tie dye methods (Shibori, reverse tie dye, ice dye, and more!)
Reverse dye was one of the first tie dye methods we tried (see our t-shirt tutorial here) because the barrier to entry is so low. You likely have bleach in your laundry room and a cotton t-shirt in your closet and that is all you need to make reverse tie dye magic happen! But, as we keep learning, we’ve found a few hacks for getting even better results with each project. So, to set you up for even more success we’ll share them with you!
How do you reverse tie dye with liquid bleach?
What fabric is best for reverse tie-dye?
A 40% cotton/60% polyester blend is going to give you some the best results because bleach only works on cotton (and it changes the makeup of the cotton fibers and lightens them), while the polyester helps keep the integrity of the shirt so the bleach doesn’t eat away at it.
We’ve also found that it can be helpful to use a fabric that has a heather blend because that means the fabric has some white in it which will lighten significantly toward white instead of another color.
Can you use regular bleach to reverse tie dye?
Yes! But note that certain brands of bleach will work better than others (see our favorite here). We use a 1:1 ratio of water and bleach.
How do you reverse tie dye patterns?
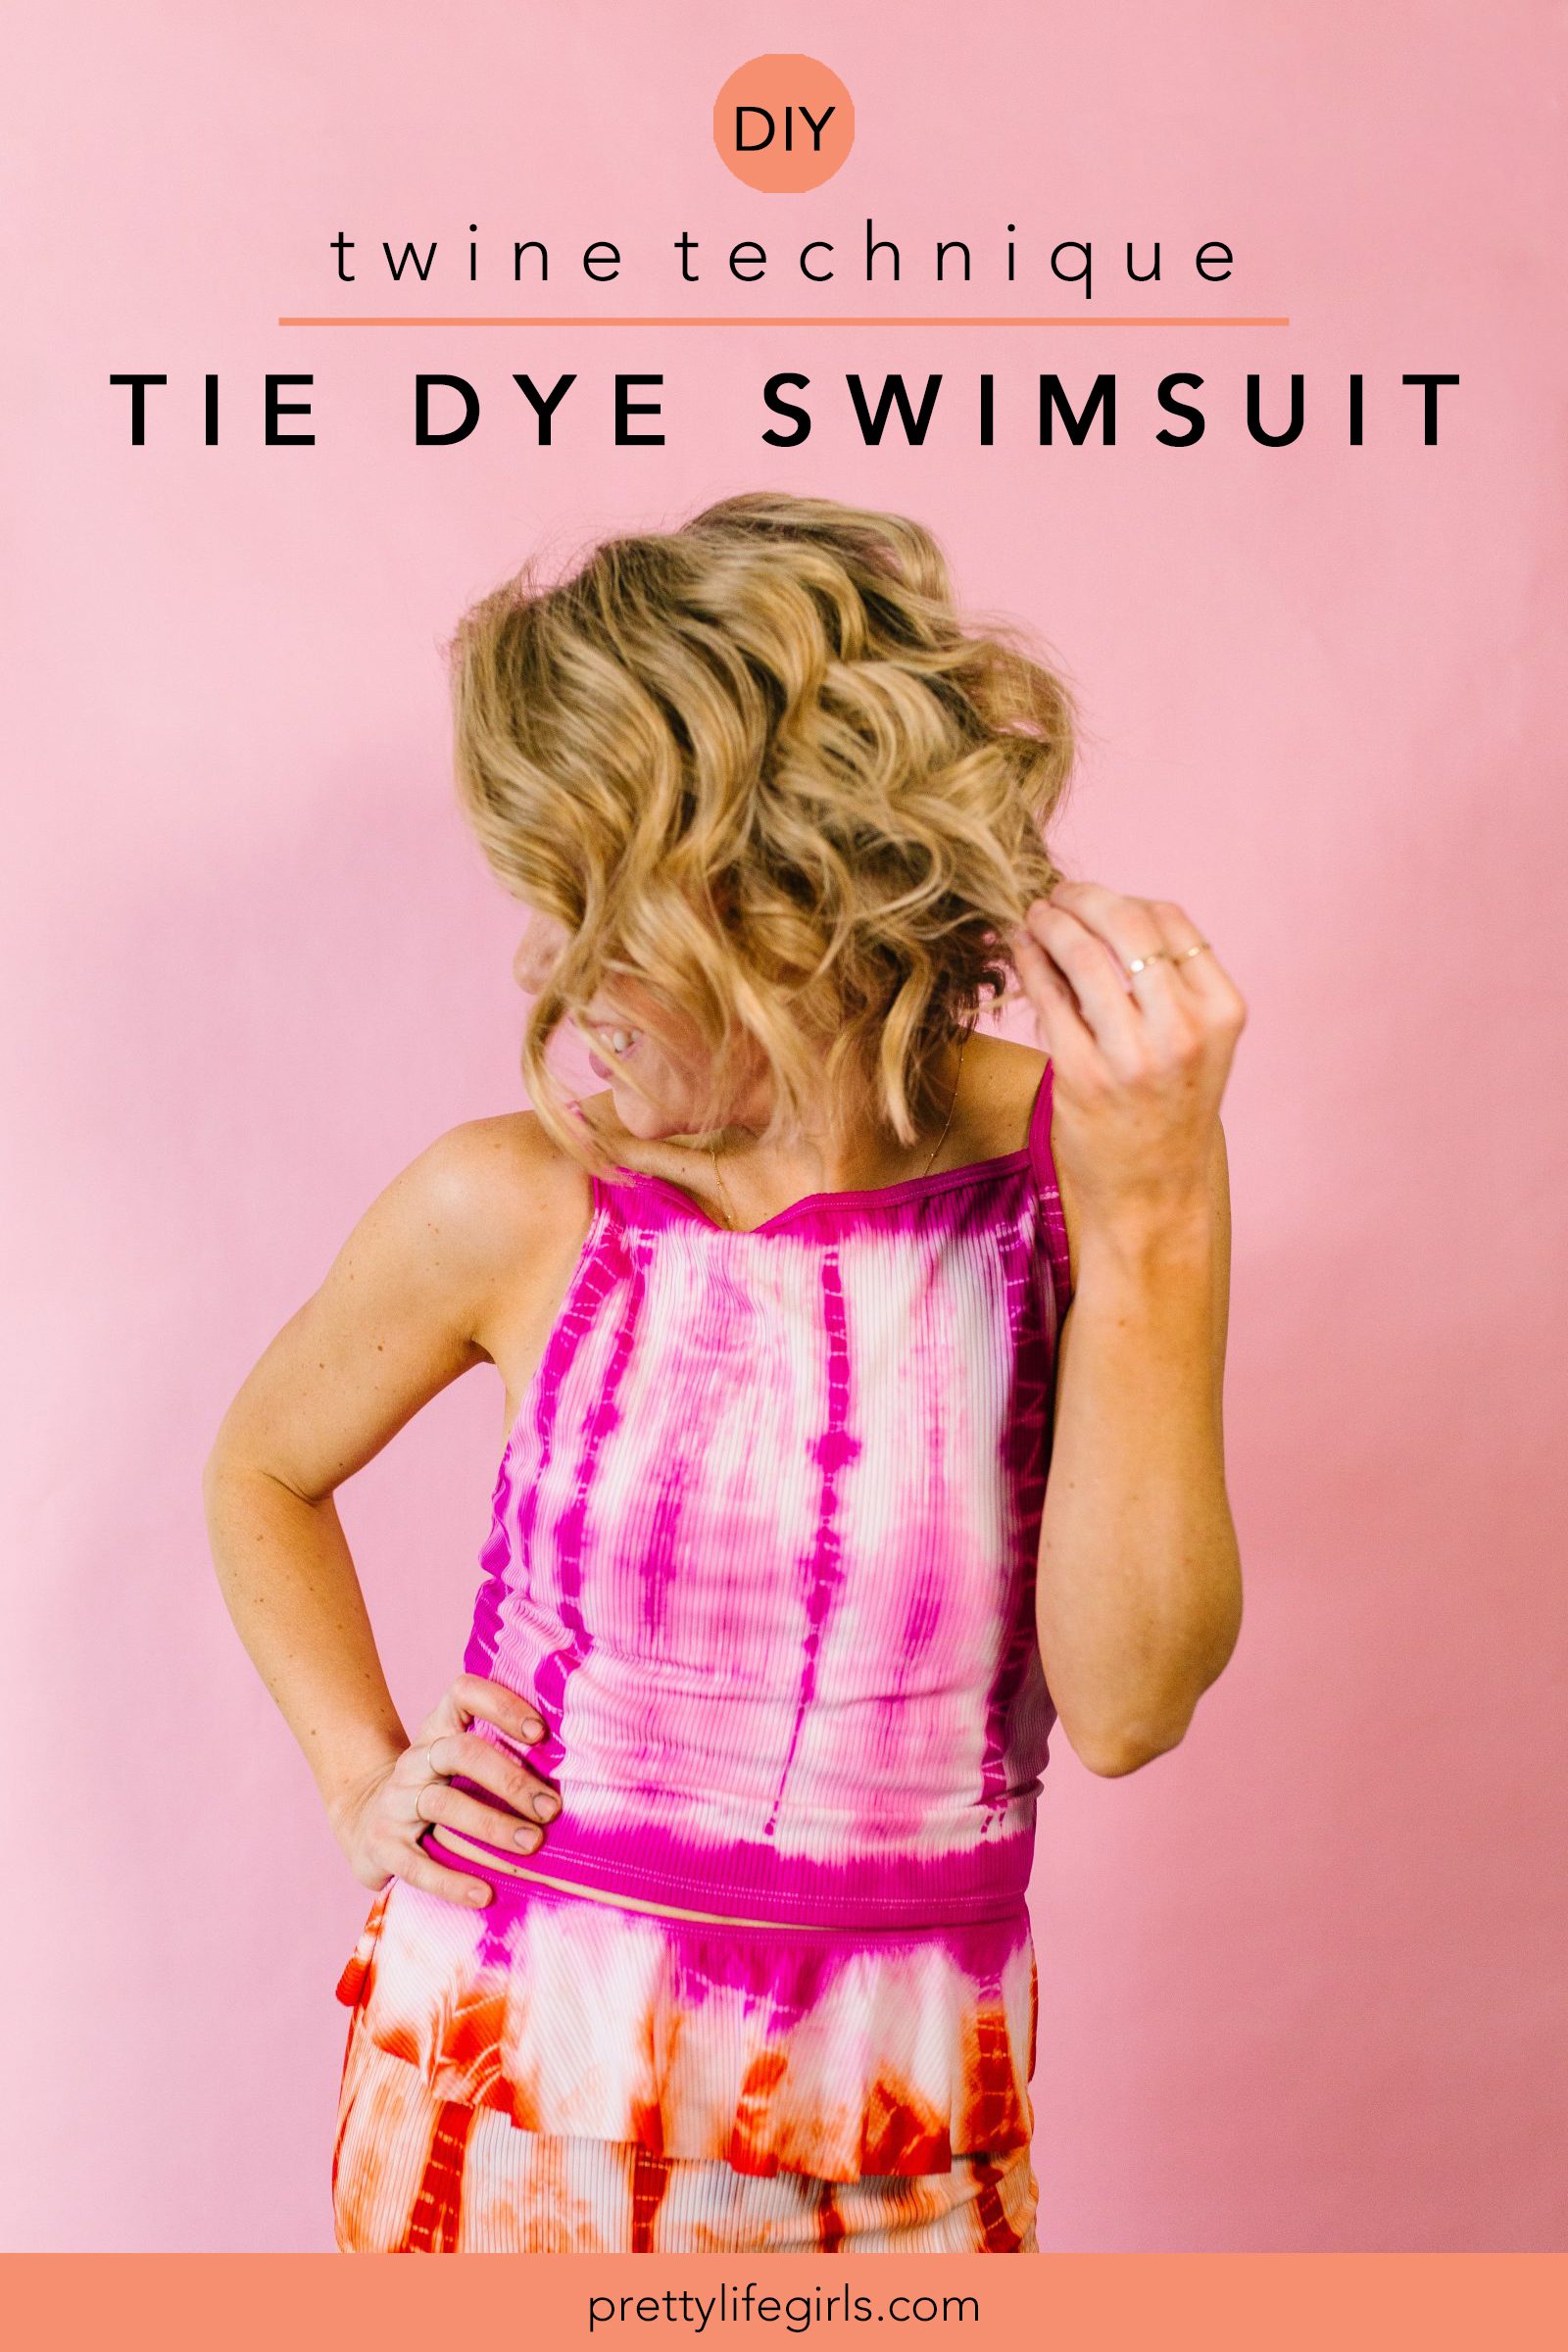
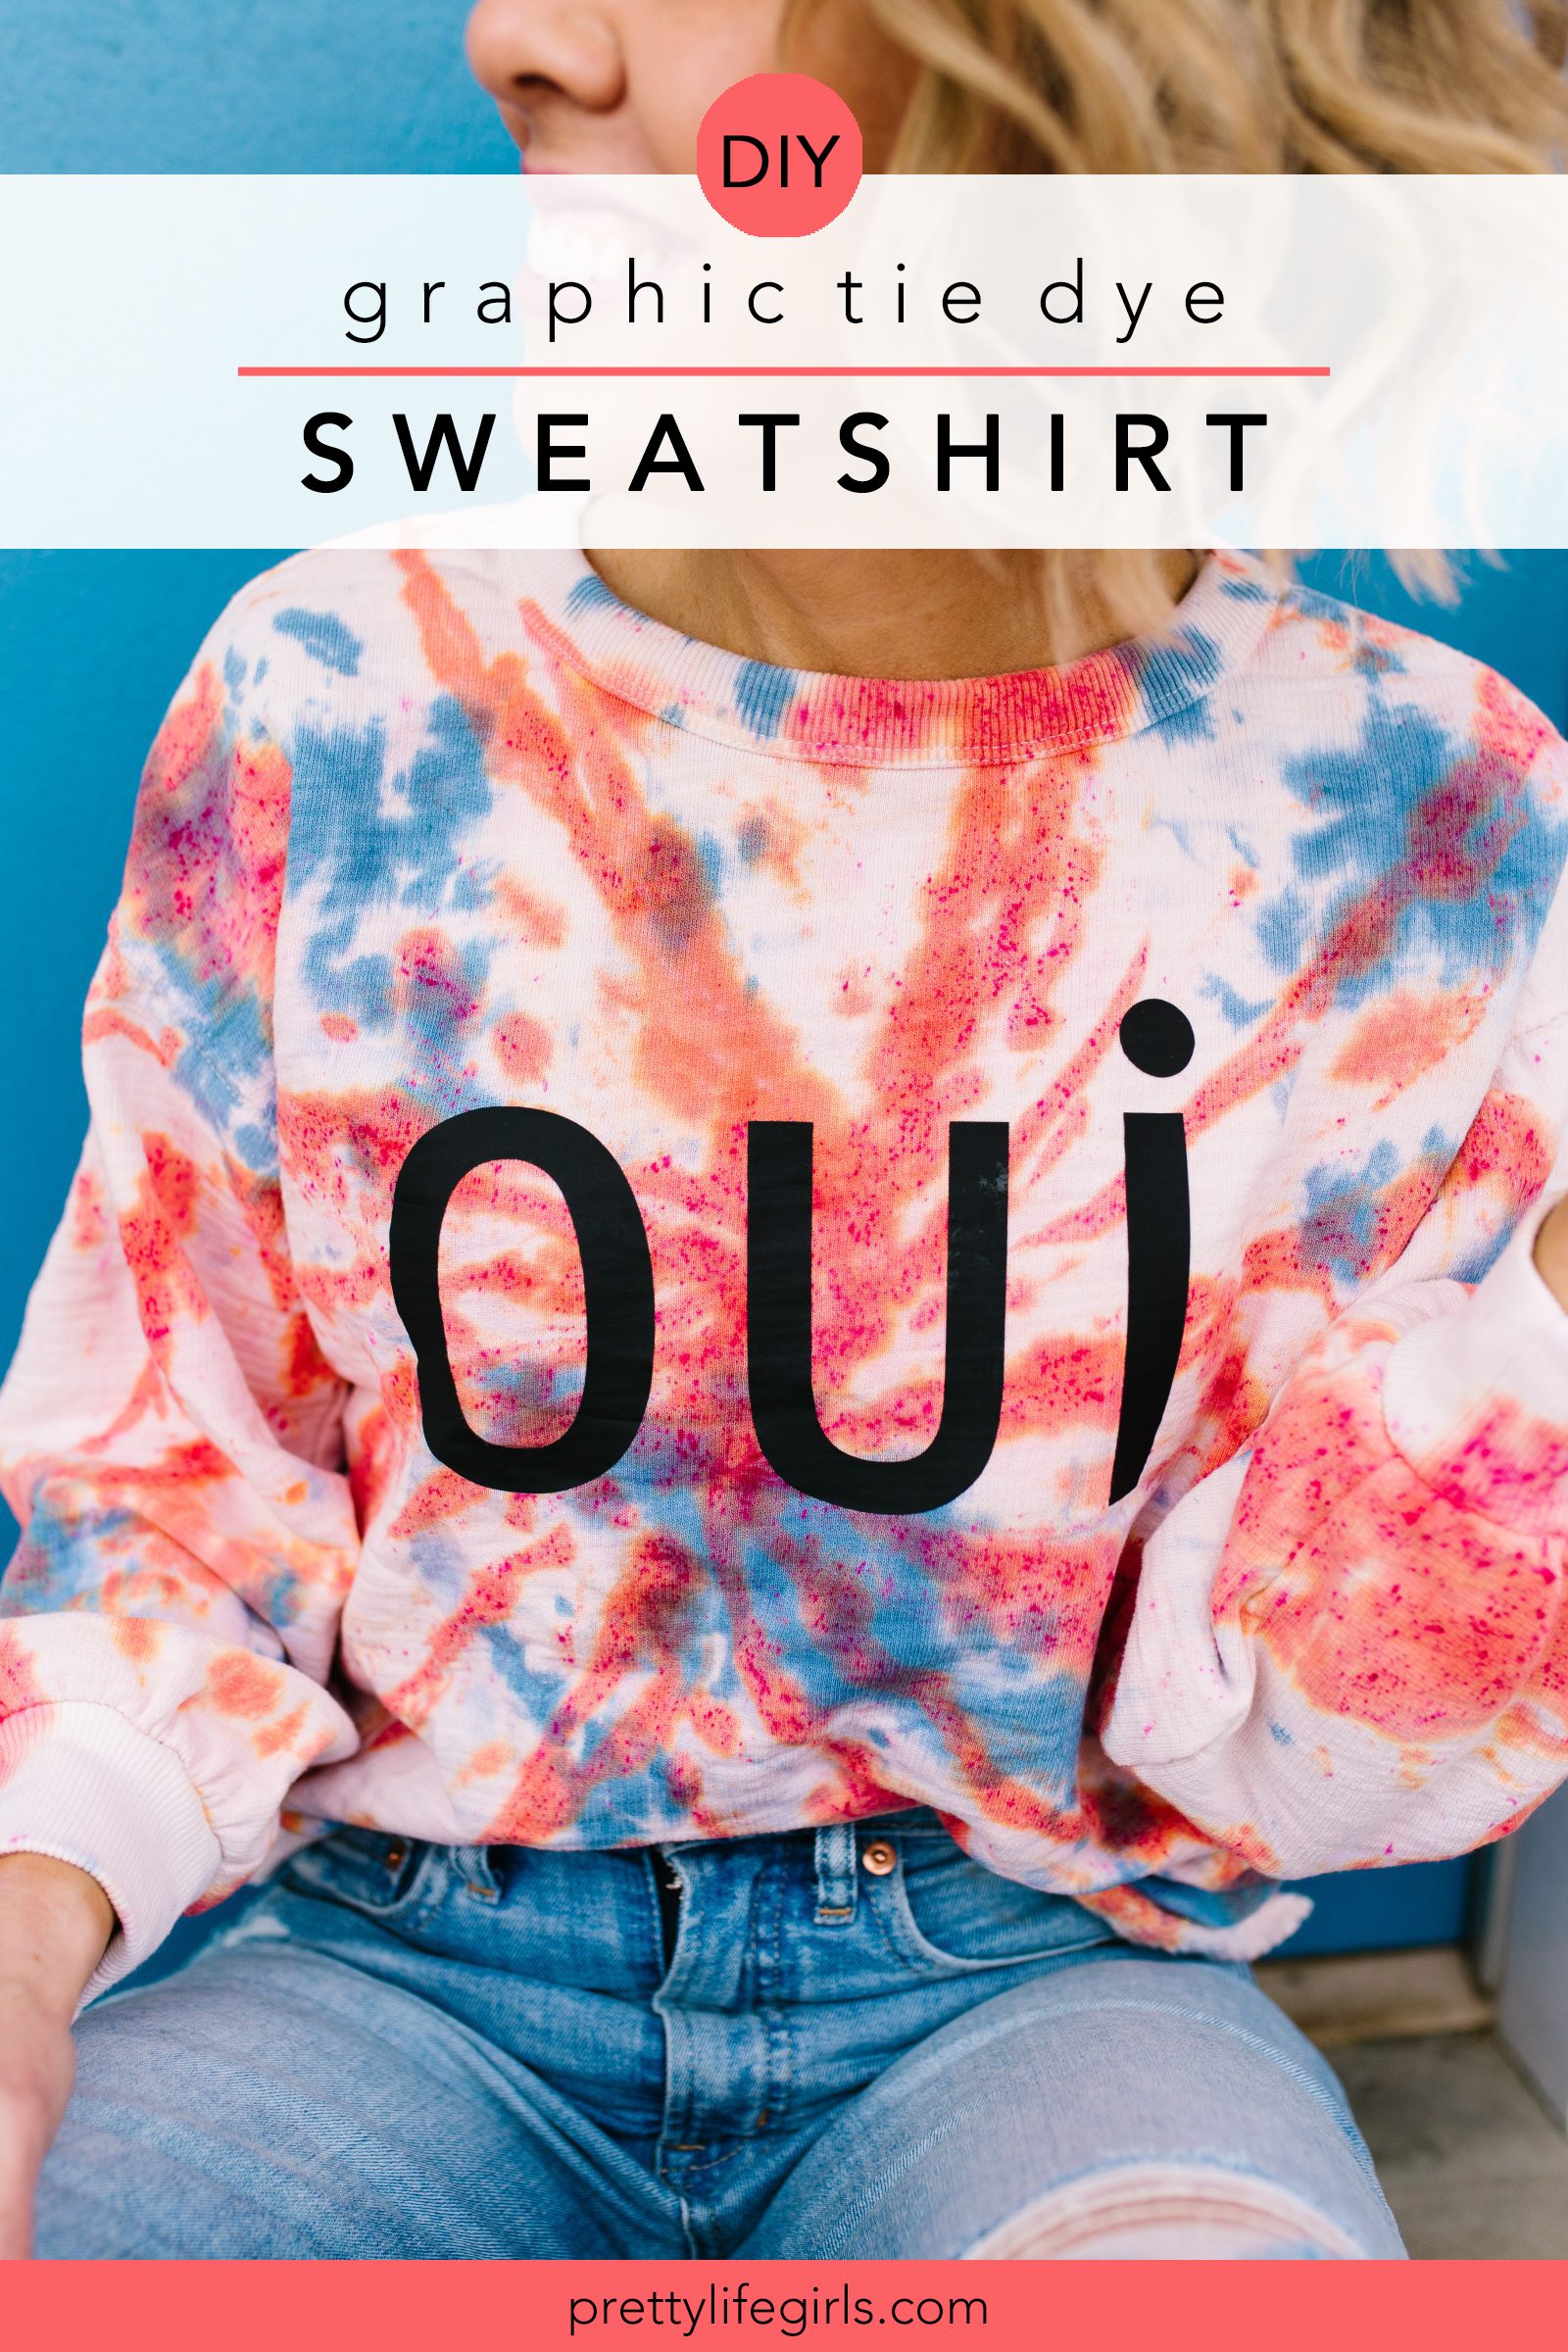
Aside from binding fabric with rubber bands like with traditional tie dye, a fun way to get different patterns with reverse dye is using different bottles to apply the bleach. For this tutorial we used a mist bottle, which gives an air brushed effect that is so fun! We also love using spray bottles (for a splatter effect) and squeeze bottles (for a drip effect).
You’ll also see variation in pattern if you are applying the bleach to damp fabric versus dry. Combine all of these (binding, scrunching, bottles, and wet/dry), and there is an endless variety of patterns you can achieve!
How long does it take for reverse tie-dye to work?
Reverse tie dye can take between 5-10 minutes to lighten completely. Leaving the bleach on for too long can damage the fabric, so sure to check on your shirt every couple minutes.
We also recommend putting your fabric outside in the sun to lighten as much as possible in the shortest amount of time.
Supplies needed to make DIY Reverse Tie Dye Sweatshirts
Sweatshirt (also available in tees)
Bleach (this kind works great)
Mist bottle
Gloves
How to make DIY Reverse Tie Dye Sweatshirts
Step 1: On a surface safe for applying bleach, scrunch the dry sweatshirt into a mound of fabric.
Step 2: Using your mist bottle, apply the bleach to the areas of the sweatshirt that you would like to lighten. Flip the sweatshirt over and repeat the process on the back of the sweatshirt.
Step 3: If it’s a warmer, sunny day, let your sweatshirt set in the sun until it has reached the desired shade.
Step 4: Put the sweatshirt in cold water to stop the color changing process.
Step 5: Wash and dry sweatshirts separately at least for the first wash.

That’s it! You can TOTALLY do this one. We mean it! Try if first on a shirt or piece of fabric that is a little lower stakes if you need to (until you get the hang of it) and before you know it, you’ll be a master! We can’t wait to see what you create!
Happy making!
ox. Liz and Sam
Looking for more DIY Tie Dye Projects? Check out these projects!
 DIY Mommy & Me Tie Dye Jumpsuits