


This post was originally published in March 2021 and updated as of March 2023.
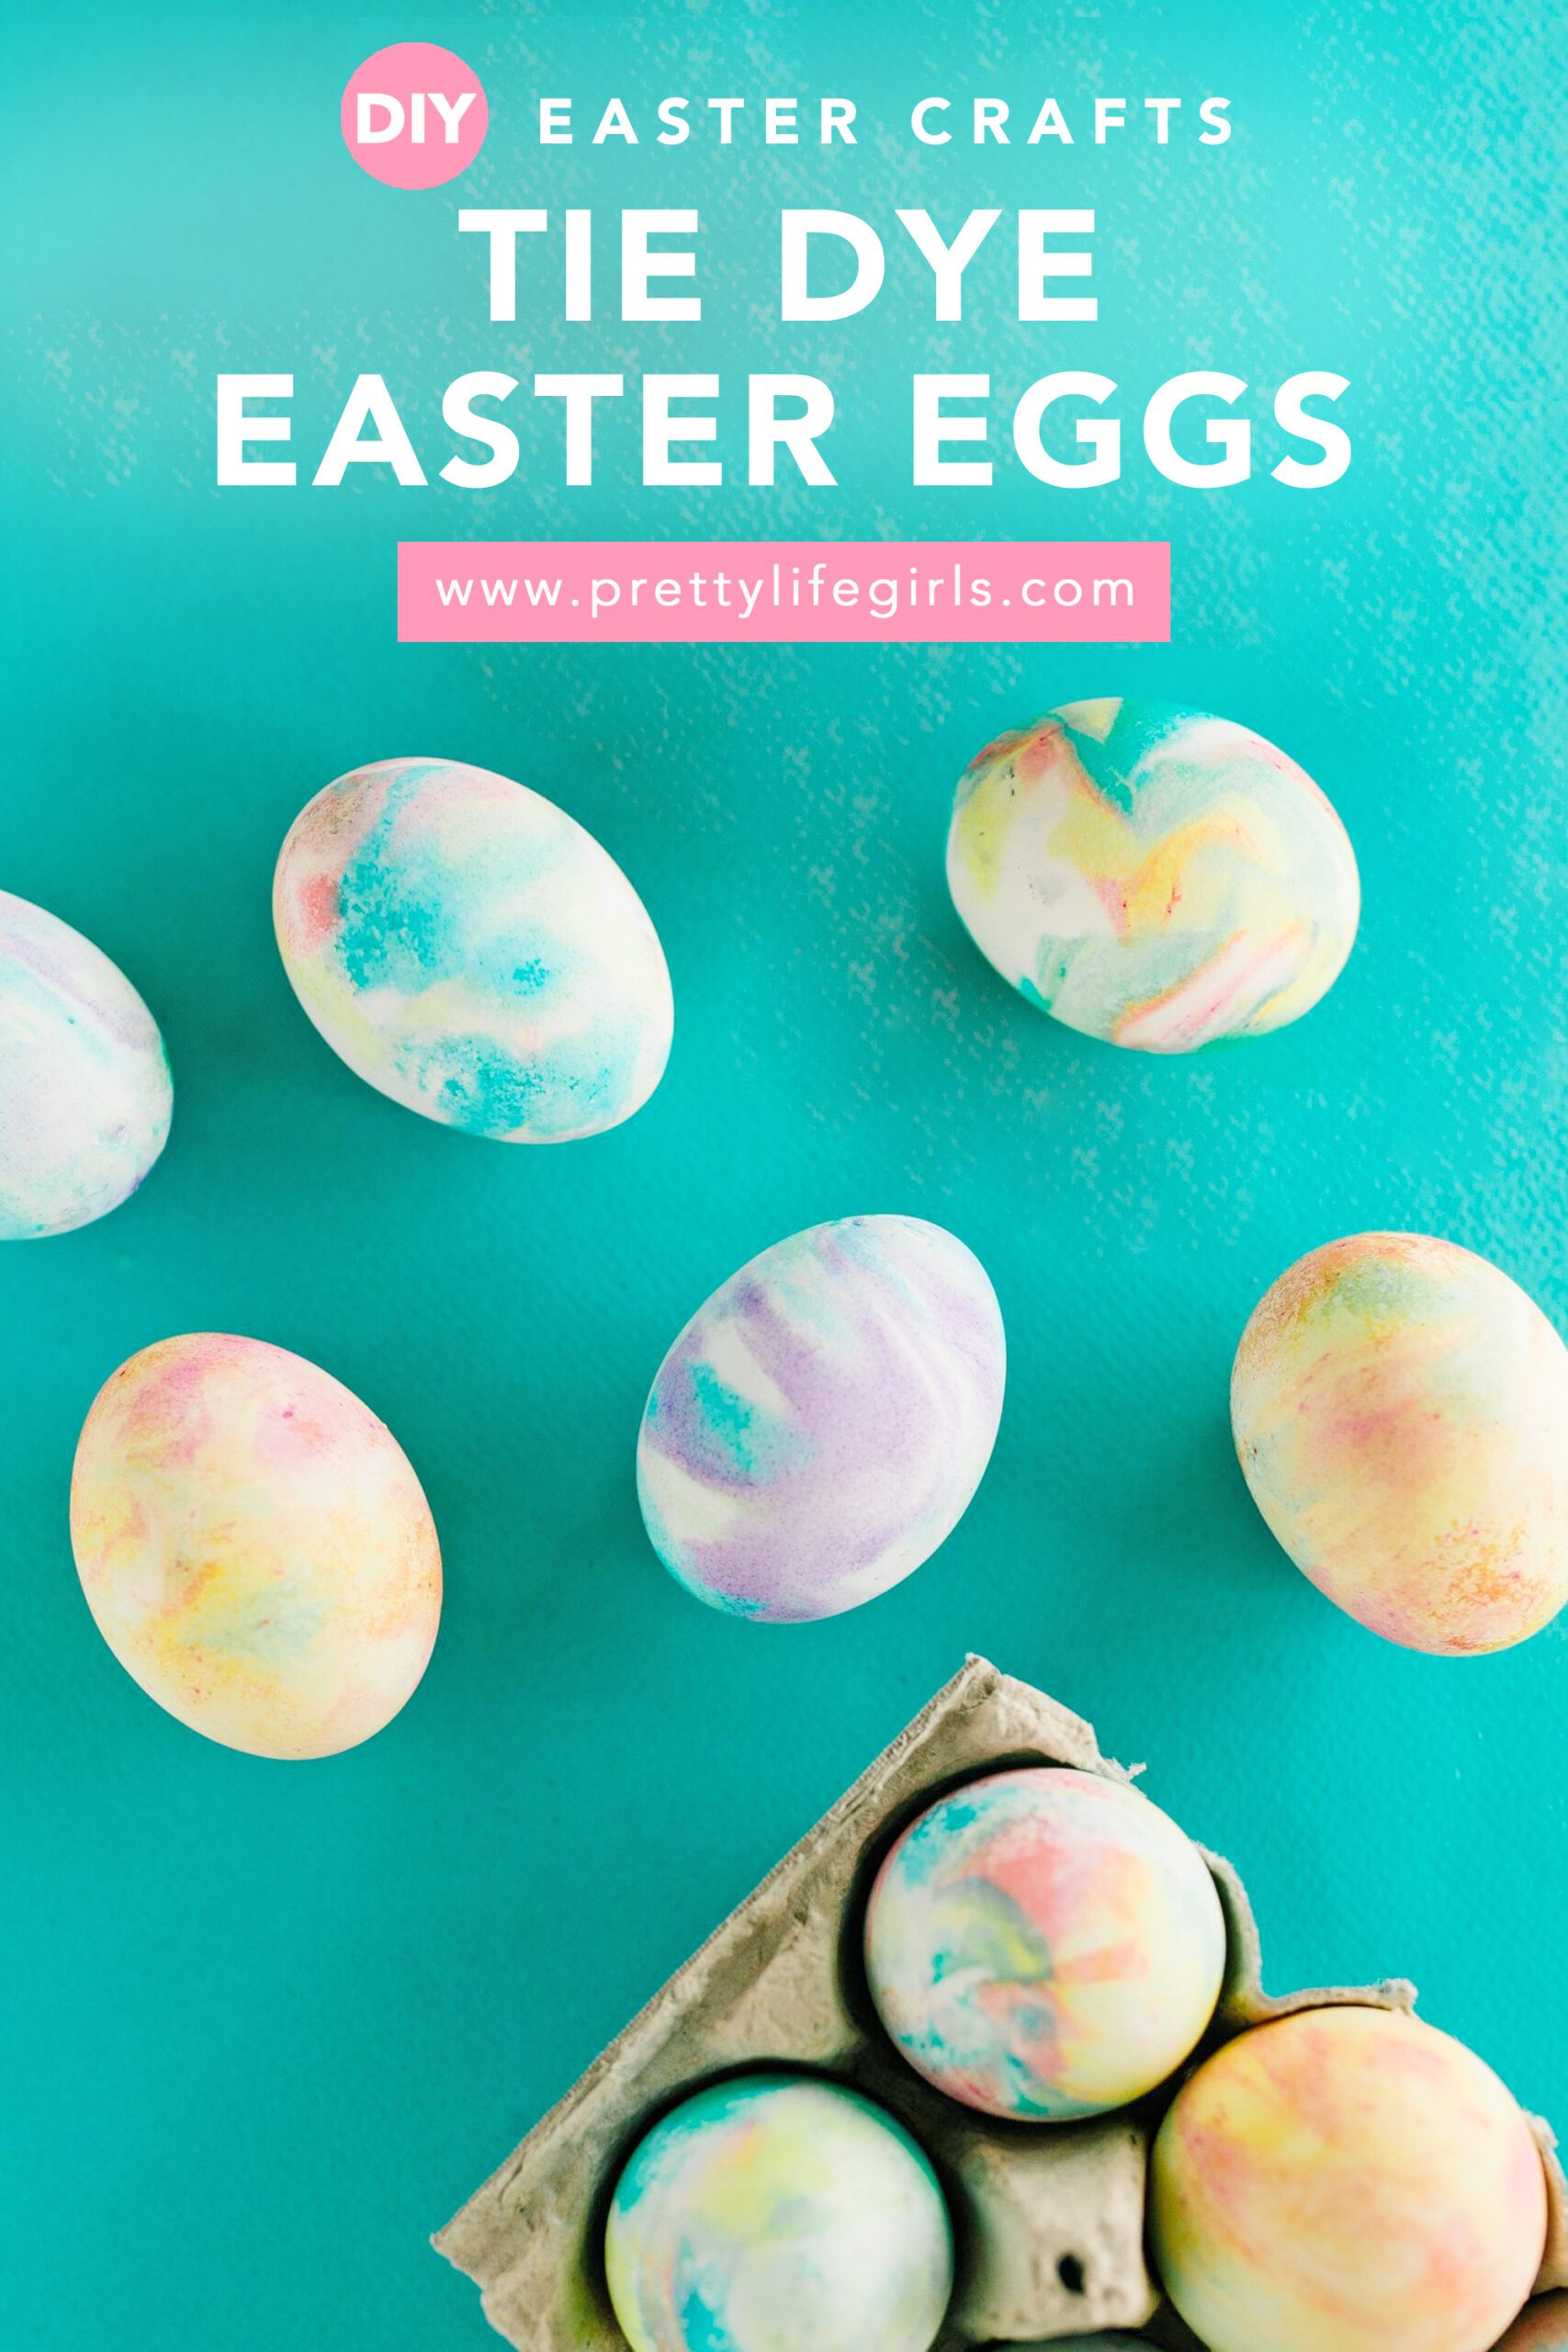
Learn how to make gorgeous and easy Tie Dye Easter Eggs with shaving cream and tie dye or food coloring! This tutorial will walk you through every step!
How to Make Tie Dye Easter Eggs with Shaving Cream
If you have followed the PLG blog for a while then you know there are two things we take very seriously around these parts, and those things would be egg decorating and tie dye.
So, it only made sense that in this, the year of tie dye (I just decided to declare that. It makes sense with the new book and such, so can you just go with it?) that we combine these two loves and make tie dye Easter eggs!
How do you make tie-dye colored eggs?
After scouring the internet, I found a few different methods that seemed like they would work! One involved wrapping an egg in a paper towel and then applying dye, another involved using mayonnaise to transfer the dye to the egg.
But the one we chose sounded like it would be effective and be very fun for the kiddos, and I’m happy to report that we were correct in that assumption. We made tie dyed Easter eggs using shaving cream!
Can you use tie dye to color Easter eggs?
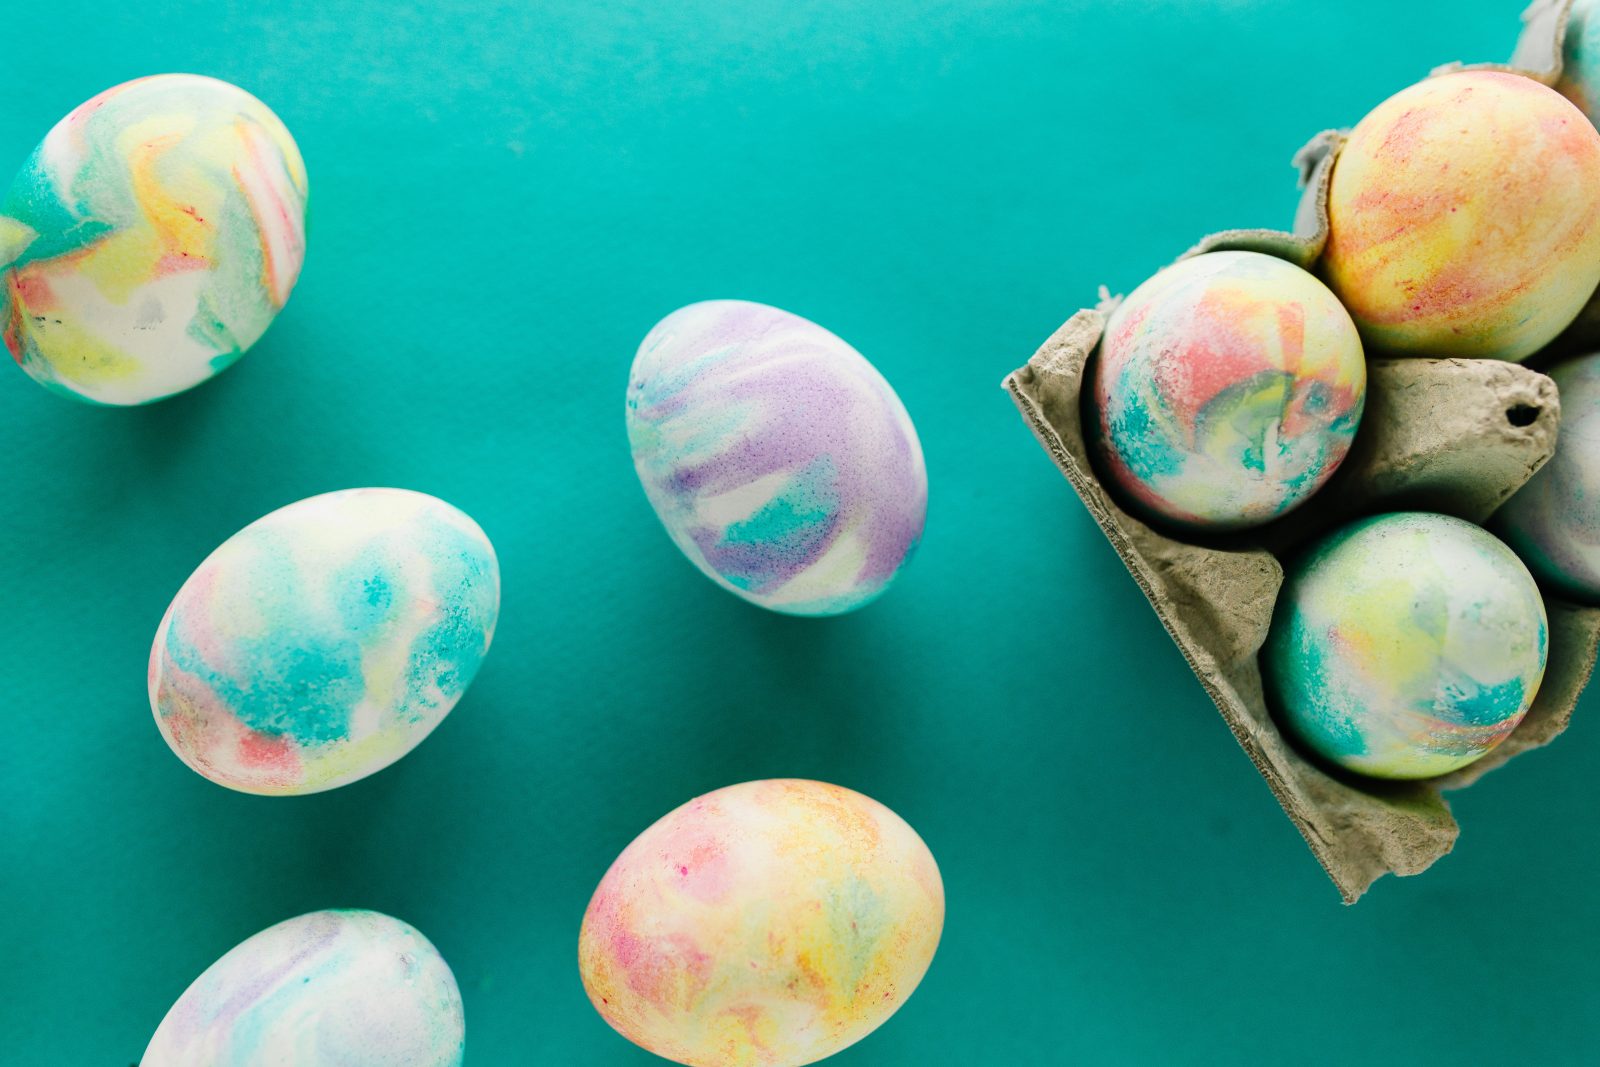
We used actual tie dye to make our eggs because we happen to have a WHOLE lot around. This worked great and the colors were so vibrant but it does make it so the eggs are no longer food safe.
If you would like to eat your eggs after you dye them, you could swap out the tie dye for liquid food coloring and shaving cream for whipped cream to achieve a similar effect!
Supplies needed to make Tie Dye Easter Eggs
Disposable container
Hard boiled eggs with a white shell
Shaving cream
Wooden skewer
Tie dye in various colors
Garbage bags or disposable table cloth
Gloves

How to make Tie Dye Easter Eggs
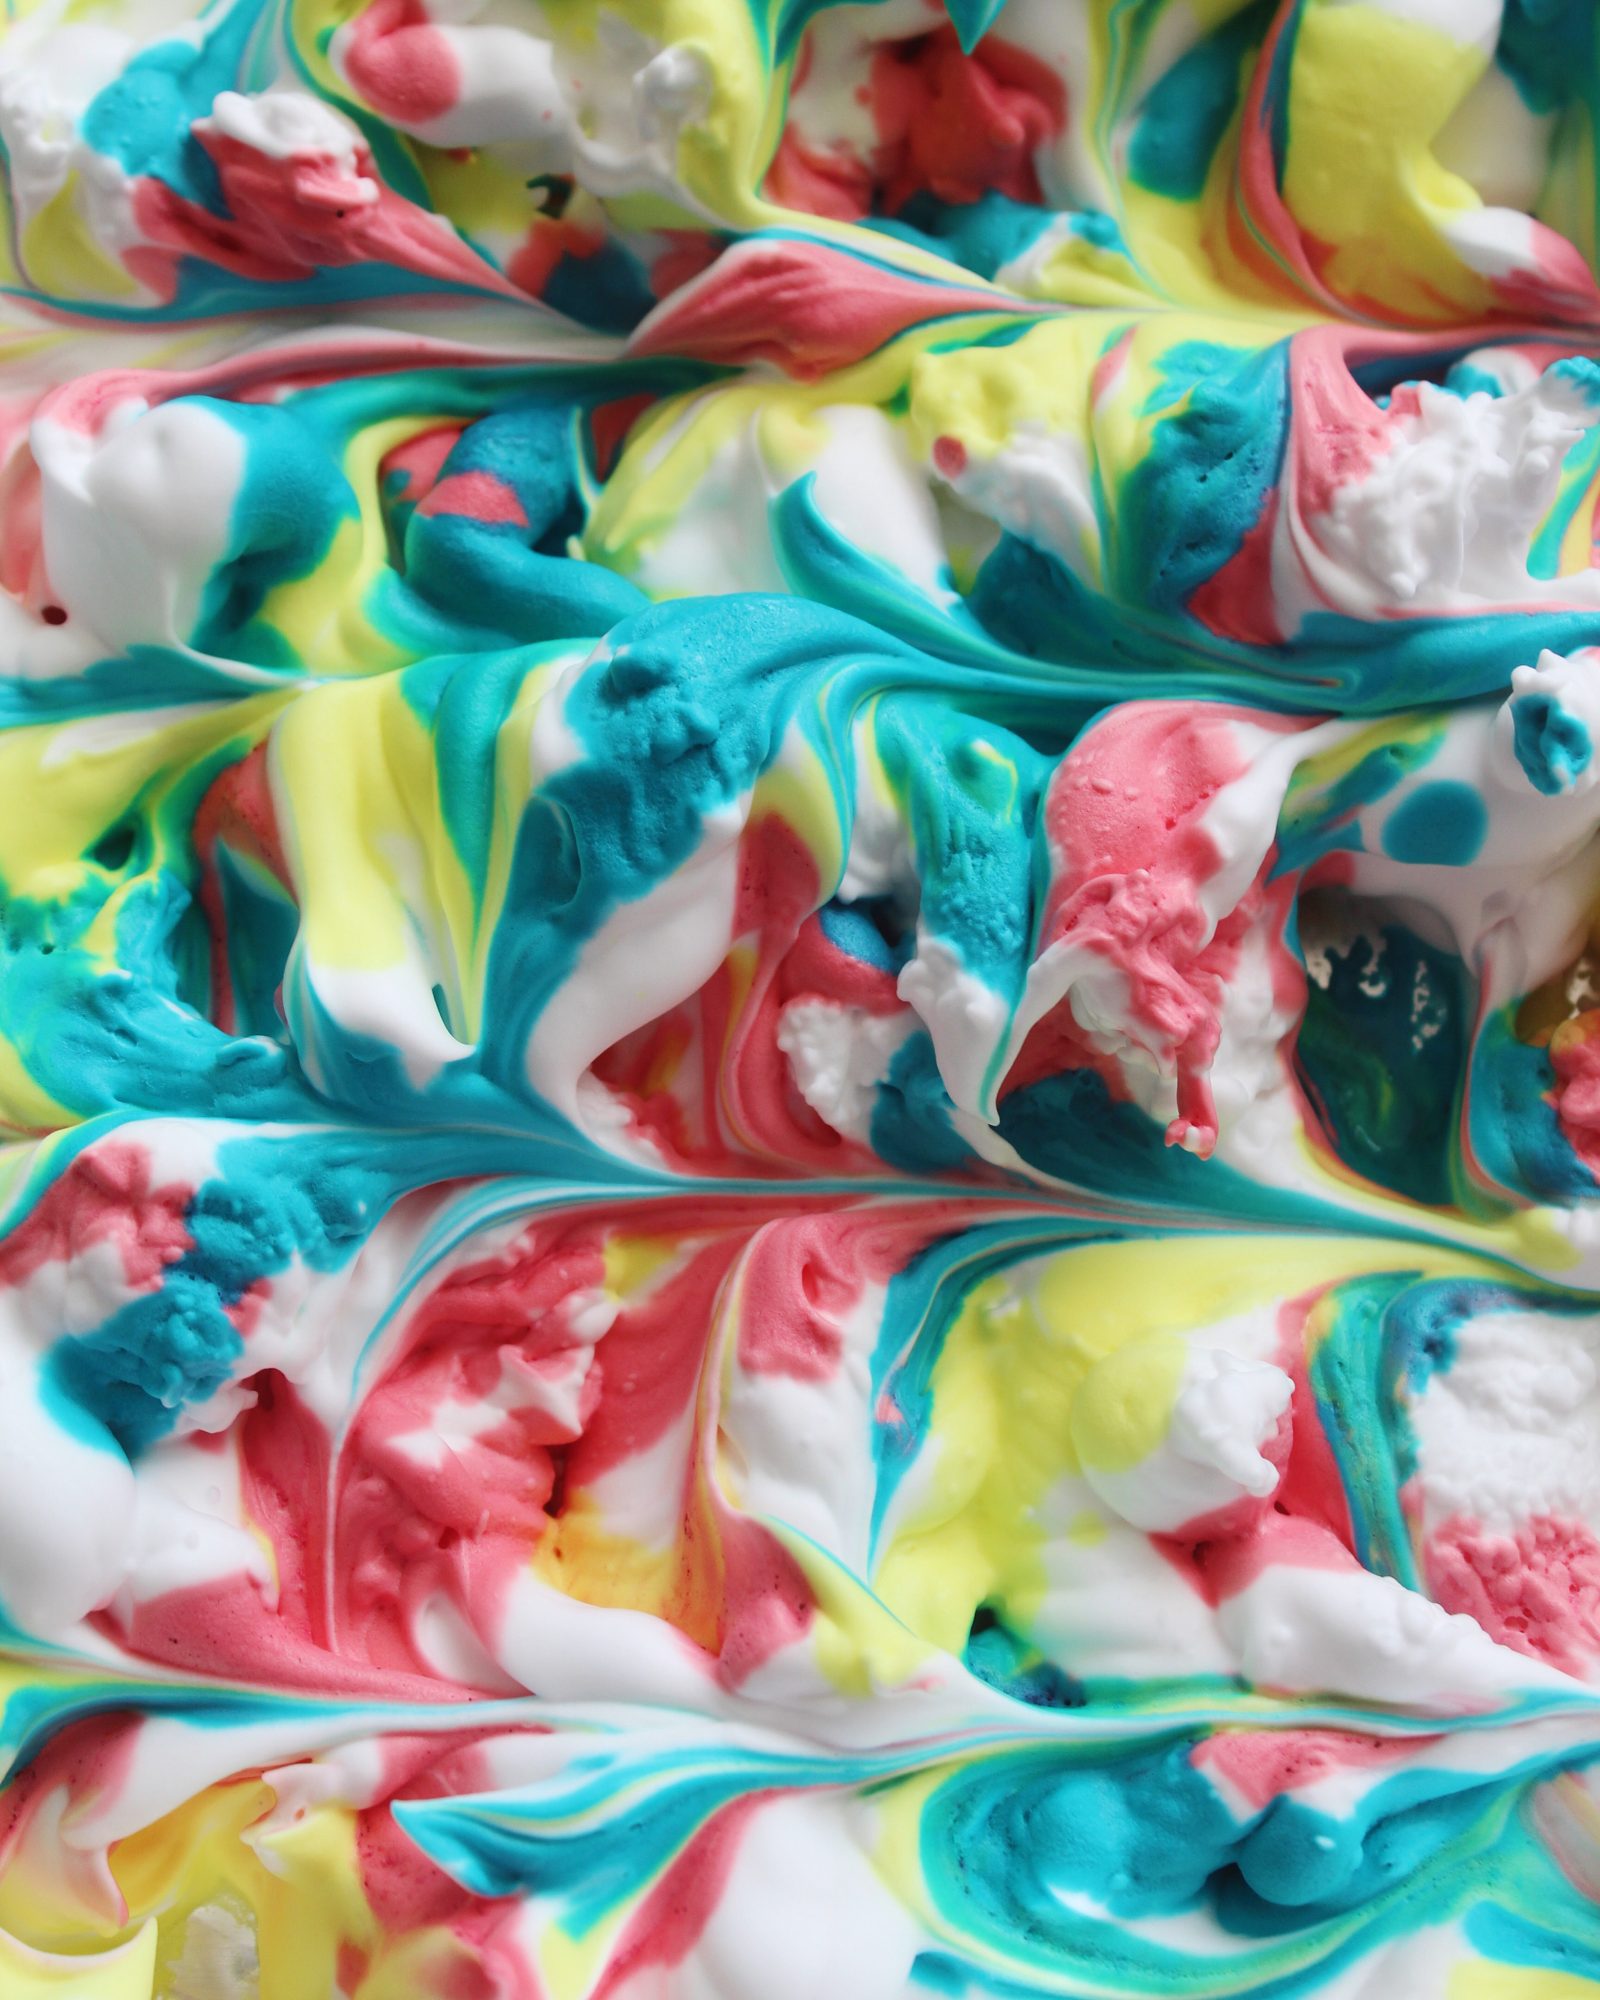
Step 1. Cover your work surface with a garbage bag or disposable table cloth and fill your disposable container with about two inches of shaving cream.
Step 2. Squeeze your desired tie dye colors over the shaving cream, leaving some white spaces.
Step 3. Use your skewer to swirl the colors a bit, but not too much so they don’t become muddled.
Step 4. Carefully sit your eggs in the shaving cream and dye mixture trying not to move them much so that the design isn’t muddled.
Step 5. Once one side has been submerged in the shaving cream and dye mixture, flip the egg over and place it in the mixture.
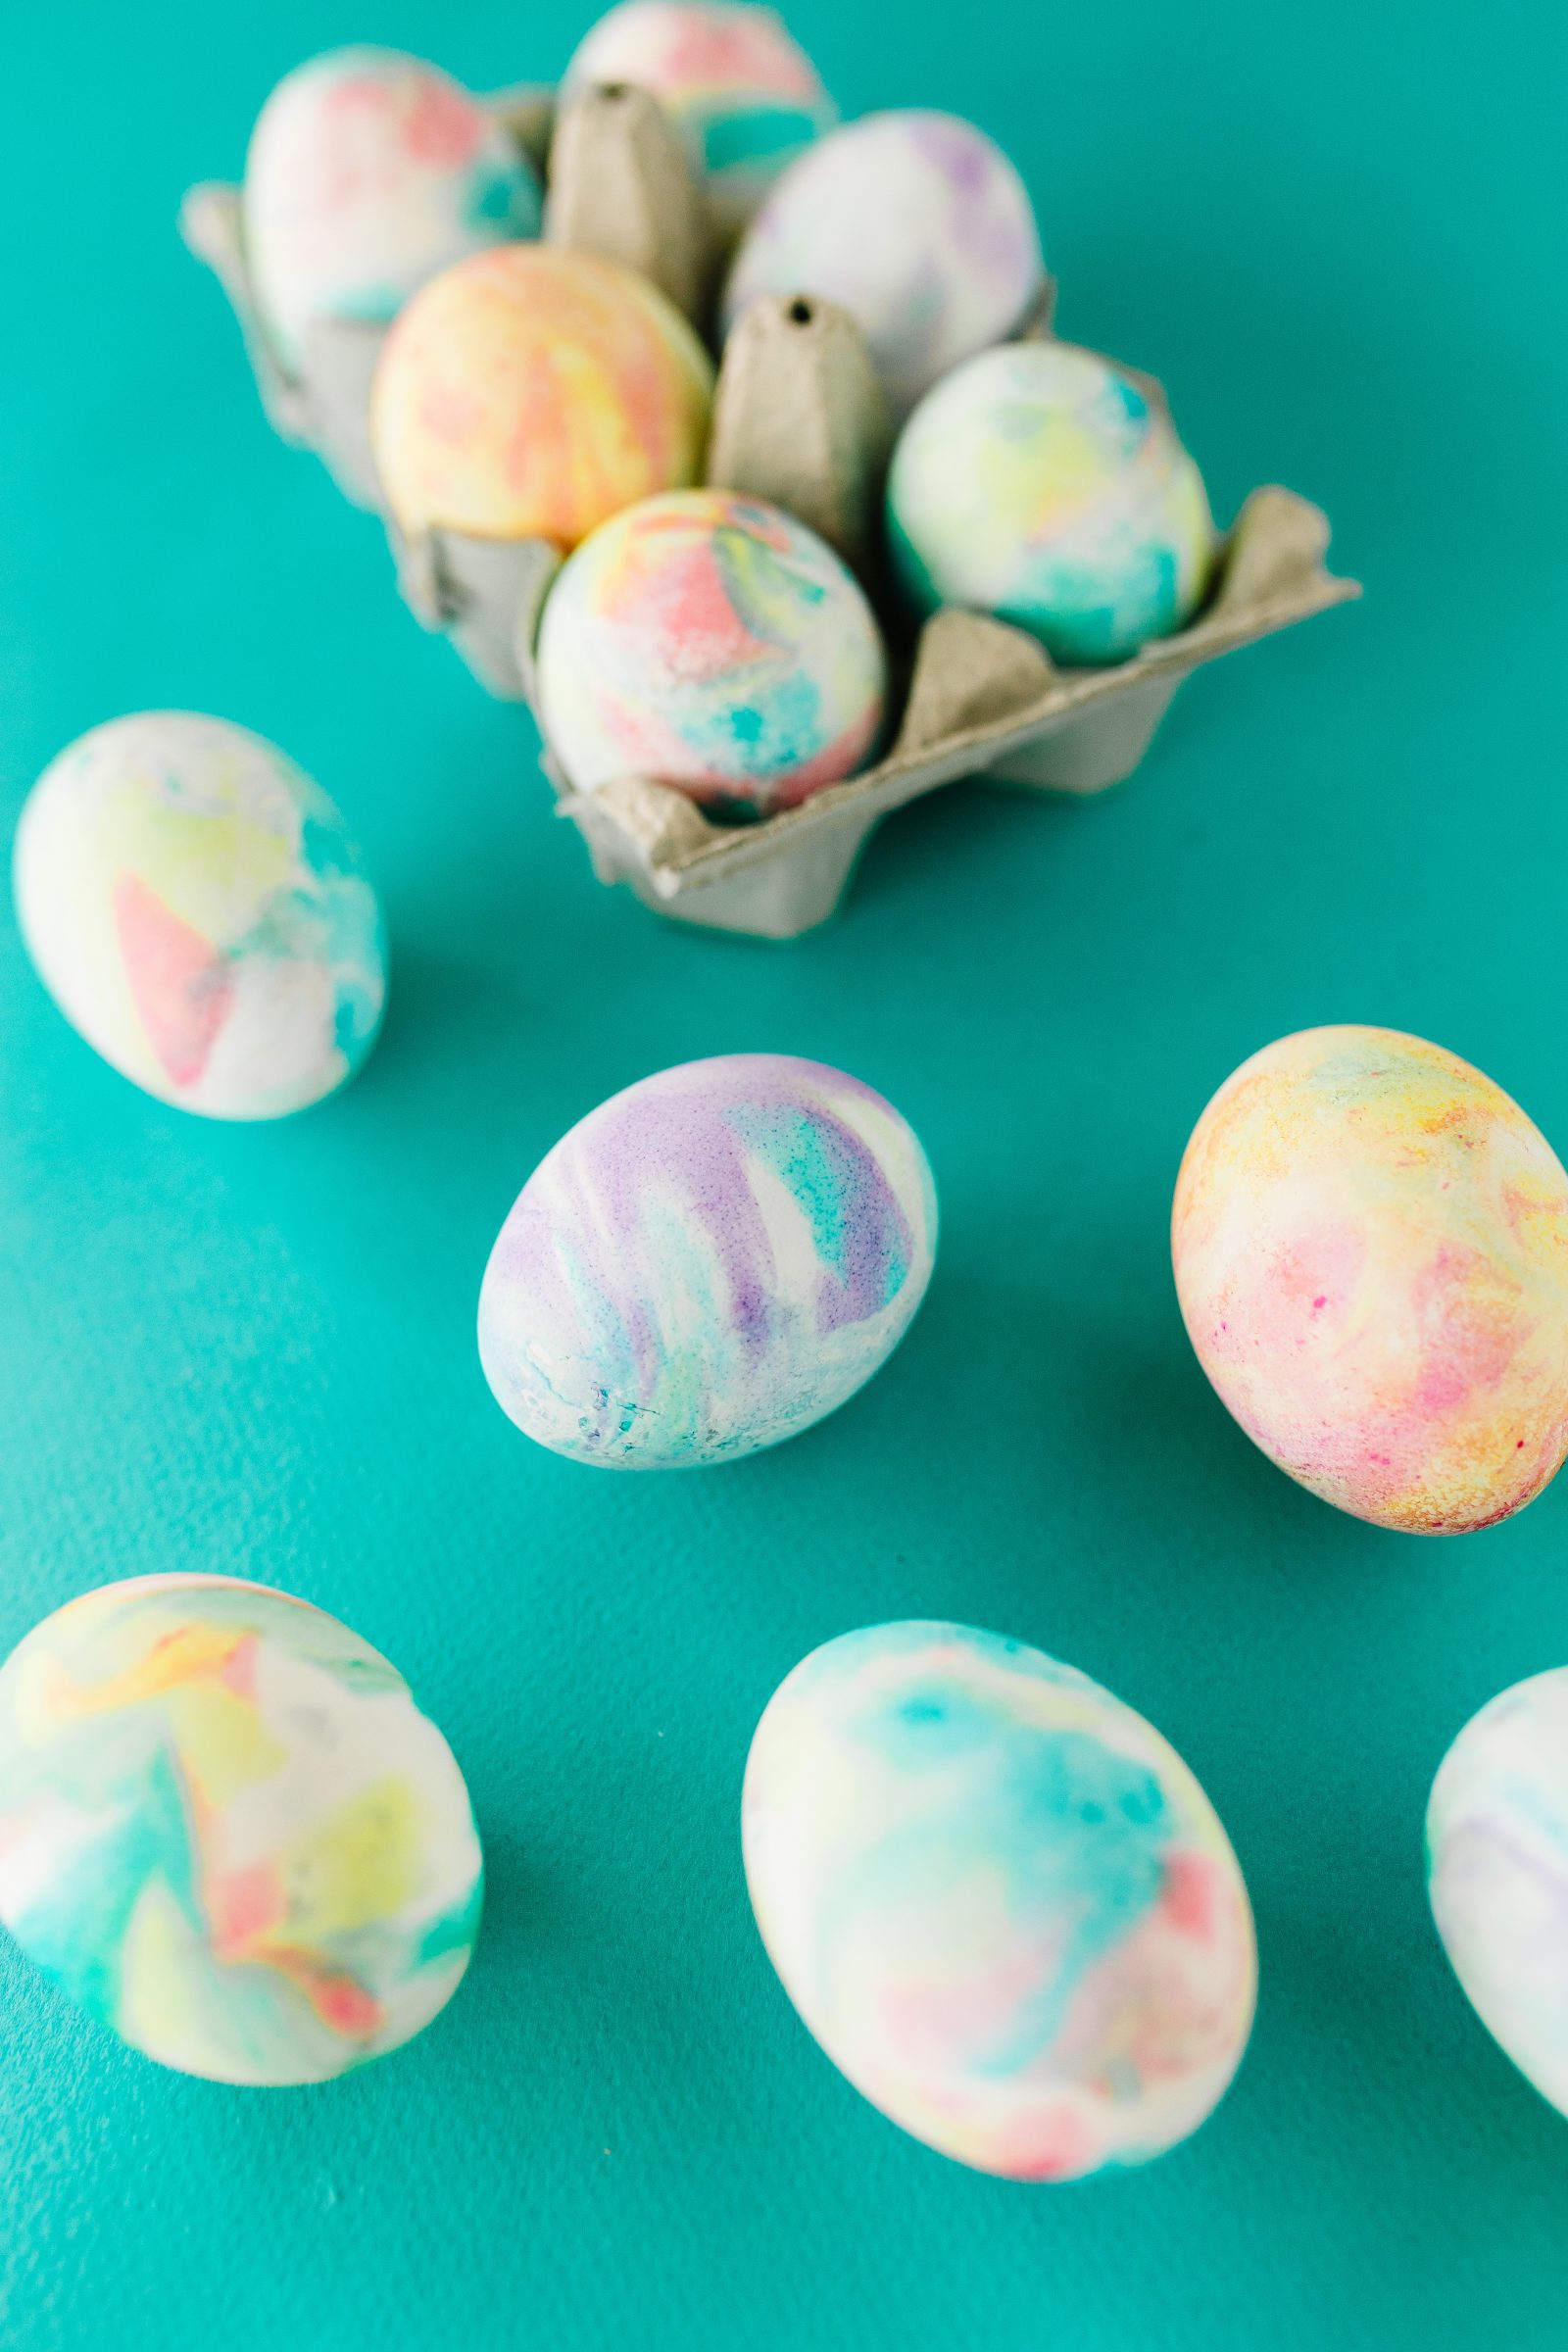
Step 6. Once both sides of the eggs have been coated, remove them from the mixture and place them on your covered surface.
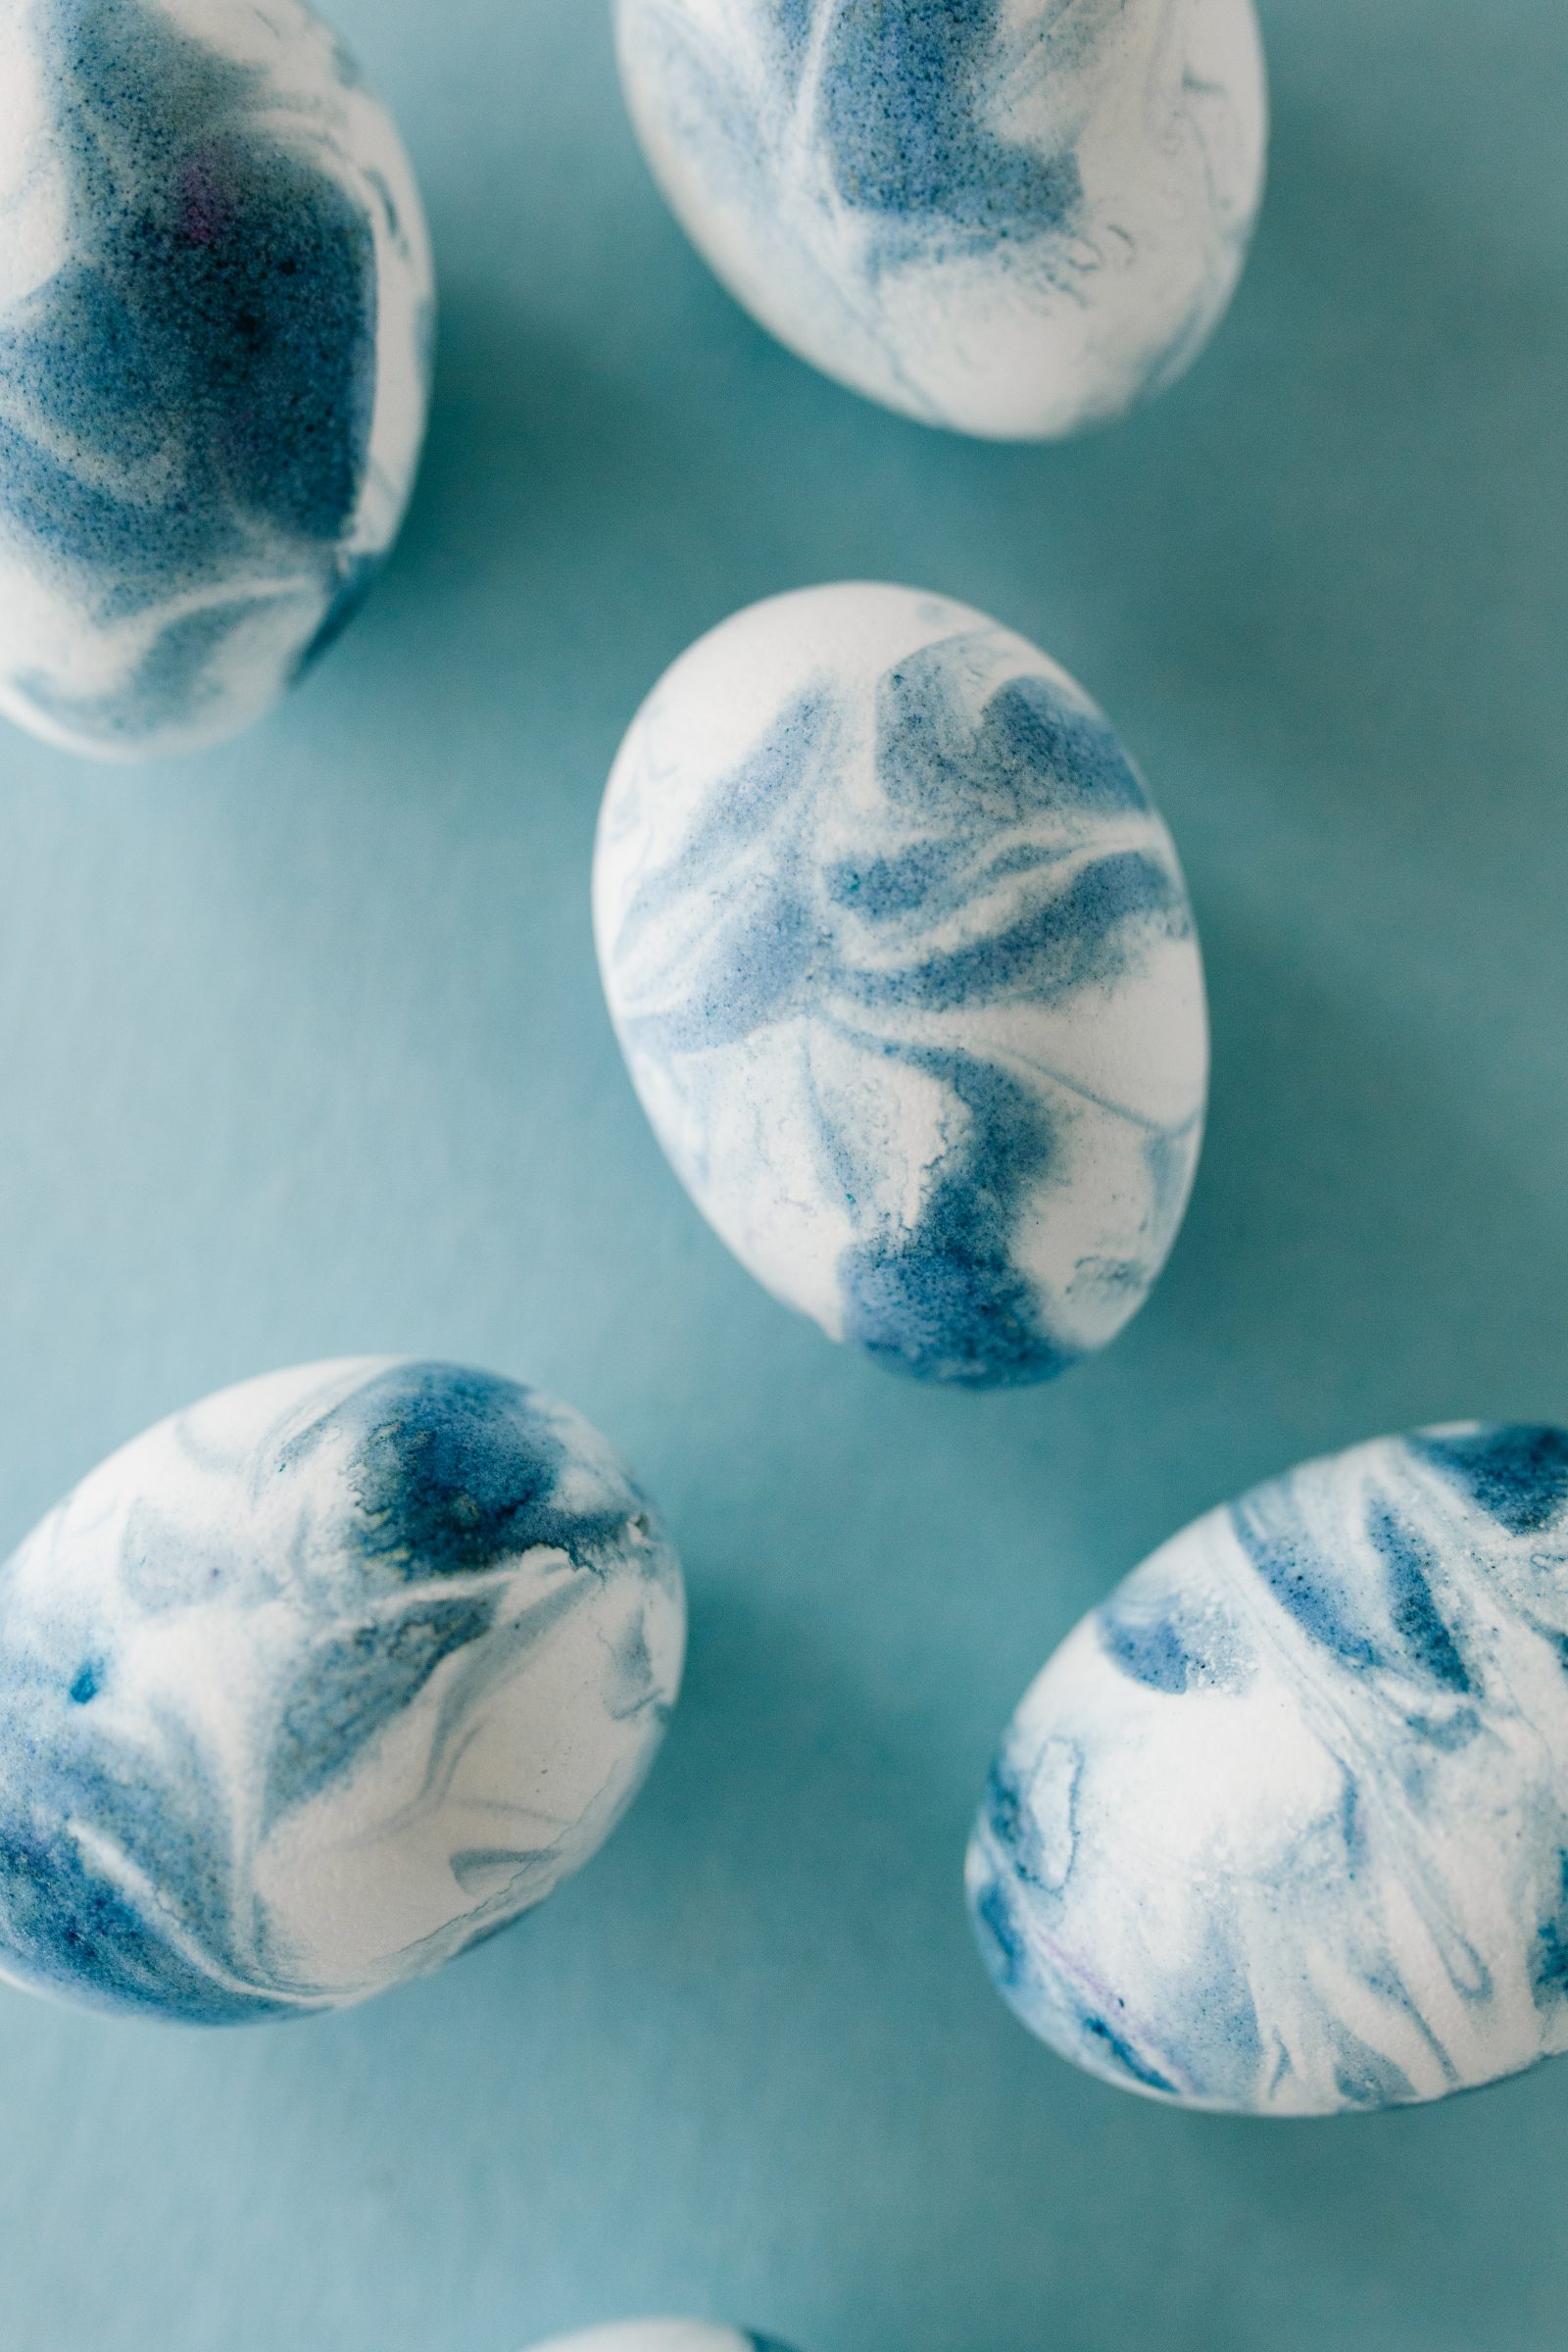
Step 7. Let the dye and shaving cream sit on the egg for 15 minutes or until dry, then carefully rinse the eggs.
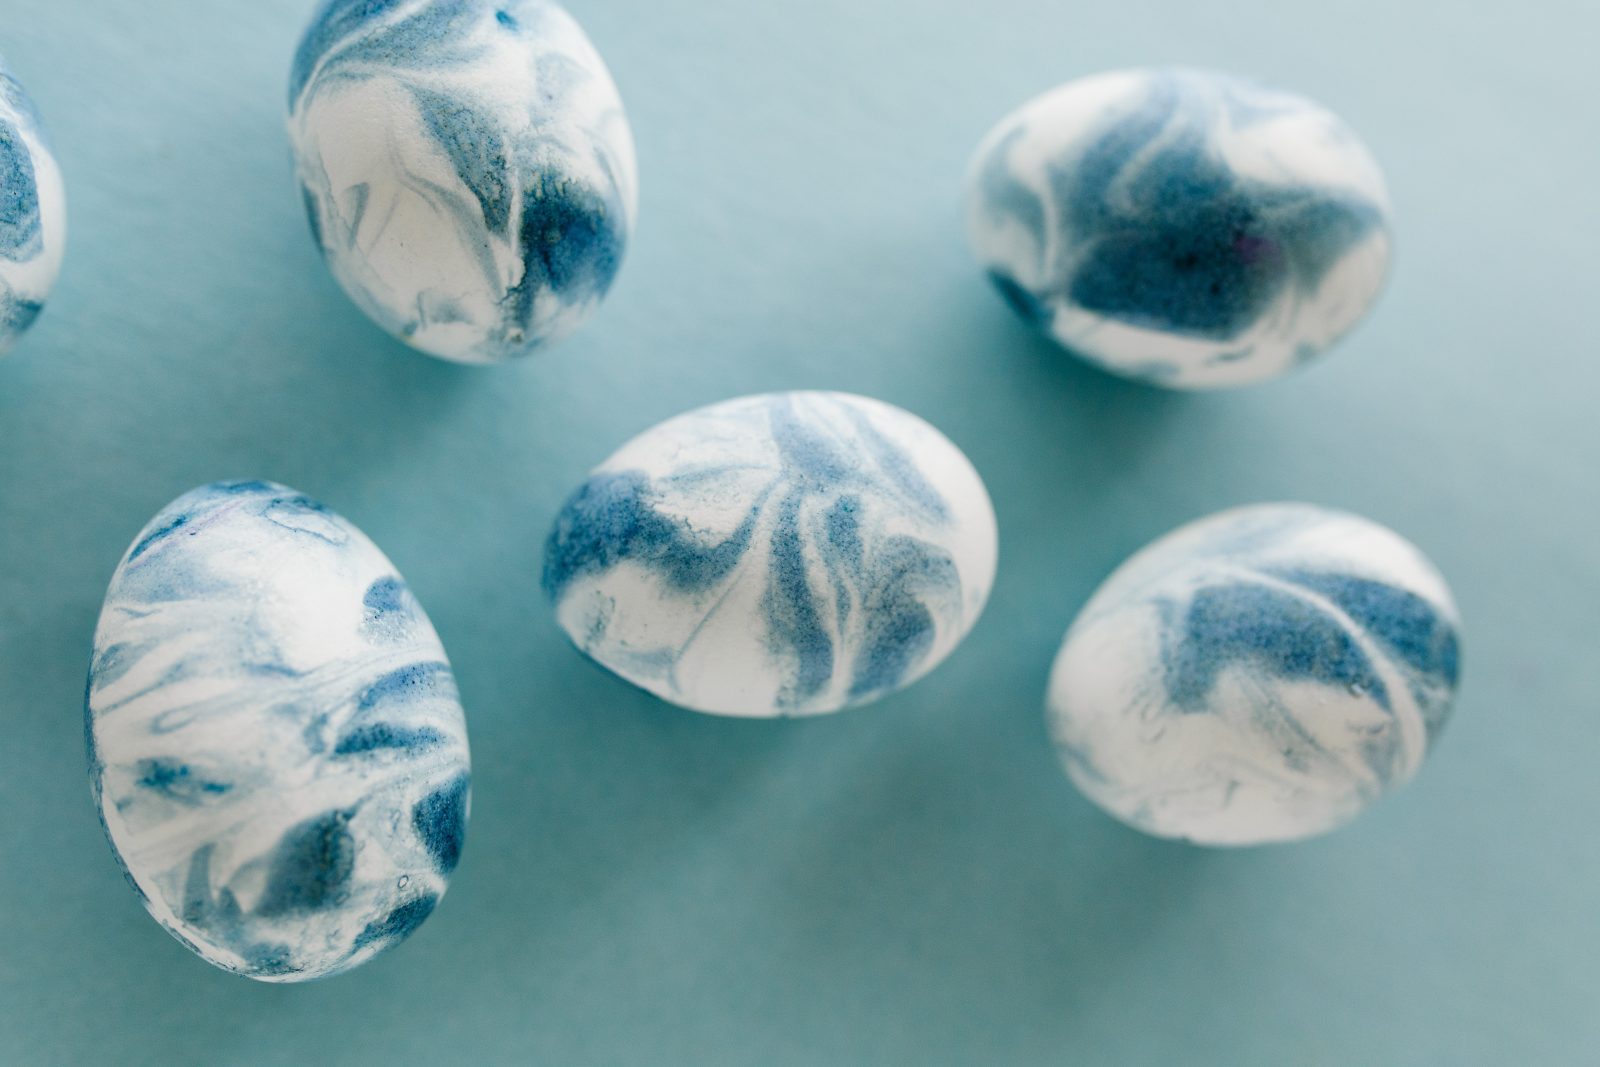
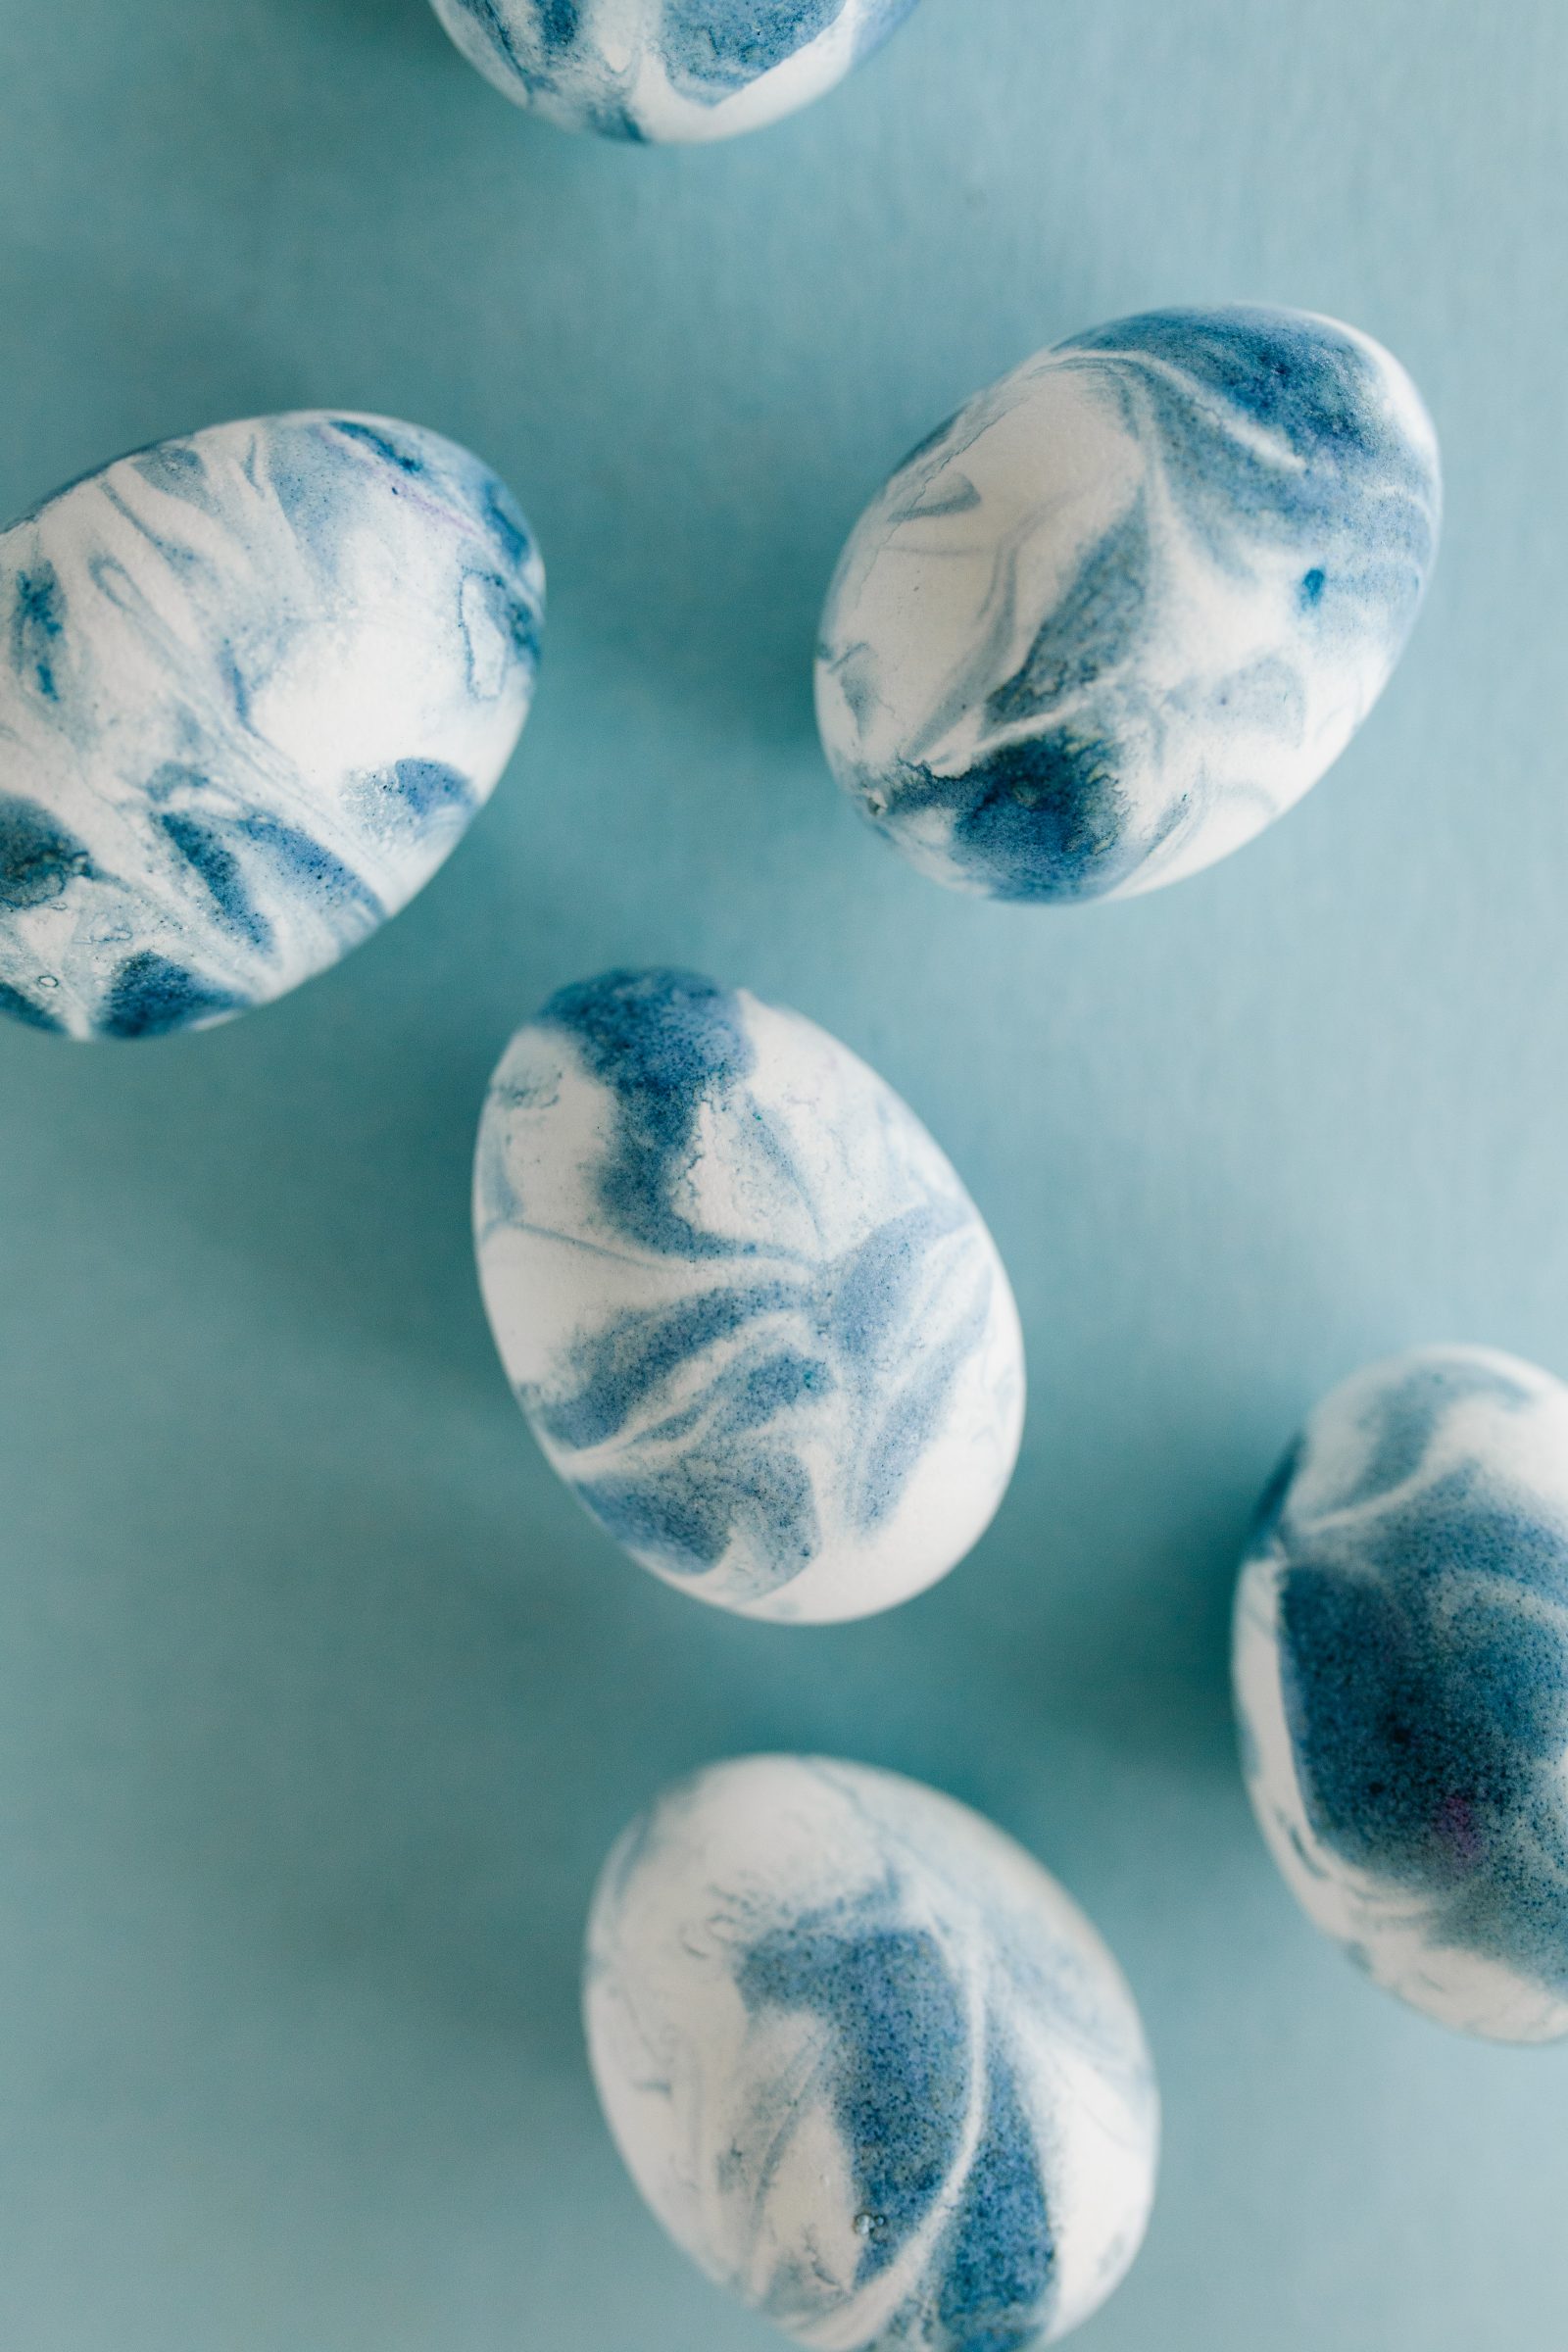
That’s it! Aren’t the results so lovely? We had fun rinsing out our container after doing a few eggs and trying our different colorways with our dyes. I think the blues are my favorites, but really it’s hard to choose. They are all so gorgeous!
Your kids are going to have a blast getting to play with fluffy shaving cream and you’ll be blown away at how each egg turns out! This method is a must try!
If you would like to eat your eggs after you dye them you could swap out the tie dye for liquid food coloring and shaving cream for whipped cream to achieve a similar effect!How to Make Tie Dye Easter Eggs with Shaving Cream

Materials
Instructions
and fill your disposable container with about two inches of shaving
cream.Notes
What kind of egg decorating are you doing at your house this year?
And Be sure to join our email list to stay up-to-date on all things Pretty Life Girls!
Happy making!
-Liz


