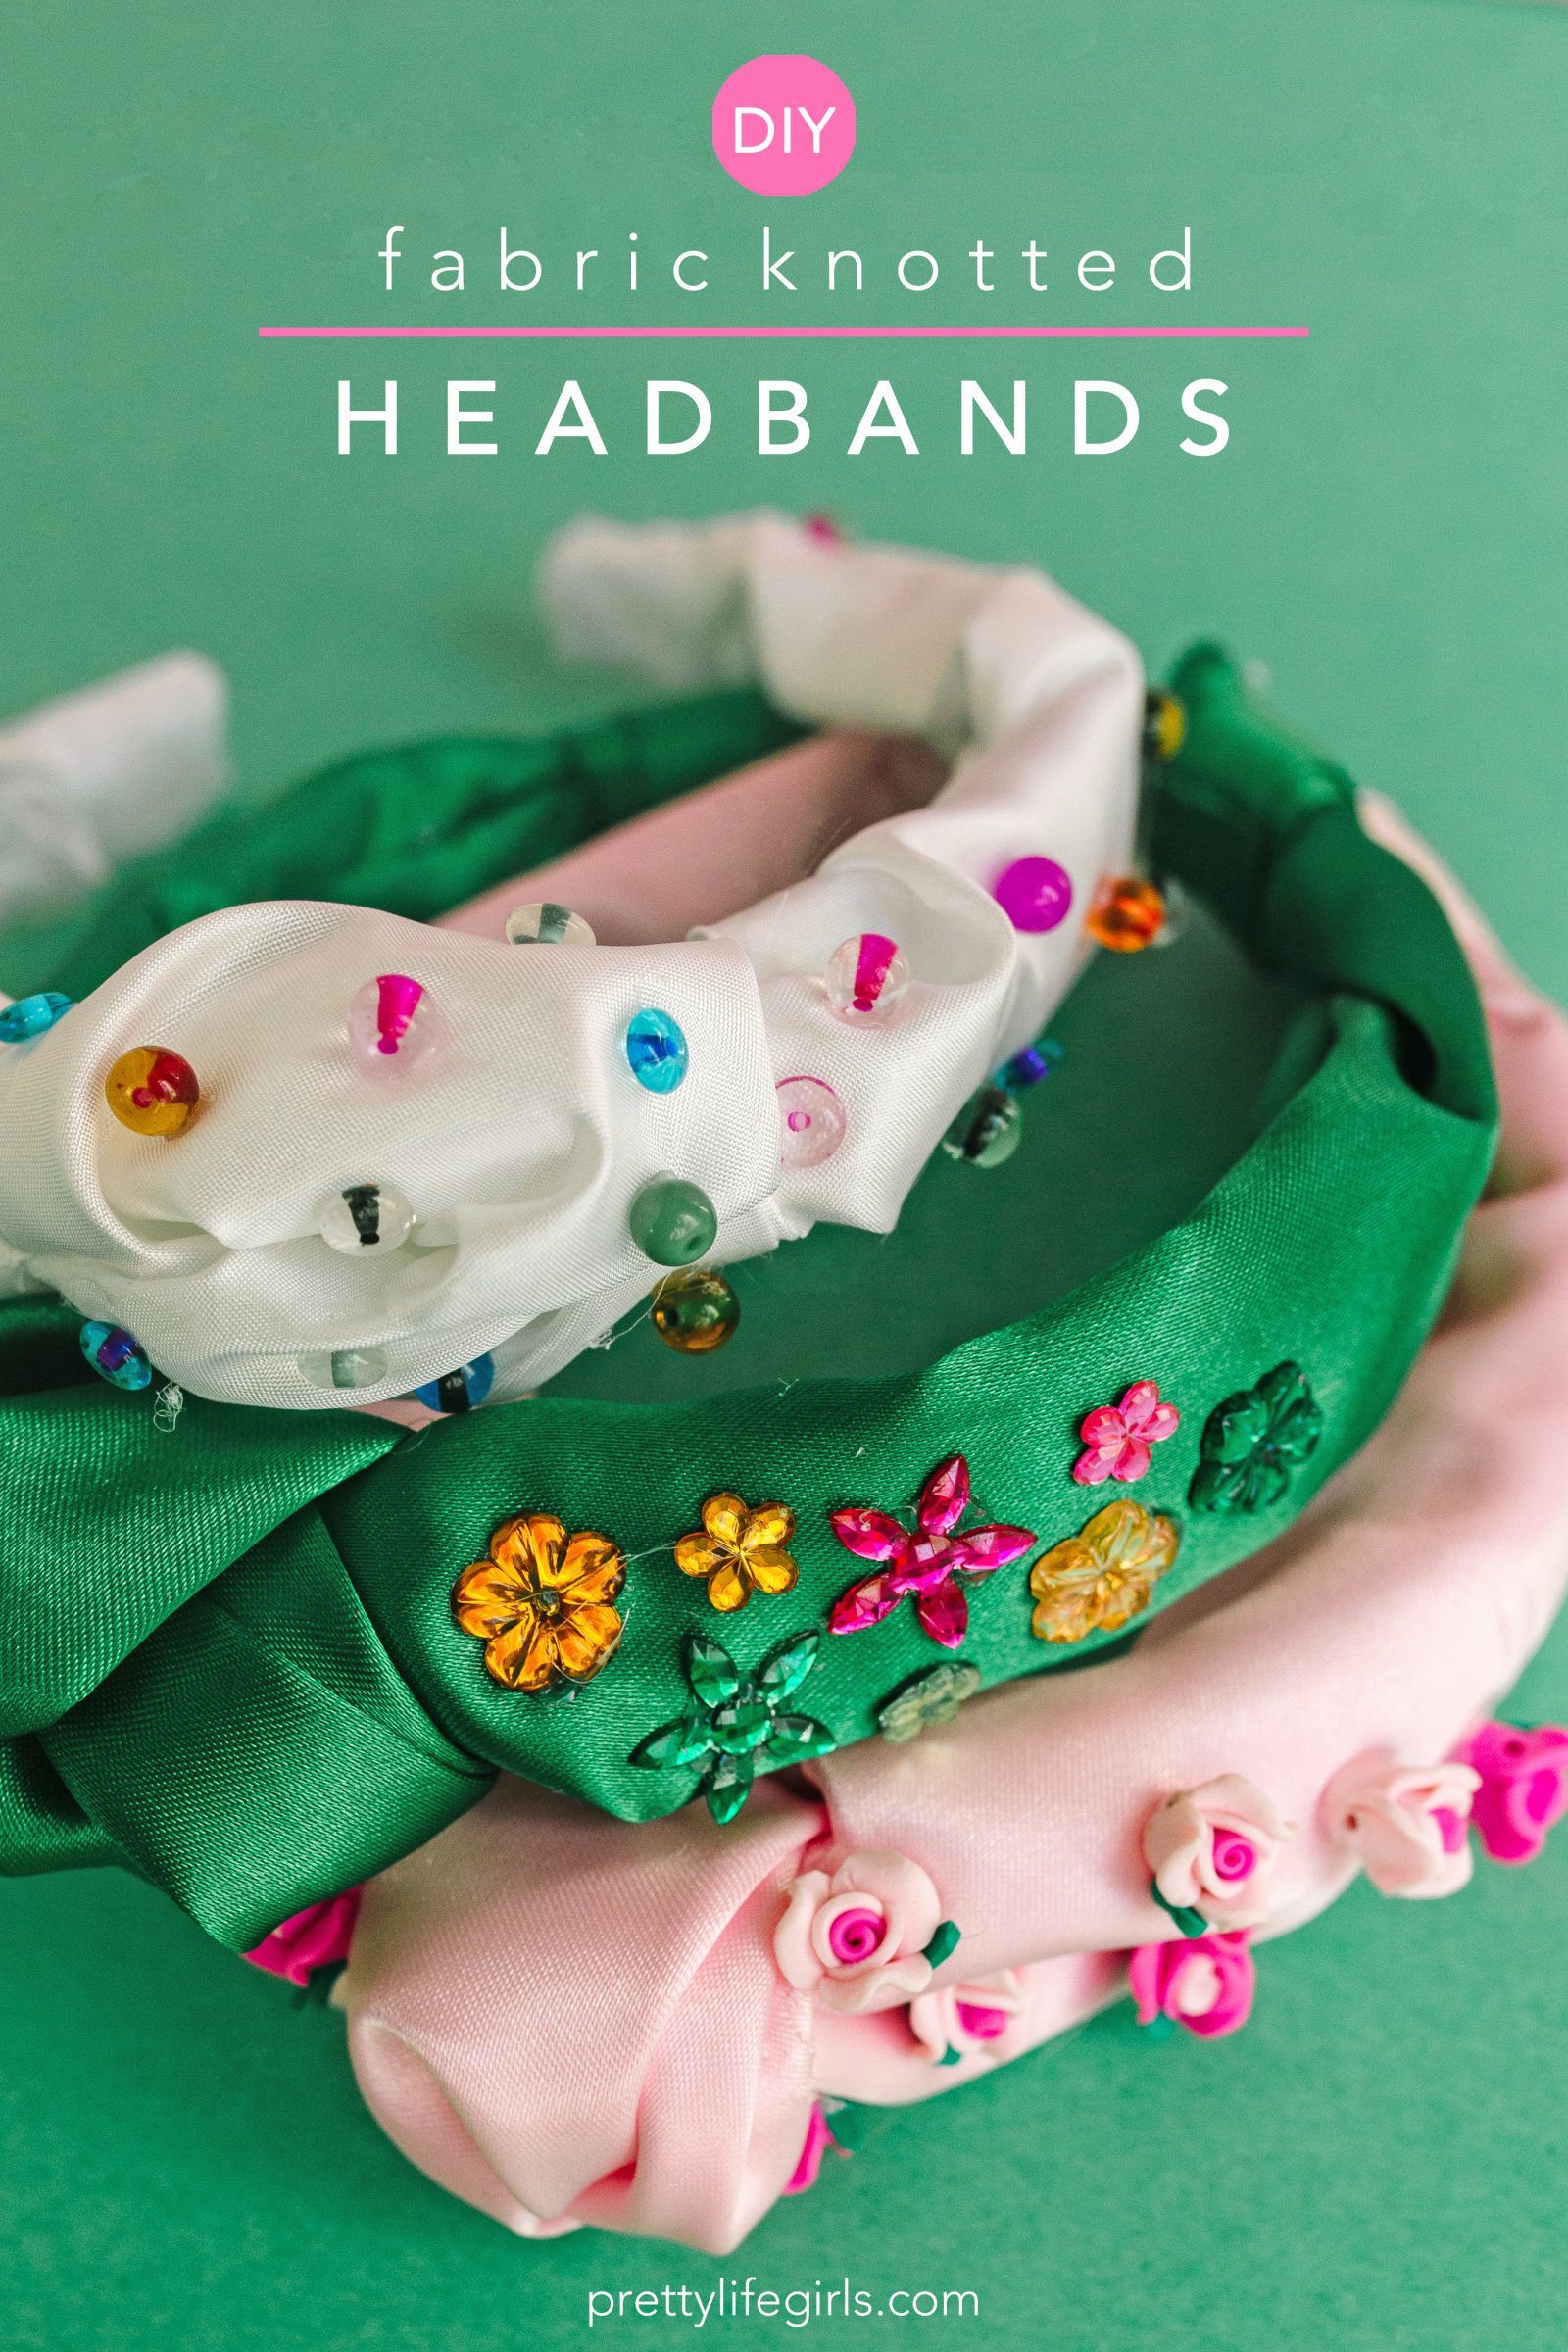
Bold, knotted headbands are a major trend this spring and you might have noticed stacks of them at Target and Anthropologie on sale for anything from $20-$150! They can come wrapped in velvet, covered in pearls, or encased in patterned silks, and while the boutique versions are gorgeous we can’t let a trend pass us by without attempting a DIY. So today we’ll show you how to make a DIY beaded knotted headband of your own without any need for a sewing machine!
Learning to make these yourself will open up so many possibilities for accessorizing. Use a fabric that matches your favorite dress, cover them in pastel beads to welcome spring, or keep them simple to match your style. Whatever you do, you’re gonna look fab. Here is what you’ll need:
Supplies needed to make your own Knotted Headband
Plain headband
Fabric of your choosing (Thinner fabrics work best so there isn’t much bulk. We used satin.)
Hot glue gun + glue sticks
Scissors
1-inch wide ribbon that matches your fabric
Beads, pearls or gems for embellishing
How to make your own Knotted Headband
Watch the video, or read the steps below!
Step 1: Start by wrapping your headband with a long, skinny length of fabric or an extra piece of ribbon. This does not have to be precise, it just covers the headband so there is no chance that the headband form will show. Secure the fabric with hot glue as you go.
Step 2: Cut a length of fabric that is approximately 8 x 24 inches. Fold this piece of fabric in half length-wise. Place a line of hot glue along the long end of the fabric (on the inside of the fold) and press the sides together. This should create a long folded rectangle of fabric.
Step 3: Fold the long triangle of fabric in half to determine where the middle of the fabric is. Then, tie the fabric in a knot, creating a the knot where you determined the middle to be.
Step 4: Put a large dot of hot glue underneath the knot in the fabric and attach the fabric to the top center of the headband.
Step 5: Once the knot is attached, you’ll want to start wrapping the remaining fabric on either side of the knot around the headband. To do this, begin with the non-folded side of the fabric. Attaching this side first allows you to cover any unfinished edges with the folded edge. Working your way from one end of the underside of the headband to the other, attach the unfinished edge of the fabric to the inside of the headband with hot glue.
Step 6: Once the unfinished edge is attached, fold the folded edge of the fabric around the headband and attach it with hot glue on top of the unfolded edge. This will help to cover the unfolded edge and make your headbands look much more finished. (Refer to the video above to see us do this first-hand!)
Step 7: Once the headband has been completely wrapped with the fabric, trim the fabric at each end of the headband so that only about 1 inch of excess fabric remains. Then, fold the excess fabric inside the headband and attach with hot glue.
Step 8: To cover the folded fabric, cut a length of ribbon long enough to wrap around the end of your headband about 3 times. Begin wrapping the folded edge of the headband with the ribbon to cover the folds, attaching with hot glue as you go. Then, cut off any excess using scissors. Repeat this process with the other end of the headband.
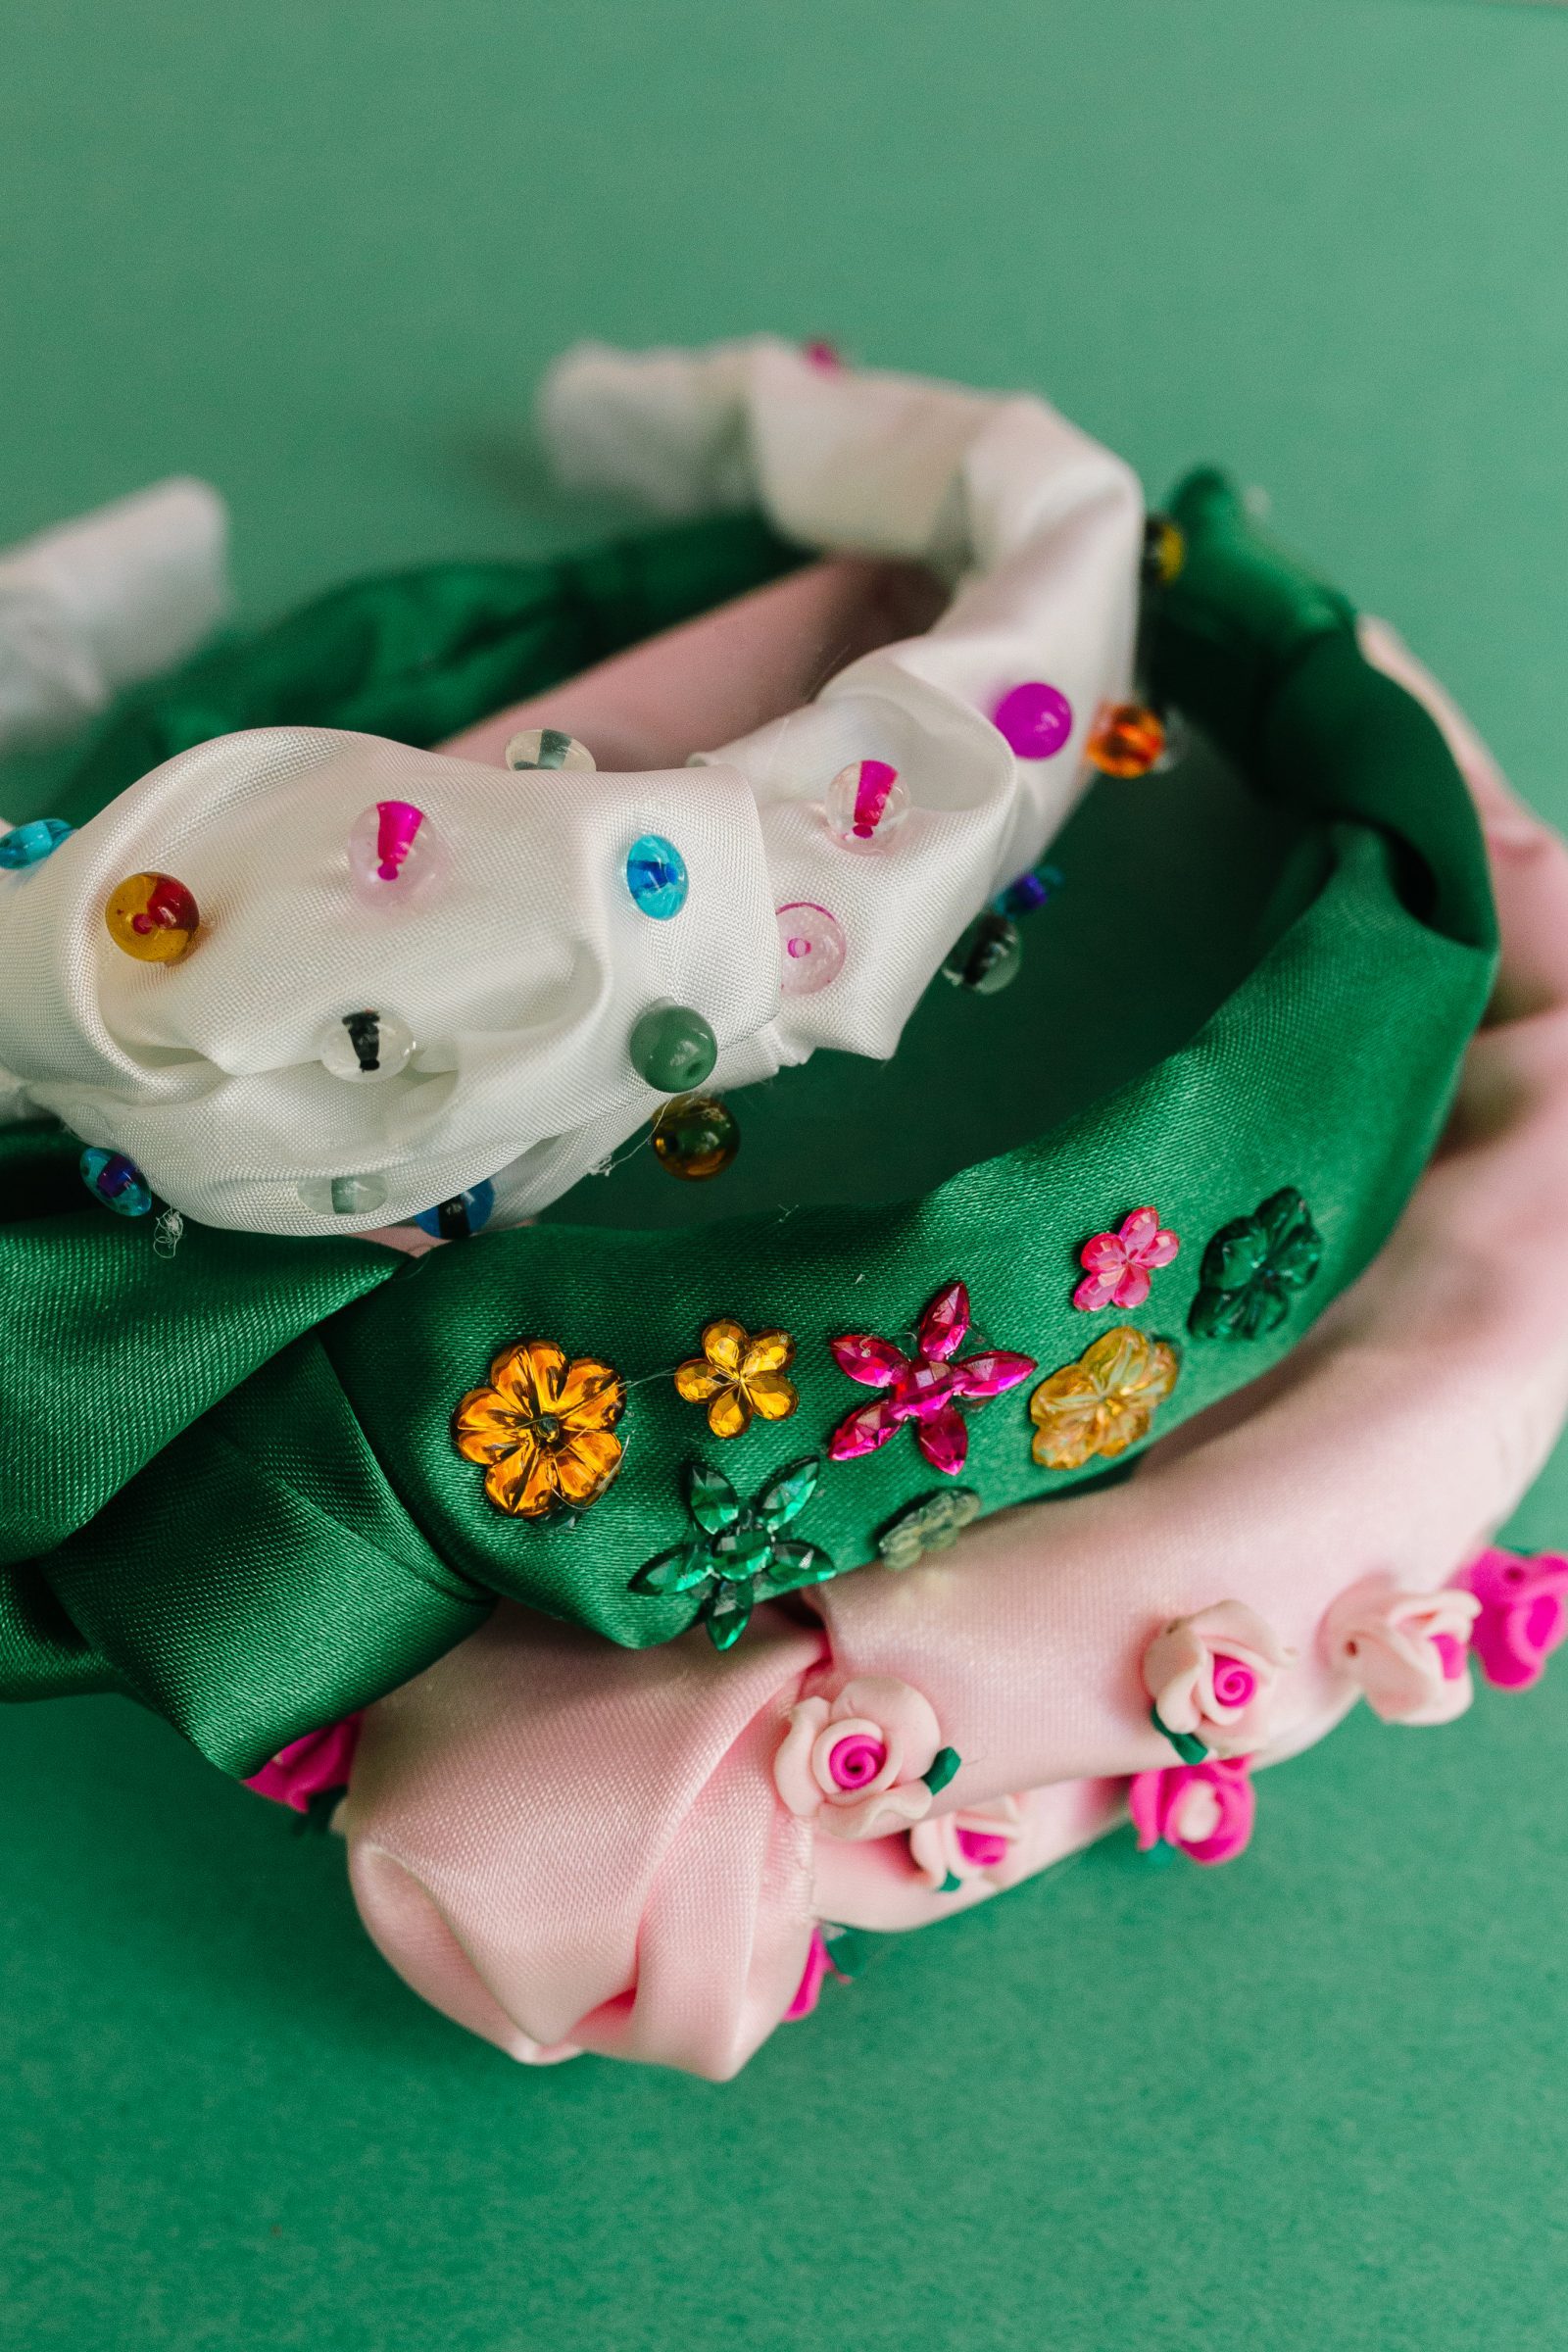
Step 9: If desired, embellish your headbands by attaching beads, gems or sequins to the headbands using hot glue.
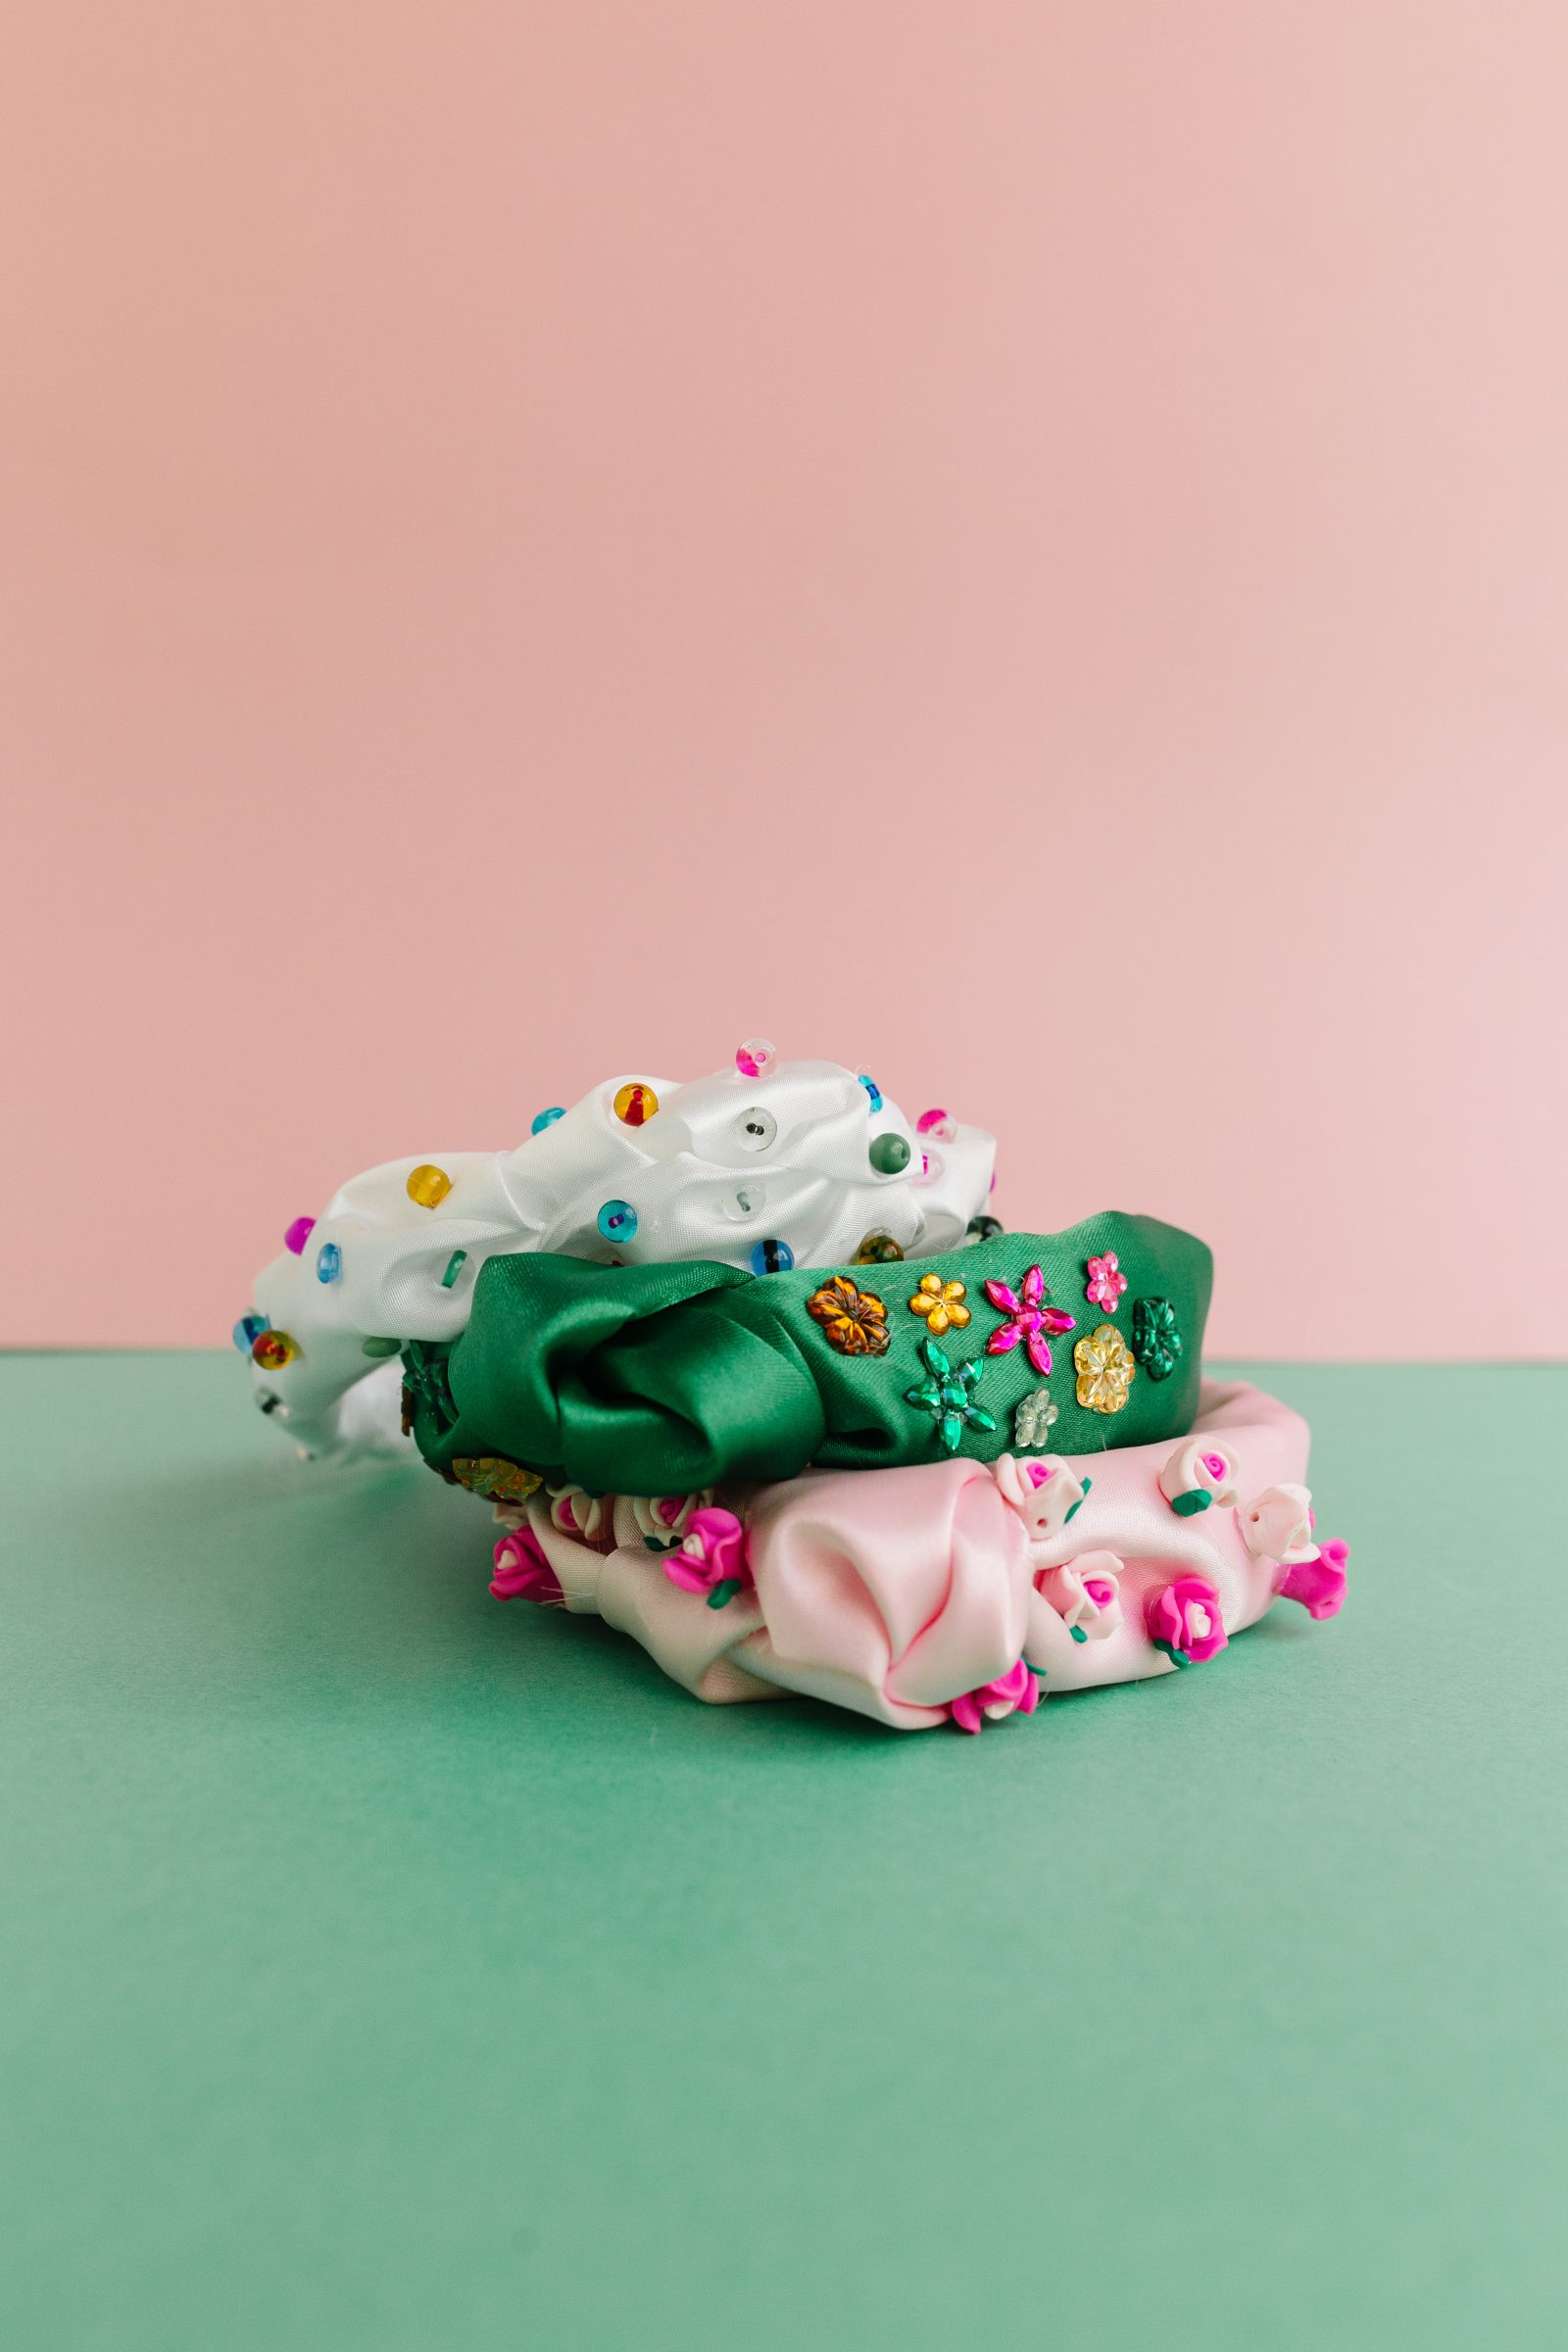
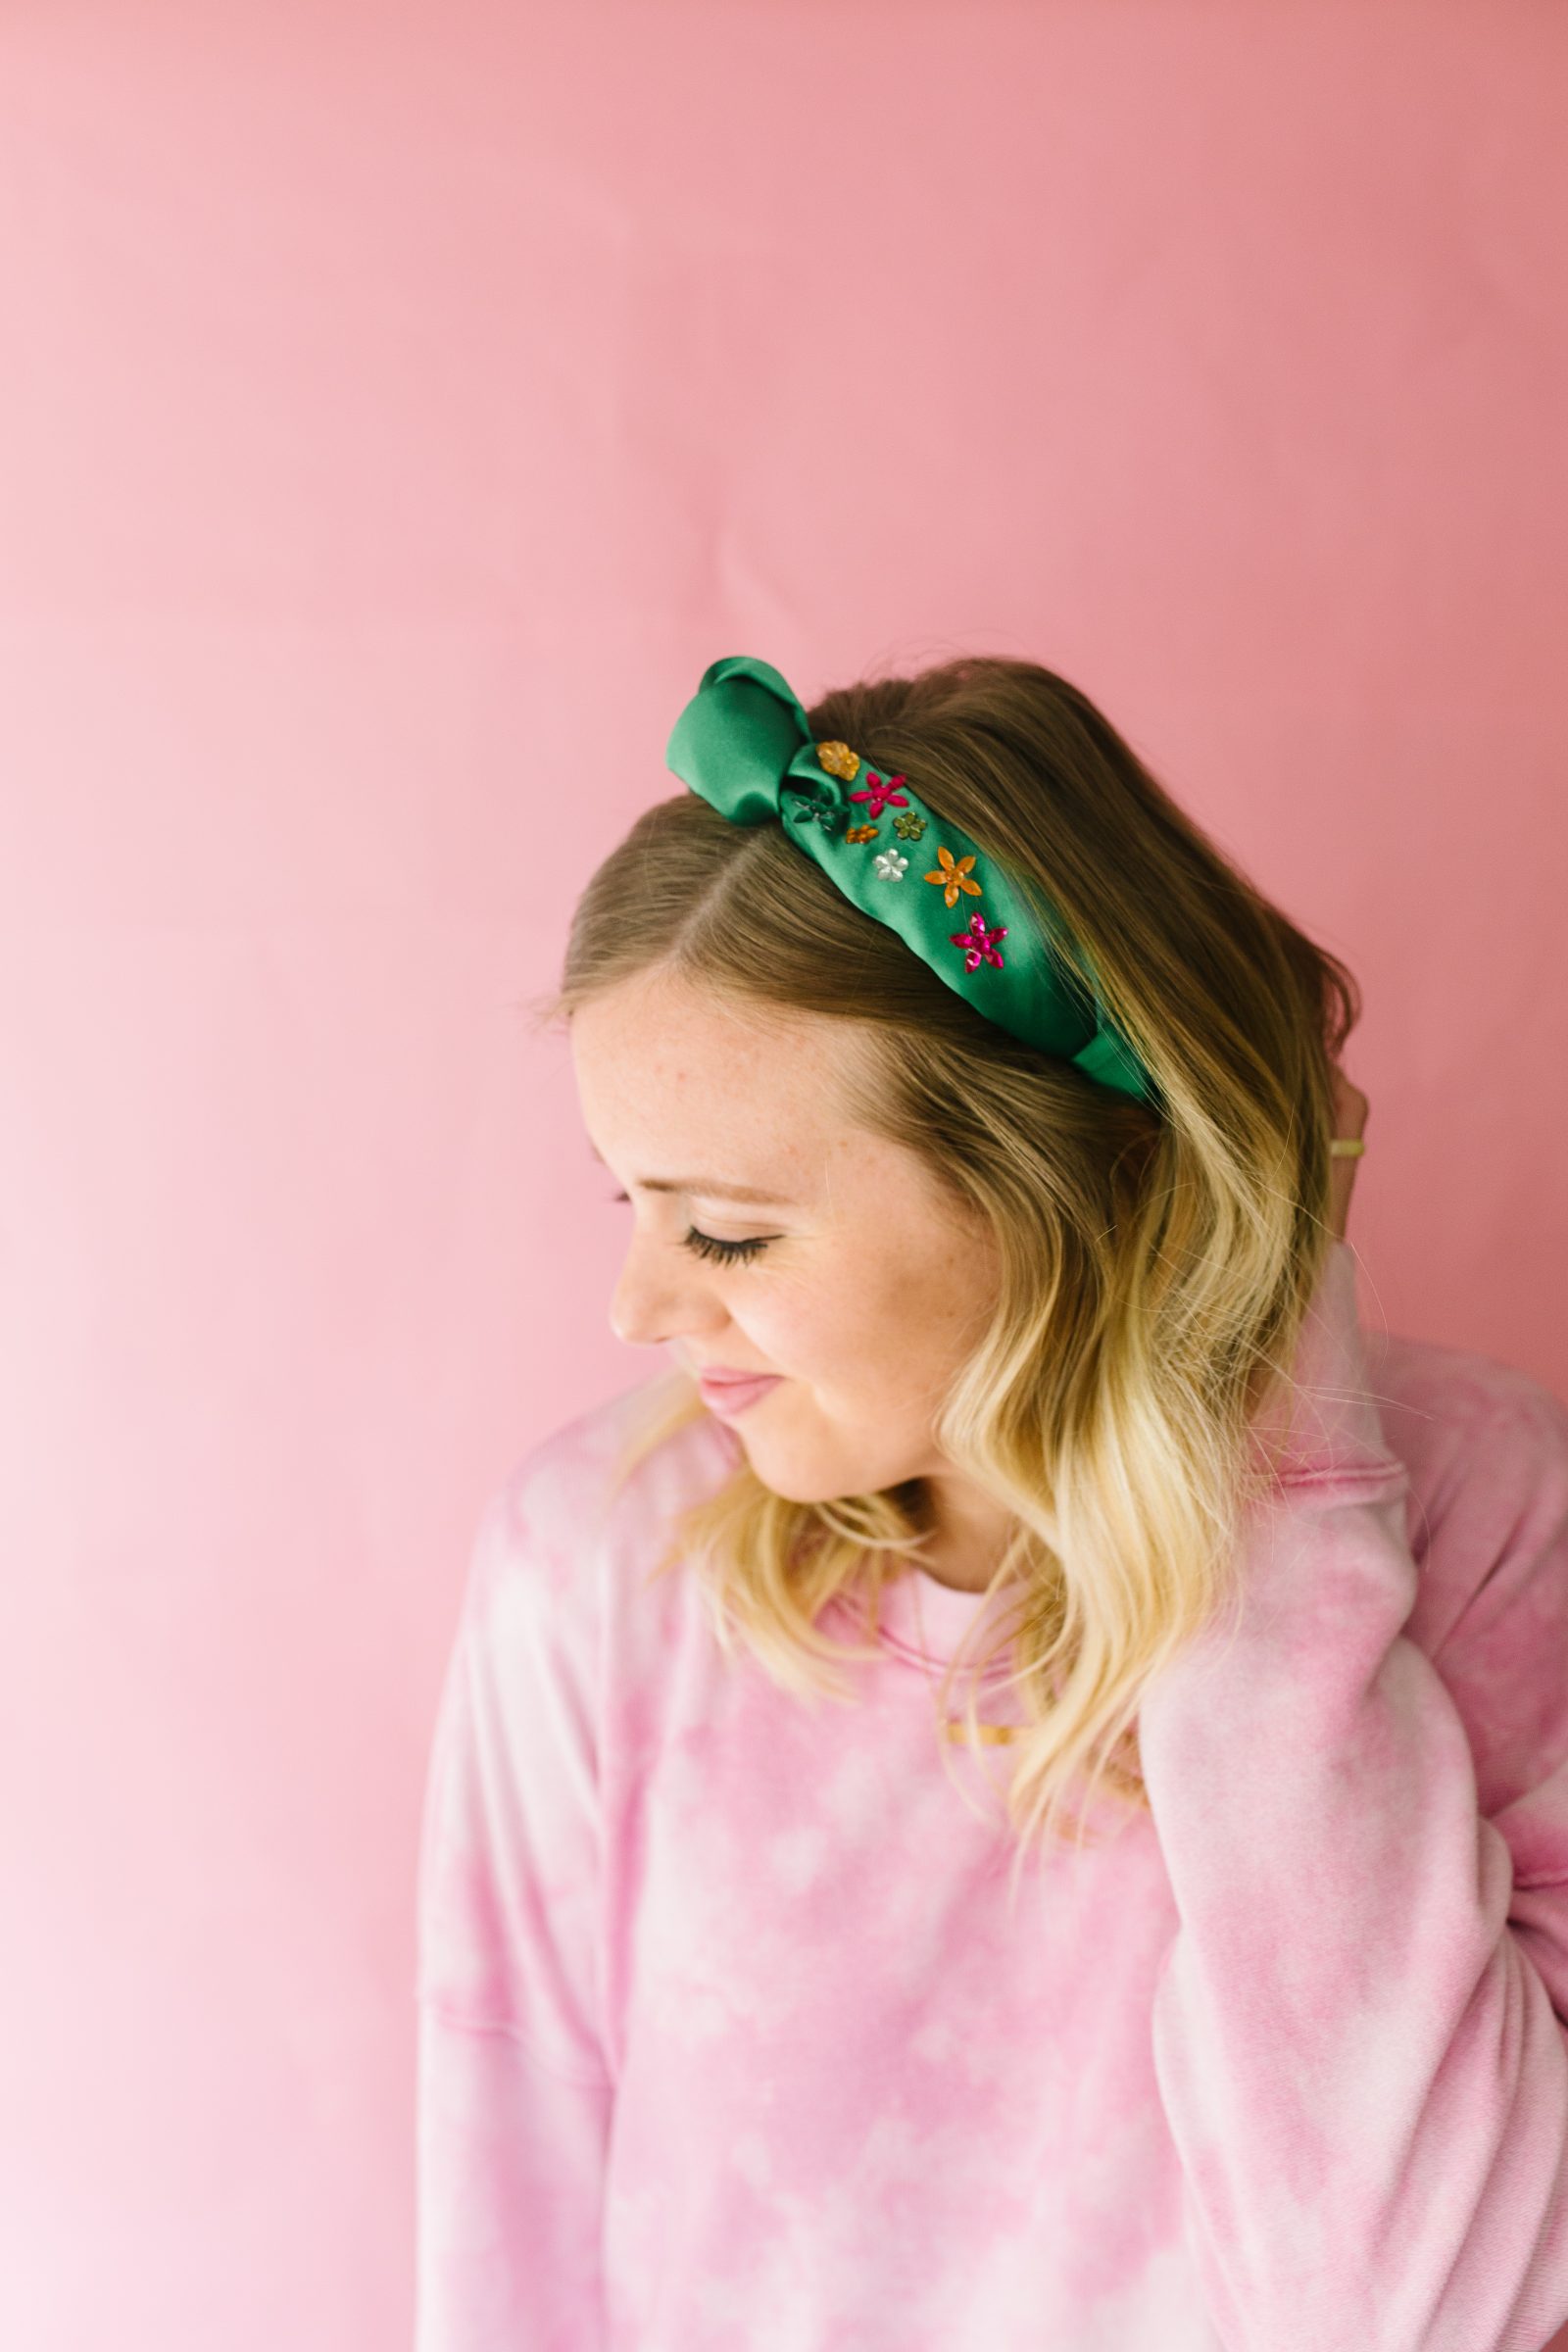
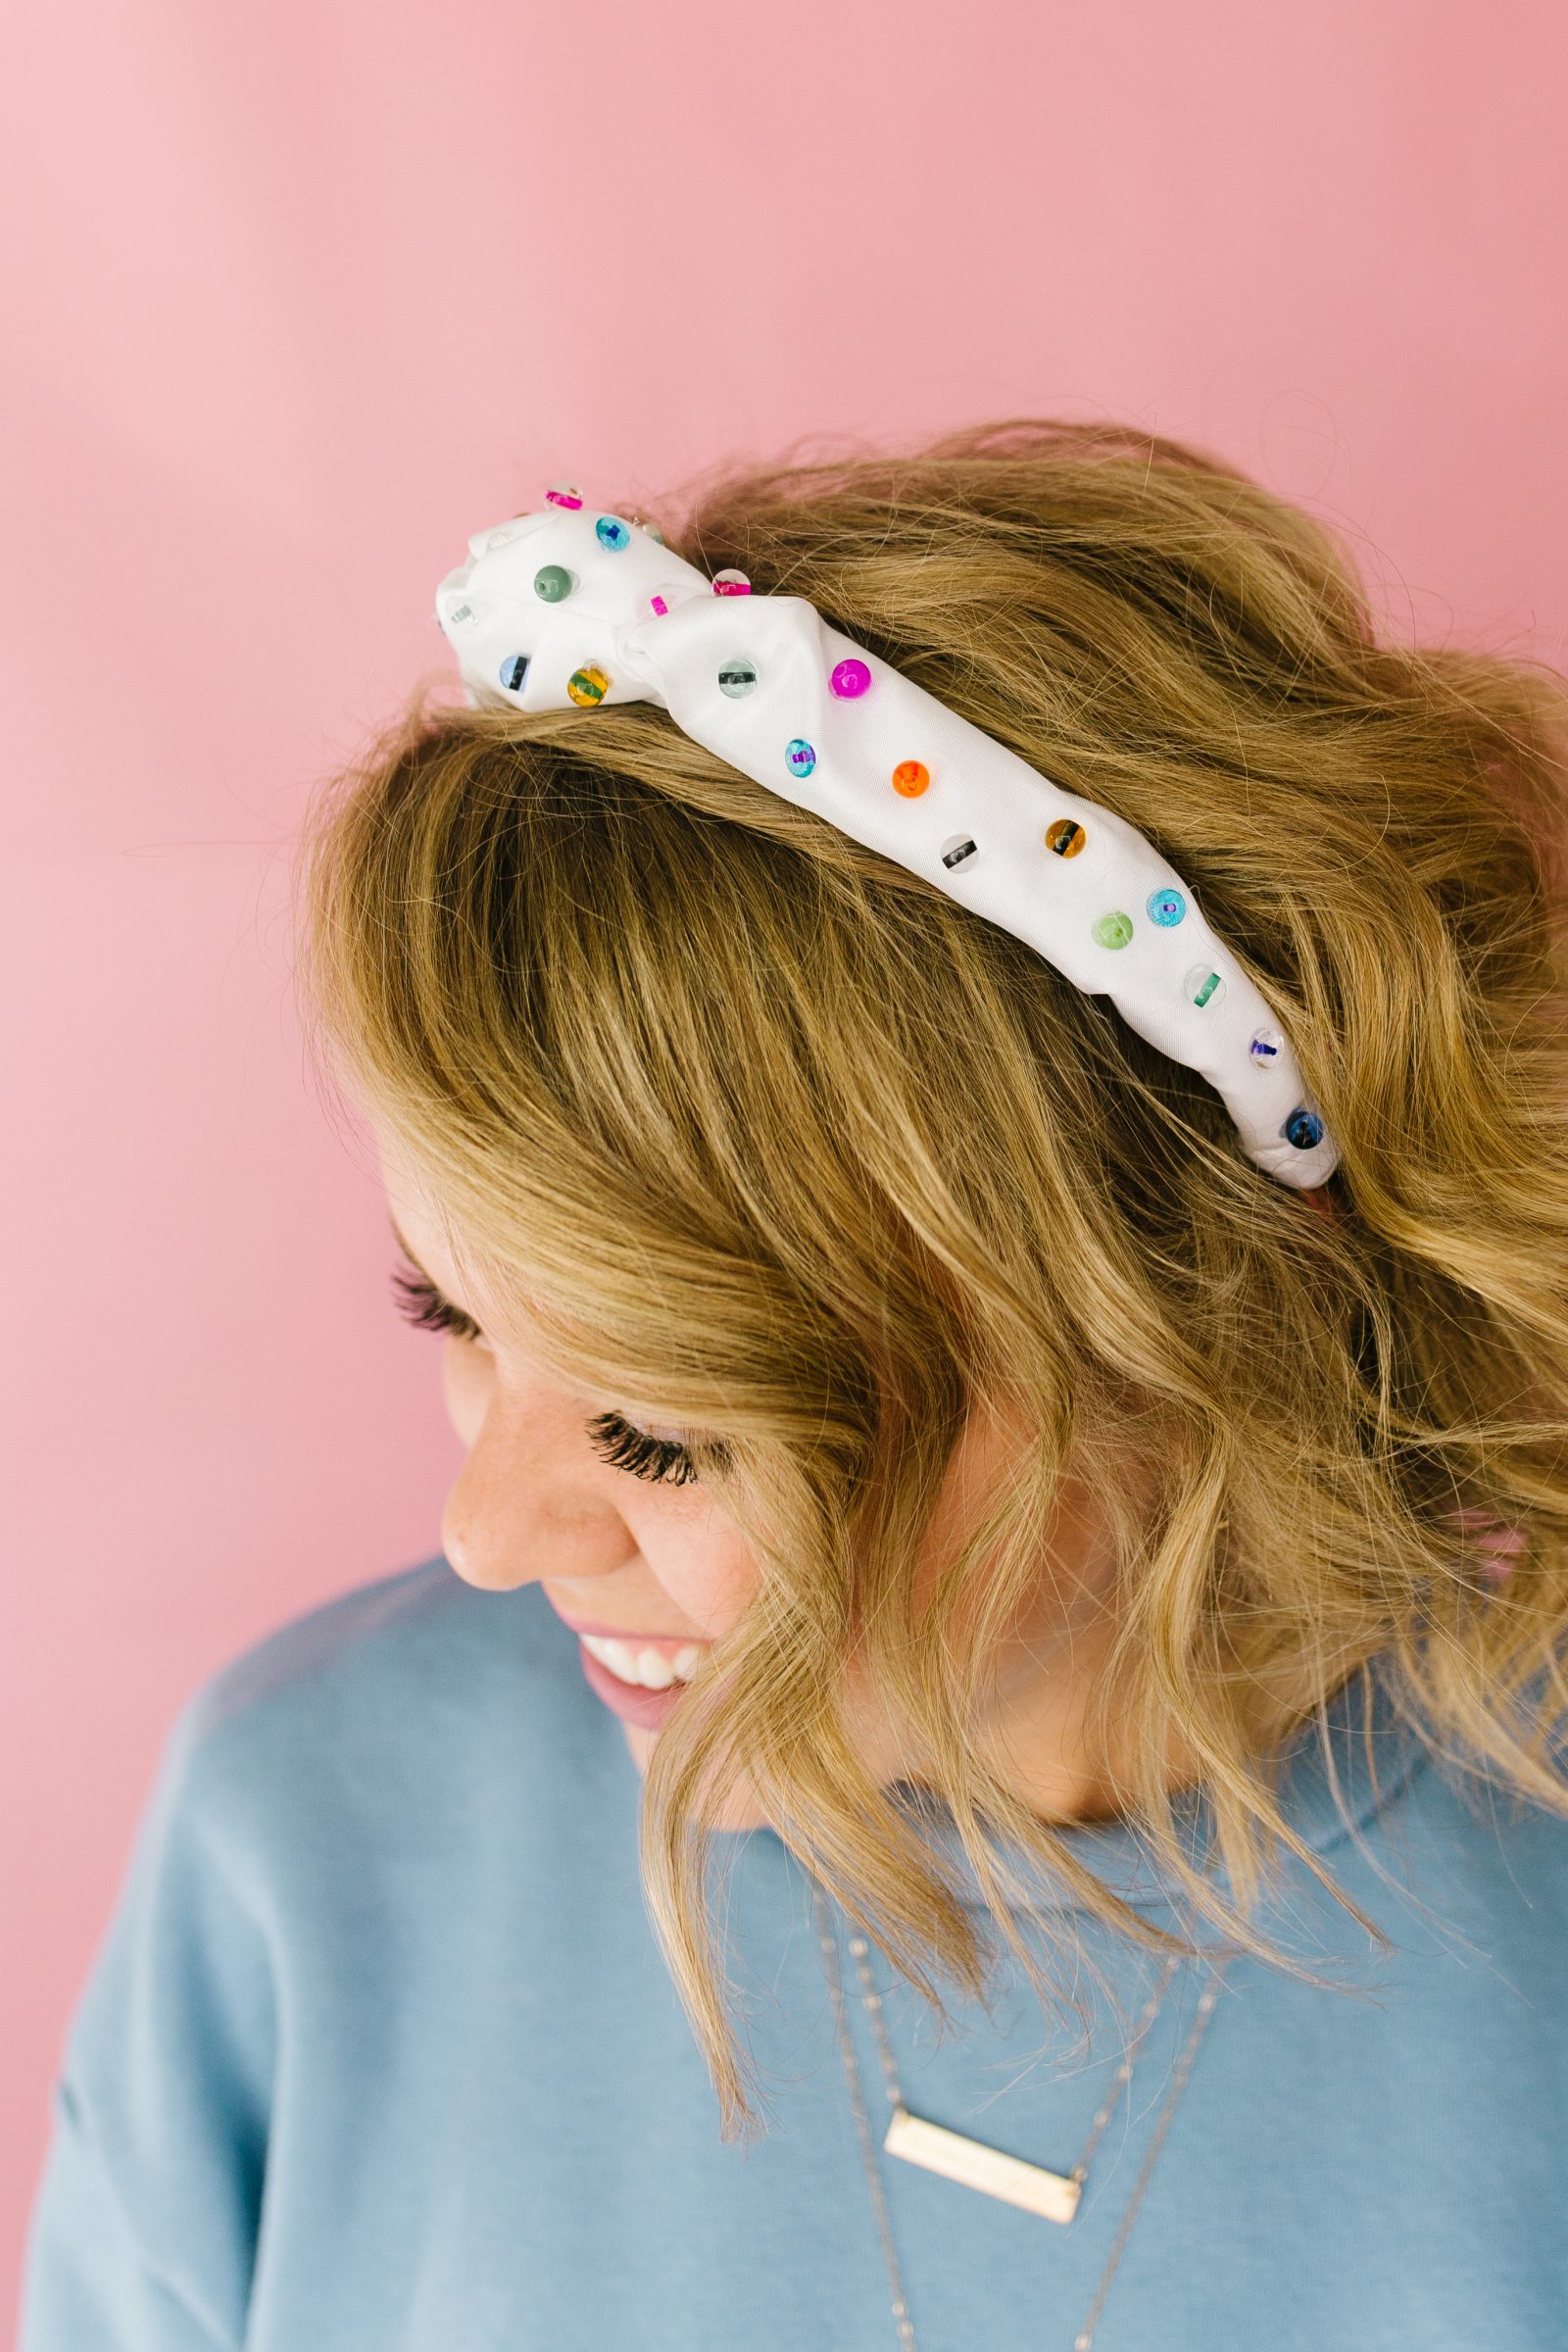
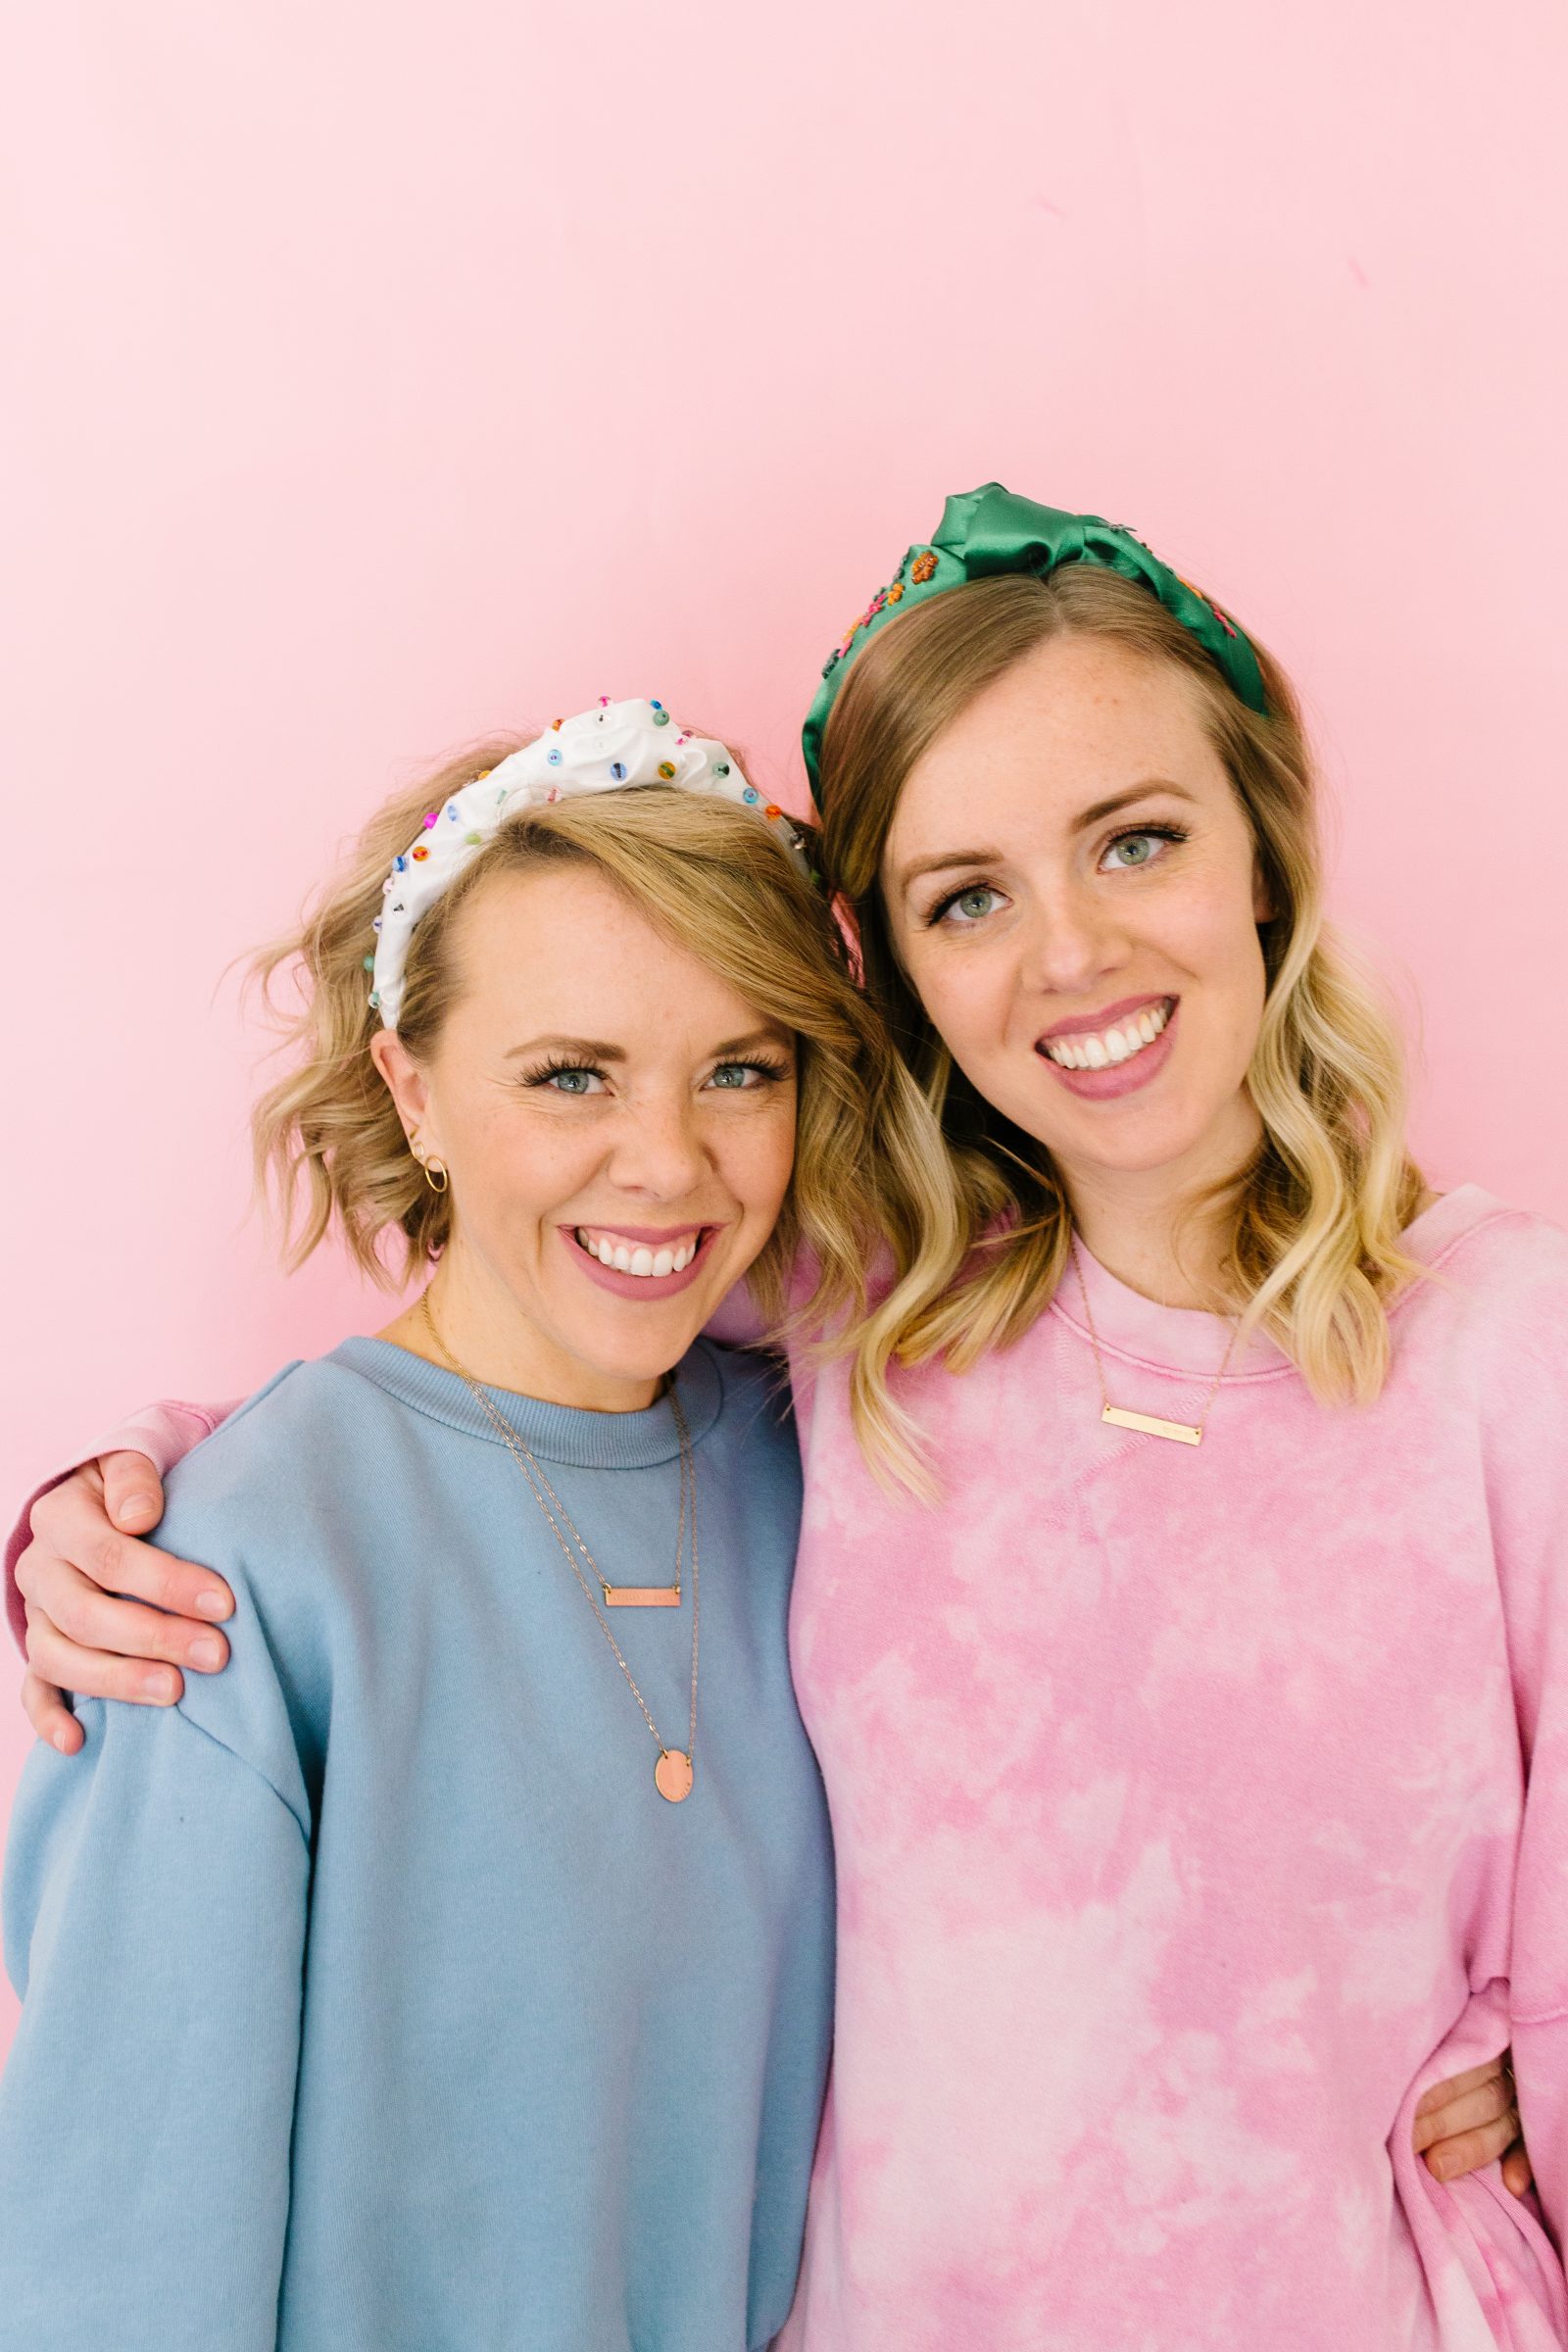
Aren’t they so fun? It’s basically a crown for 2021 queens and we are here for it. What colors/embellishments would you use?

Happy making!
ox. Sam and Liz