This post was originally published January 2021 and updated as of February 2024.
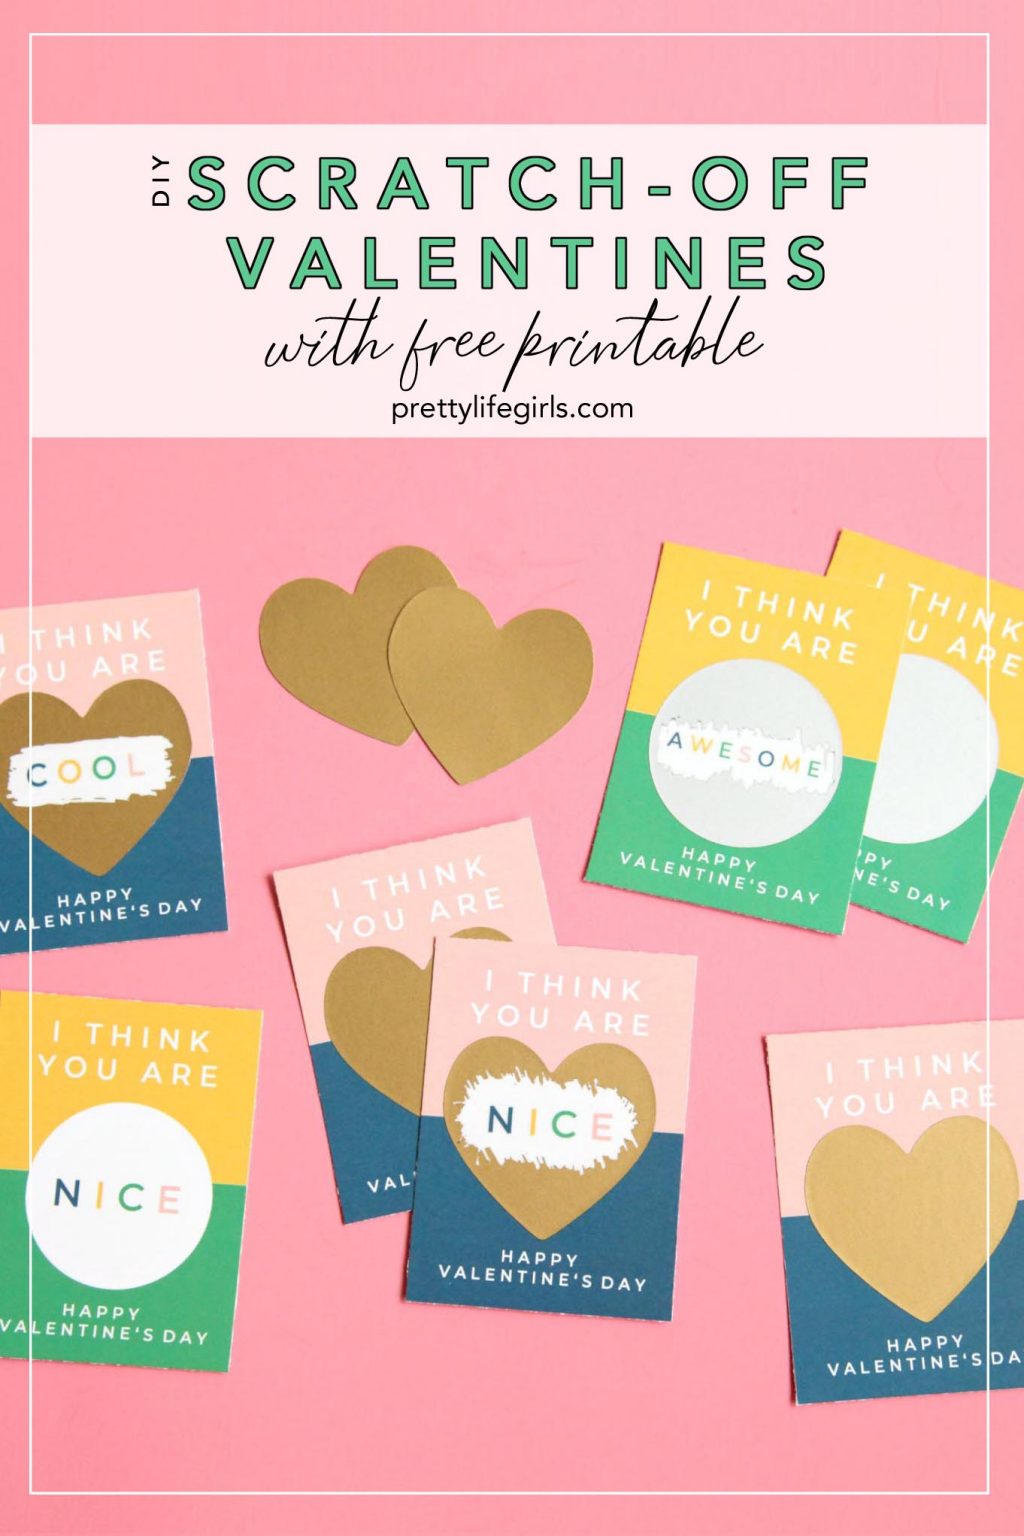
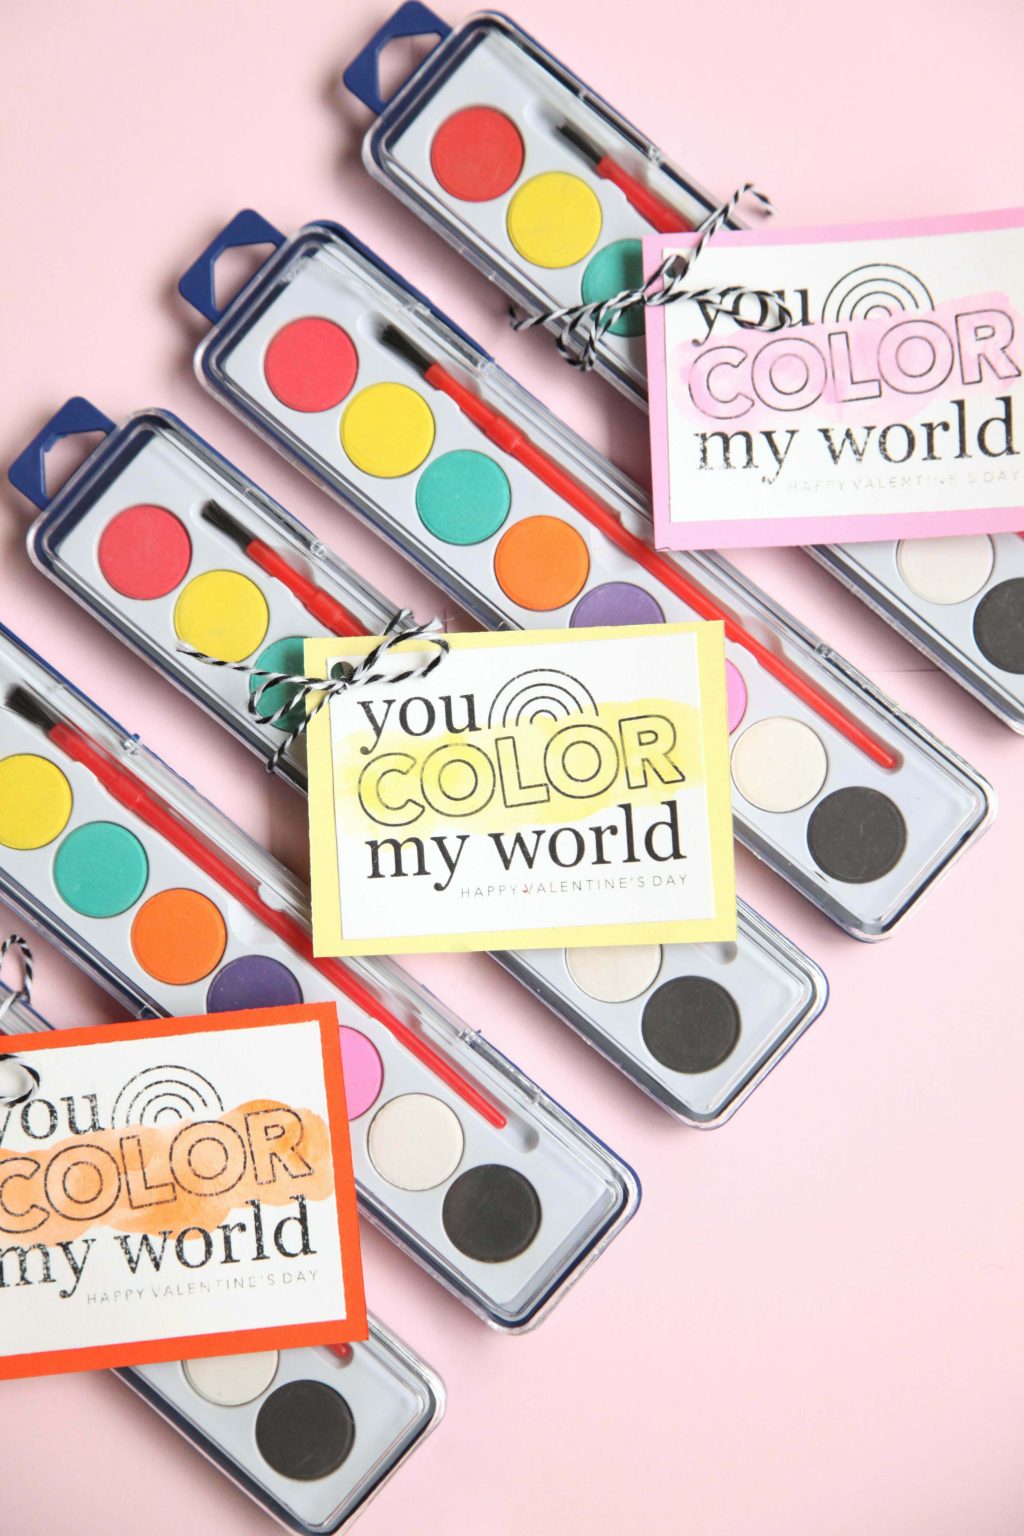
Today we’re sharing a fun non-candy Valentine idea – DIY Printable Watercolor Valentines! Just print the tags, add some embellishments, and attach them to paints or crayons!
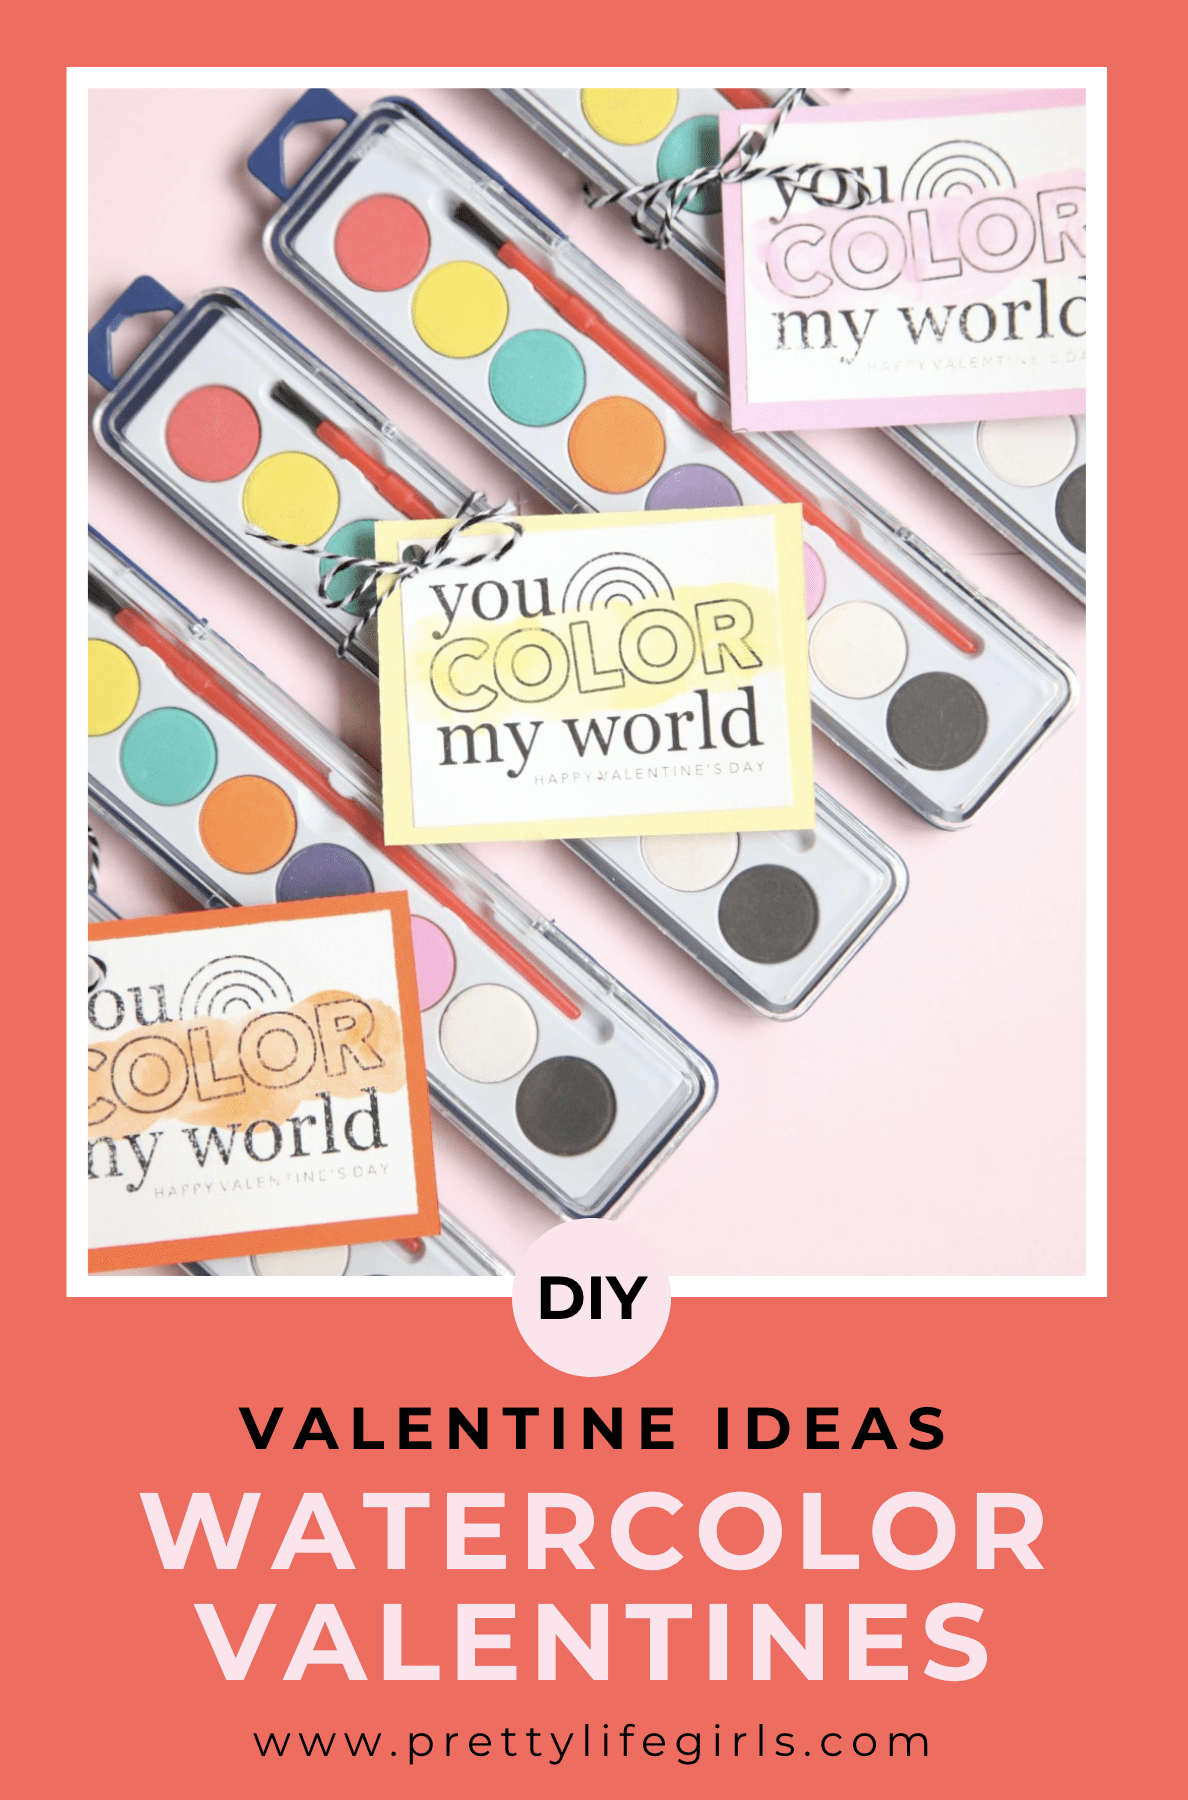
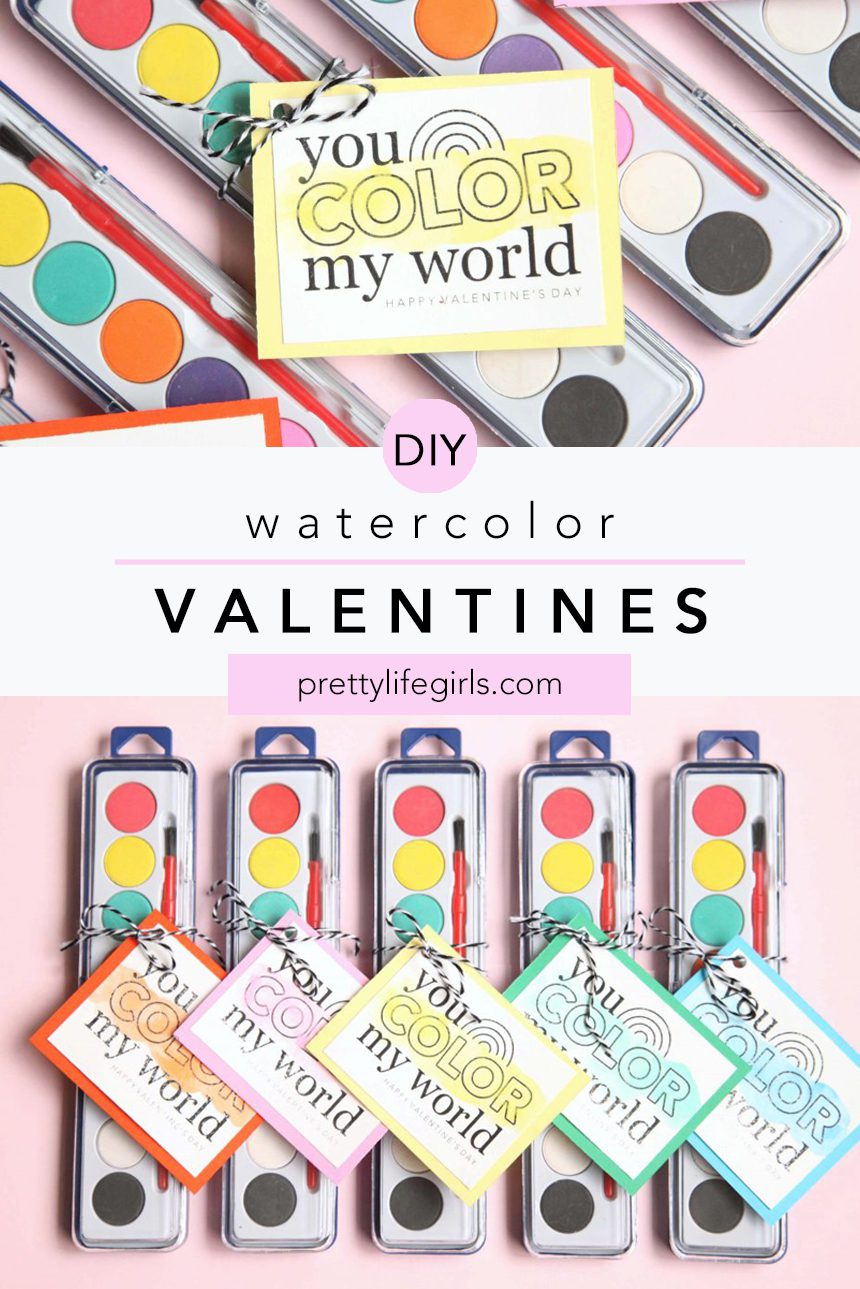
DIY Printable Watercolor Valentines
Last year, when my son came home from school after a Valentine’s Day party, I was thrilled to see a mailbox full of dinosaur and car Valentines, and only a couple candy Valentines. And while candy is one of my favorite things, it can’t top a toy or activity that occupies my kids for more than two seconds.
What can I give instead of candy for Valentine’s Day?
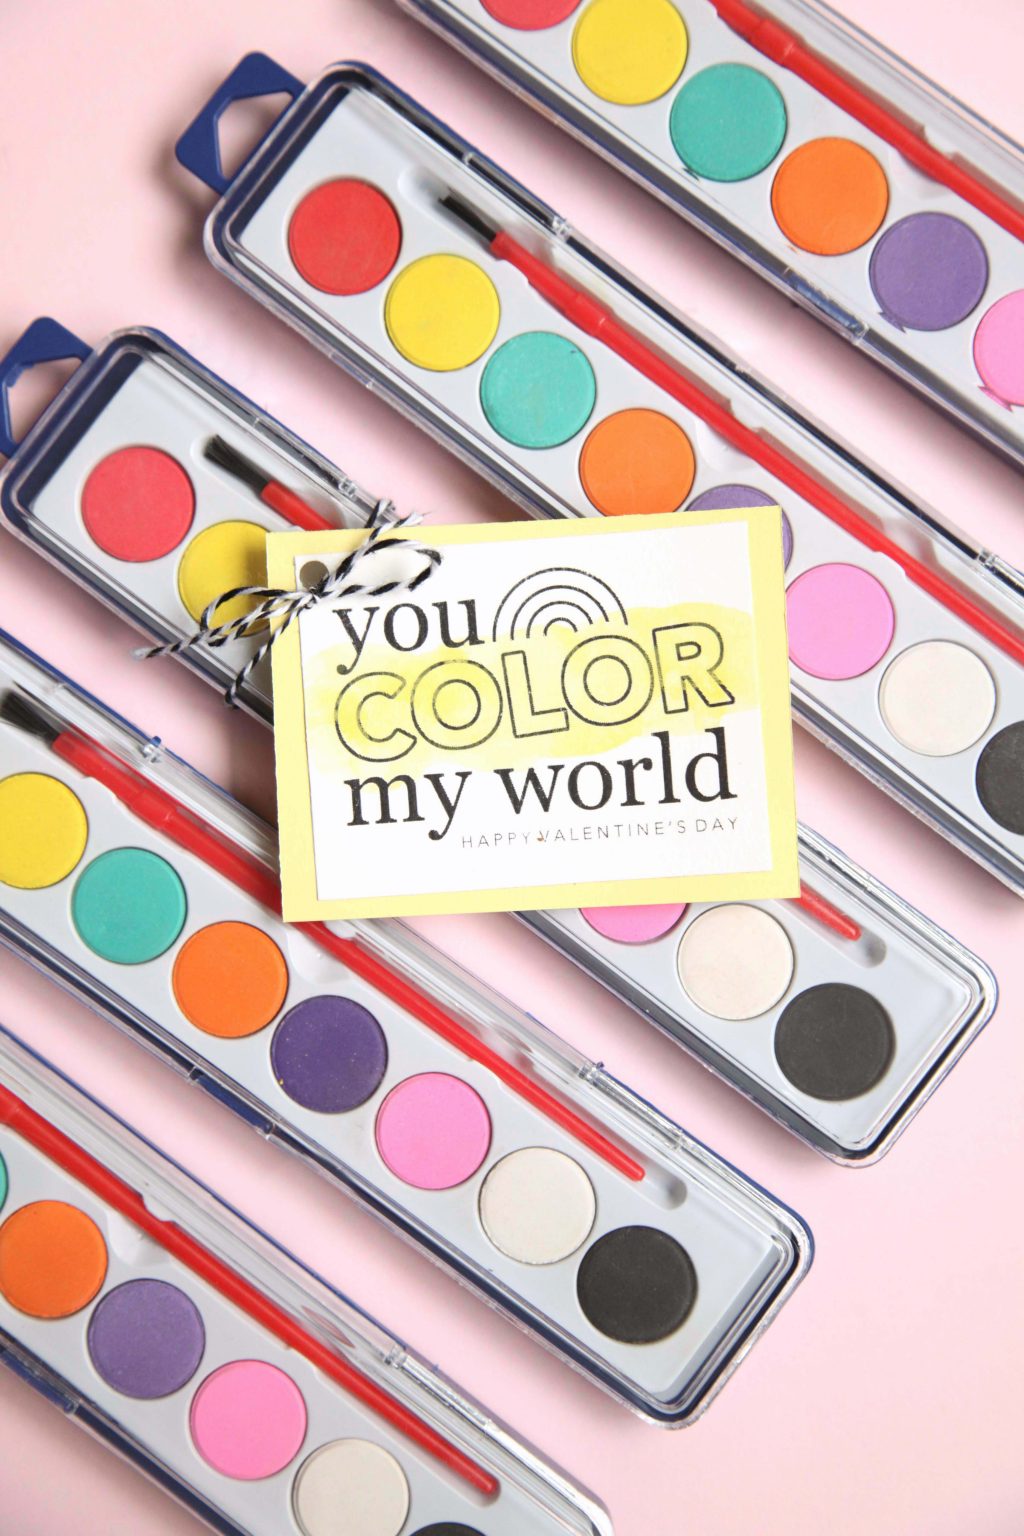
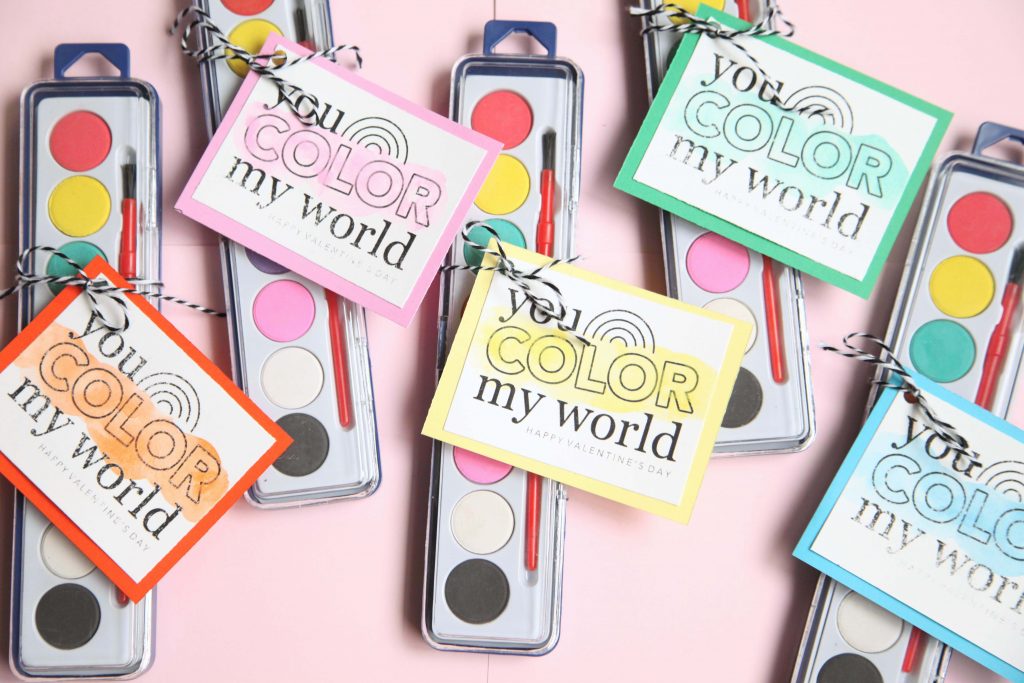
We LOVE these DIY Printable Watercolor Valentines as an alternative to candy Valentines. Just print the tags, add some embellishments, and attach them to paints or crayons, and you’ve got the cutest, useful Valentine that all your kid’s friend’s moms will be thanking you for!
Supplies needed to make your own DIY Watercolor Valentines
- Watercolor paper
- Color cardstock
- Glue stick
- Hole punch
- Bakers twine
- Paper slicer
- Watercolors (for painting and gifting)
- Printable
How to make your own DIY Watercolor Valentines
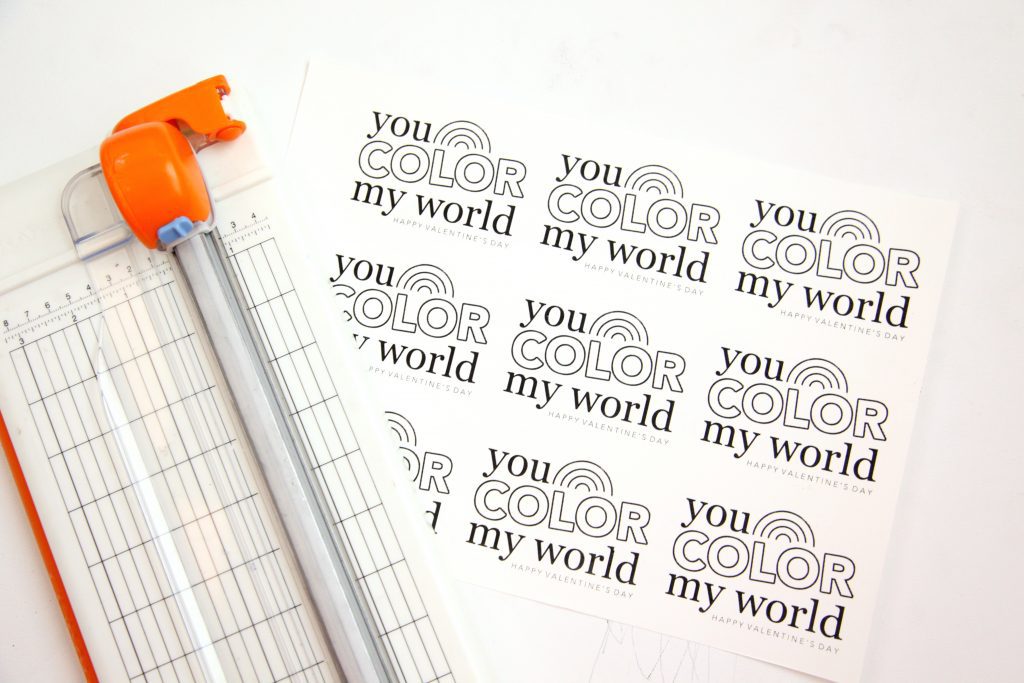
Step 1: Print our “You Color My World” tags on the watercolor paper. You may need to trim the paper slightly to fit into your printer. You can also use cardstock, but it might warp slightly when you paint on it. Cut the tags.

Step 2: Apply watercolor paint over the word COLOR. If your kids are old enough, they can help with this part! This part works and looks best if you use lighter colors with quite a bit of water. If there is too much paint, it will cover the printed design and make it hard to read. Note: The ink can rub off the paper if it’s handled too much, so be careful!
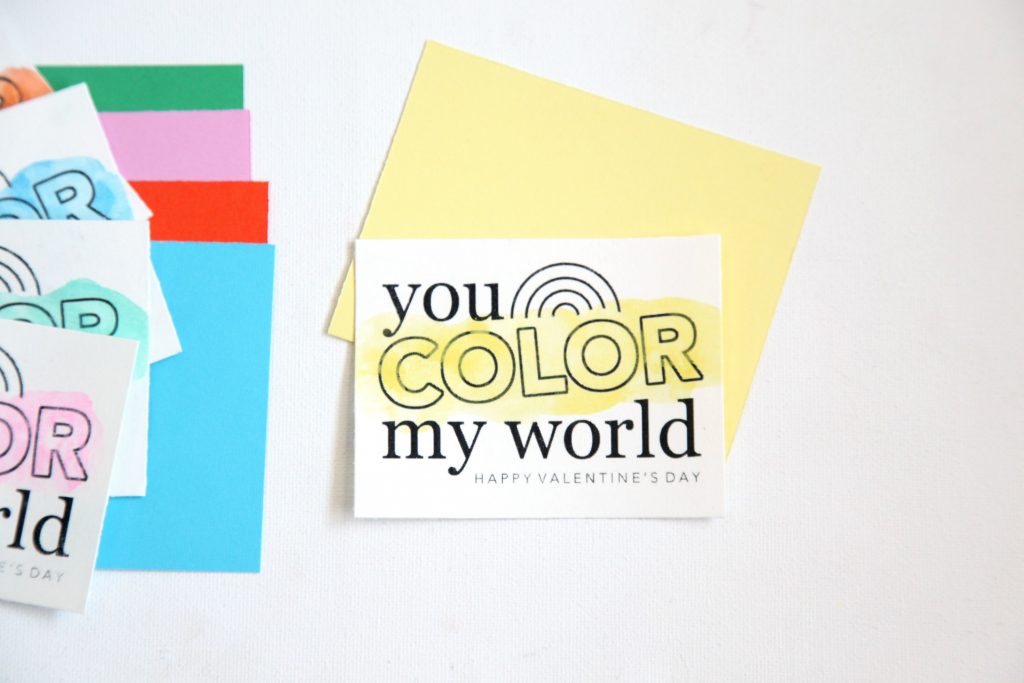
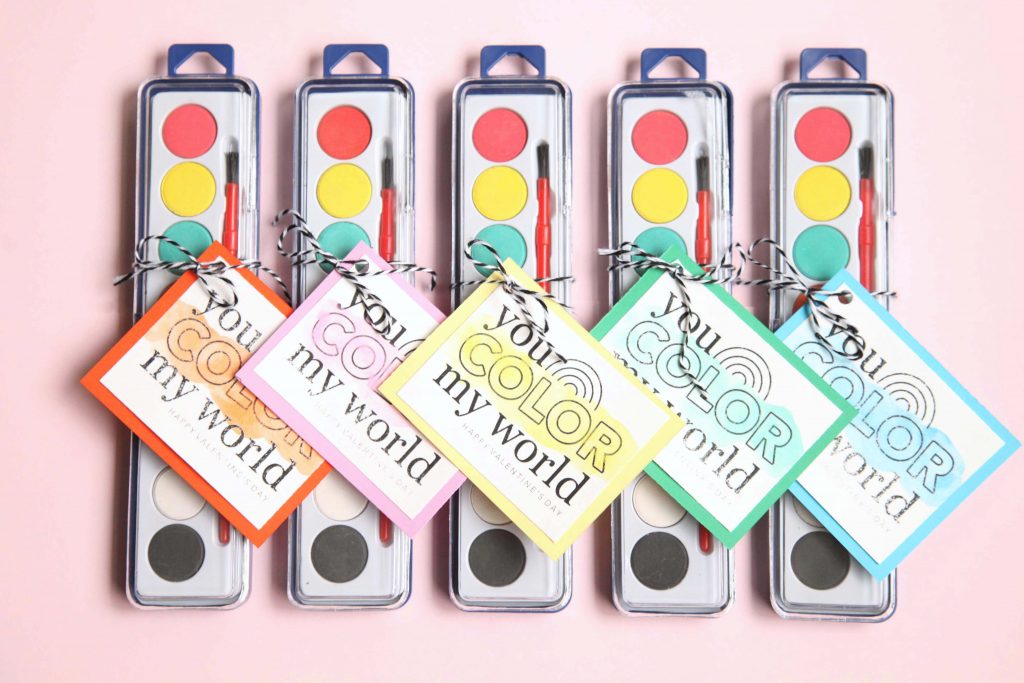
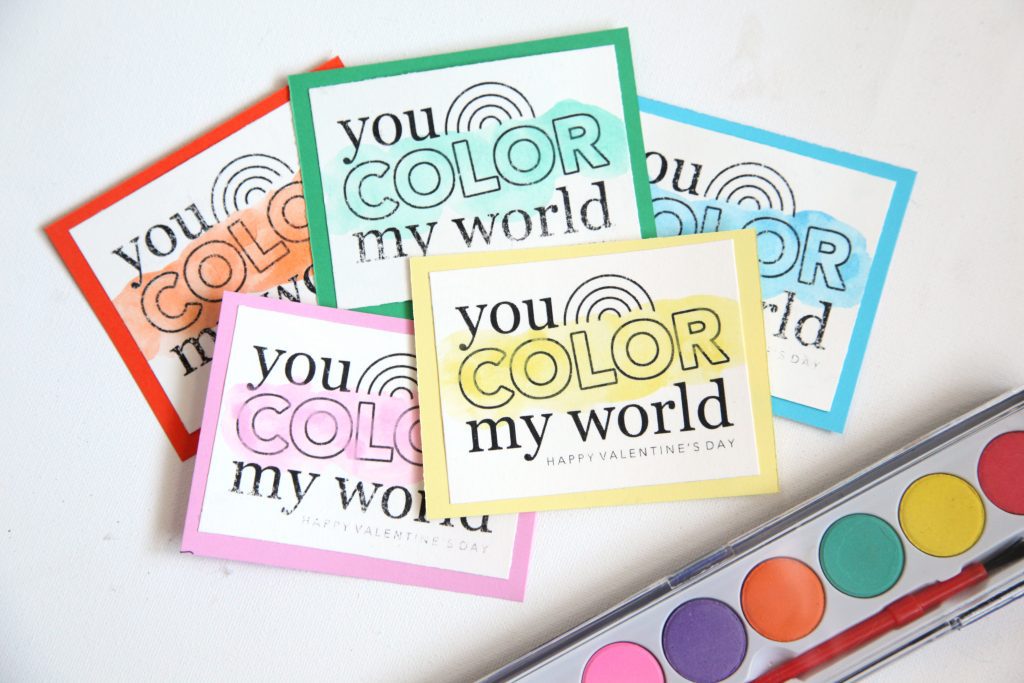
Step 3: Cut matching colored cardstock slightly bigger than the tags. Attach the tags to the cardstock with adhesive.
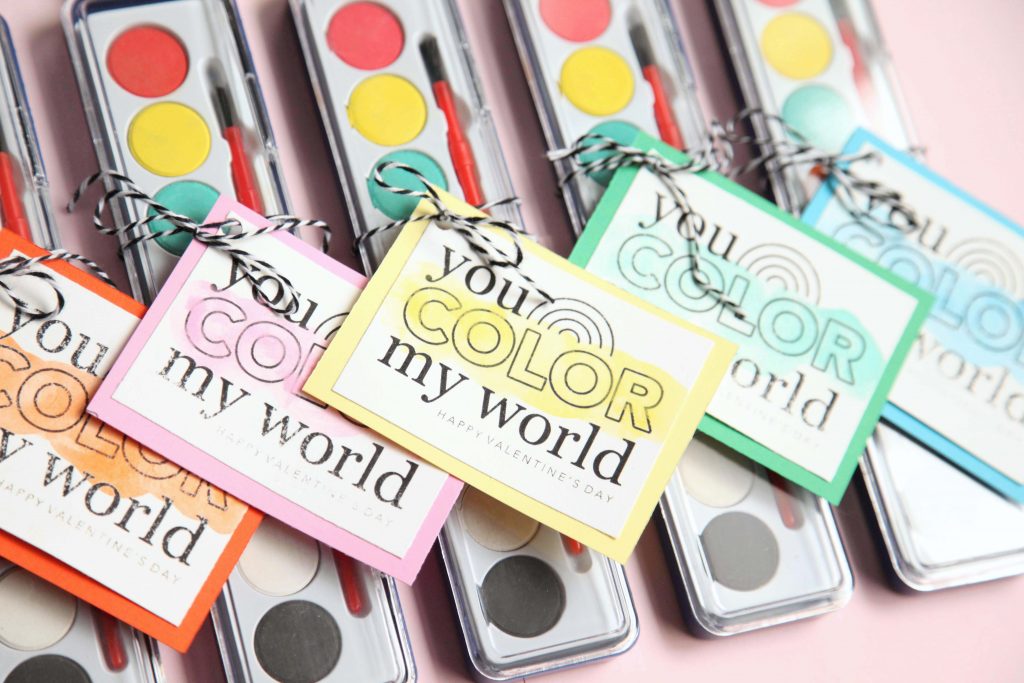
Step 4: Punch a hole in the corner of each tag and attach a tag to each watercolor set using baker’s twine.
DIY Printable Watercolor Valentines

Today we’re sharing a fun non-candy Valentine idea – DIY Printable Watercolor Valentines! Just print the tags, add some embellishments, and attach them to paints or crayons!
Materials
- Watercolor paper
- Color cardstock
- Glue stick
- Hole punch
- Bakers twine
- Paper slicer
- Watercolors (for painting and gifting)
- Printable
Instructions
- Print our “You Color My World” tags on the watercolor paper. You may need to trim the paper to fit into your printer. You can also use card stock, but it might warp slightly when you paint on it. Cut the tags.
- Apply watercolor paint over the word COLOR. If your kids are old enough, they can help with this part! This part works and looks best if you use lighter colors with quite a bit of water. If there is too much paint, it will cover the printed design and make it hard to read. Note: The ink can rub off the paper if it’s handled too much, so be careful!
- Cut matching colored card stock slightly bigger than the tags. Attach the tags to the card stock with adhesive.
- Punch a hole in the corner of each tag and attach a tag to each watercolor set using baker’s twine.
Recommended Products
As an Amazon Associate and member of other affiliate programs, I earn from qualifying purchases.
-
 Color Printable Valentine - Rainbow
 -
Color Swell Bulk Watercolors Paint Pack with Wood Brushes - 36 Sets with 8 Washable Colors Each - Perfect for Kids, Classrooms, Parties, Students, Donations, Party Favors, All Ages
-
Katkuca Black and White Twine, 656 Feet Cotton Bakers Twine Perfect for Baking, Butchers, Crafts Wrapping (Black&White 656)
-
1 Hole Punch, Single Hole Puncher, 8 Sheet Capacity, Ultimate Stationery, Silver Color, 2 Pack Classic Office Paper Punch for Paper
-
Elmer's Disappearing Purple School Glue Sticks, Washable, 22 Grams, 3 Count
-
NEENAH Creative Collection Classics Specialty Cardstock Starter Kit, 8.5 X 11 Inches, 72 Count Assortment (46407-02)
-
Amazon Basics Watercolor Pad, 9"x12", 140 lb / 300 gsm, 30 Sheets, White


Happy crafting!
Sam
Save this post for later!
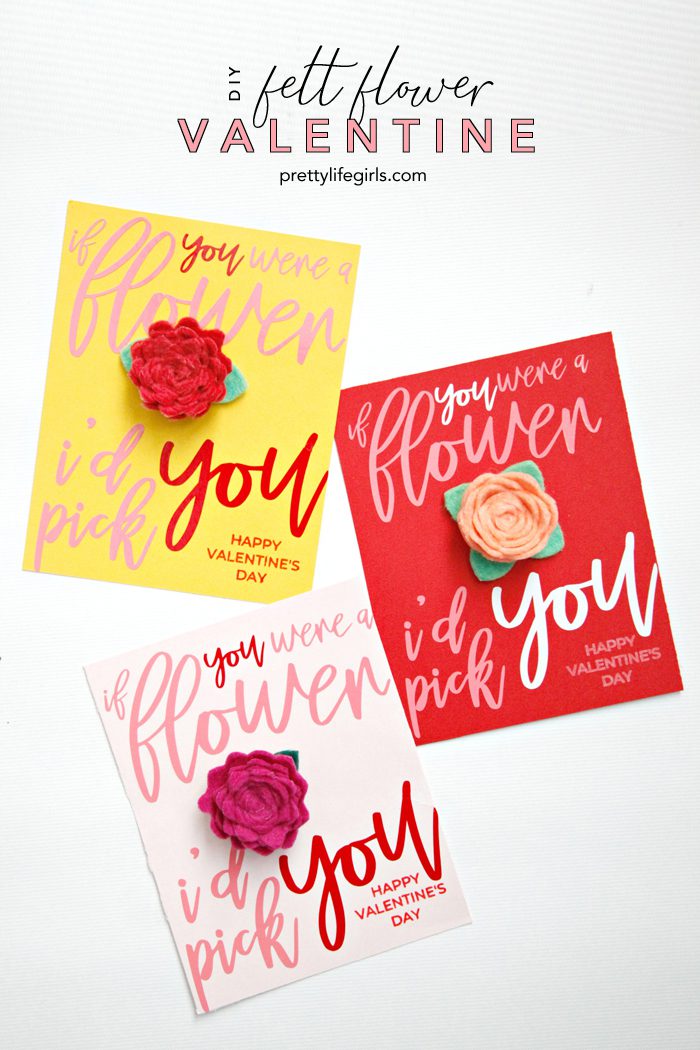
Looking for more DIY Valentines? We think you’ll love these ideas!
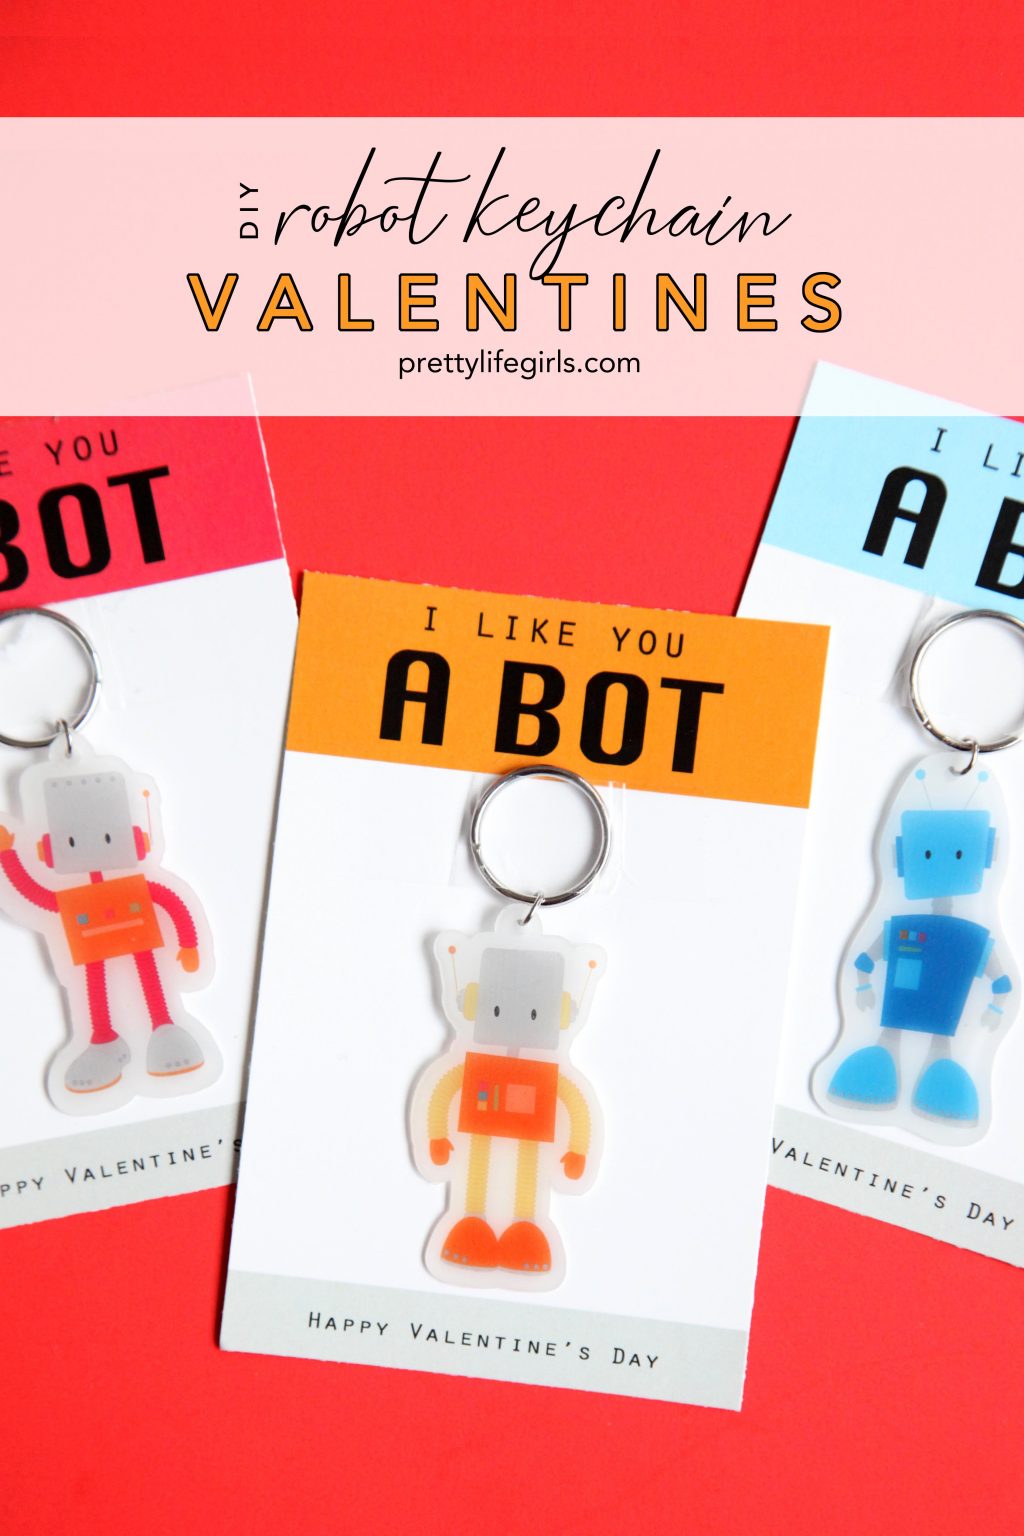 DIY Shrink Plastic Robot Keychain Valentine