This stenciled tote bag is sponsored by Silhouette. All opinions expressed are ours alone.
This post may contain affiliate links, which help us support this site.
The weather has taken a major turn here and it’s got me panicked about keeping a couple of stir-crazy kids engaged all winter long. When this happens I do two things: raid my pantry for Halloween candy (for ME not the children) and raid my craft room for something to keep them entertained indoors on a snowy afternoon. As a Silhouette loyalist there are so many ways to craft with kids (they would put vinyl decals on everything they owned if I let them), and one of my favorite go-tos is using my Silhouette CAMEO 4 to make stencils! Once, a couple of years ago, I was part of a preschool co-op and had a handful of 4-year olds come to my house a couple of times a month. One morning I had failed to prepare anything for the kiddos to do, and realized we were a couple of days away from Mother’s Day. So, I grabbed a my Silhouette sticker sheets, cut out one of the adorable Mother’s Day designs from the Silhouette Design Store and let the kids stamp over the stencils. The moms loved the bags and the kids had the best time!
So, with Thanksgiving coming up and cold weather setting in, I decided it was time to share this favorite Silhouette craft! These grateful stenciled tote bags would be perfect for a kid’s table at Thanksgiving as a way to keep little hands busy, or to pull out when the cabin fever hits in January. Here is what you’ll need:

Supplies Needed to Make a Stenciled Tote Bag
Silhouette Sticker Sheets
Silhouette CAMEO 4
Grateful Design and Rainbow Design from the Silhouette Design Store
Blank Tote Bag
Multi-Surface Paint in Various Colors
Paint Brush
Yarn (optional)
Wooden Bead (optional)
How to Make a Stenciled Tote Bag
Step 1. Load your “grateful” and rainbow designs from your library into Silhouette Studio. Size them down to fit the size of your tote bag, with the rainbow above the grateful.
Step 2. Adjust your cut settings to cut clear sticker sheets, load a sticker sheet into your Silhouette machine and send to cut.
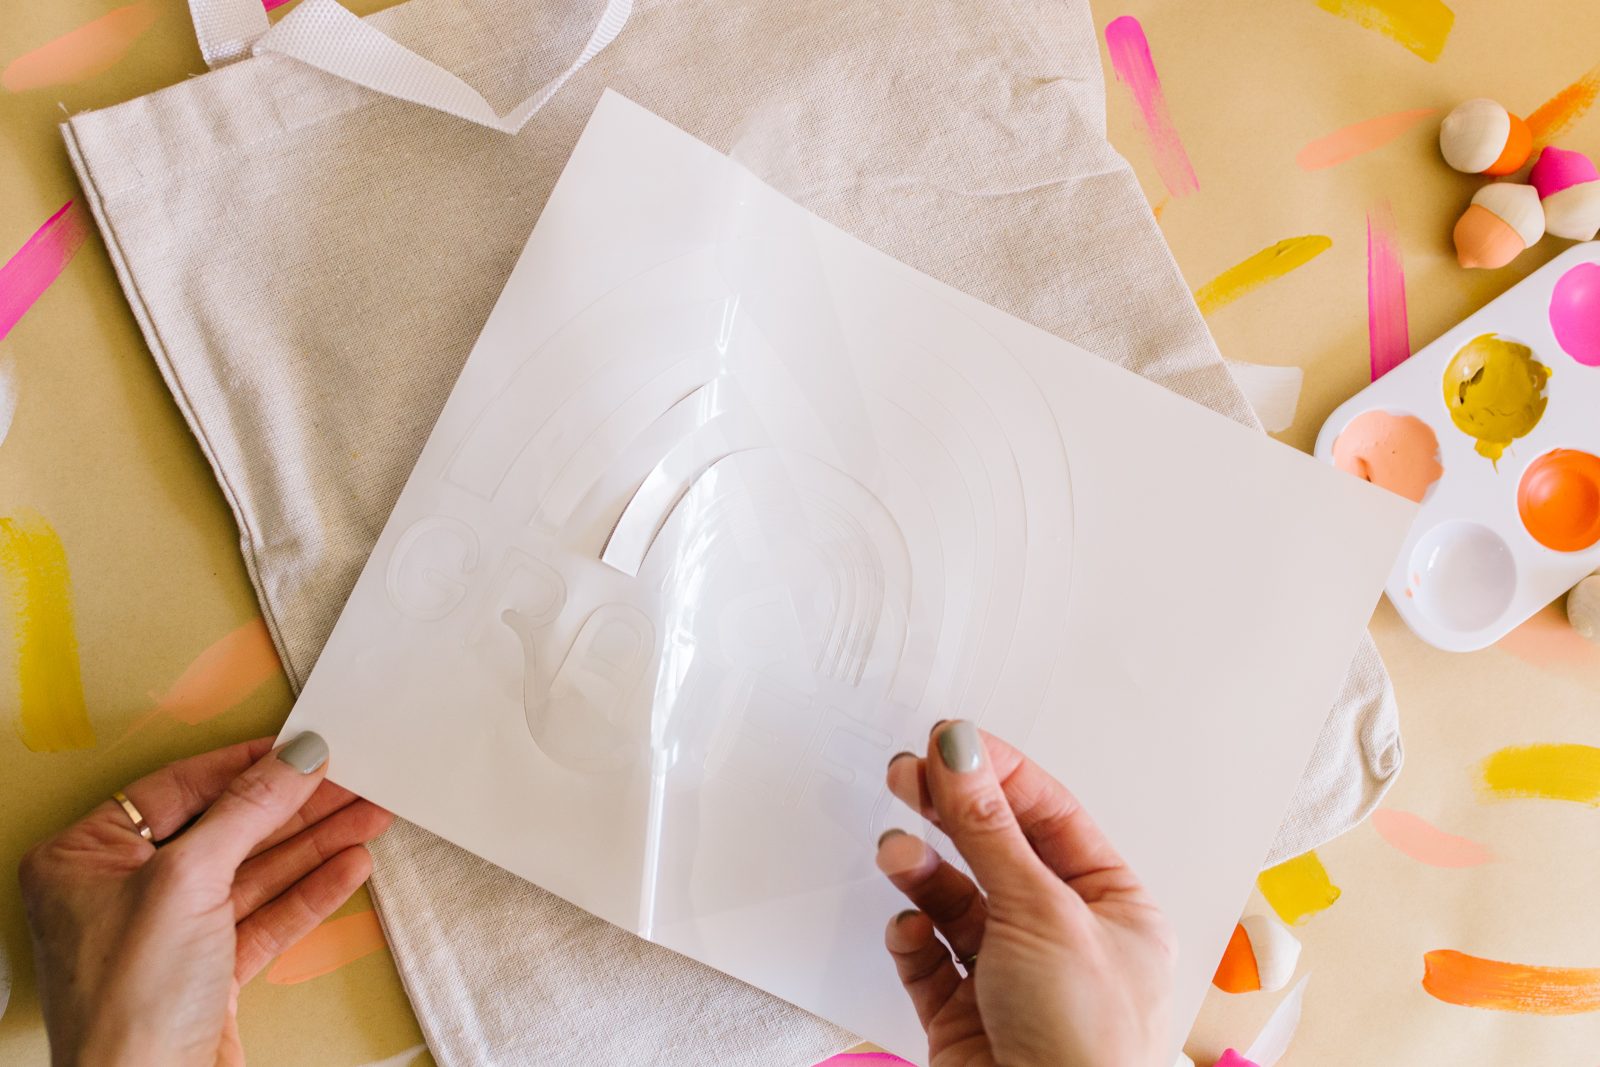
Step 3. Carefully remove the backing from the sticker sheet and place the sticker sheet, sticky-side down, on your tote bag. Press the sticker into the bag to insure it has adhered firmly so that no paint will leak through.

Step 4. Load a light amount of paint on a paintbrush and begin dabbing paint on the desired area of the stencil. (In our experience, the less paint on the brush the better! Stencils usually perform better if you do multiple coats with little paint, rather than having a lot of paint on a brush and doing less coats.) Repeat with the desired amount of colors of paint and coats.

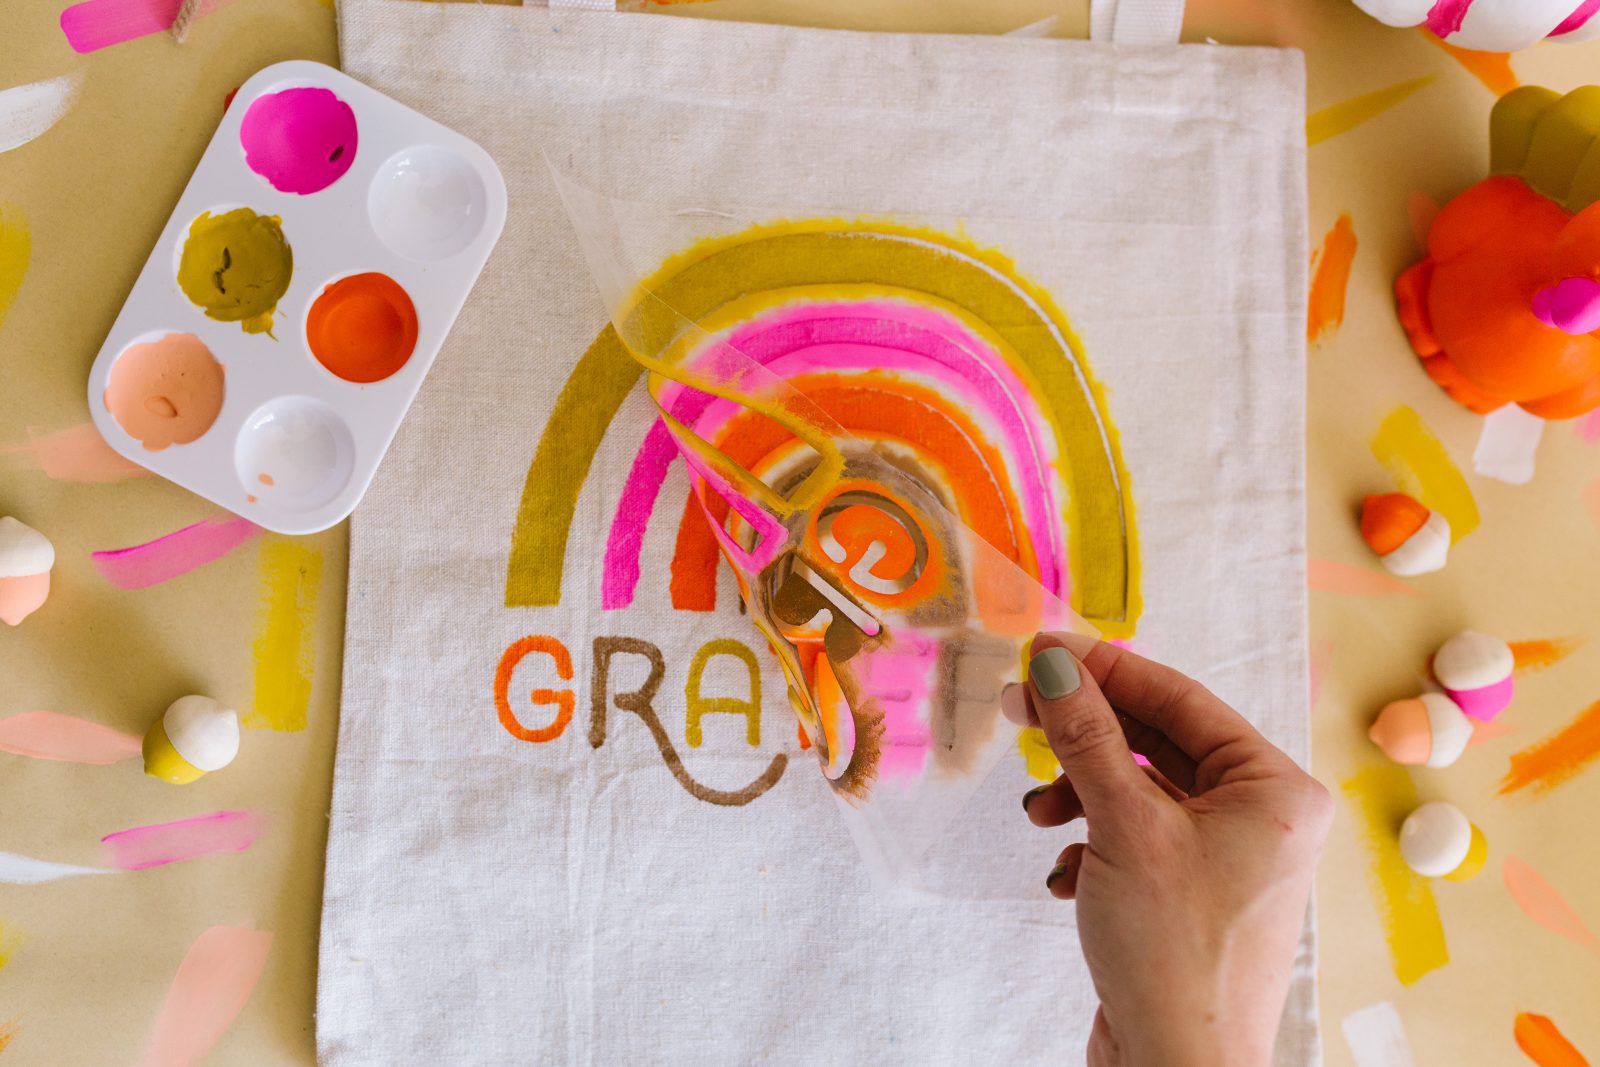
Step 4. Once you have applied your desired number of coats and colors of paint, gently lift the stencil from the tote bag and let the bag dry completely.
Step 5. If desired, add a beaded yarn tassel to accessorize!

That’s it! So much fun to make, and the design makes it so stylish and adorable. These bags go perfectly with our “blank slate” kid’s Thanksgiving table and add a project to the day as well as extra function, as they can help kiddos carry all of their projects from the day home with them!


Happy Making!
ox. Liz
Like this post? We think you’ll love these too!
 10 Silhouette CAMEO Projects for Beginners