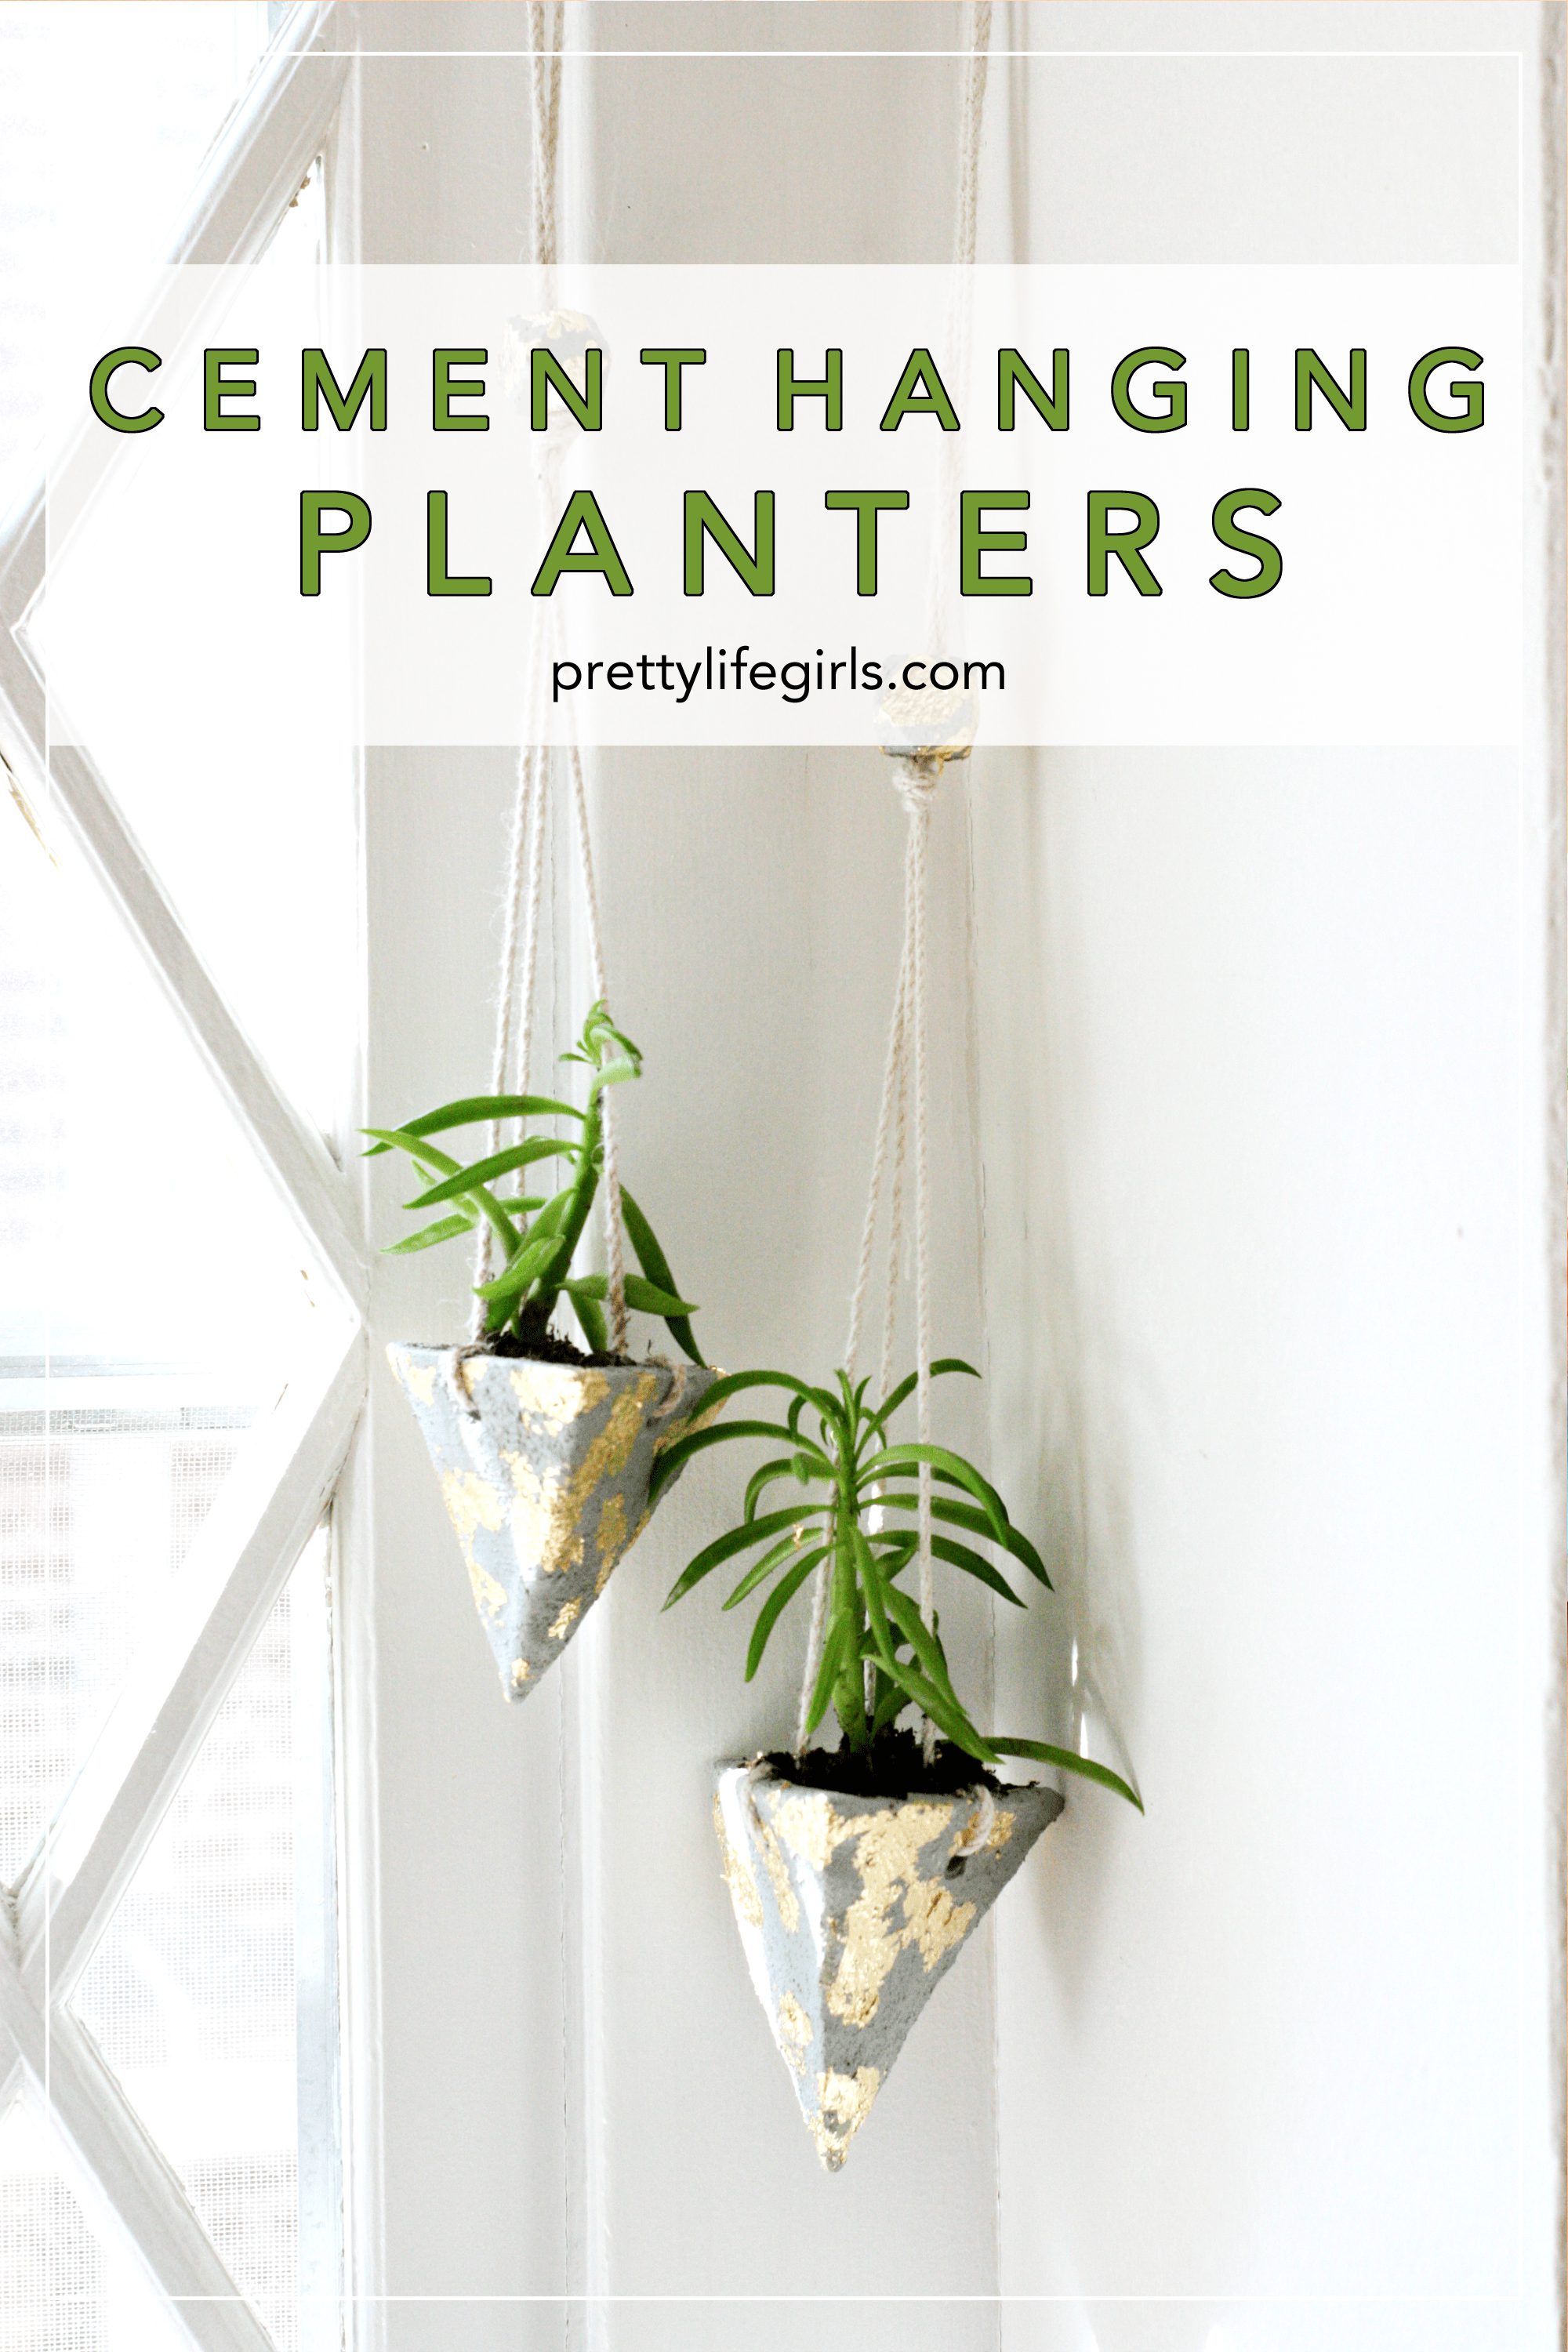
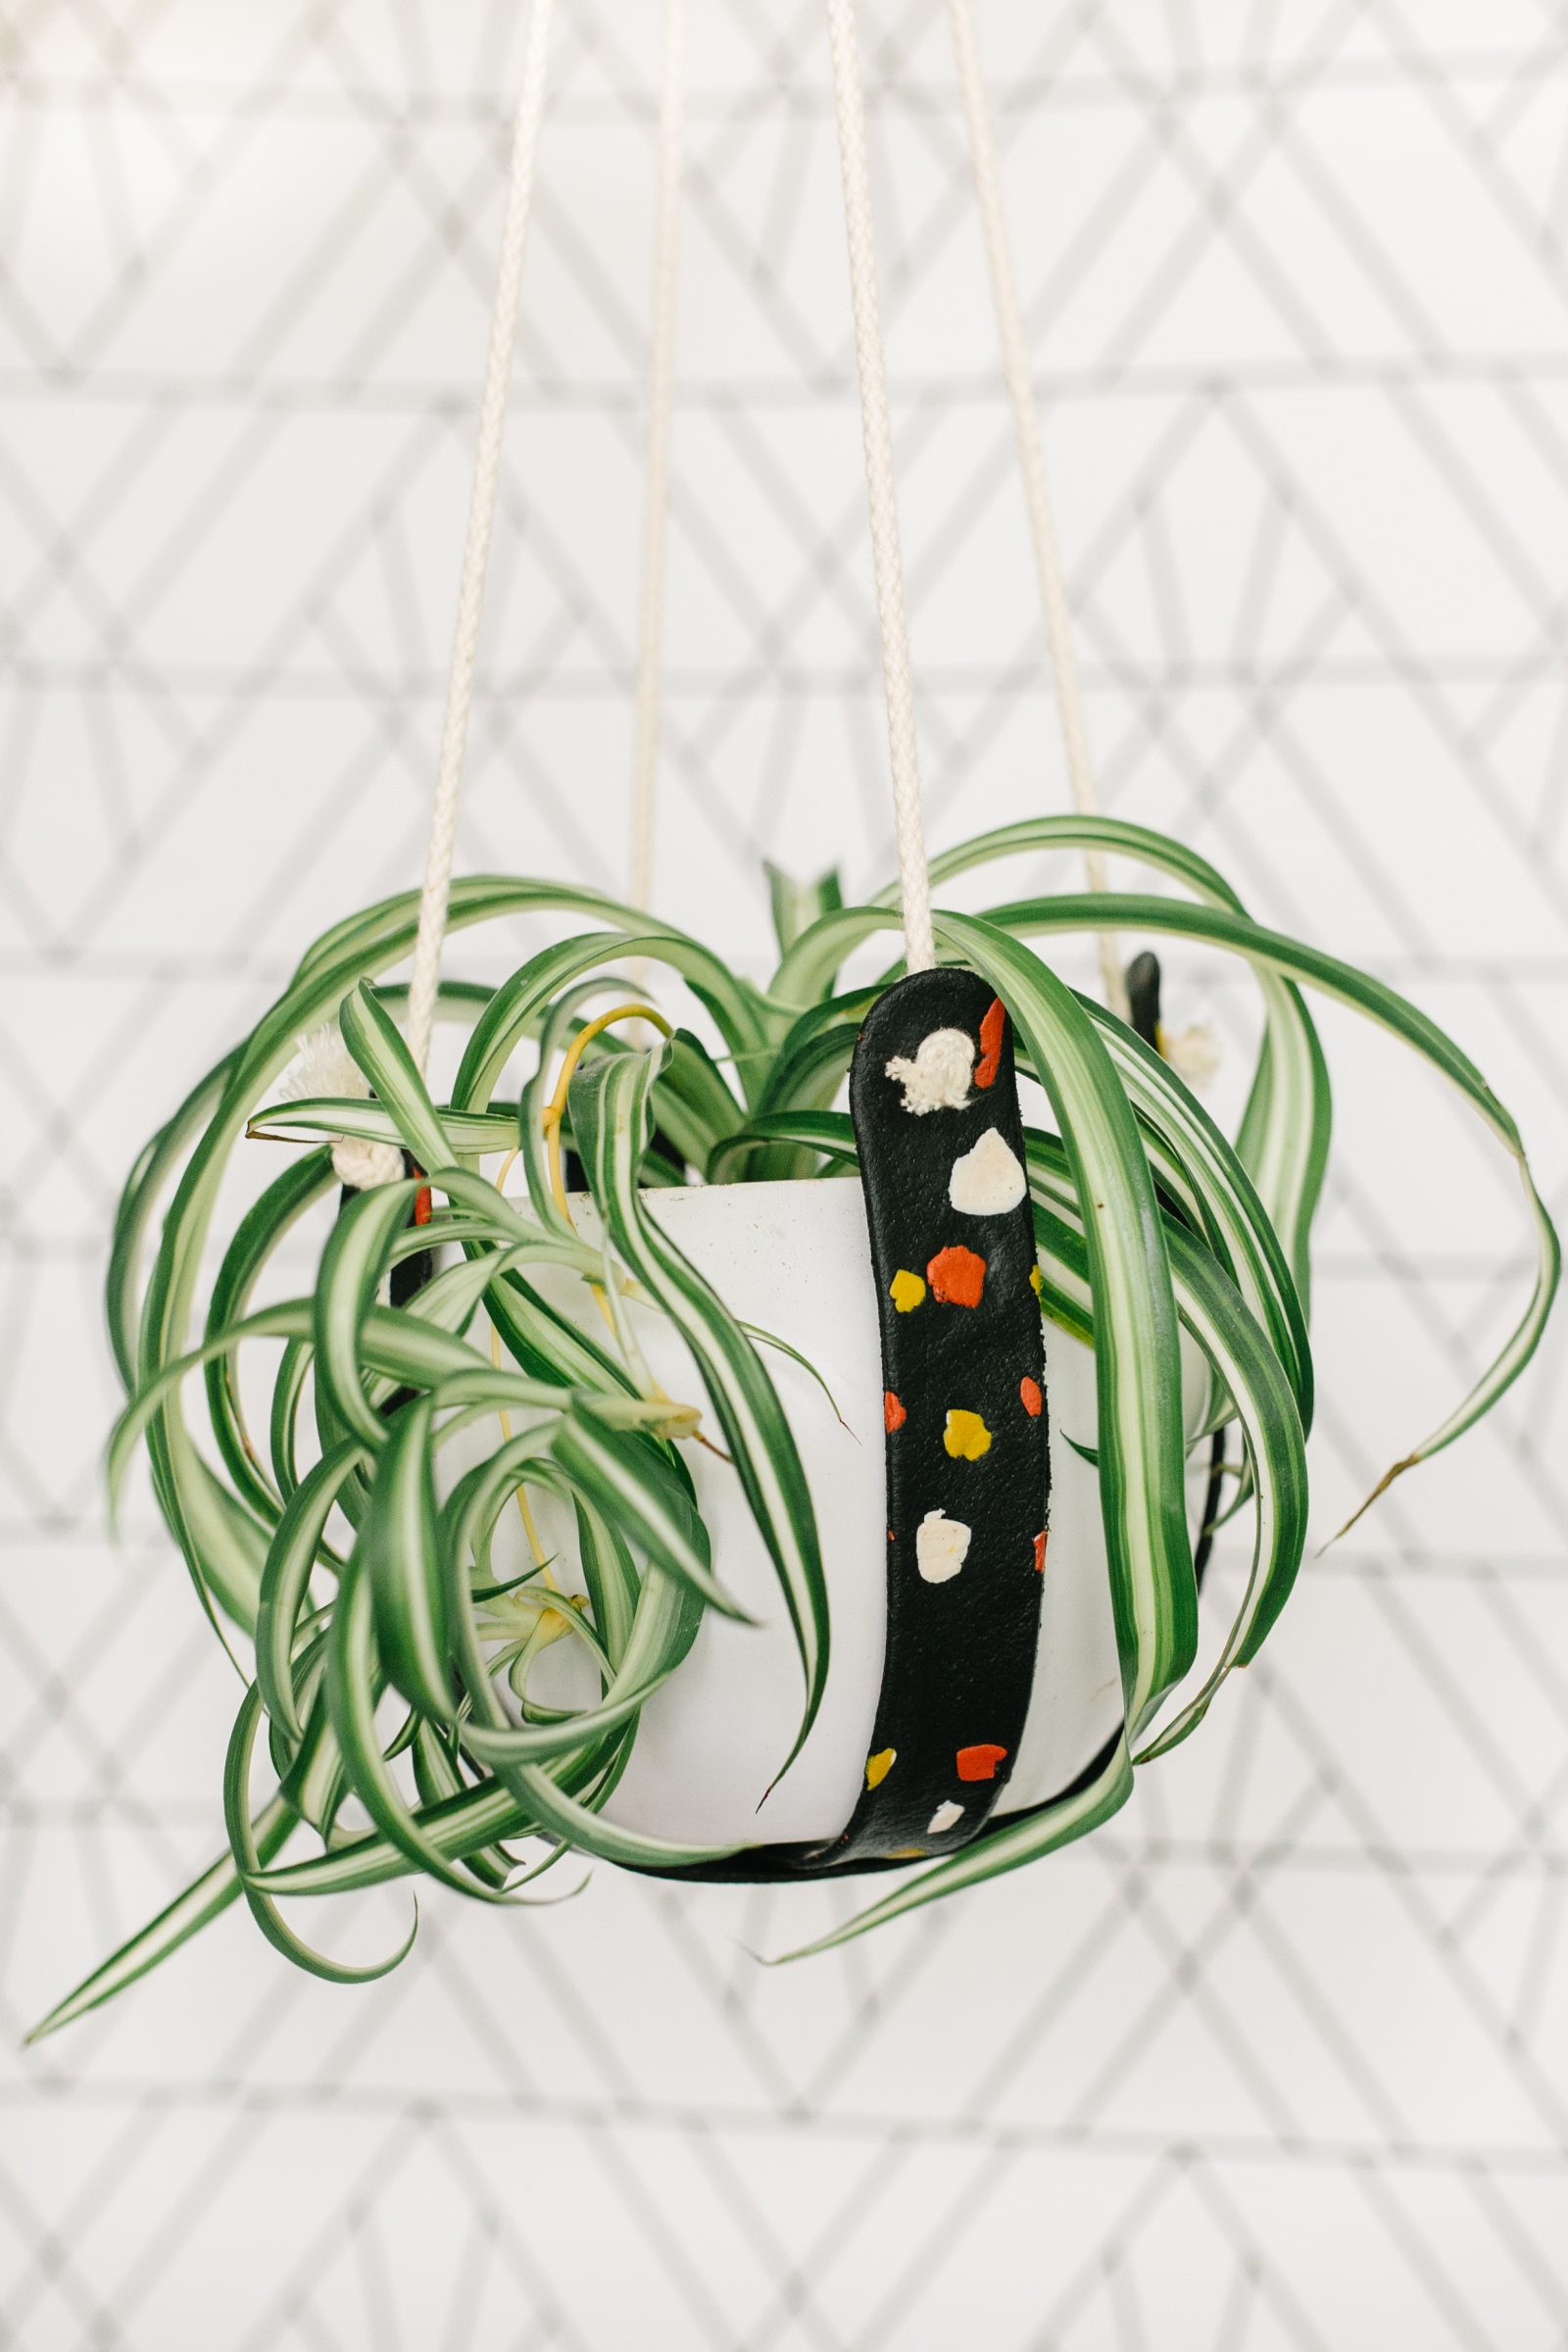
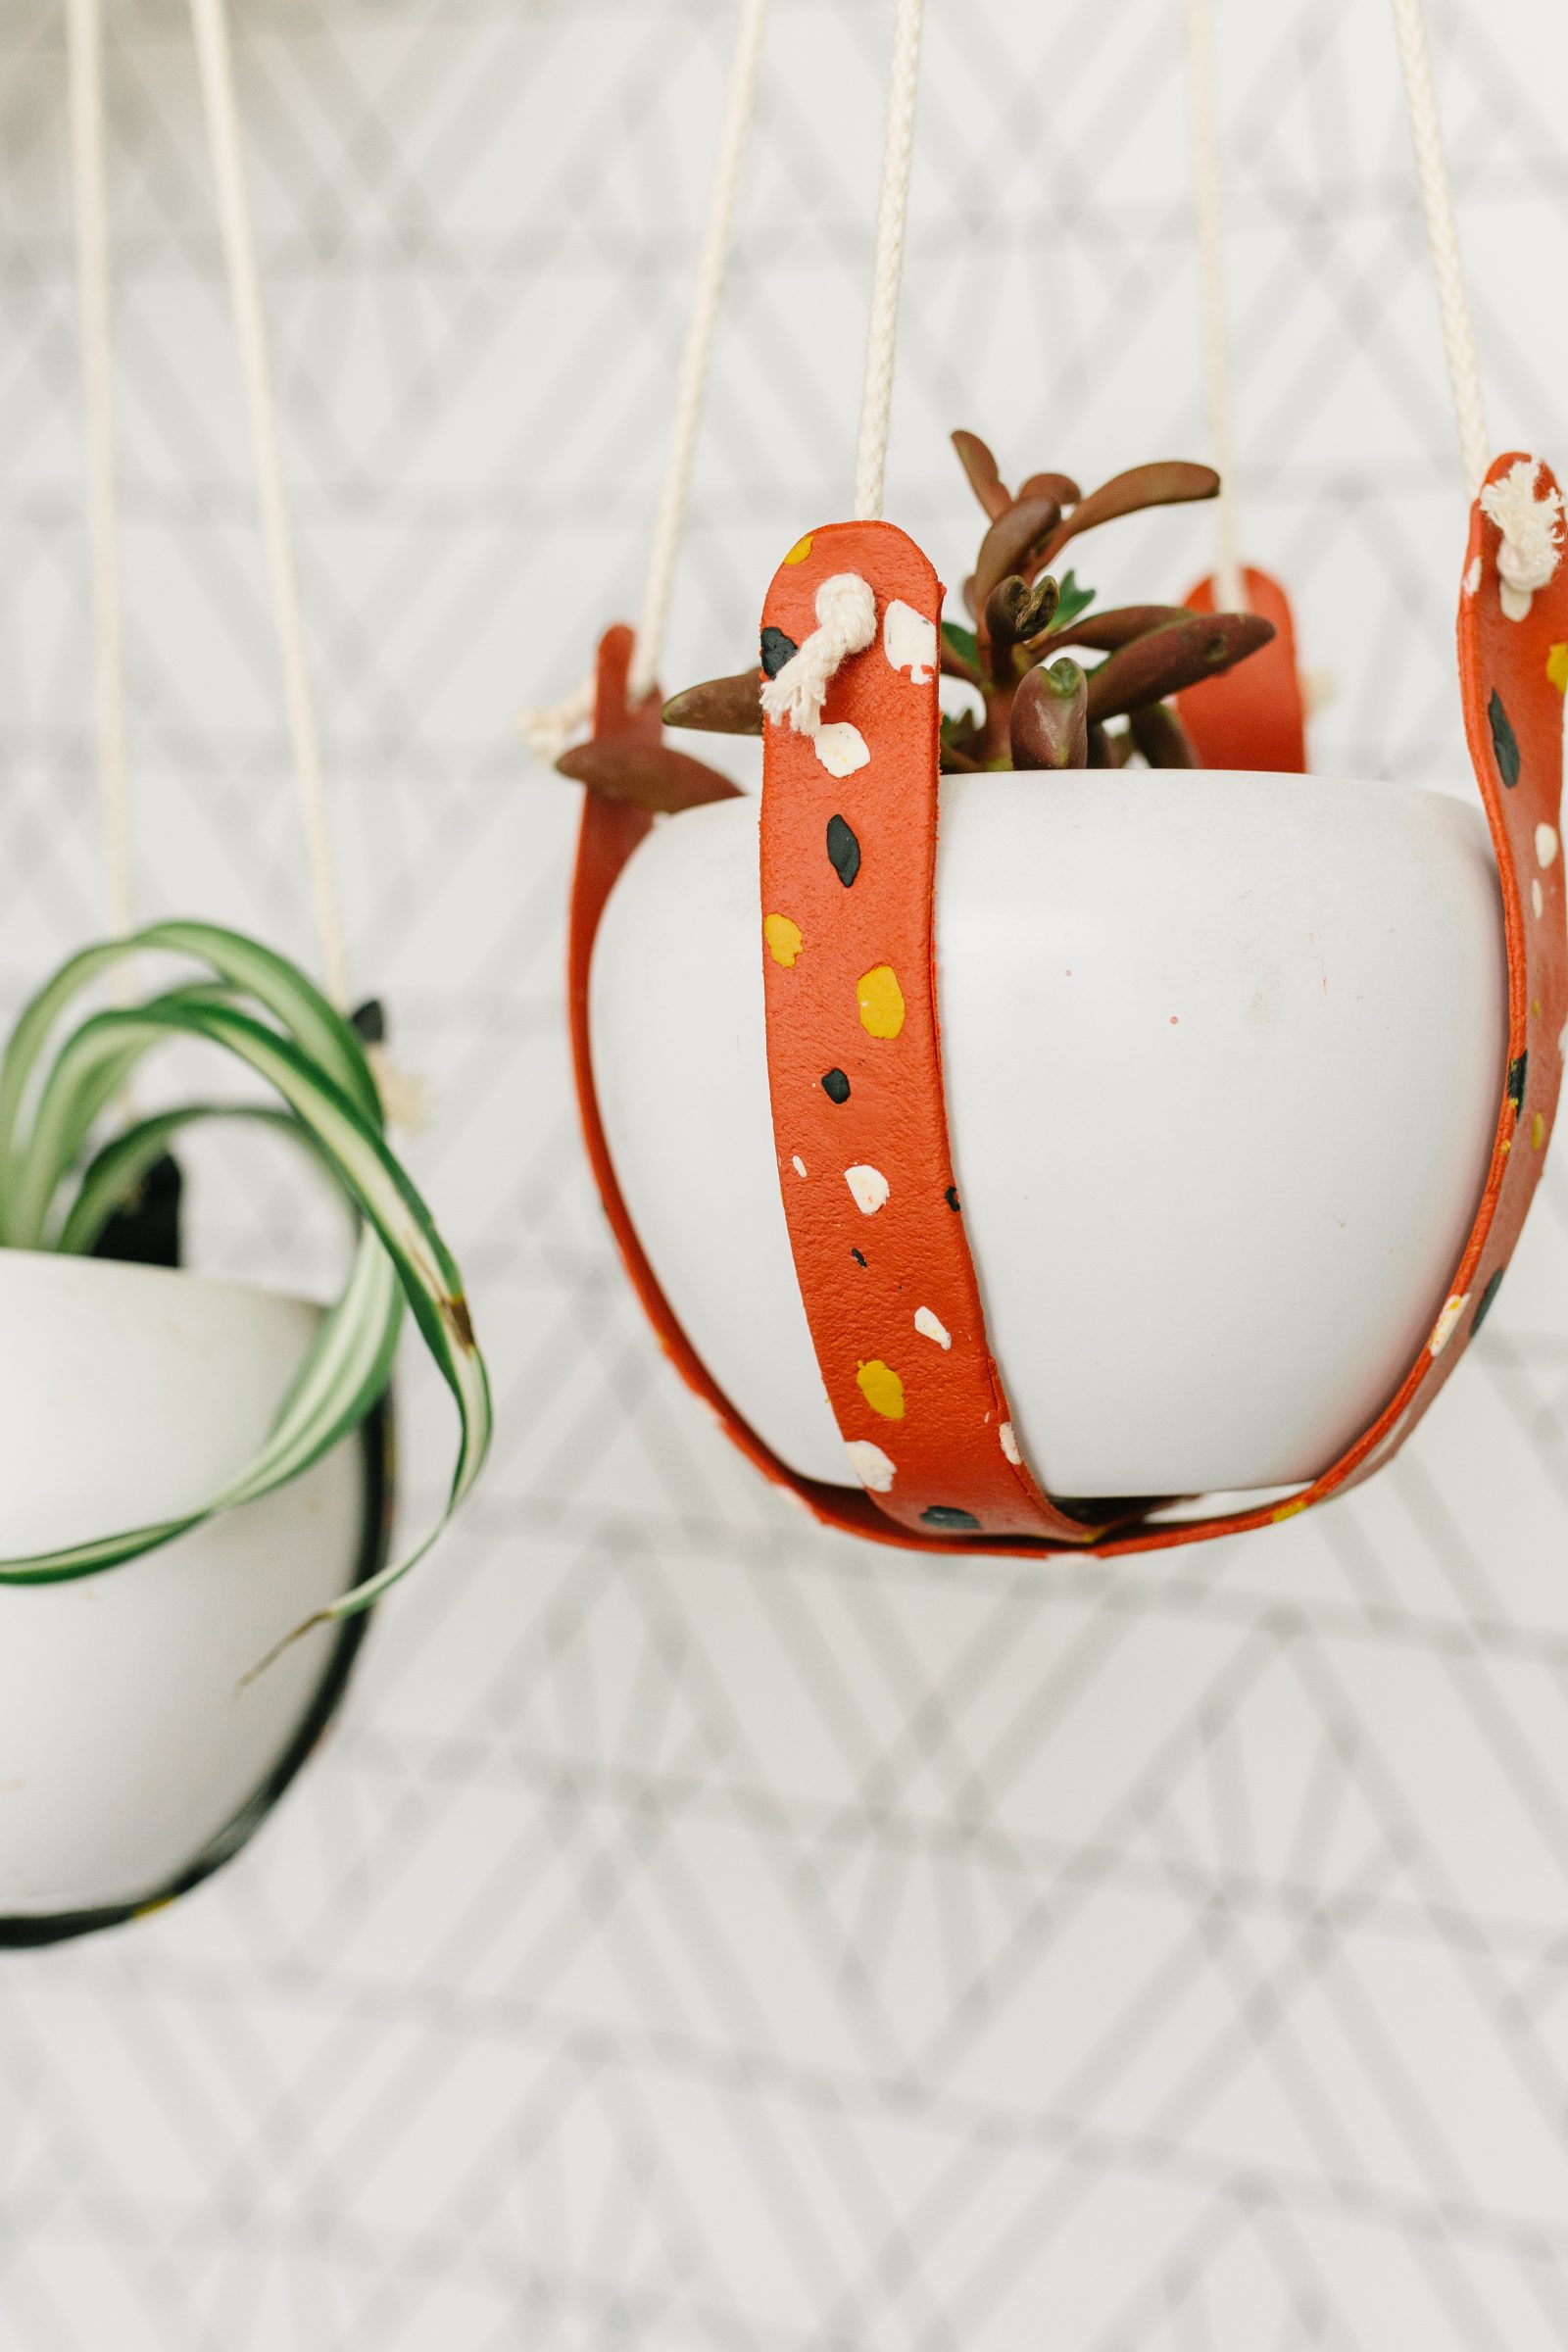
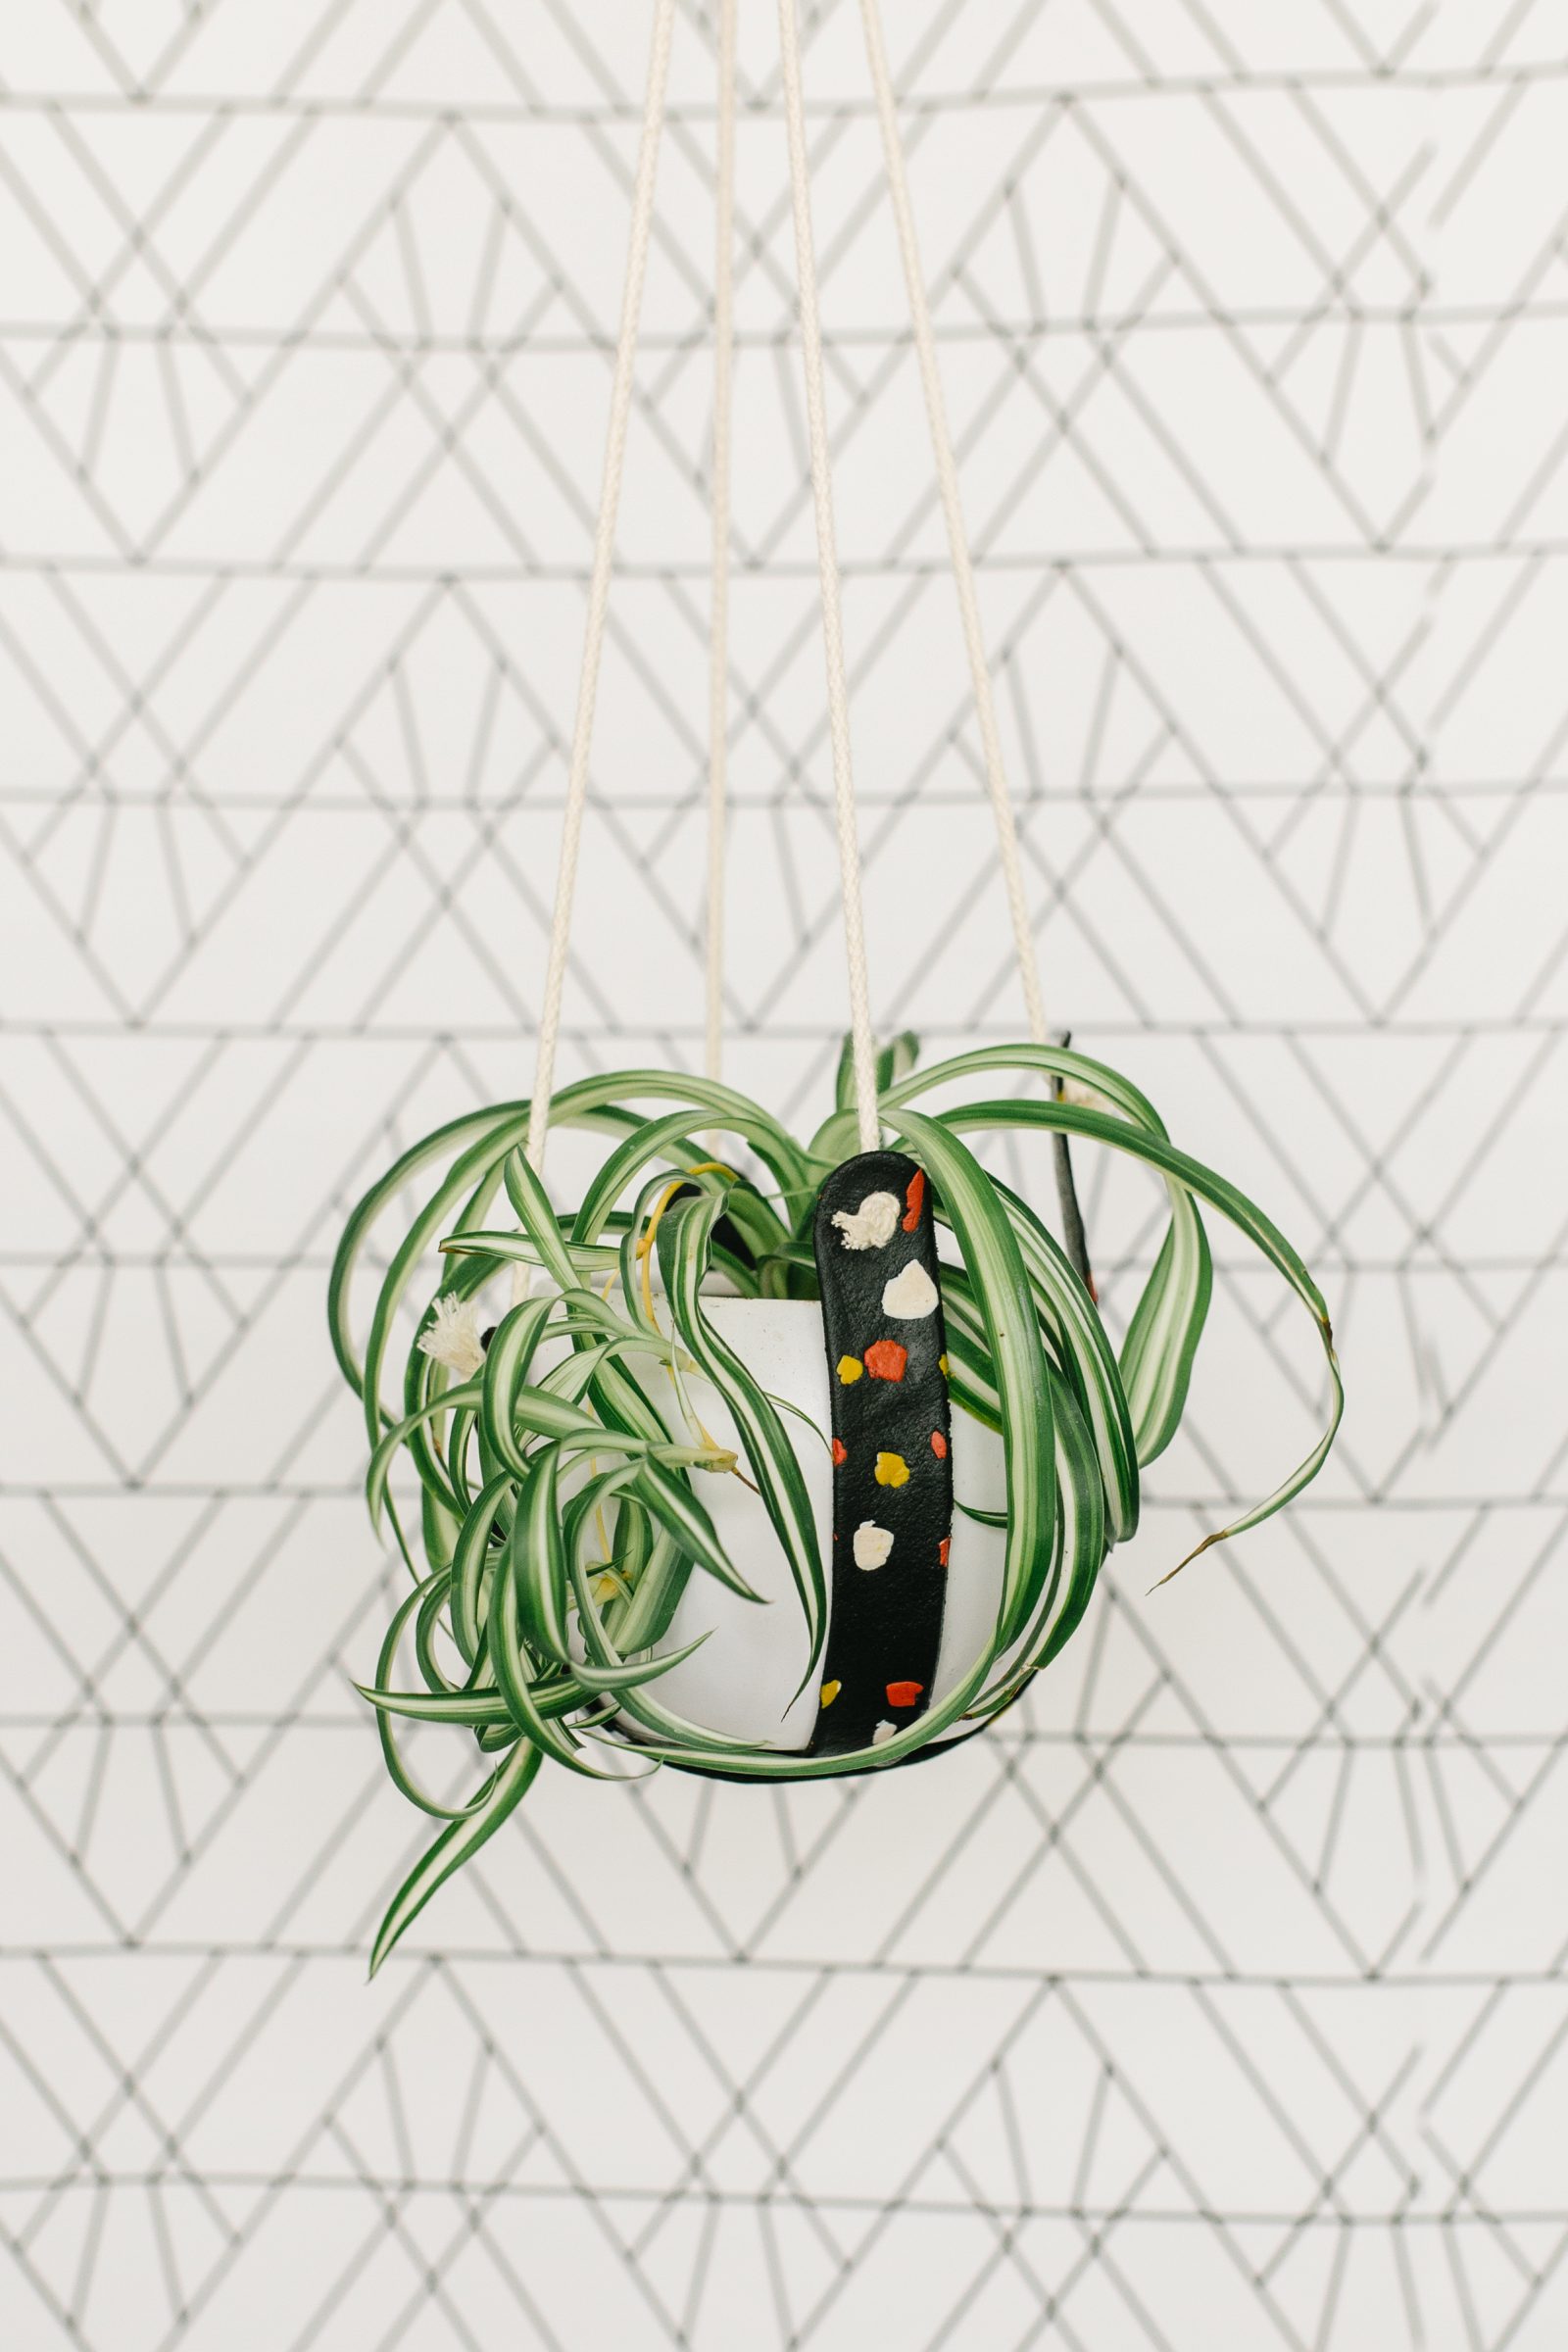
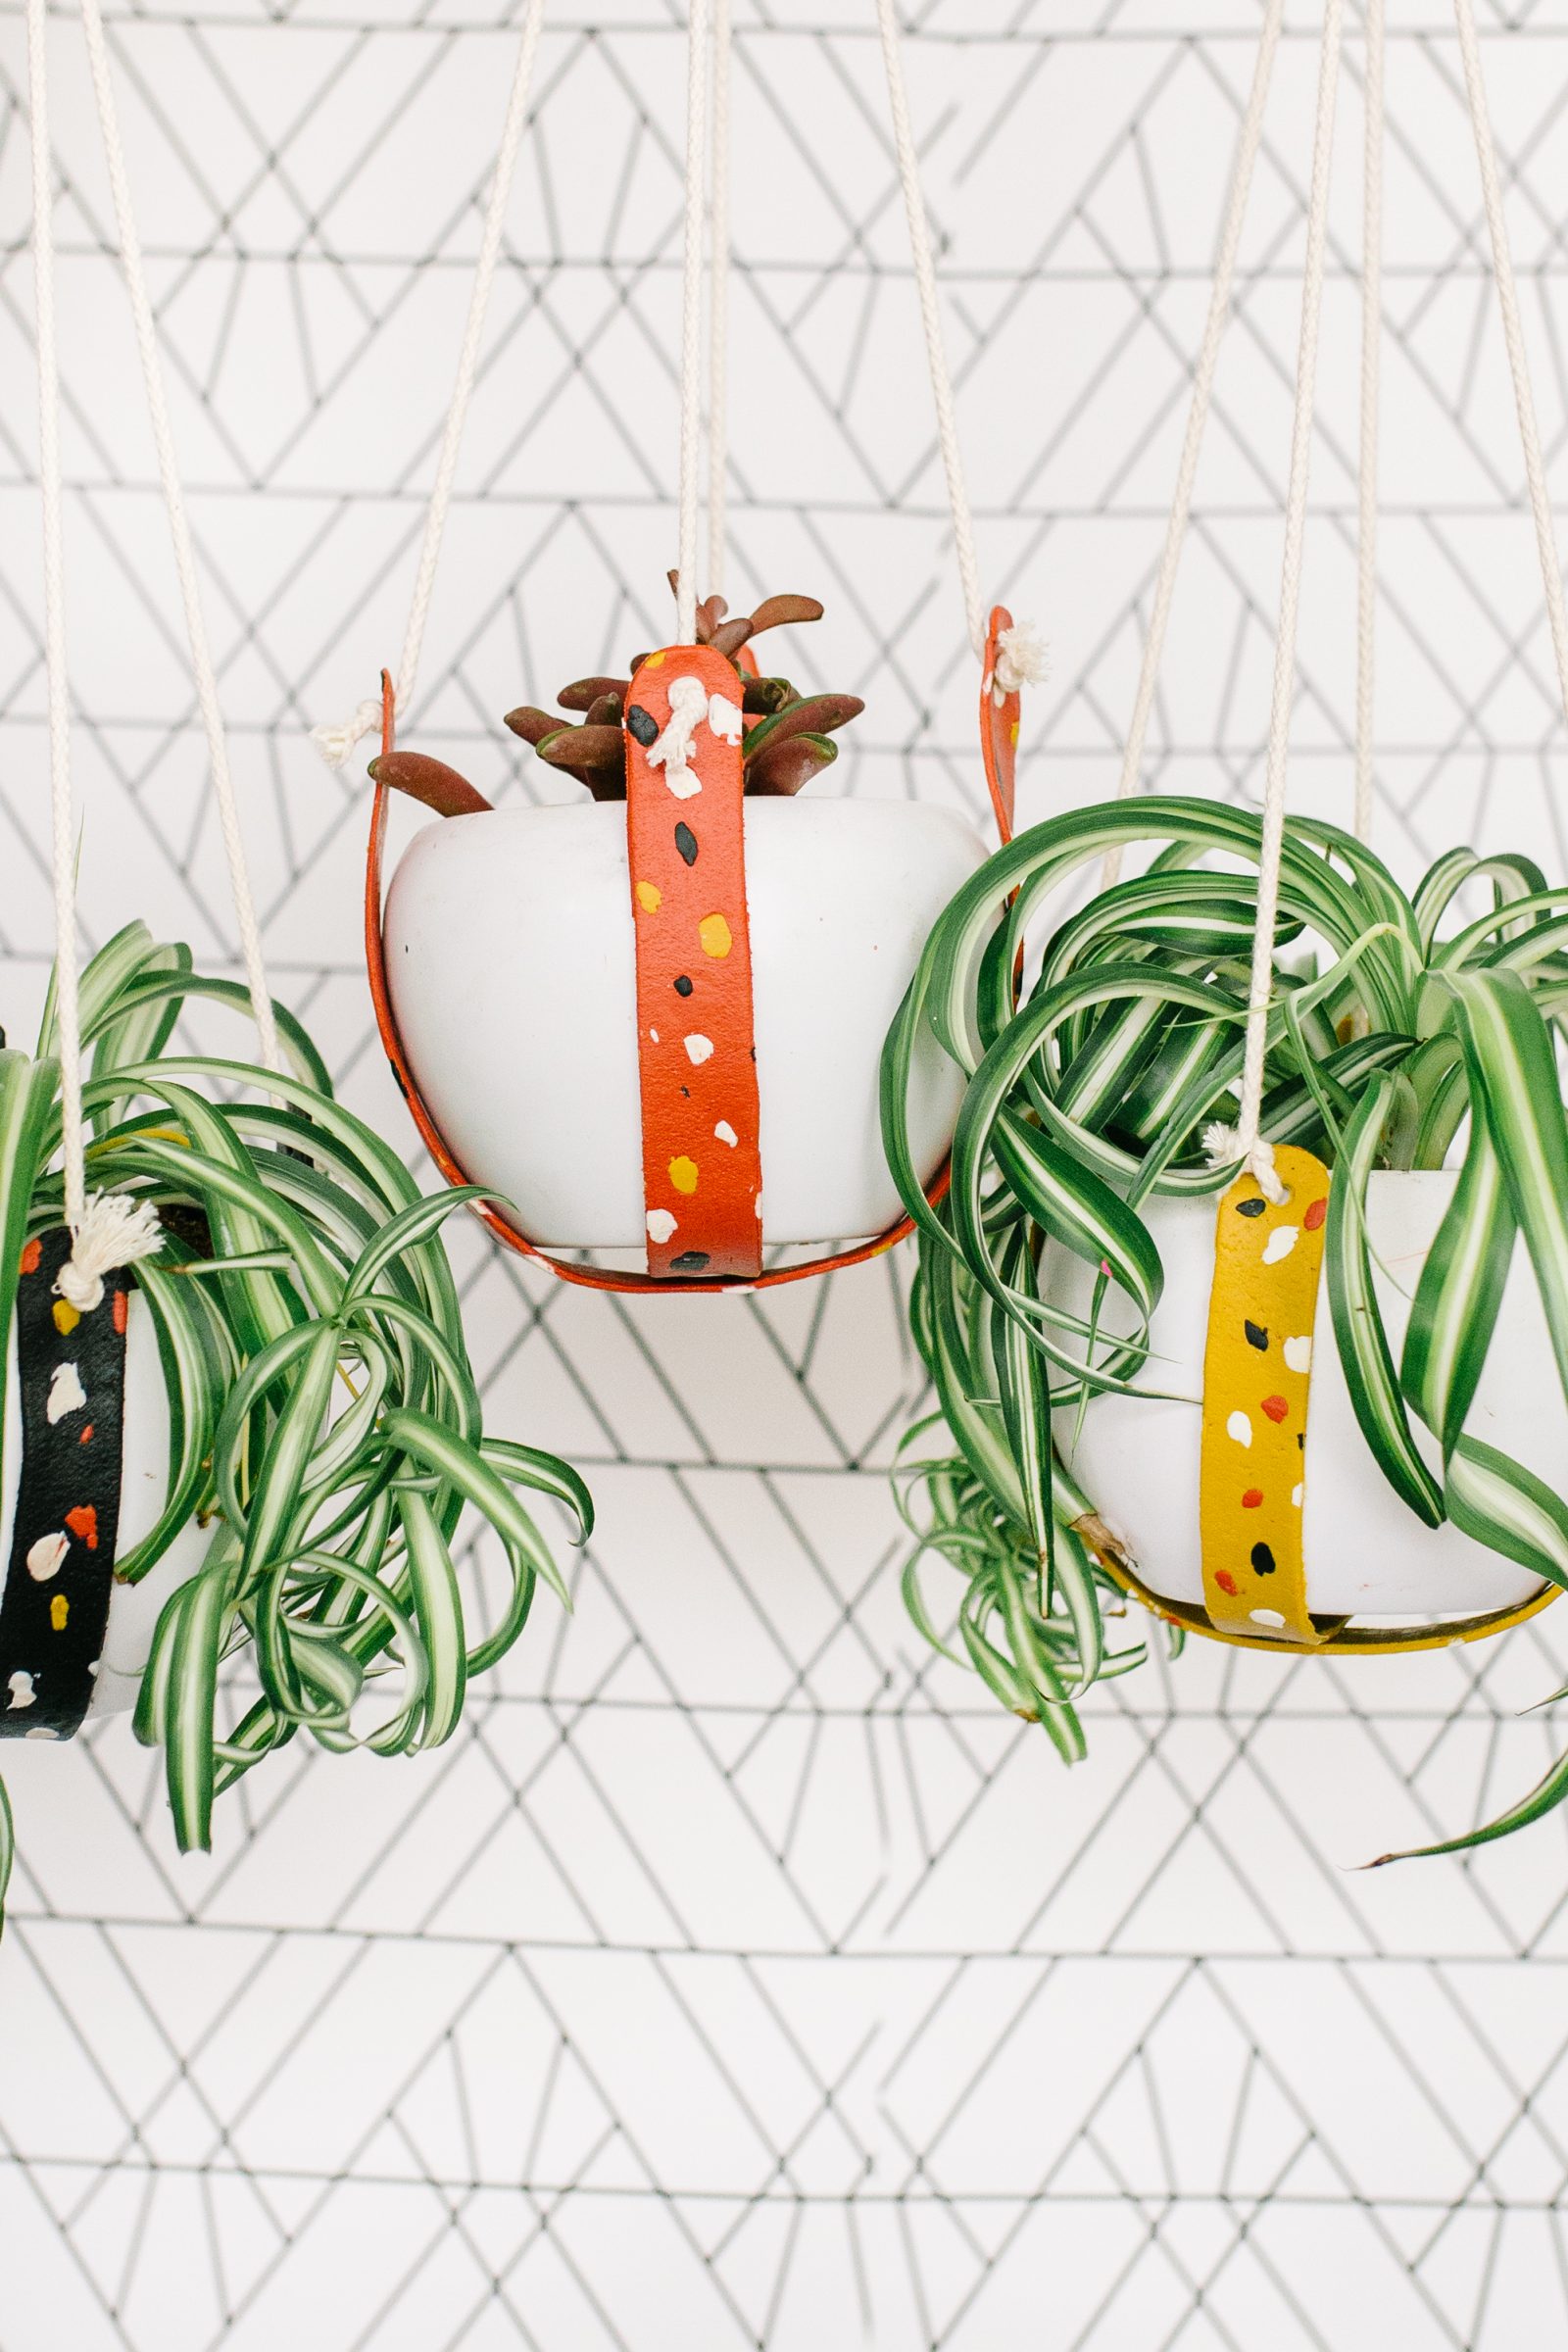
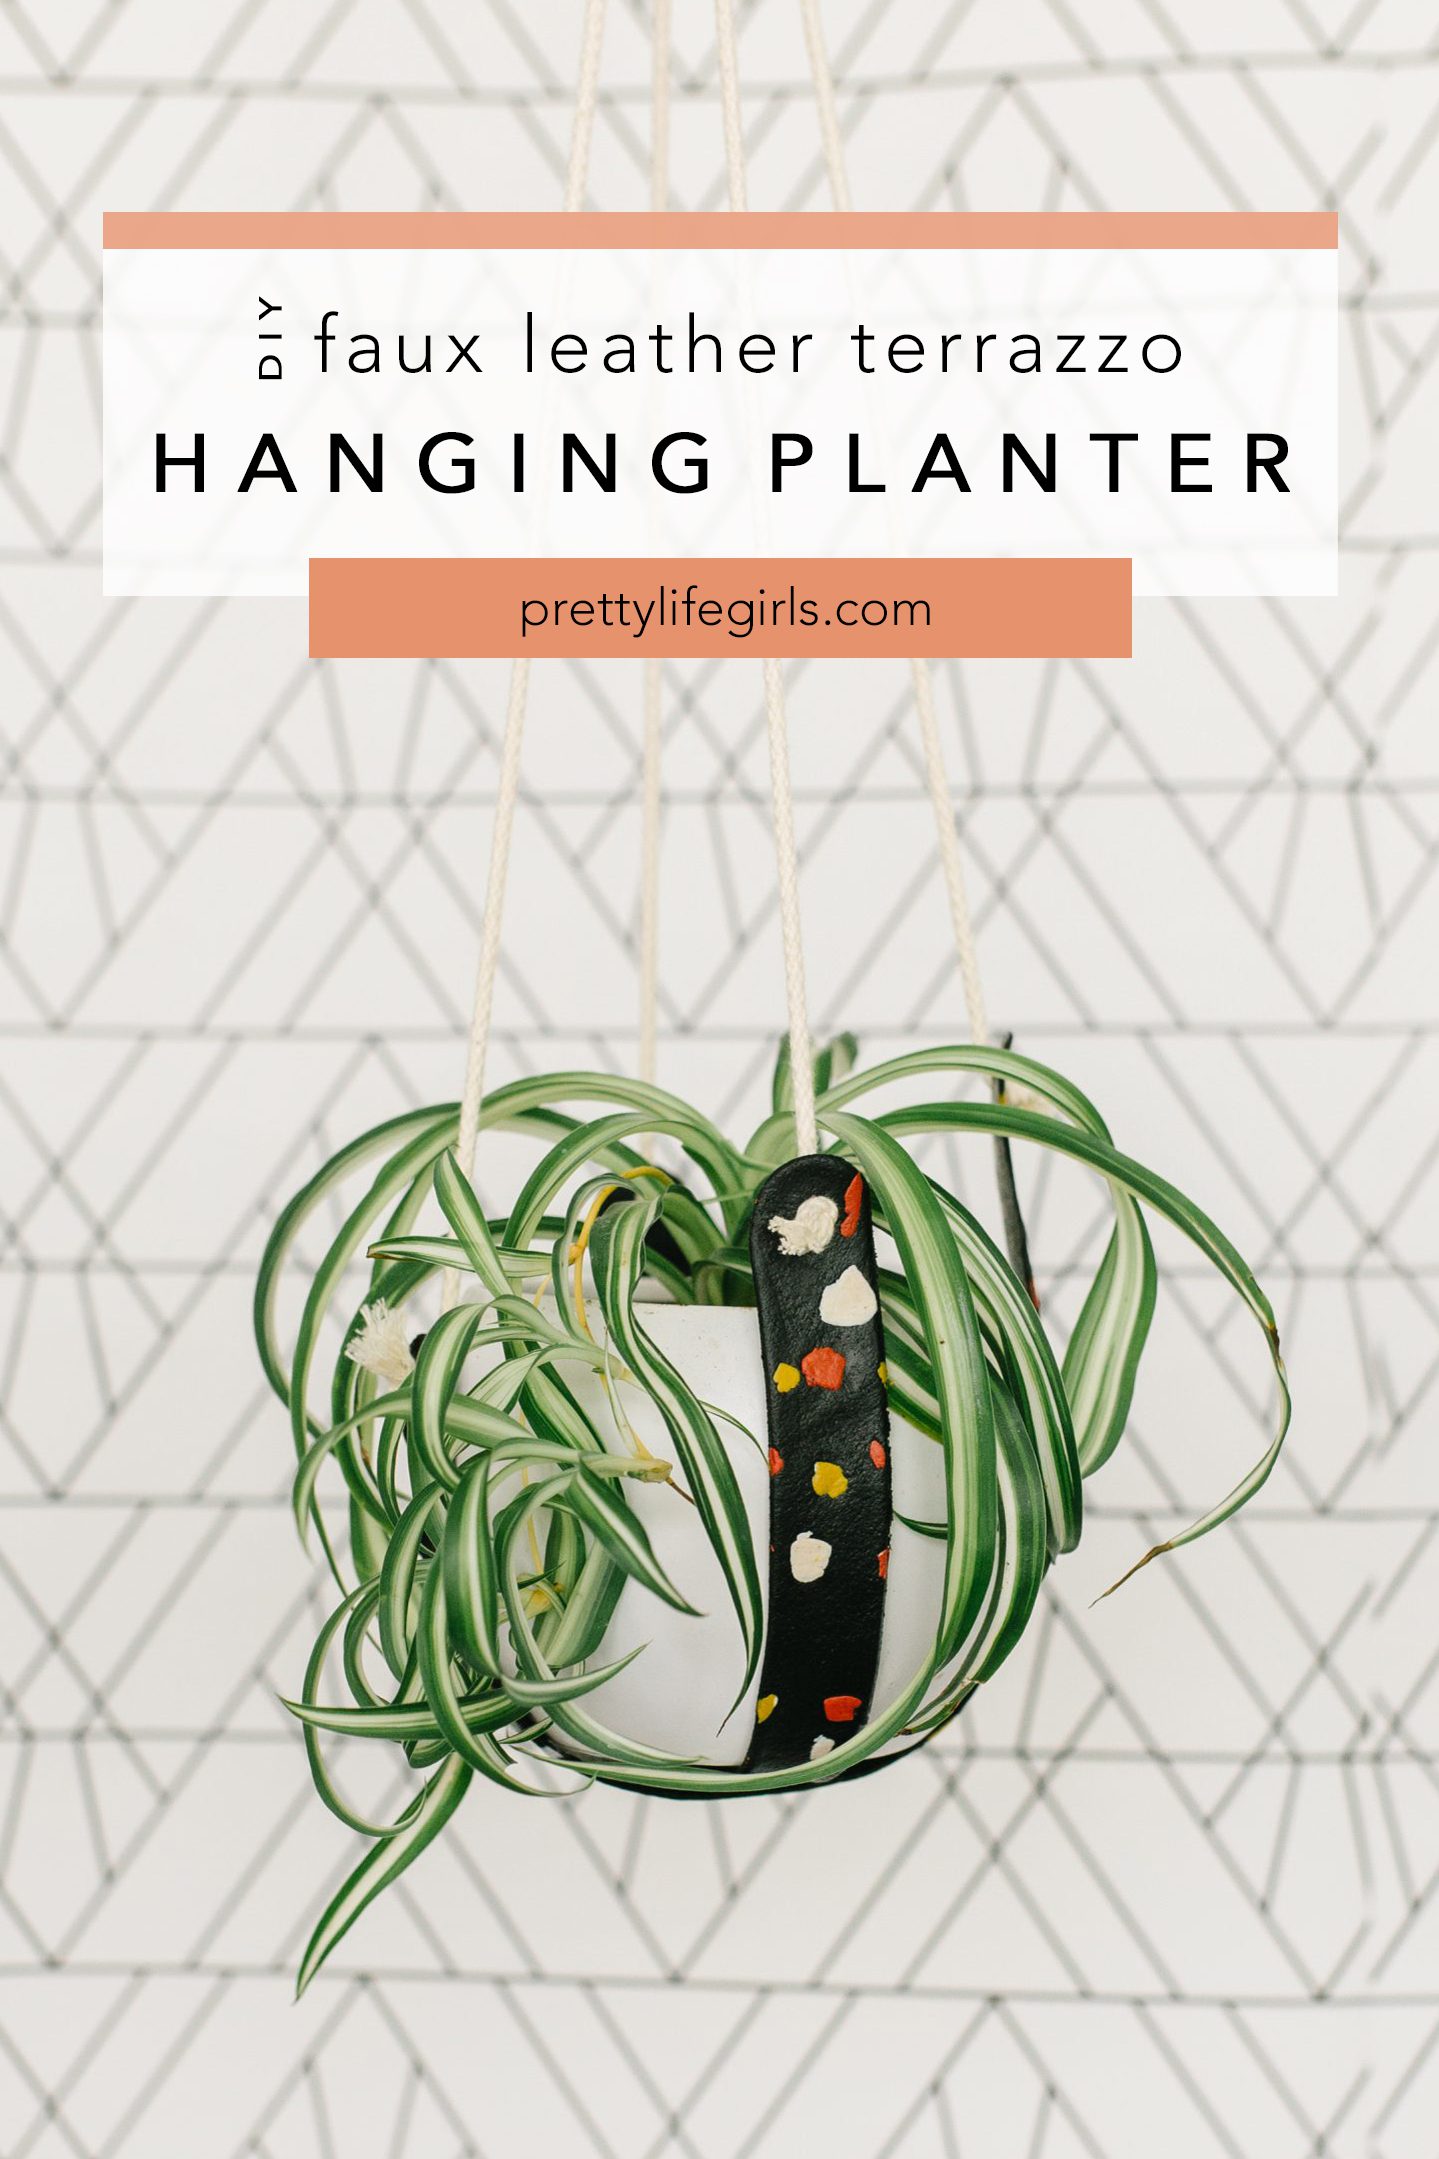
Every once in awhile a new product or tool comes across our craft room table and makes us say “This is soooo COOL” over and over. Well, today we have just such a product to share with you, and that is FIMO Leather Effect Clay! This stuff behaves like a polymer clay when you are working with it, but once it is baked it mimics real leather and is bendable and textured! We honestly can’t get over the stuff and the possibilities for what you can make with it. So, today we are sharing a new project to try it out – this DIY hanging faux leather terrazzo planter that no one will believe is made from clay. Even I’m still struggling to believe it!
Here is what you need to get started:
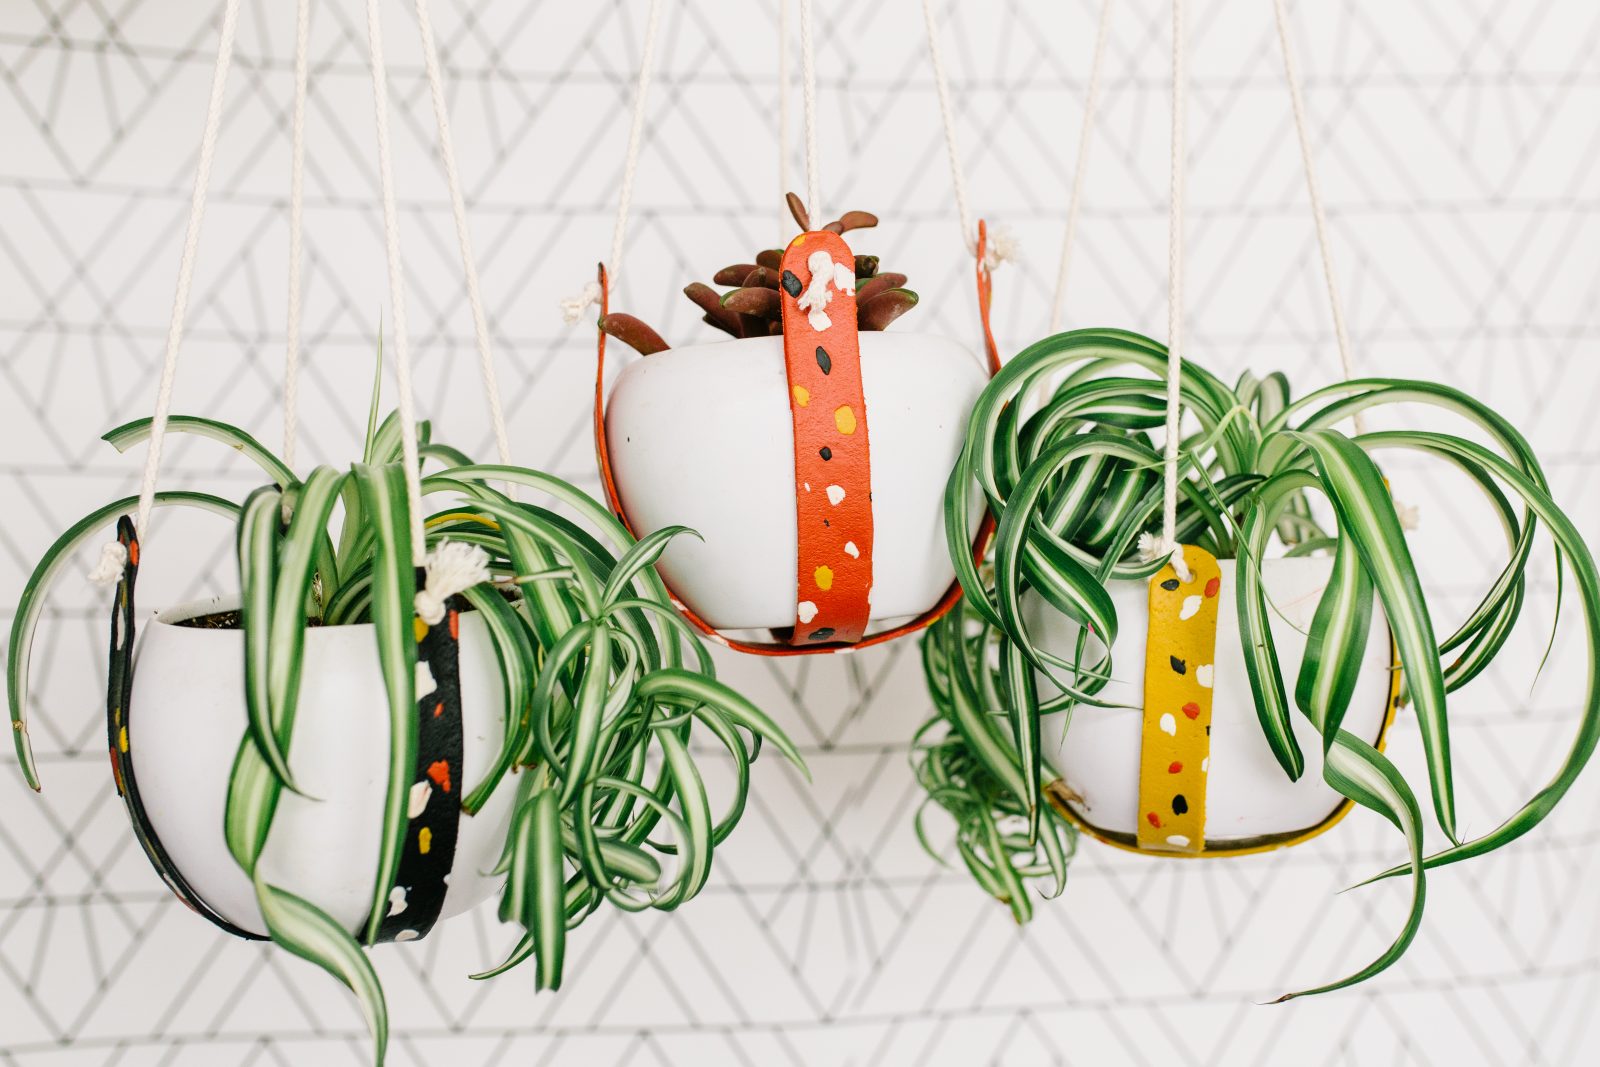
Supplies needed to make a DIY Faux Leather Terrazzo Planter
Fimo Leather Effect Clay in Ochre, Black, Rust and Ivory
Rolling Pin, Clay Roller or Clay Rolling Machine
Clay Cutting Tools or Knife
Cookie Sheet
Oven
Macrame Cord
Scissors
Pot
How to make a DIY Faux Leather Terrazzo Planter
Step 1. Determine the length of your clay strips by using a strip of paper as a template. Place the piece of paper under your pot that you will hang and lift either end around the pot. You will want the strips to be at least as long as the top of the pot. Cut the piece of paper to the desired size and set aside.
Step 2. Using a rolling pin (if you have a rolling pin that is designated for clay use), clay roller, or clay rolling machine, flatten out your clay. You will want your pieces to be around 1.5 inches wide and as long as your template.
Step 3. Cut some small pieces from your other clay colors. Press them gently into your flattened clay, then, use a roller to flatten them into the clay to create your terrazzo pattern.
Step 4. Once your clay is flat, smooth and long/wide enough, cut two pieces in the desired size using a clay cutting tool or knife, being sure to cut rounded edges on either side.
Step 5. Using the end of a straw, cut out a circle on each end of each strip.
Step 6. Place your strips on a foil-covered cookie sheet and bake according to your clay package’s directions.
Step 7. Once the clay is baked, remove it from the oven and let it cool completely.
Step 8. Measure out two lengths of macrame cord in your desired length. Tie one of the pieces of cord to the designated holes of one of the strips, and then tie the other to the other strip.
Step 9. Lay your strips on a table, one laying over the other in an X and place your pot in the middle. Lift up the cord so that the clay strips wrap around the pot. Tie a knot in the top of the macrame cords to tie them together and hang your pot!
That’s it! Aren’t they so fun? I want to make a set in every color!
This clay is such a cool product that is so darn versatile. My mind is reeling just thinking about what else we can make! What would you make with it?
Happy making!
ox. Liz
We think you’ll love these other project ideas!
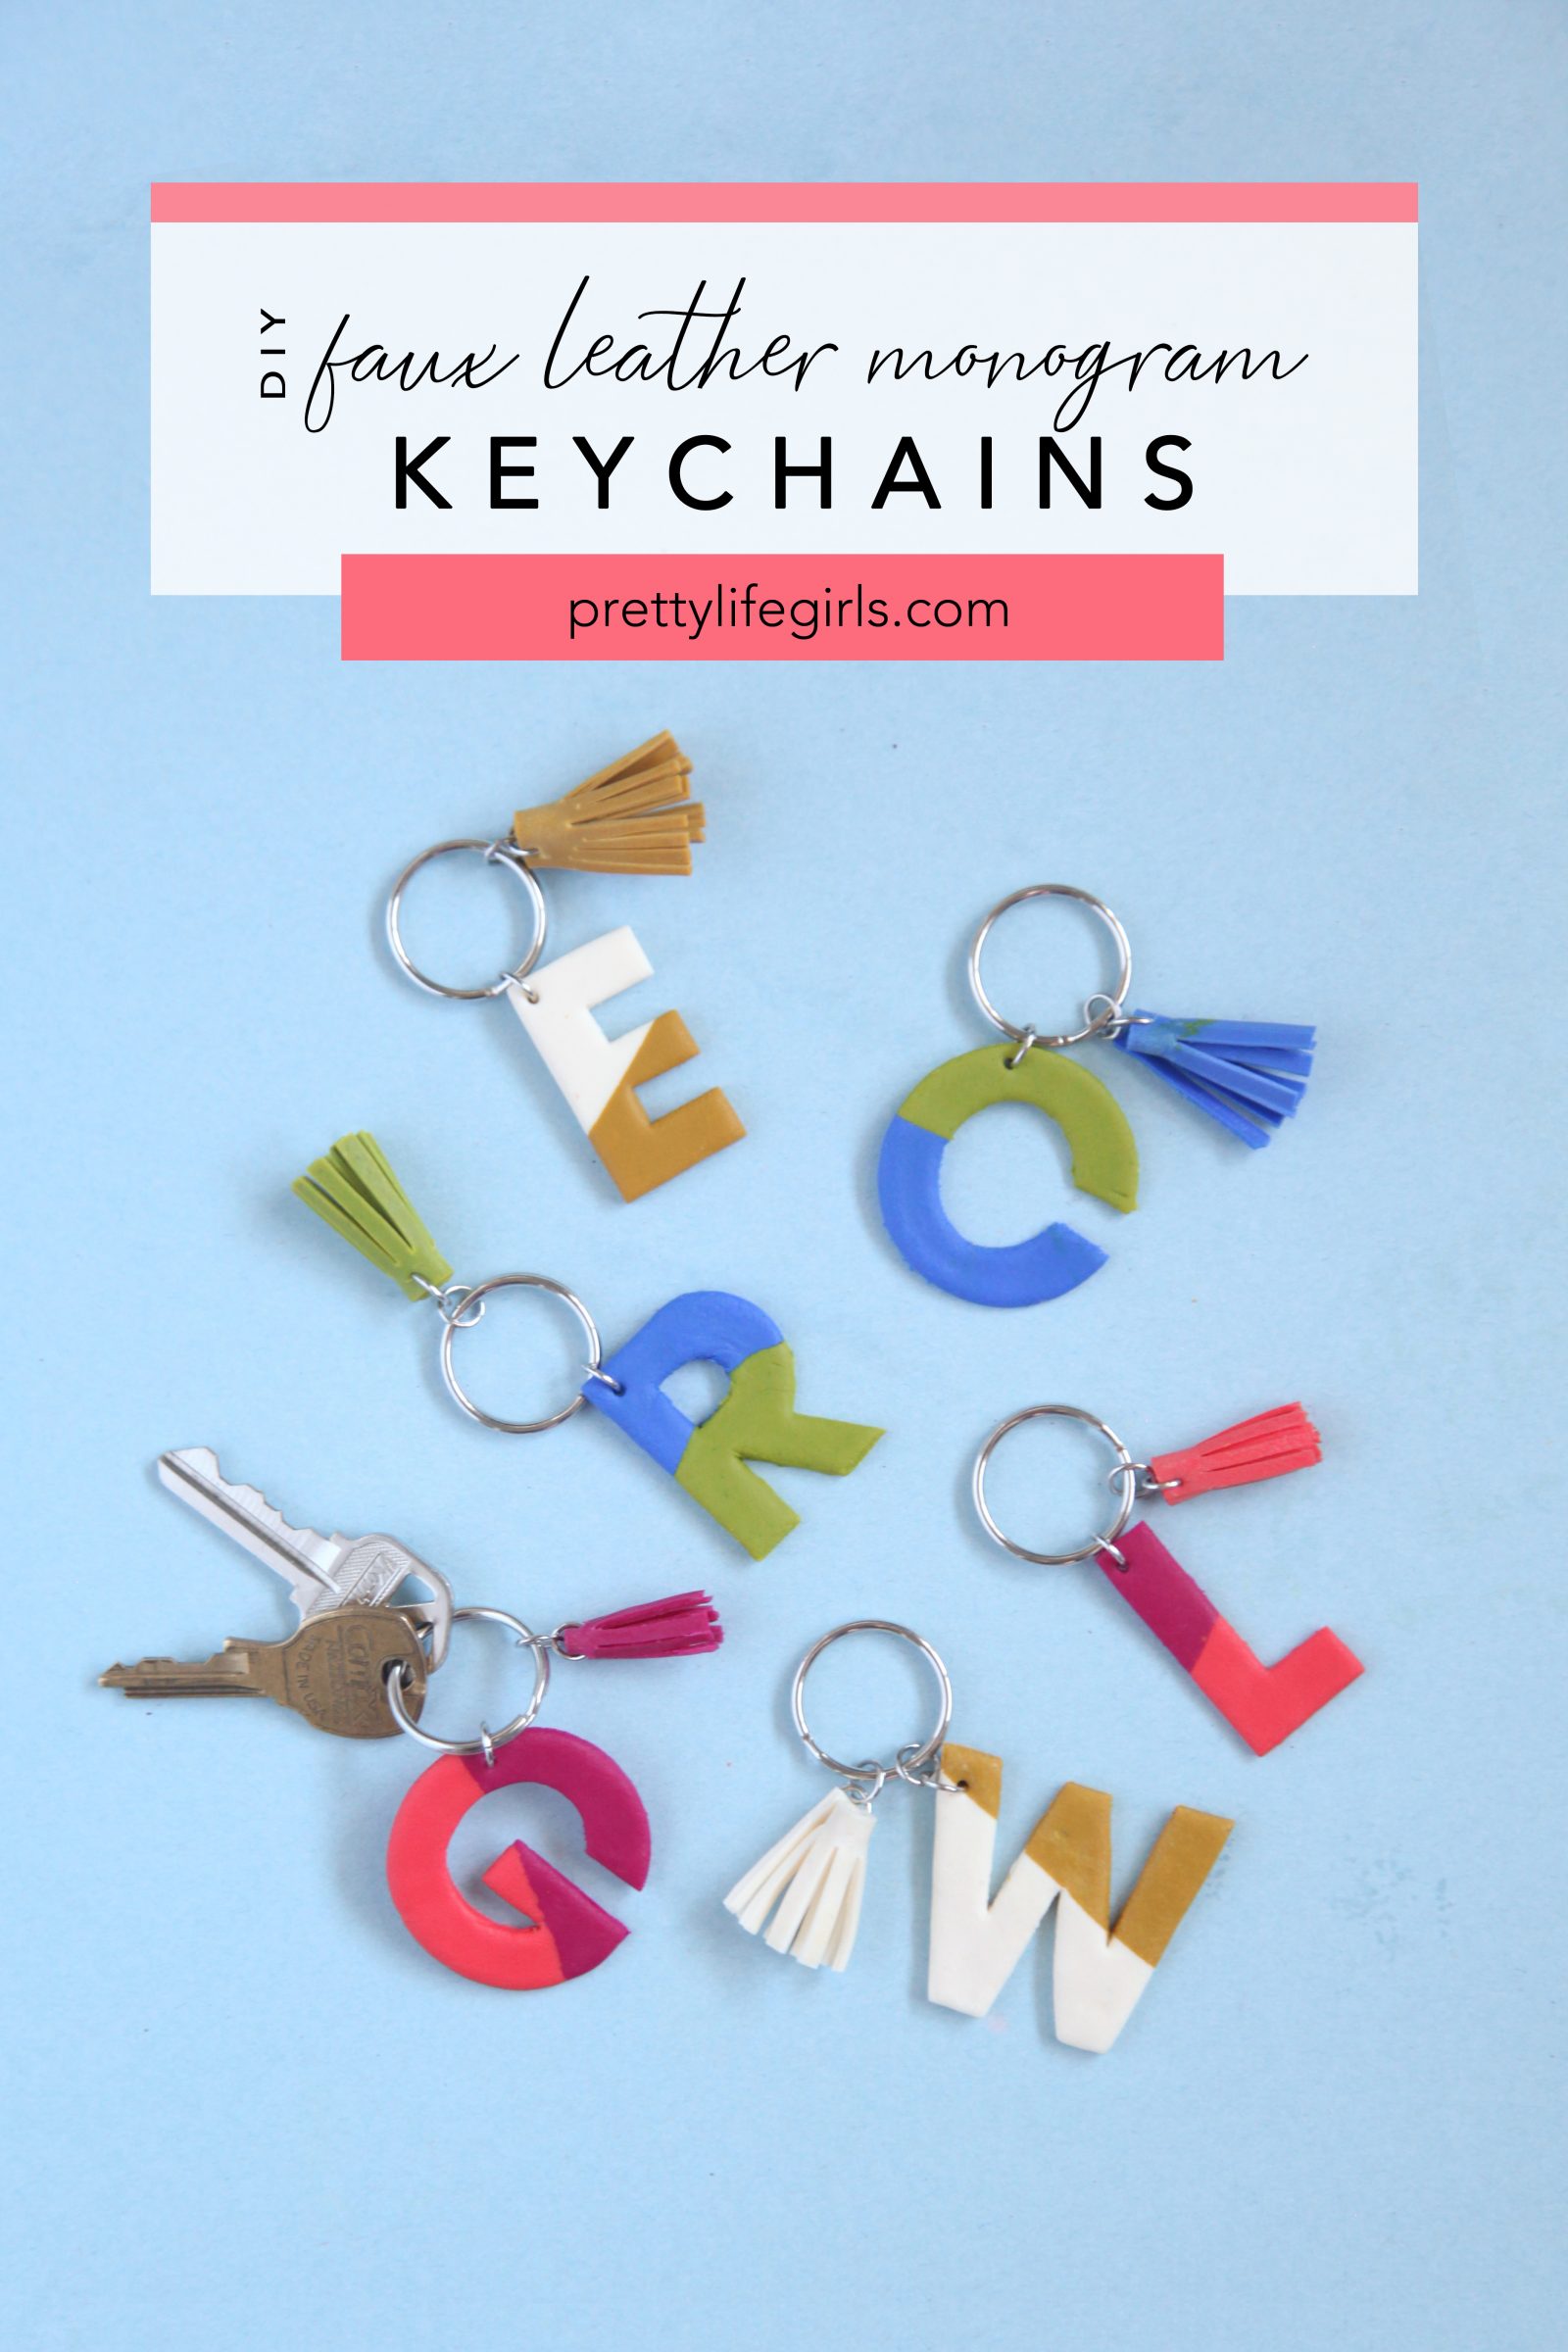 DIY Faux Leather Monogram Keychains