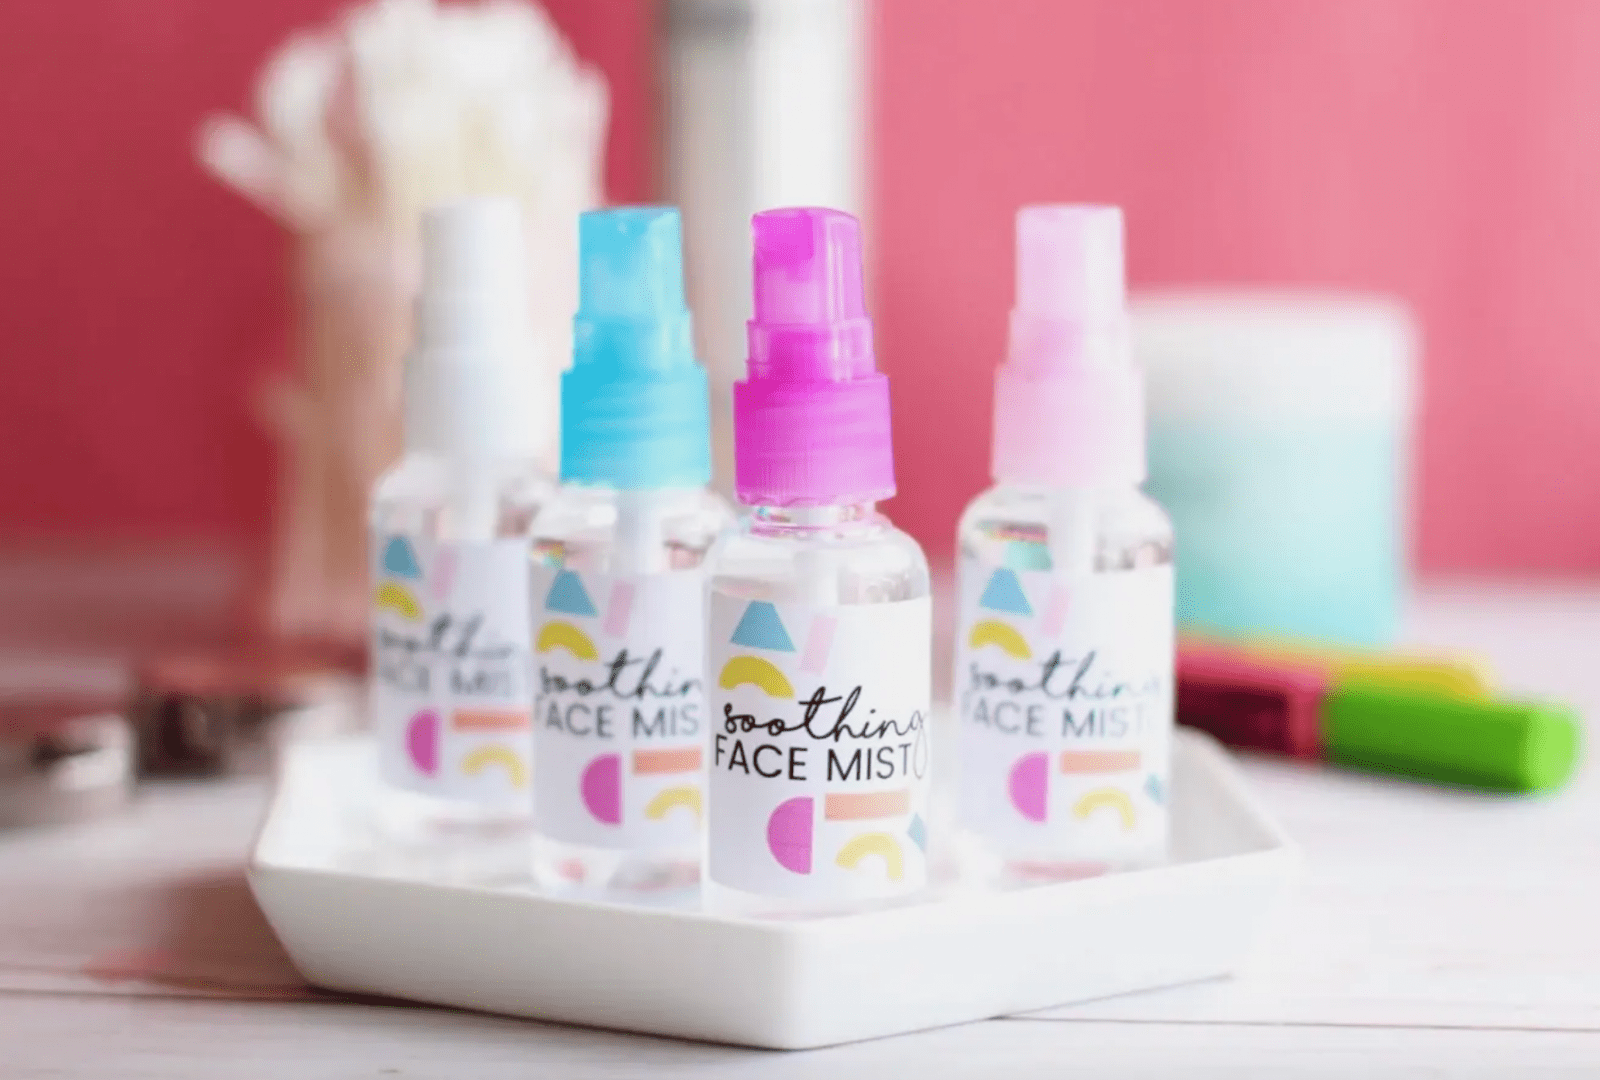
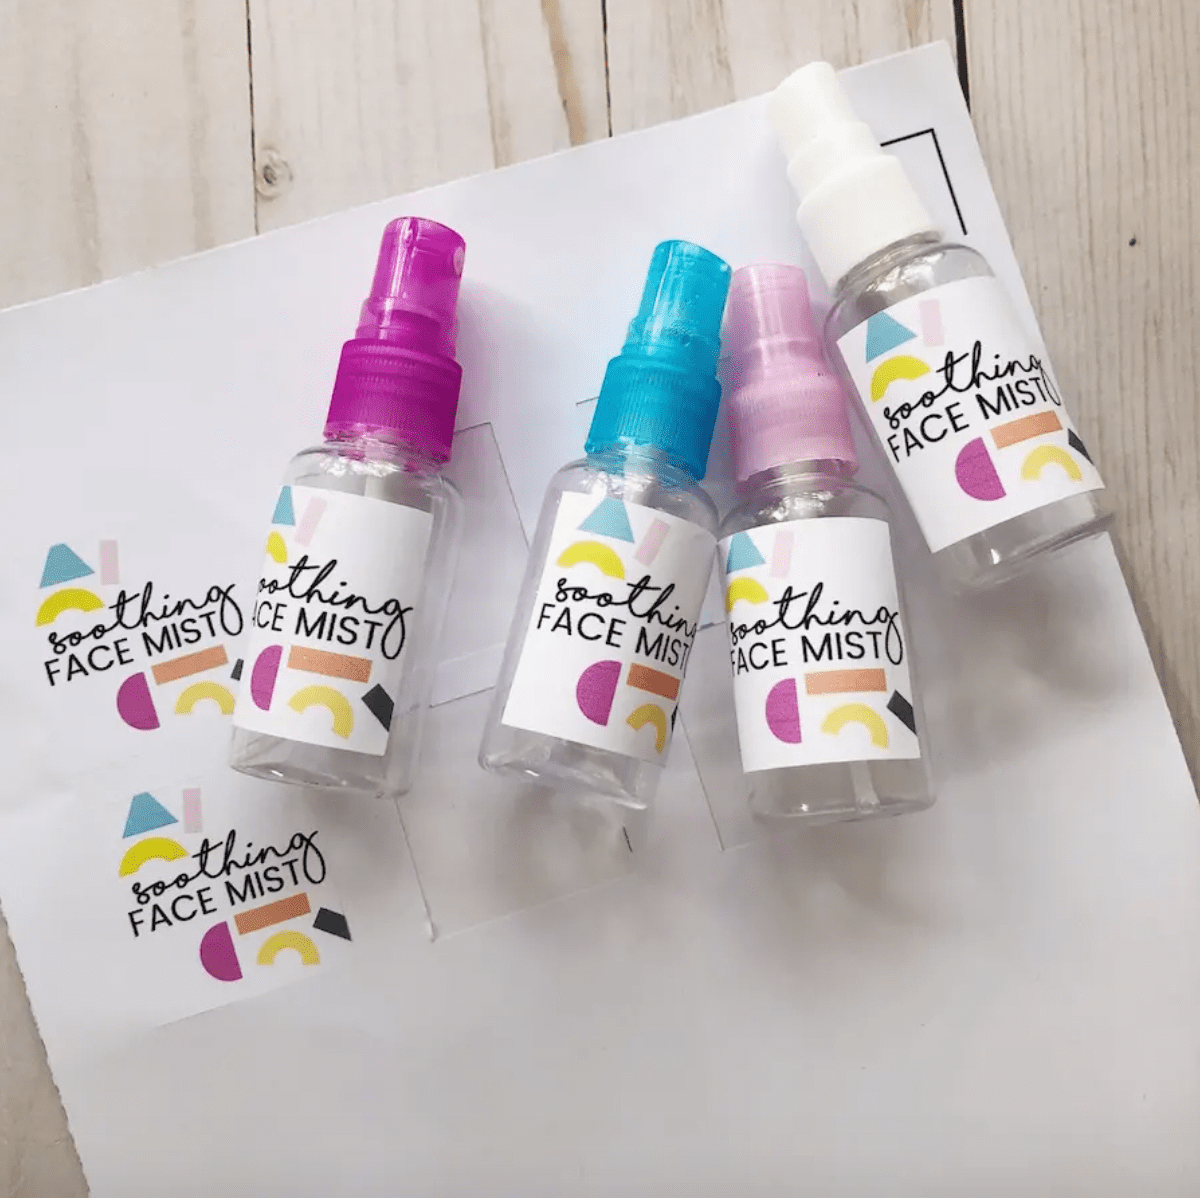
Today I’m sharing how to make DIY Face Mist for Mother’s Day! The mothers in your life are going to love these stylish and refreshing mist bottles, and once you make these fun and easy labels with this awesome vinyl, you’ll want to label all the things! Let me show you how with this step-by-step tutorial!
Supplies needed to make DIY Face Mist Bottles
Cutting Machine (I use a Silhouette Cameo 3)
Printable Adhesive Vinyl
Plain Spray Bottles
Inkjet Printer
This label design, or a label design you create!
How to make DIY Face Mist Bottles
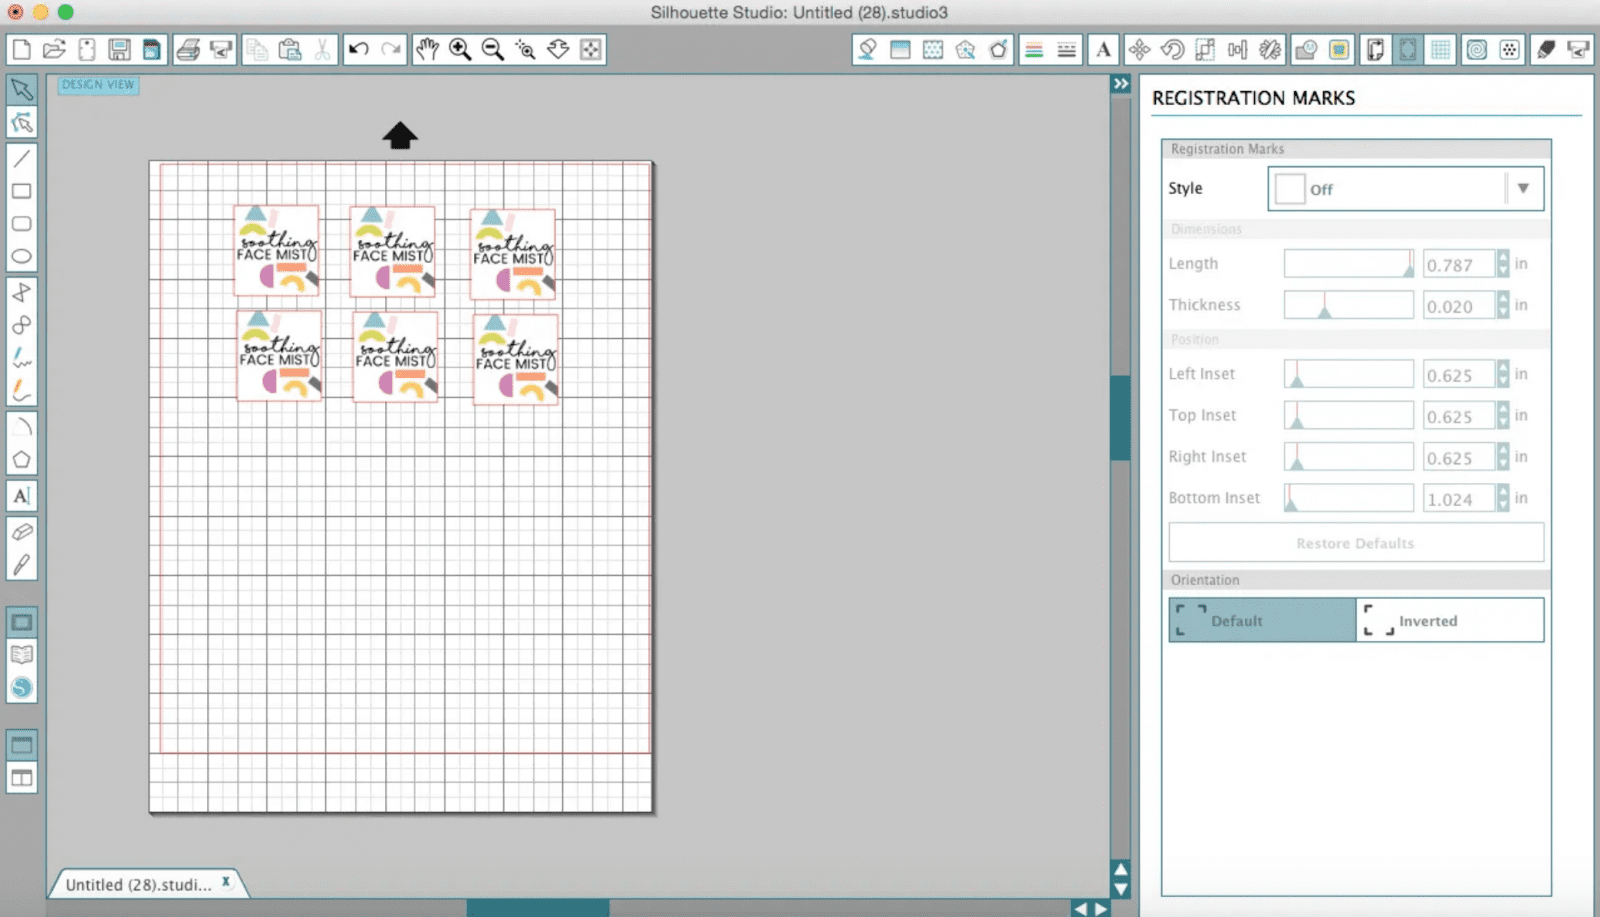
Step 1: Load my design or one of your own creations into your cutting software (I use Silhouette Studio). Scale the design to the size of your bottles and copy and paste the amount of labels you would like to cut.
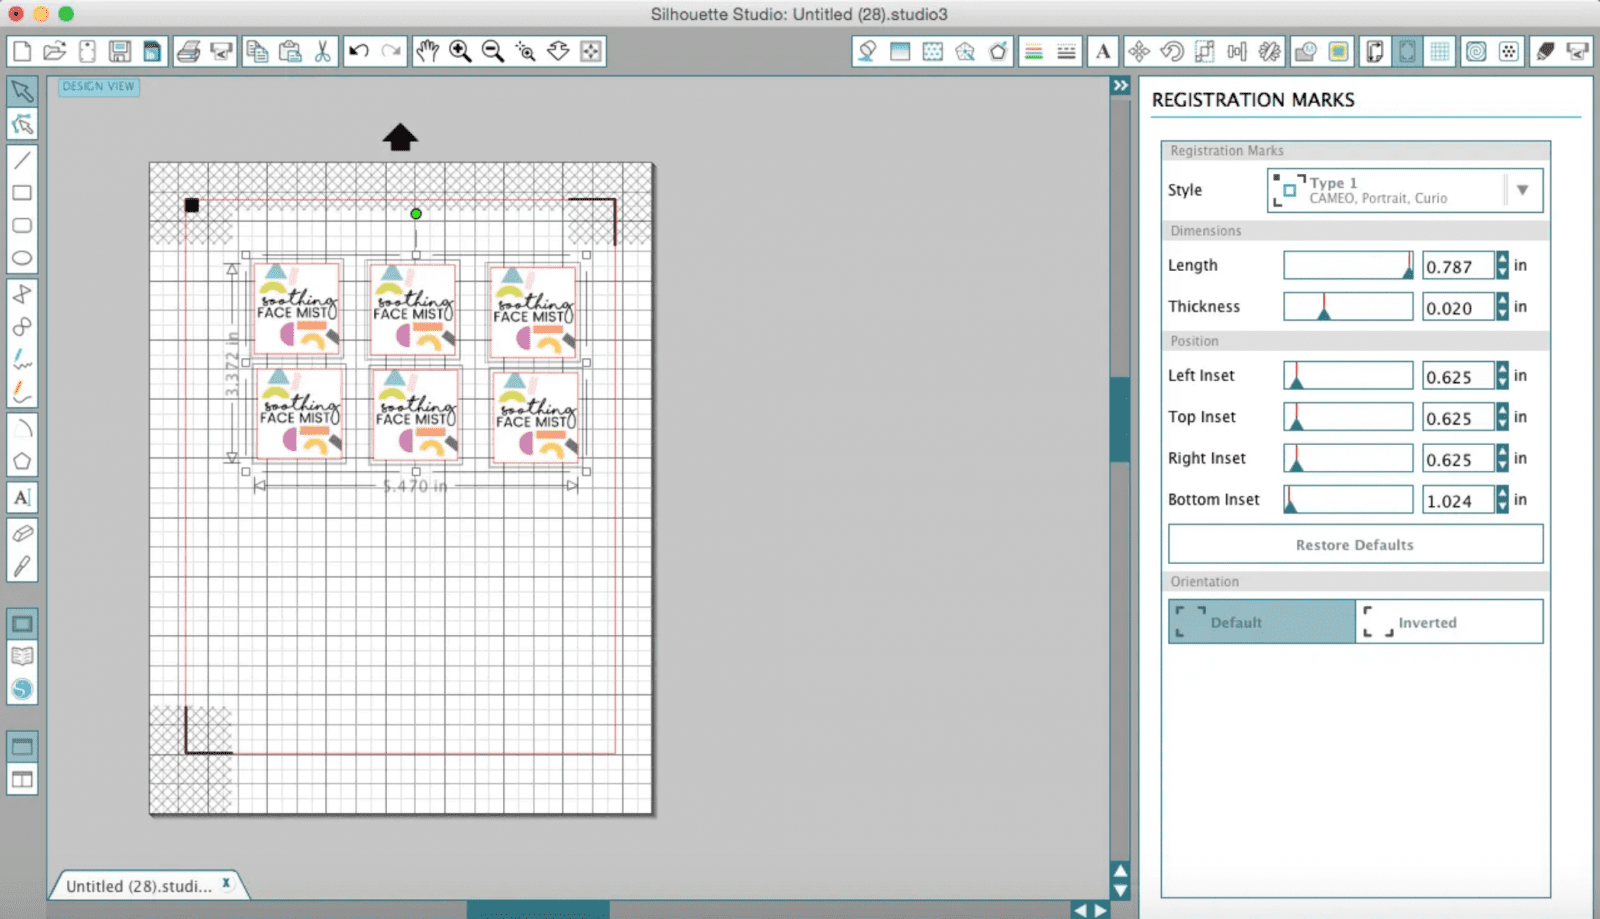
Step 2: Next, select the “Registration Marks” tab and from the “Style” dropdown at the top and select “Type 1”. Once you do this, three black marks will appear on your work area along with a grid area. These are the markings the Silhouette will use so that it knows where it should cut. Be sure none of your designs are touching the any of these areas.
Step 3: Load your vinyl into your inkjet printer and send your design to print from Silhouette Studio. Once your design is printed and the ink is dry, load it into your Silhouette, select “Sent to Silhouette”, and watch the magic happen! Your Silhouette will first, scan over the registration marks and then it will know exactly where to cut your labels.

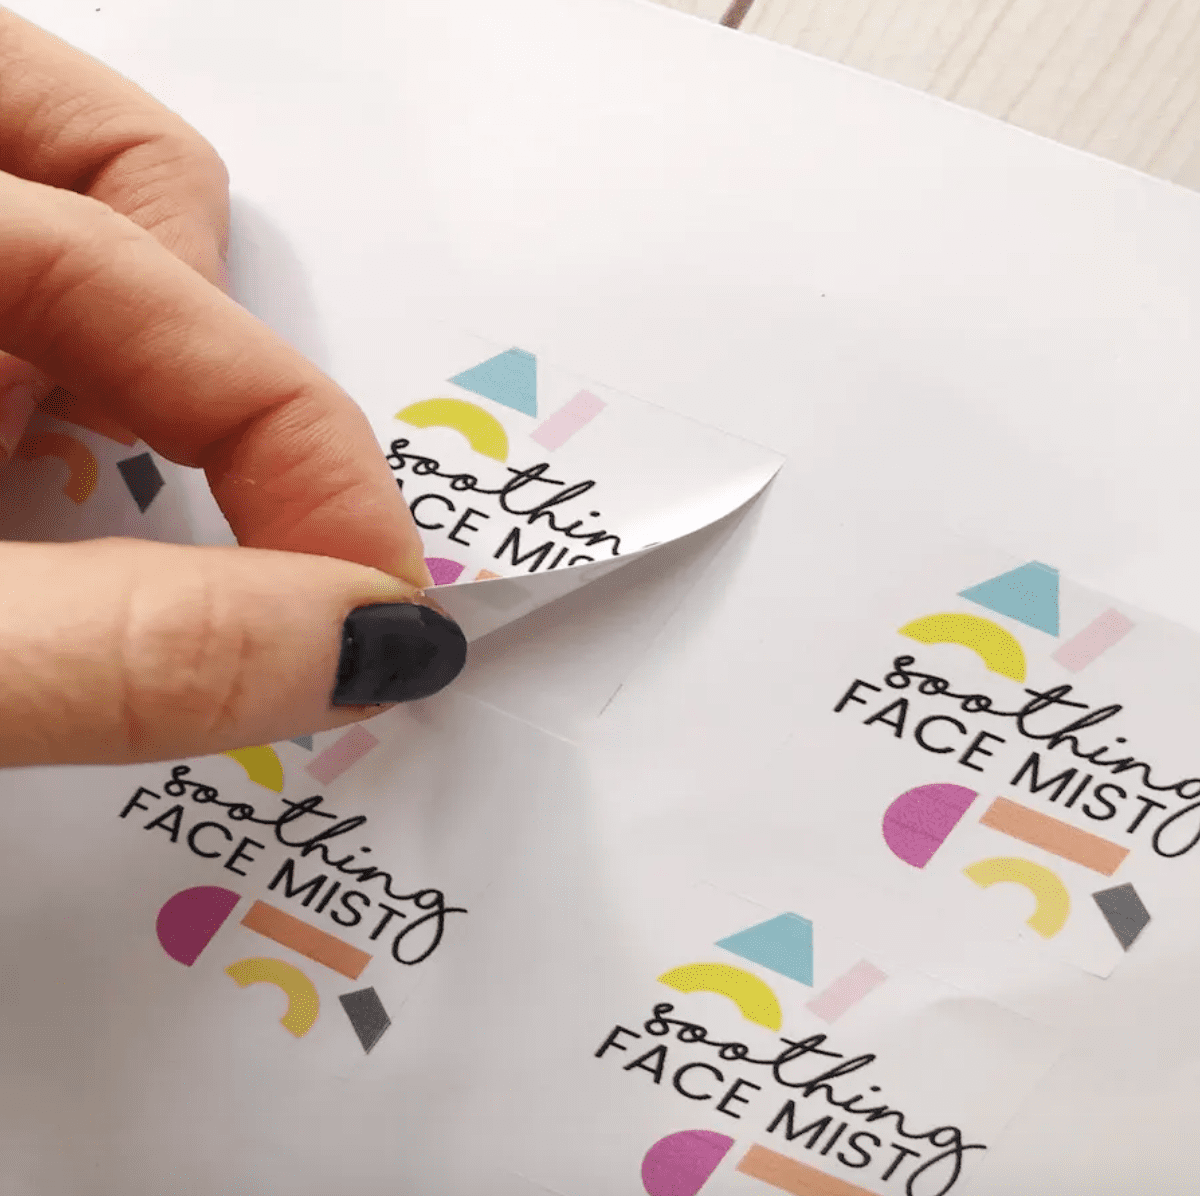
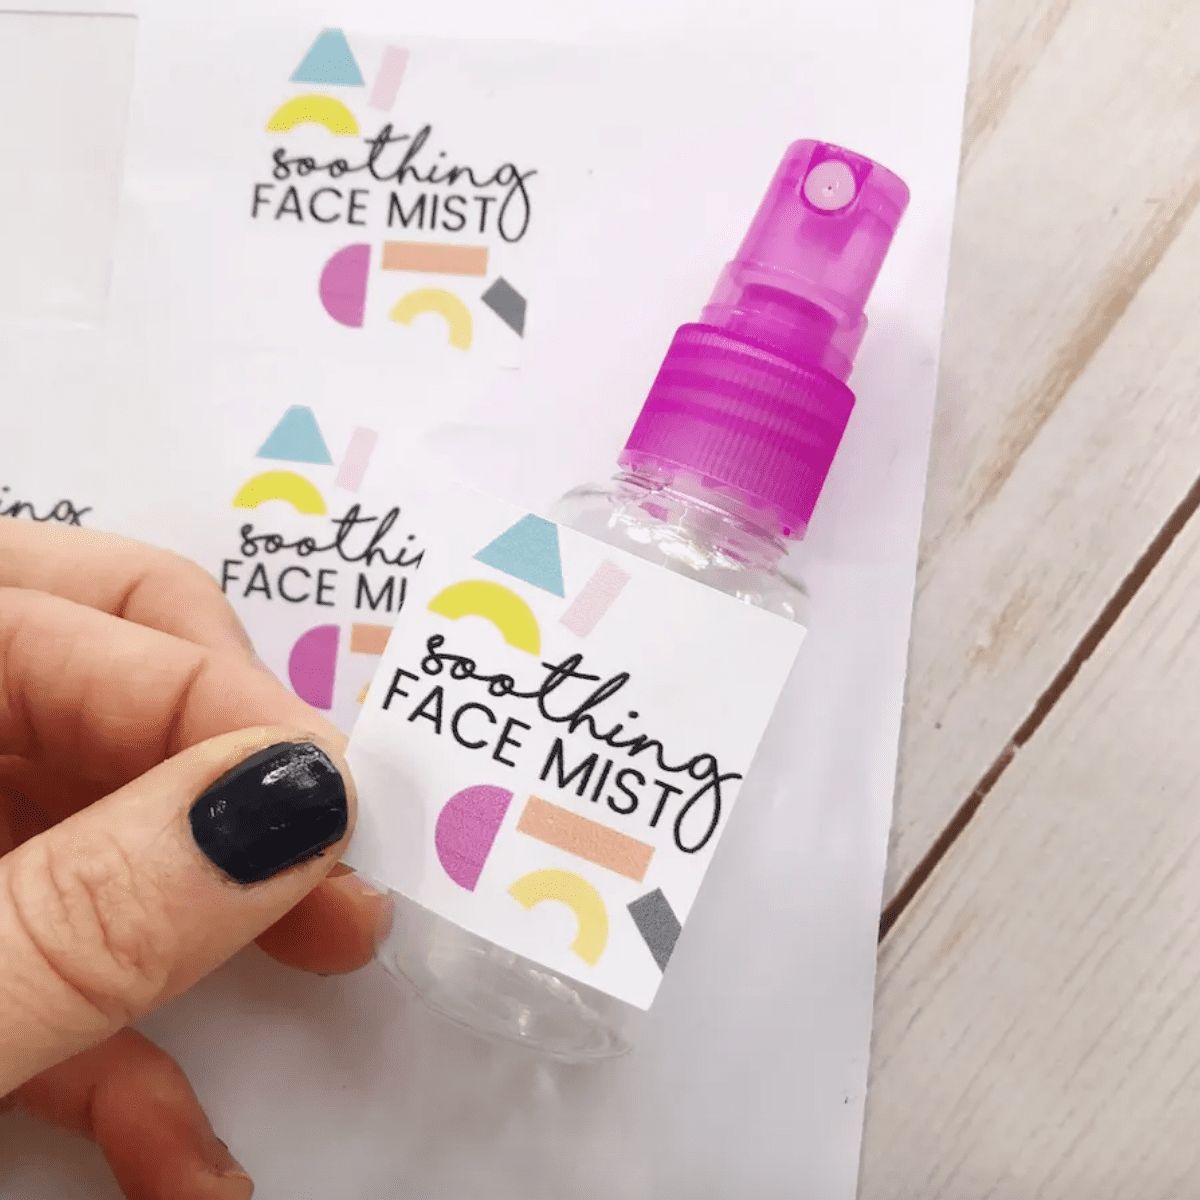
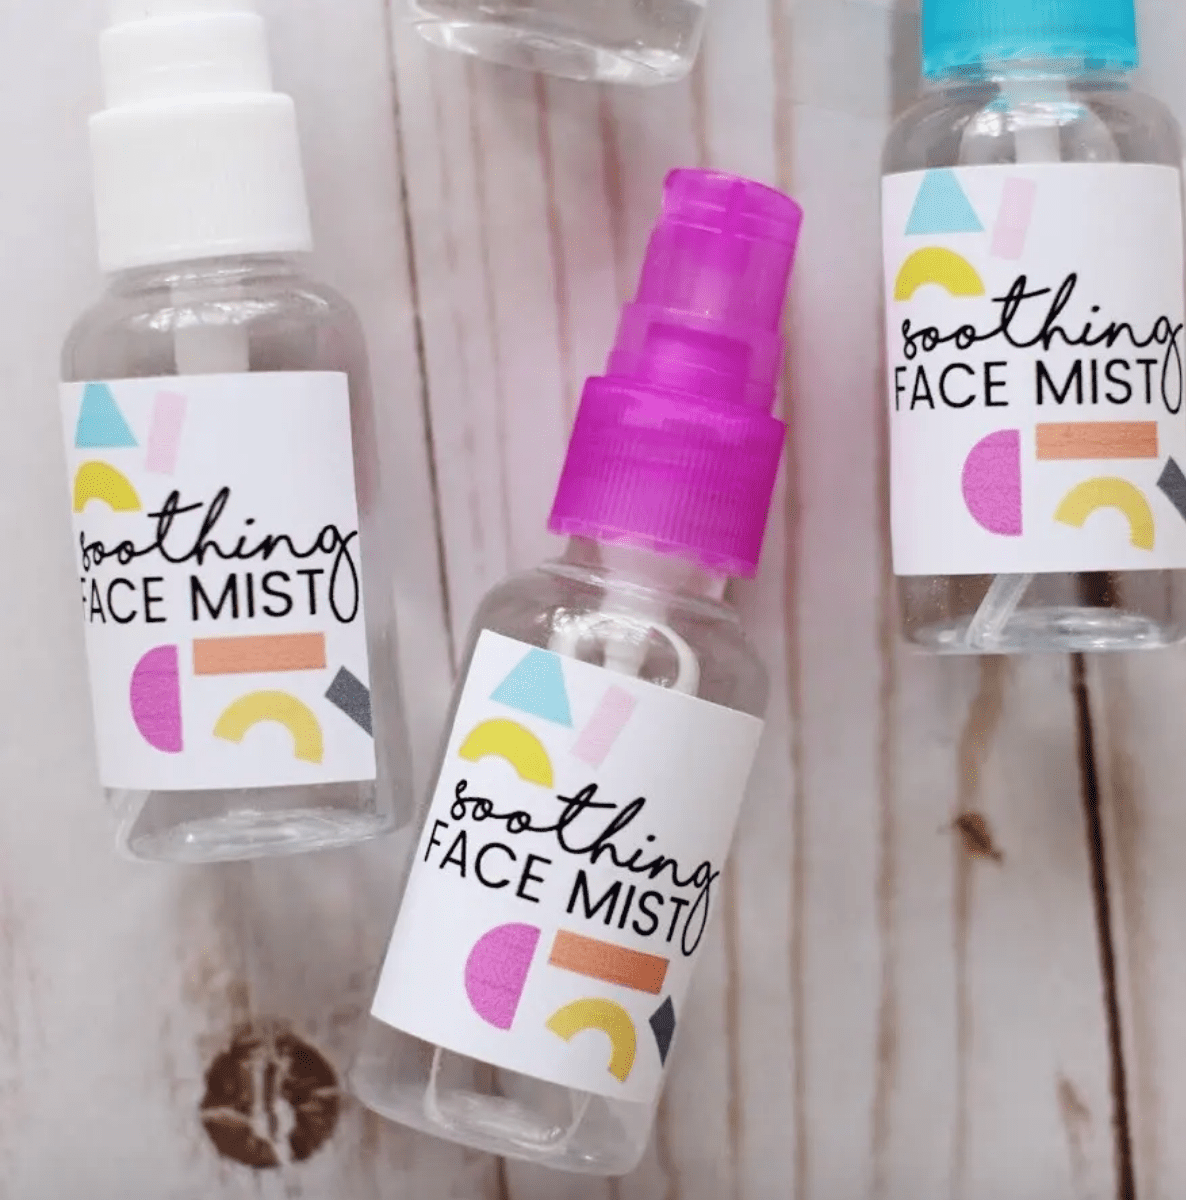
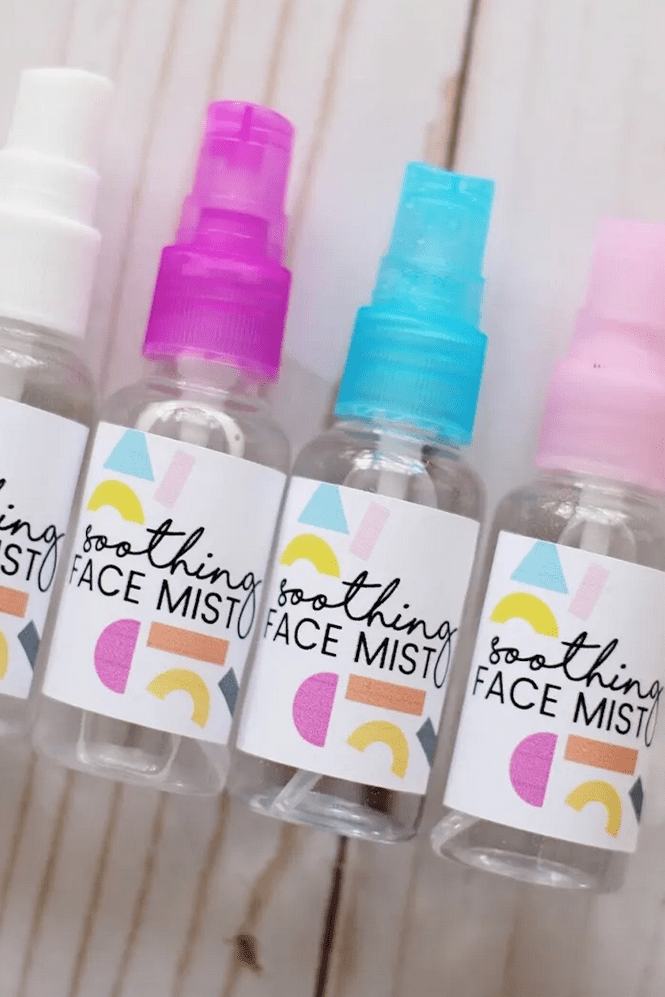
Step 4: Remove your labels from your Silhouette and peel them from their backing. Apply labels to your bottles, rubbing them to ensure they are adhered.
Step 5: Fill the bottles with your favorite face mist. Some of our favorite combos are water + lavender oil + aloe, water + lemon oil + coconut oil, and water + peppermint oil + witch hazel.
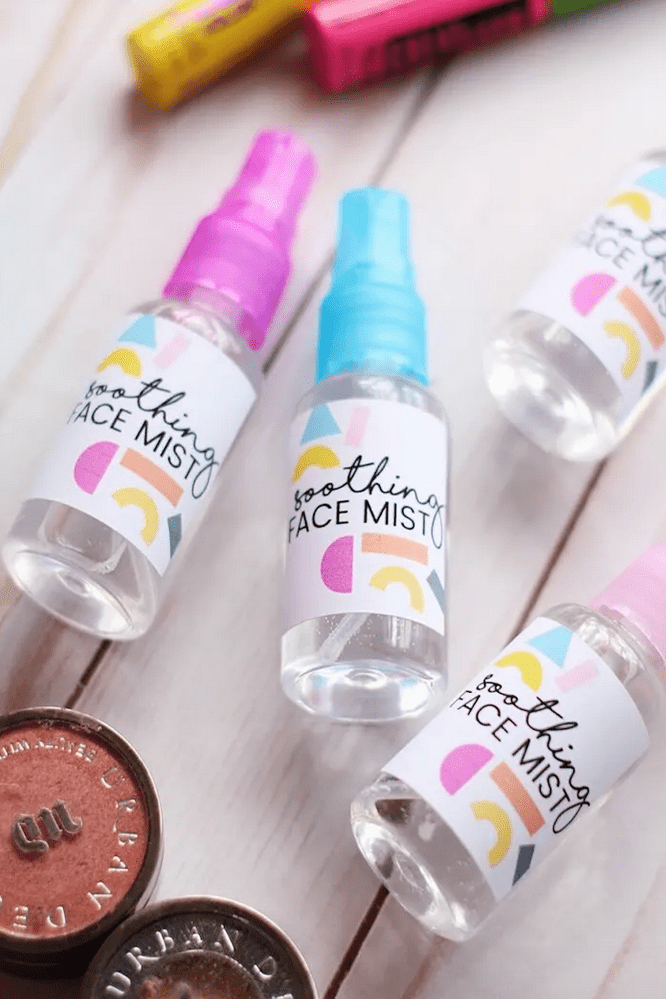
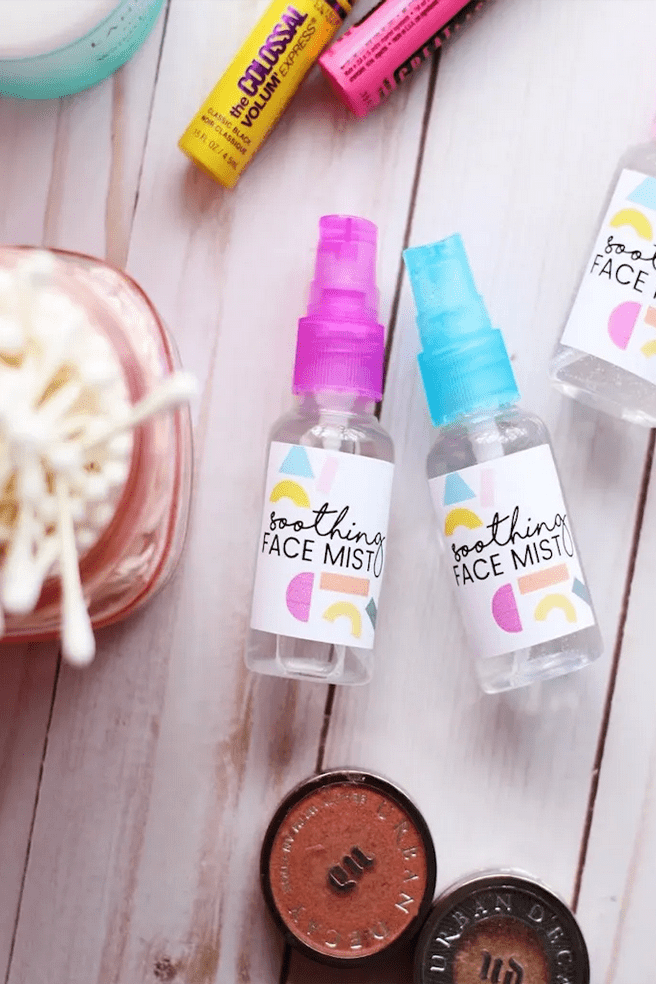
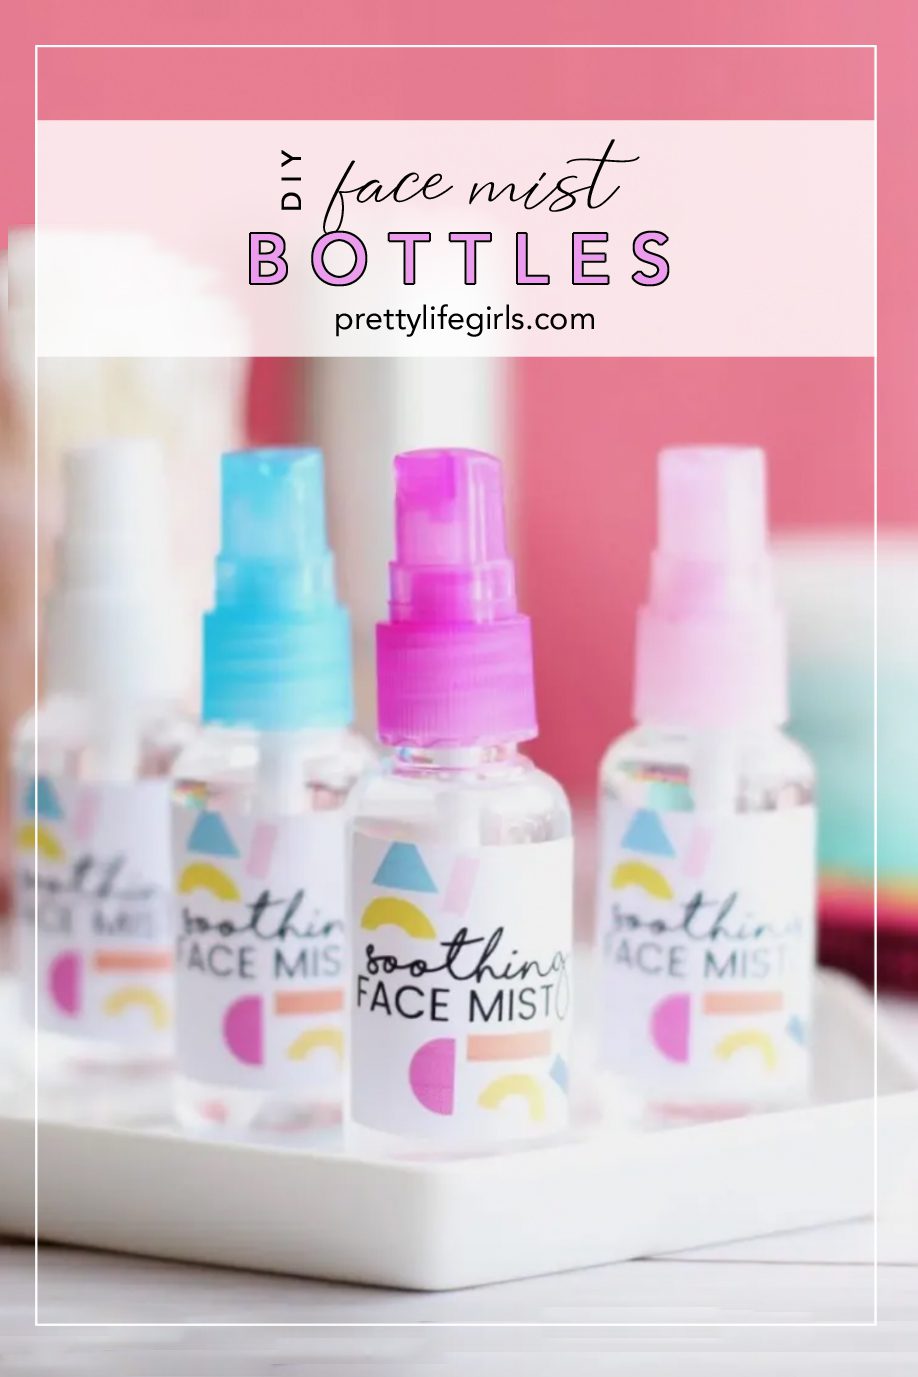
So cute and easy to make! Now that your labels are made you can fill with your favorite mixture of essential oils, seeped teas, rosewater, aloe vera, etc. and give as the most lovely Mother’s Day gifts!
Have fun!
xo, Liz
Looking for more Mother’s Day inspiration? Check out these posts!
 DIY Mother’s Day Vases with Free Printable