These DIY Ribbon Keychains are sponsored by Brother. All opinions are ours alone.
This post may contain affiliate links, which help us support this site.
Is there anything more fun than a personalized keepsake? I still get major feelings whenever I’m in a gas station in a touristy area and see those personalized magnets or keychains or shot glasses you can buy with the landmark or city where you found them and your name. As a kid I thought they were the most special thing and loved it when I could talk my parents into buying me one. I mean, my very own magnet! With MY name on it! And the Grand Canyon! What a TREASURE!
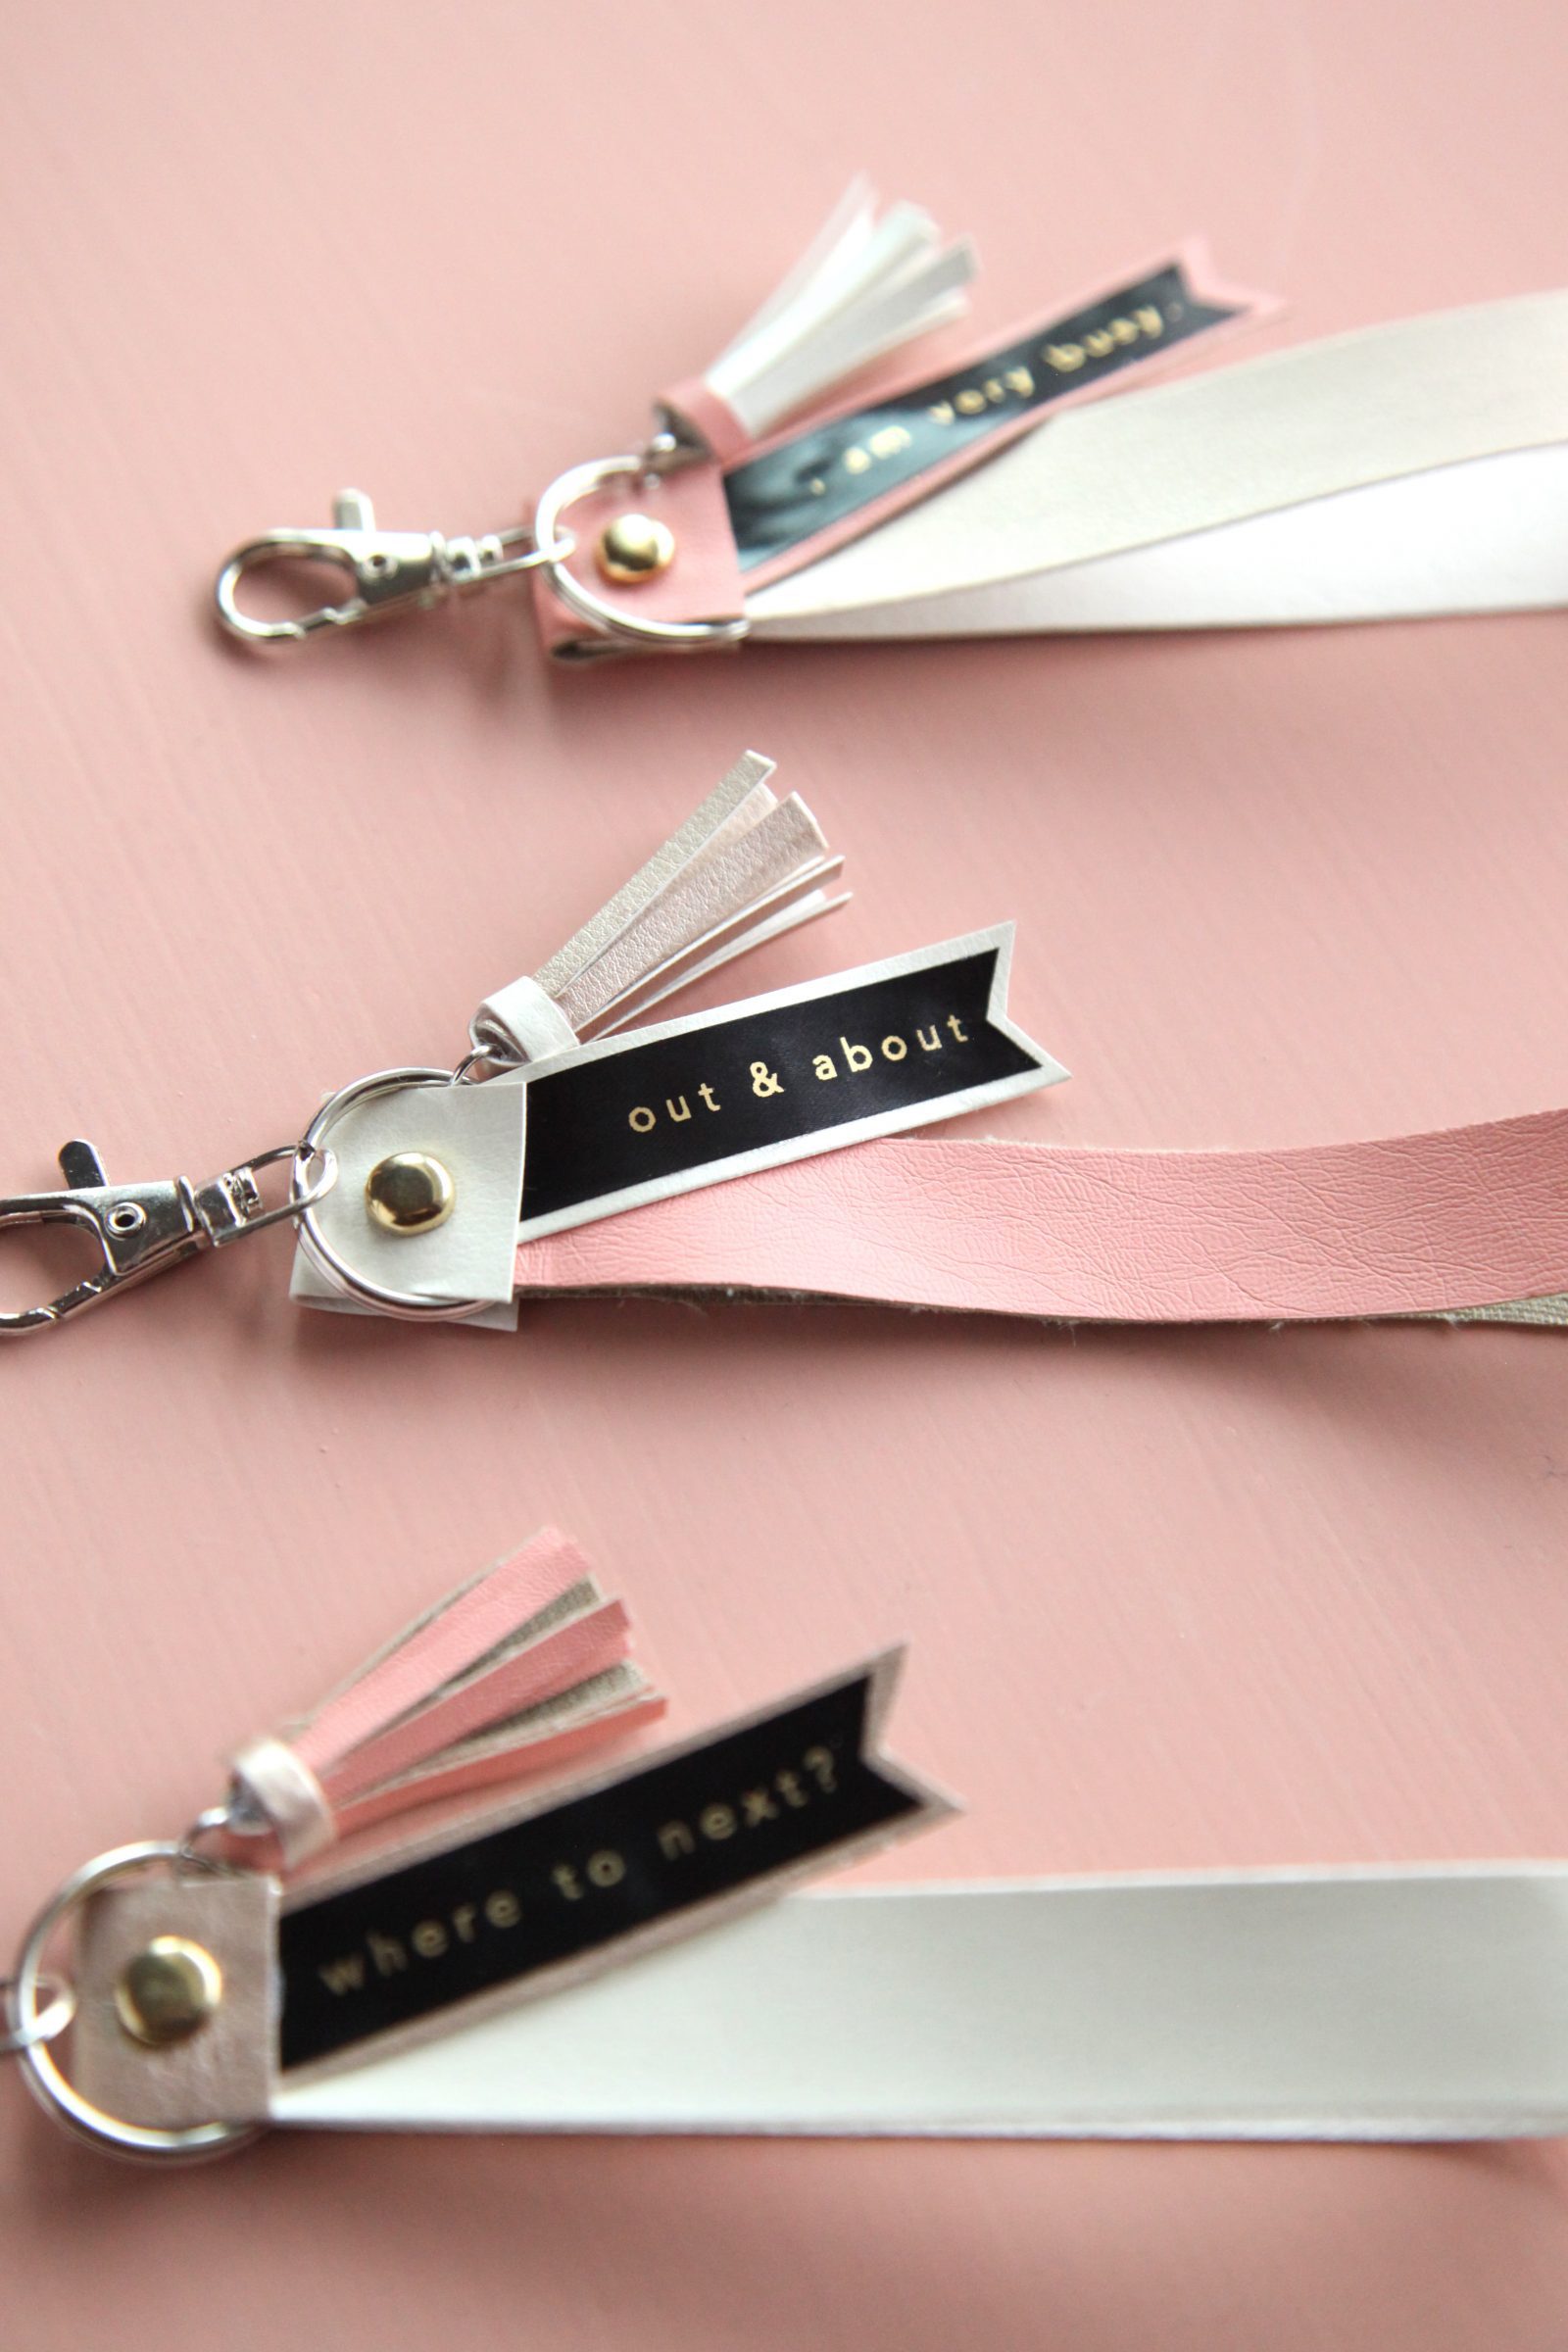
Even as adults I don’t think the excitement of personalization goes away. Whether its a monogrammed towel or your initials engraved on your luggage, personalizing something makes it feel exclusive. That is why we are so in love with the Brother P-touch Embellish ELITE since the possibilities for personal, customized projects are endless! This little machine lets you print any message on tape and ribbon, a feature that the inner tourist-trap-gas-station-kid in me can’t get enough of. We used it to make some fun DIY personalized wristlet key chains, perfect for putting your mantra on and getting things done. Here is how we did it:

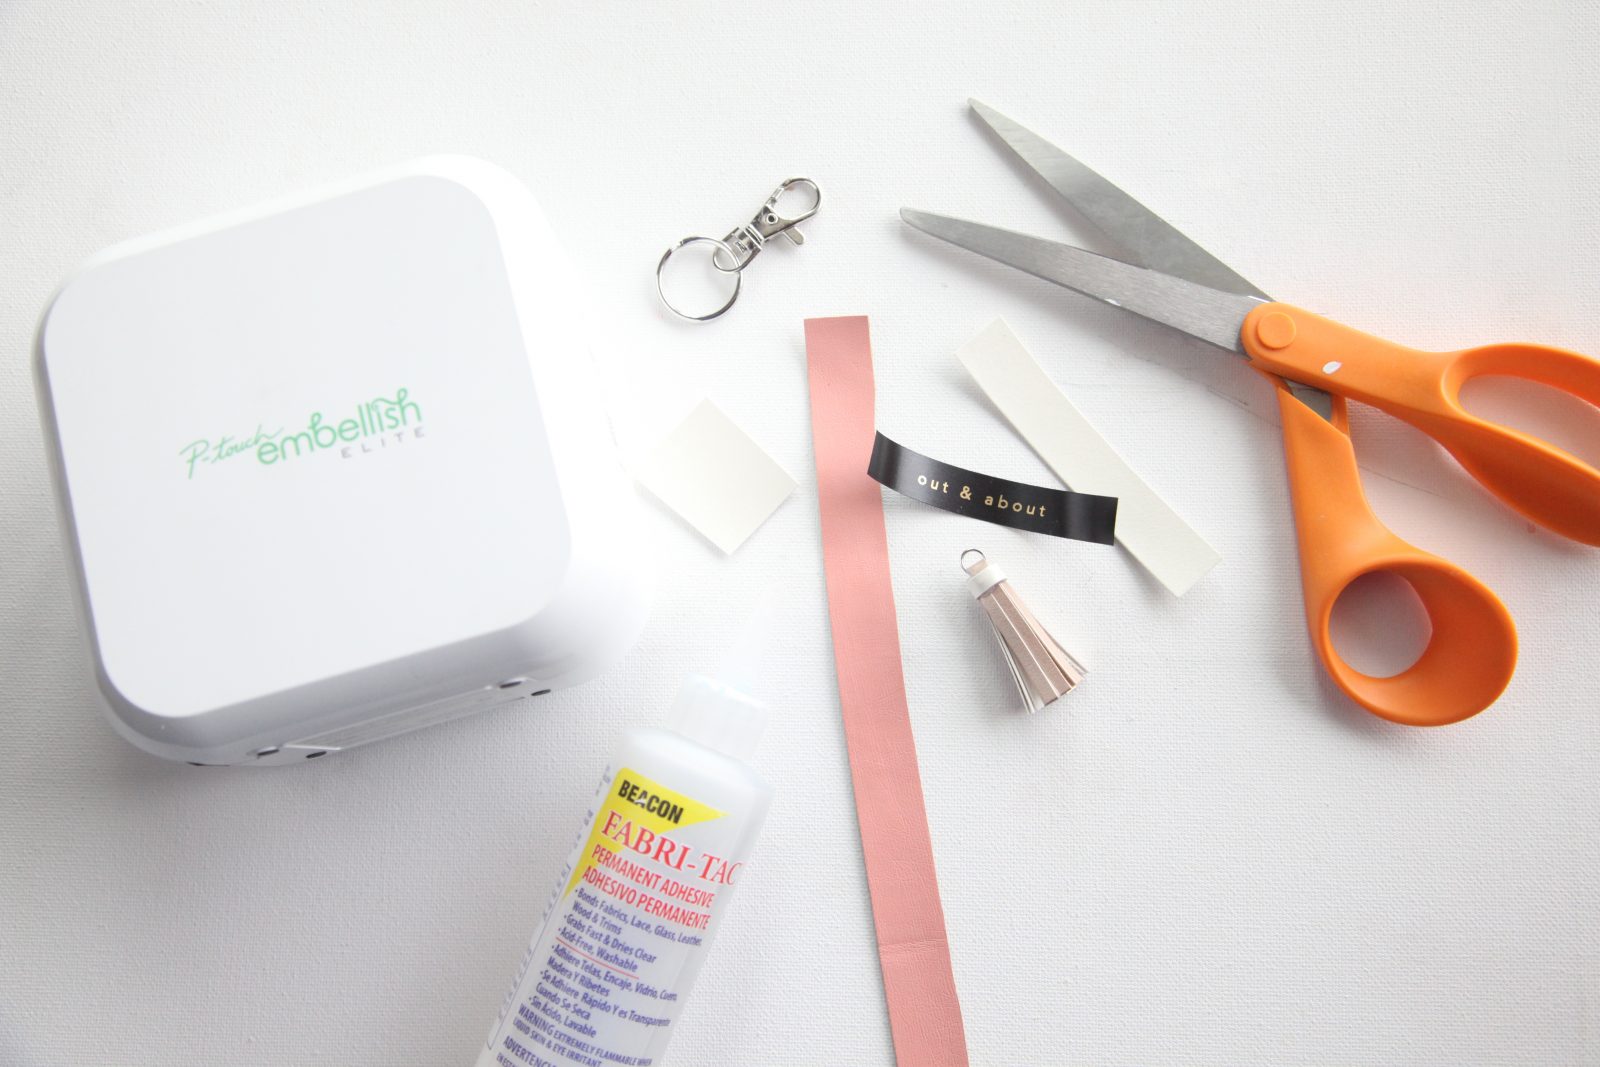
Supplies needed to make your own DIY Ribbon Keychains
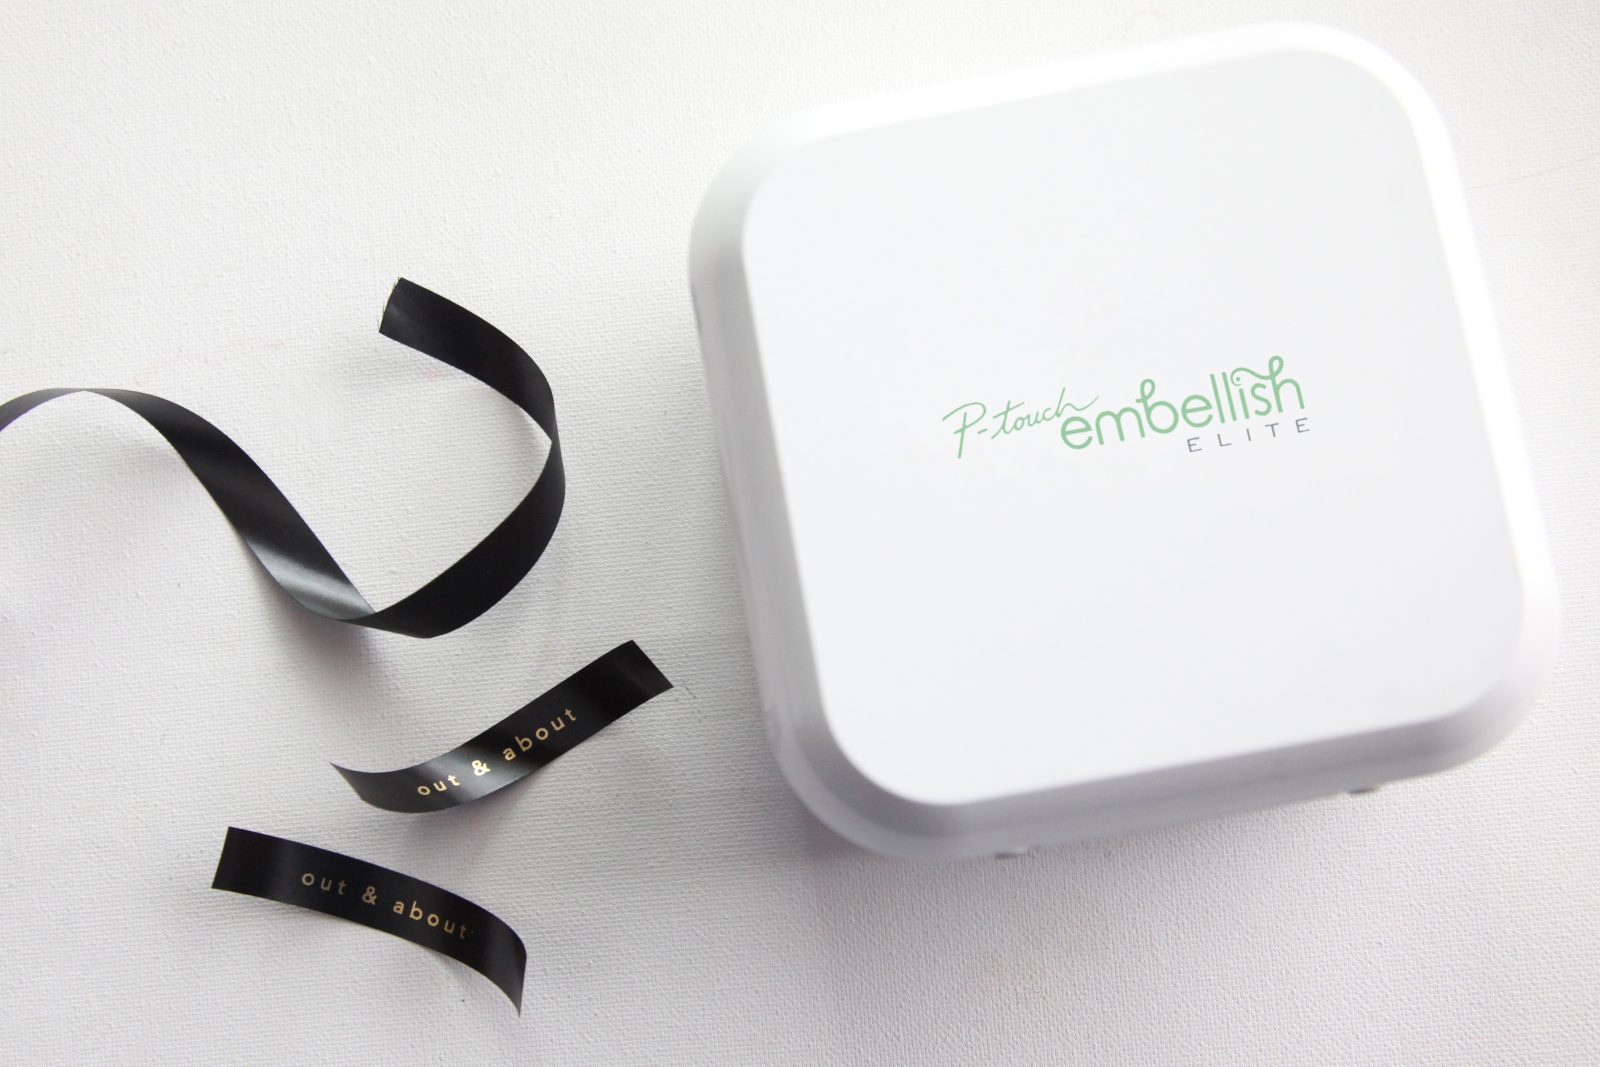
P-touch Embellish ELITE
P-touch Embellish Gold on Black Ribbon
Faux Leather Sheets
Key Chain Ring
Snap Fasteners
Fabric Glue
Scissors
Tassel

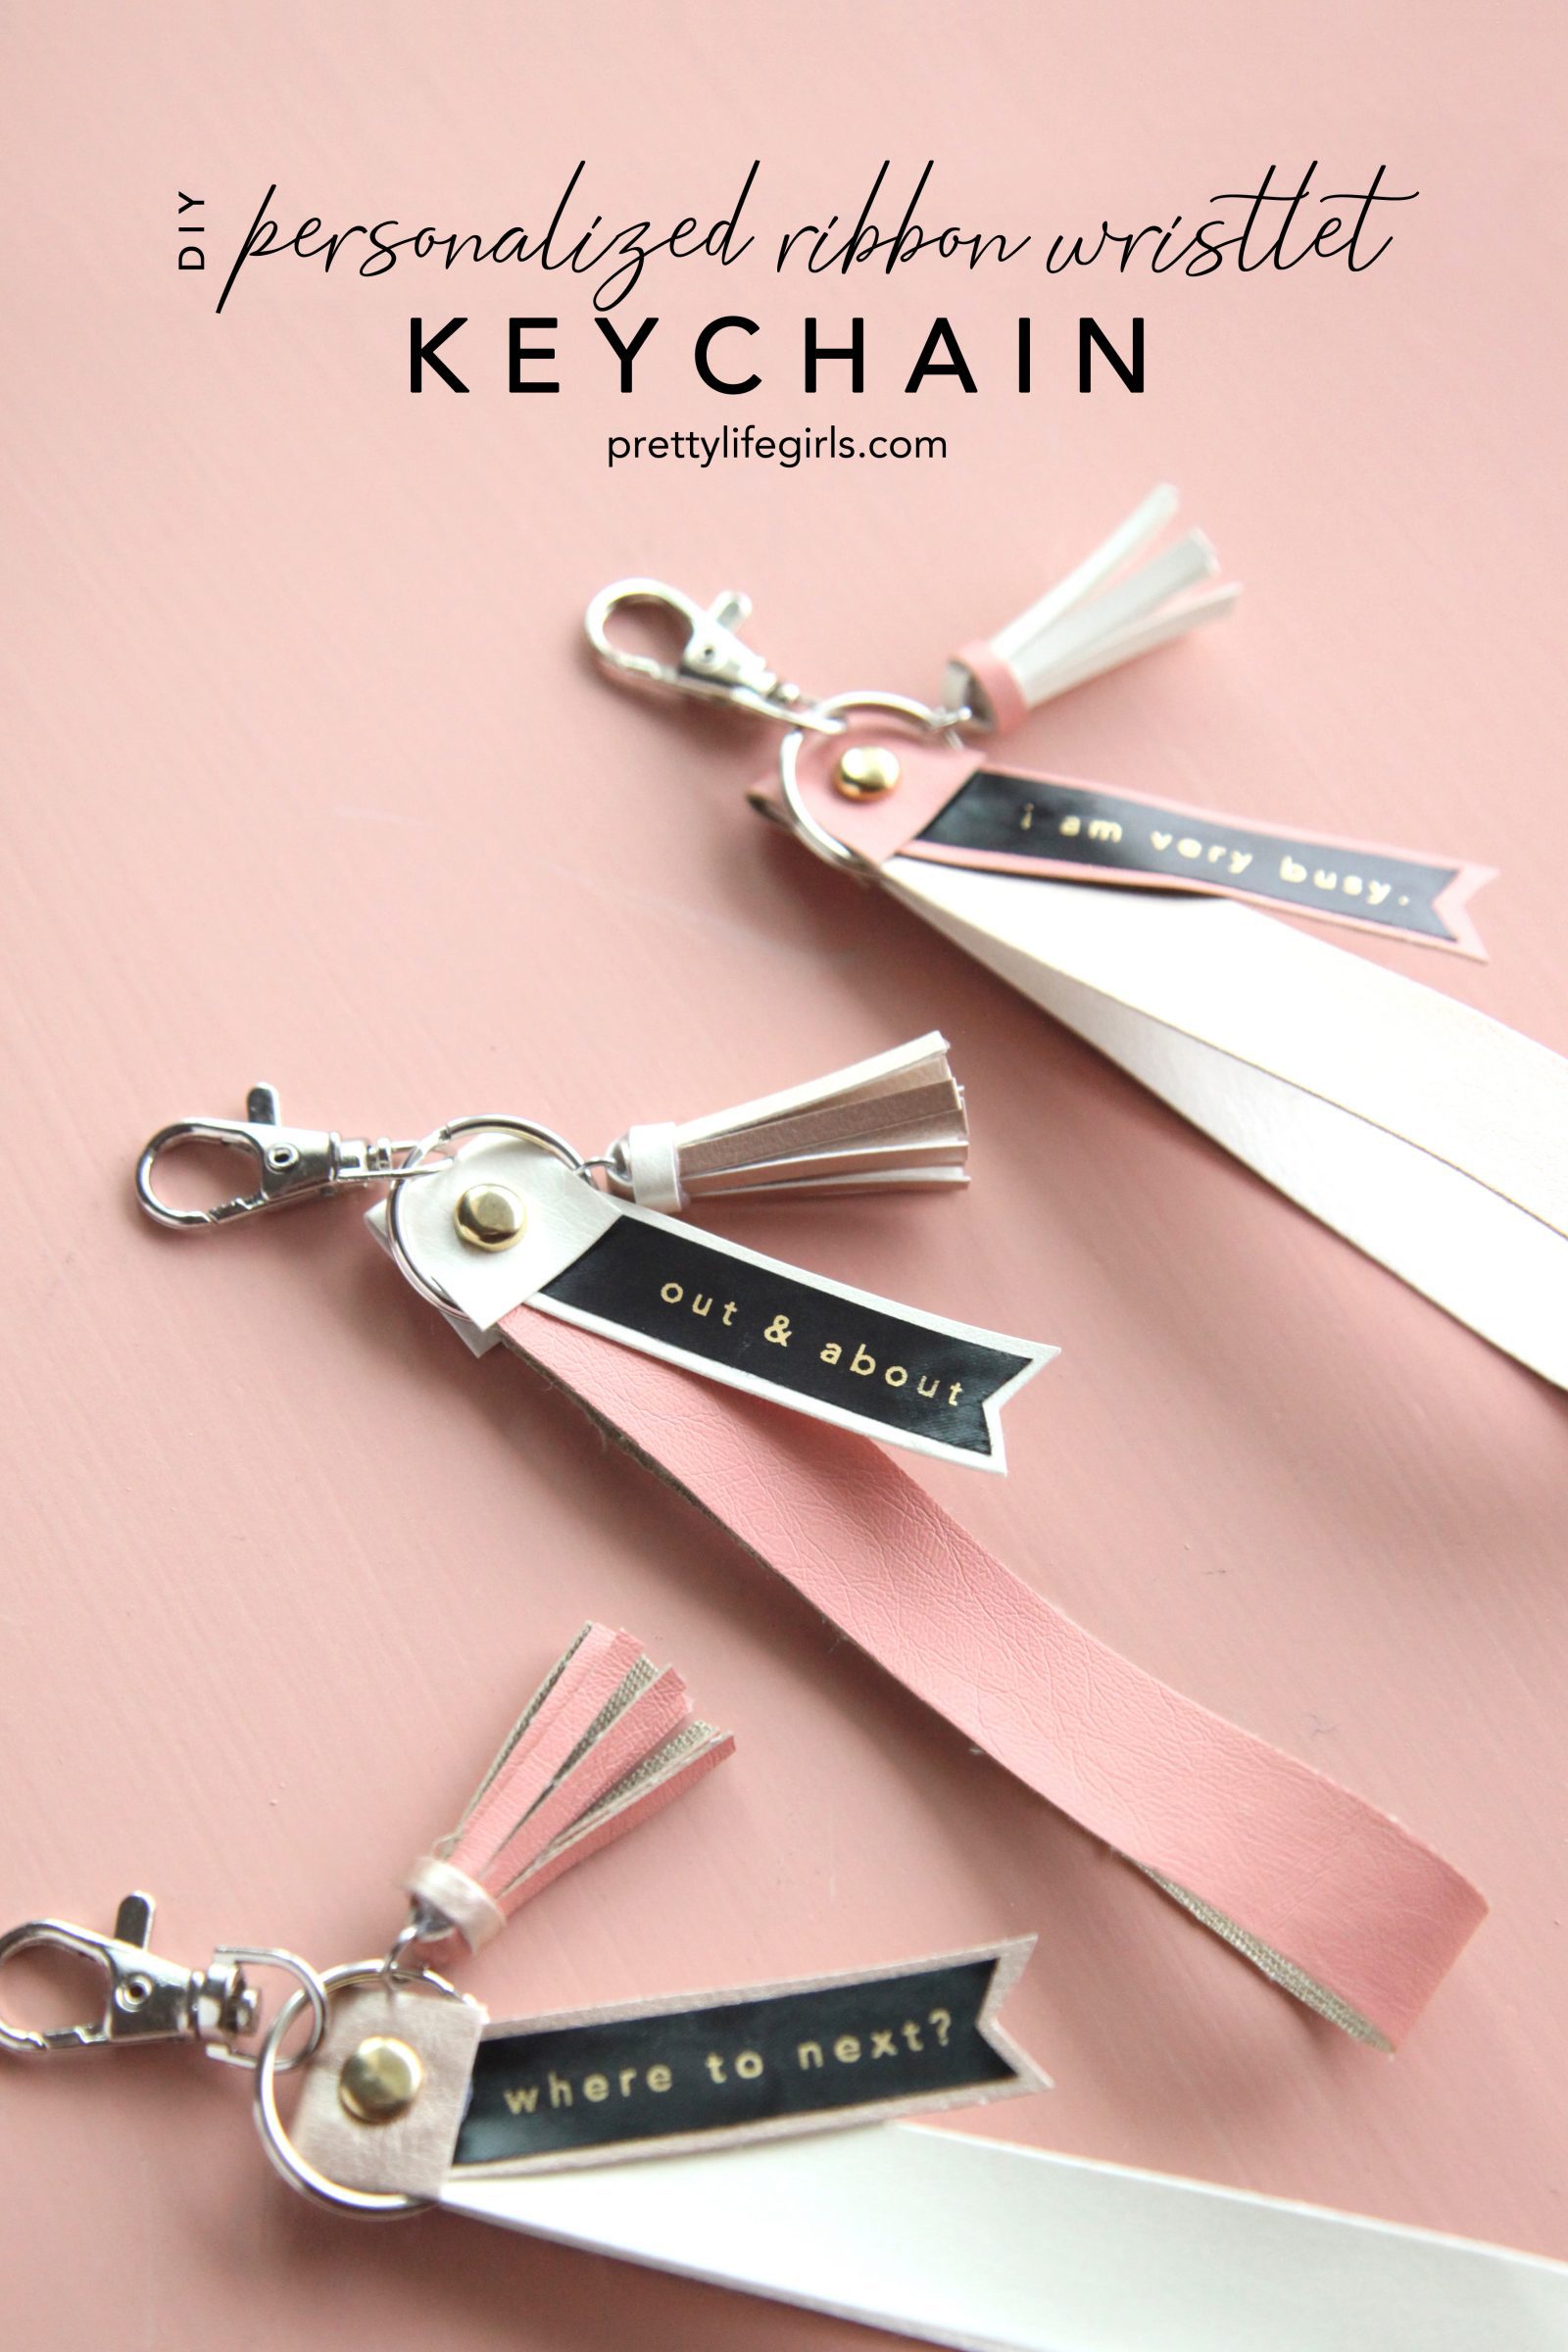
How to make your own DIY Ribbon Keychains
Step 1: Design your ribbon on the P-touch Design-&-Print app. Place ribbon cartridge in the machine and hit print.

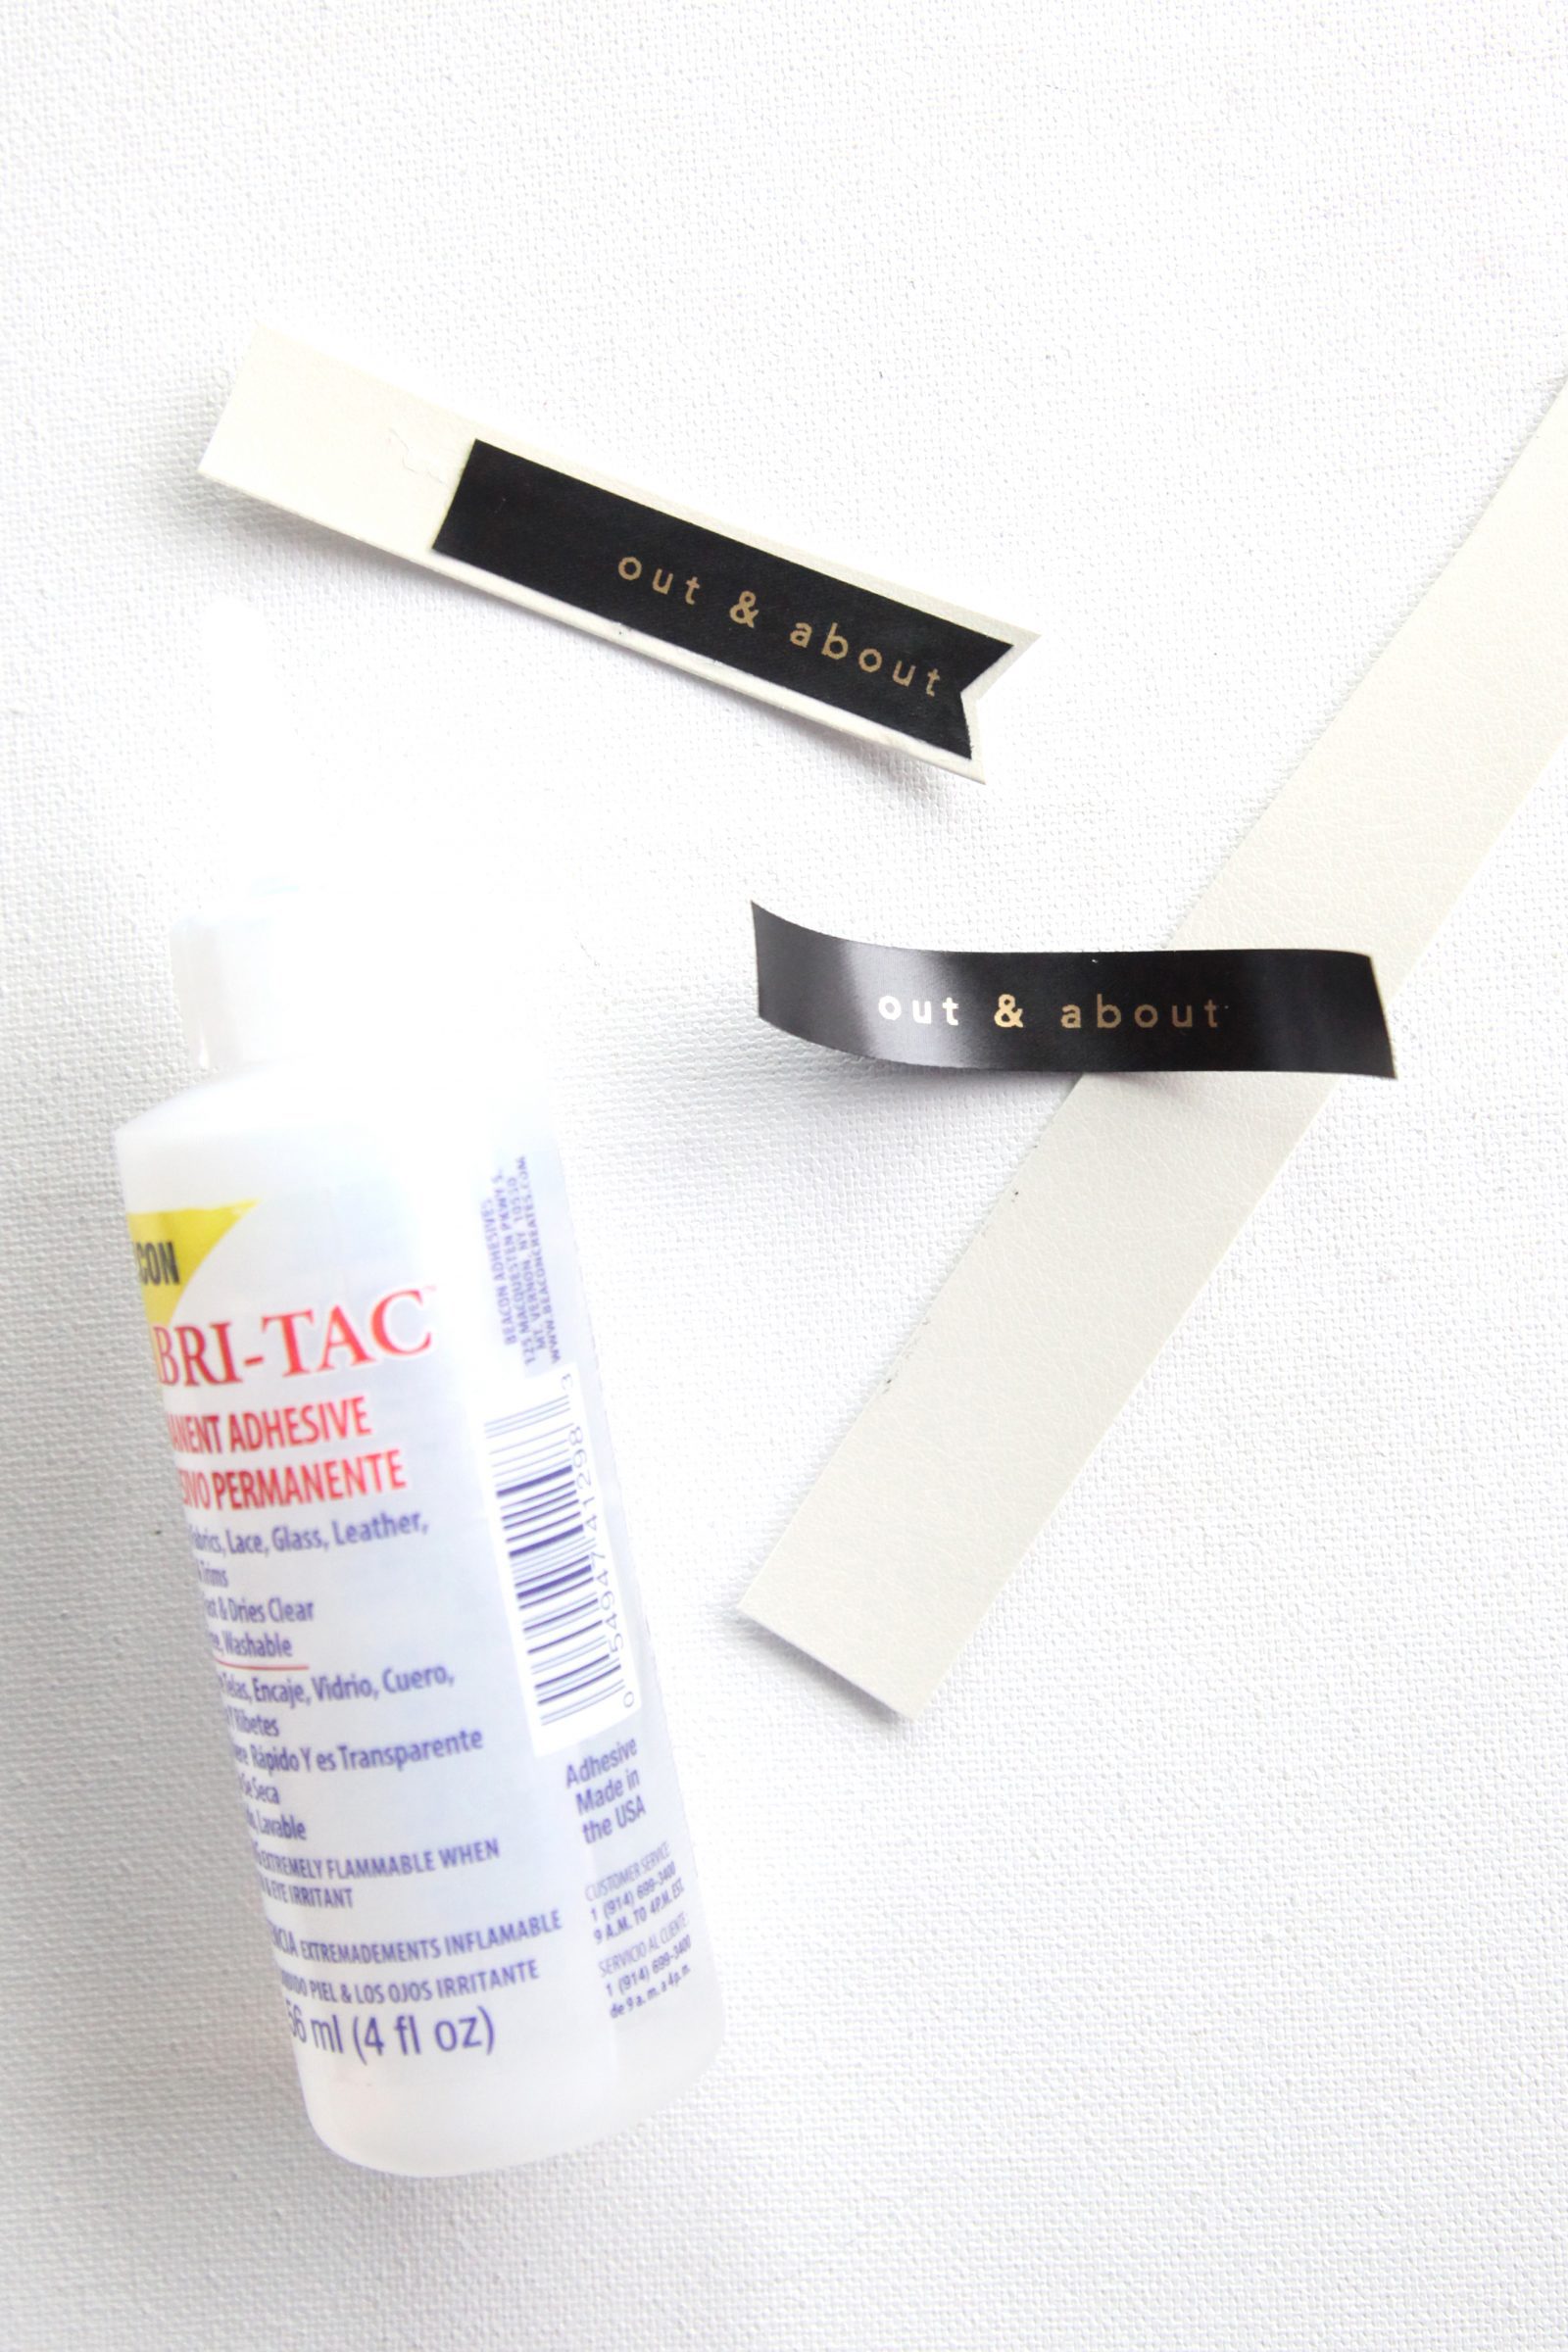
Step 2: Cut ribbon to desired tag size using scissors. Glue ribbon to leather using fabric glue and let dry completely. Once the glue is dry, cut the leather around the ribbon to create the tag for the keychain.

Step 3: Using scissors, cut a 1″ x 11″ strip of leather. Cut a separate 2″ piece of leather in a contrasting color. Set aside. Using fabric glue, glue the ends of the 11″ piece of leather together, colored side out. Glue the personalized tag to the top of the 11″ piece of leather that was just glued together. Then, place the 2″ piece of leather over the top of the glued ends and the tag to cover all glued seams, and attach all three together with a snap fastener. 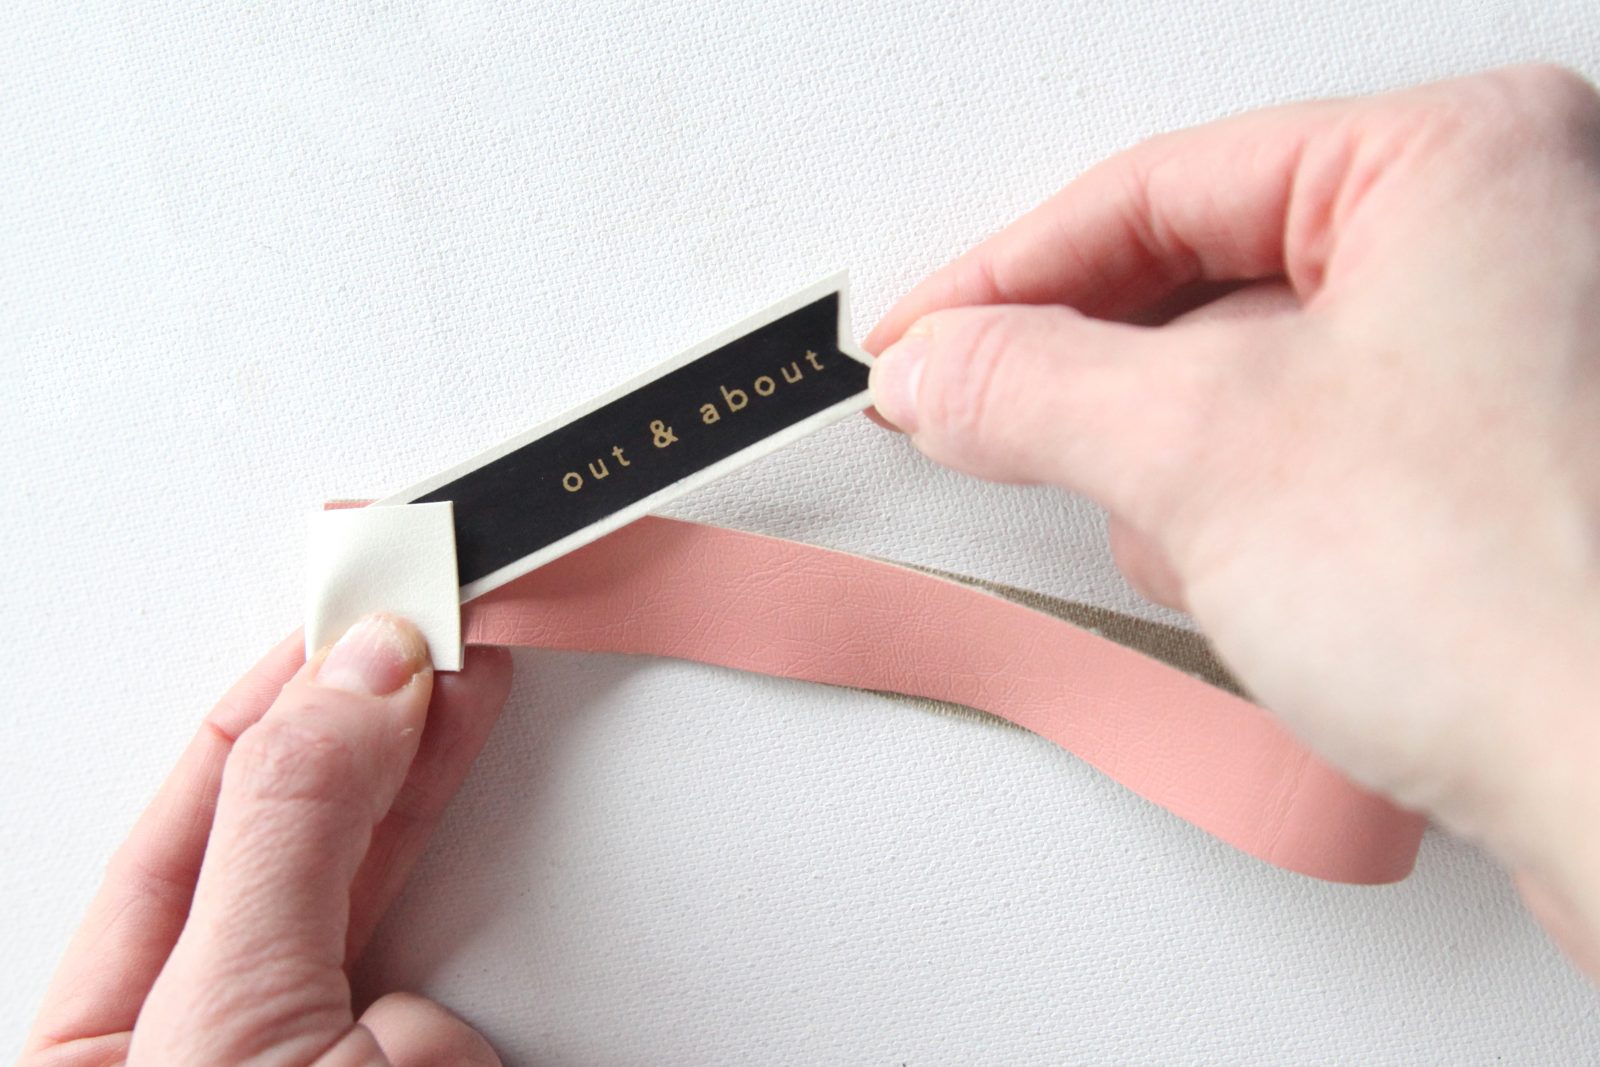

Step 4: Attach to a keychain to the wristlet and attach a tassel to the ring, if desired. 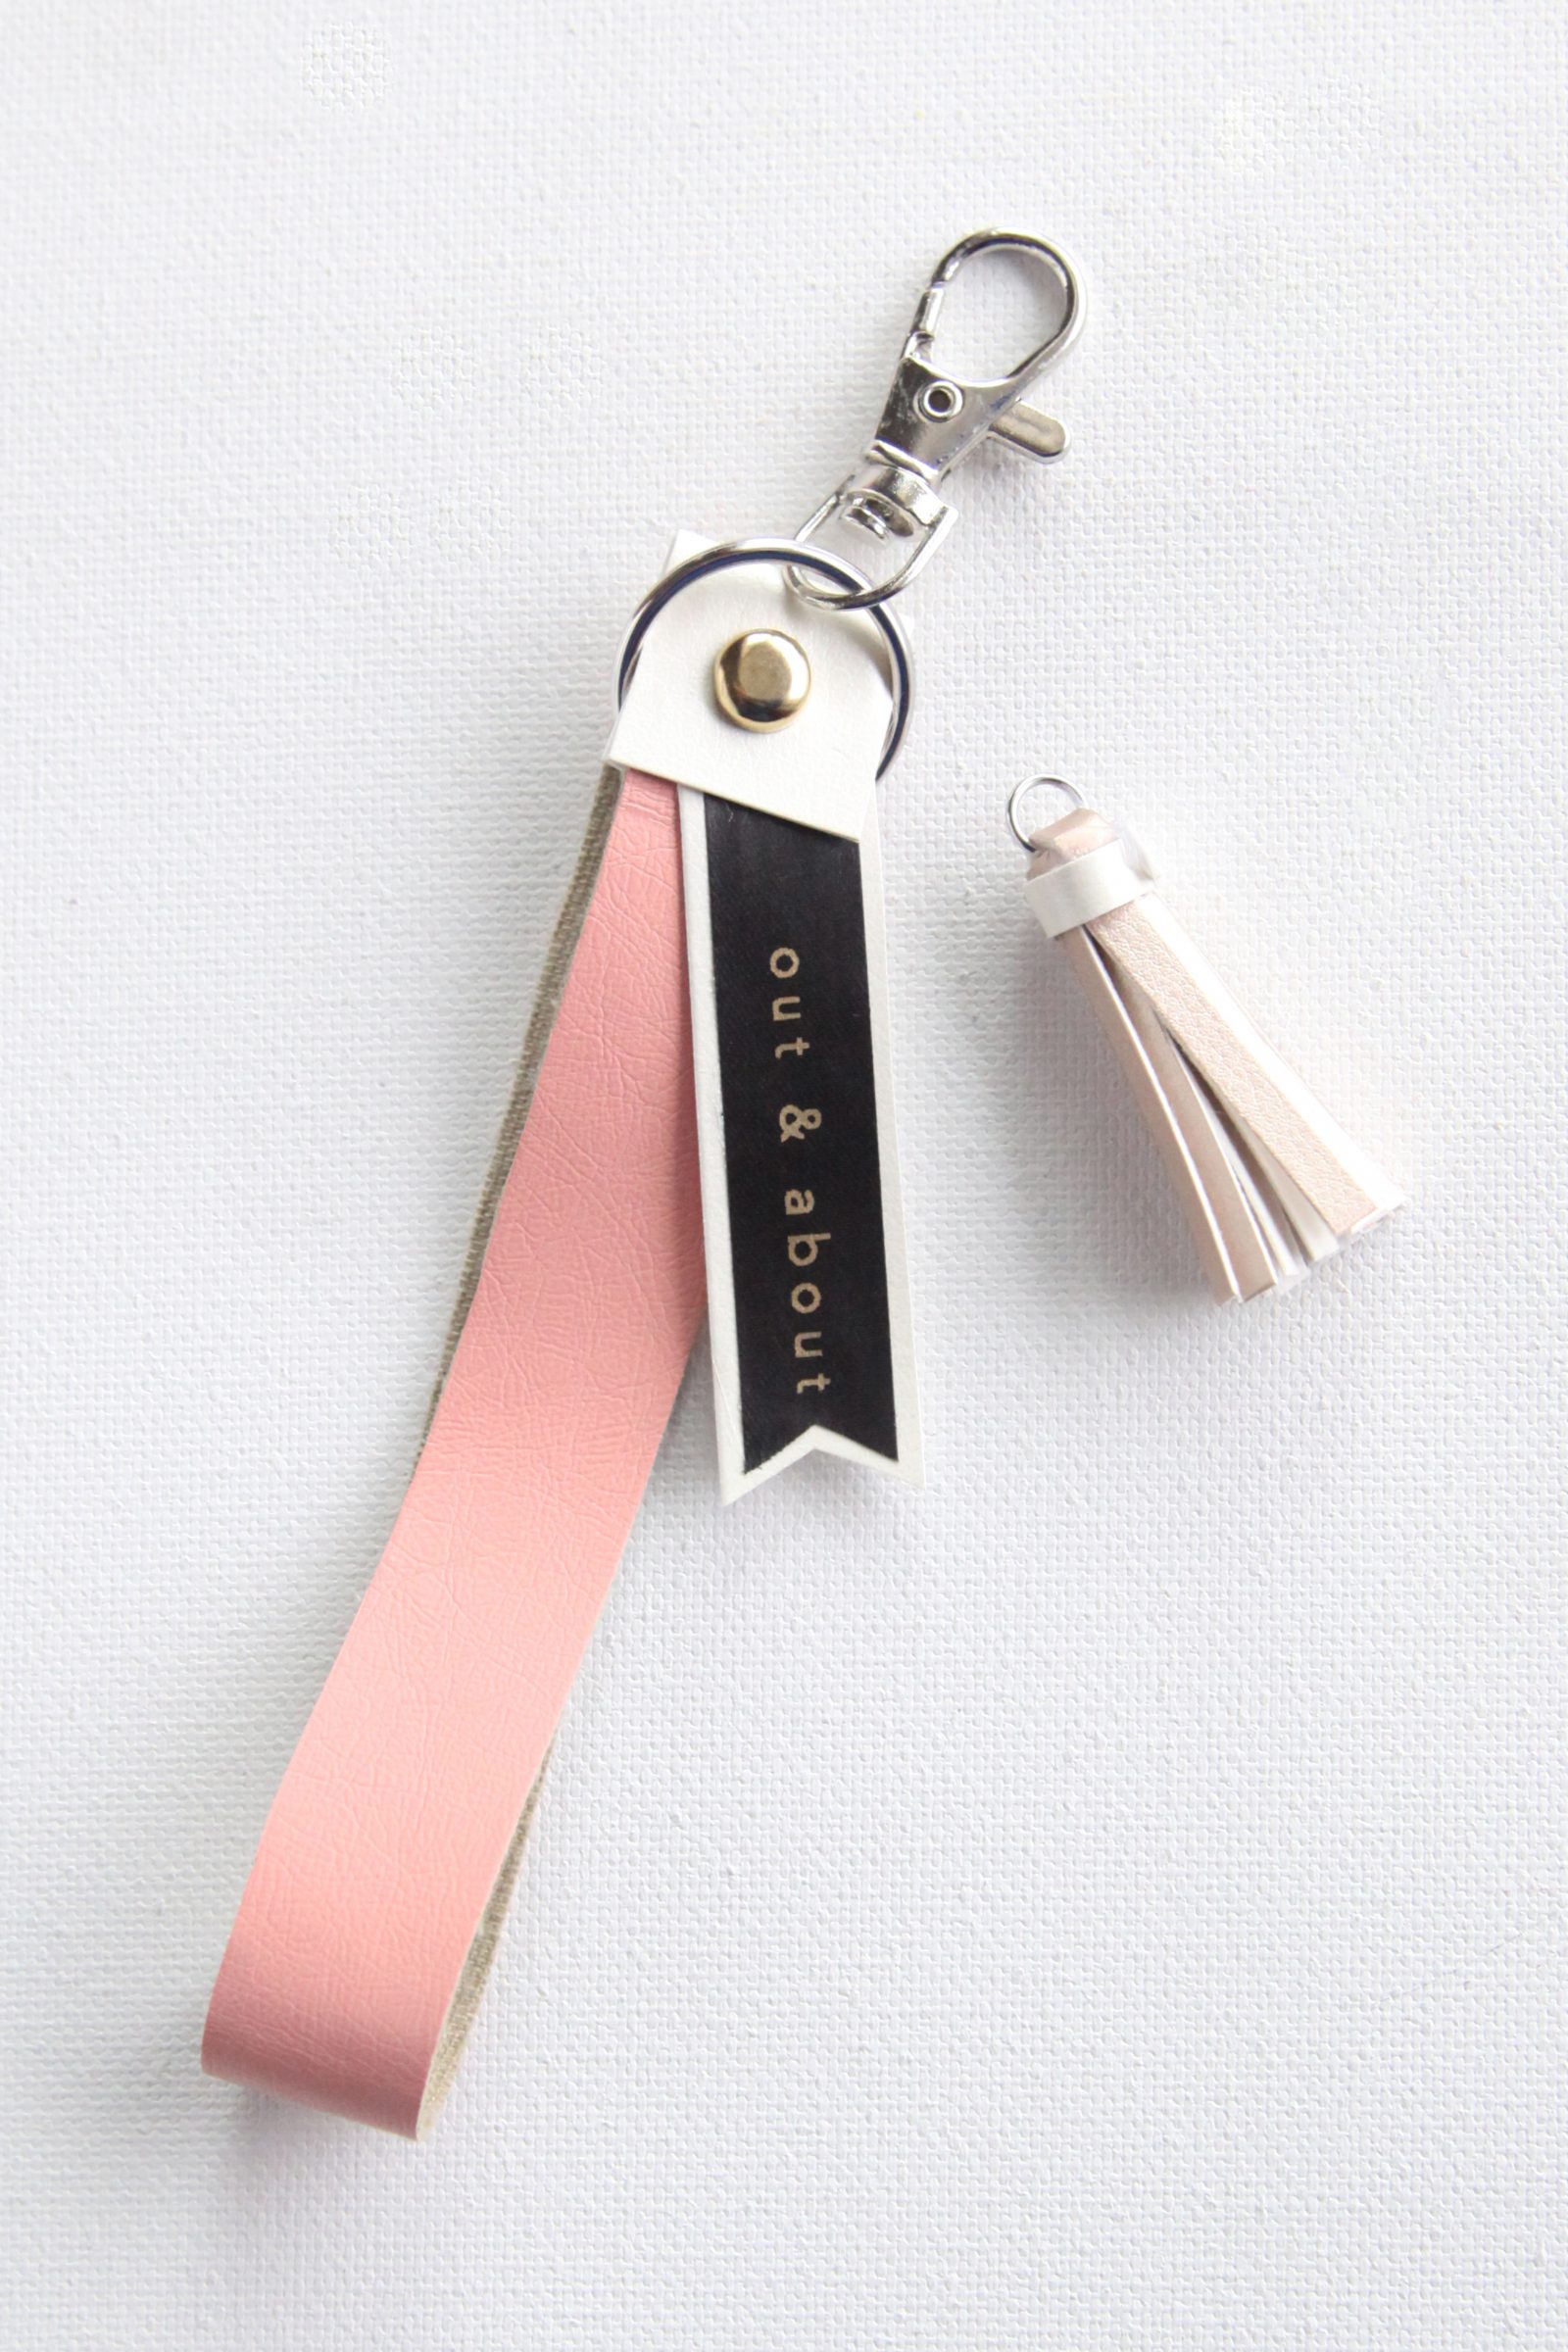

You’re done! Now you’ve made a chic custom keychain that is sure to make you feel extra special every time you grab your keys!
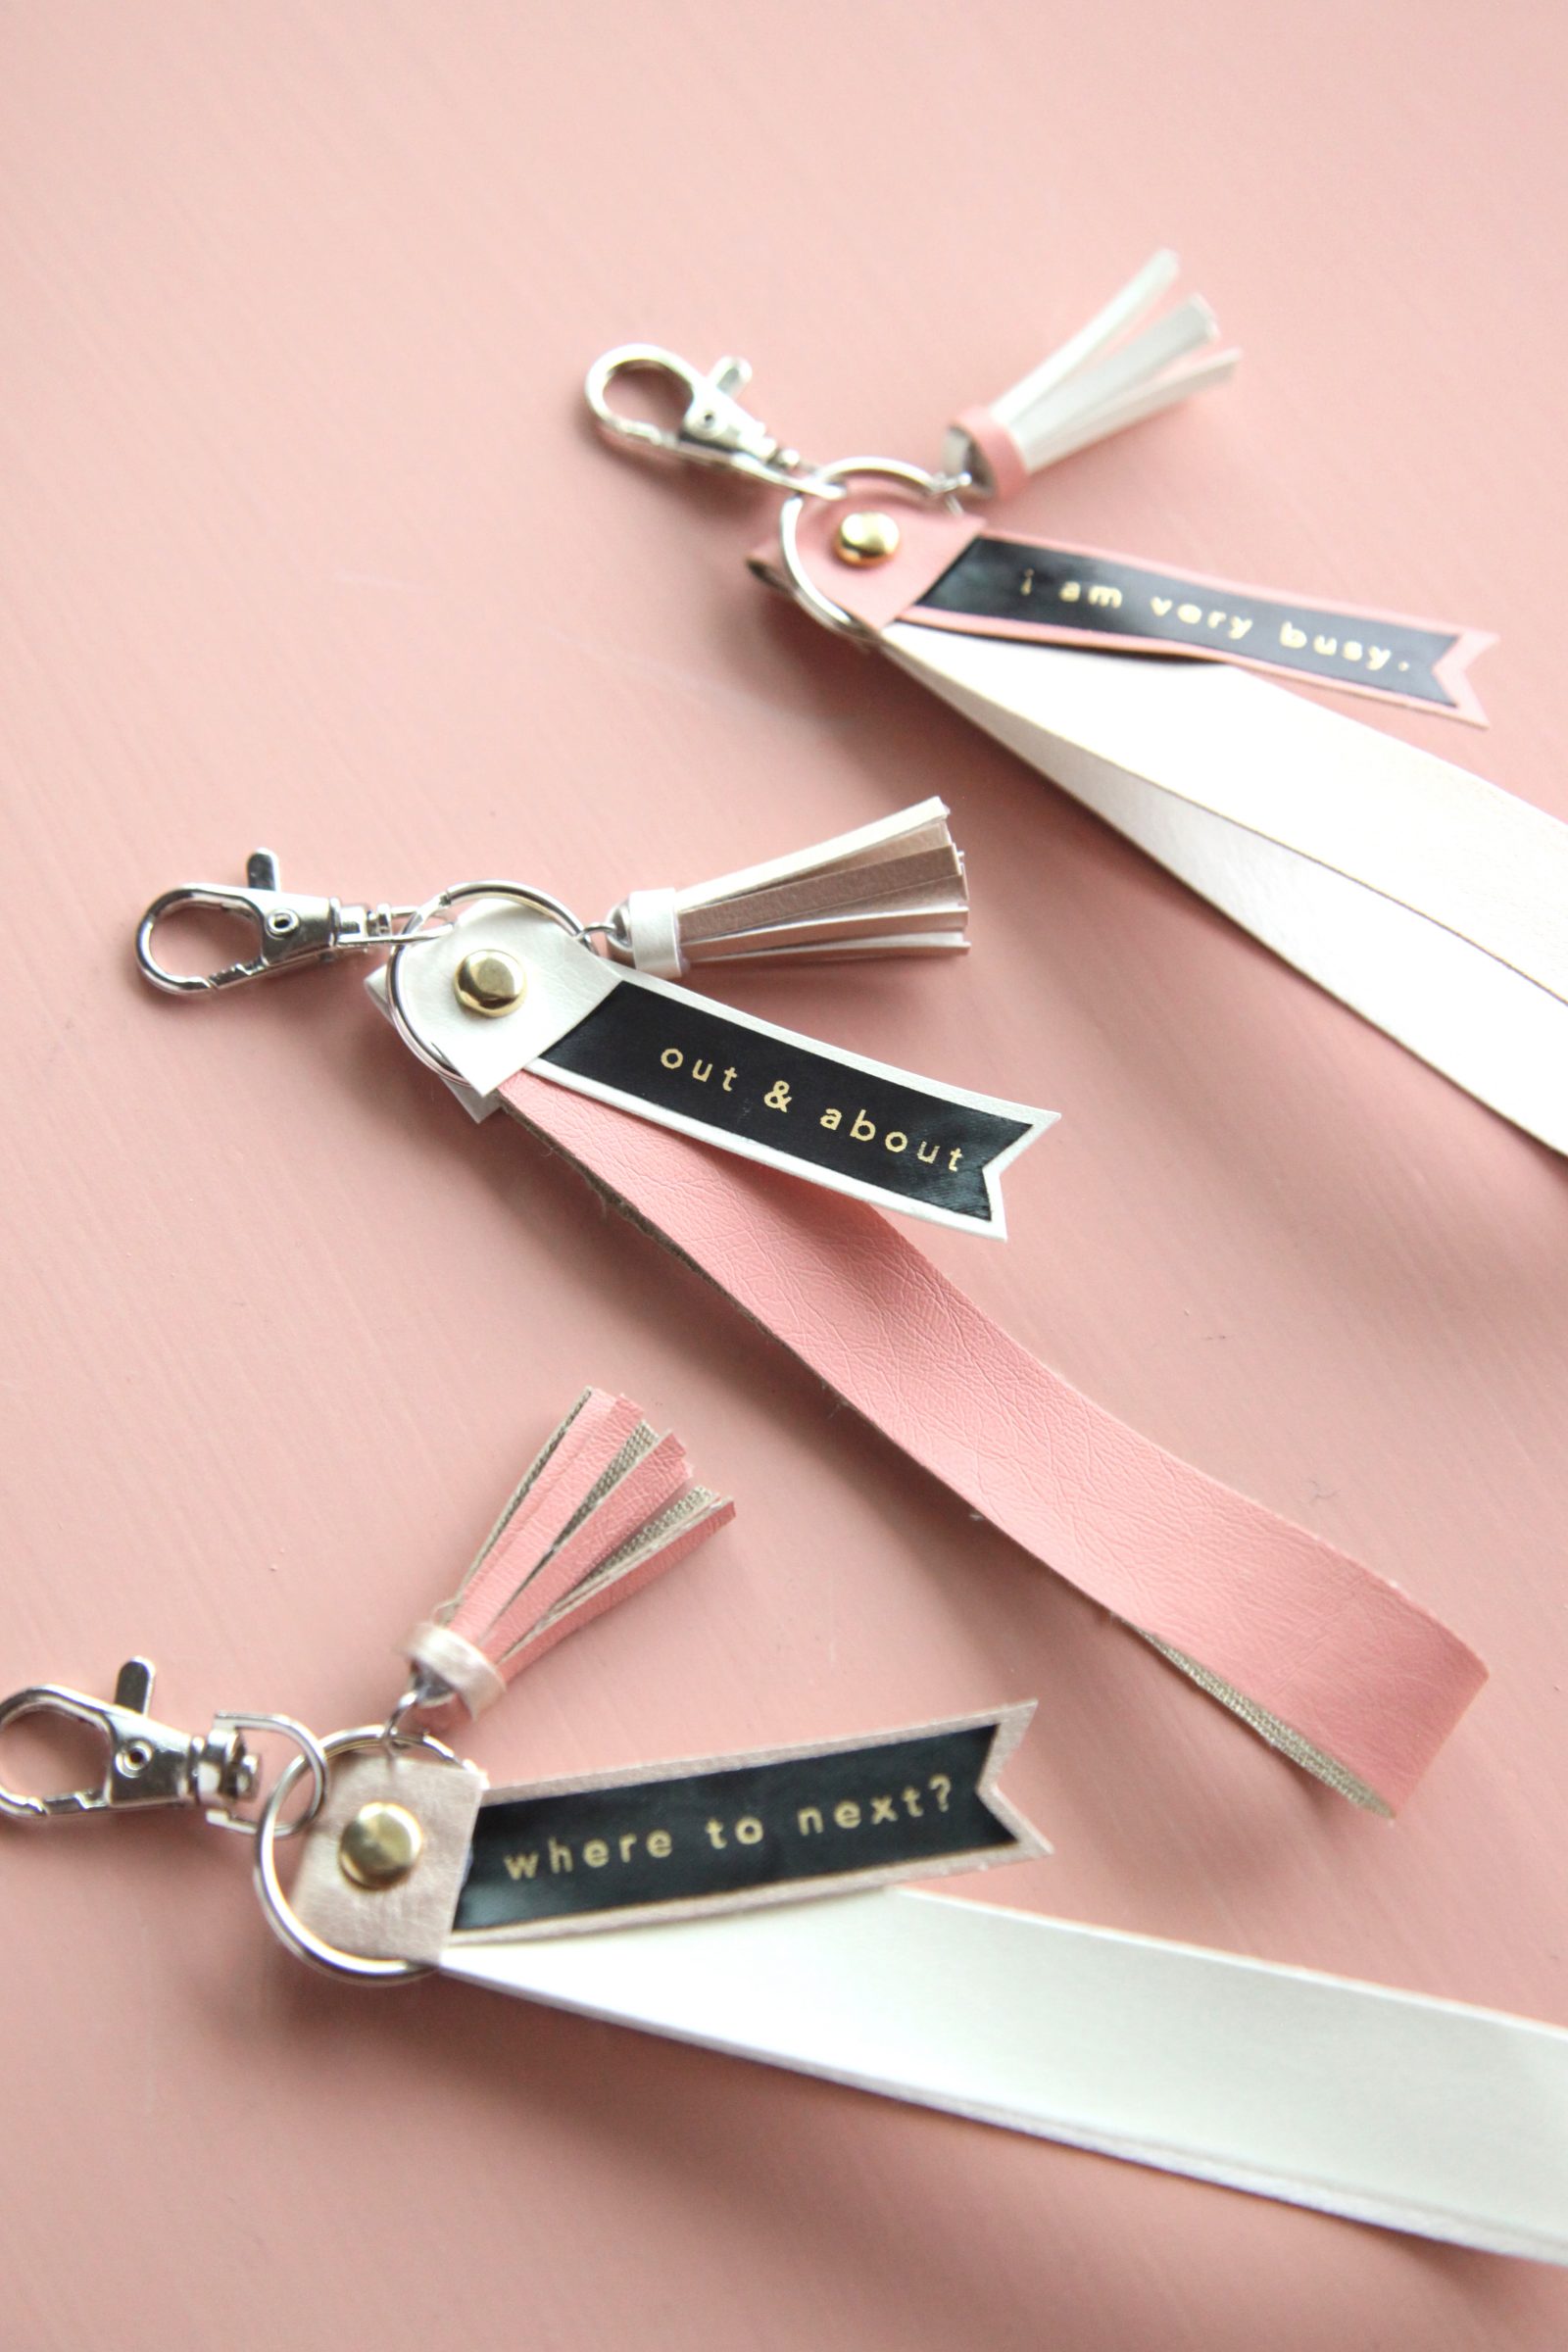

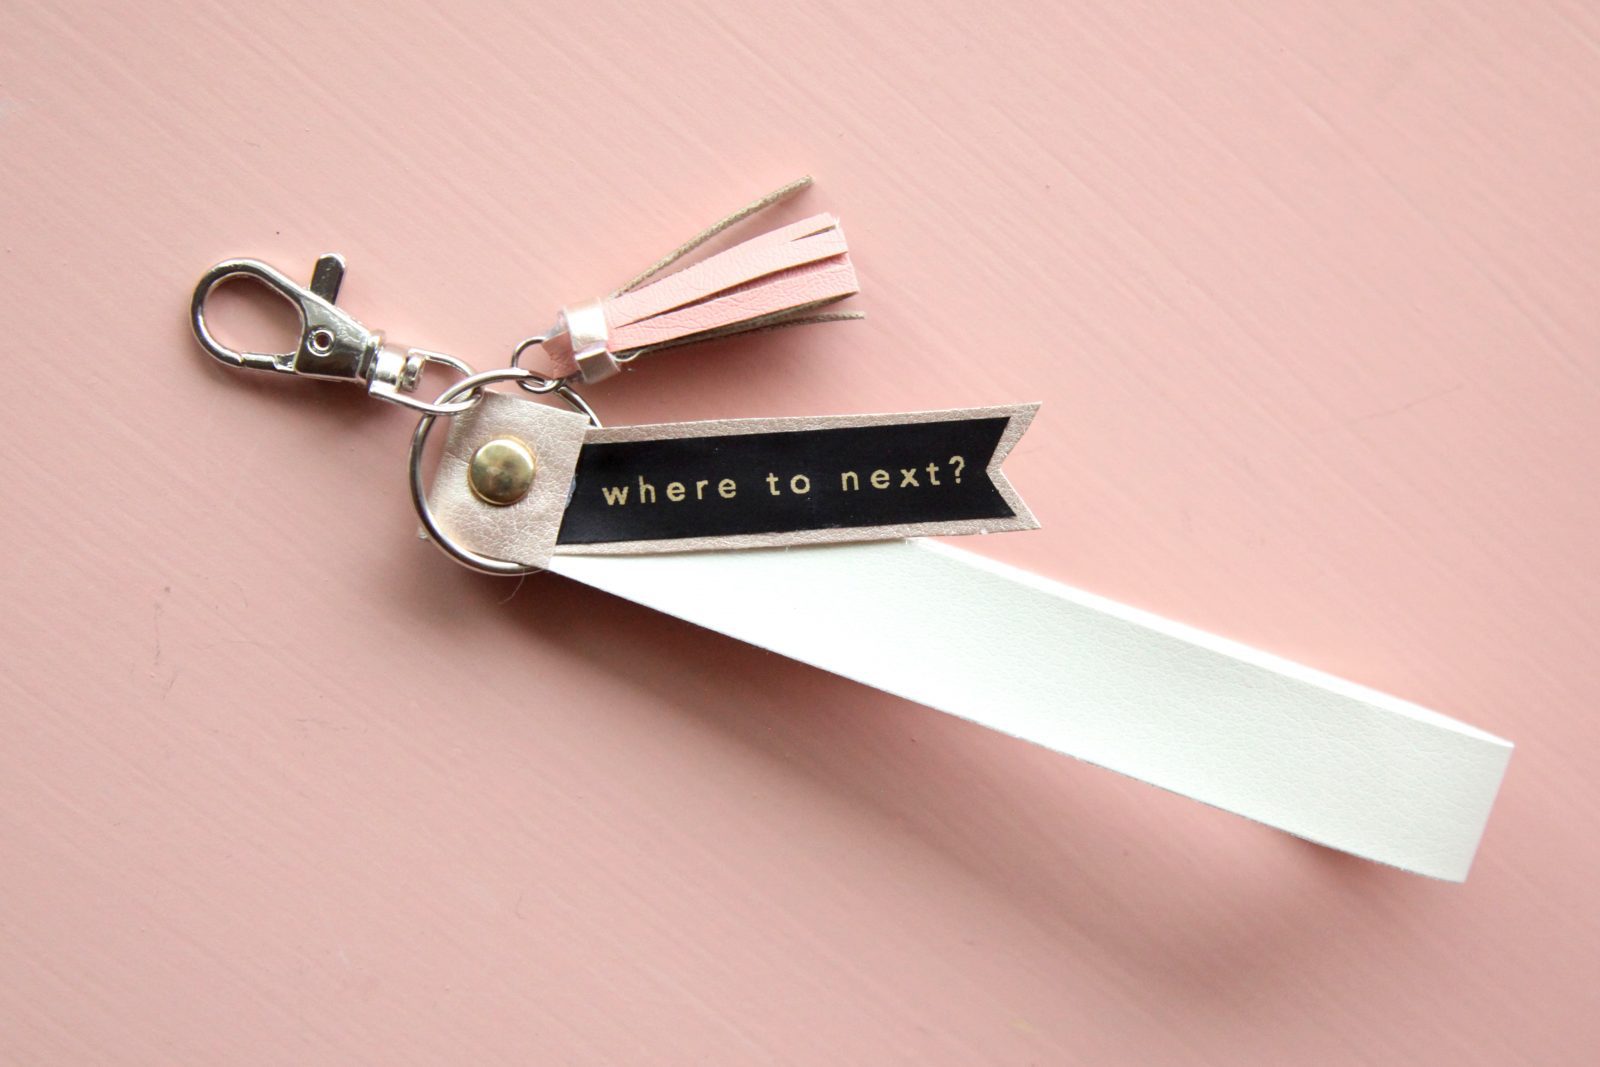

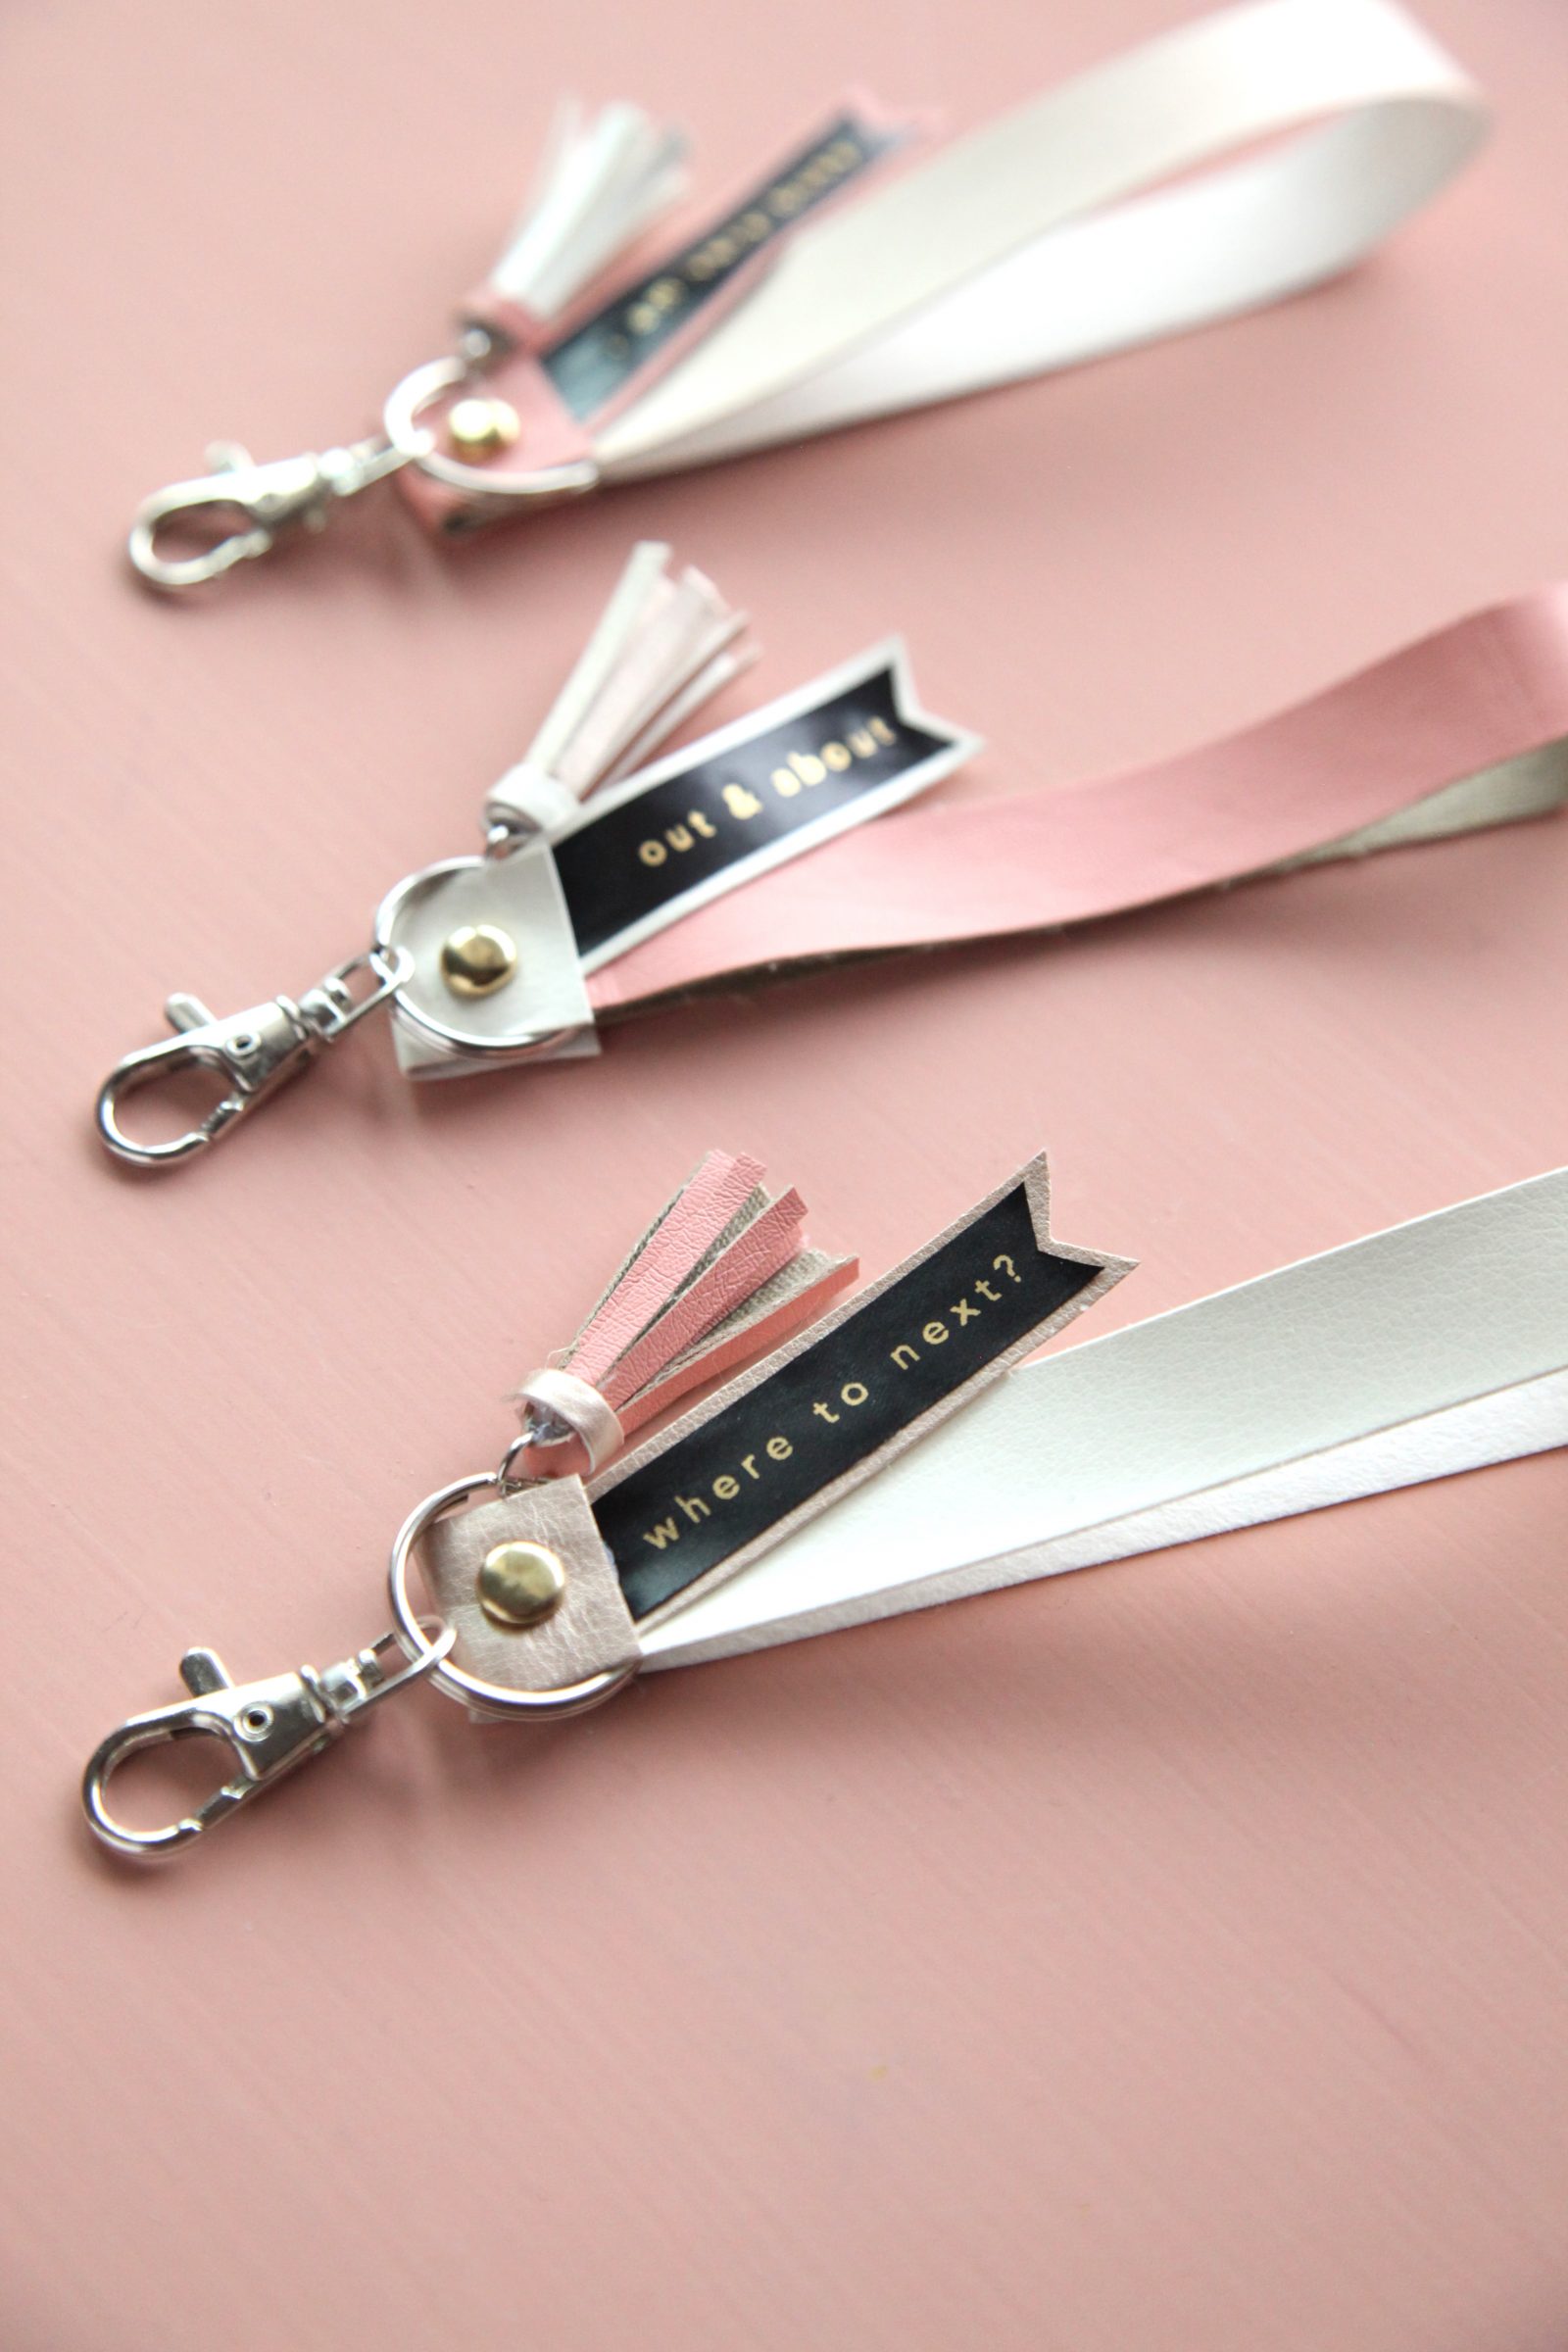

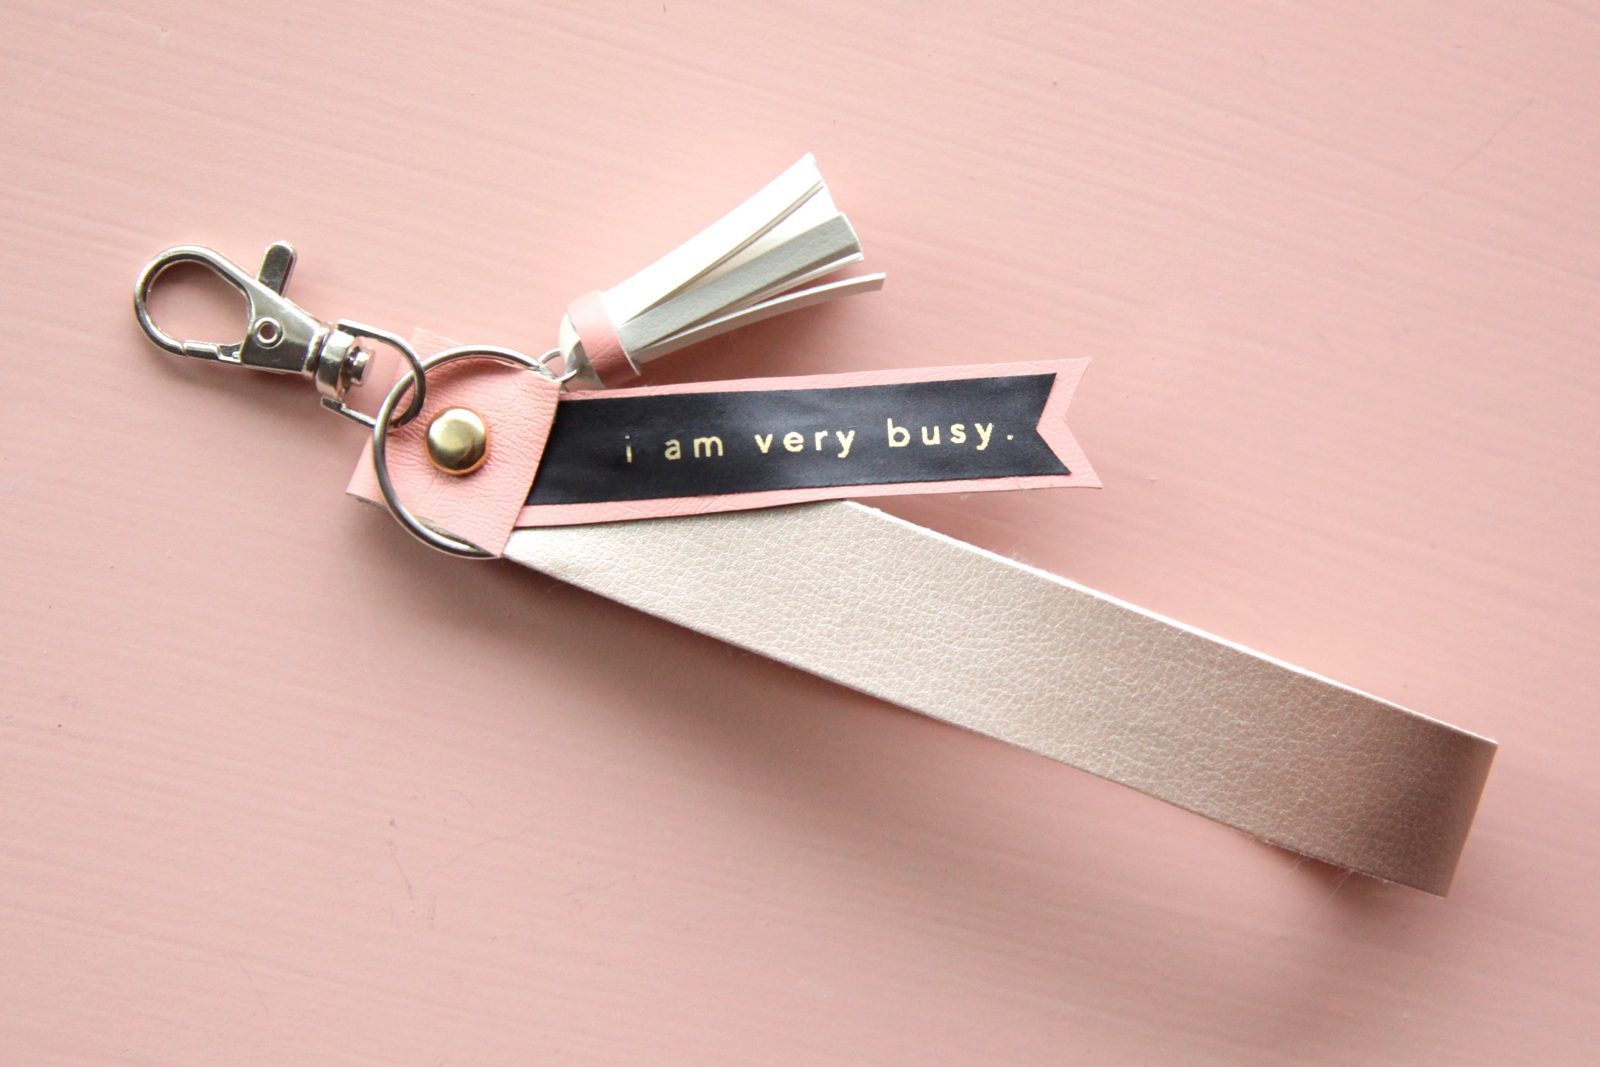

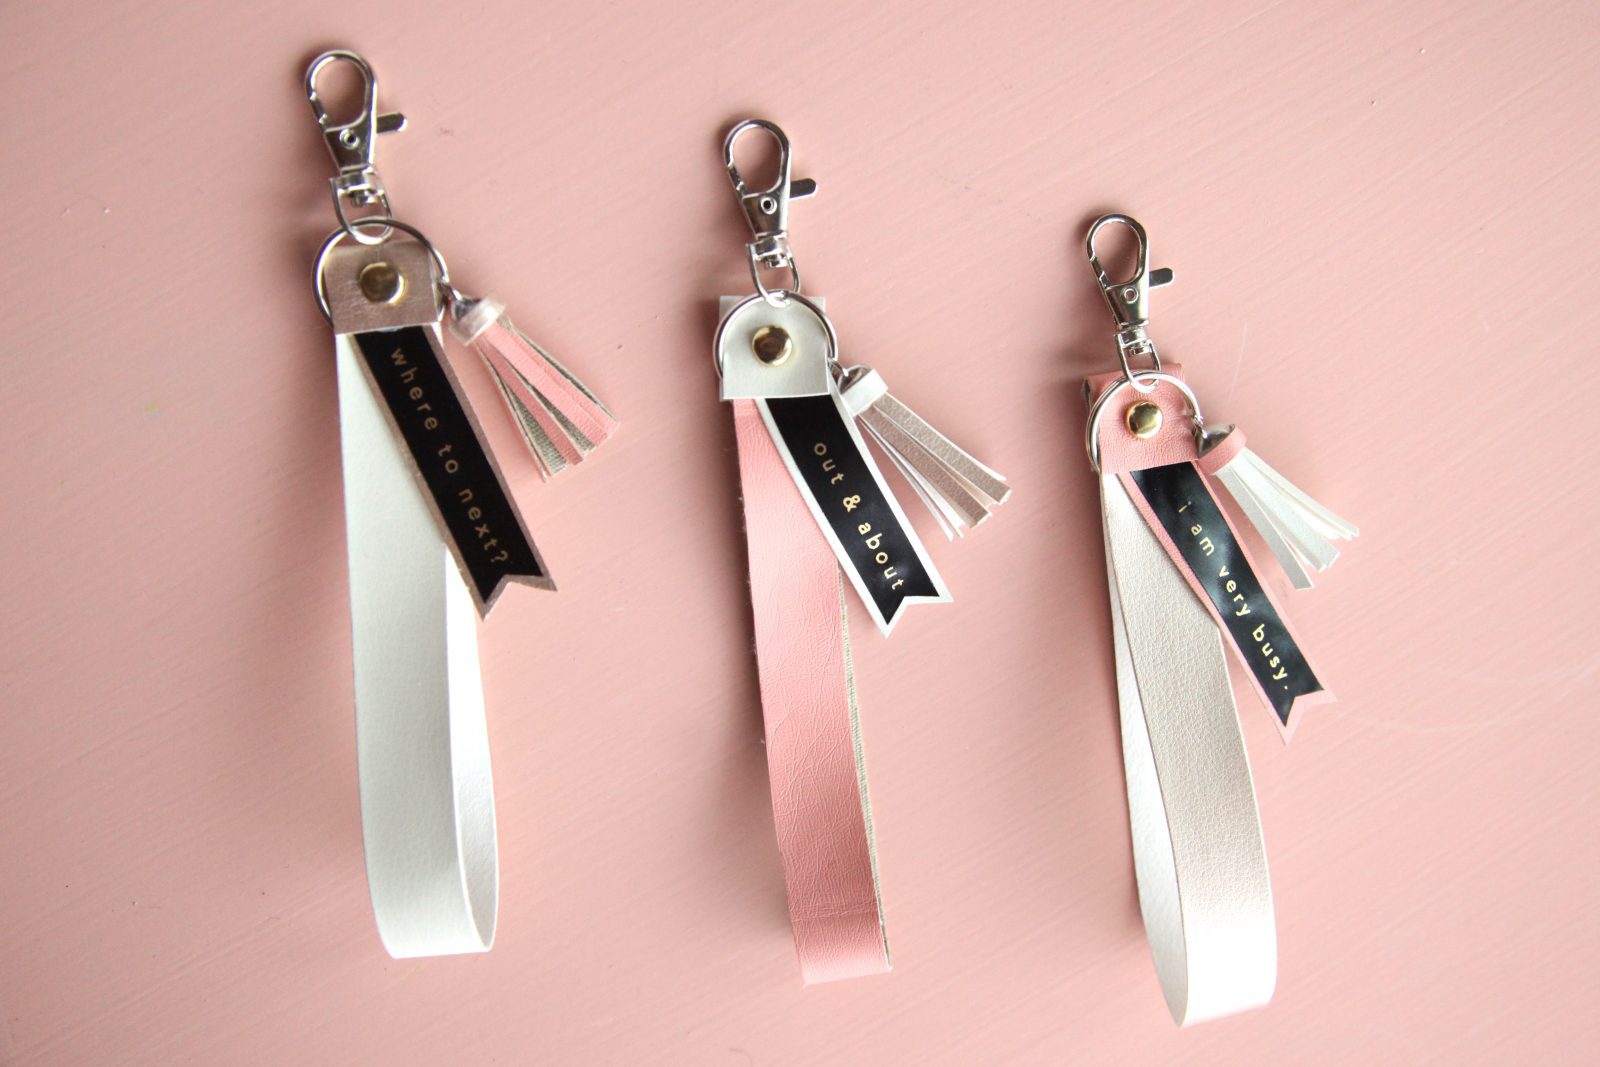

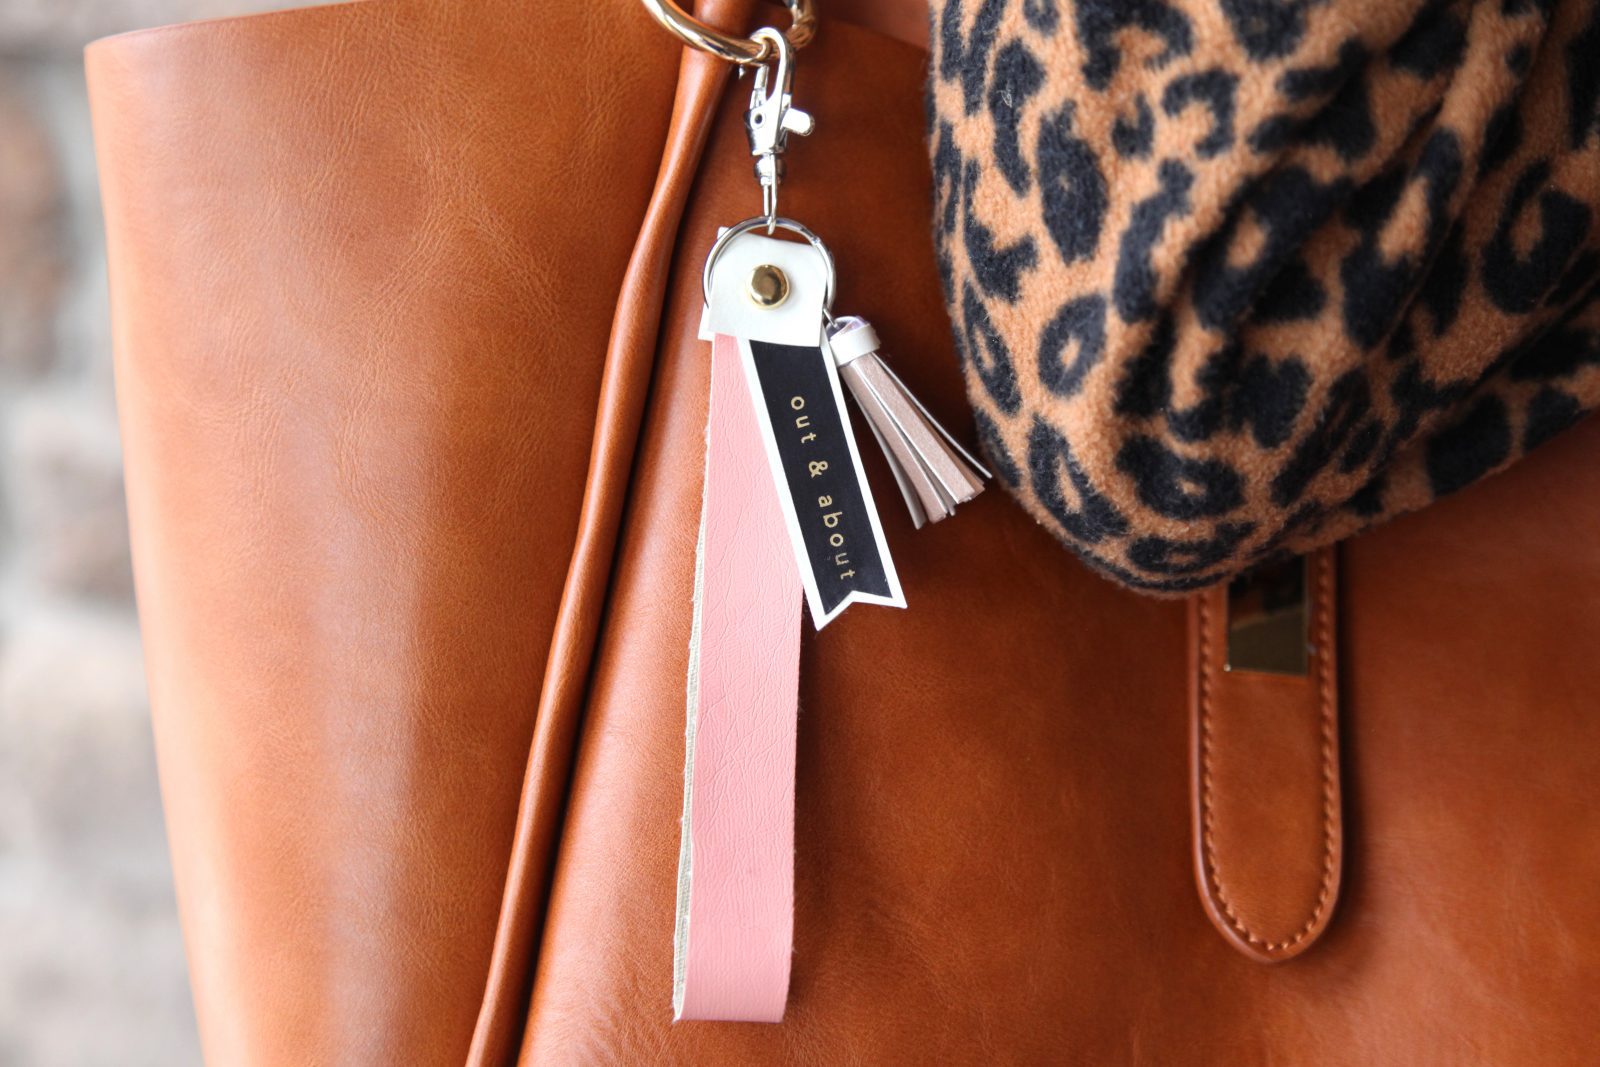

We are so obsessed with this tiny, magic machine! The P-touch Embellish ELITE gives you the tools to make any gift, project or idea you may have one-of-a-kind. Plus, it could not be easier to use!
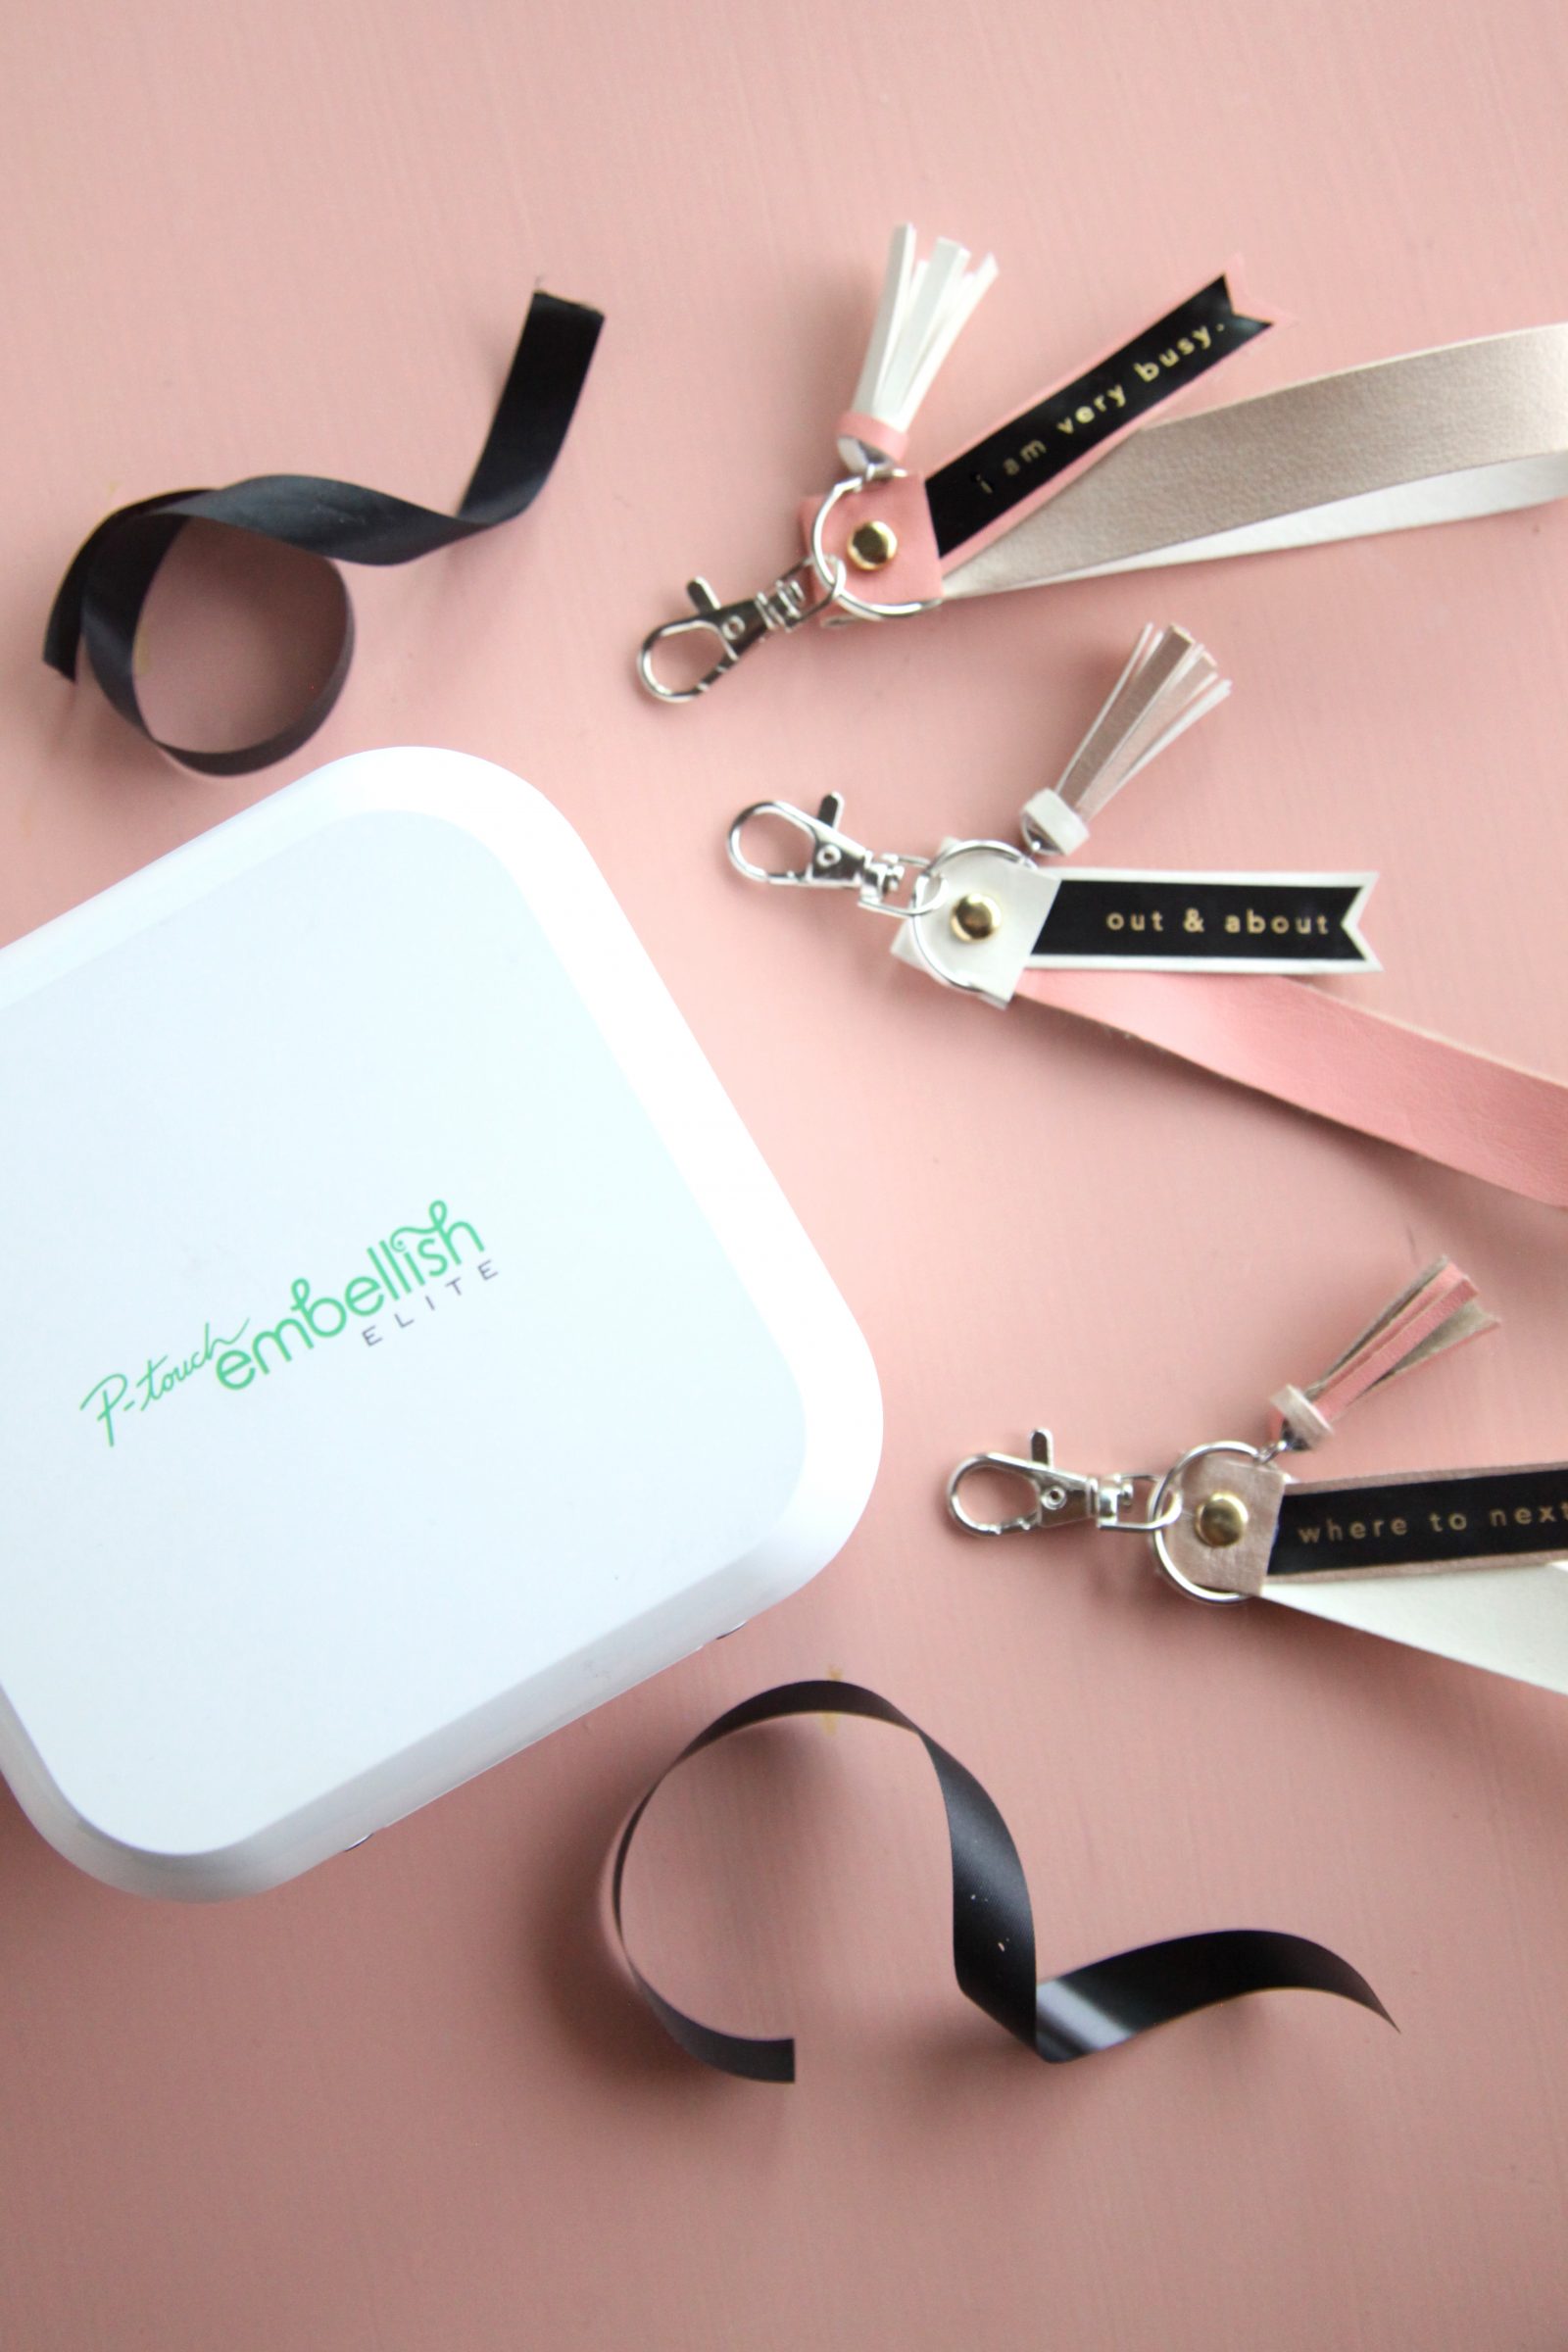


What would you make with the P-touch Embellish ELITE? We’d love to hear your ideas!
Happy making!
ox. Liz & Sam


