This DIY Hand Painted Christmas Wrapping Paper tutorial was sponsored by COLORSHOT.
All opinions expressed are ours alone.
Giving gifts has always been one of my love languages and if you ask me, wrapping the gift is half the fun! I have always loved finding new ways to wrap gifts, adding embellishments and texture and trinkets, to make it really special. That’s why today I am SO excited to share some new gift wrap techniques with you, all using COLORSHOT premium products (spray paint and paint markers)! We are huge fans of COLORSHOT because of its durability, long-lasting color and fast-drying formula. Plus, we are so obsessed with their bold color line, which makes all the difference when you are trying to make a project stand out!
We tried out 3 different methods for using COLORSHOT products to make one-of-a-kind wrapping paper, all of which are totally doable, on-trend and SO much fun to make. We’ll show you how!
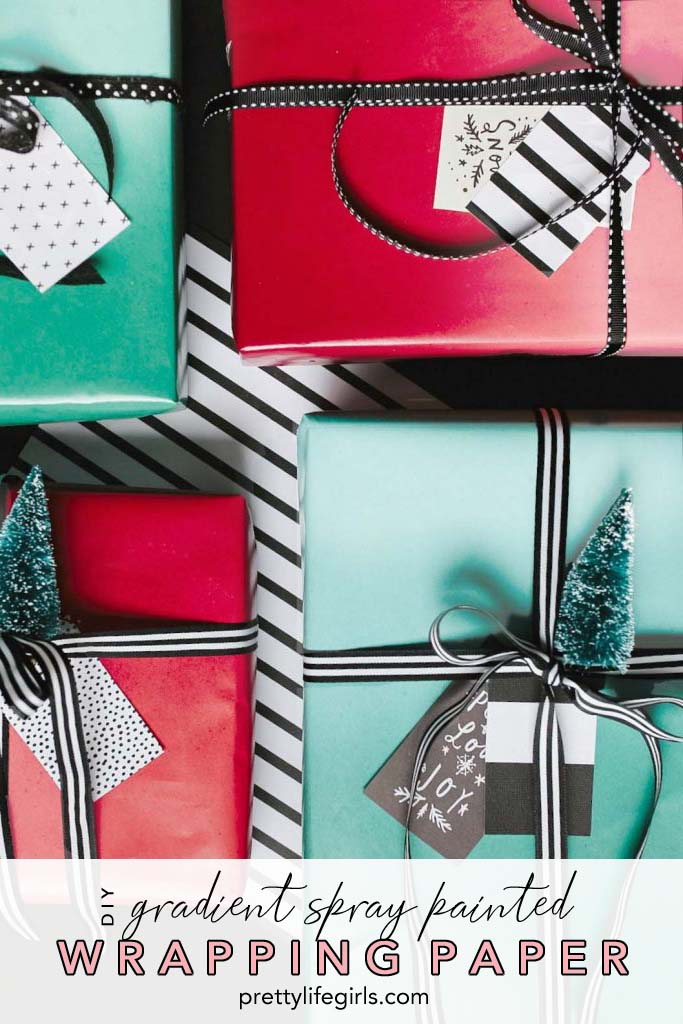
Method 1: Gradient Hand Painted Christmas Wrapping Paper

Supplies needed to make your own Gradient Wrapping Paper
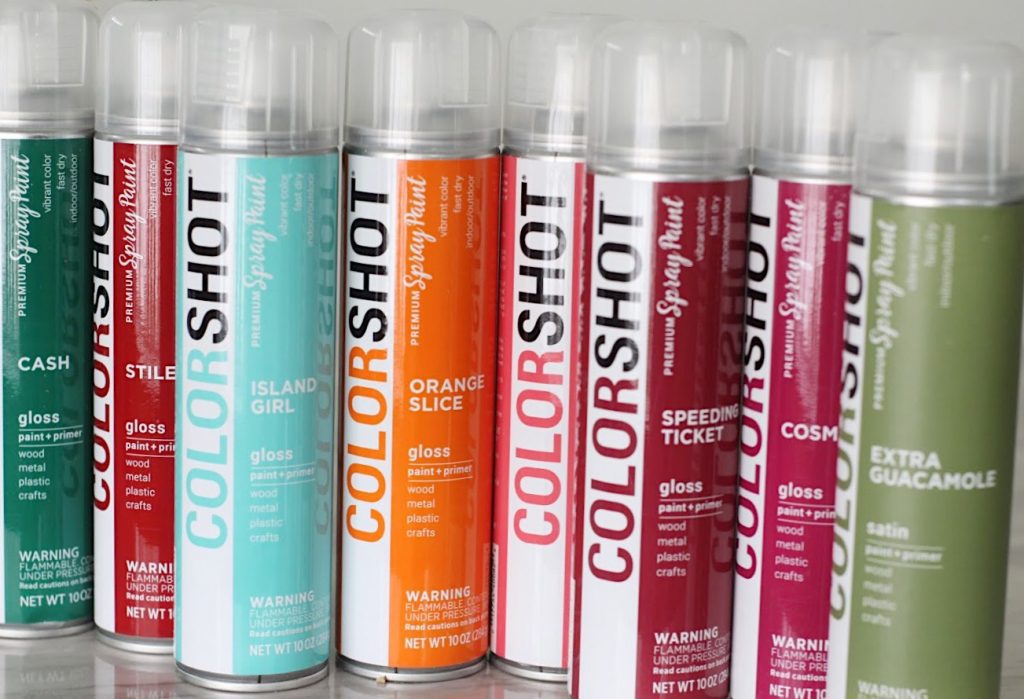
COLORSHOT Premium Spray Paint in Island Girl, Summer Pedicure, and Speeding Ticket
Wrapping Paper
Cardboard
Tape
Scissors
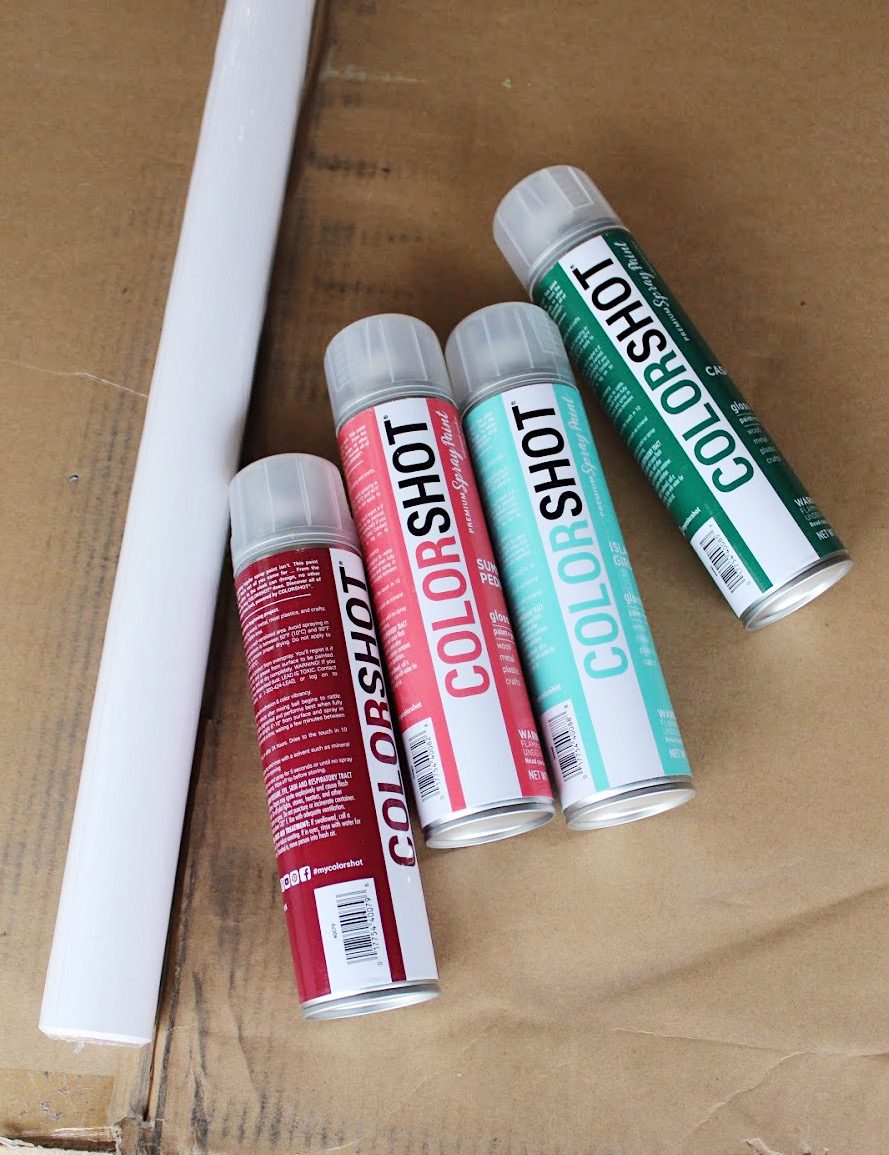
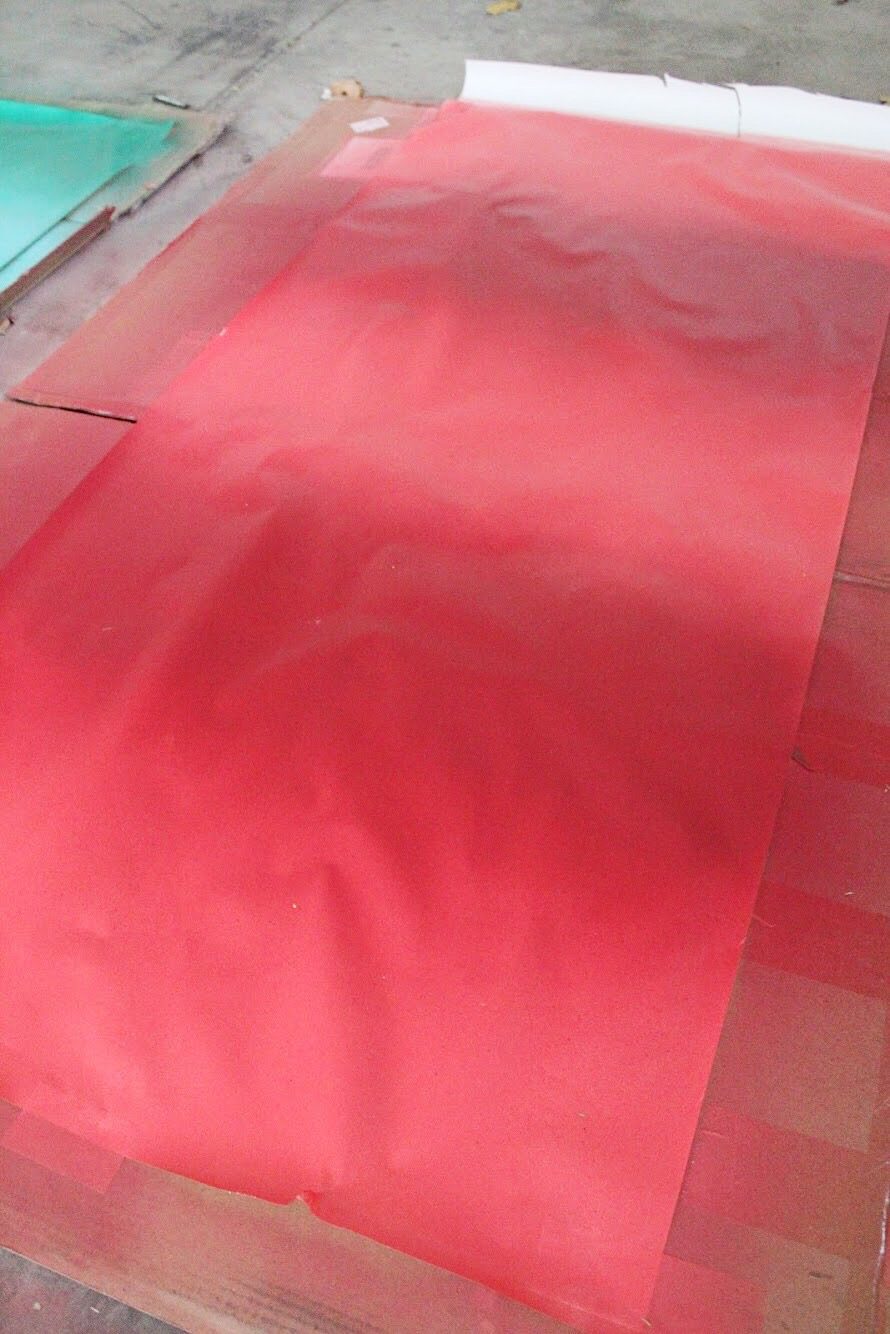
Step 1: Lay out a piece of cardboard as your surface for spraying. Cut a piece of wrapping paper using scissors and secure paper to the cardboard using tape.

Step 2: Begin spraying one end of the paper with one of your spray paint colors. I used Speeding Ticket and Summer Pedicure together and Cash and Island Girl together. Spray a section of the paper (I did about a foot per color) and then switch to the next color.
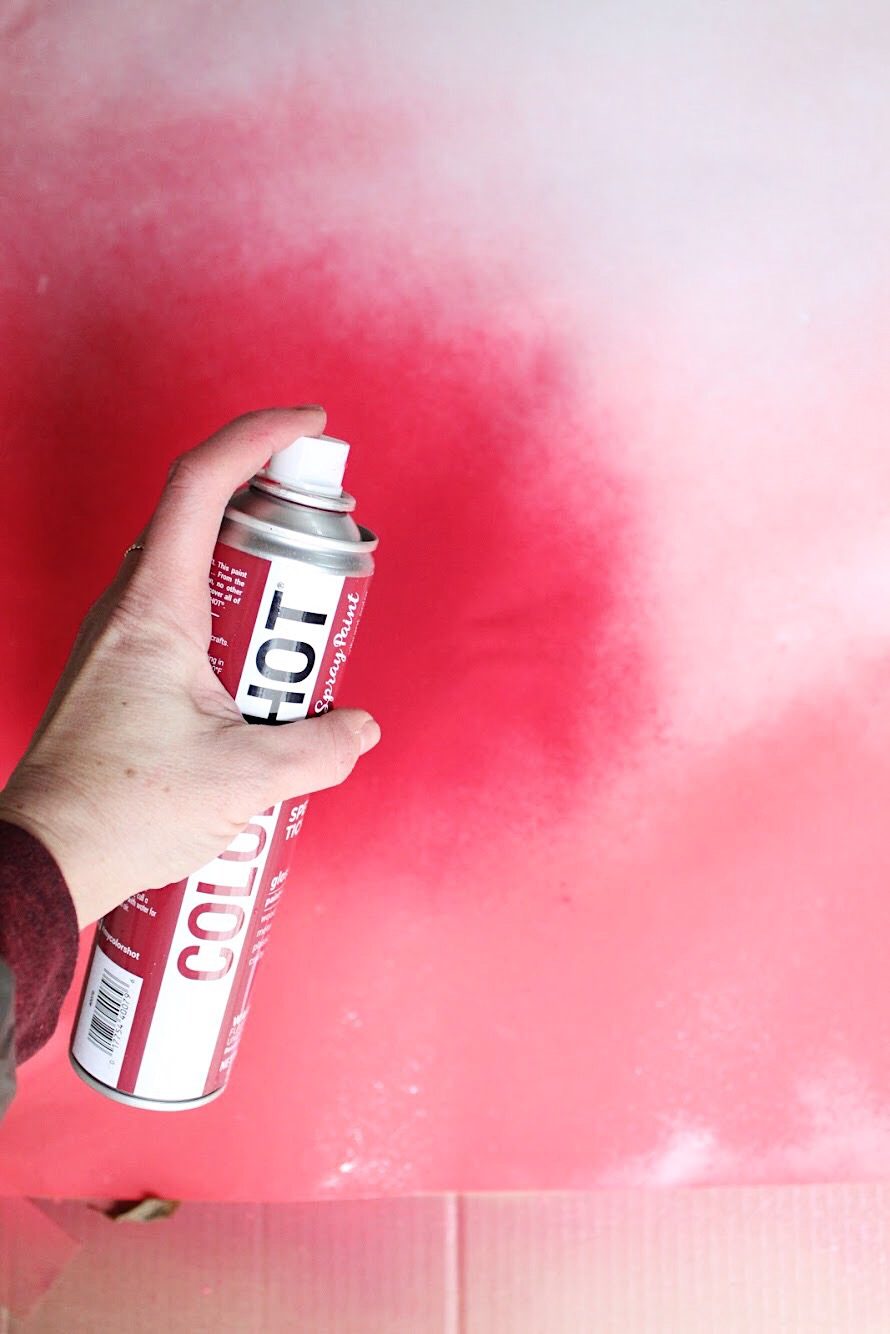
Step 3: Continue the process of switching colors on the paper until the paper is completely covered. Let dry completely. Using a lighter color and a darker color results in a fun gradient look!
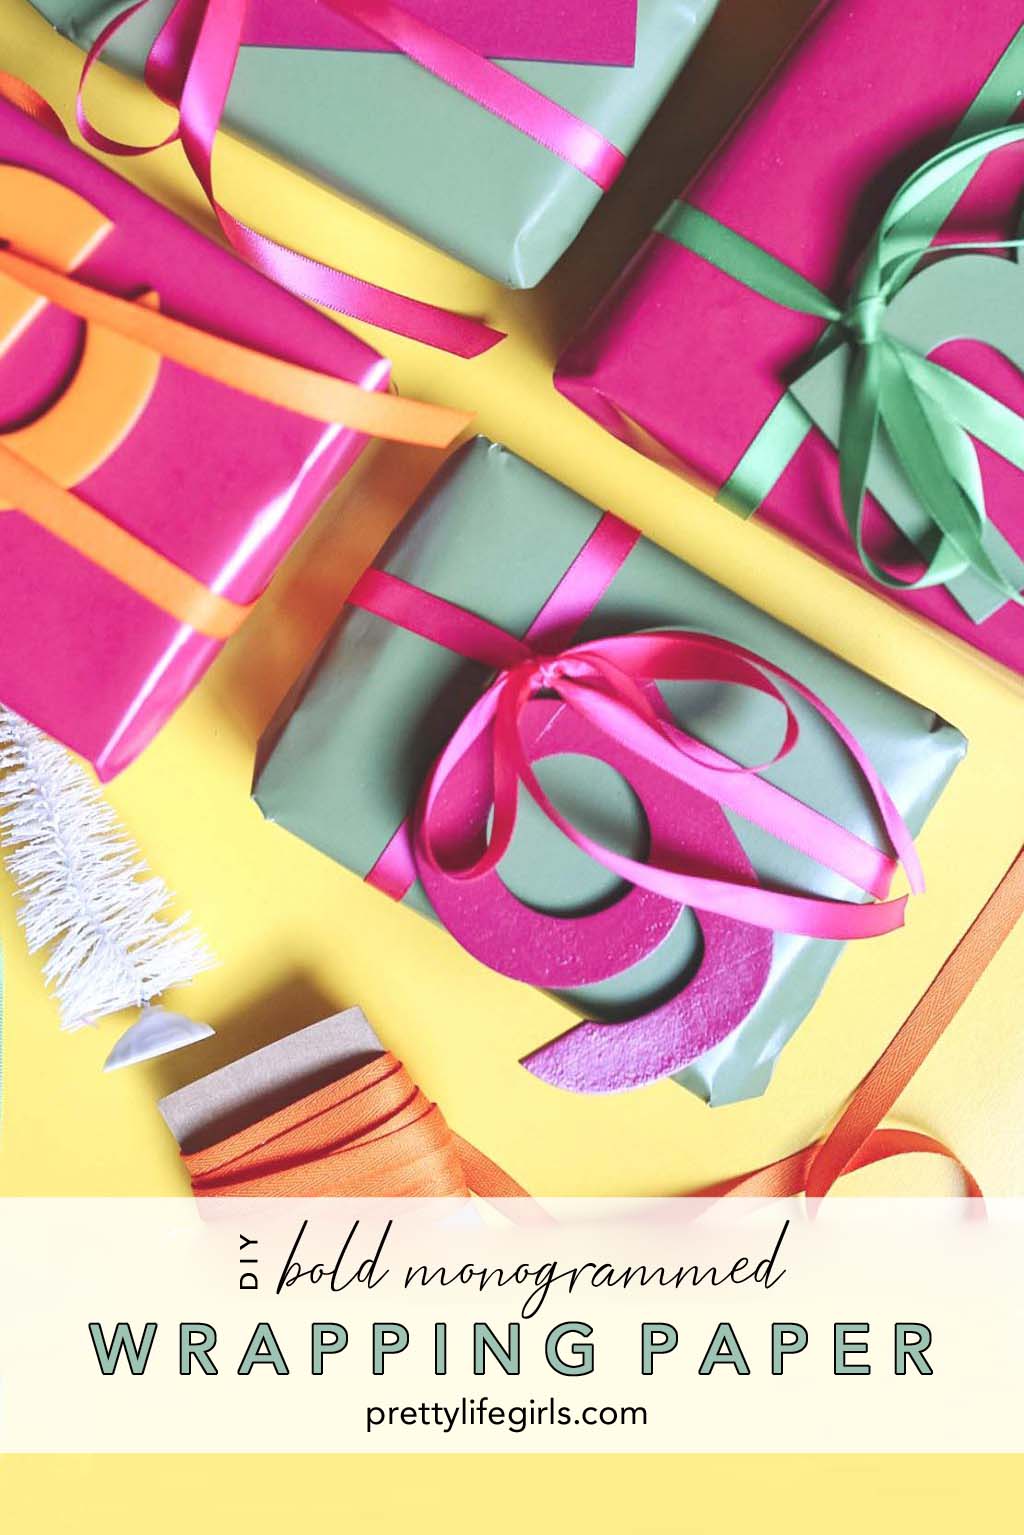
Method 2: Bold Monogram Hand Painted Christmas Wrapping Paper

Supplies needed to make your own bold monogrammed wrapping paper
COLORSHOT Premium Spray Paint in Extra Guacamole, Orange Slice, Cosmo, Stiletto
Wrapping Paper
Wood Letters
Cardboard
Tape
Scissors
Step 1: Lay out a piece of cardboard as your surface for spraying. Cut a piece of wrapping paper using scissors and secure paper to the cardboard using tape.
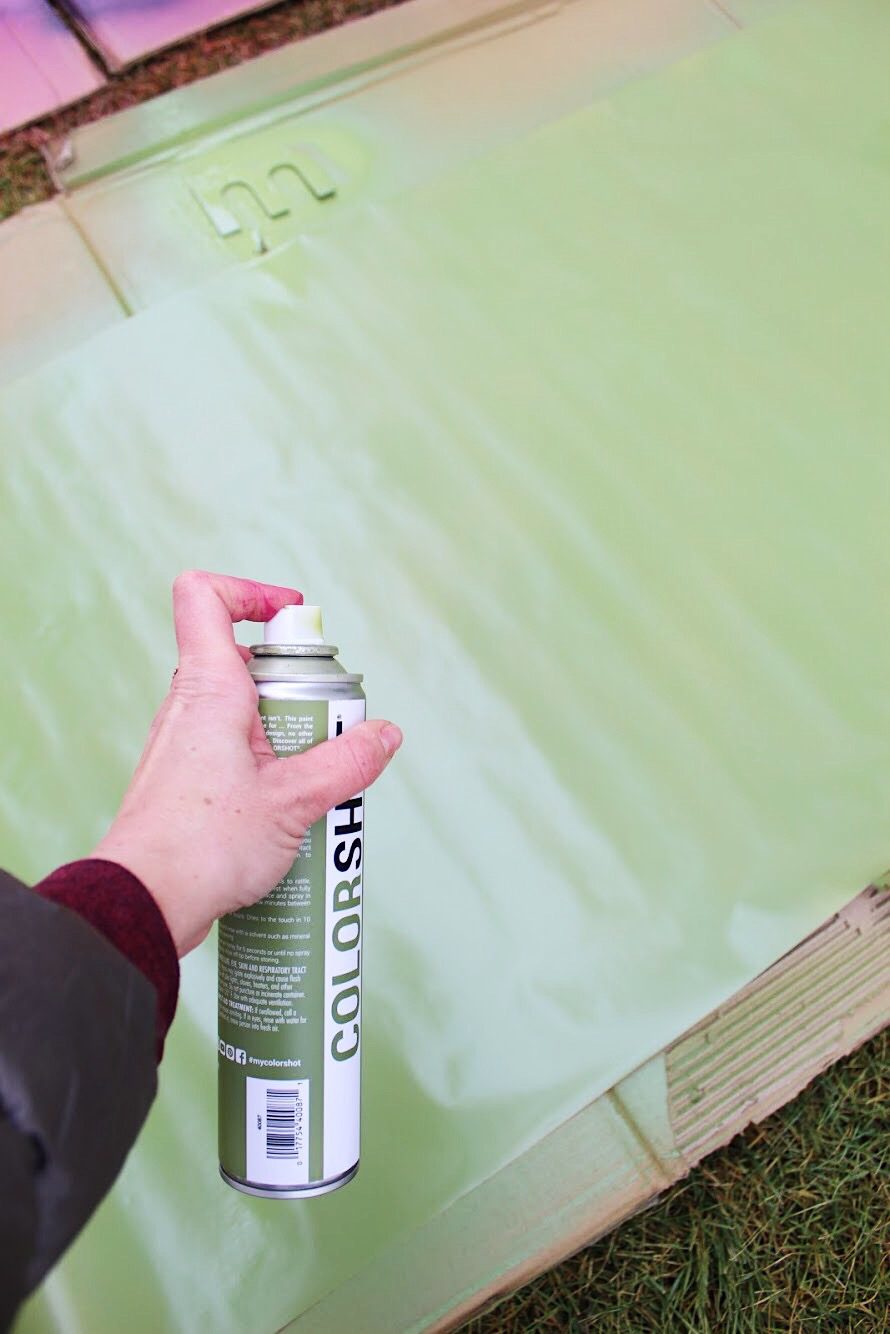
Step 2: Coat the entire surface of the wrapping paper with one color of spray paint. Let dry completely.
Step 3: Spray another coat on the surface of the wrapping paper, until color is smooth. Repeat as many times as desired. Let dry completely. Repeat process on a new sheet of wrapping paper for each color.

Step 4: Once all of the paper is sprayed, remove from cardboard and place the letters on the cardboard. Spray with 2 coats of spray paint, or until the letters are covered, and let dry completely.
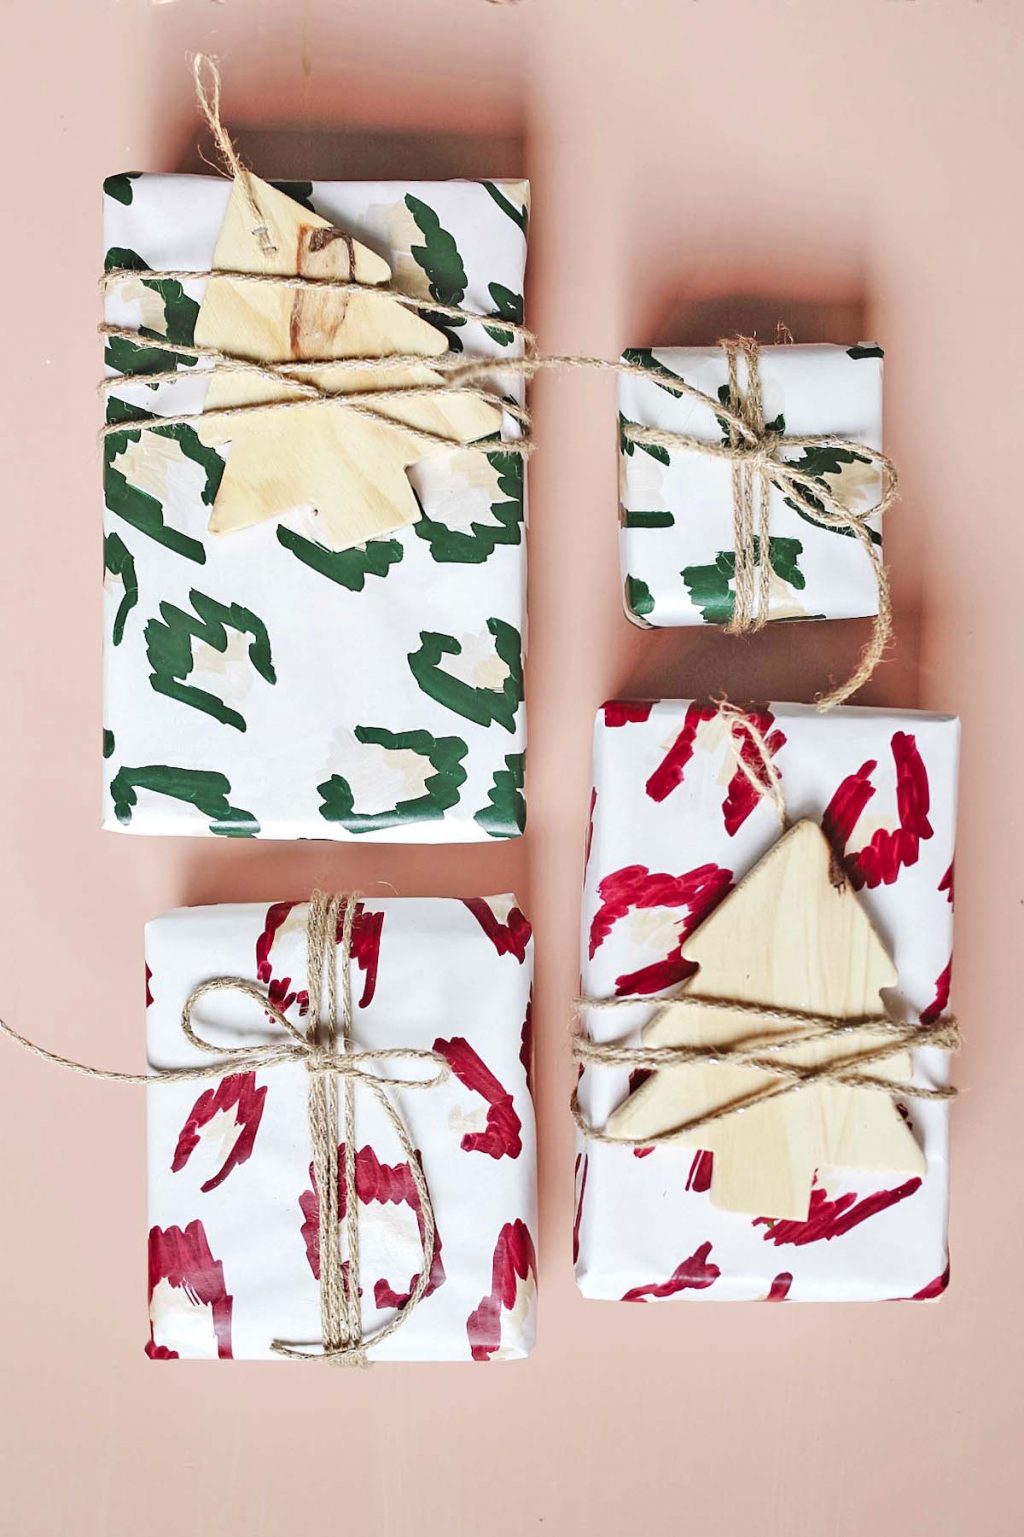
Method 3: Leopard Print Hand Painted Christmas Wrapping Paper
 Supplies needed to make your own leopard print wrapping paper
 Supplies needed to make your own leopard print wrapping paper
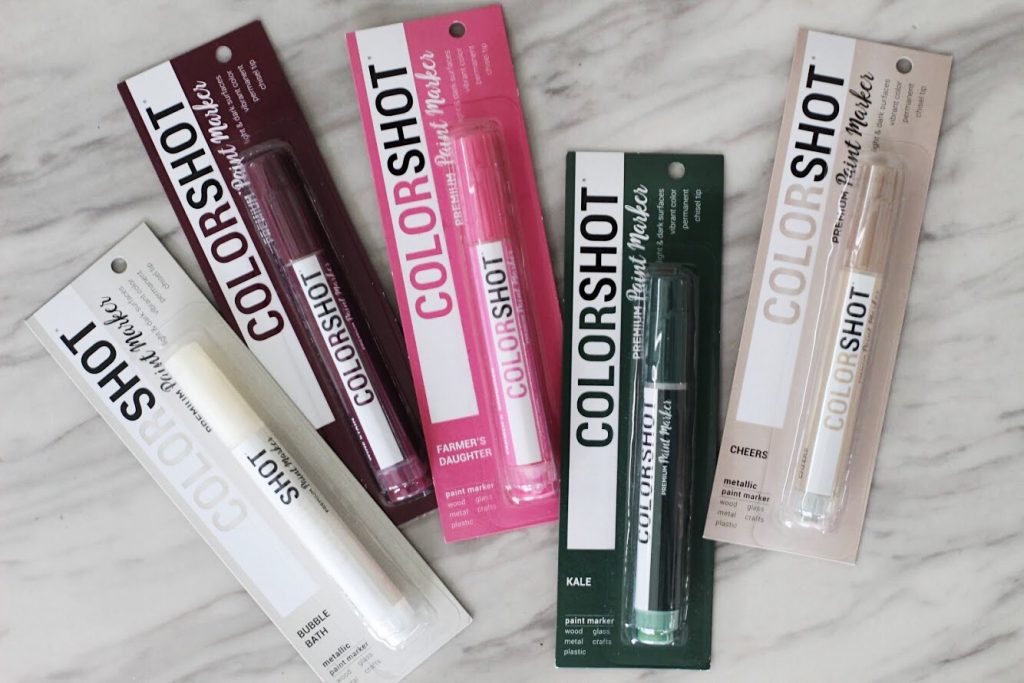
COLORSHOT Paint Markers in Cheers, Kale, Bubble Bath and Wine Stain
Wrapping Paper
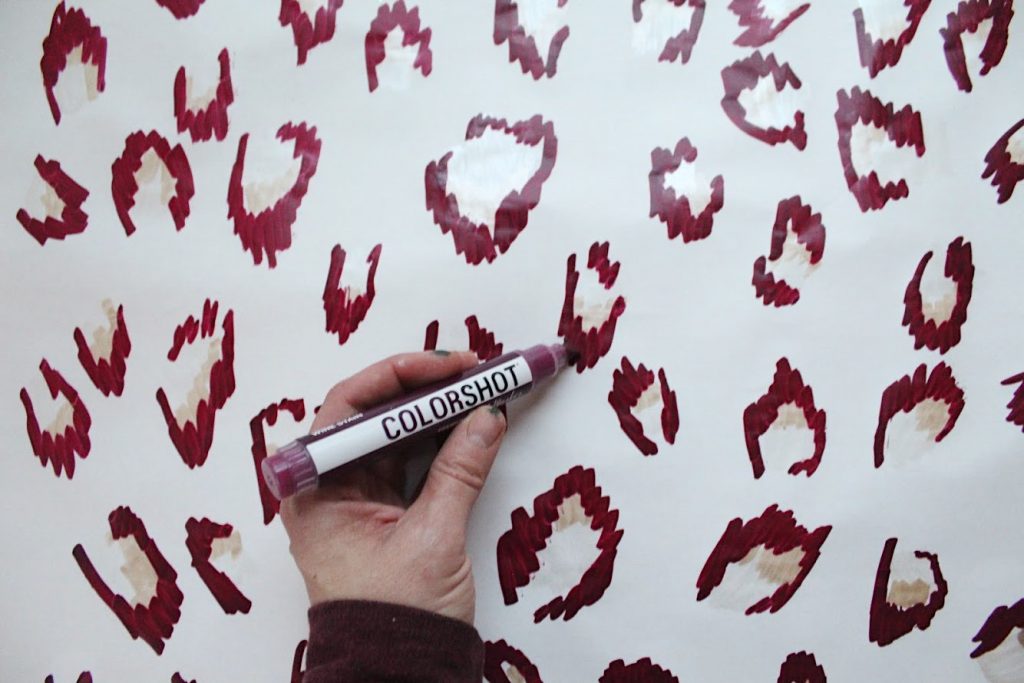
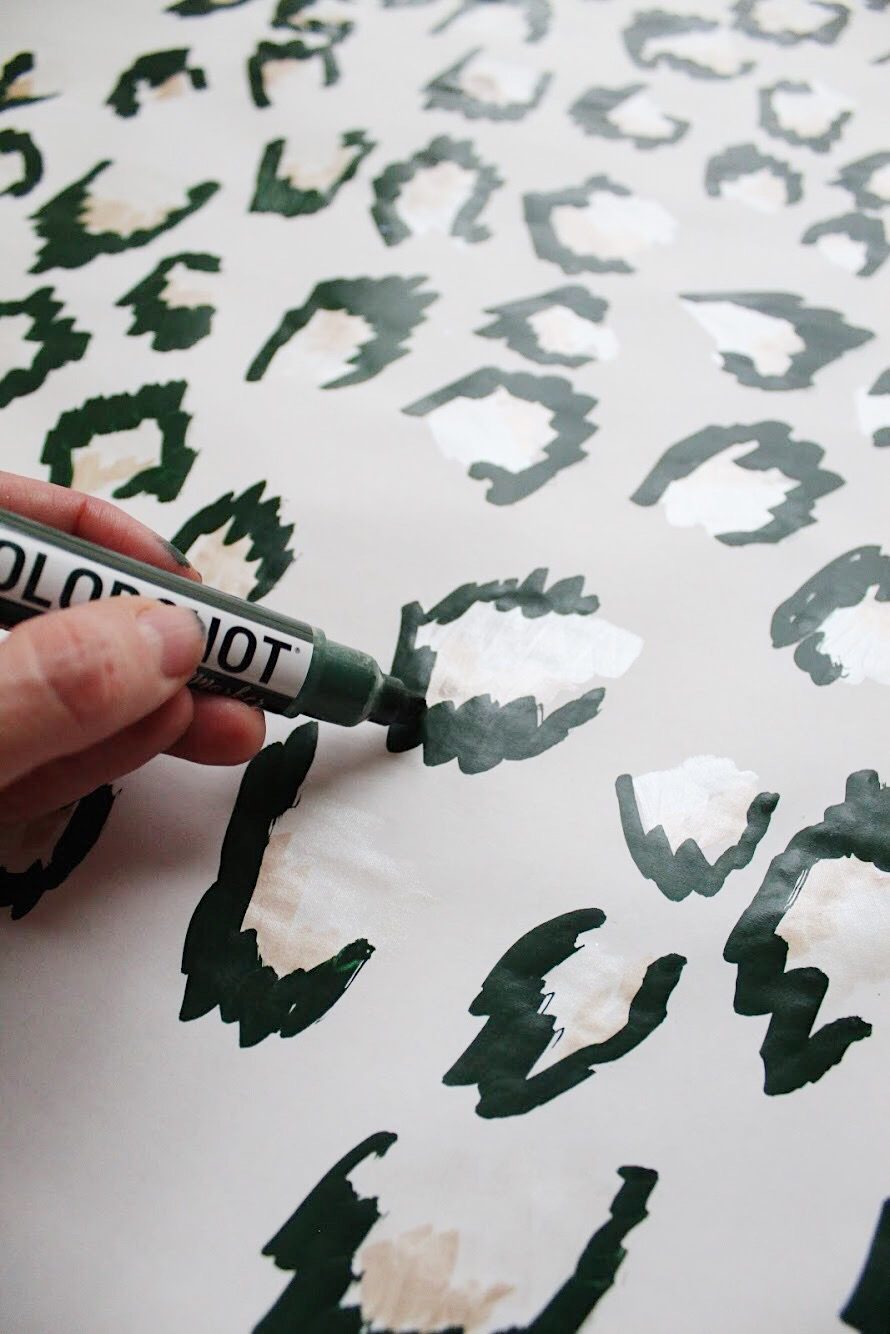
Step 1: Begin by using the paint marker in Bubble Bath to make the center of the leopard spot. Cover paper with these spots and let dry completely.

Step 2: Use the paint marker in Cheers to add and accent color to the spot. Add the accent to each spot and let dry completely.

Step 3: Using the paint marker in Kale or Wine Stain (whichever color is desired) to draw the edge of the leopard spot. Repeat on each spot and then let dry completely.
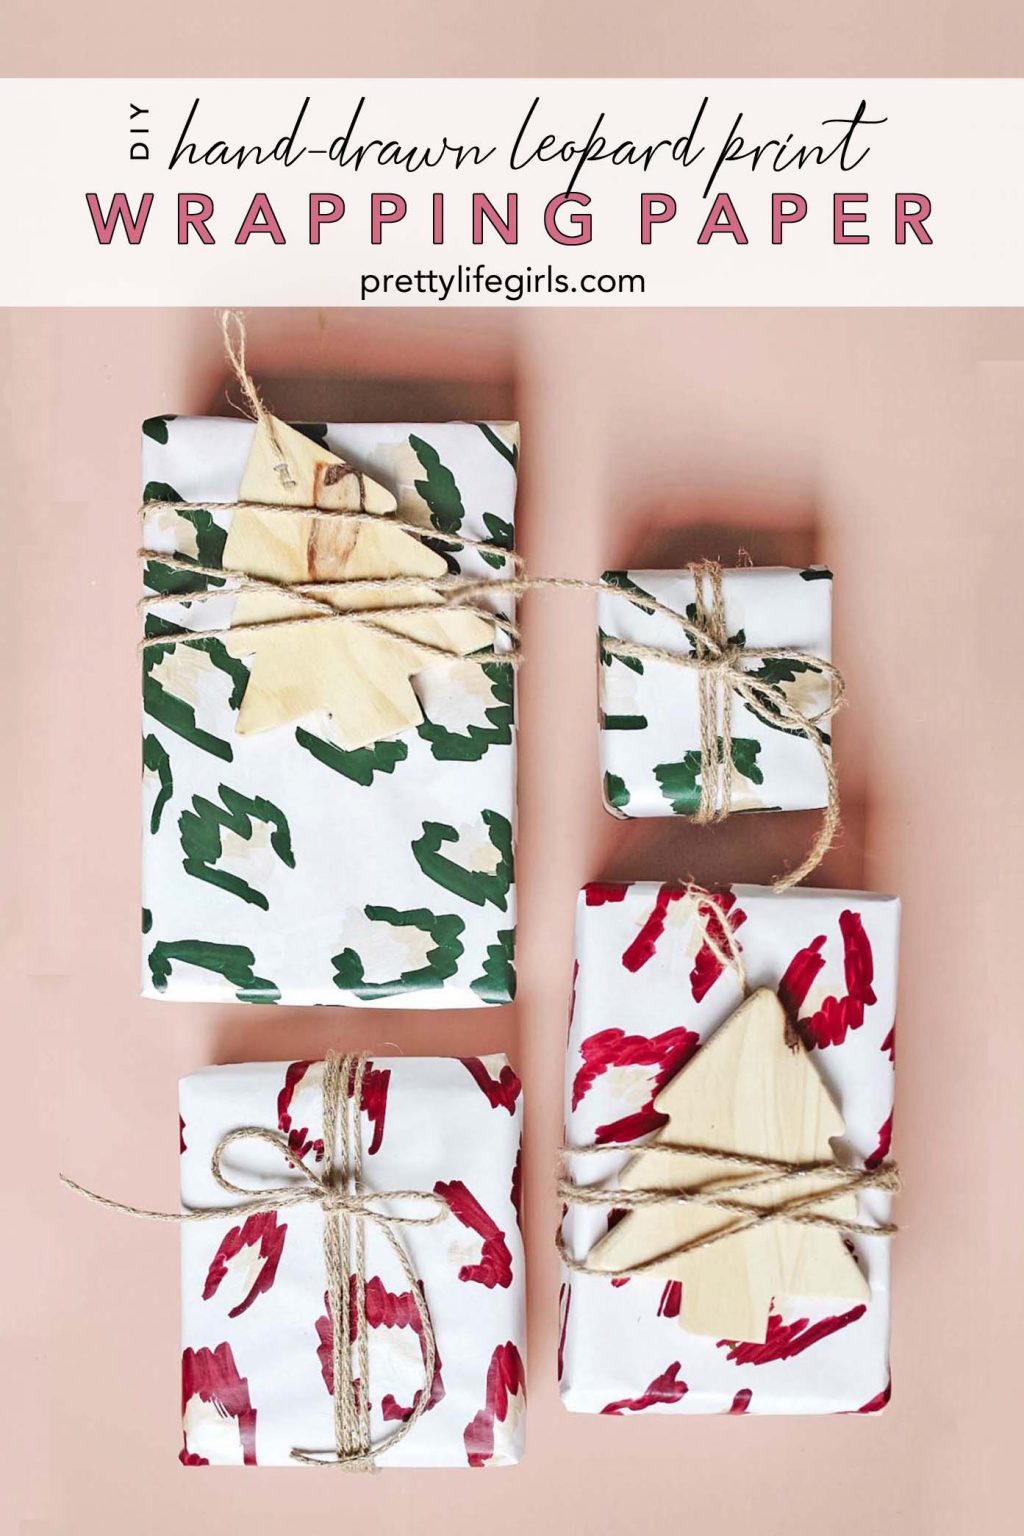
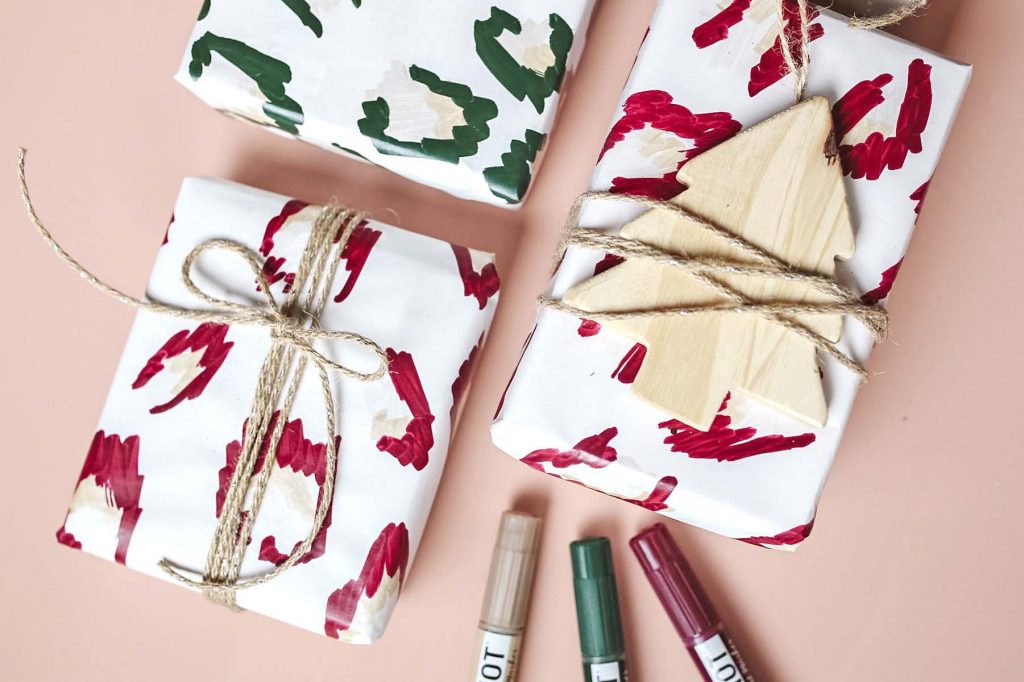
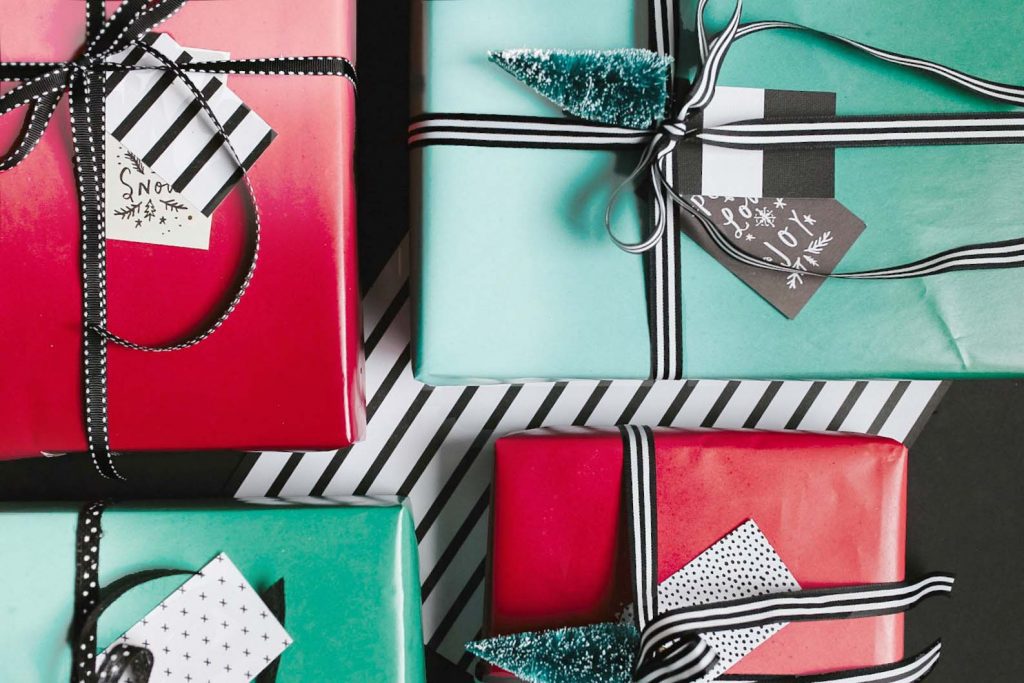
Once your wrapping papers are made and dry, wrap your gifts with them, add ribbon and embellishments and get ready to make your gift recipient’s day with your gift-wrapped works of art!


What are your favorite tools for wrapping the perfect gift? We’d love to hear!
Happy wrapping!
ox. Liz