This post was originally published in November 2019
and updated as of October 2022.
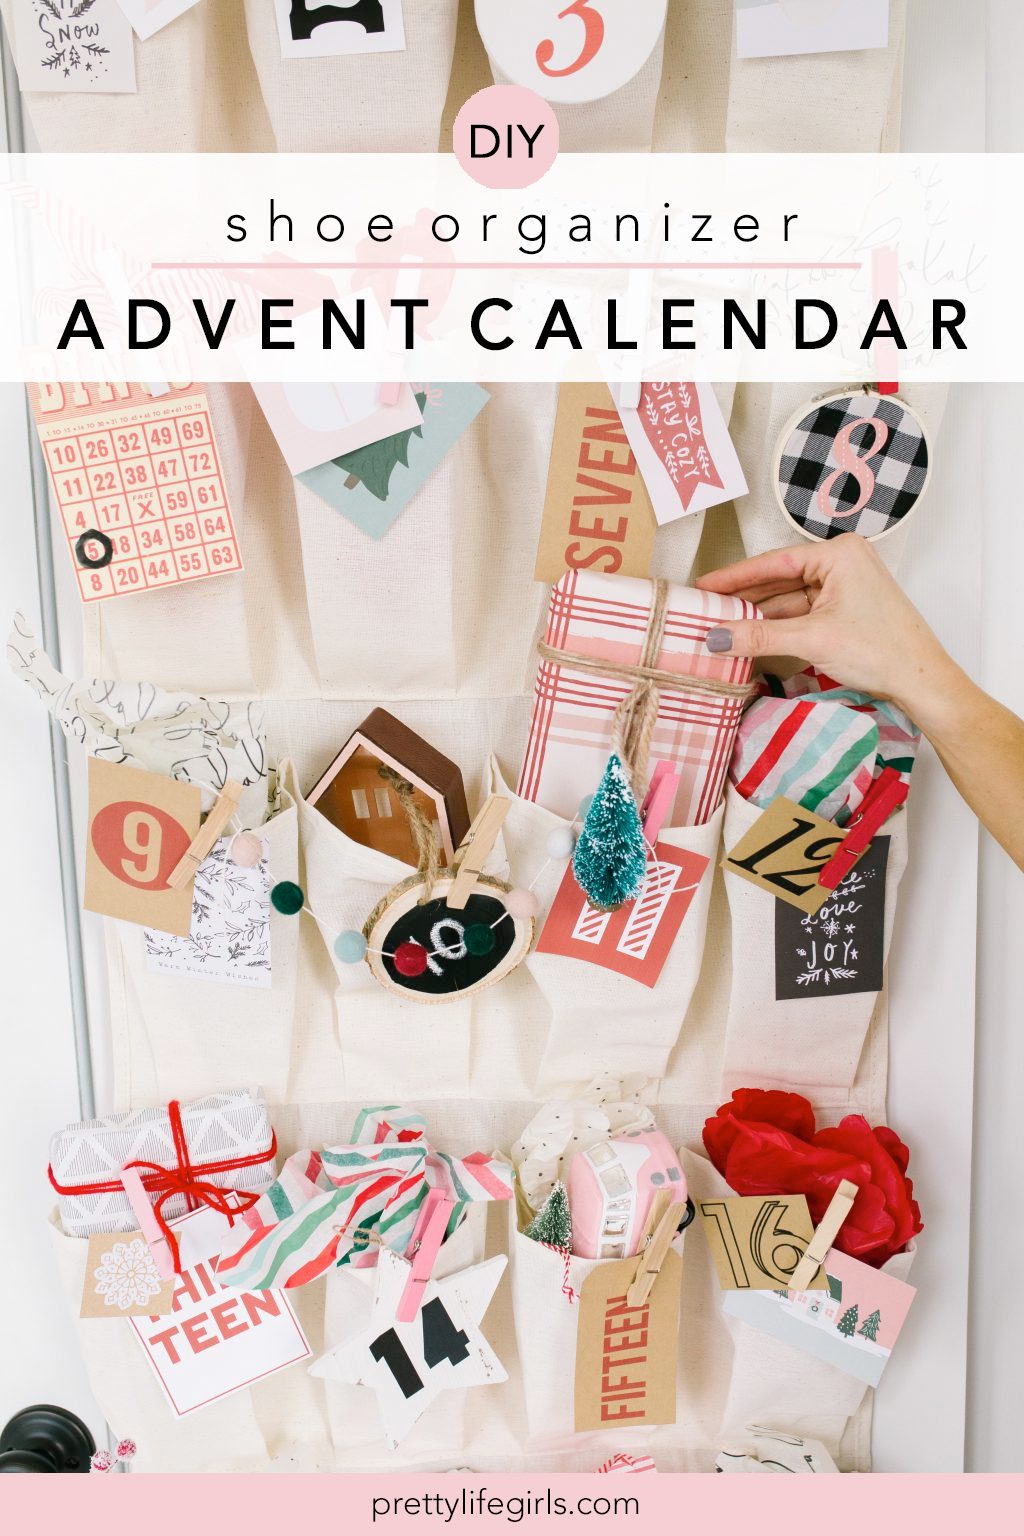
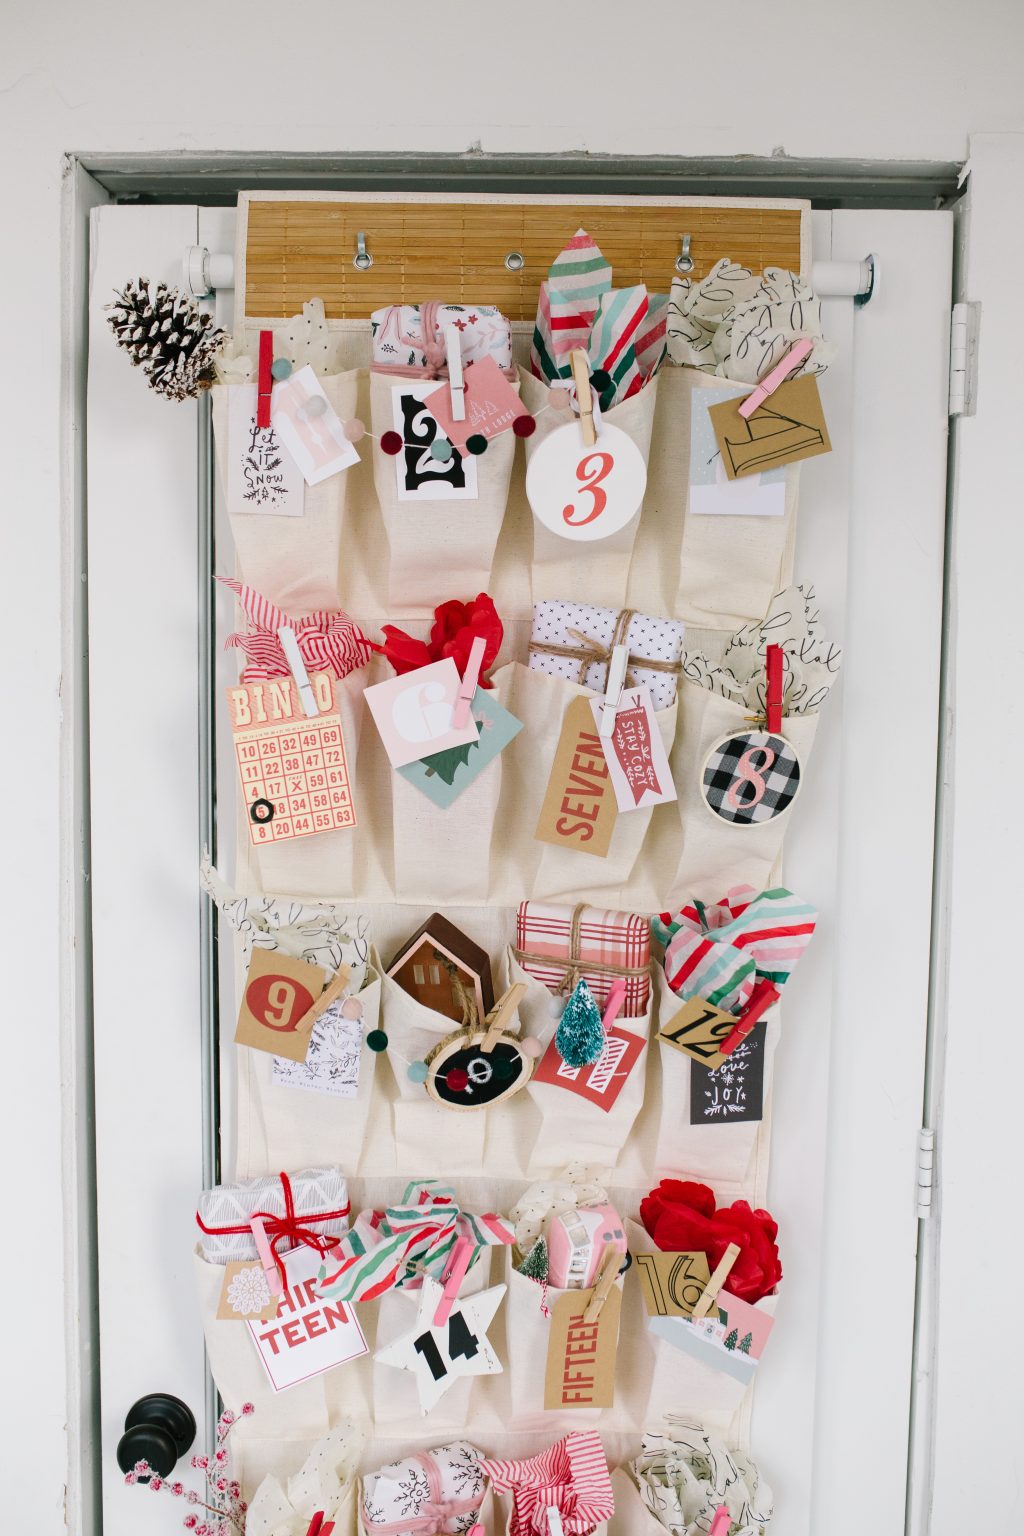
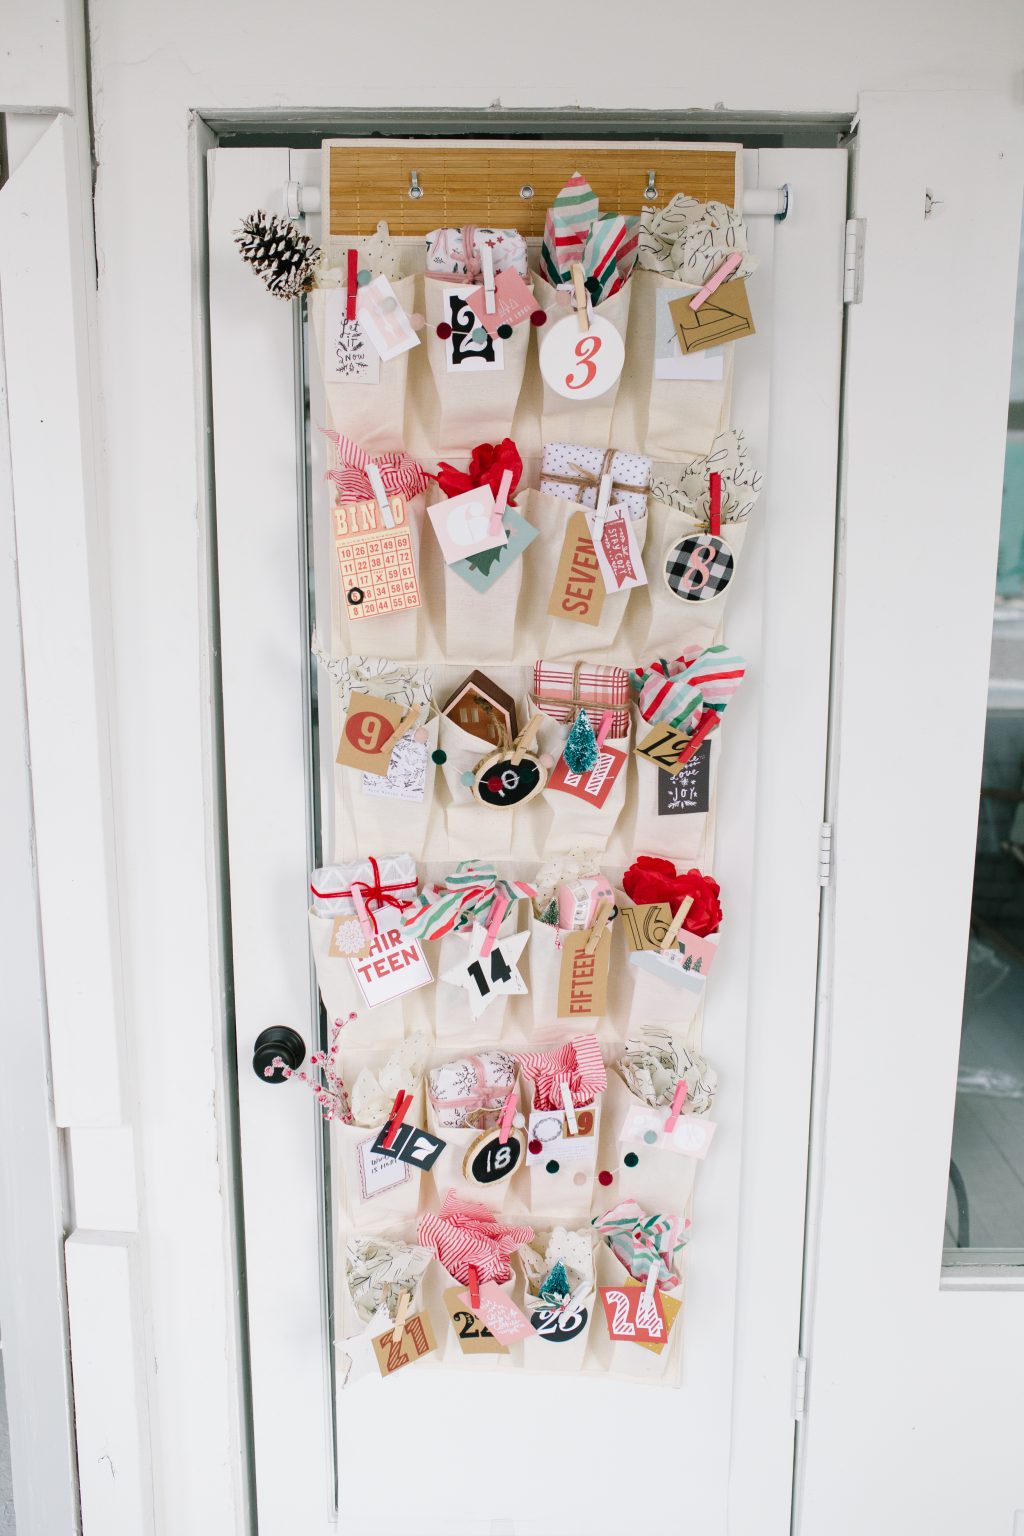
All you need is your basic over-the-door shoe organizer and some crafty embellishments to make this fun twist on the typical advent calendar!
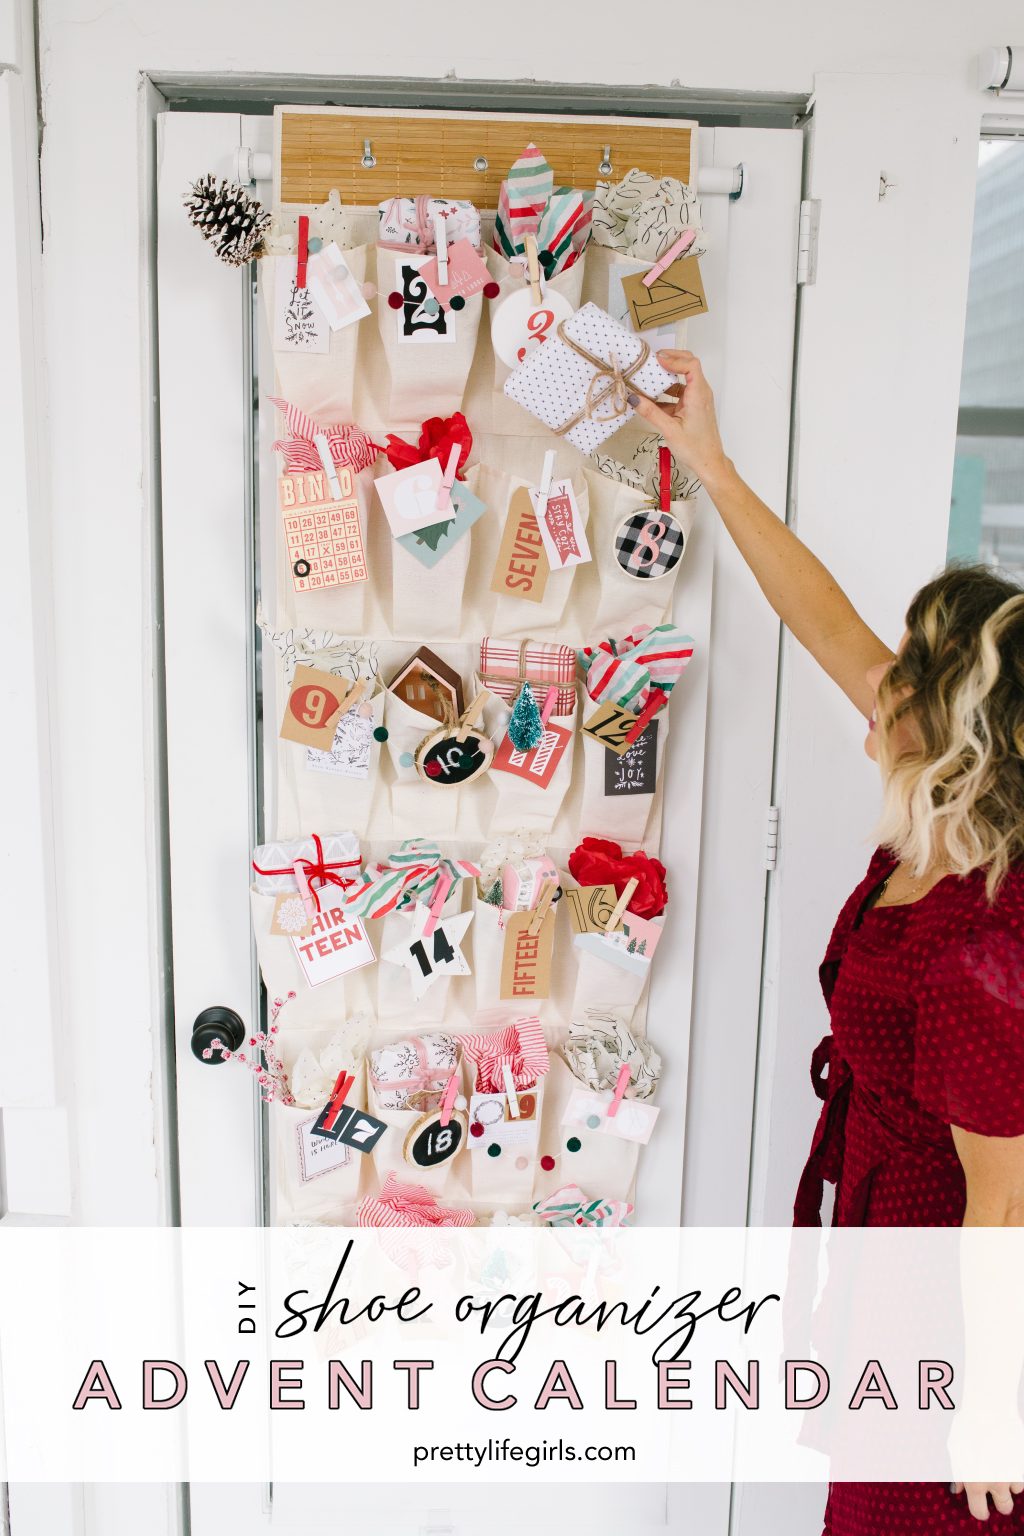
DIY Shoe Organizer Advent Calendar Tutorial
Last year was the first year that we shared an advent calendar and I’ve gotta say, I caught the bug. I mean, yes, it’s a bug that has laid dormant for the last 12 months since I haven’t needed an advent since last December, but now it has awakened and given me a fever or bit me or whatever sickness imagery you’d like to toss in there to illustrate to you how READY I am to start adventing!
Having an advent calendar is so much fun because it helps build a magical sense of anticipation and creates little moments of togetherness in the home. Plus, once you’ve made one you can reuse it year after year! So, today we are sharing a fun advent calendar idea using a shoe organizer! That’s right, all you need is your basic, over-the-door shoe organizer and some crafty embellishments and you can make this fun twist on the typical advent.
Supplies needed to make your own DIY Shoe Organizer Advent Calendar
Hanging Shoe Organizer
24 numbers
Clothespins
Items for filling the pockets (wrapped gifts, tissue paper, etc.)
Embellishments (more ornaments, bottle brush trees, garlands, etc.)

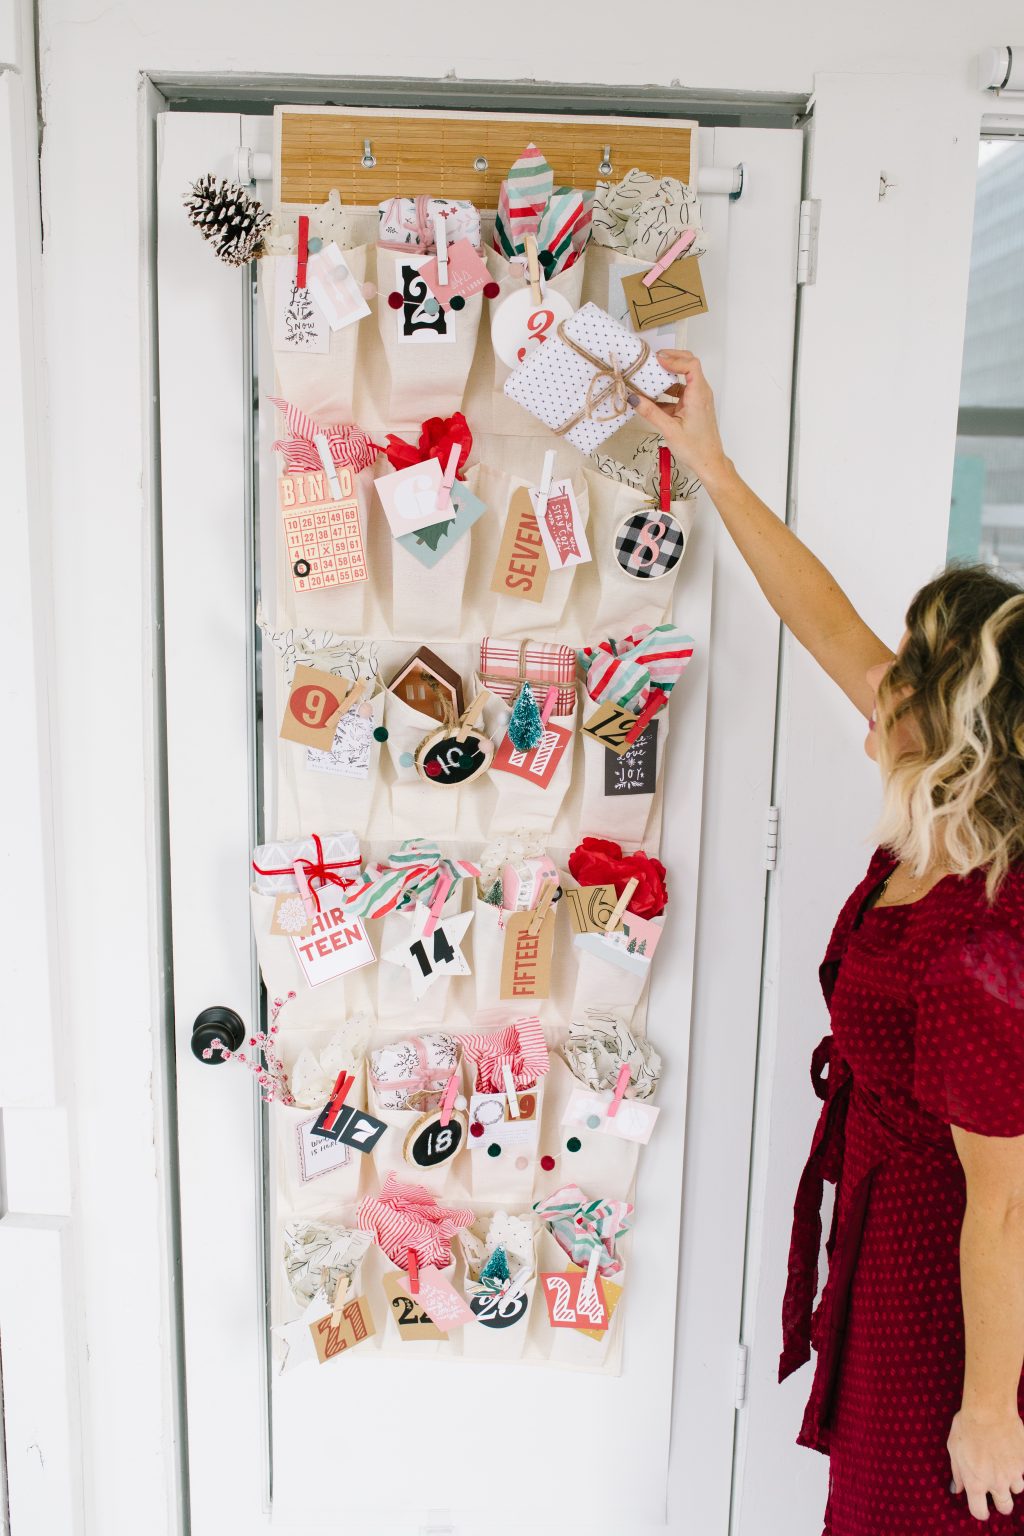
How to make a DIY Shoe Organizer Advent Calendar
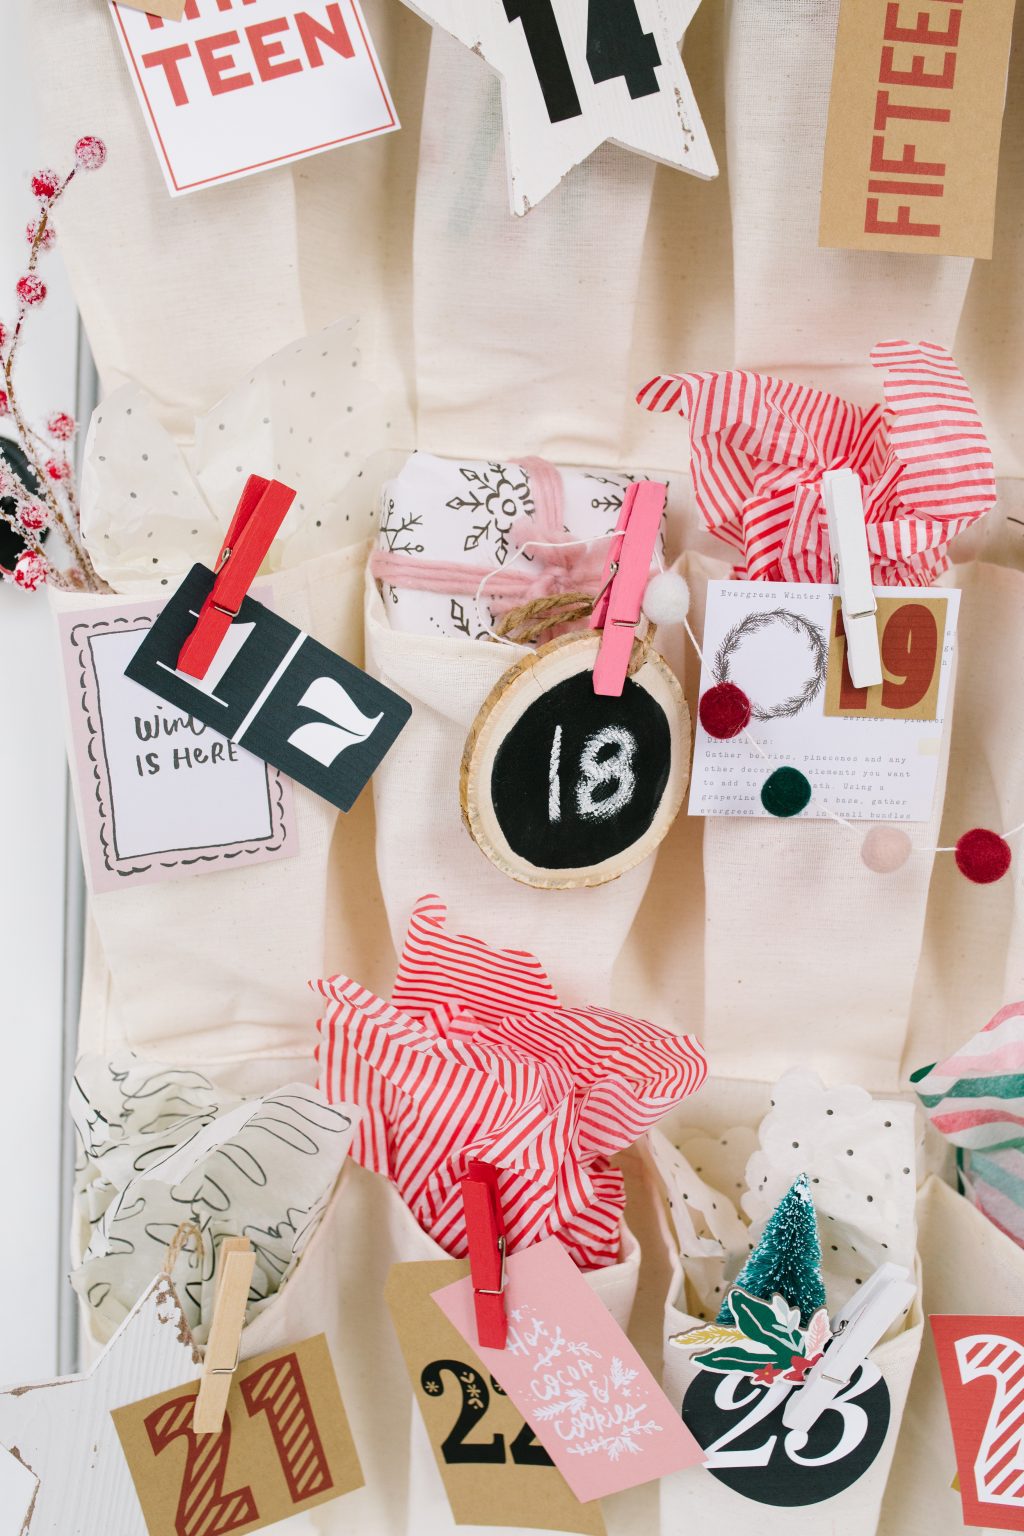
Step 1. Make/print/create all of your numbers! This is your chance to really be creative and think outside of the box. To get my creative juices flowing, I went to Michaels and picked out a bunch of their unfinished ornaments and started there. Some of them I painted with chalk paint and wrote the numbers on them like a mini chalkboard, some of them I printed off numbers and hot glued them directly on to the ornaments, and some I painted.
I also printed off a lot of numbers onto cardstock and then cut them out to look like tags. I found a lot of my fun number shapes on the Silhouette Design Store so that I would have a lot of variety. Another fun method was to take a mini embroidery hoop, add some fabric and glue on a number. Getting creative with surfaces and the style of each number makes the calendar extra fun.
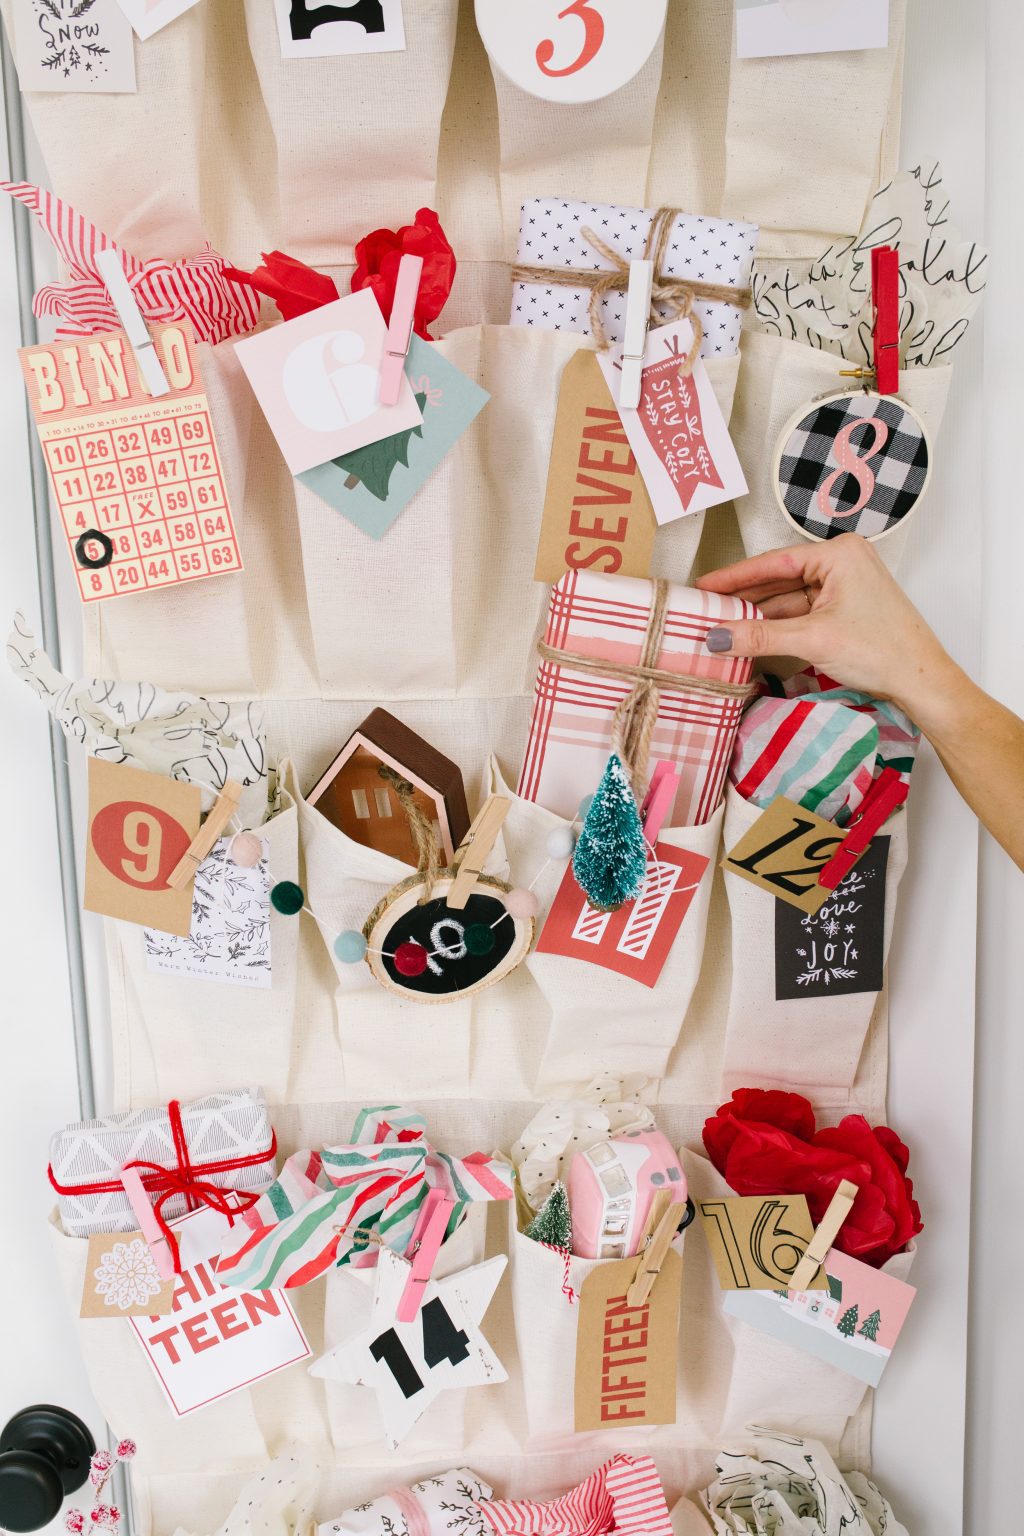
Step 2. Embellish! This is sort of like decorating a Christmas tree. Add more ornaments, garlands, bottle brush trees, and scrapbook paper to each square to give it a lot of added interest.
Step 3. Fill! Since the pockets on a shoe organizer are a good size, you can really be creative with what you fill the calendar with. Then, wrap a few presents that match your color scheme, add some festive tissue and you are ready for December 1st!

Isn’t it the most fun! I’m so excited for the added magic this calendar is sure to add to this Christmas season.

Are you doing an advent calendar this year? We’d love to hear what you’re doing!
And be sure to visit the PLG shop for more holiday printables and gifts!
ox. Liz