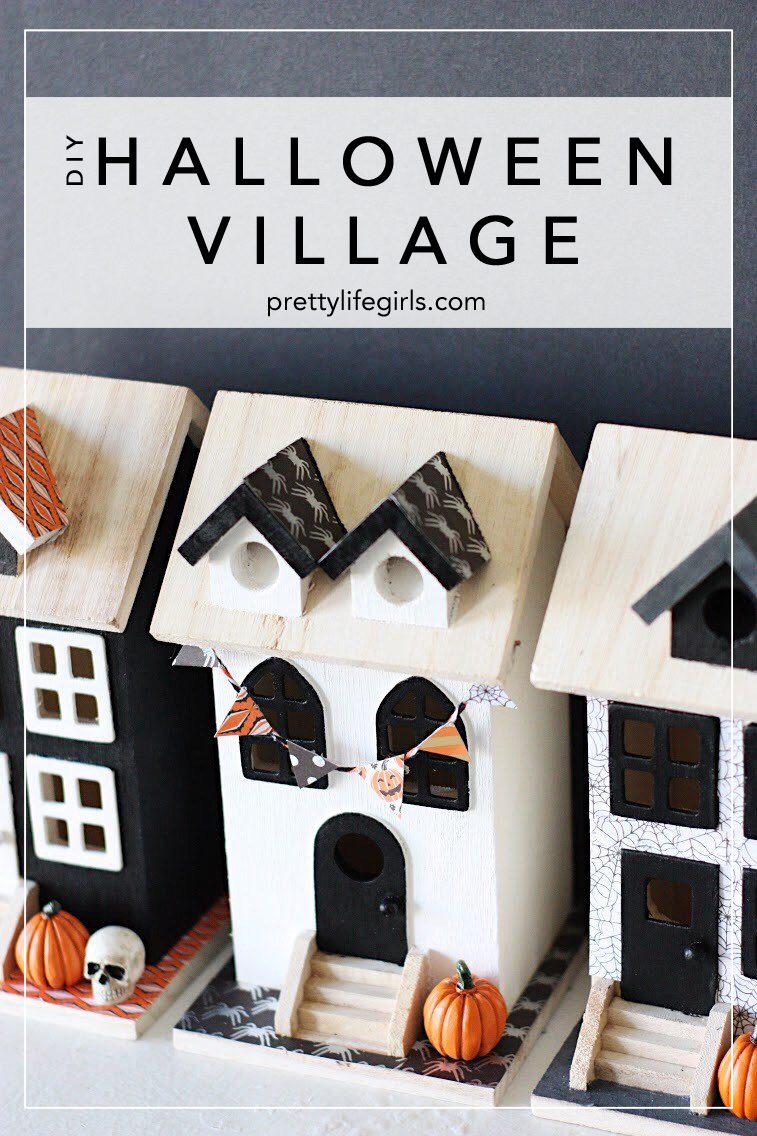
This paper Halloween village post was sponsored by Silhouette. All opinions expressed are ours alone.
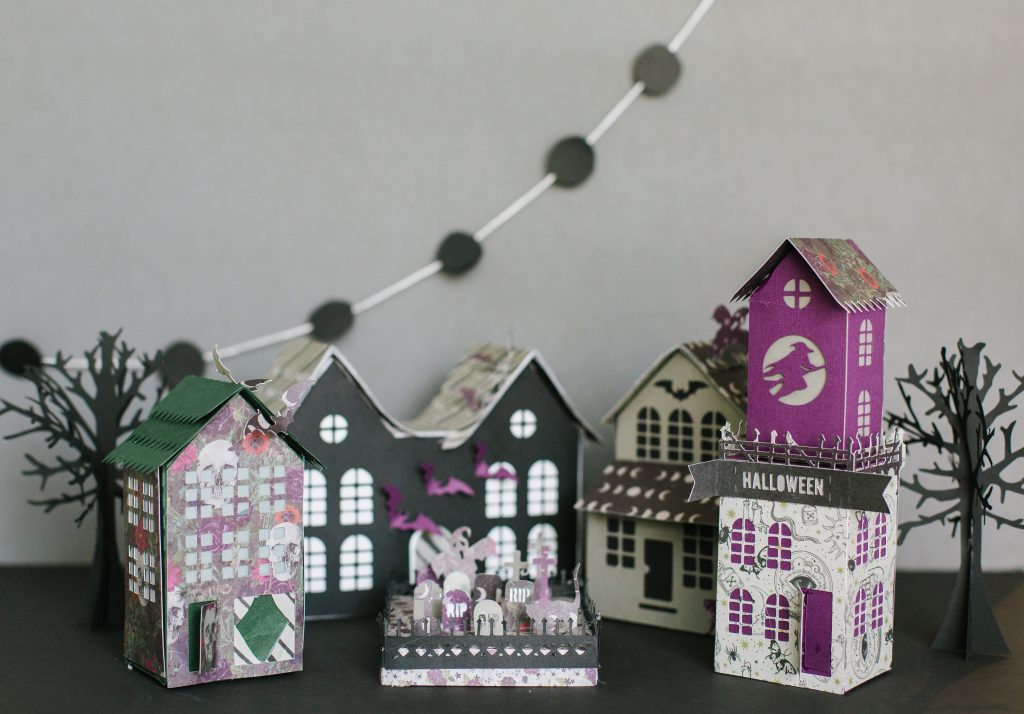

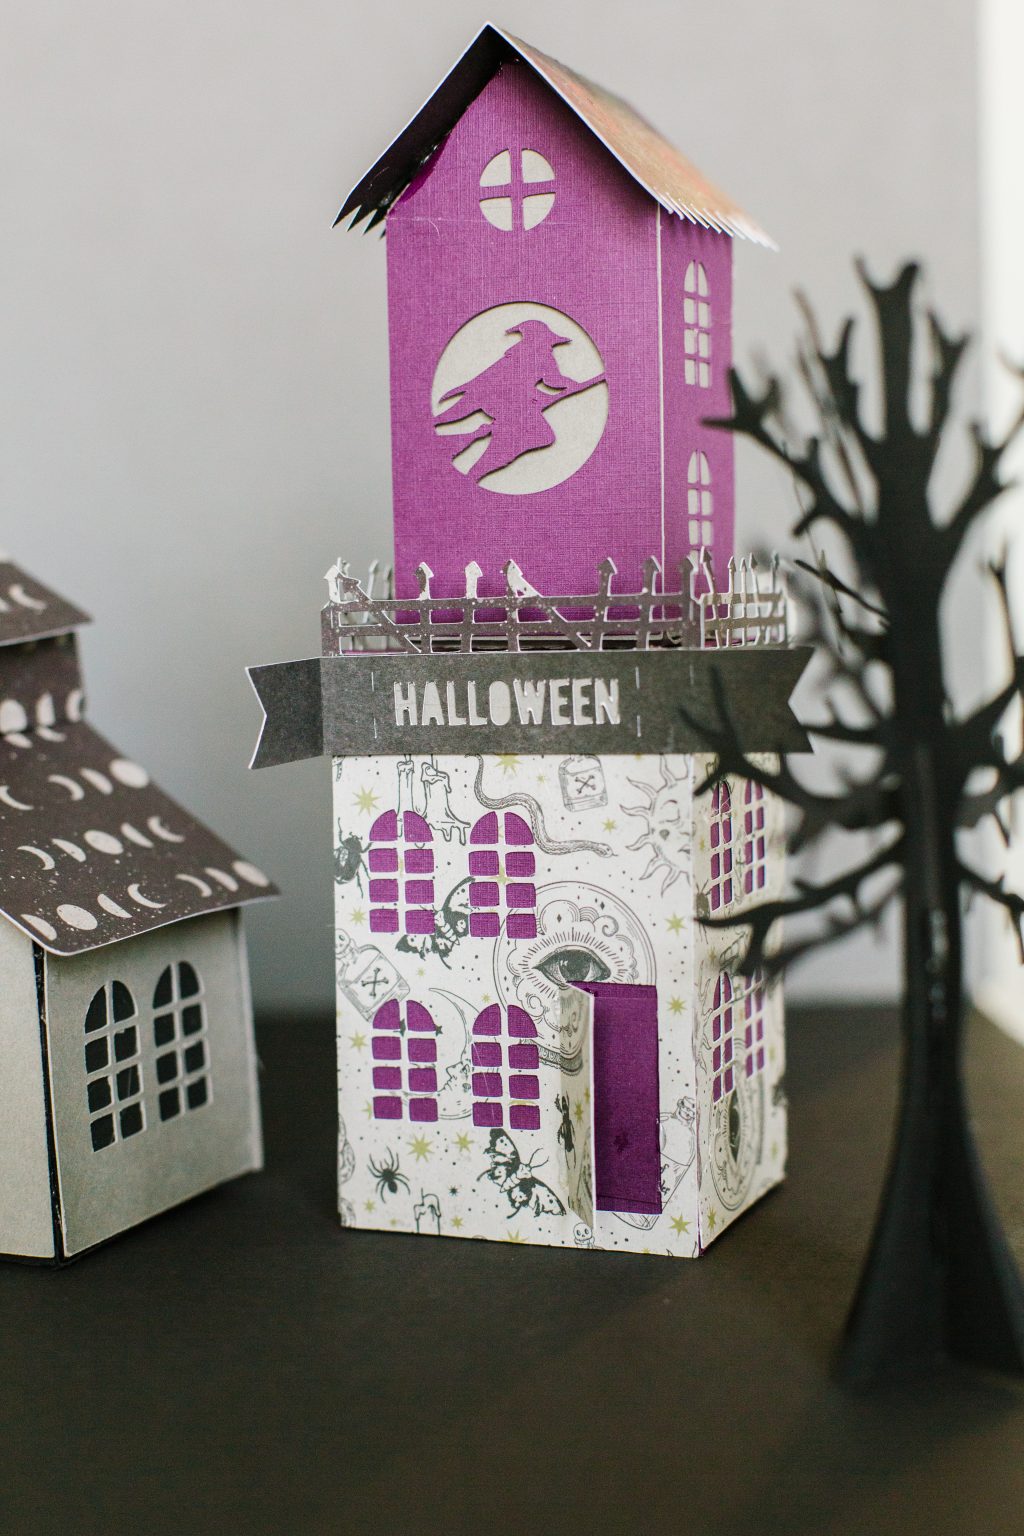
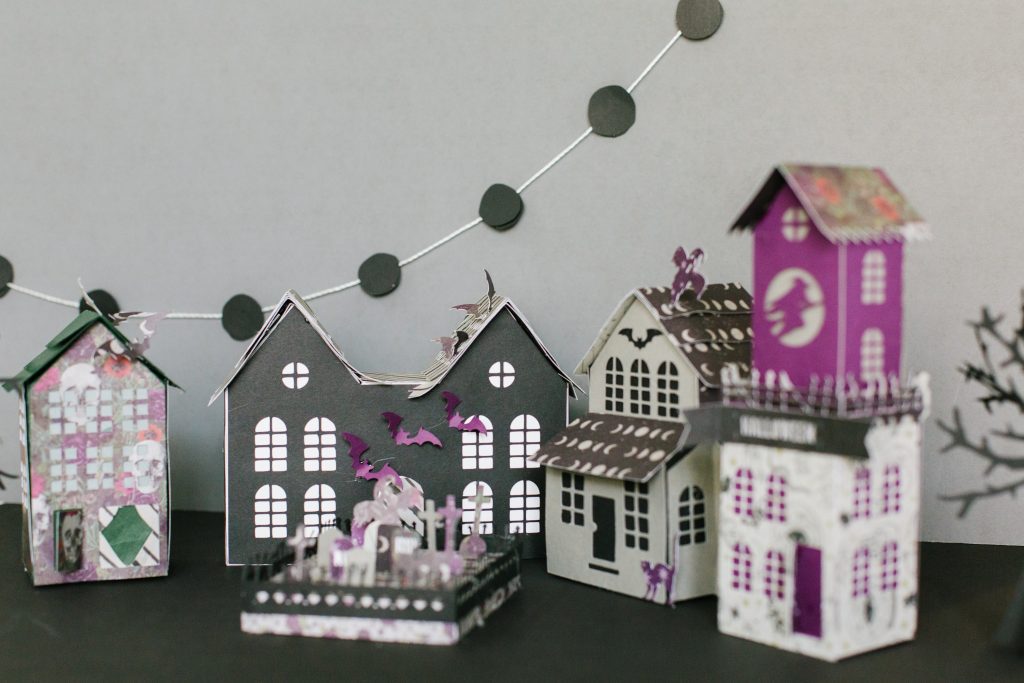
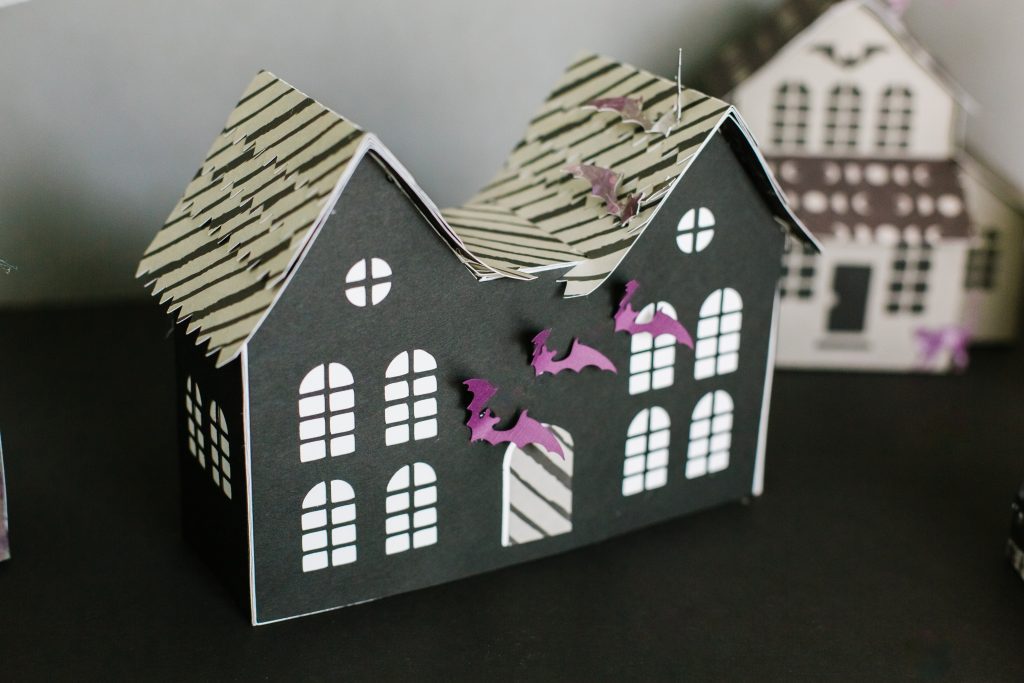
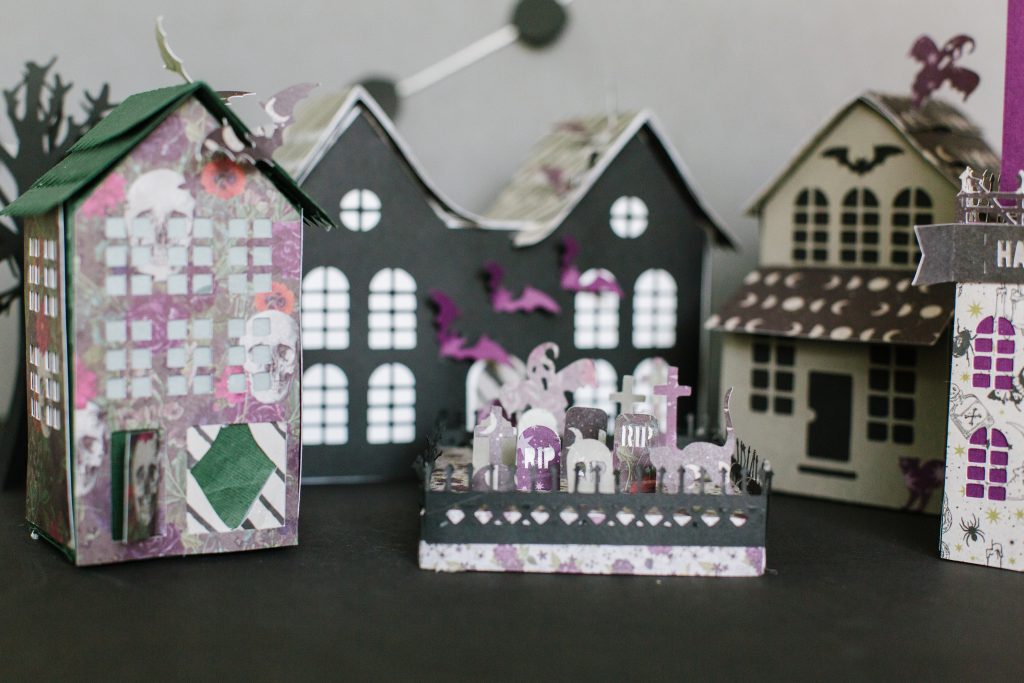
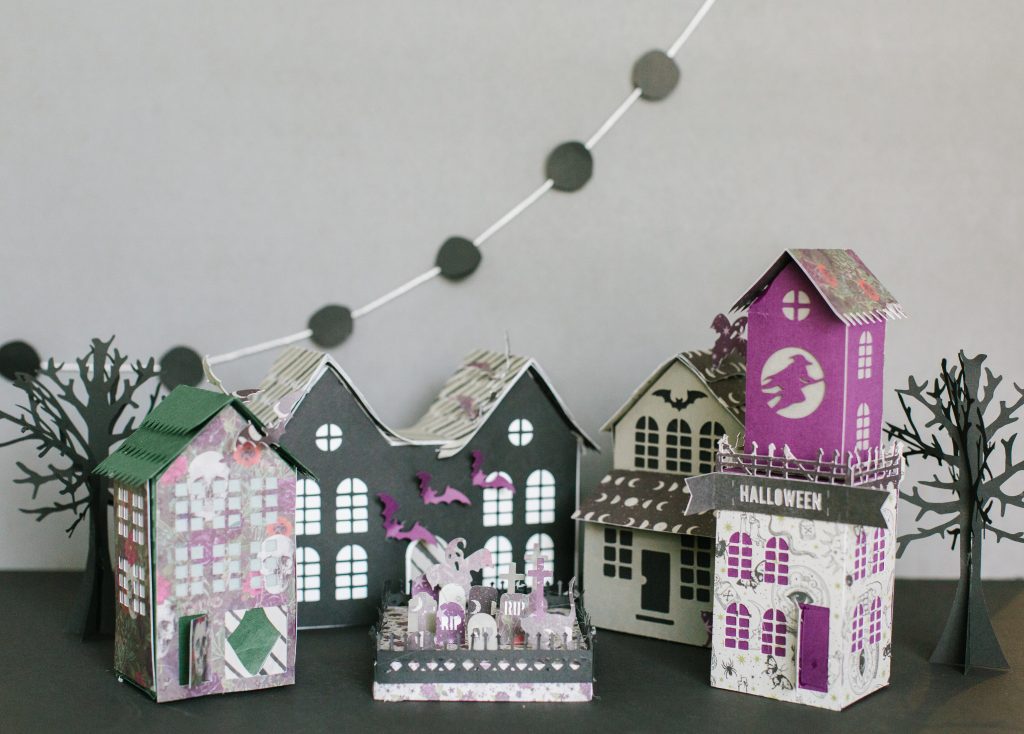
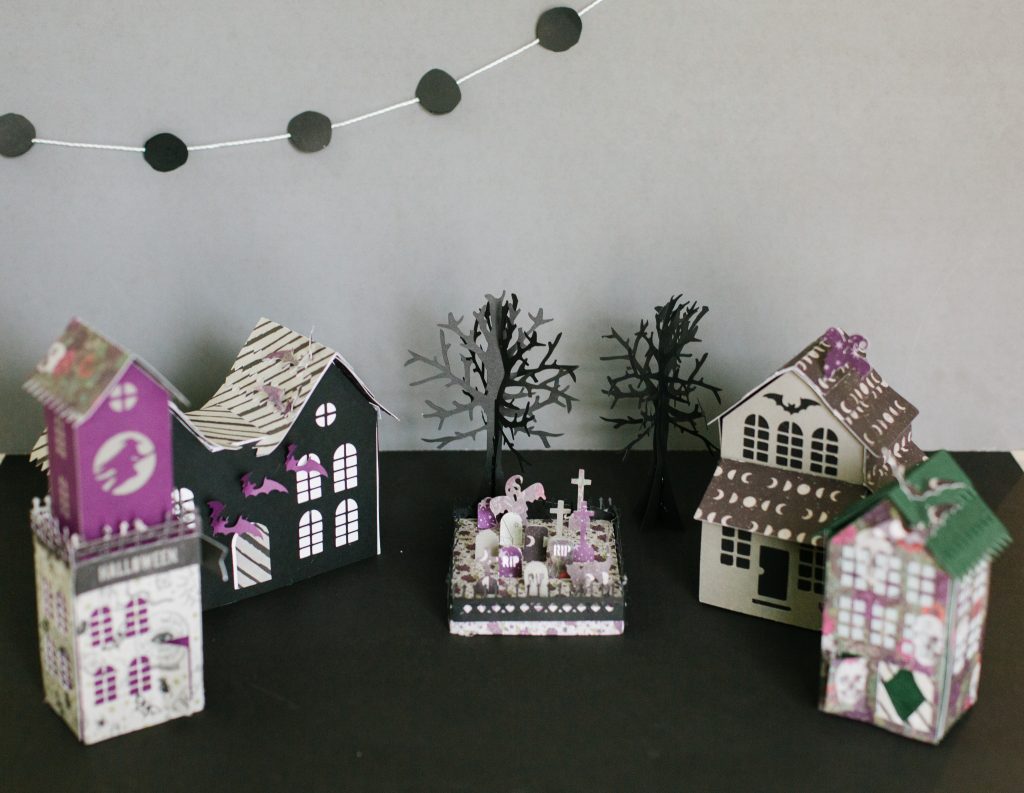
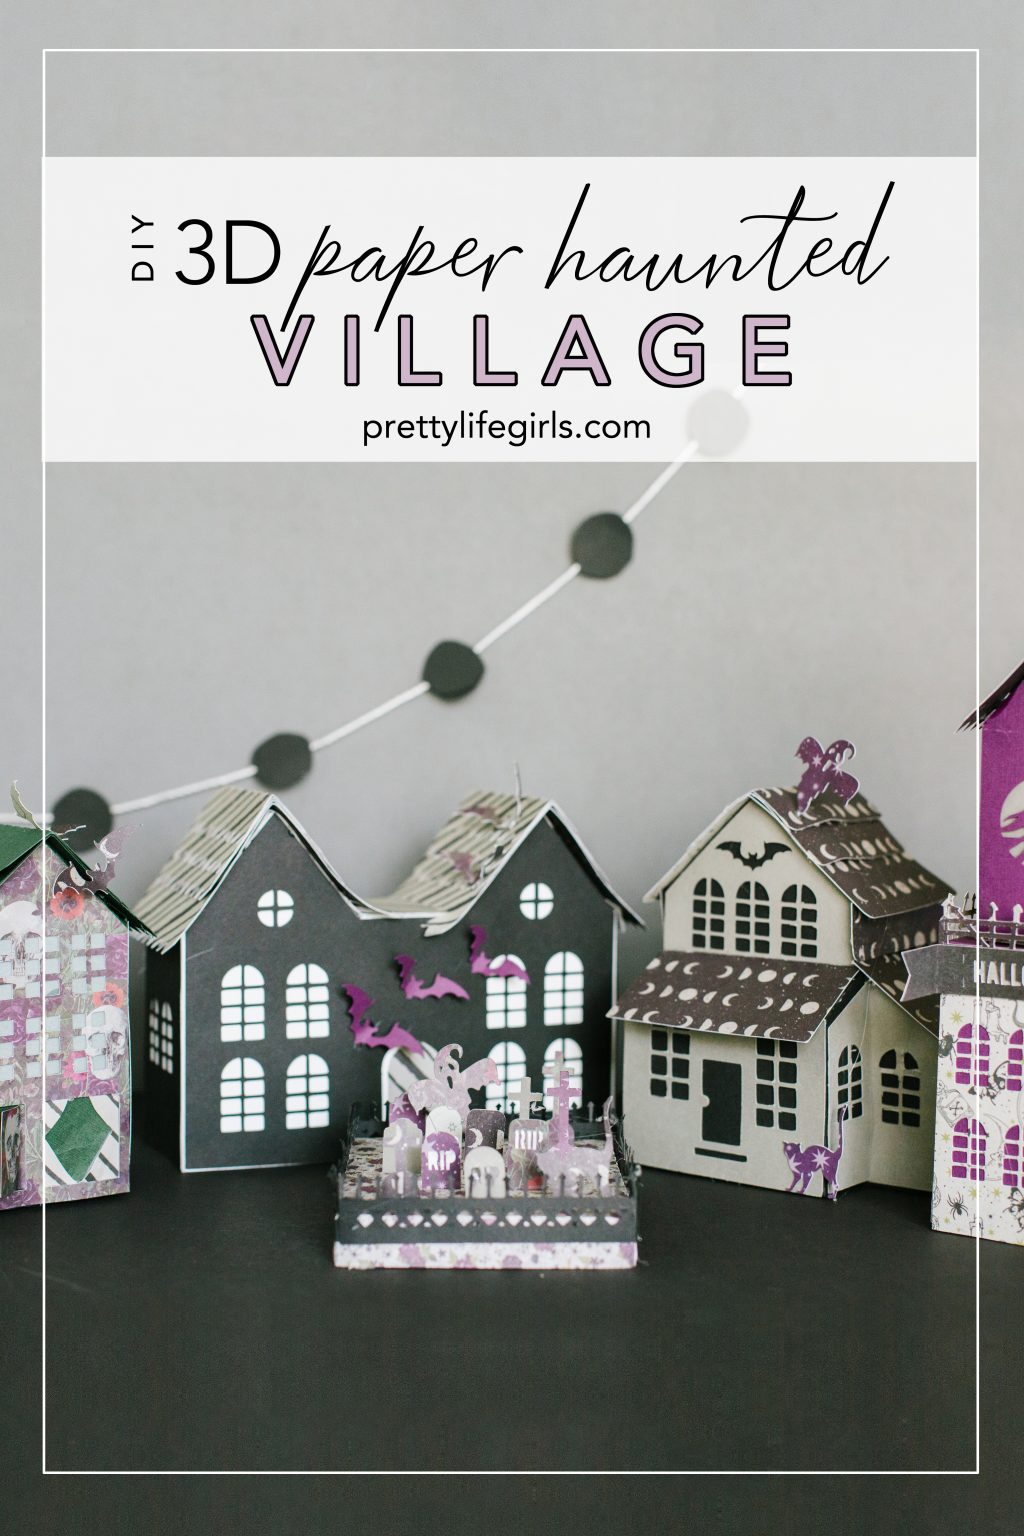
Today on Studio 5, we are sharing 4 ways to make Halloween villages as a fun party idea or as spooky decor for your home! We had a blast coming up with different methods for making them and, since it is my favorite way to make just about anything, one of the methods is using my Silhouette Cameo to make one out of paper! I have wanted to try making a paper Halloween village of some kind for awhile since there are so many amazing 3D designs for them in the Silhouette Design Store, but when I came across this full village design by Silhouette Design Store designer, Carina Gardner, I knew the wait was over. This design is so smartly constructed and the detail is crazy! From tiny gravestones in a tiny cemetery to the outline of a wicked witch in the window, you can’t help but get the itch to fire up your Silhouette machine and start cutting when you see the end result. Here’s how we did it:
Subscribe to our YouTube channel for weekly videos!
Supplies needed to make your own paper Halloween village:
Silhouette Cameo
Haunted Village Designs from the Silhouette Design Store:
Cemetery
Witch Tower
Pumpkin Mansion
Ghost Mansion
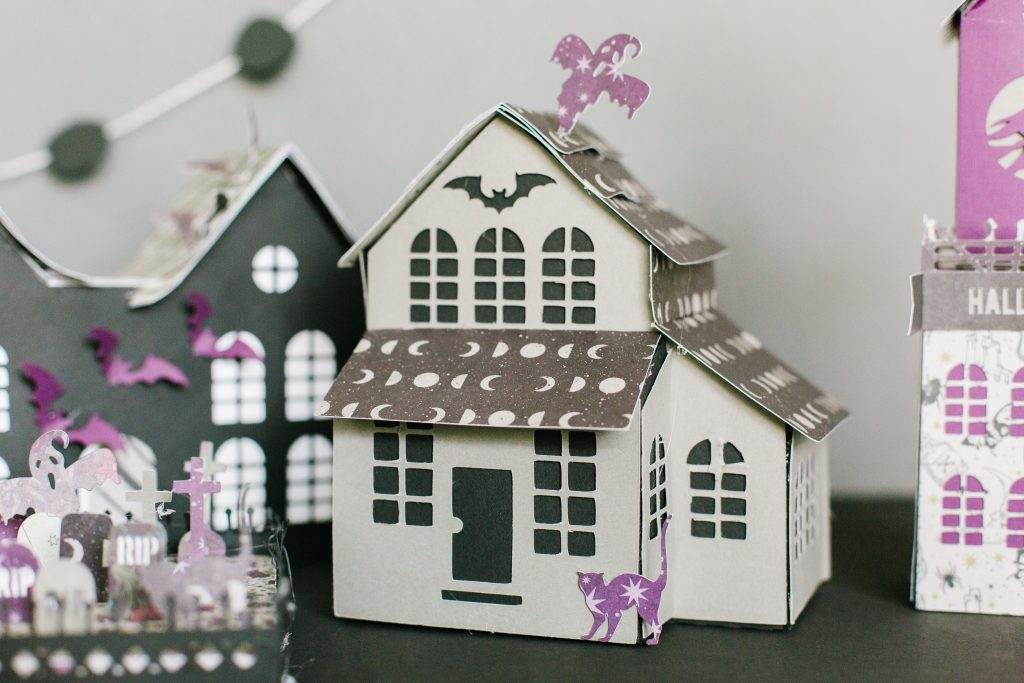
Cat House
3D Haunted Tree
Solid and Patterned Cardstock
Hot Glue Gun + Sticks
1. Download your designs from the Silhouette Design Store and arrange them for cutting in your software. Do not change any of the sizes of the design pieces or else they won’t fit together.


2. Cut each of your designs. Since there are so many pieces to this project, I recommend cutting everything and keeping it in piles or labeling each with a pencil so that you can keep all of the pieces organized.
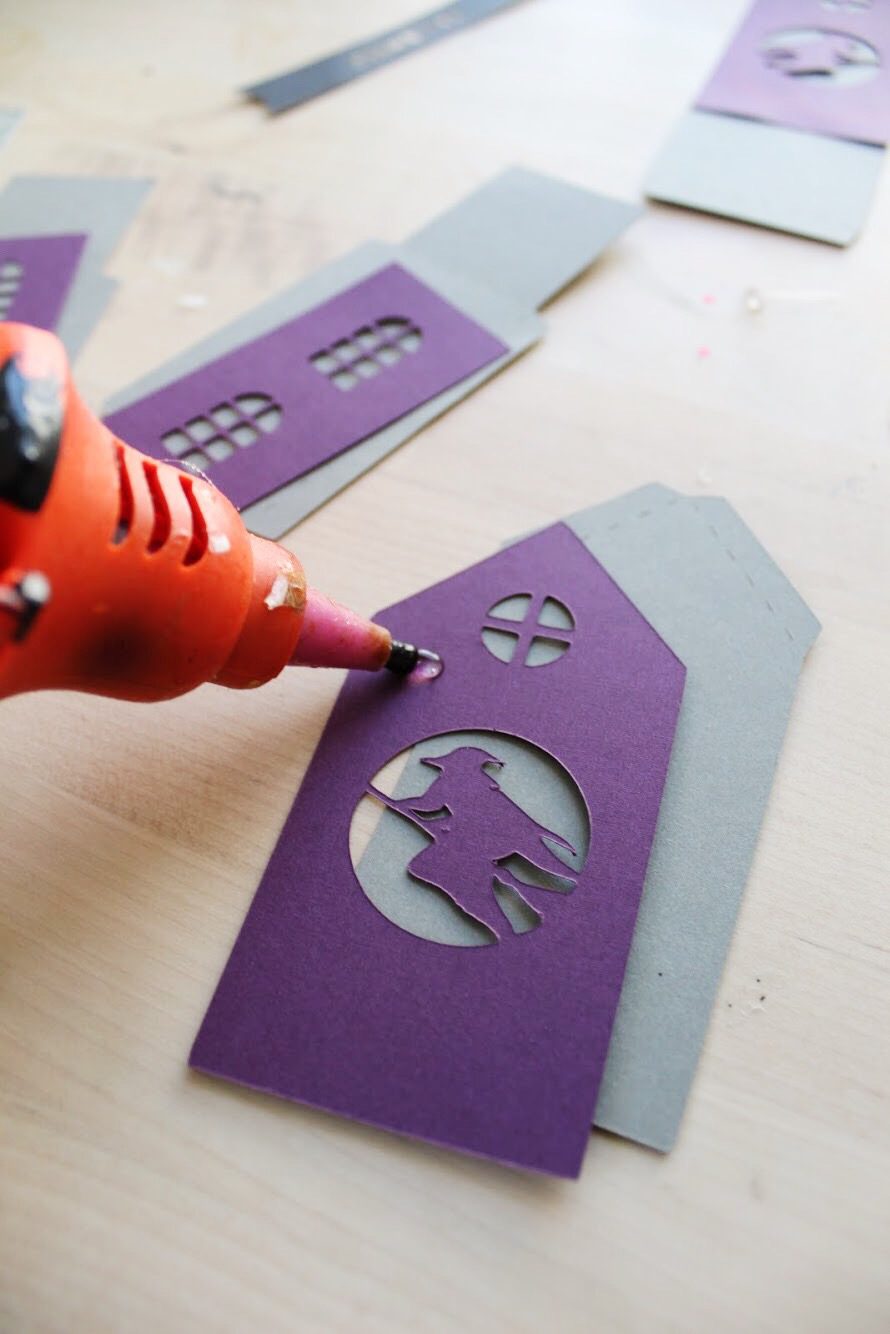

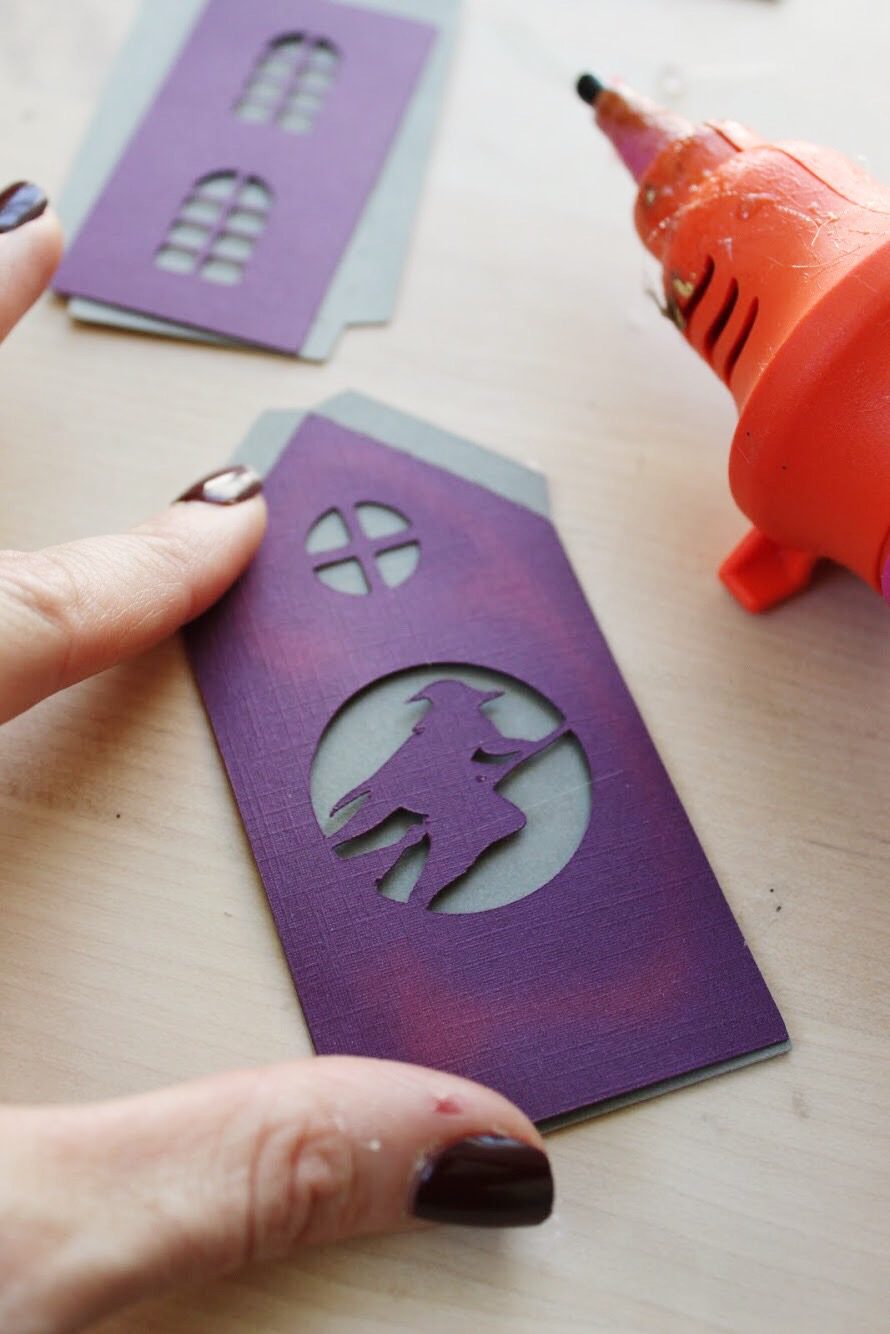

3. Begin assembling the pieces using hot glue. I recommend watching the designer’s video for assembly right here. It was so helpful for getting the hang of putting the pieces together. She really has thought of everything with this design! When assembling, you’ll start by glueing together the layered pieces first. For instance, there is a foundation piece and a decorative piece for each side of the houses that has to be glued together before you start actually building the houses (really, watch that video. Lol.)
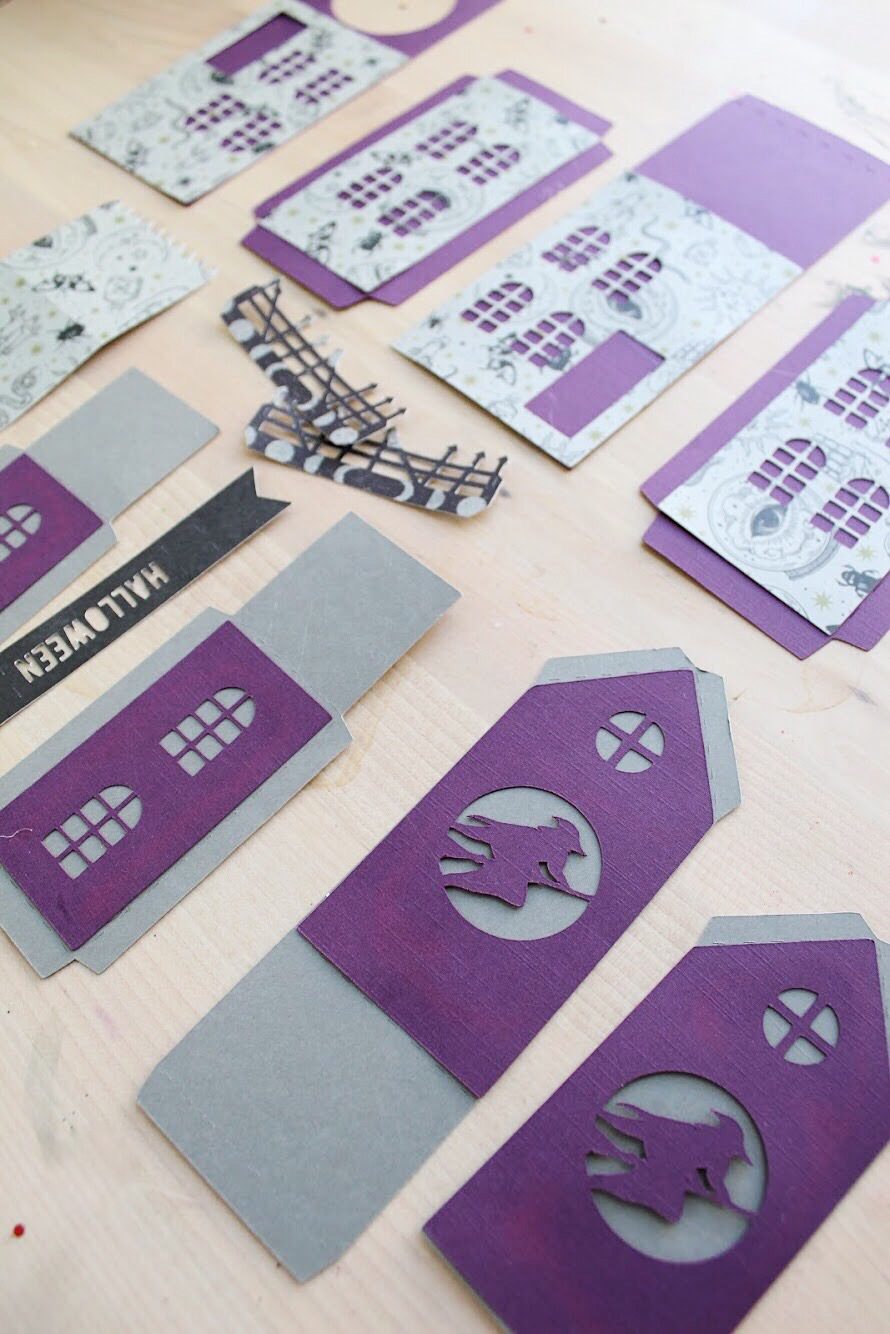

4. Once all of the layered pieces are glued you can begin building the structures. Another genius part of this design is that your machine will have cut dotted lines so you know where the tabs are that you need to fold. Fold each tab, apply a line of hot glue and attach, per Carina’s instructions.
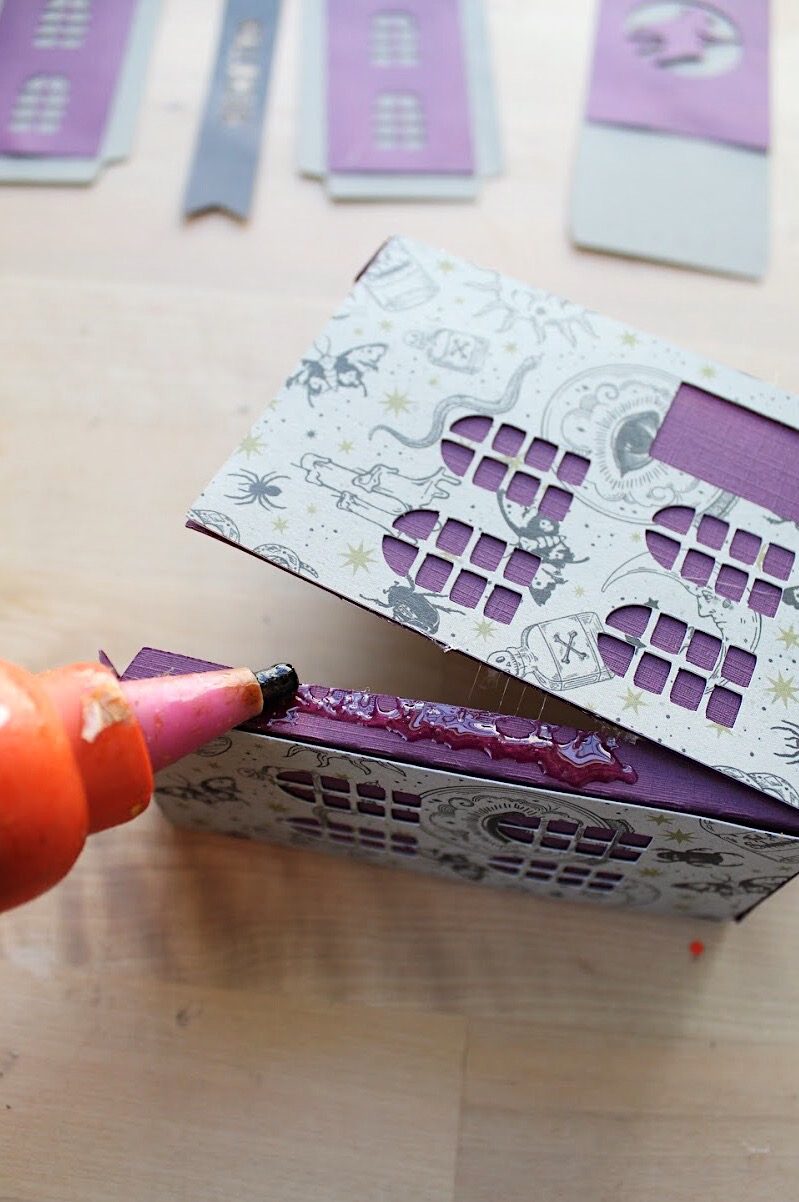

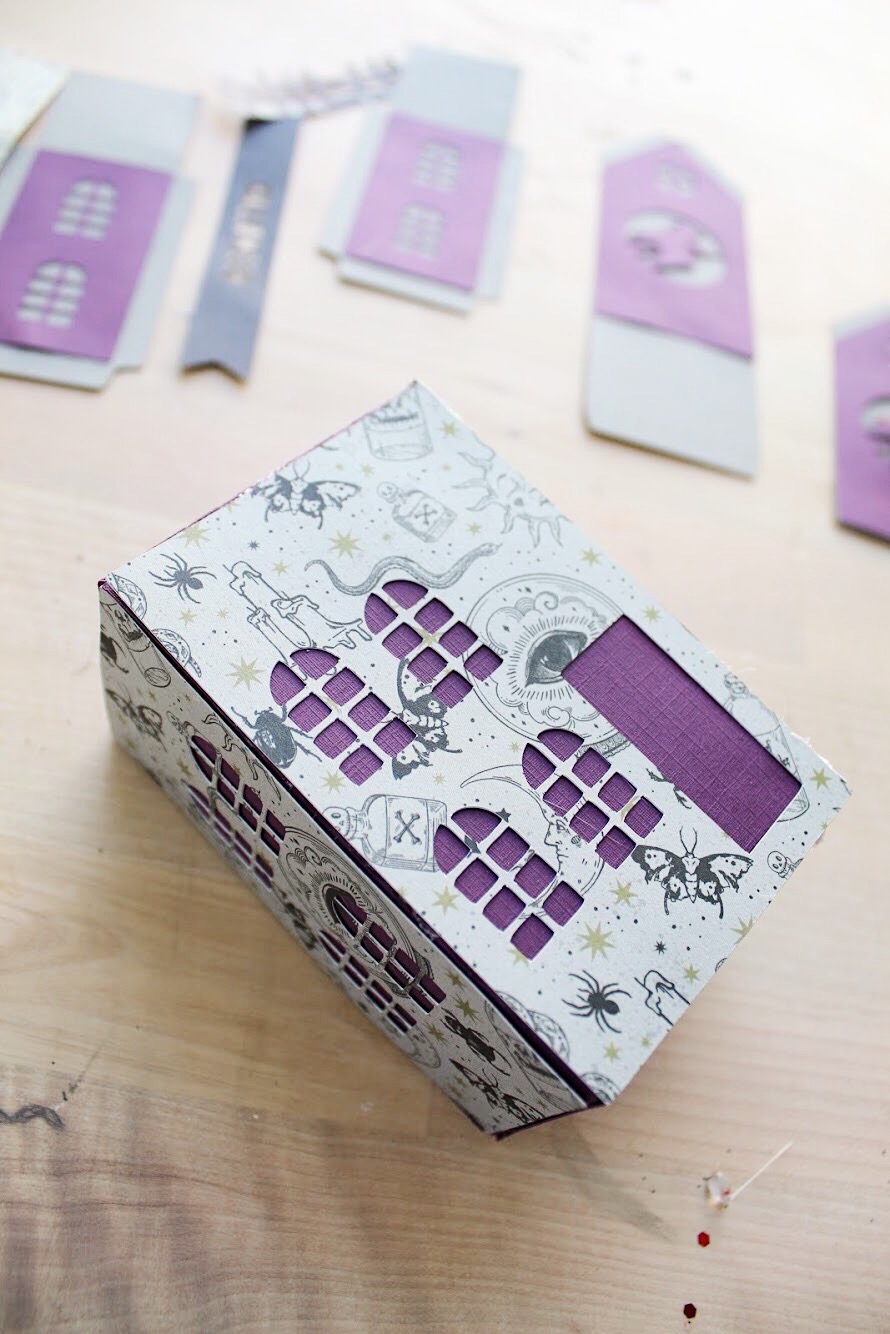

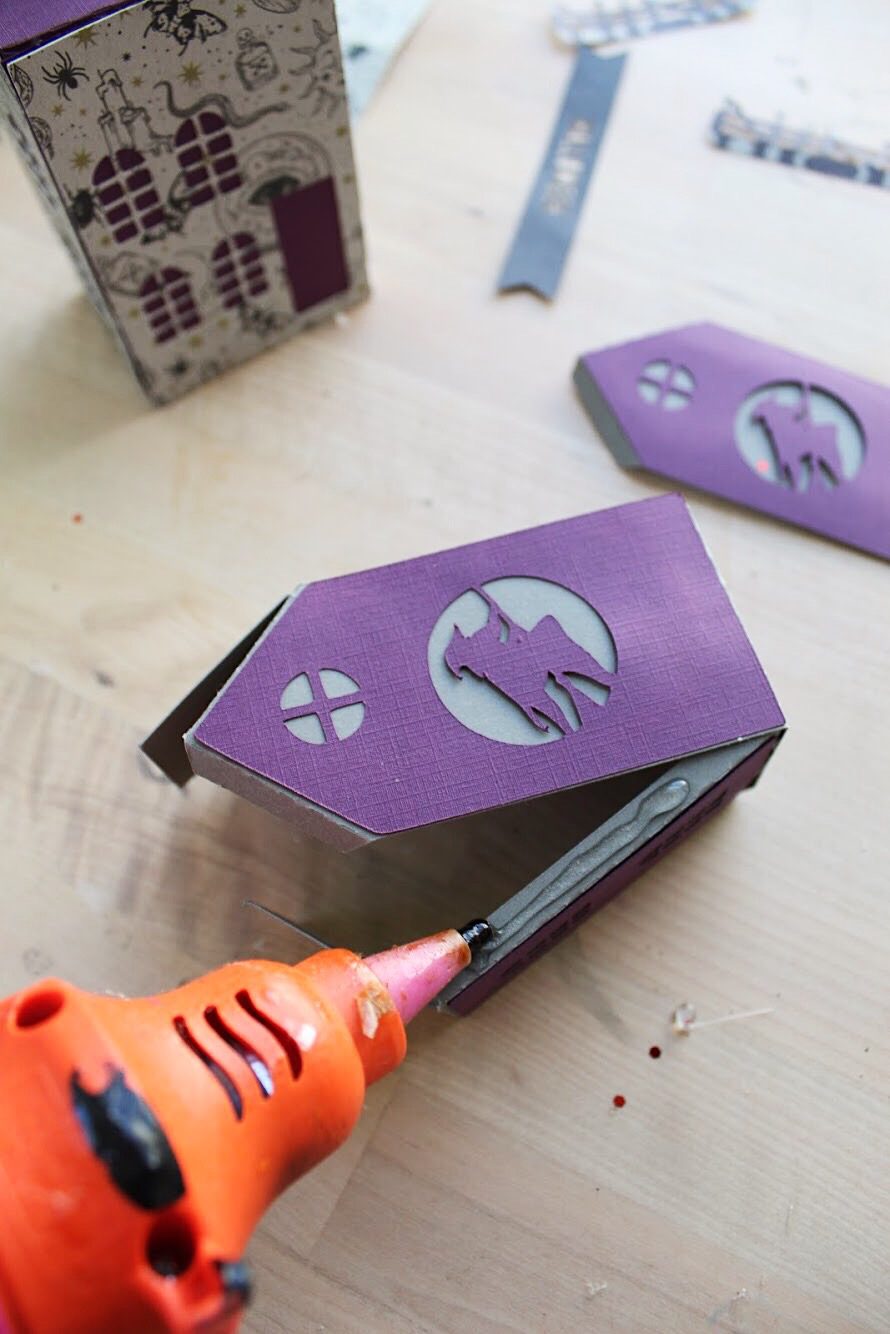

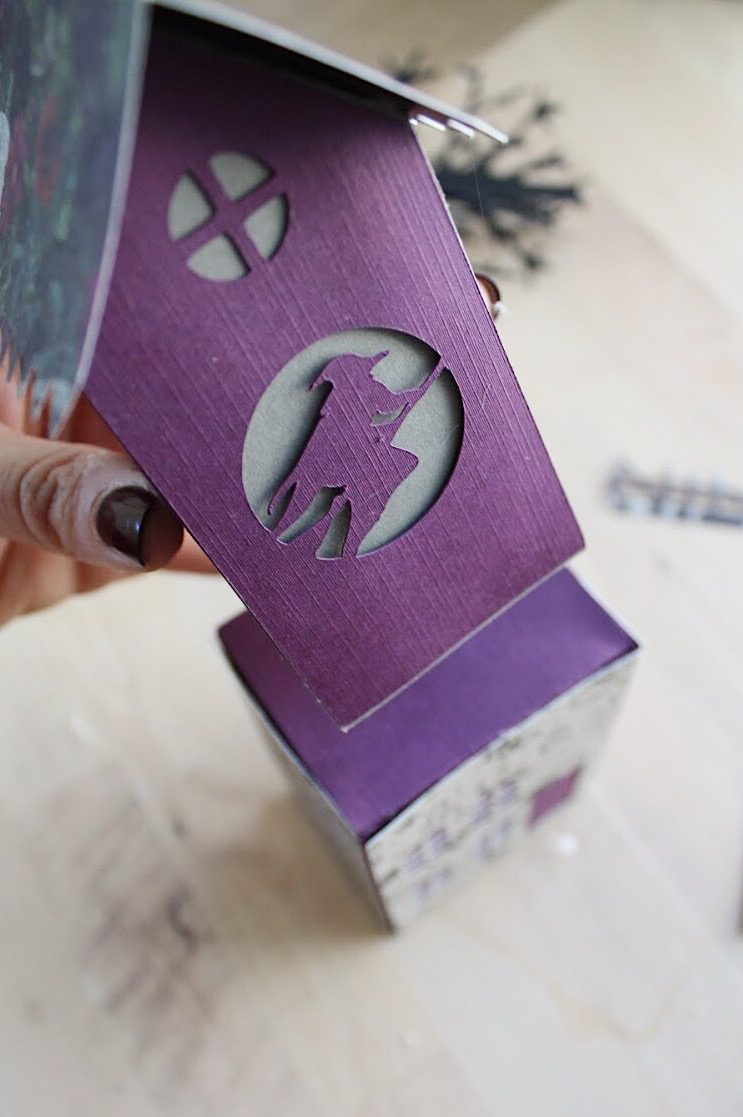

5. Assemble all pieces until each of the structures are built. Then, attach decorative cut outs to embellish, using hot glue (the designs come with black cats, ghosts, bats and more to make this so easy!).









What is your favorite way to decorate for Halloween? We’d love to hear your ideas!
Happy making!
ox. Liz
And for more spooky Halloween projects, visit these posts:


