This DIY Trick or Treat Bag was originally created for Consumer Crafts.
Okay, okay, I will admit it – I’m not the biggest fan of Halloween. Don’t be mad! It’s just not my thing. Sure, I don’t have a problem with the cute and playful part. I’m totally fine with kids dressing up like their favorite Nick Jr characters or whatever, but get me away from anything spooky or gorey. I don’t understand it, I don’t like it, NO THANKS. So this project is actually a very accurate representation of how I feel at pretty much every Halloween event. If I’m going to put in the effort to decorate or dress up or dress my kids up, I better be compensated with lots of candy. Keep scrolling to see how I made this fun DIY trick or treat bag!


Supplies needed to make your own DIY trick or treat bag
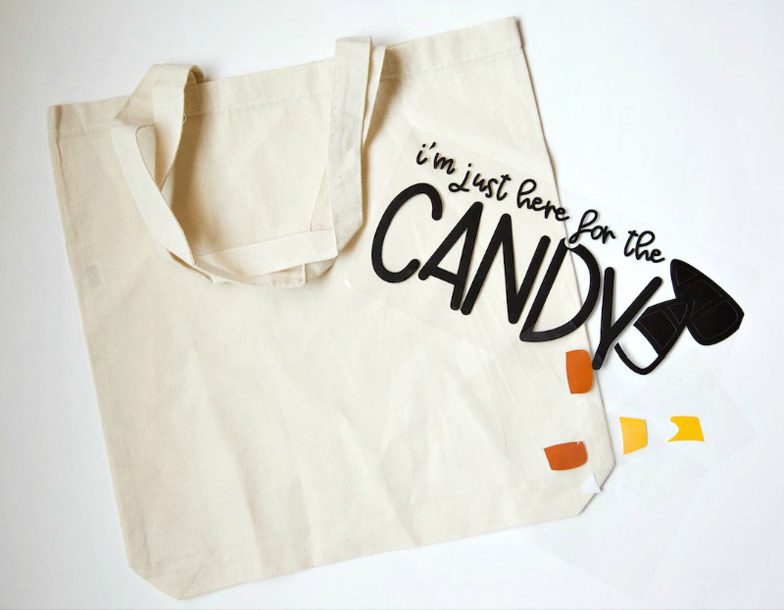
Blank canvas tote
Heat Transfer Vinyl (black, orange, yellow, white)
Cutting machine (I use a Silhouette CAMEO)
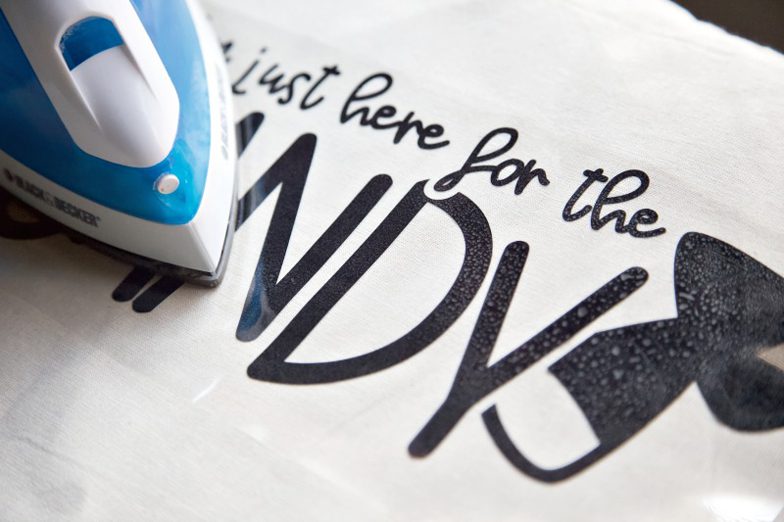
Iron
Step 1: Cut the design out of the vinyl. You can download the cut file for free here. Don’t forget to mirror!


Step 2: Apply the black layer of vinyl using your iron. Remove the carrier sheet. 

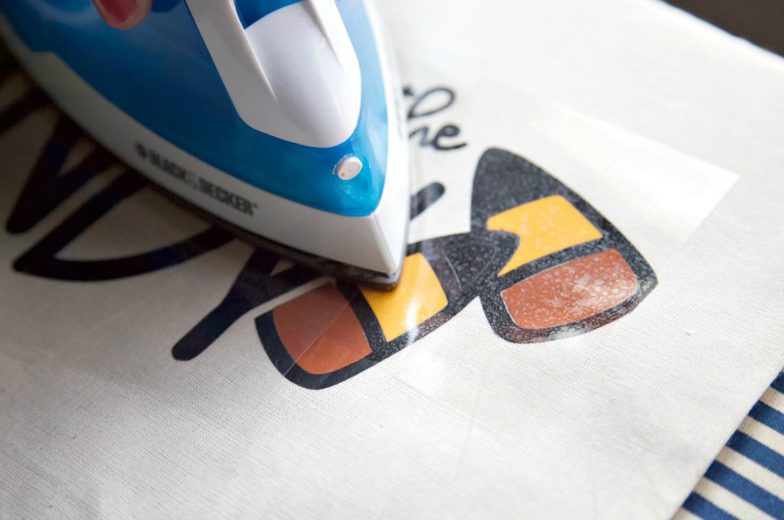
Step 3, 4, 5: Apply the orange, yellow, and white layers (individually). Remove the carrier sheets.

And that’s it! HTV projects are some of my favorites because they don’t require patience, there are so many things you can make, and the results turn out so nice! This bag is no exception and will be perfect for my trick-or-treaters to gather lots of candy for me. Okay, they can have a few pieces too. 


Time to whip one of these up for every kid I know! Happy crafting!
xo, Sam


