This post was originally published in July 2019
and updated as of April 2022.
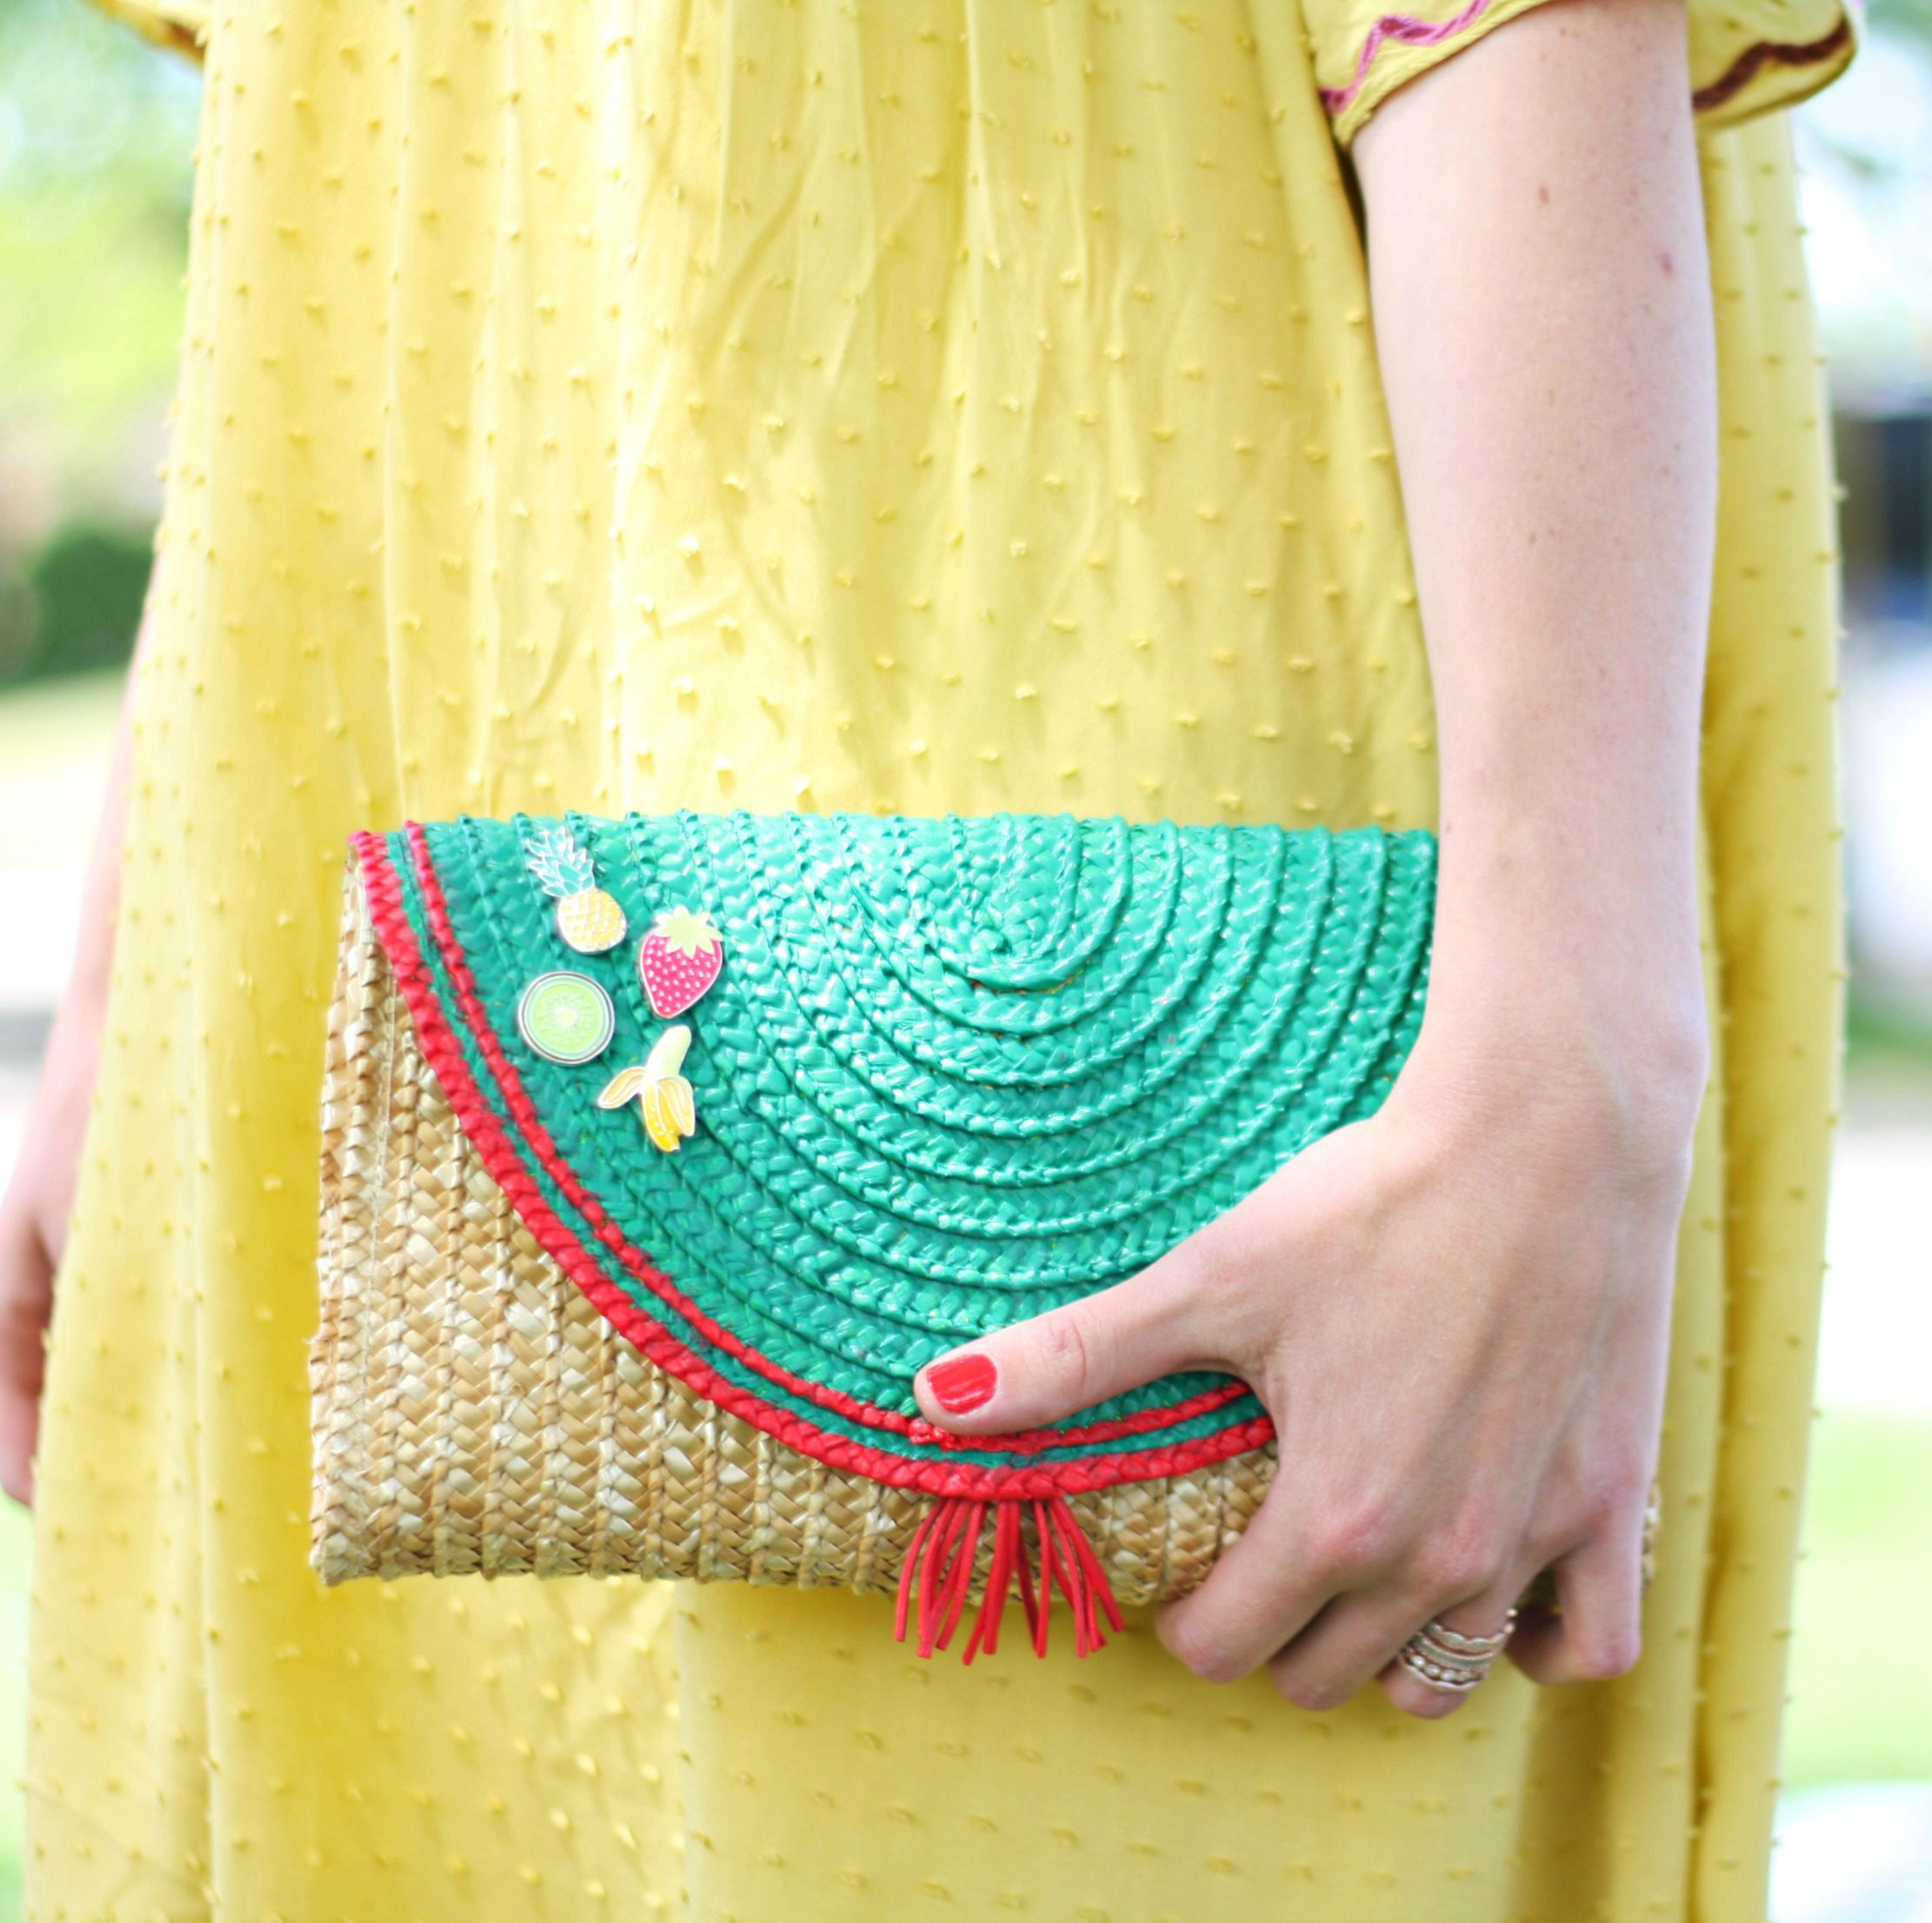
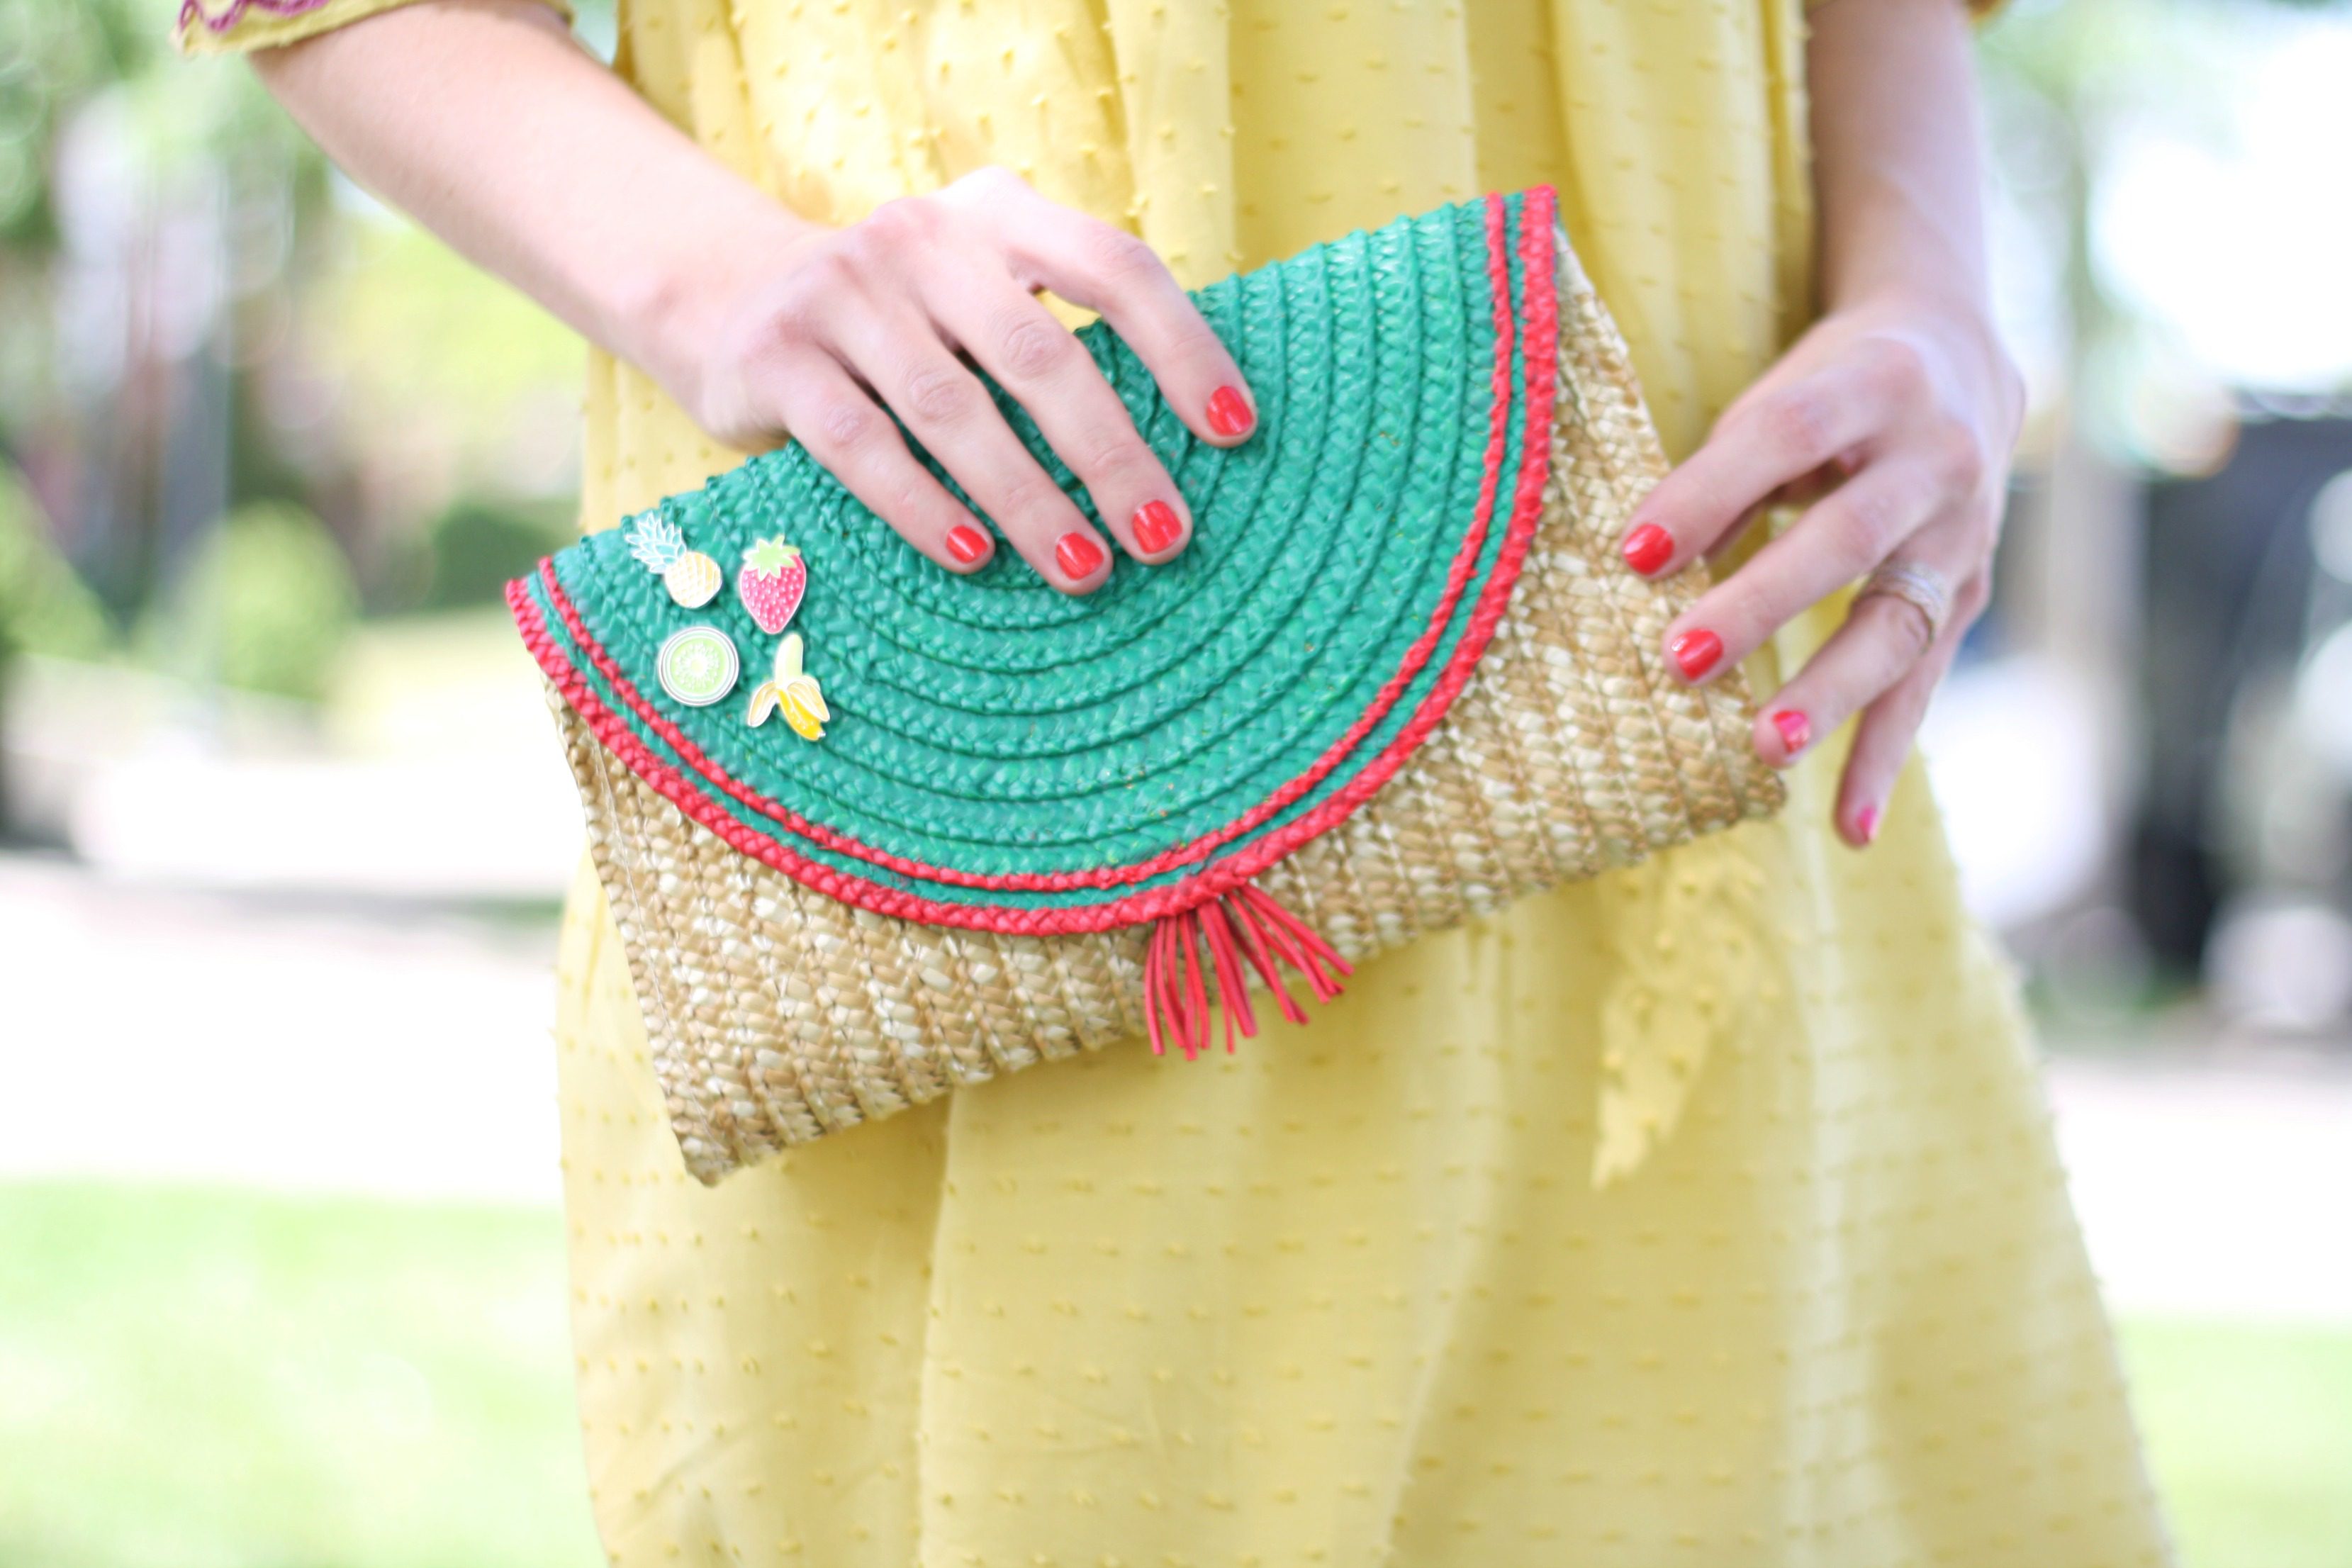
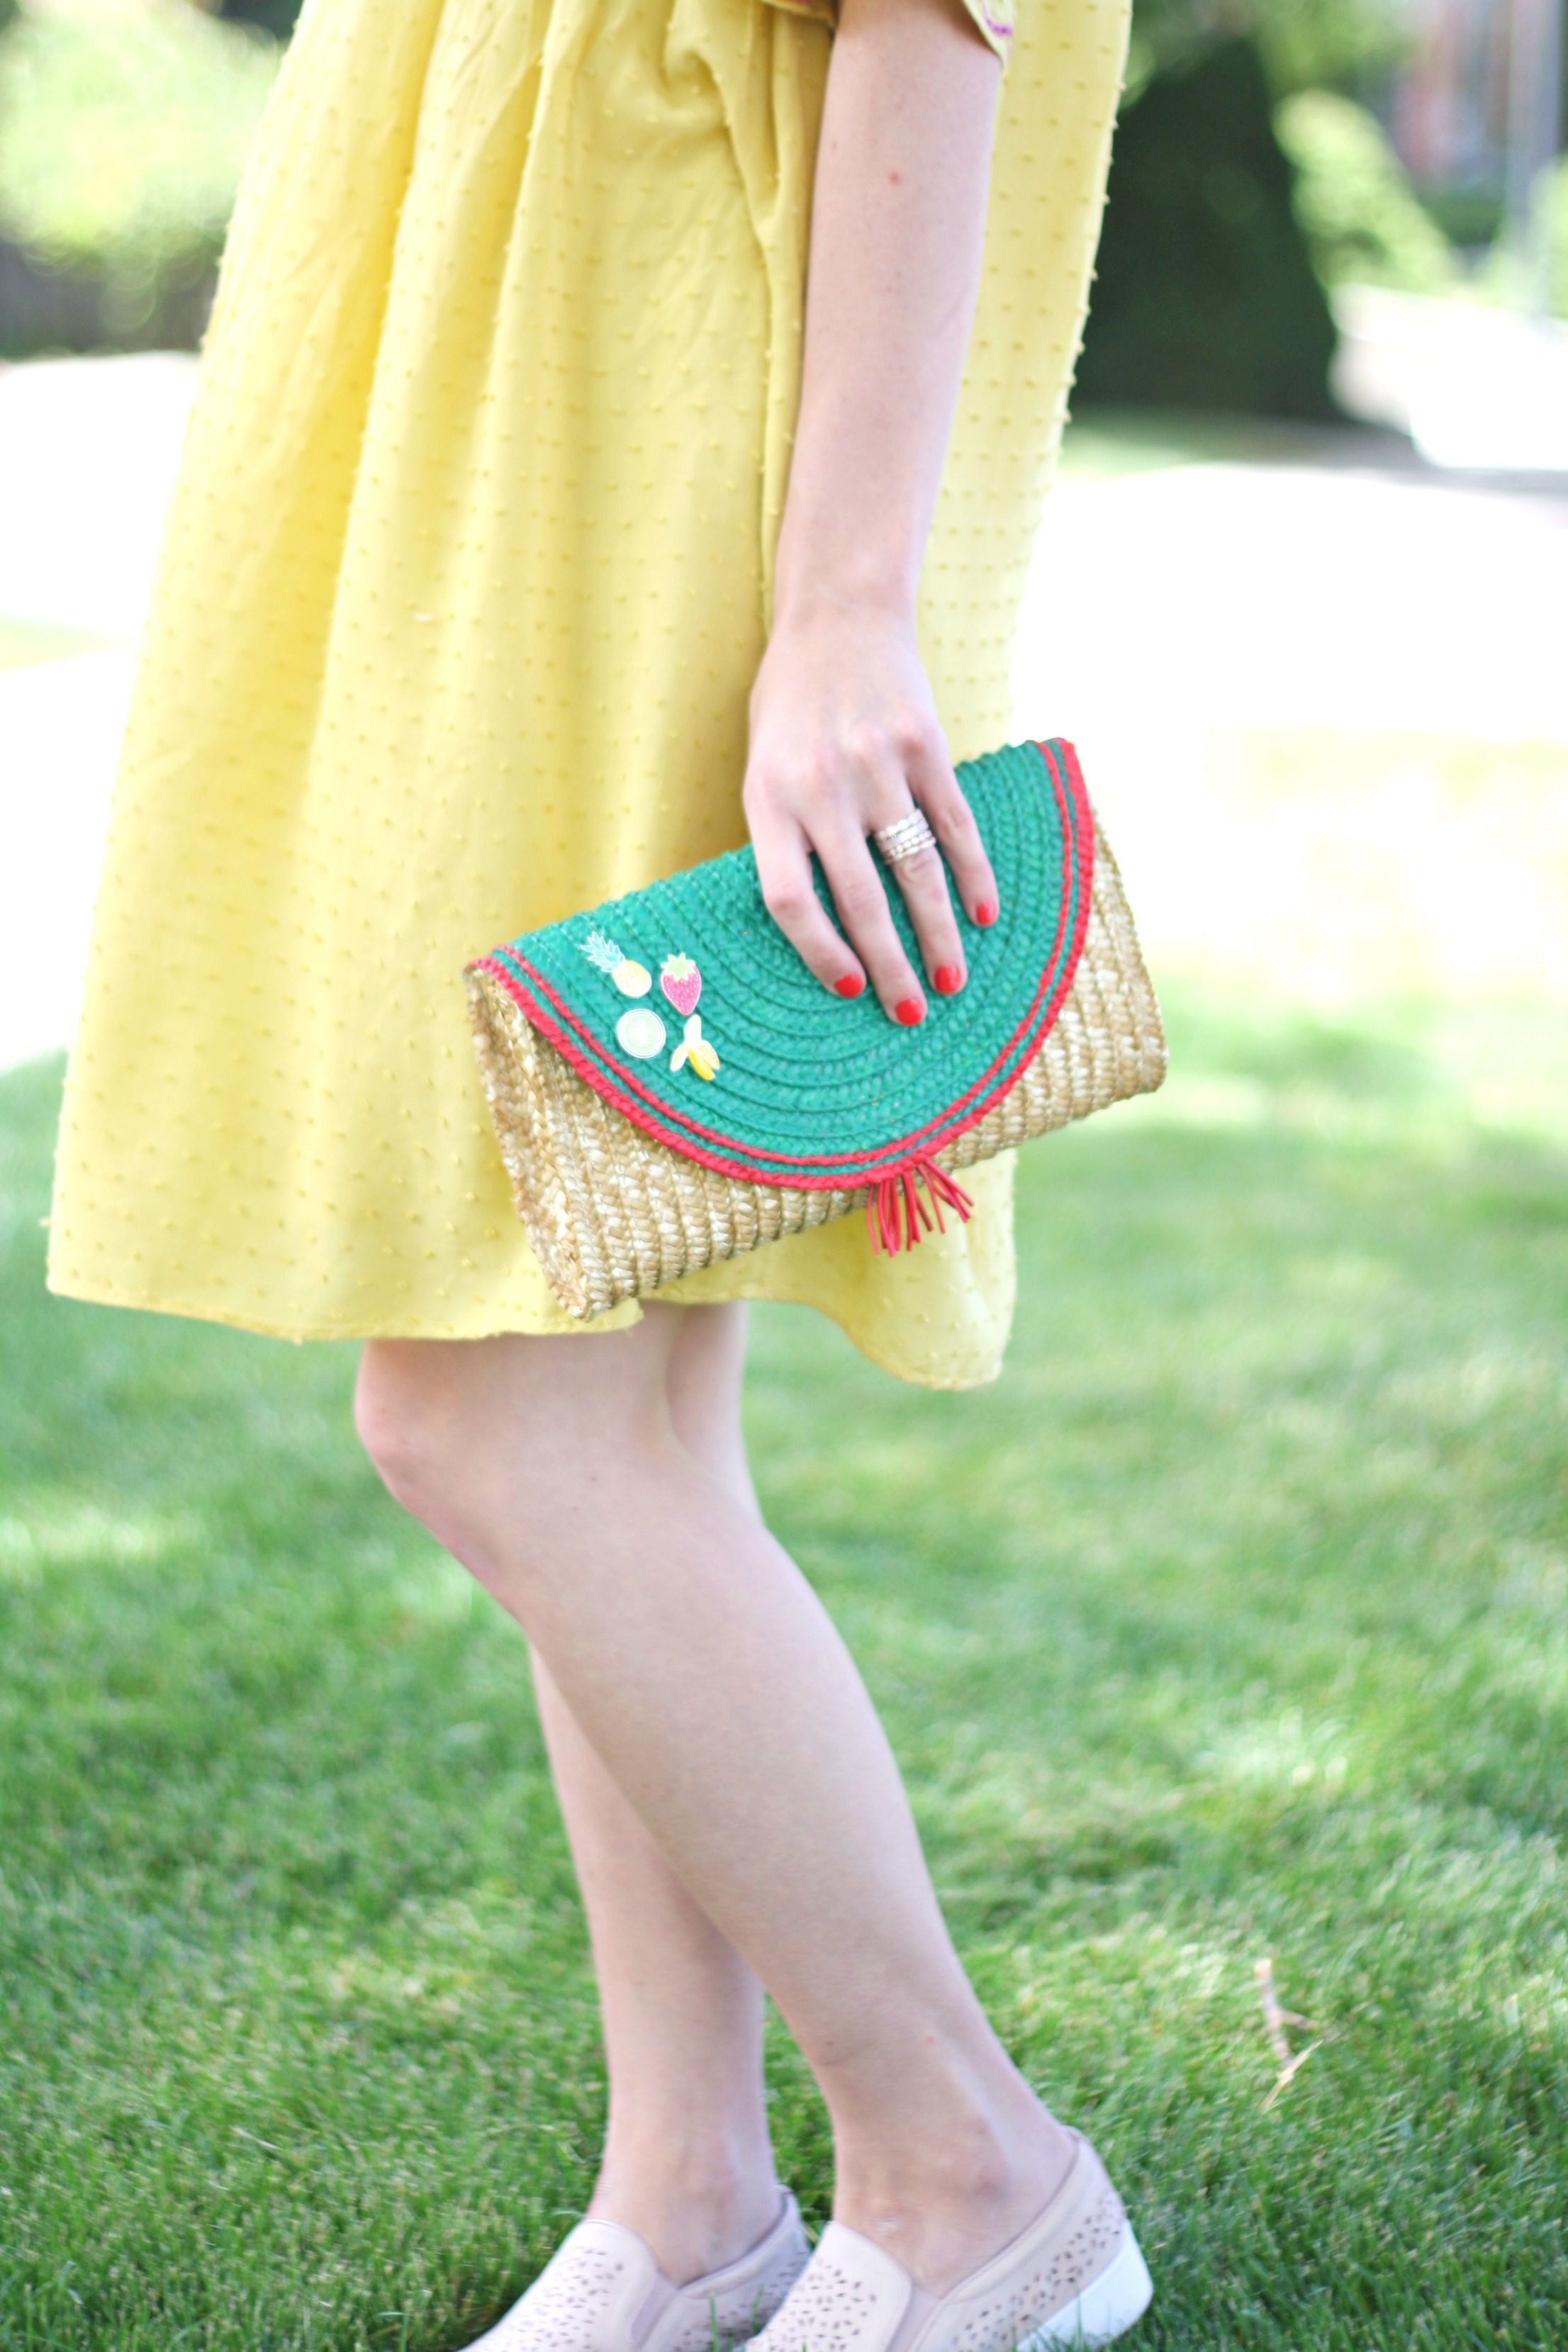
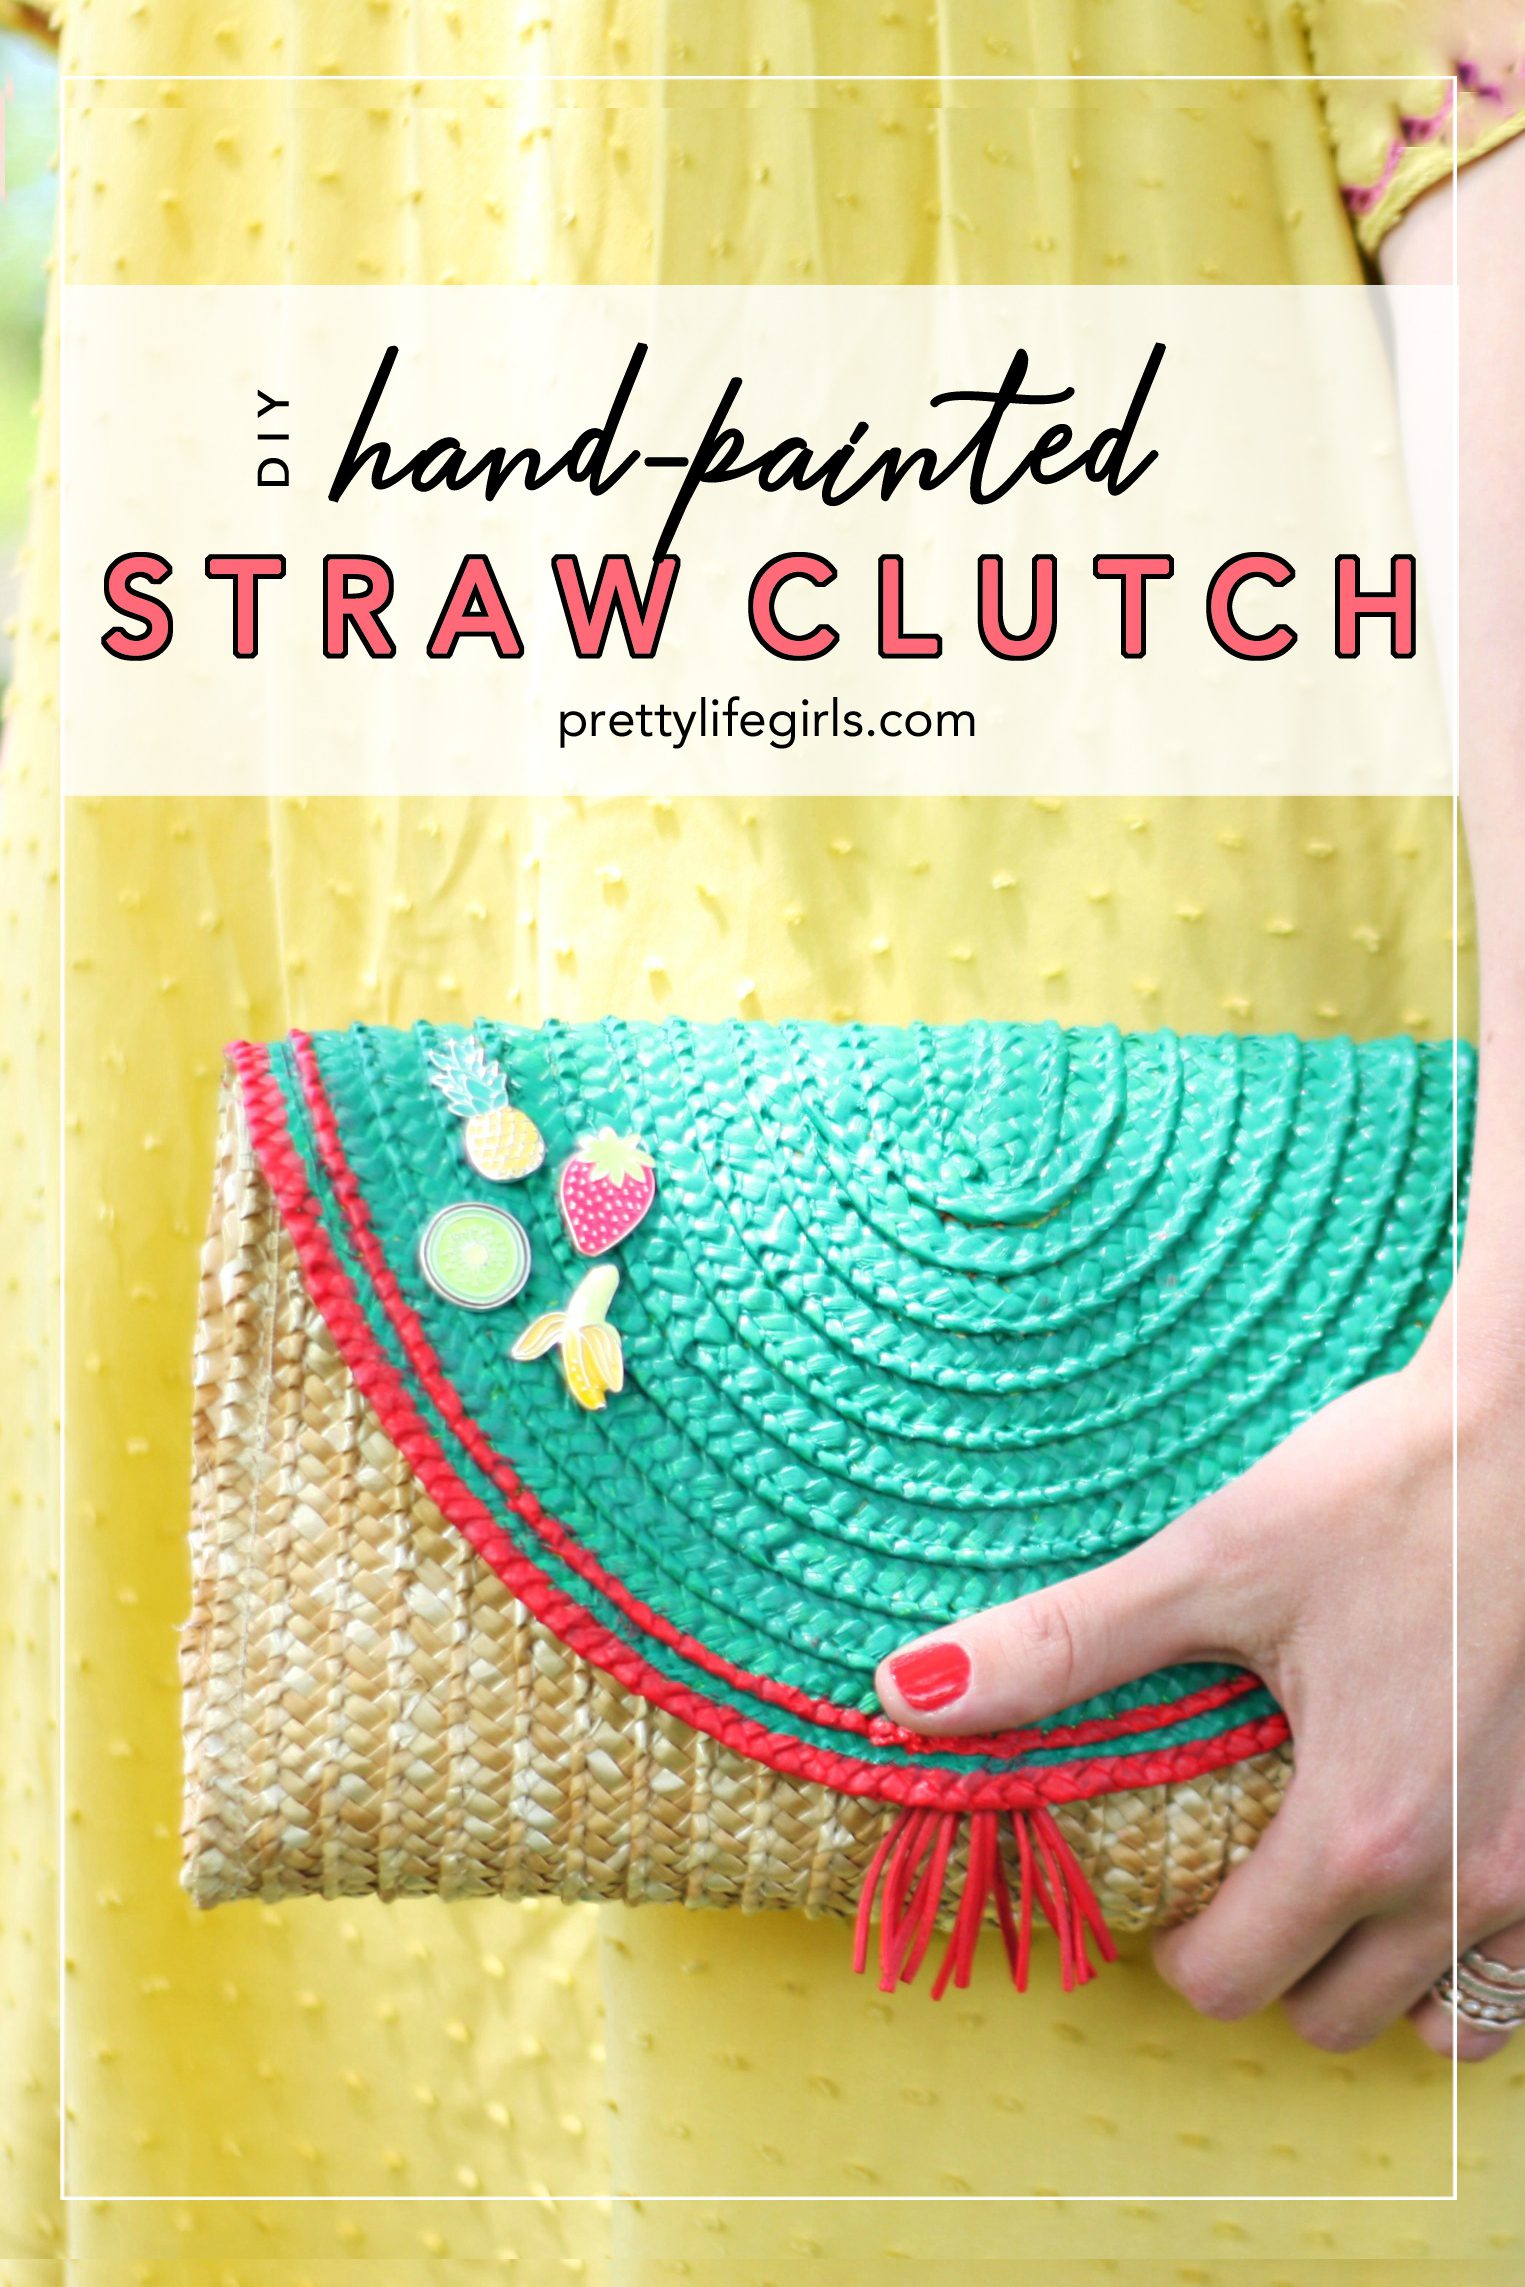
DIY fashion is making a comeback, and we are loving it! Patches, embroidery, pins, paint (90s flashbacks) – it is so fun to have your clothes and accessories really reflect who you are and what you love. Because we love this trend, we decided to try it out. So today, we are sharing the tutorial for this color blocked. hand-painted DIY straw clutch, embellished with enamel pins that can be easily customized to match your style! Keep scrolling for the tutorial!

Supplies needed to make your own hand painted straw clutch
Straw clutch
Craft paint
Enamel Pins
Tassels
Paint Brushes
Glue Gun
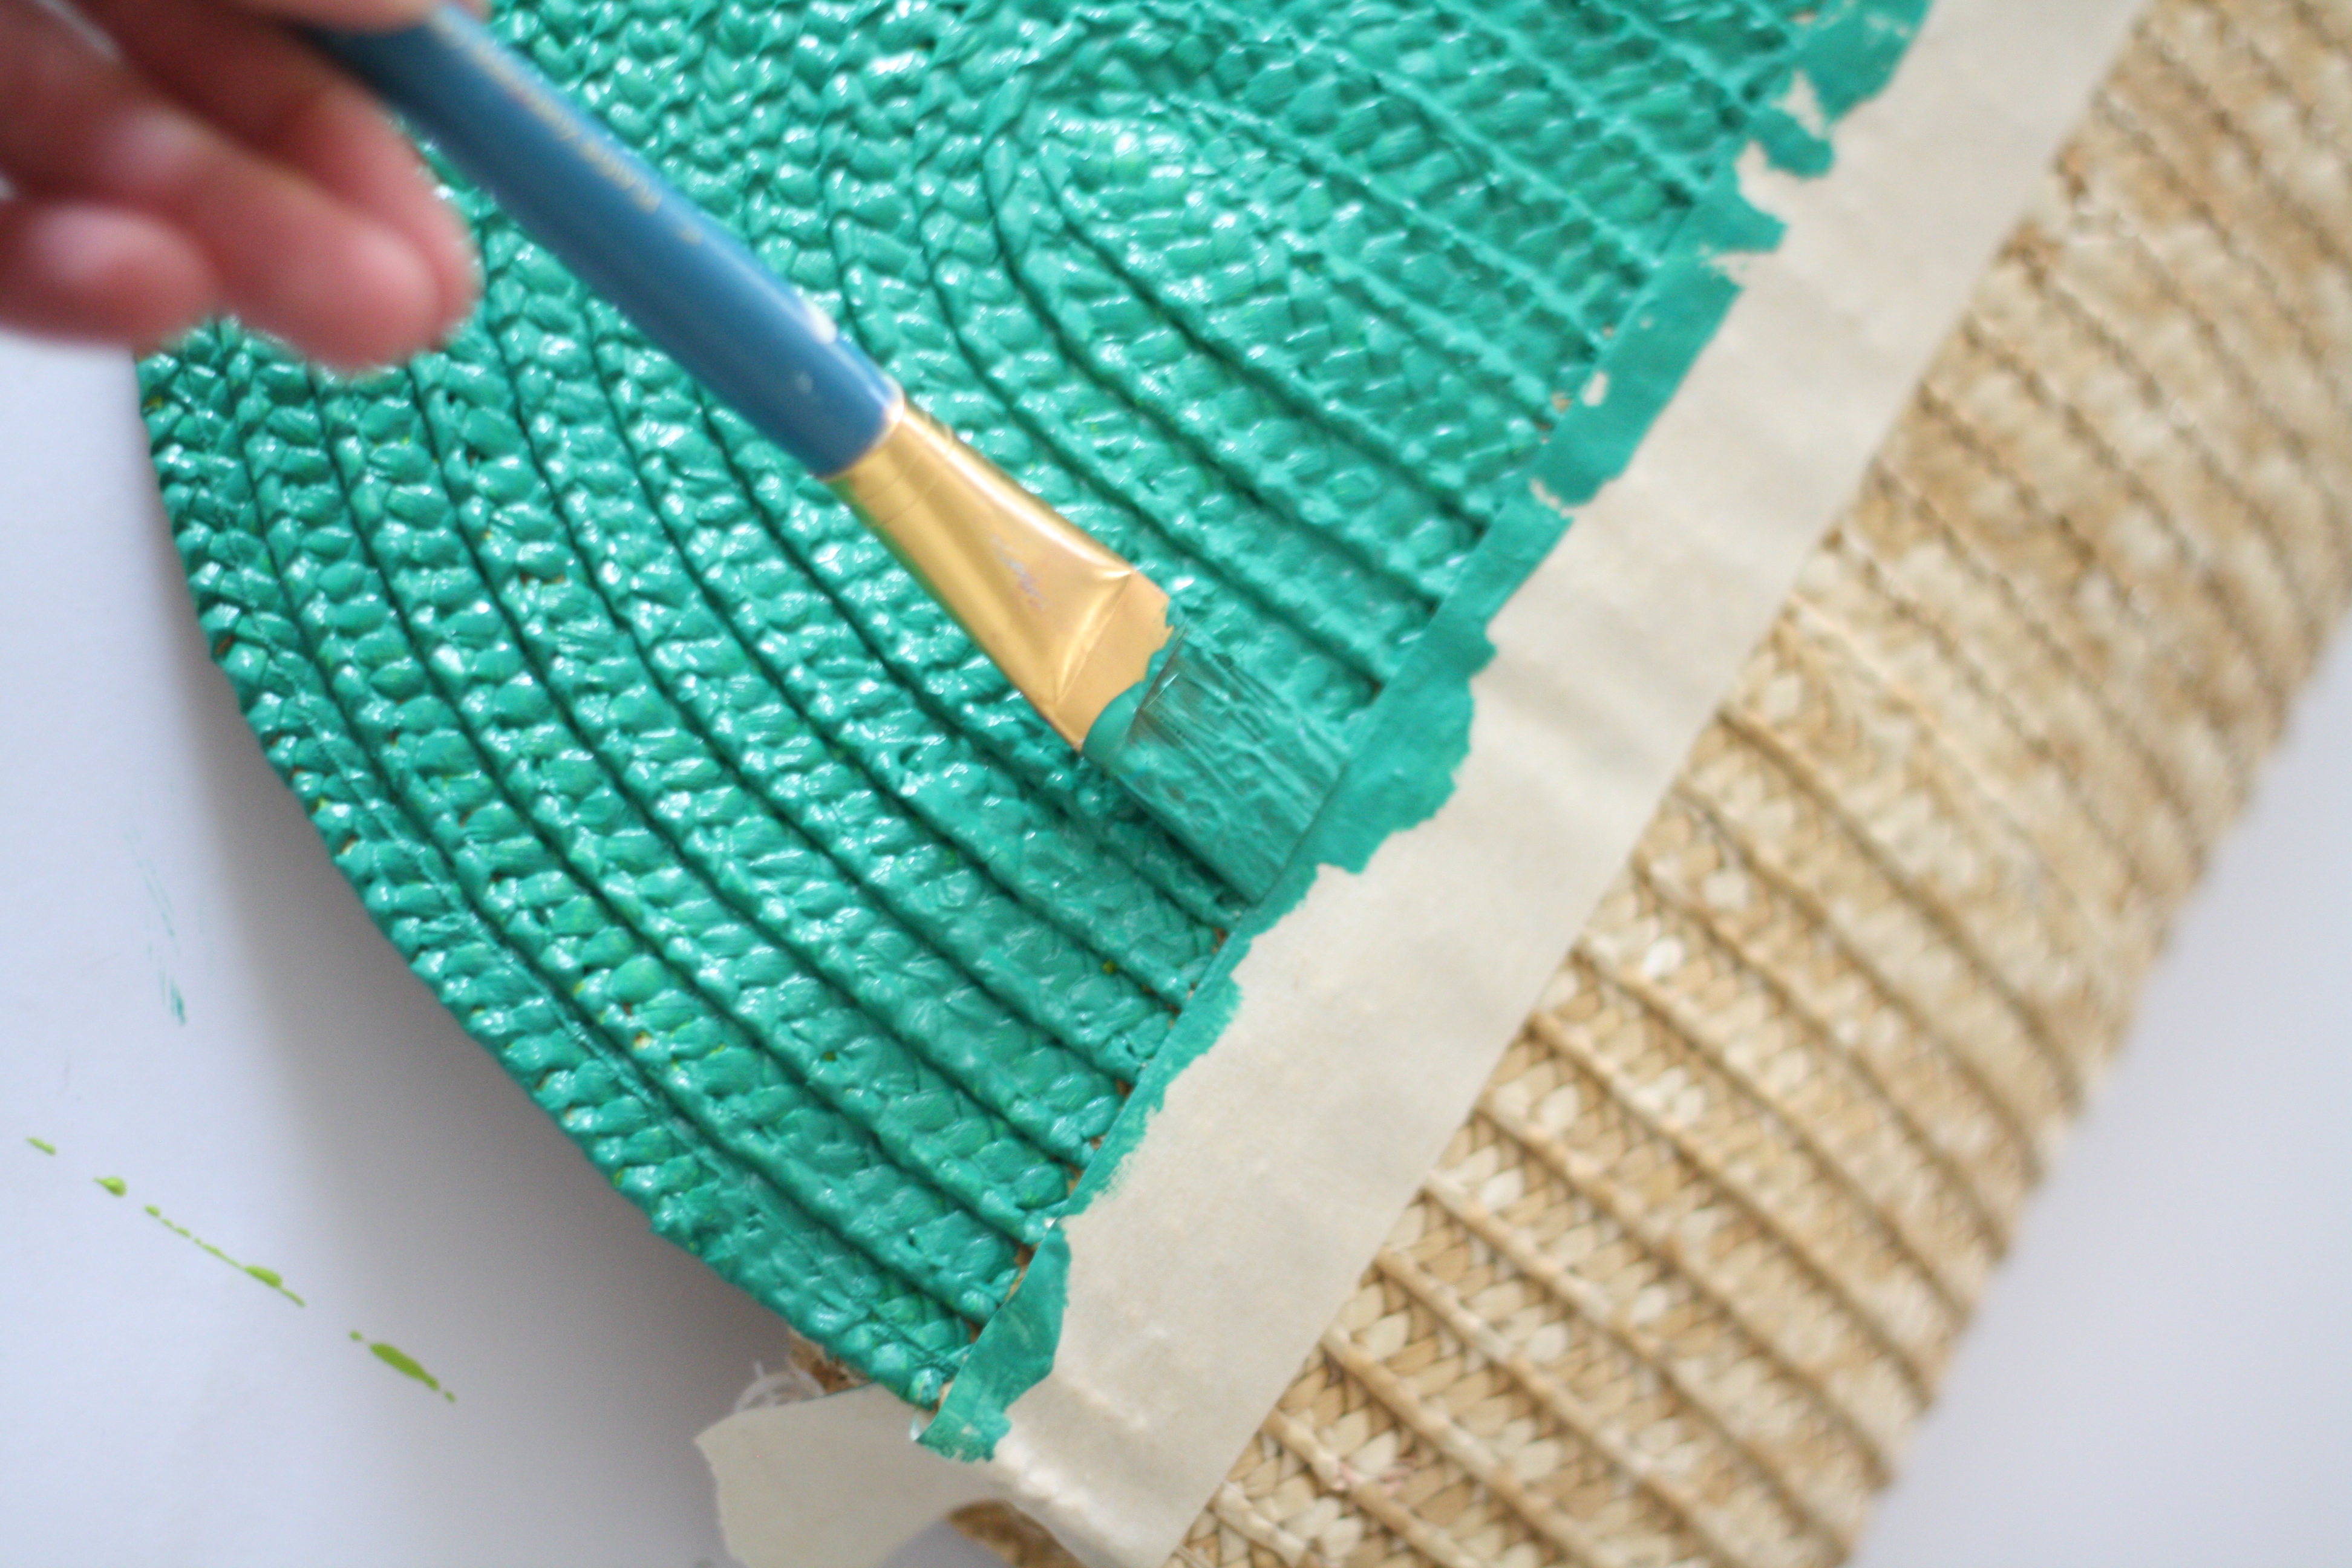
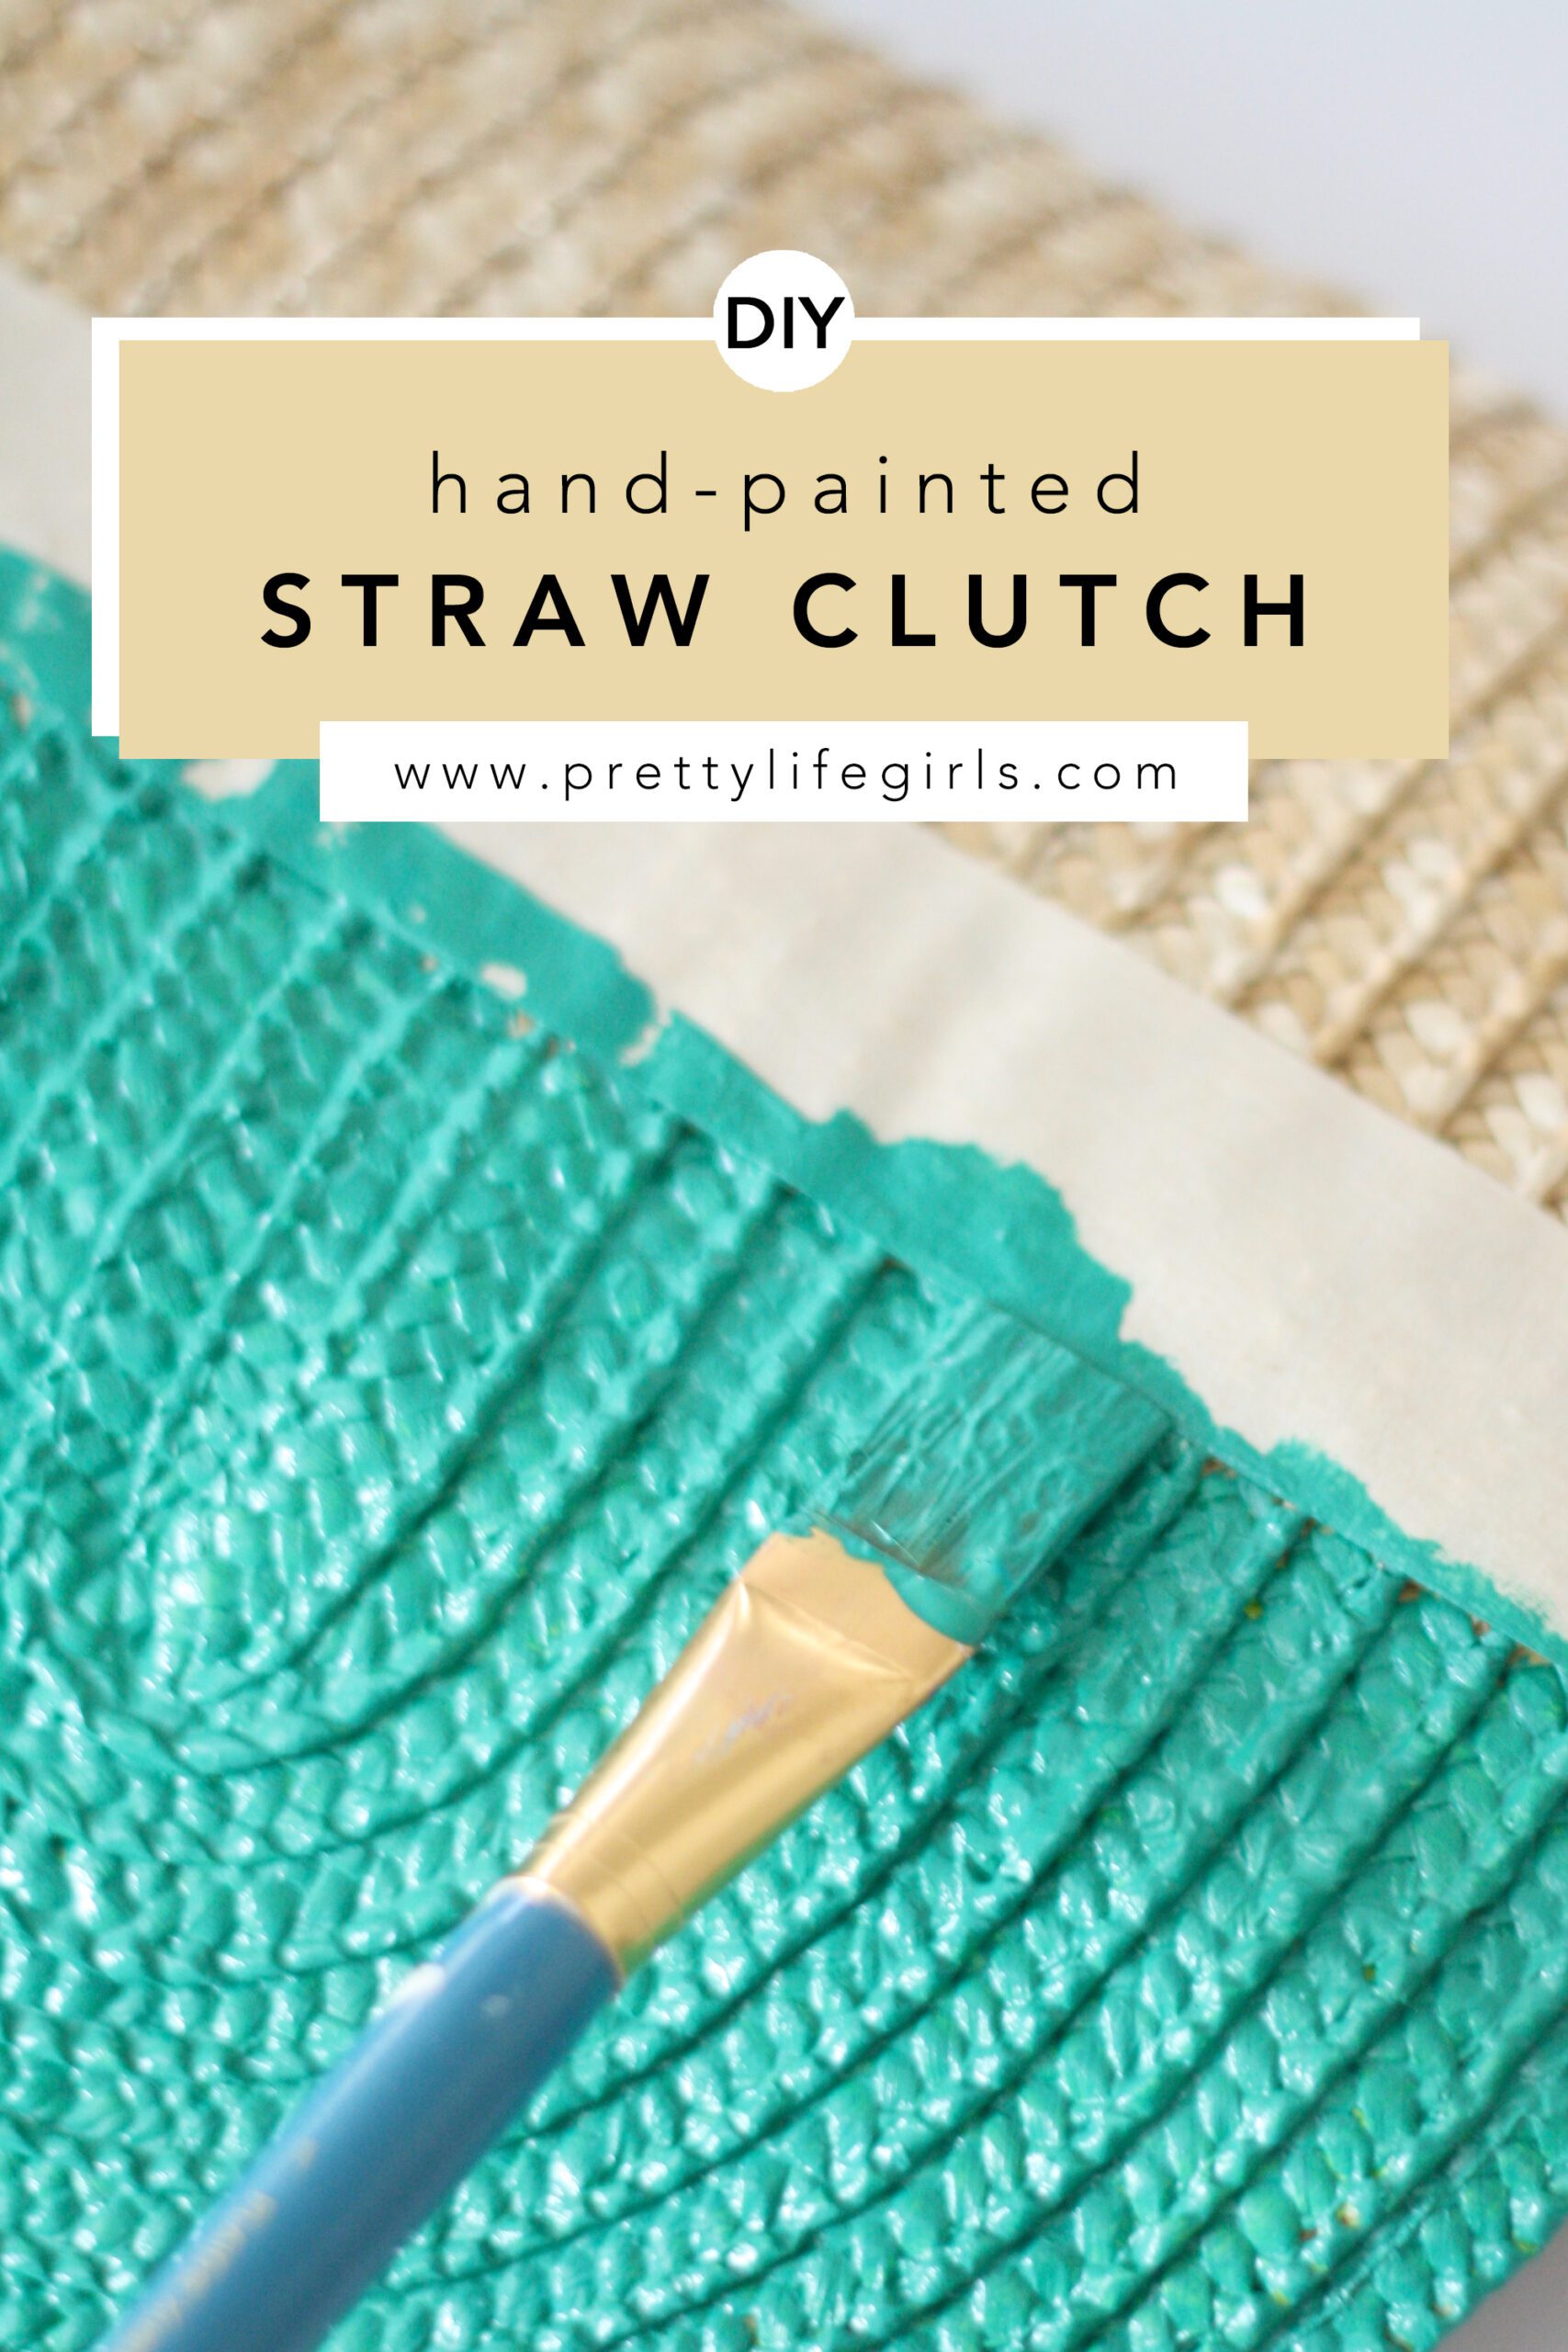
Step 1: Tape across the top of the clutch to achieve a clean line when you paint. Then apply your main paint color to the front flap of the clutch. Add multiple coats, if needed. Let dry and remove the tape.
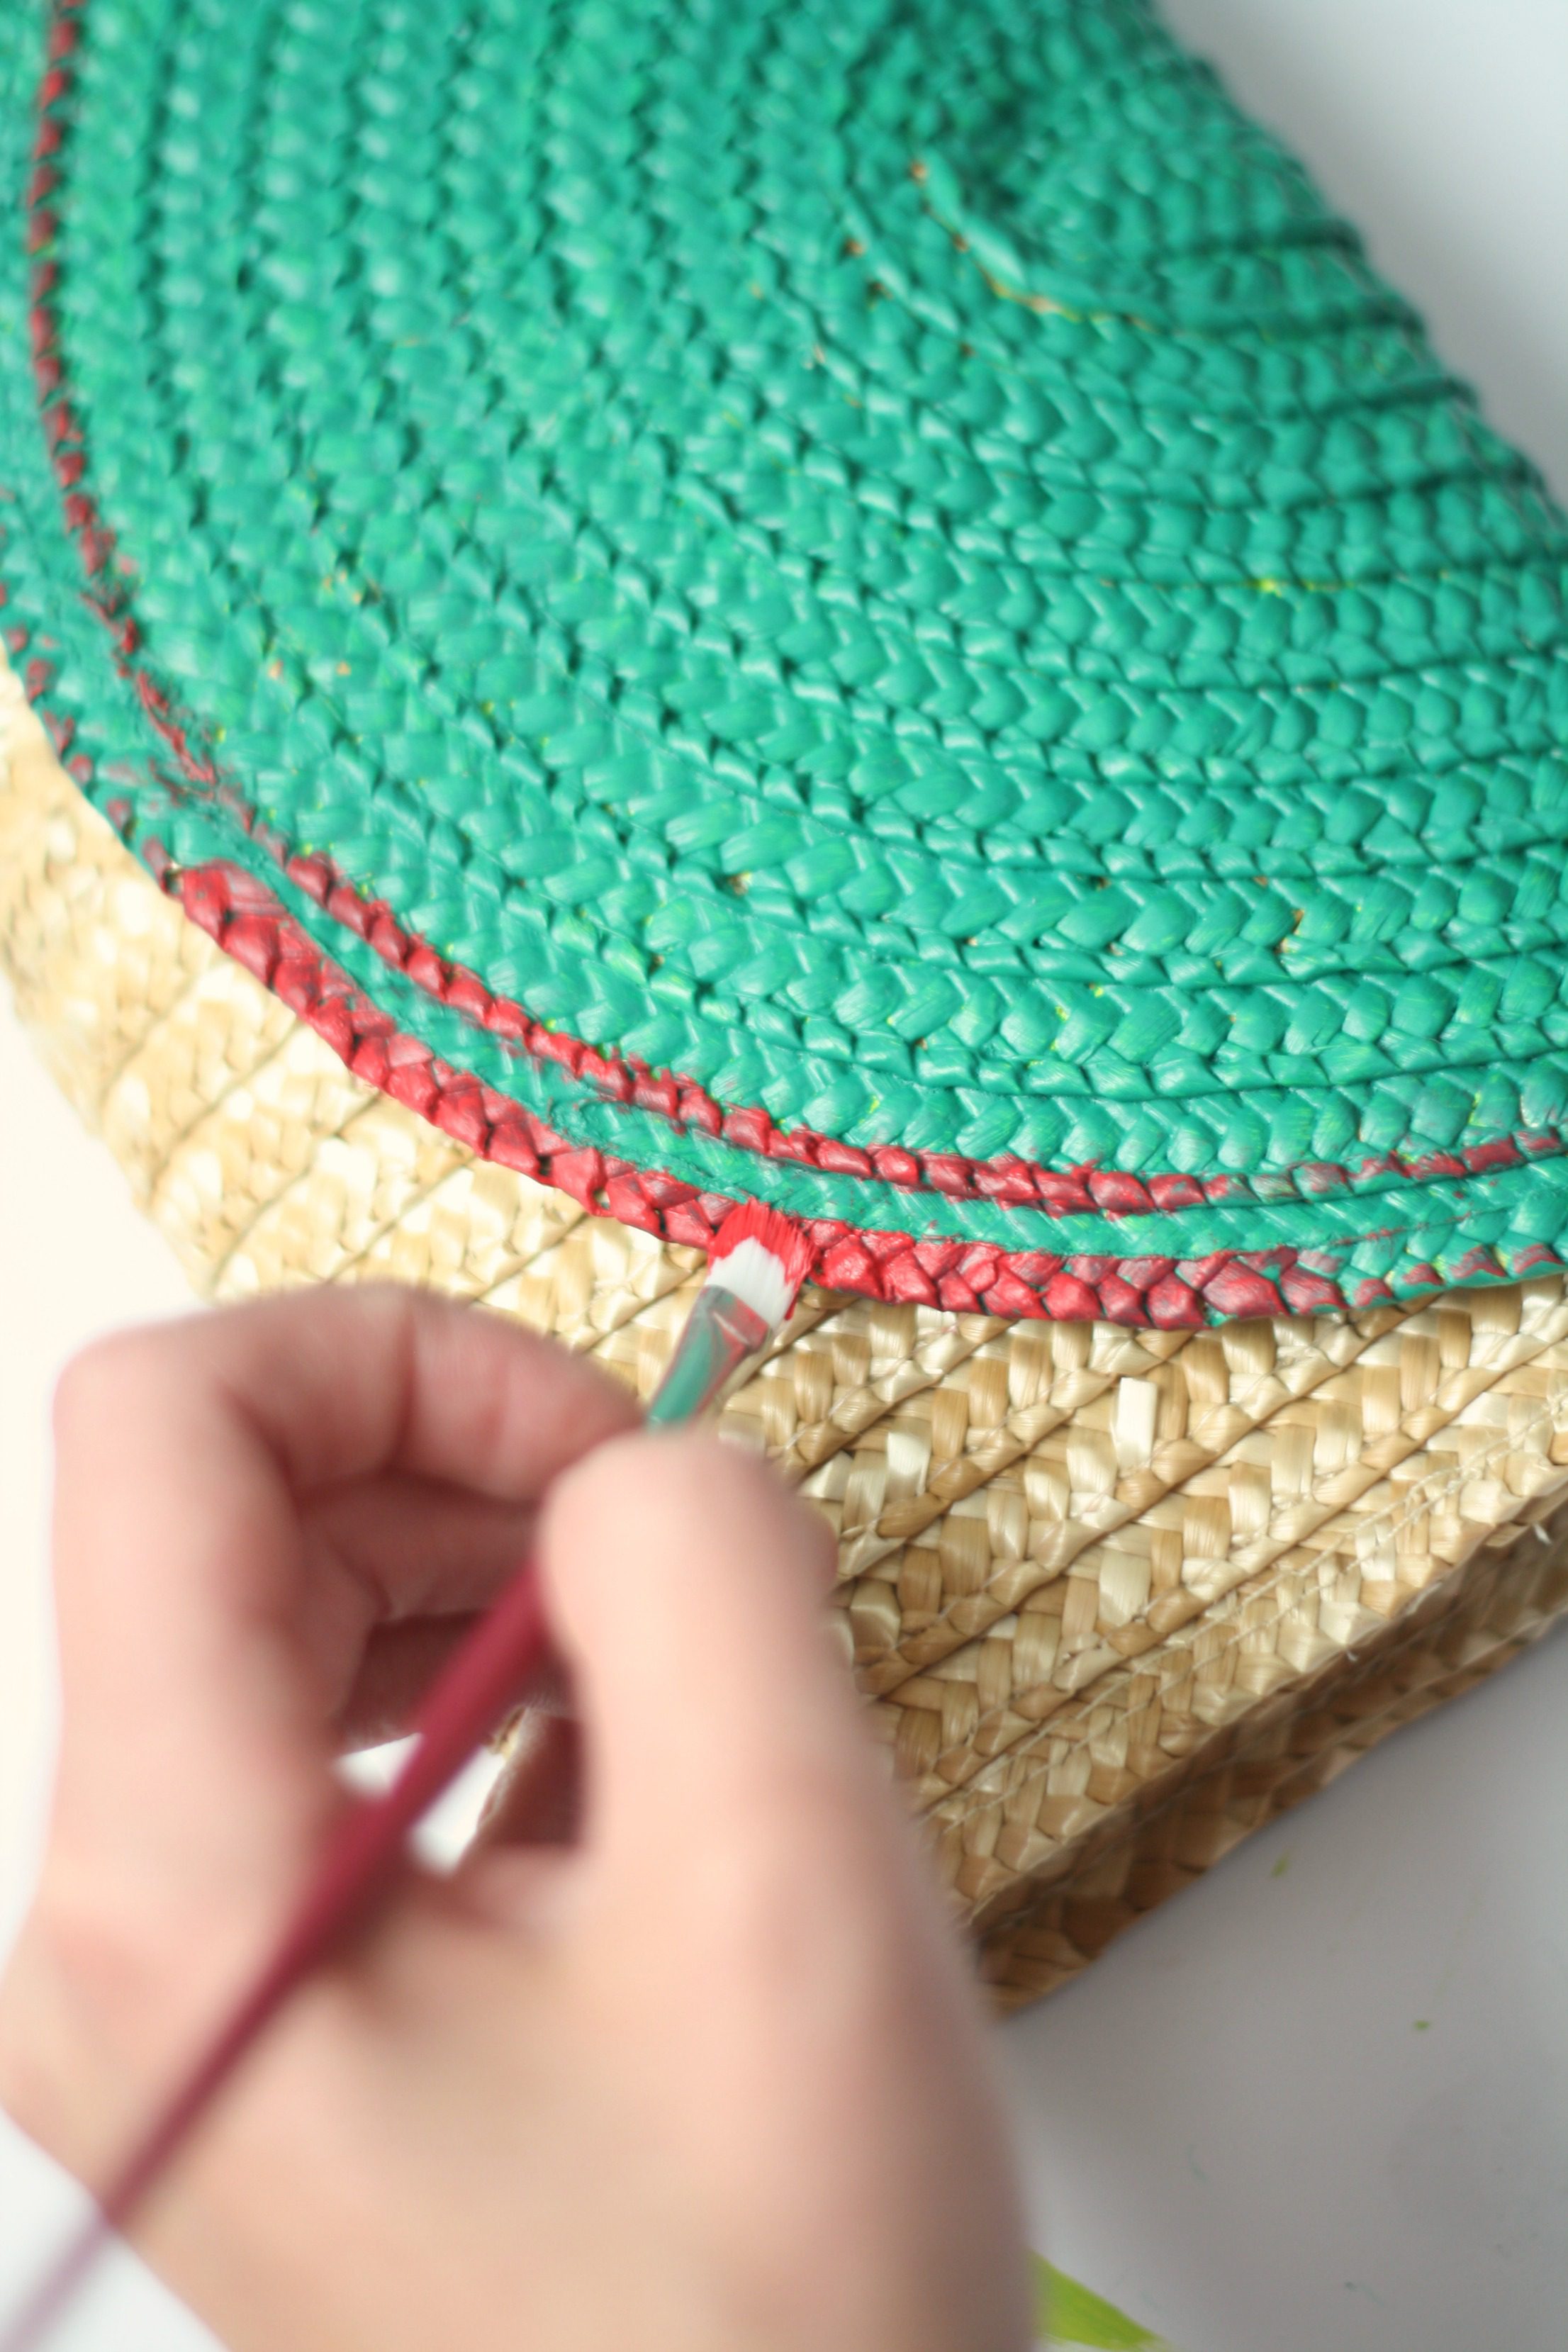
Step 2: Apply your accent paint color as trim on the edge of the clutch flap. Add multiple coats, if needed. Let dry.
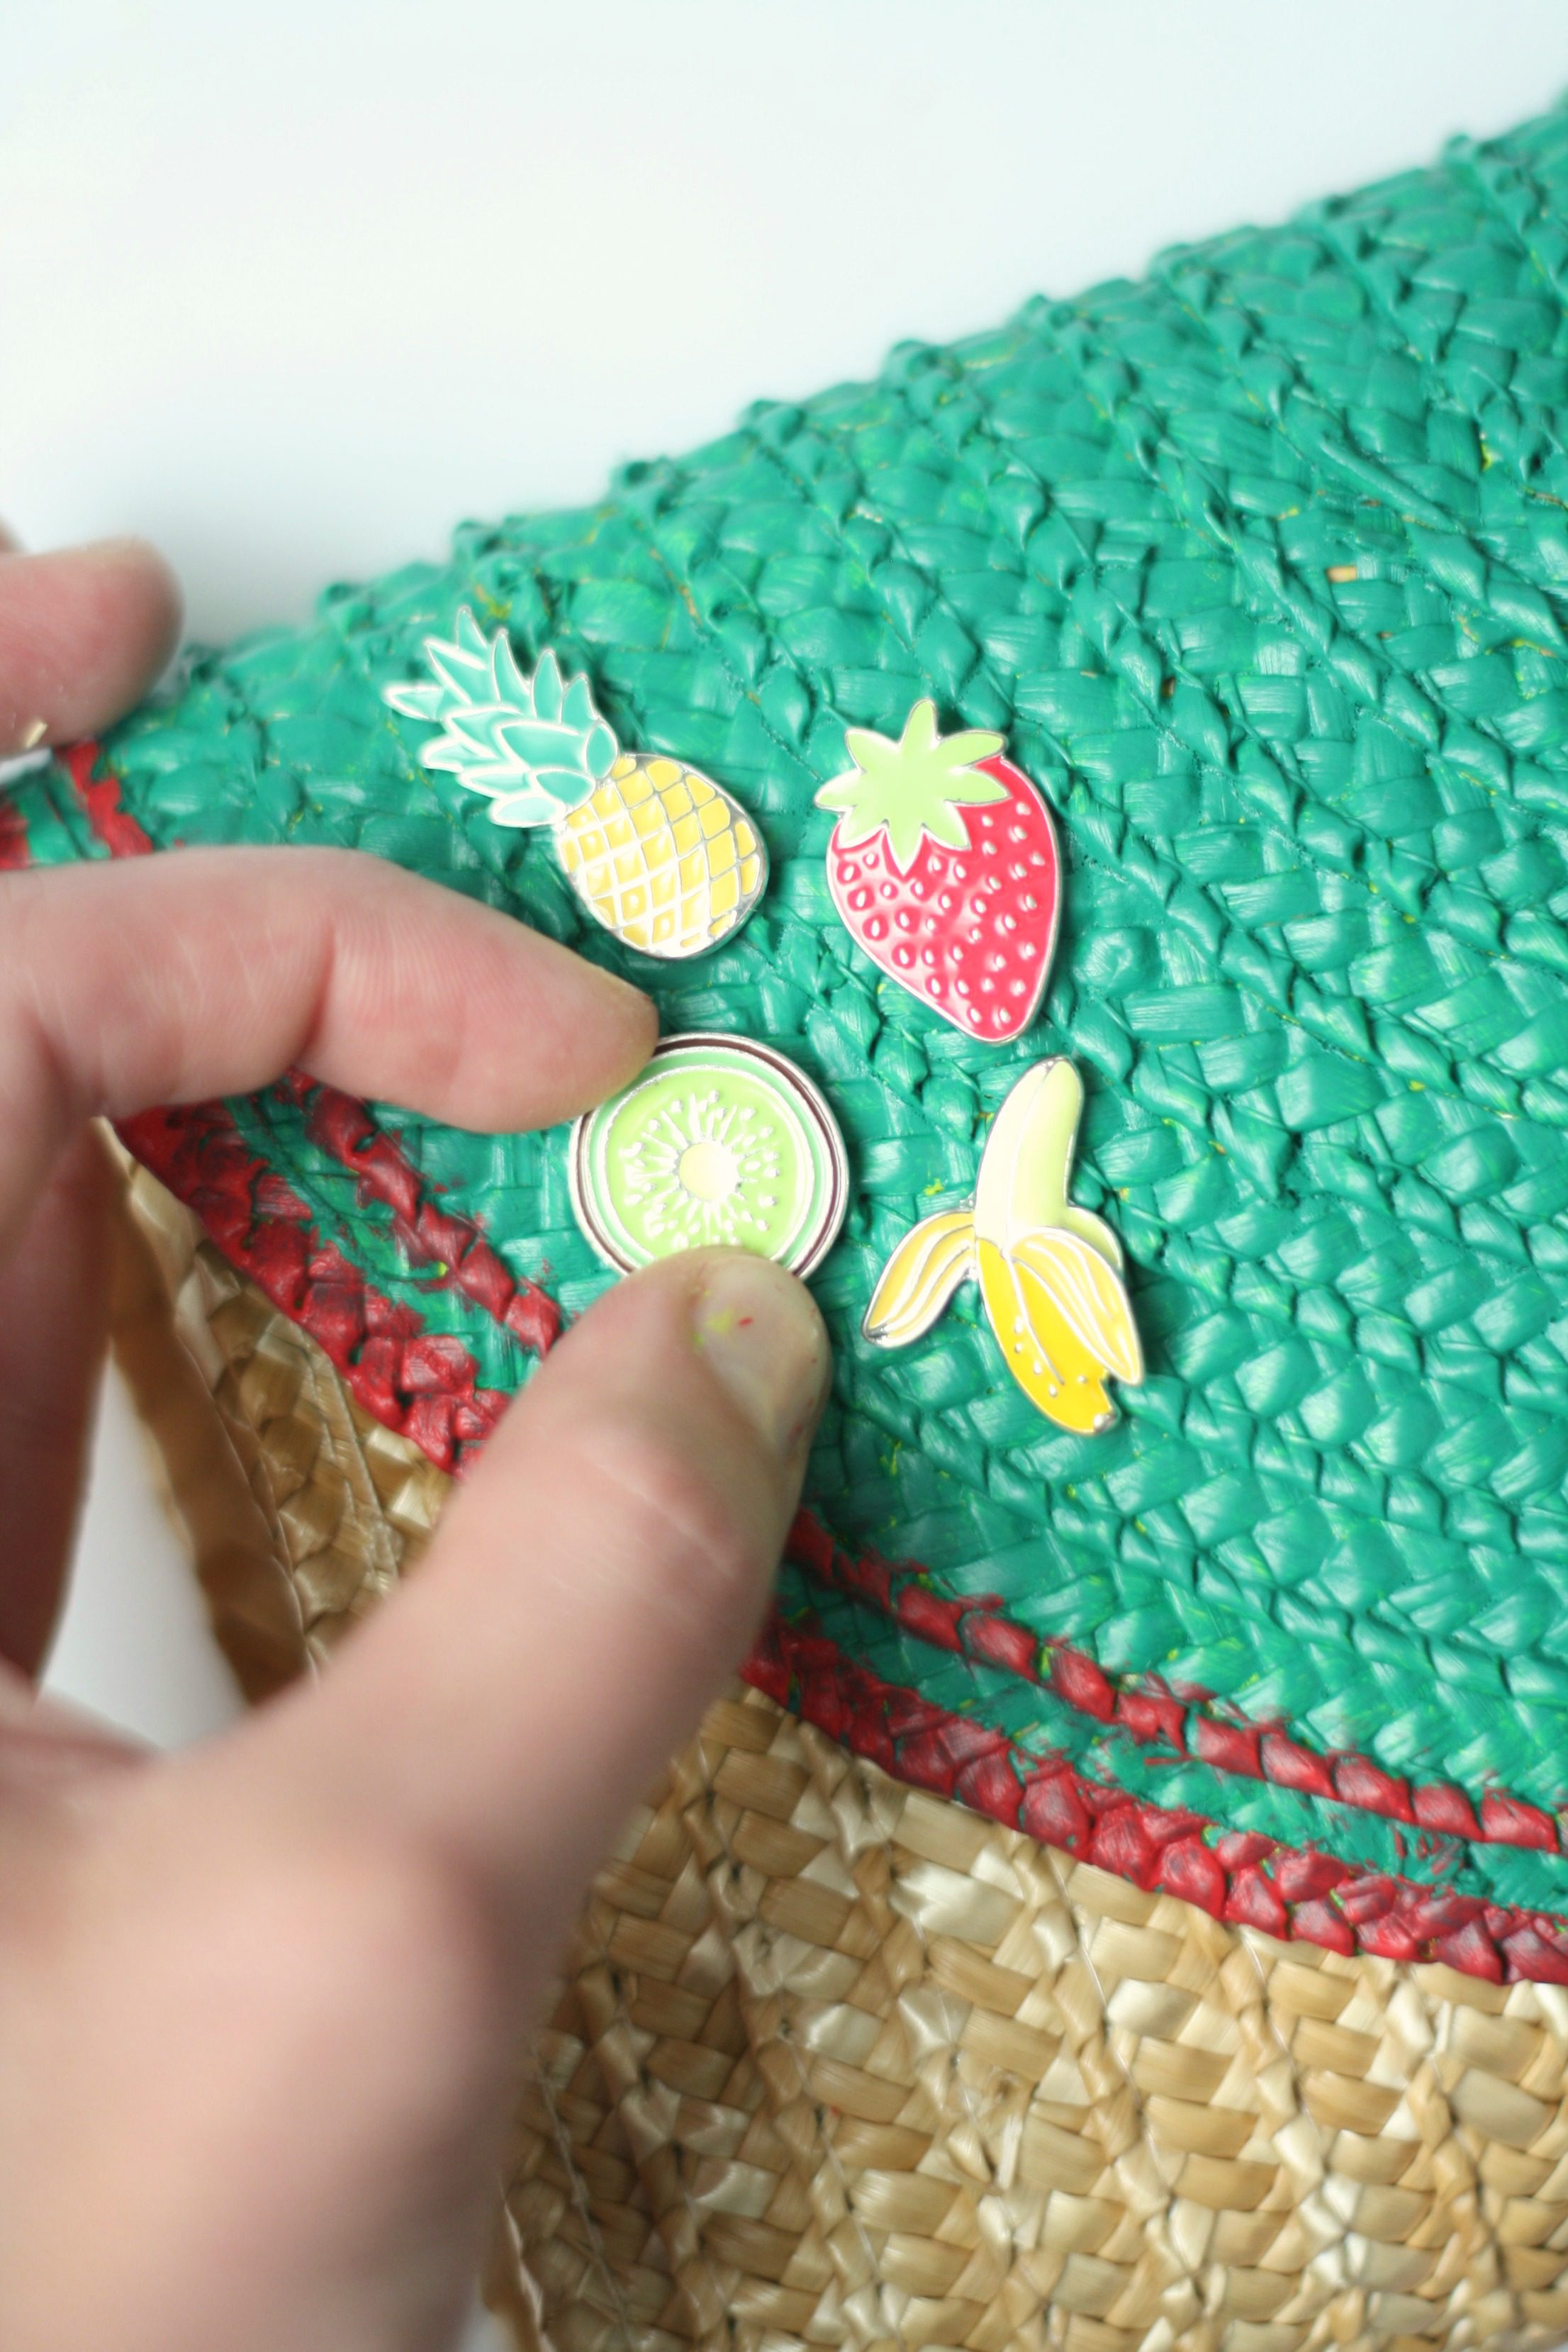
Step 3: Attach your pins to the clutch. I chose these fruit pins for summer, but I love that you can choose pins that reflect your personal style and that you can change them whenever you feel like it!
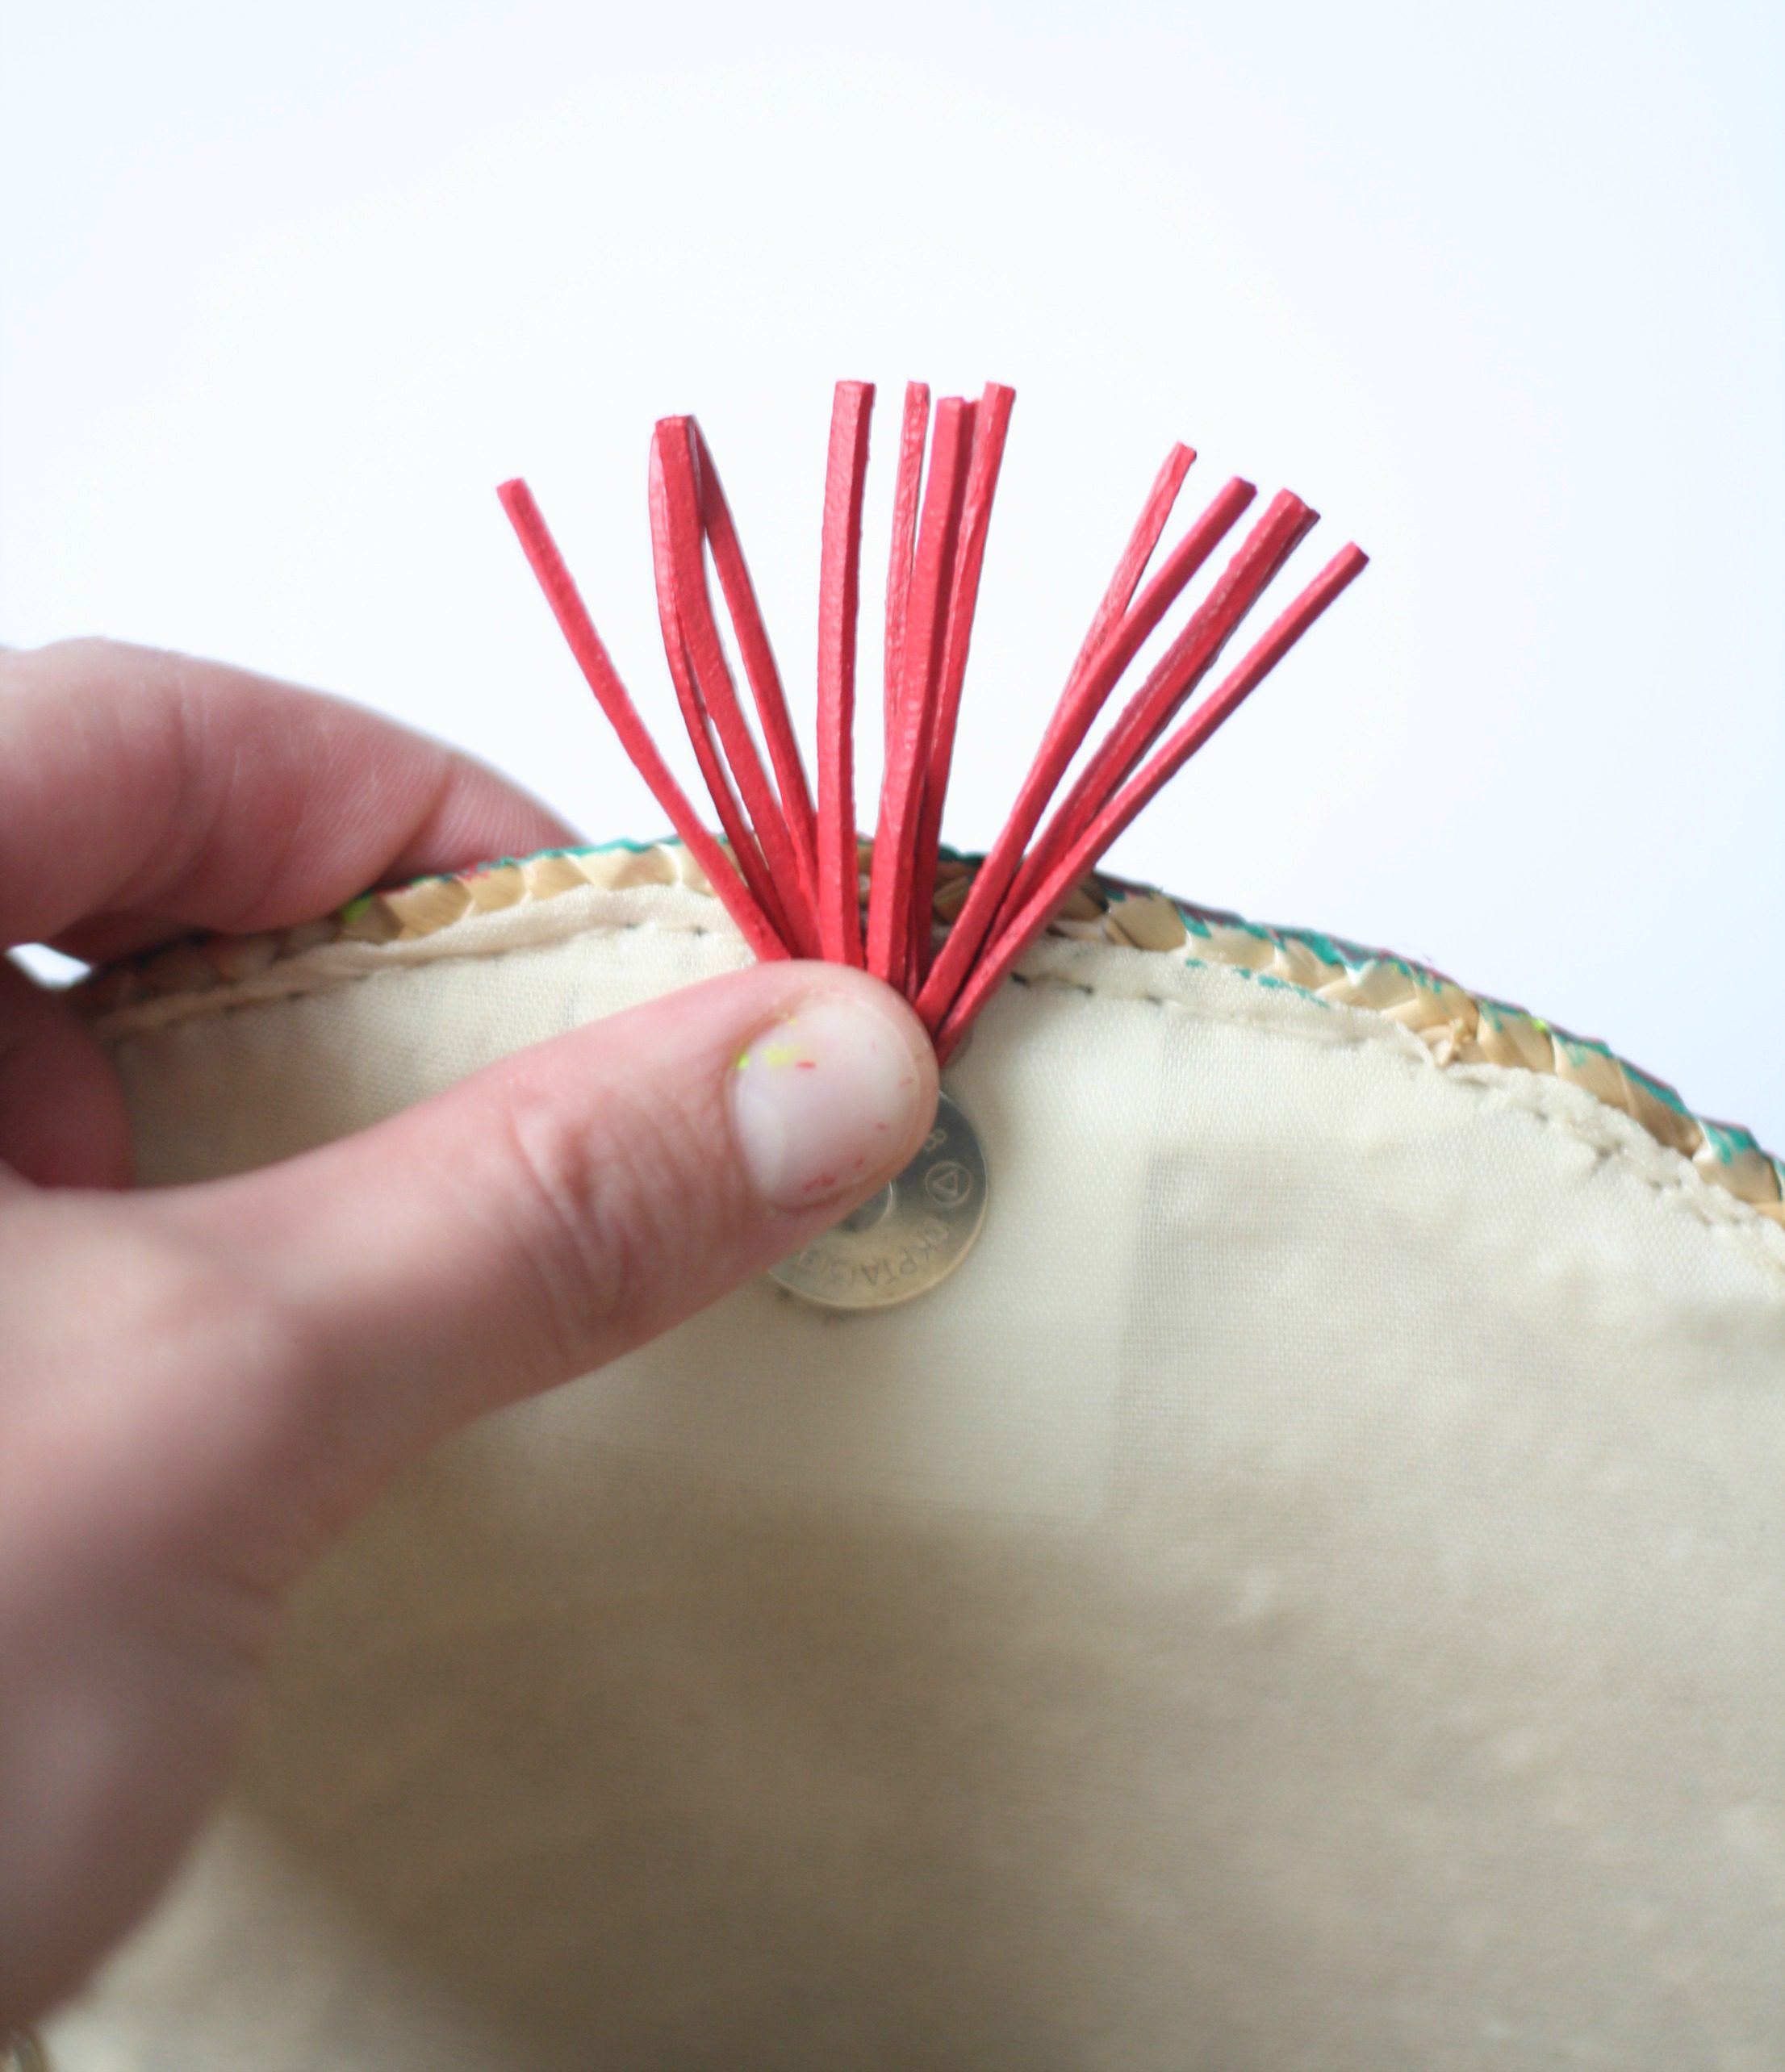
Step 4: Pull the tassel out of its silver cap (it should come out pretty easily with a little twisting). Paint the tassel with the accent color paint and let dry. Then, using hot glue, stick it on the inside of the clutch, just below the snap button.
Happy crafting!
xo, Sam
Looking for some other DIY fashion projects? Here are some of our favorites!