These DIY Felt Pizza Party Favors are sponsored by Silhouette. All opinions expressed are ours alone.
This post may contain affiliate links, which help us support this site.
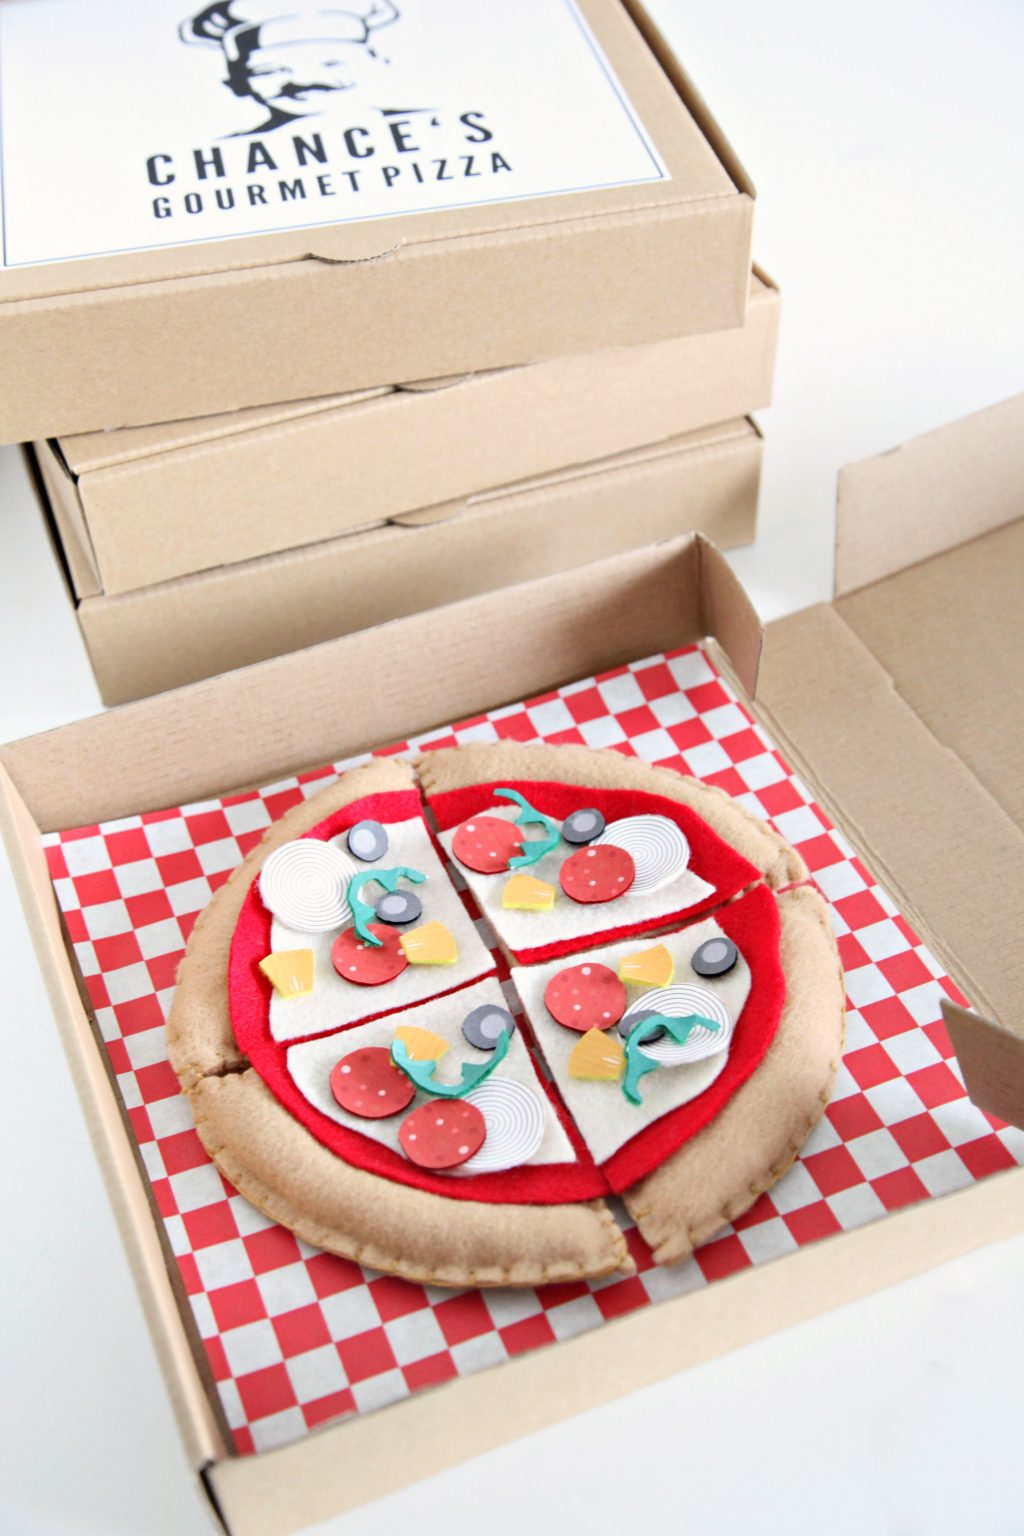
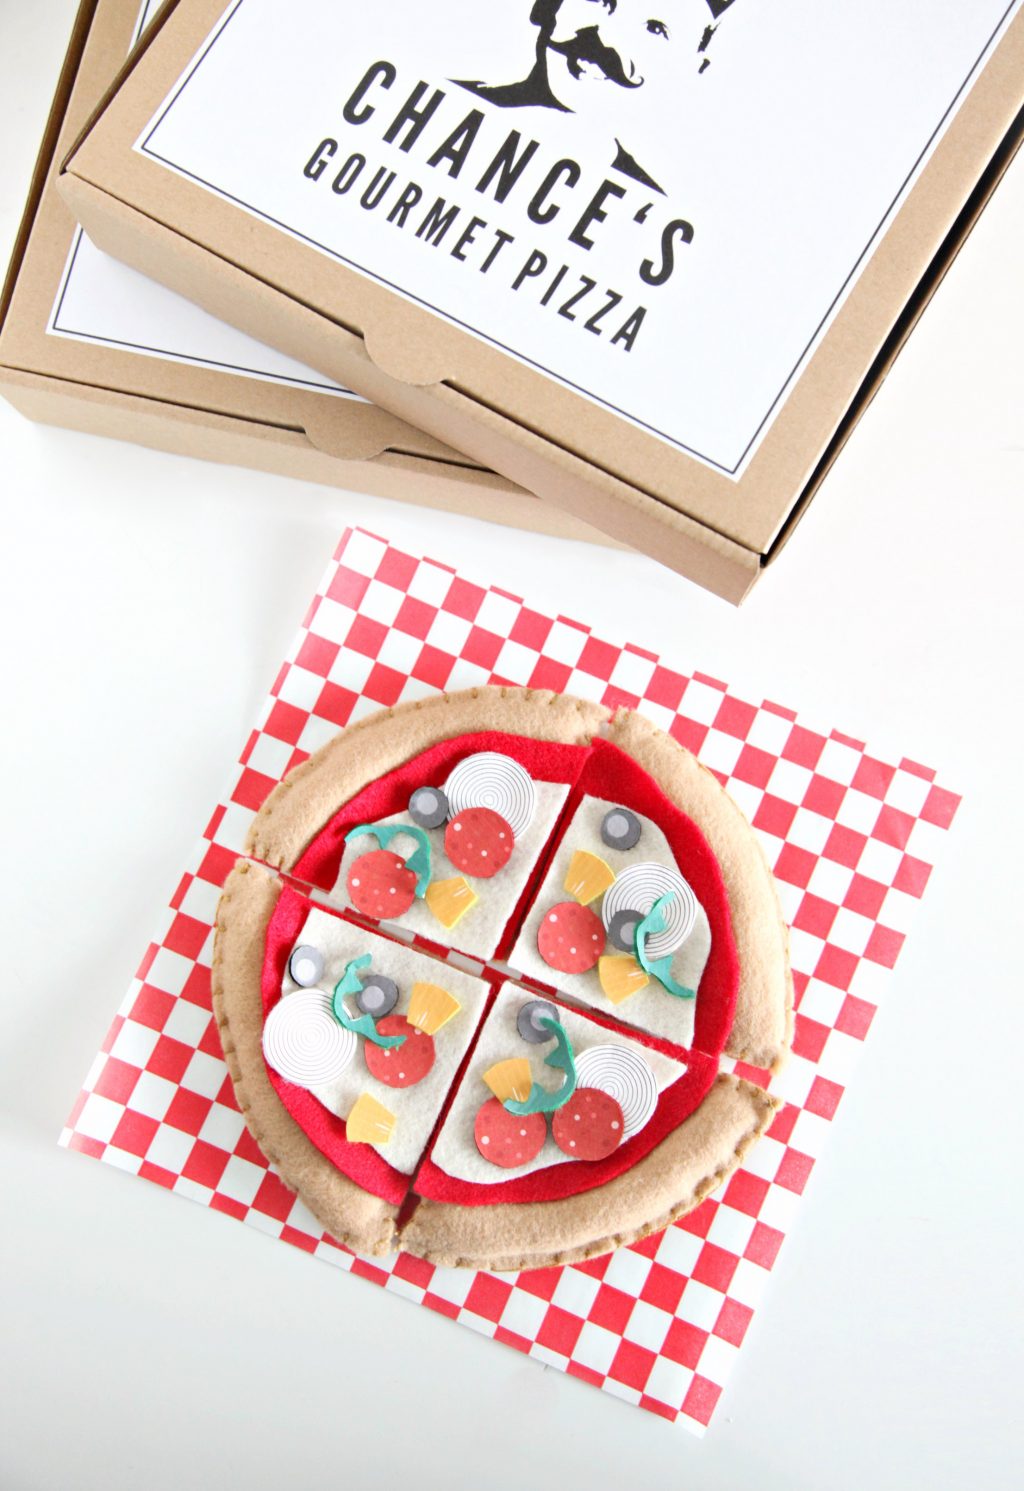
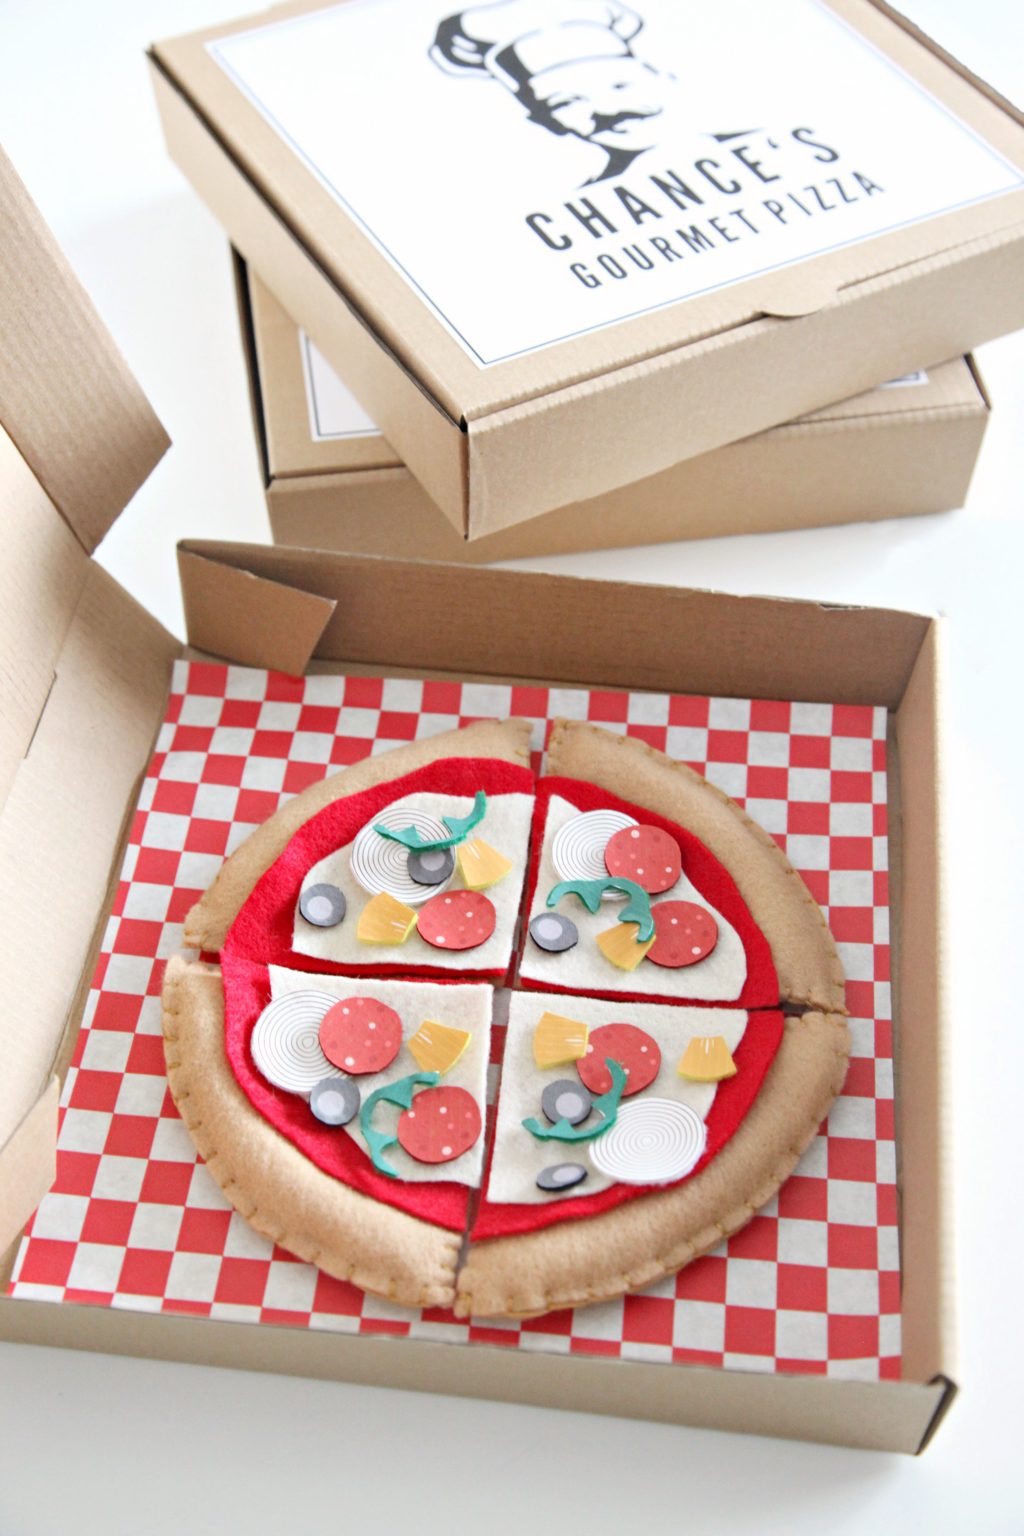
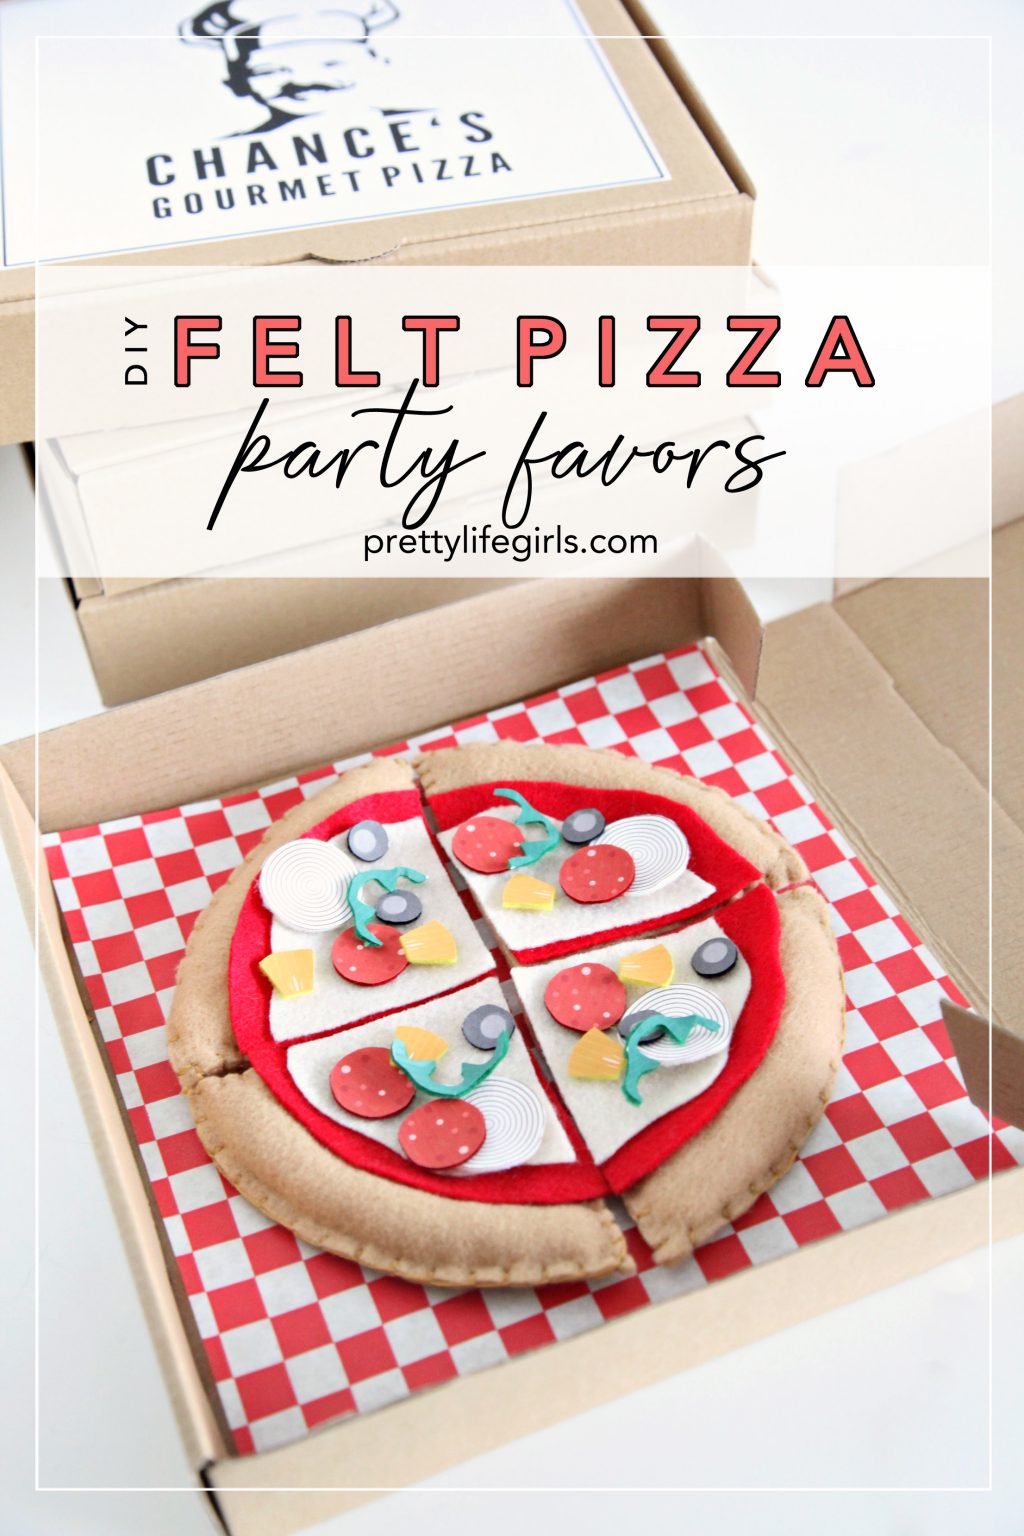
My little boy turned five in March, and he insisted on having a pizza party with some of his friends to celebrate. When I started scouring Pinterest, I saw this darling pizza party, and even though I wasn’t about to throw a party as complex as that one, I instantly fell in love with the felt pizzas. I knew that I had to try making my own felt pizzas as party favors. I’m not a huge sewer, so I simplified some things, and I also used Silhouette Printable Heat Transfer Material and Printable Sticker Paper to add some fun details. I love how these DIY Felt Pizza Party Favors turned out, and I got so many nice messages from the moms telling me how their kids played and played with them after they got home! Here’s how I made them…

Here’s what you need to make your own Felt Pizzas:
Felt – tan, cream, red, green, yellow, white, black
Batting
Tan thread or fishing line
Printable Heat Transfer Material
Printable White Sticker Paper
Pizza Boxes
Checkered Tissue Paper
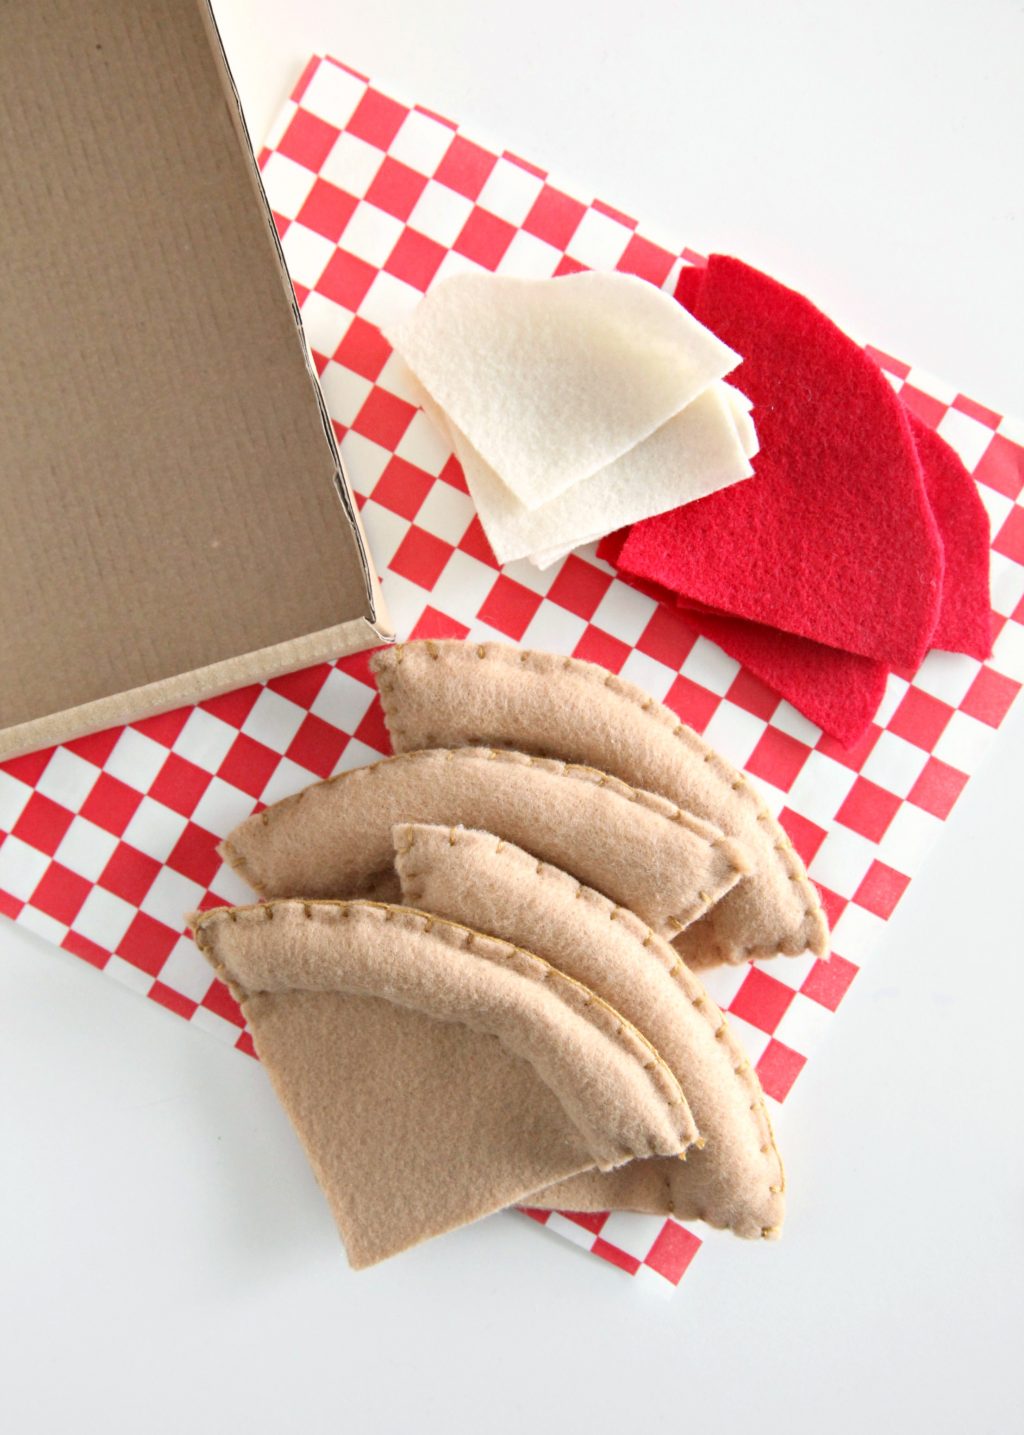
Step 1: Cut two 8 inch circles from tan felt. Then, cut the circles in quarters.
Step 2: Stitch the outside rounded edges of two quarters together using a blanket stitch.
Step 3: Use a piece of batting to form a crust inside the two pieces of felt. Stitch around the crust. Repeat with the remaining felt to create a whole pizza. Use hot glue to connect the loose corners of each piece.


Step 4: Print pizza toppings, grouped by color, on printable heat transfer material. I used this image, but there are lots of free graphics too! Then, apply the heat transfer material to the corresponding felt color, and cut out the toppings.
Note: You can skip the heat transfer step and just cut toppings out of felt, but I LOVE the extra detail from the heat transfer, AND it makes cutting super easy because you don’t need to trace anything or use a stencil since the shapes are printed.


Step 5: Cut a 7 inch circle out of red felt, then cut in quarters.


Step 6: Cut a 6 inch circle (wavy edge optional) out of cream felt, then cut in quarters.

Step 7: Place a piece of checkered tissue paper in the pizza box.
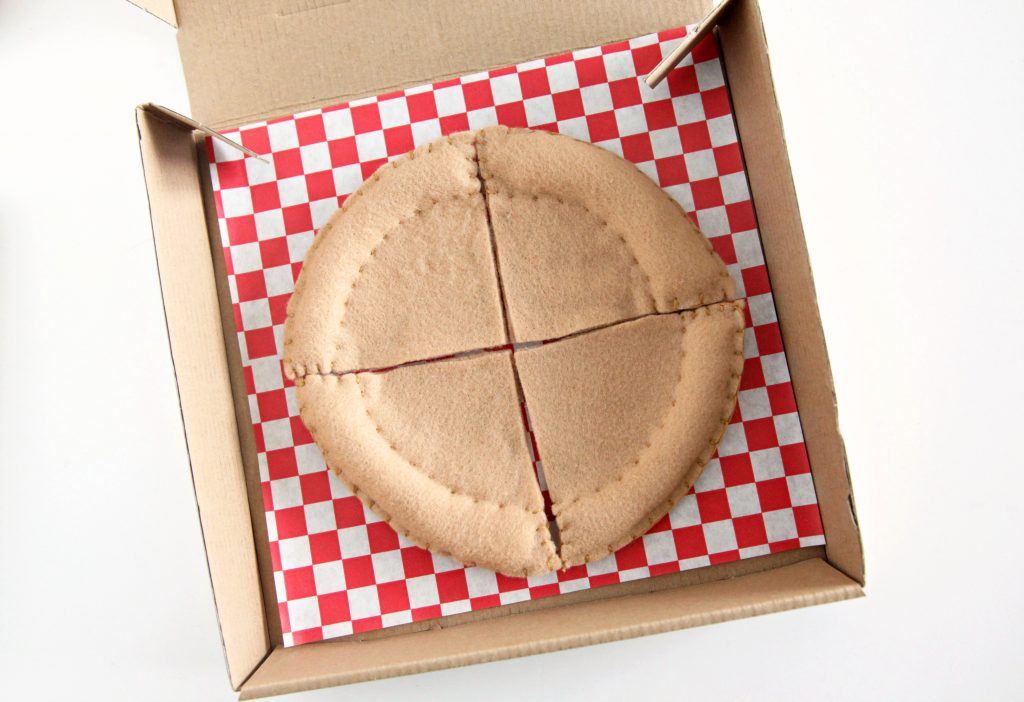

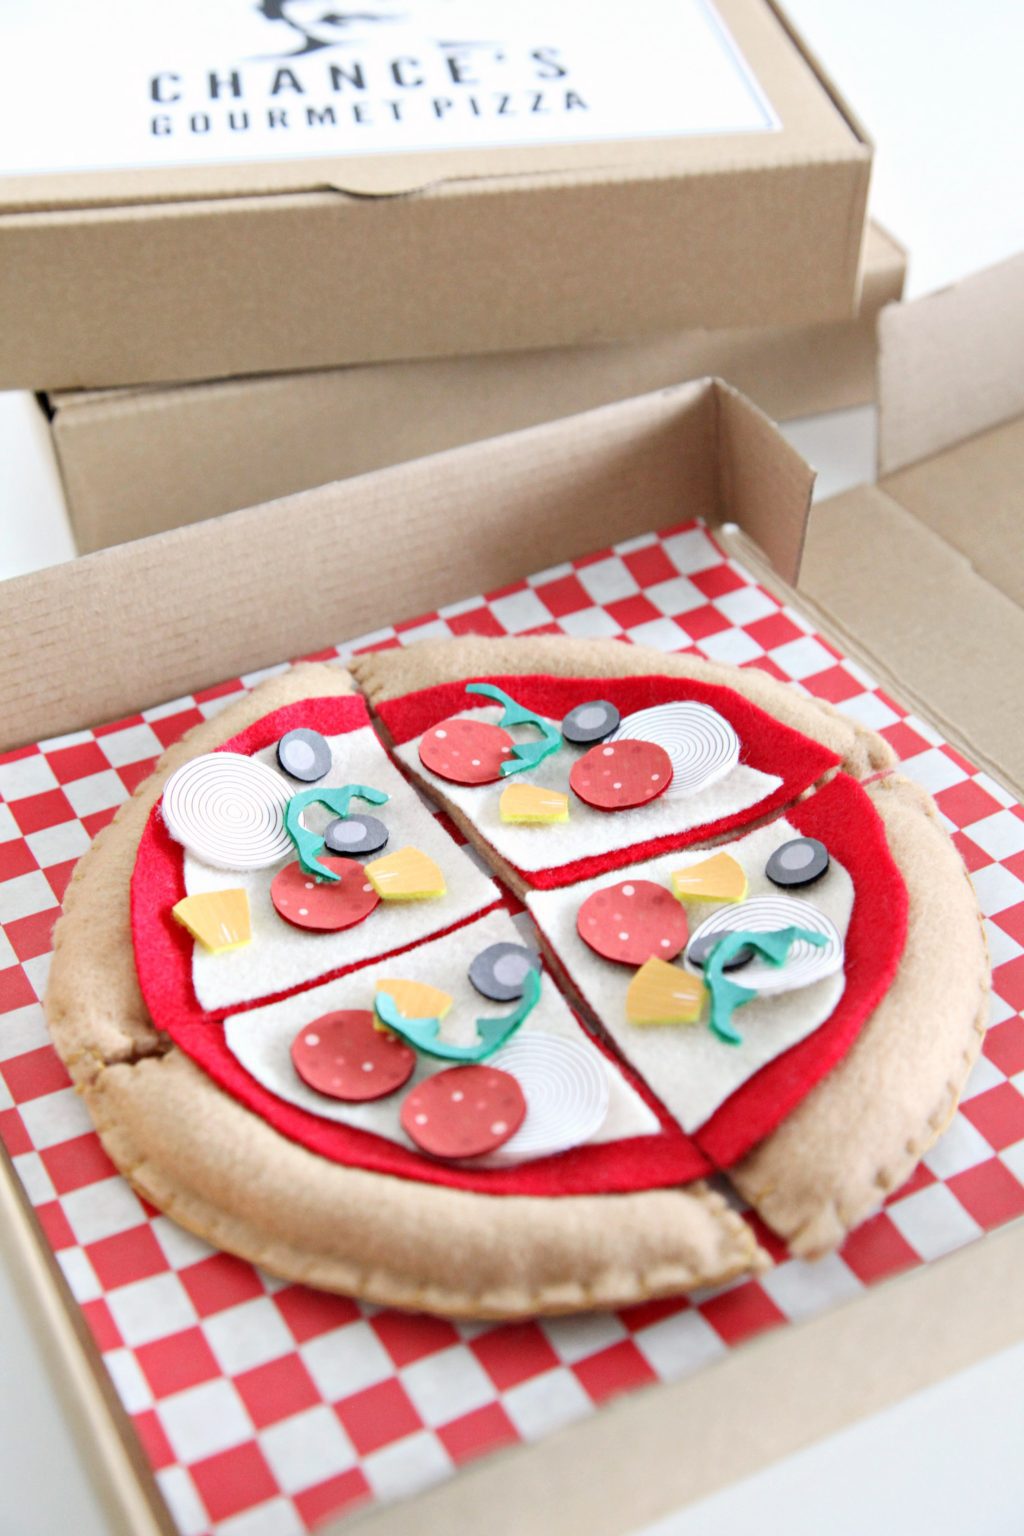
Step 8: Now the fun part… Time to assemble the pizza! Crust, sauce, cheese, toppings…


Step 9: Print a label for the pizza box on the Printable Sticker Paper, and apply it to the box. I made this personalized label using Photoshop, and it cracks me up every time I see it! 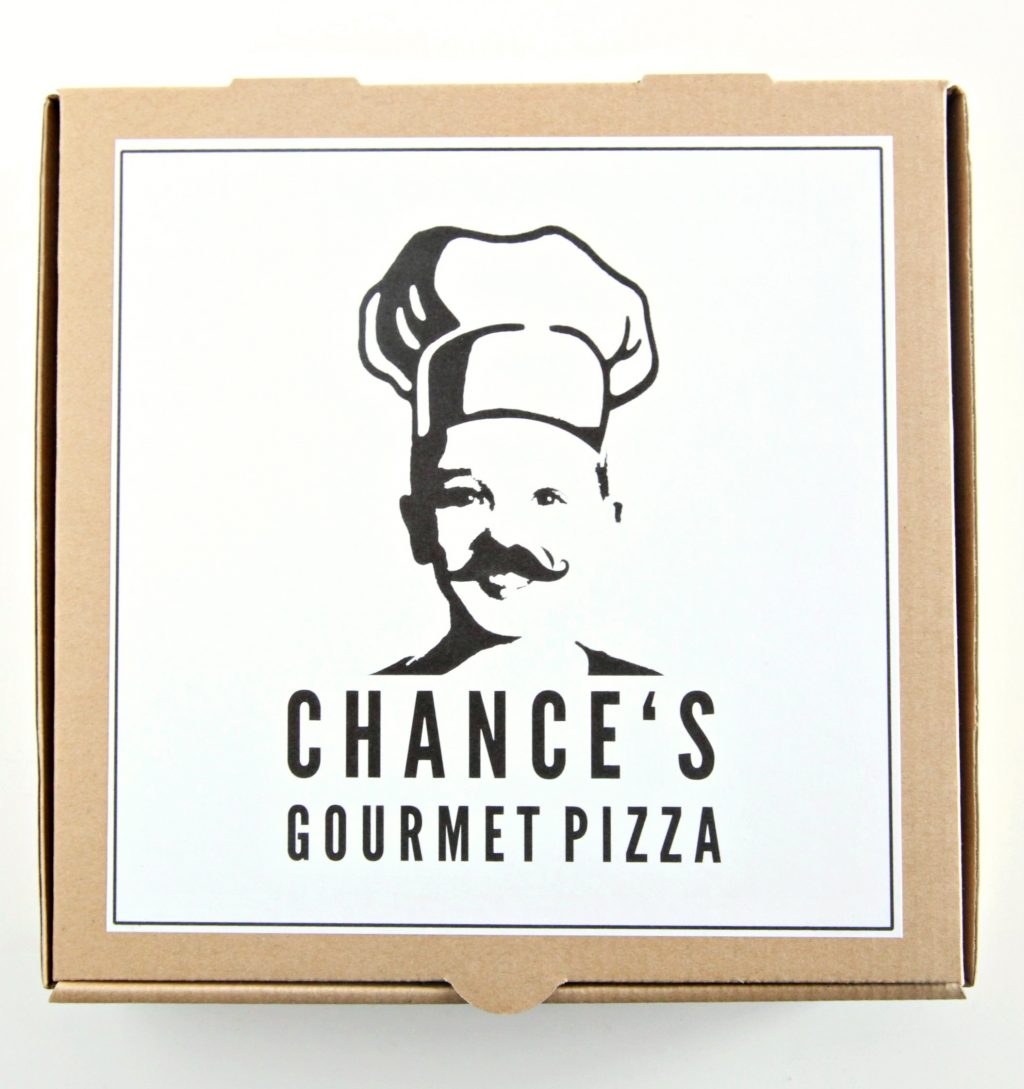

Can you believe how cute these are?! My kids still love playing with theirs, and I love seeing them engage in imaginative play.




Happy crafting!
xo, Sam
Check out these other fun DIY kid’s toys/games:
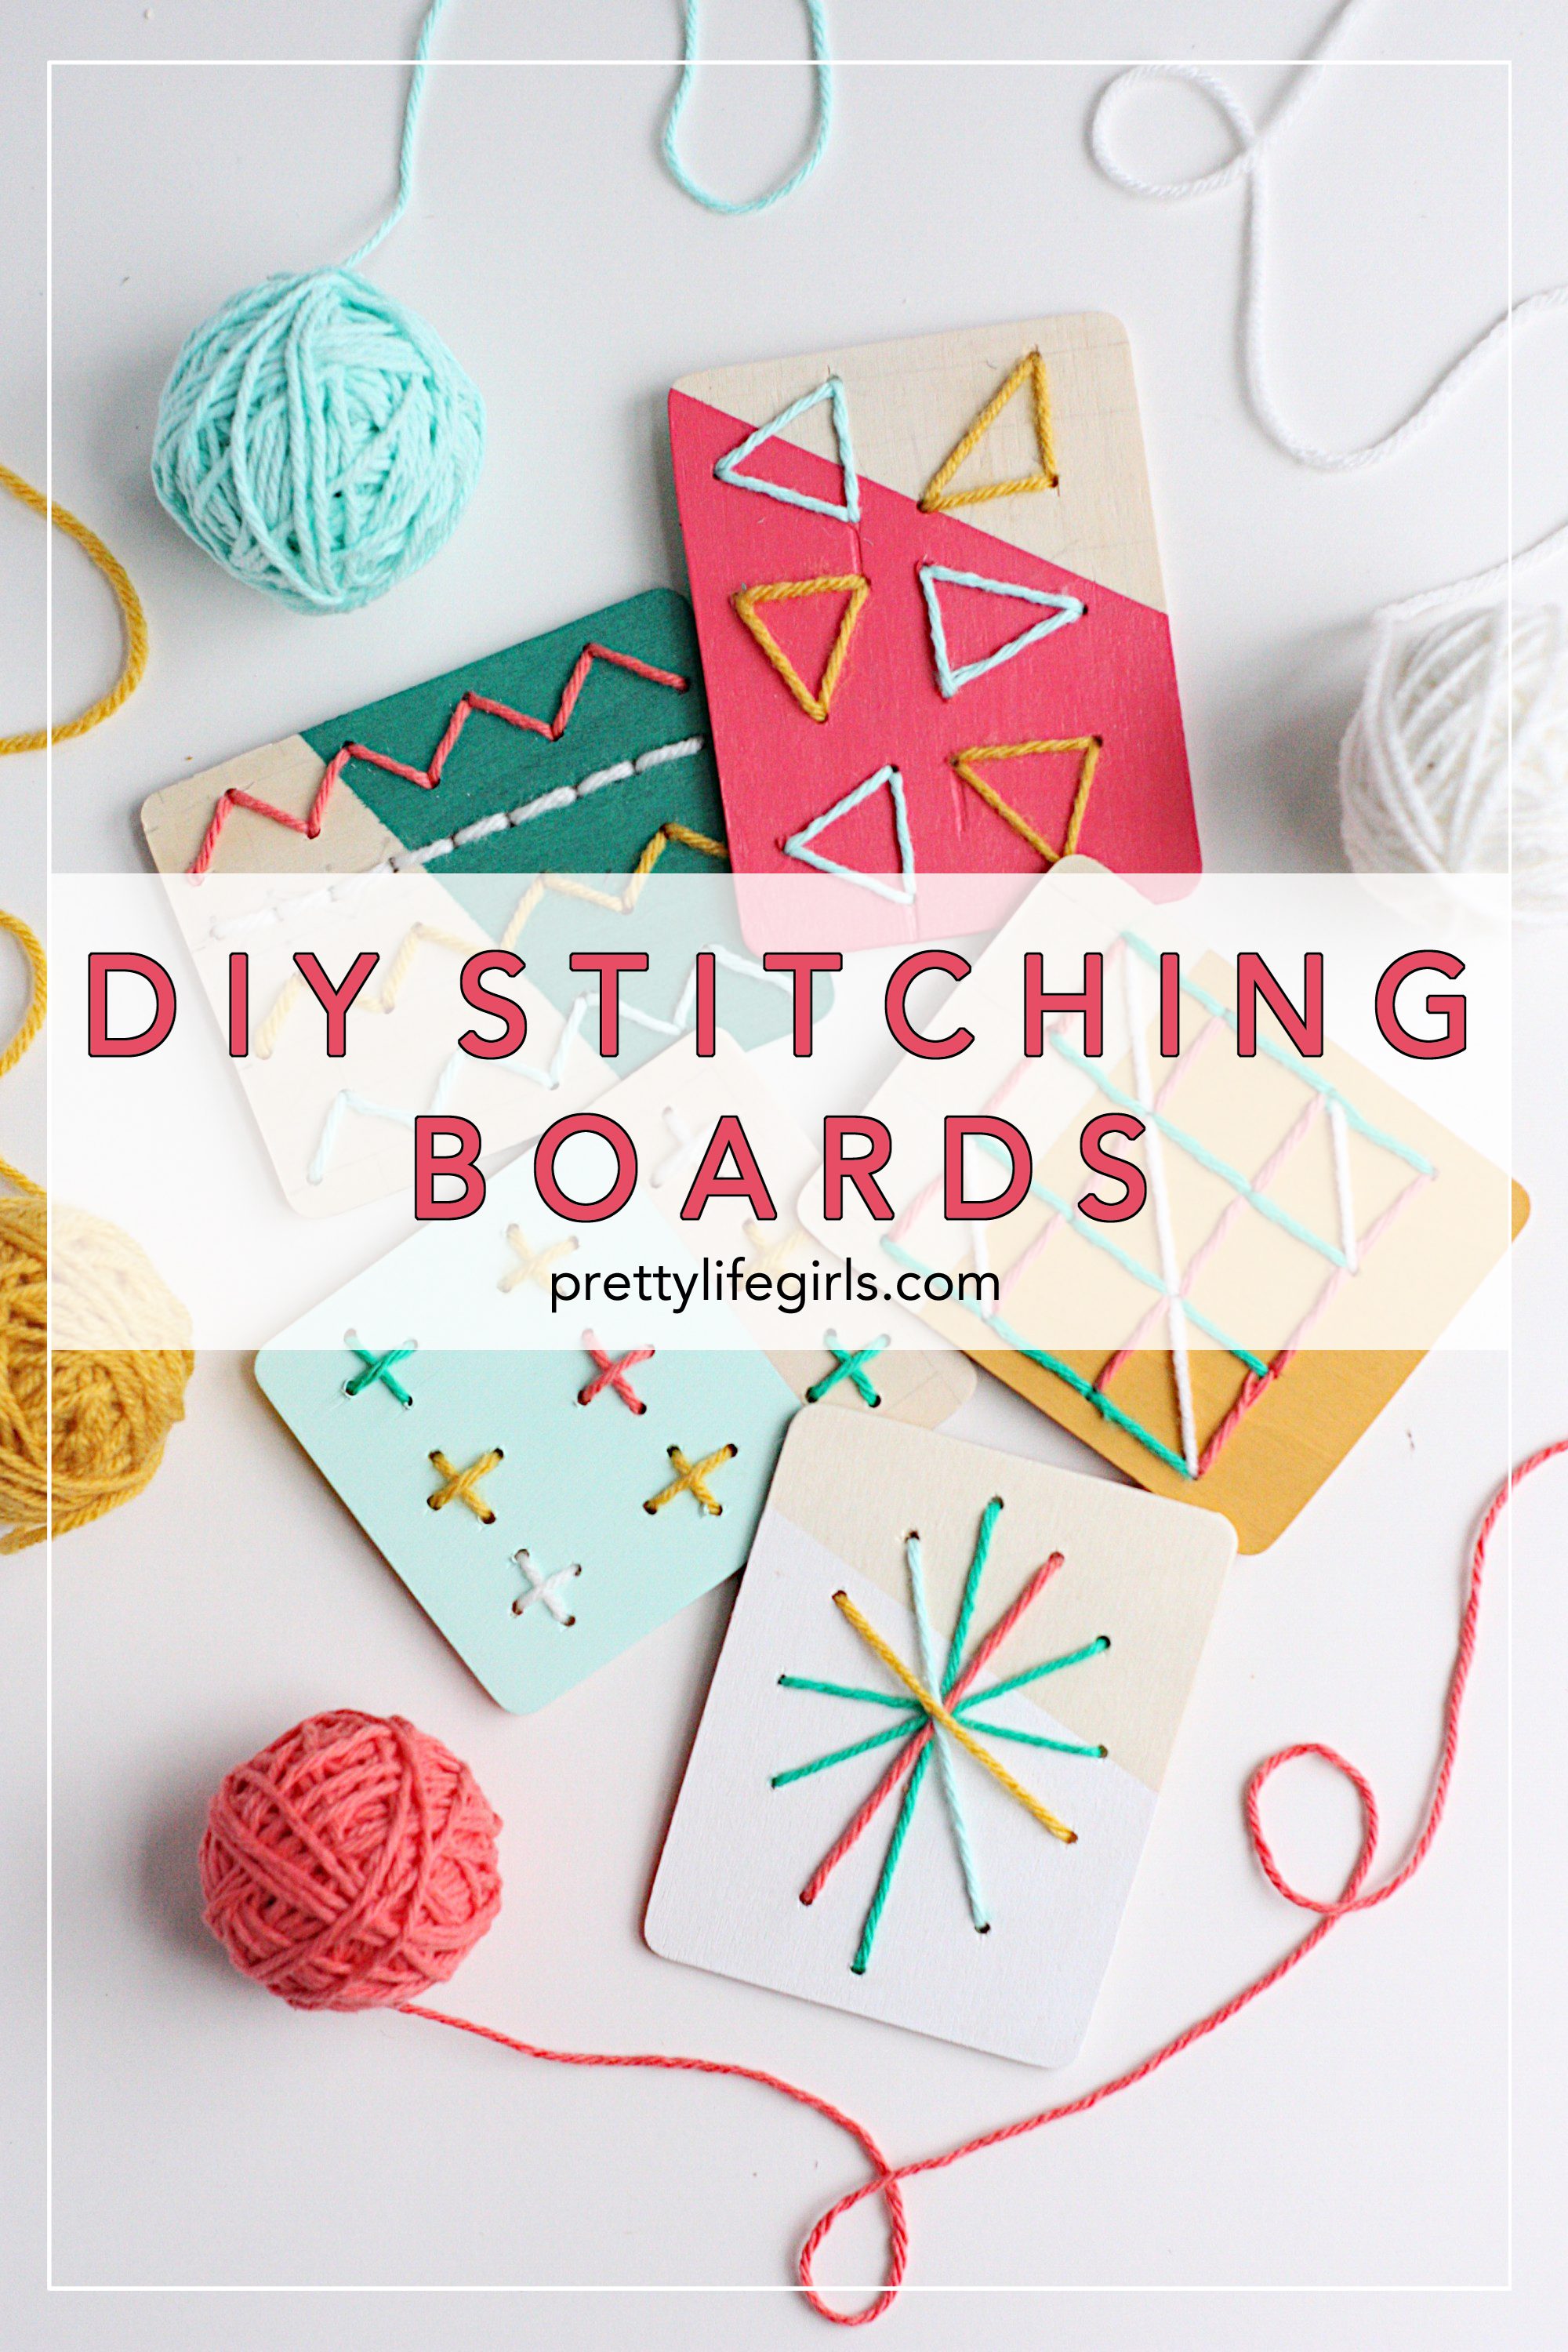 DIY Dipped Stitching Boards for Kids


