


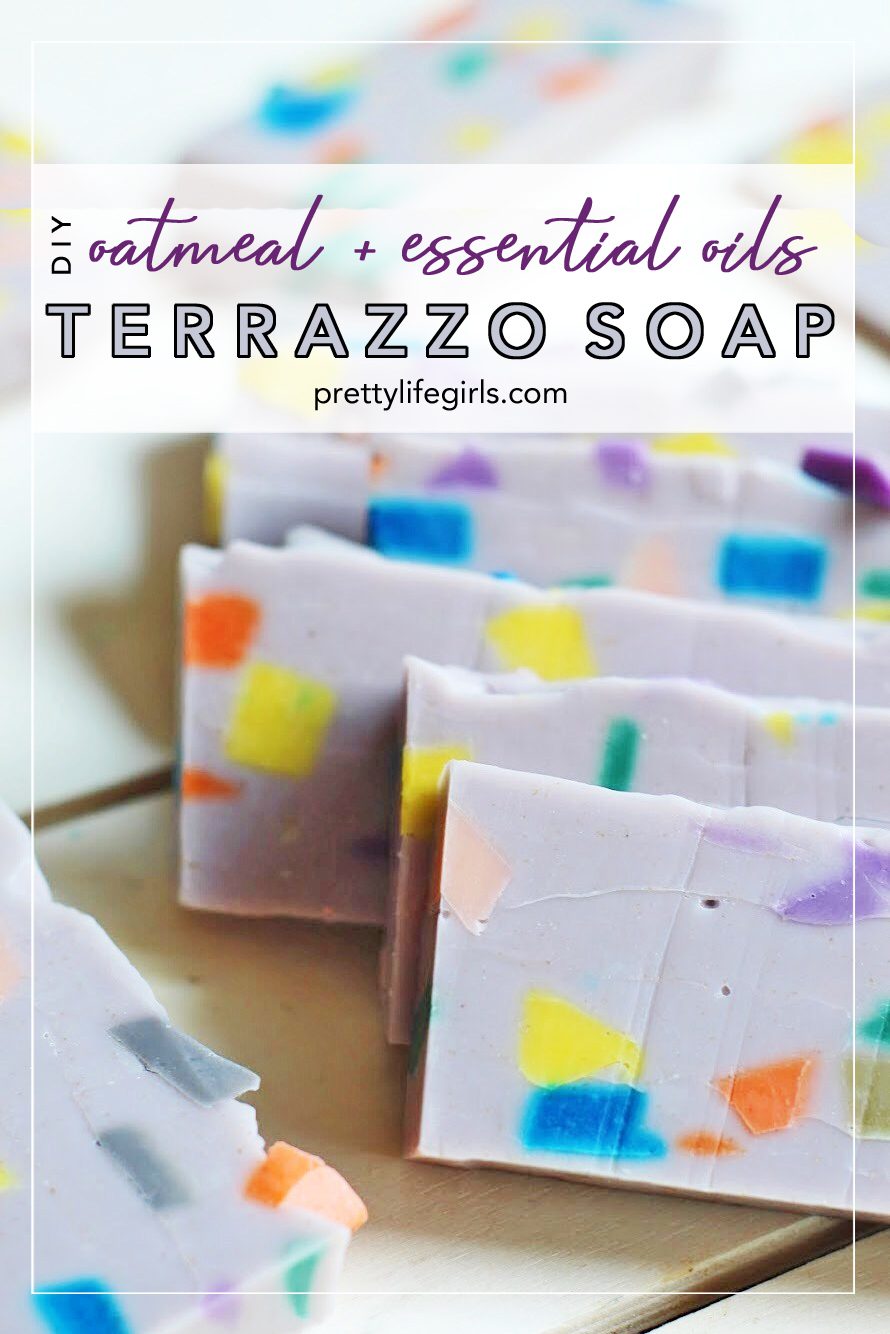
This DIY Oatmeal and Essential Oils Terrazzo Soap tutorial was originally created for Consumer Crafts.
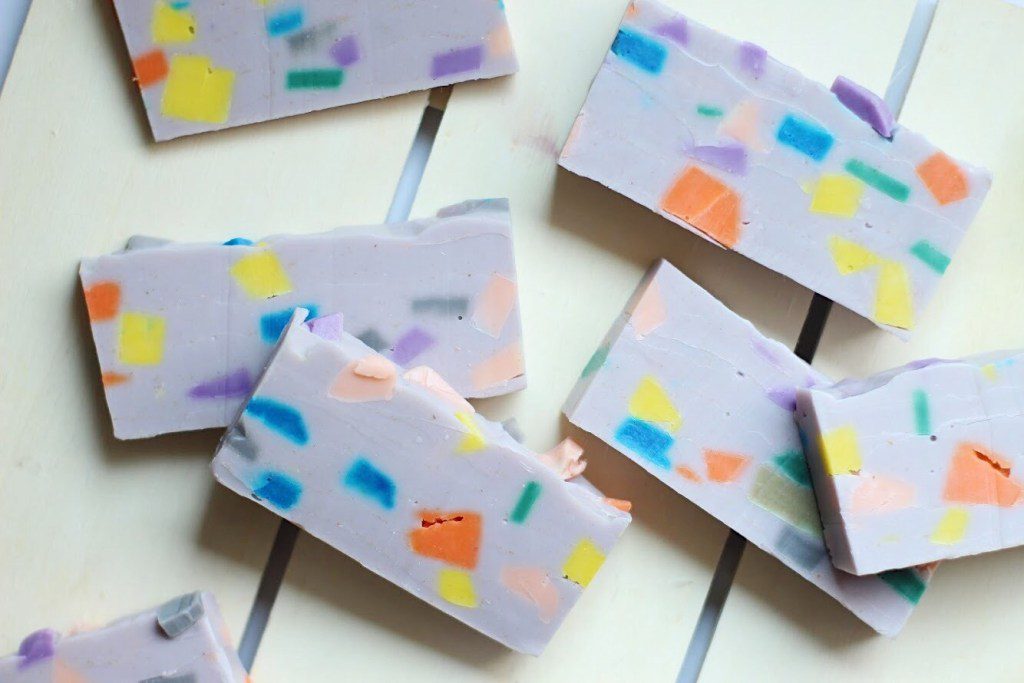
If you have followed anyone in the design world on the internet in the last year, then you may have noticed the terrazzo trend that has popped up. It used to be a huge flooring trend in the 90’s that is now back along with your mom’s jeans and Dr. Martins. Terrazzo is a mosaic flooring or paving composed of chips of broken stone, usually marble, and cement, and is beautifully polished when in place. I love it because no two pieces of it can be the same and you can find it in everything from a neutral color palette to one that is bursting with color. And, as usual, this design trend has seeped into the craft world and DIYers everywhere are using terrazzo as inspo for their projects, like the one I’m sharing with you today! DIY Terrazzo Soap! Along with being beautiful, the real fun with terrazzo is that it is forgiving and easy because any shape will make it gorgeous. I love the pops of color and shapes that came through when we cut it. It was such a fun surprise to see! Here’s how to make it:
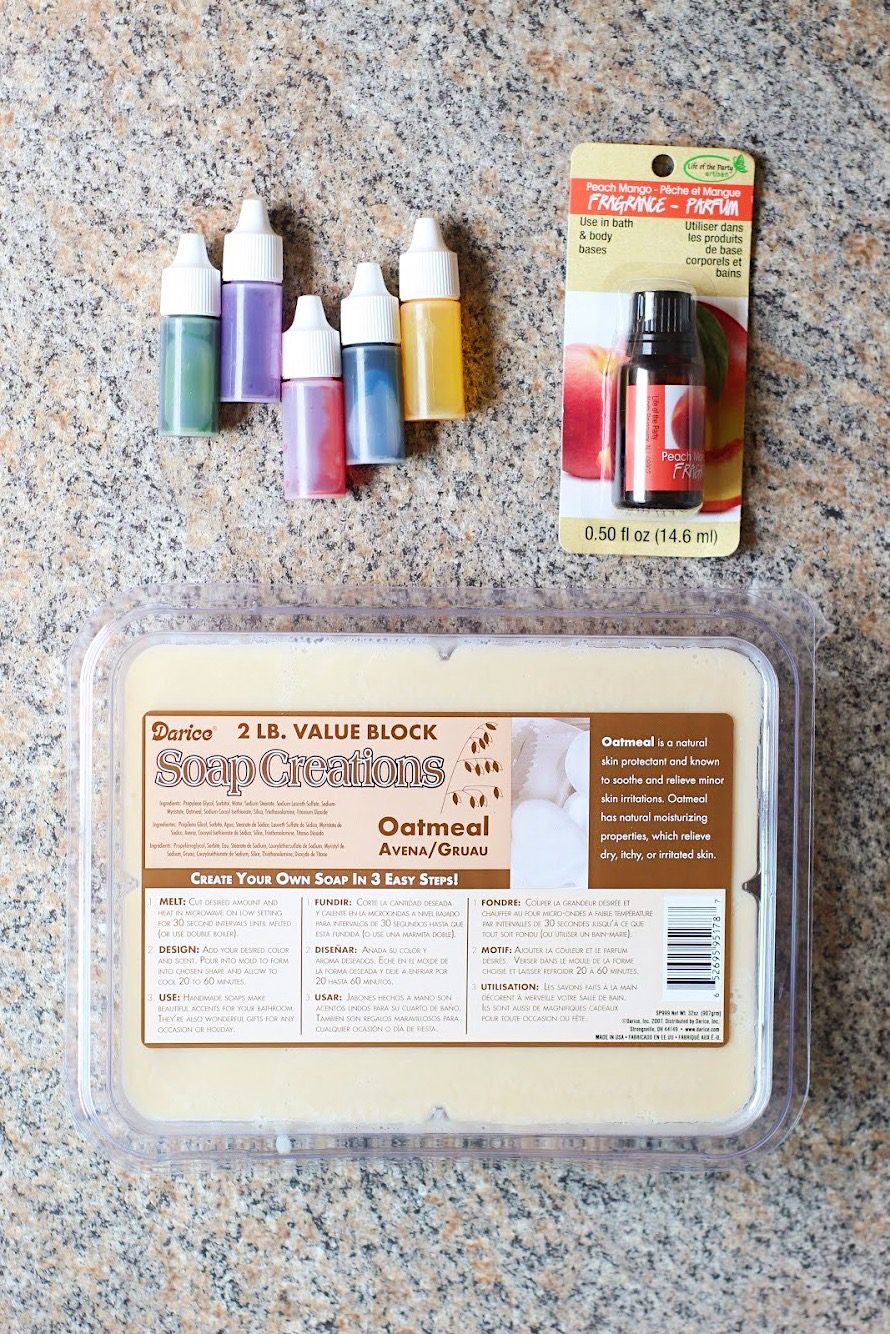
Supplies Needed:
2- Oatmeal Soap Bases, 2 lb. Block
Soap Colorants (Find yellow/green/blue here, red/pink/orange here, and purple/blue/teal here)
Essential Oils or Scent
Soap Loaf Mold or Bread Pan
Disposable Bowls
Toothpick for mixing
Sharp knife
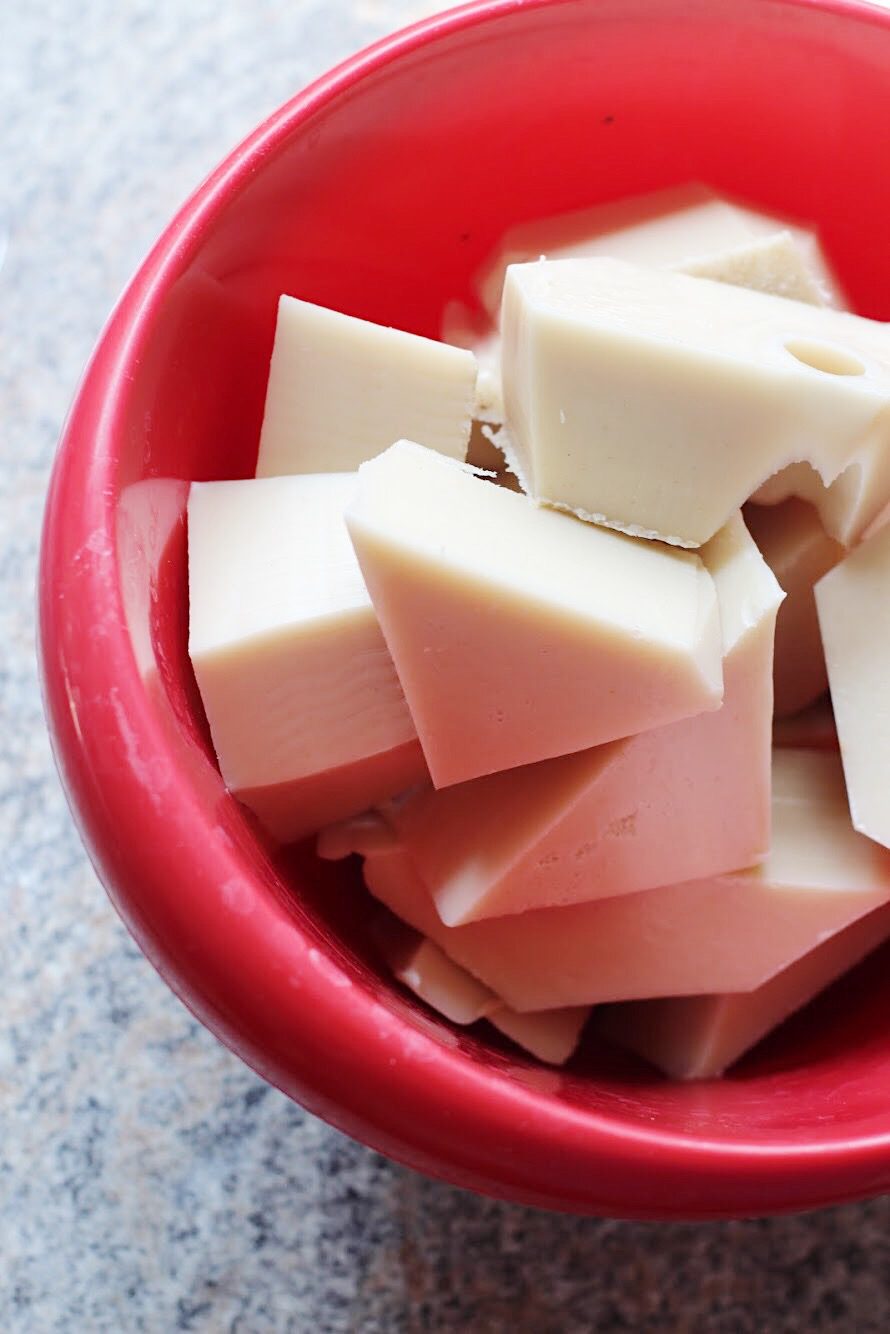
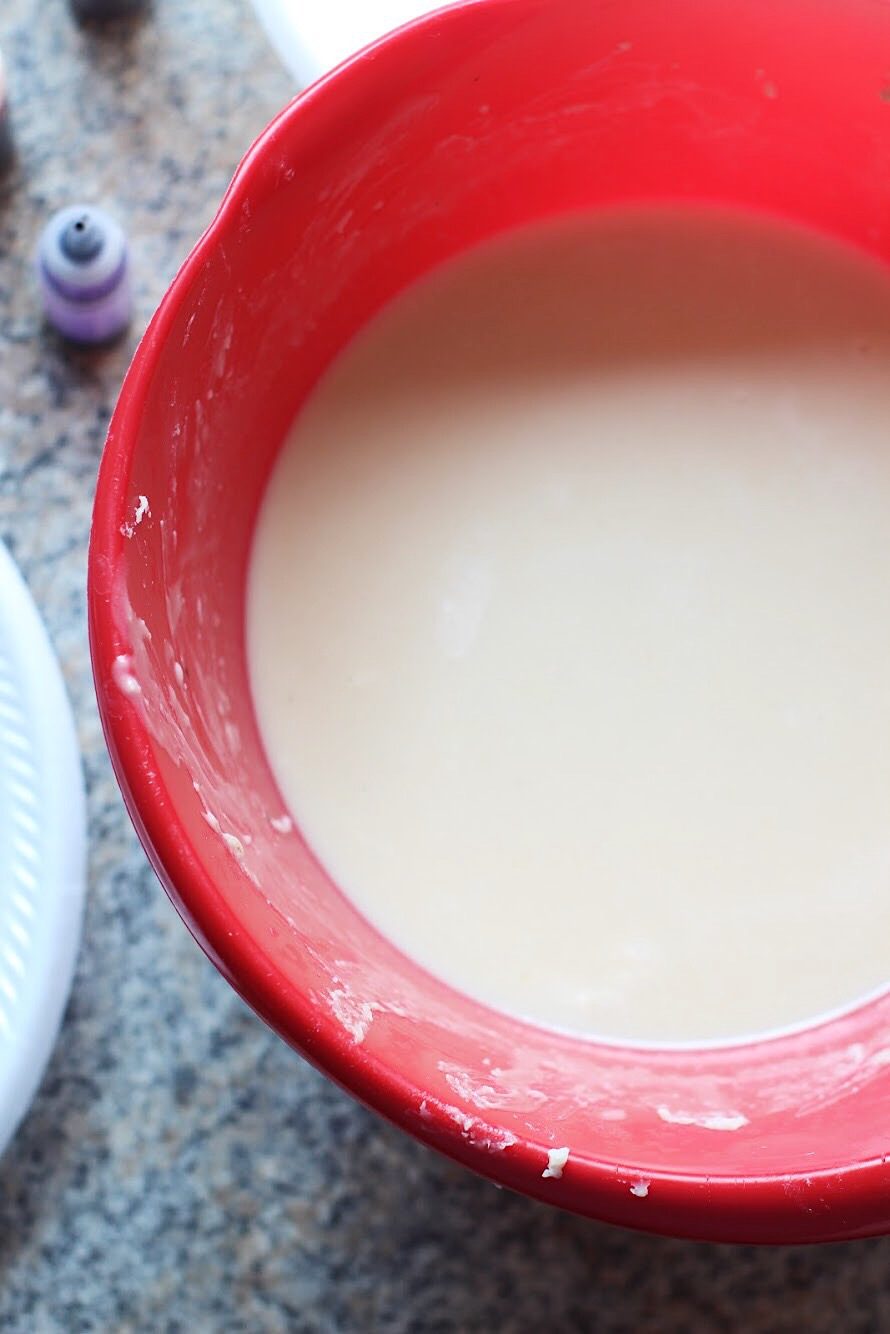
Step 1: In a large, microwave-safe bowl, break up and melt one of your 2 lb. soap bases in the microwave according to package directions. Ours said to heat in 20 second increments, stirring between each, until fully melted. Add essential oils or scent, if desired.
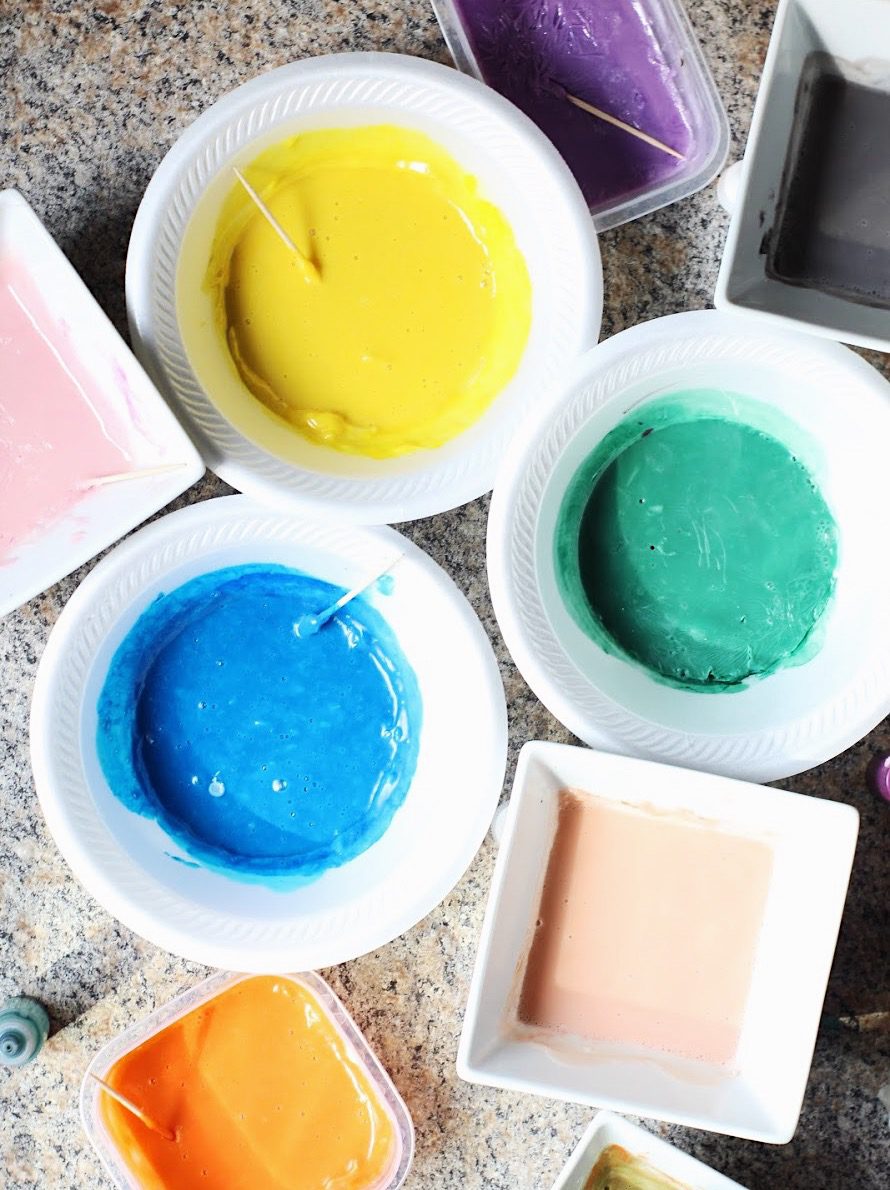
Step 2. Set out a disposable bowl for each color of soap pieces that you would like. Pour about a half inch of soap in each and immediately add coloring. Mix with toothpicks until fully combined. Let soap sit until fully set.
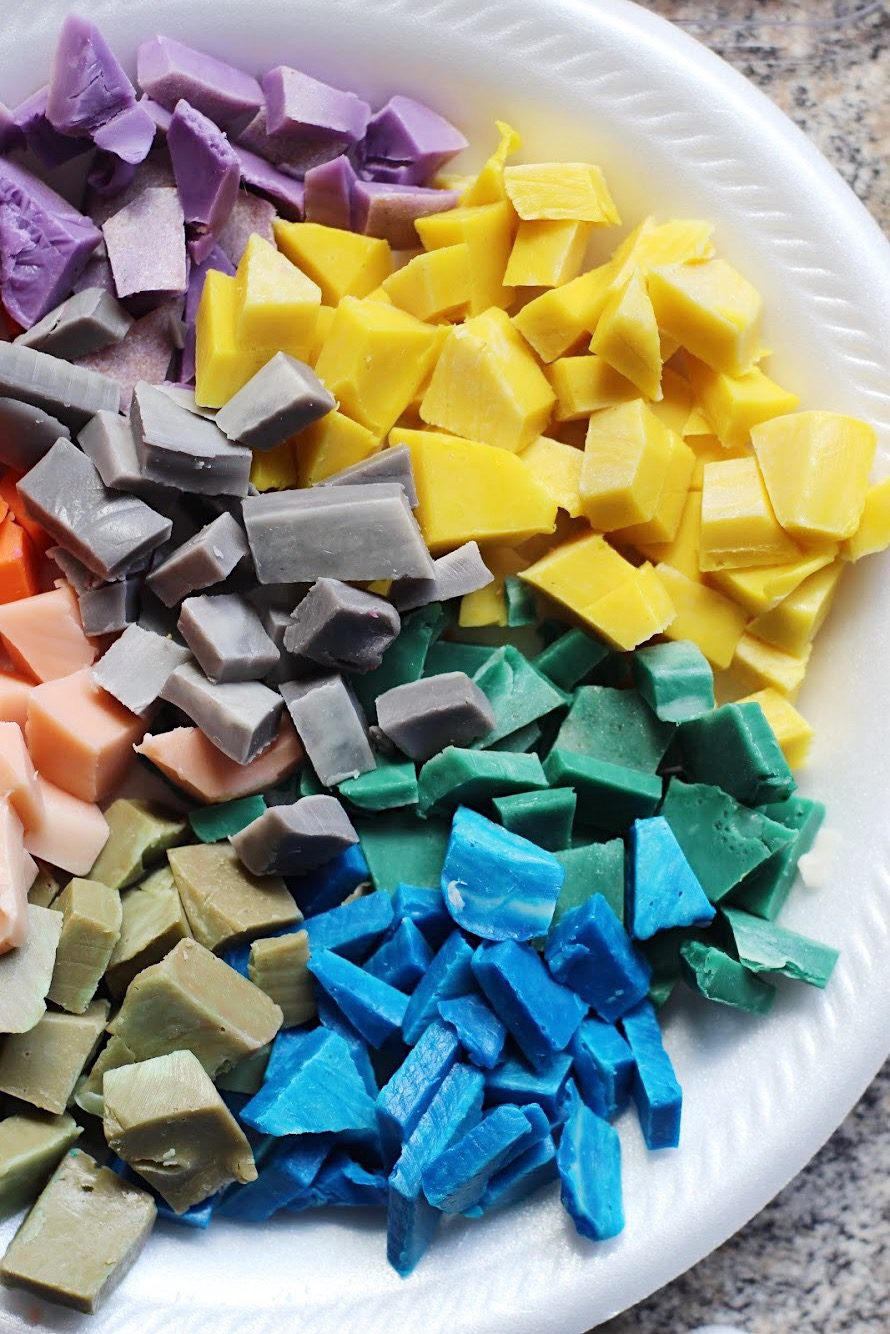
Step 3. Once the soap is set, pop out your soap pieces and roughly chop with a knife. Set aside.
Step 4. Melt the other 2 lb. block of soap base in your microwave safe bowl just like you did in step one. Add coloring and essential oils or scent, if desired.

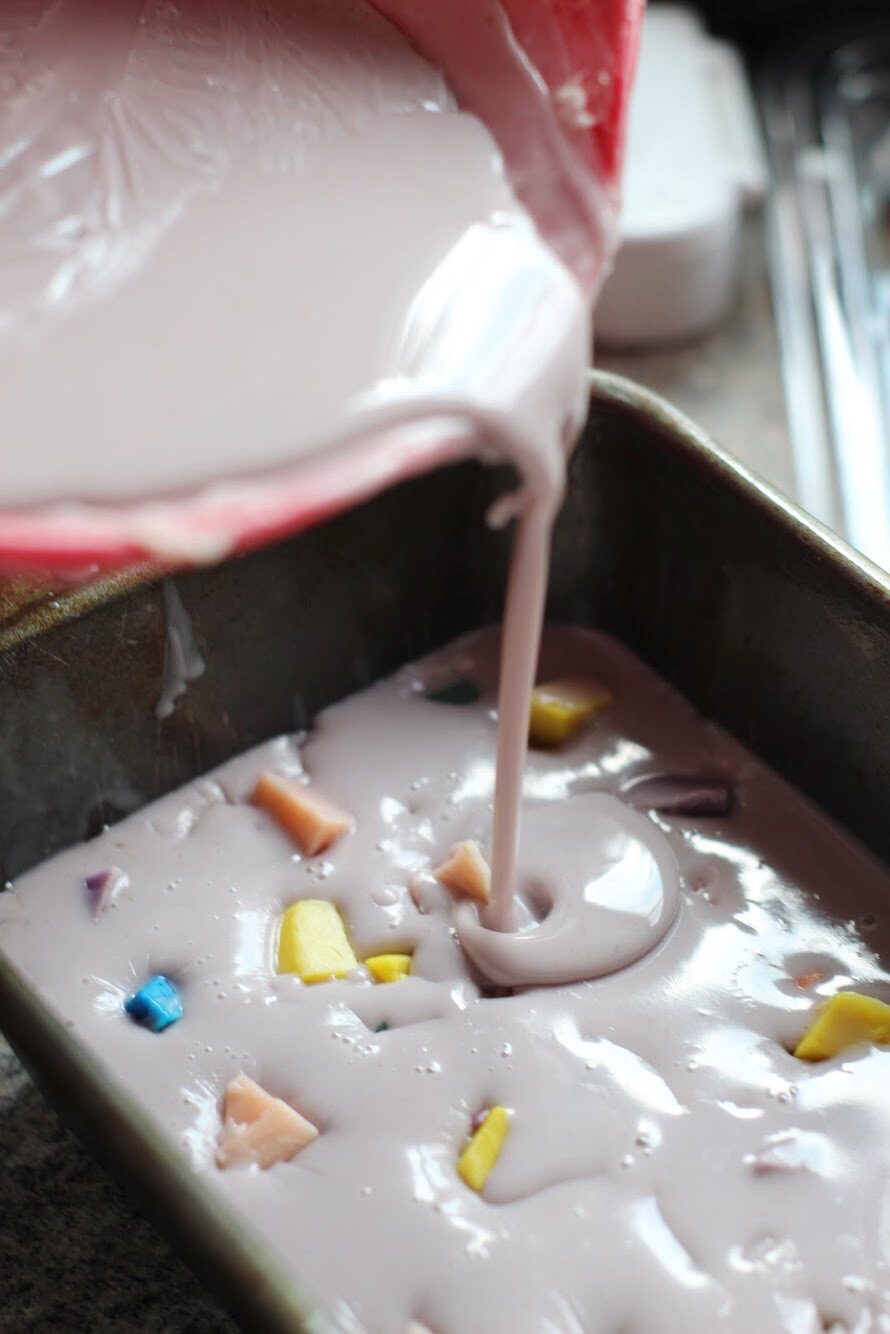
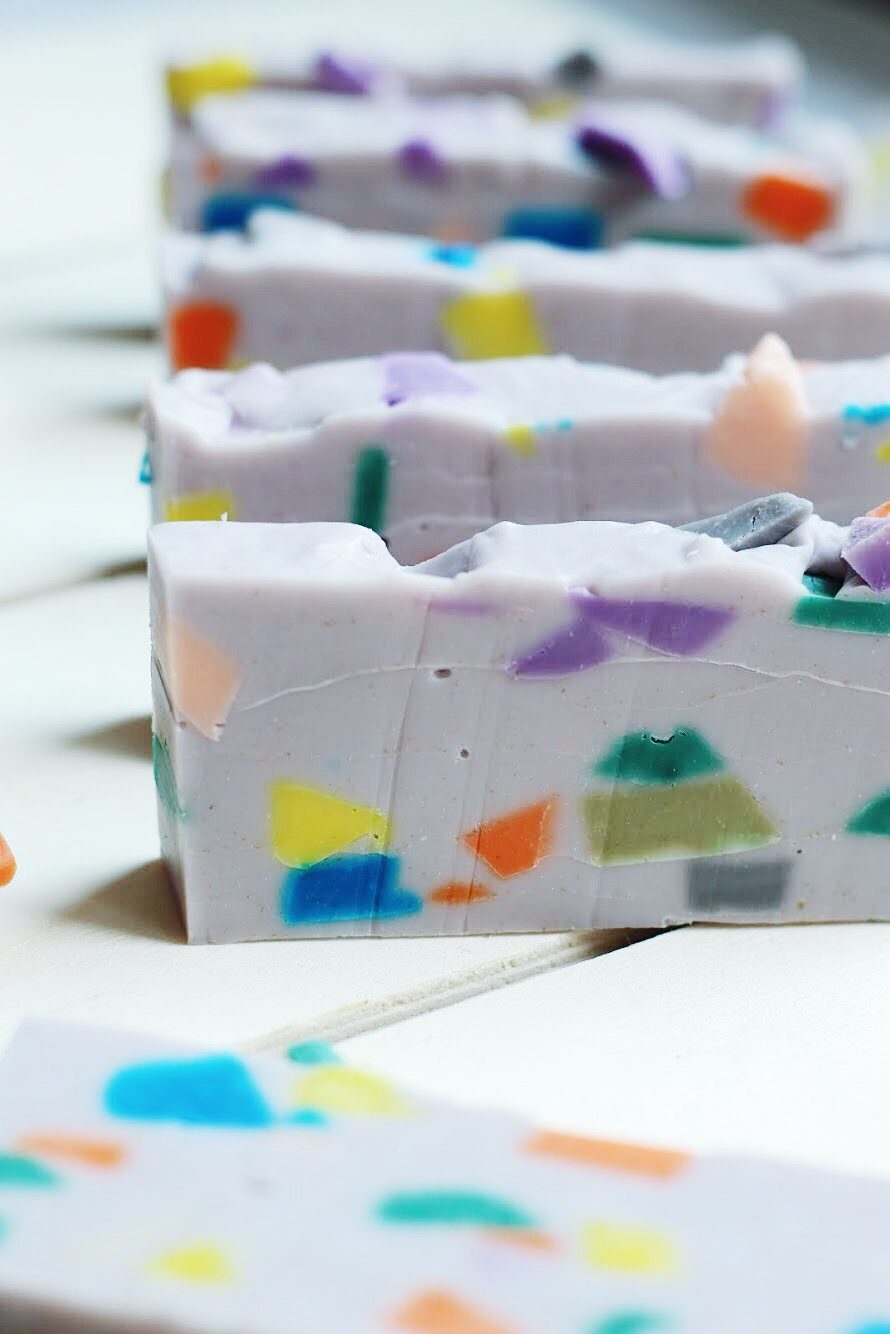
Step 5. Begin sprinkling your soap mold or bread pan with your chopped soap pieces. After placing a handful in the pan, coat with your melted soap base, then add more pieces of the chopped soap and cover again with the melted base. Repeat until the pan is full. Let set completely for several hours.
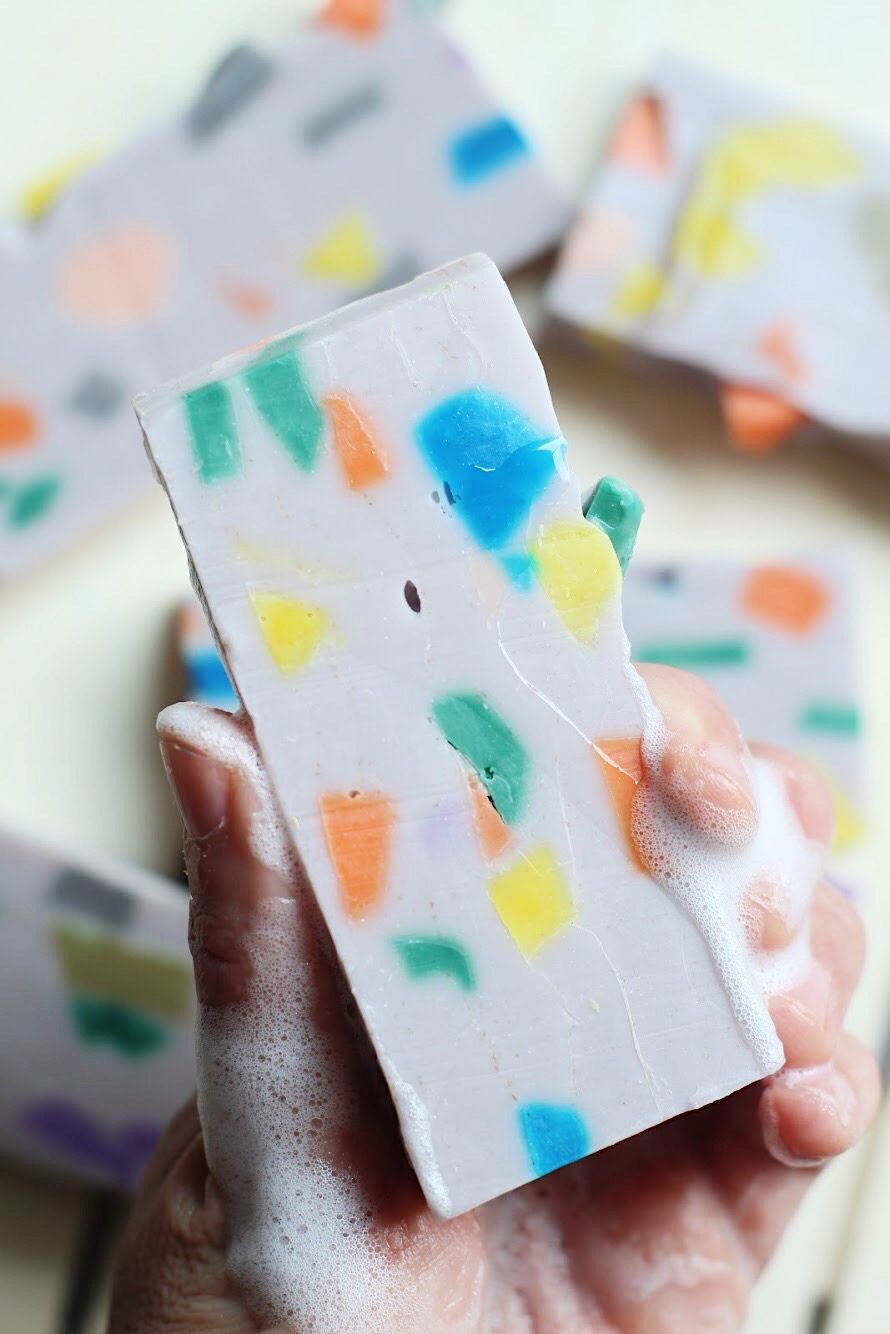
Step 6. Once the soap is completely set, remove the block from your mold and chop into bars with a knife.
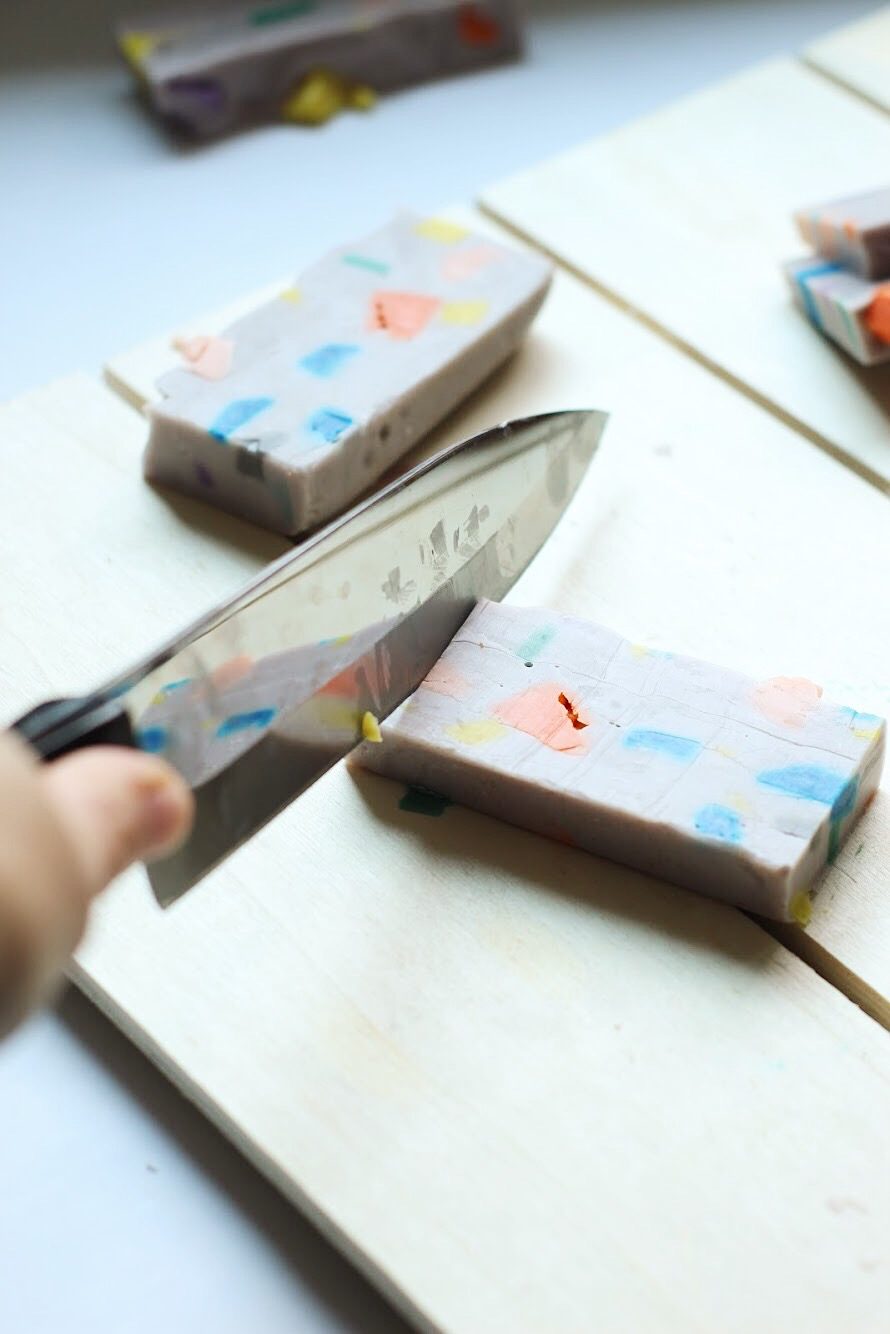
That’s it! You’ve made beautiful blocks of terrazzo soap and your shower just got a lot more fun!

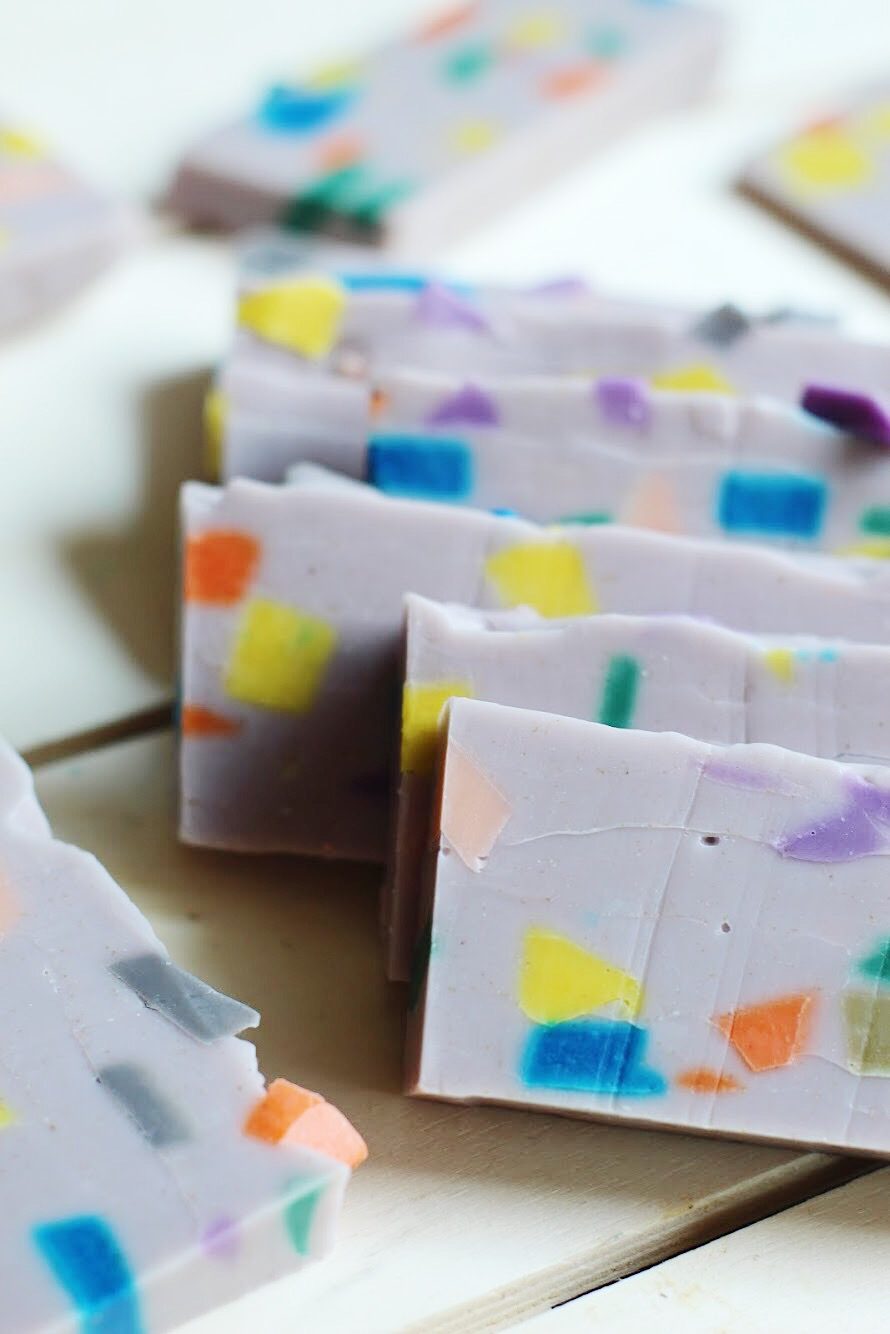
Isn’t it fun to see the different shapes and color in the soap? I want to make a bunch more bars in a bunch more colors and see all the ways this soap can turn out!
What are your favorite methods for making beautiful soap? I’d love to hear! And, happy soap-making!
ox. Liz
Check out these other fun soap-making tutorials!


What a super fun way to change up your everyday soap.
http://www.amysfashionblog.com/blog-home