This project was originally created for Consumer Crafts.
I have a real obsession with tattoo paper. Something about it makes me feel like I’m really cheating the system. I think it’s because you can create beautiful designs on your computer, print them off, and make awesome tattoos that no one would ever know are DIY. Plus, it is so fun to find places to apply temporary tattoos besides skin and turn boring surfaces into something beautiful.
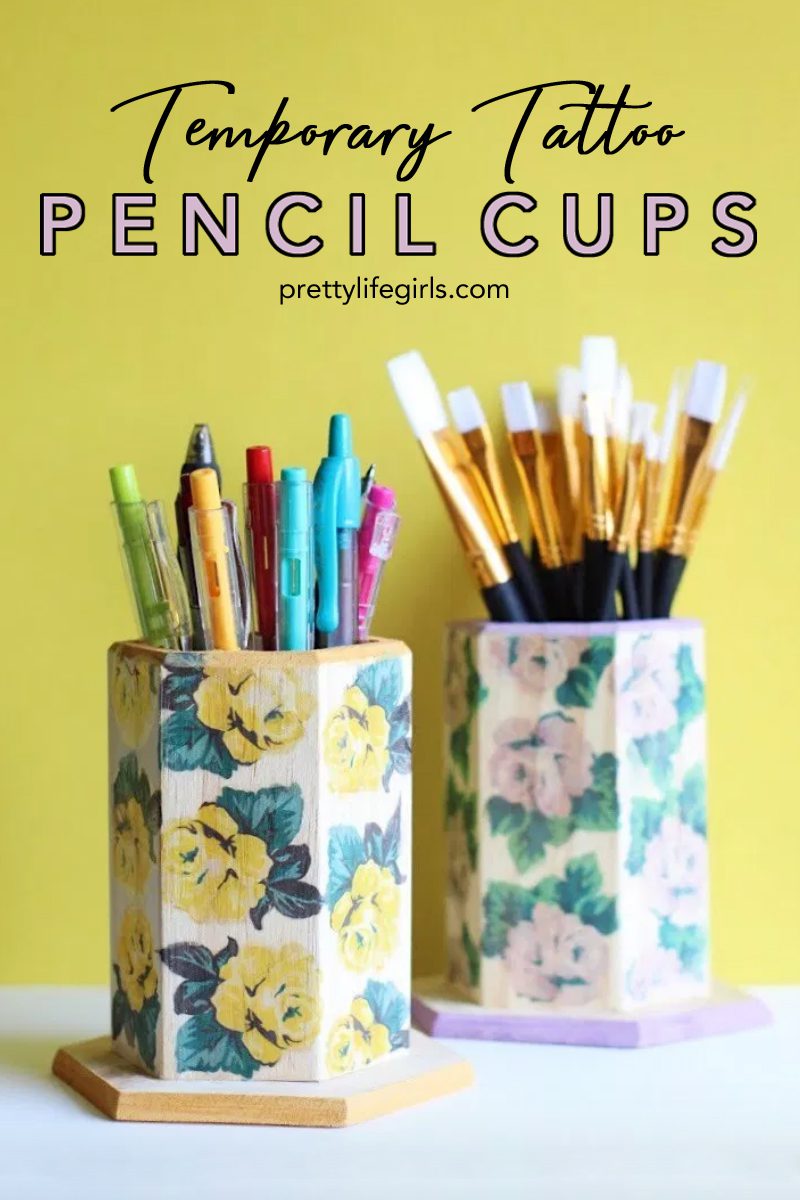
We’ve applied them to everything from Easter eggs to Christmas ornaments and the results are always stunning and unique. However, I did realize I had never tried applying them to wood and was ready to make it happen! The result was these DIY tattooed floral pencil cups! Here’s how to make your own:


Supplies needed to make your own DIY tattooed floral pencil cups
Unfinished Wood Pen and Pencil Holder: Hexagon Cup
Silhouette Tattoo Paper
FolkArt Acrylic Craft Paint
Silhouette Cameo 3 or Scissors
Paint Brushes
Color Printer
Paper Towels


If you have a Silhouette cutting machine, you’ll start by designing your tattoos in Silhouette Studio. I used these flowers from Crate Paper. If you don’t have a Silhouette, you can use whatever design software you prefer to create your design and arrange your flowers for printing. If you are using a Silhouette, you will also want to assign registration marks before printing. Once you are satisfied with the layout of your flowers, print your design on the tattoo paper according to the package directions.
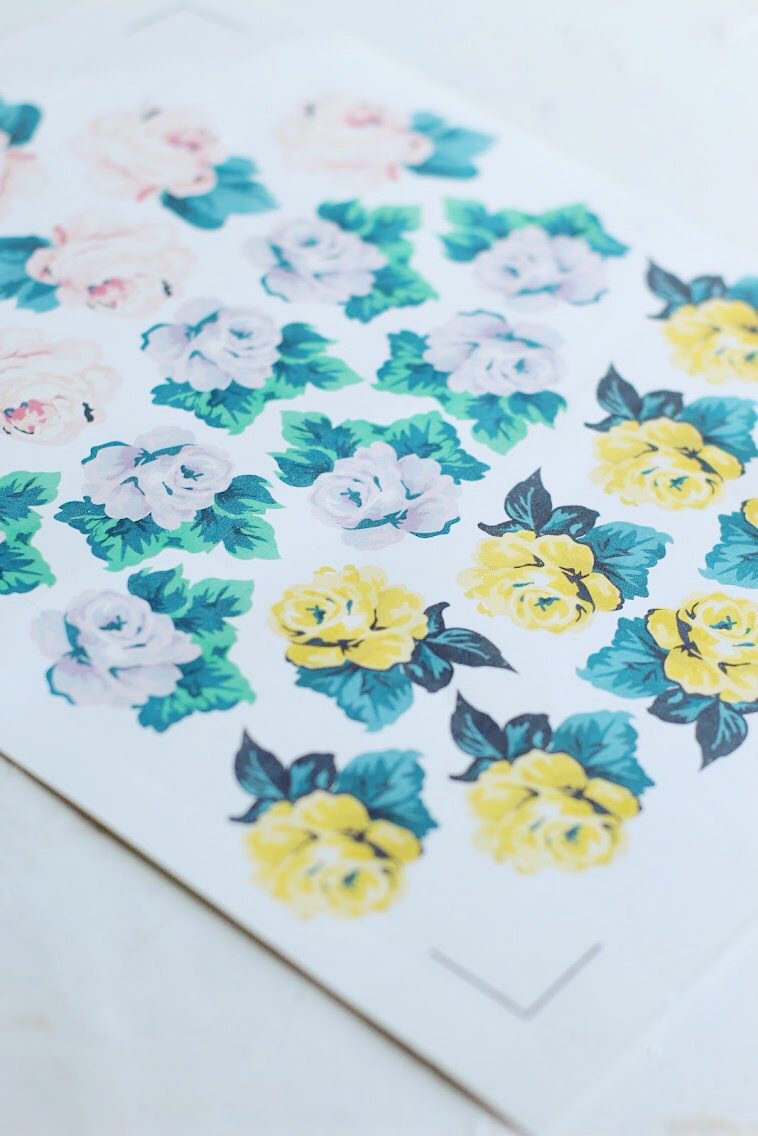

Allow the ink to dry completely. Then, if you are using a Silhouette machine to cut, place your design on your cutting mat, and select “load cutting mat” so that your registration marks are right under the marks detector. Next, select “Send to Silhouette.” If your machine does not detect the registration marks, you’ll want manually adjust your machine to read the marks. If you are not using a Silhouette, simply cut the flowers out with scissors.
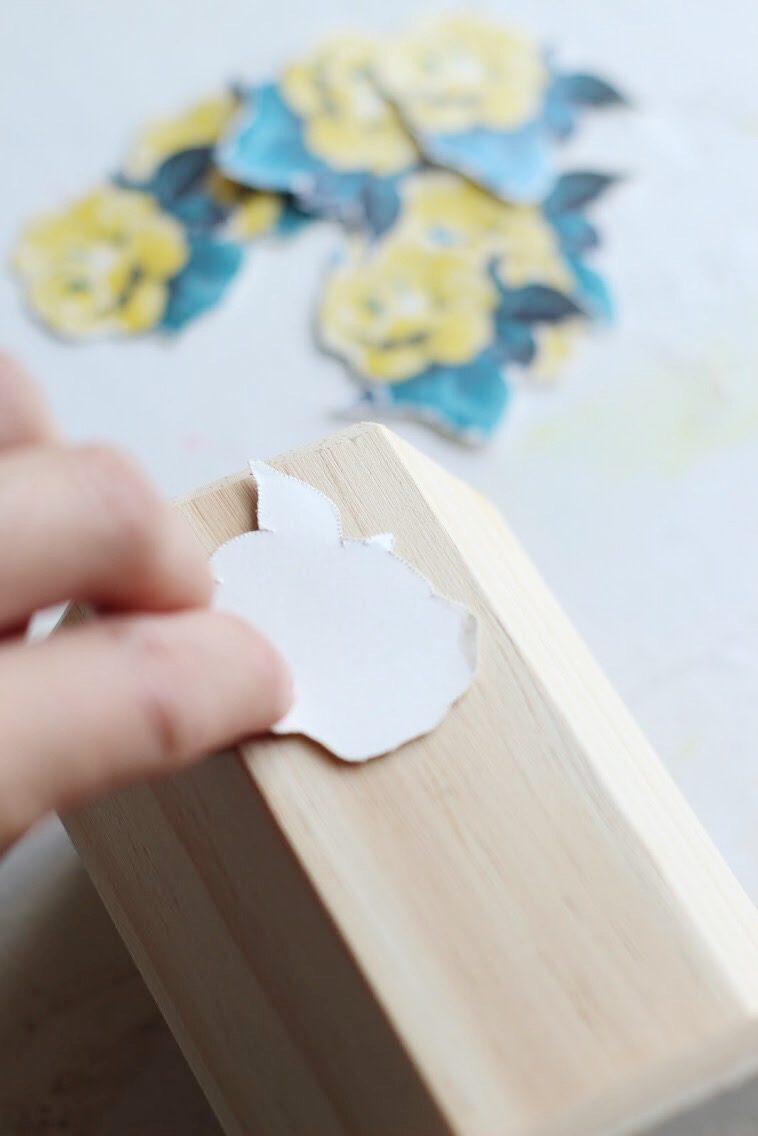

Now it’s time to apply your flowers! Make sure the surface of your wood is free of dust. Then, lay your tattoo ink-side down on the surface of the wood. Then, cover with a damp paper towel for about 30 seconds.


Remove the wet paper towel and remove the backing. I found that I had a lot more success with the design staying intact if I slid off the backing instead of peeling it up.
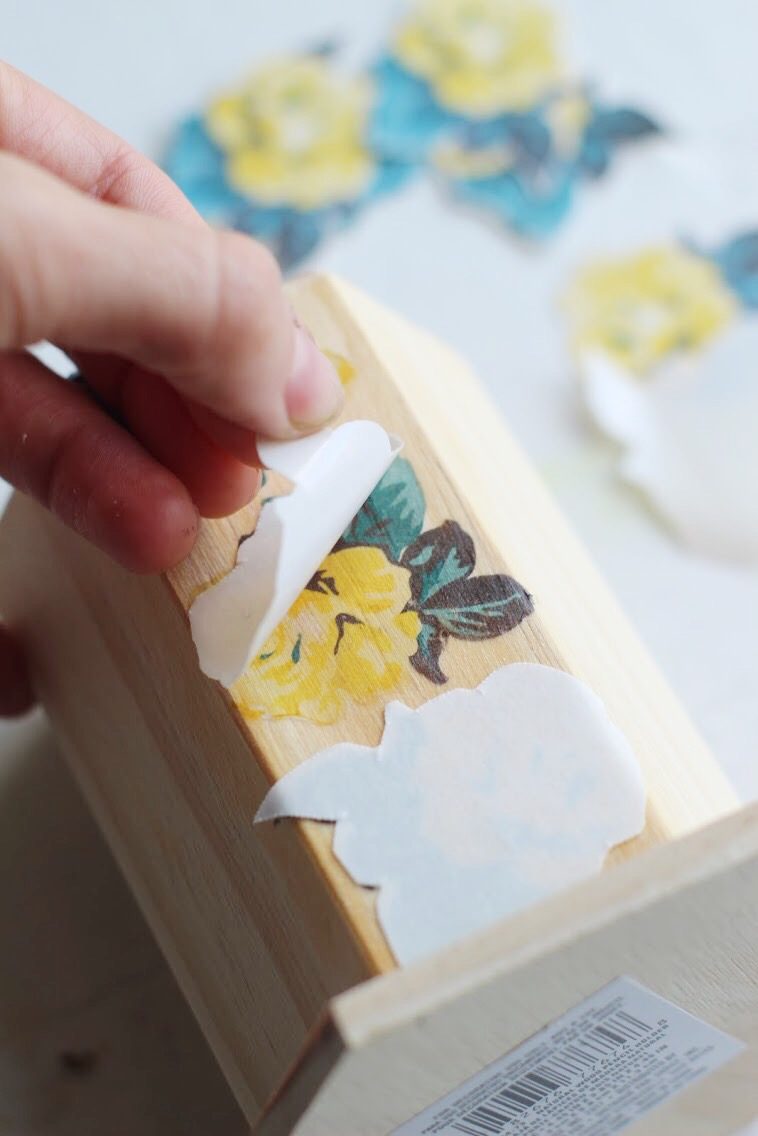

Use the wet paper towel to dab down any pieces of the design that don’t seem to have full adhered to the wood. Then, repeat again and again until your cup is full of flowers! Once they are all applied, let them dry completely.
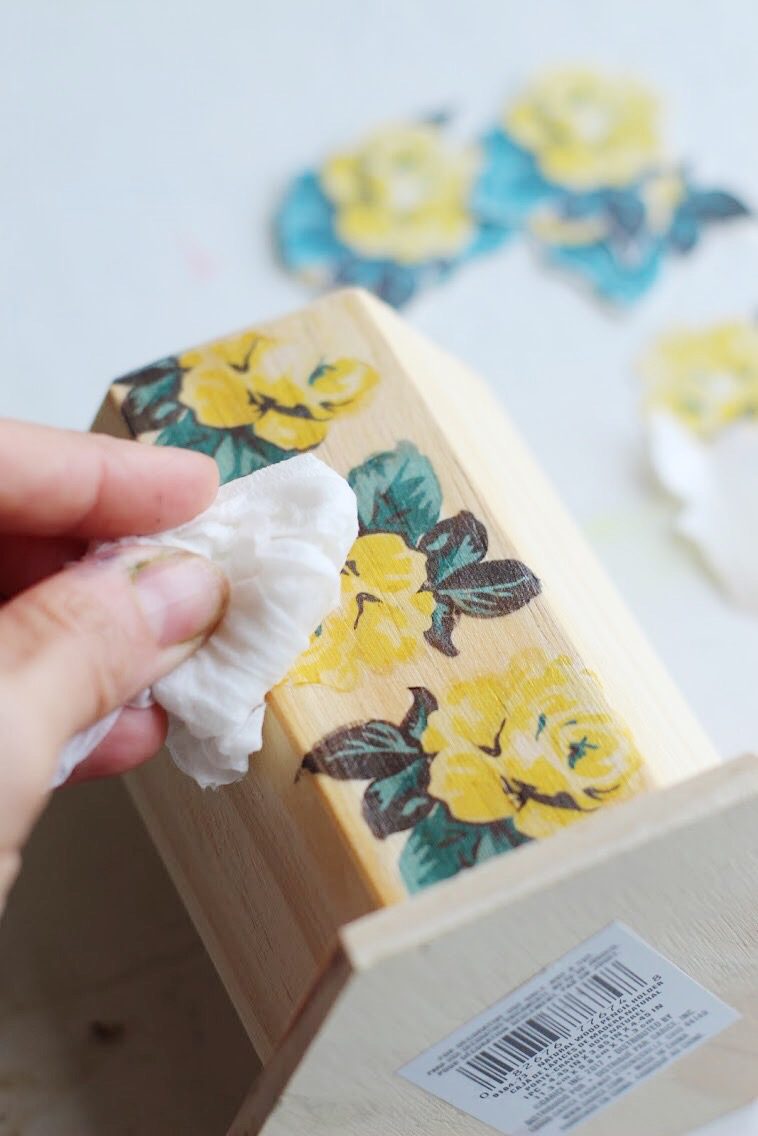

Once your cups are dry, use your paint to paint an accent color along the top lip of the cup and around the base and let dry. I love how this made the cups look more finished!
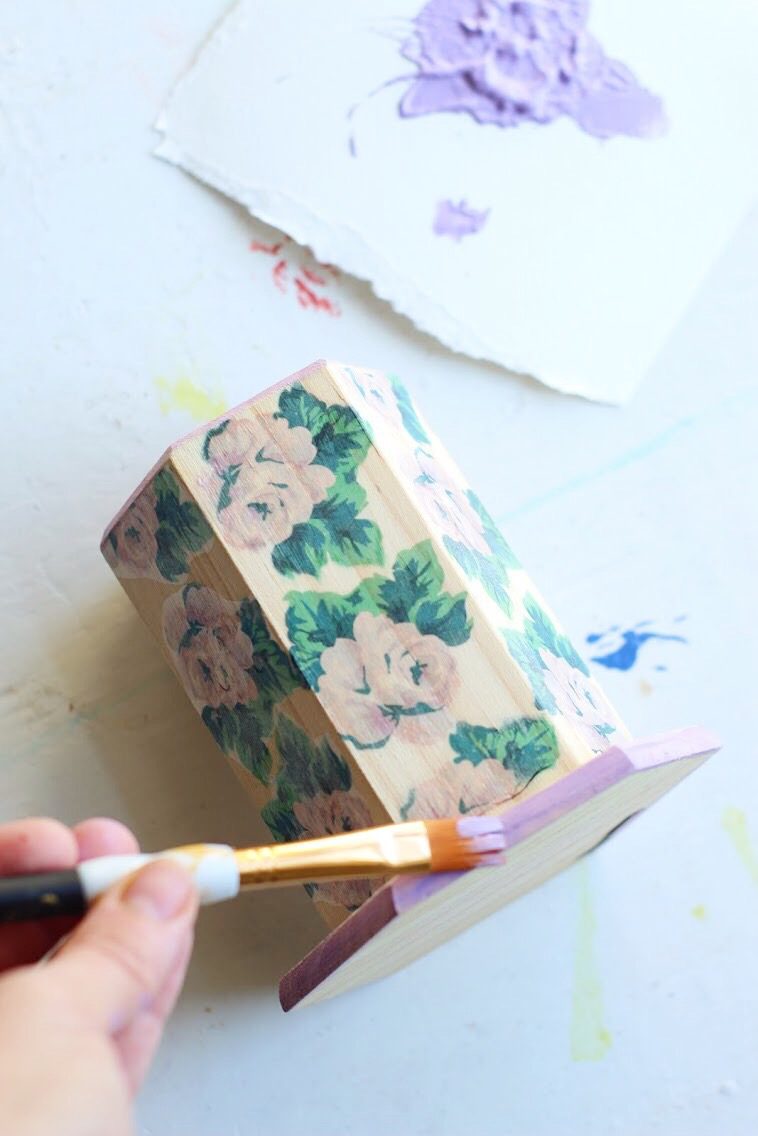

That’s it! Now your desk is gonna be SO happy!
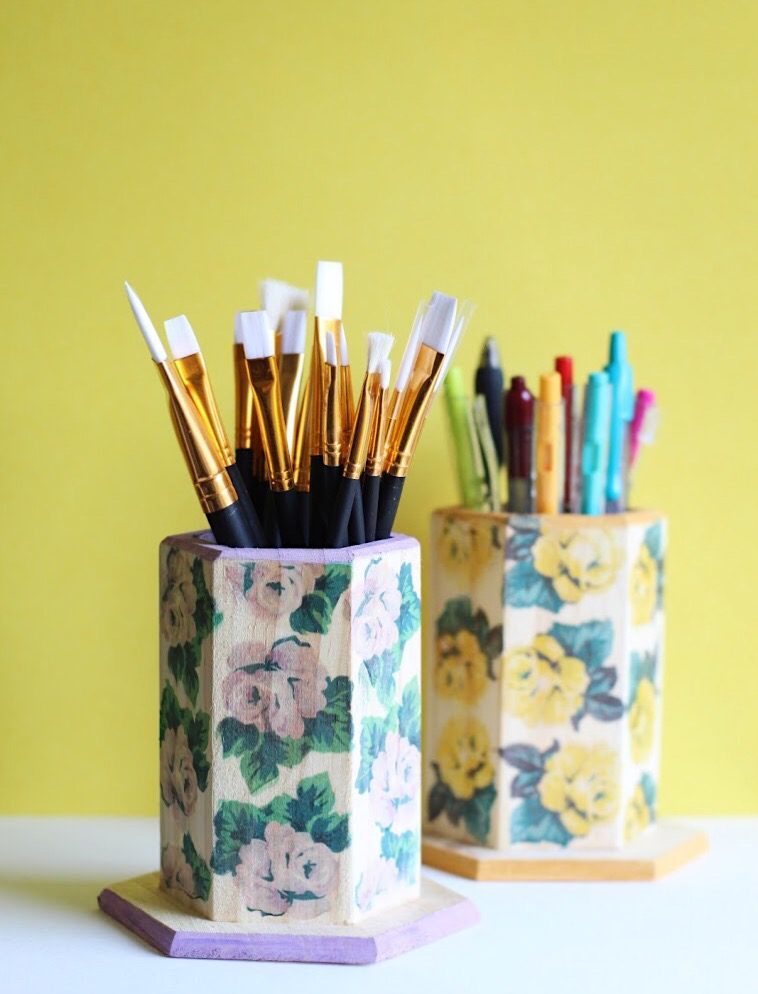

My favorite thing is the way you can see the wood grain through the design of the tattoos. It gives the illusion that these flowers are hand-painted and NO ONE has to know that they aren’t. I’ll never tell.
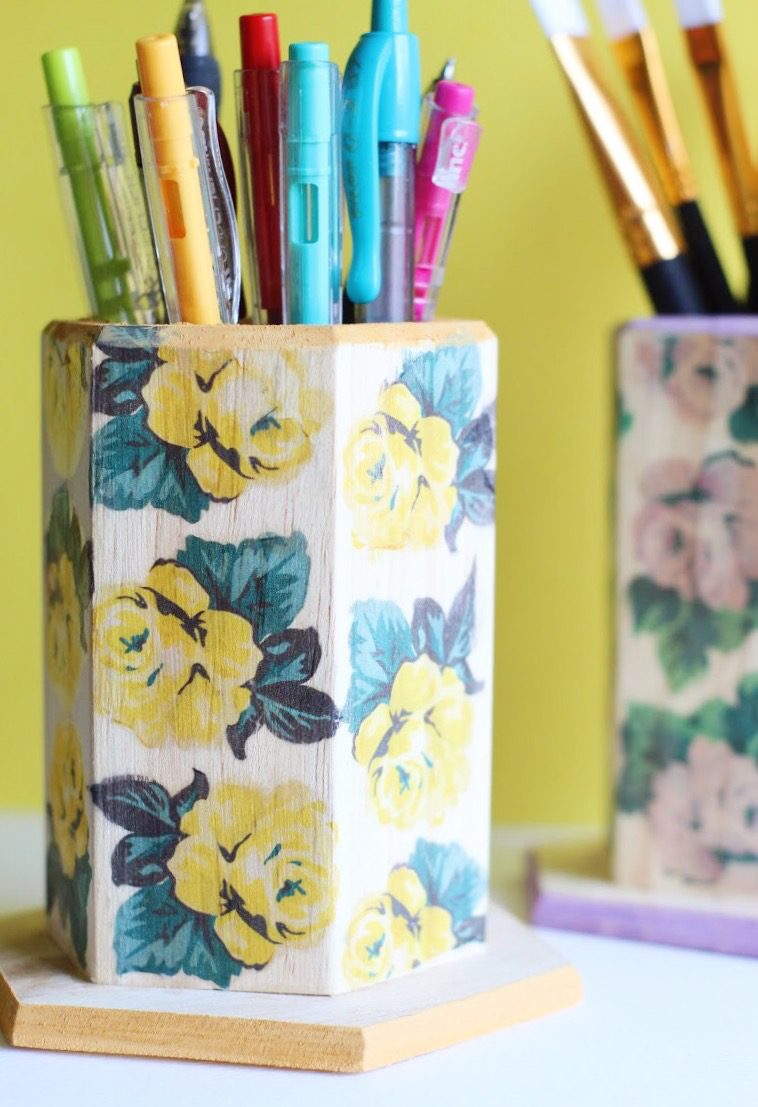

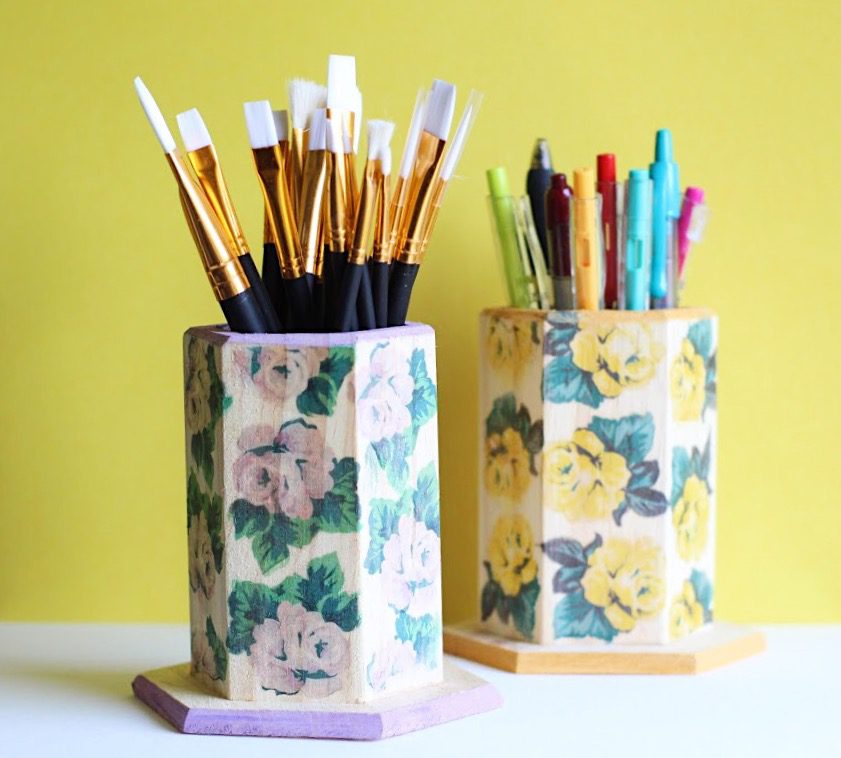

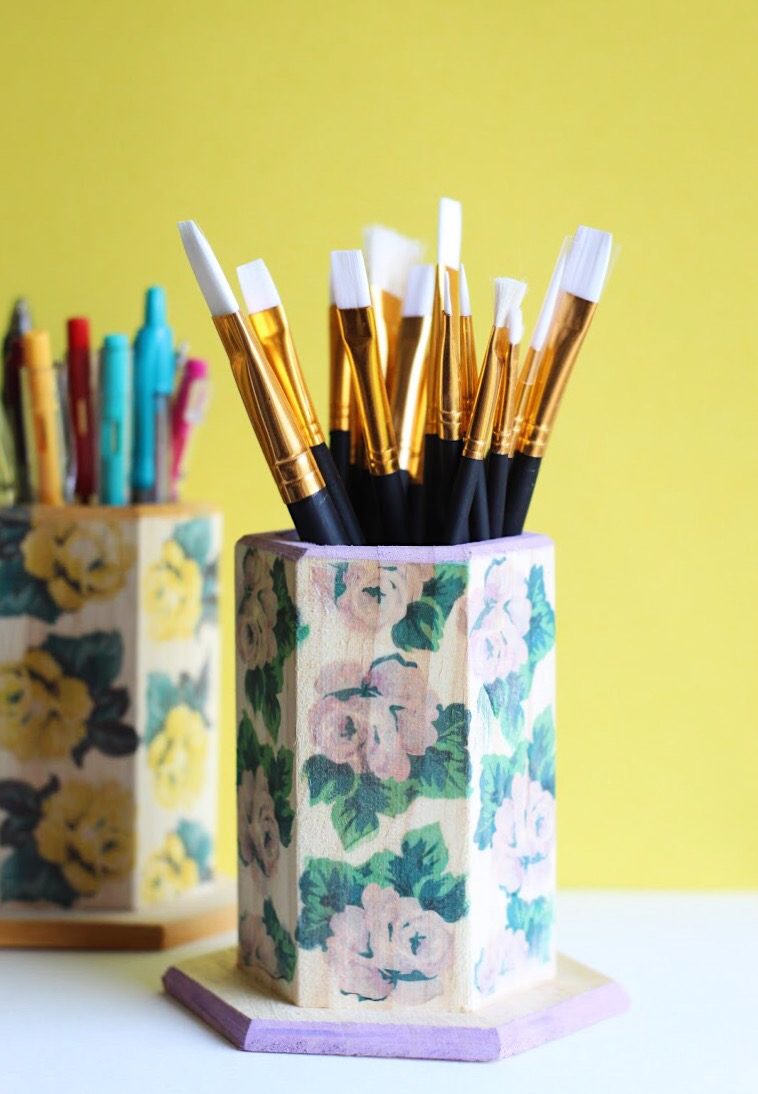

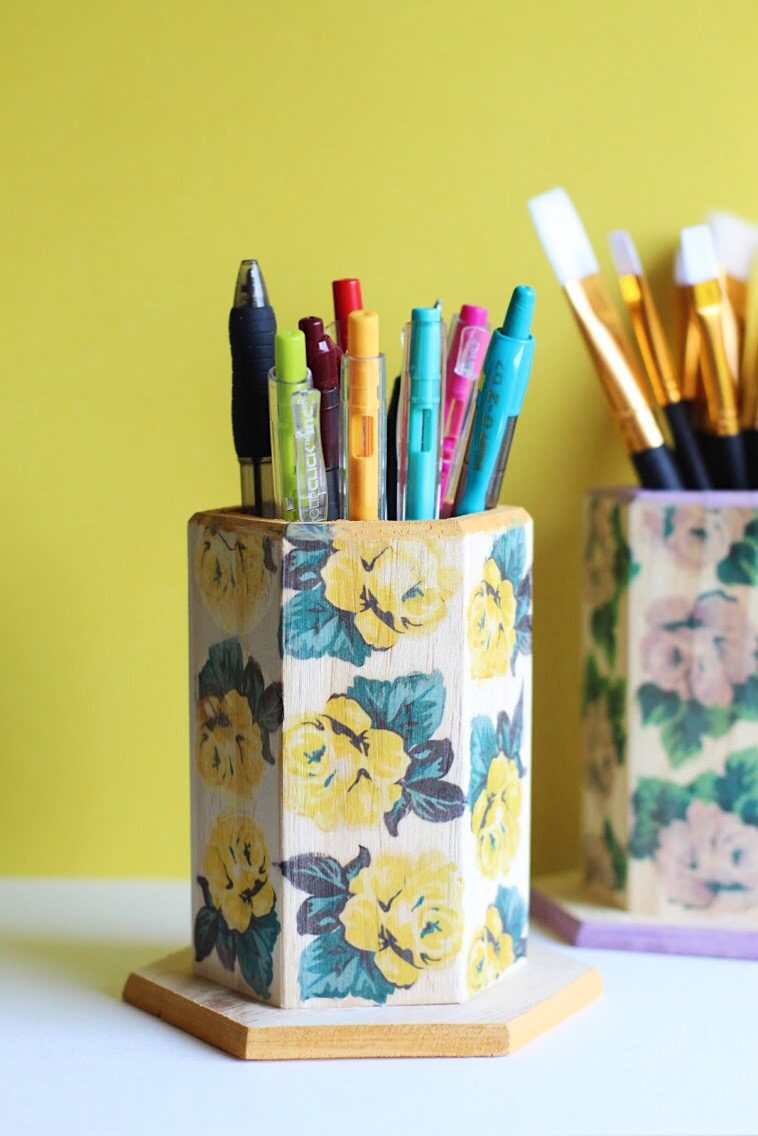

Just THINK of how versatile this project is!? You can literally print any design from your computer and slap it on a wood surface to give it an instant upgrade! The mind reels! My romance with tattoo paper is getting serious, guys.
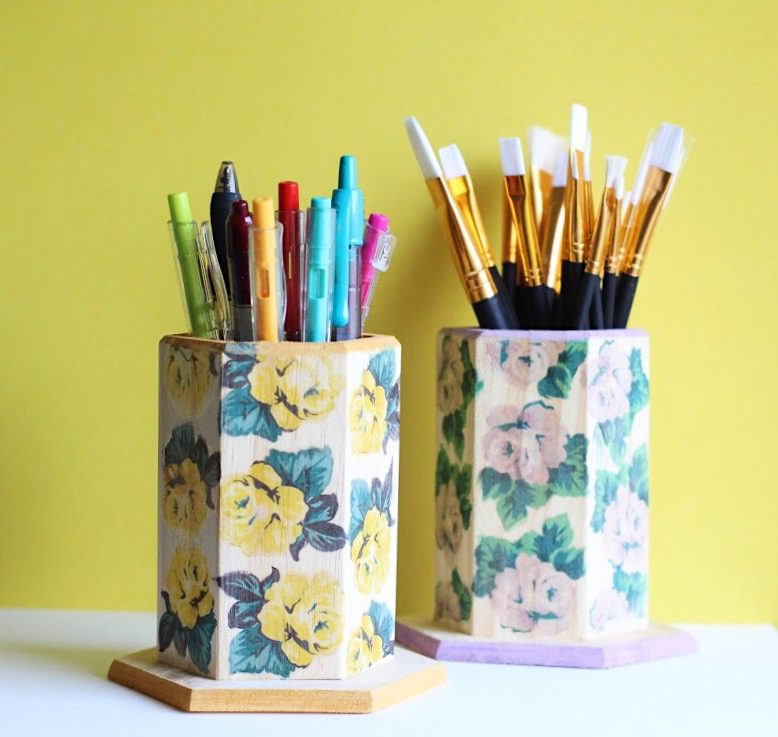

What are you excited to tattoo? I’d love to hear your ideas!
ox. Liz


I had to idea you could put water tattoo on wood.
http://www.amysfashionblog.com/blog-home