


This post was sponsored by Photoshop Elements. All opinions expressed are ours alone.
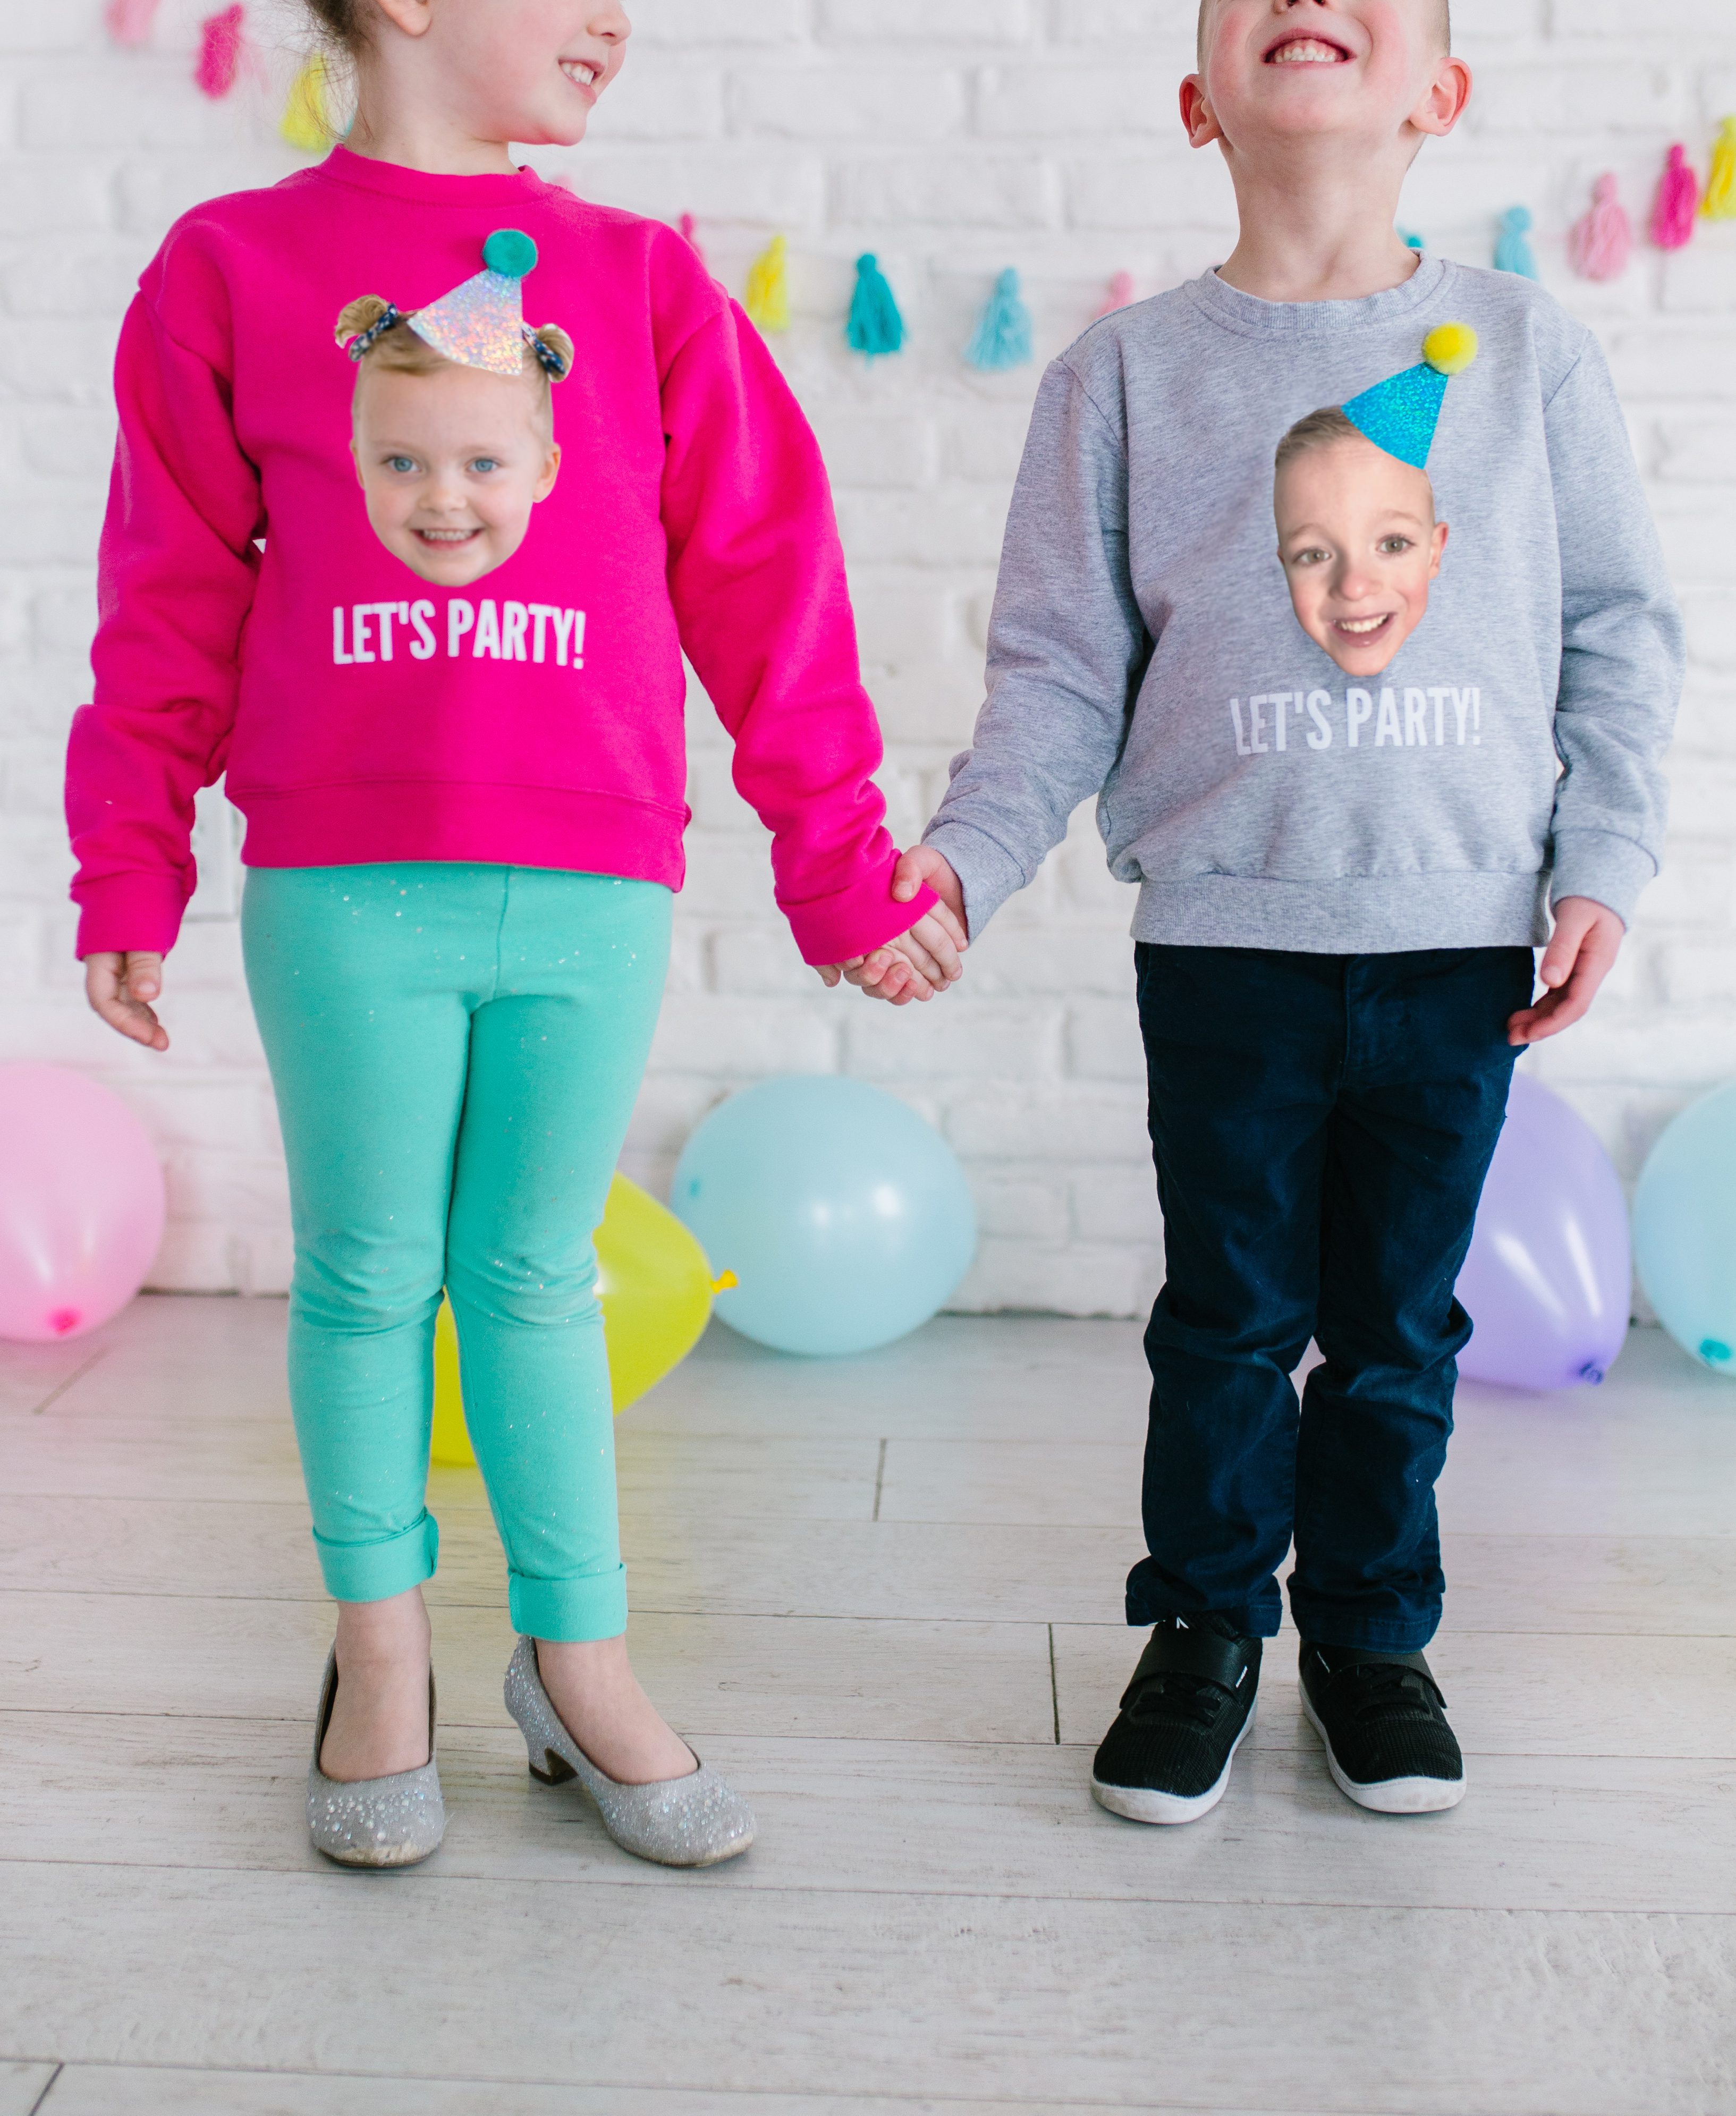
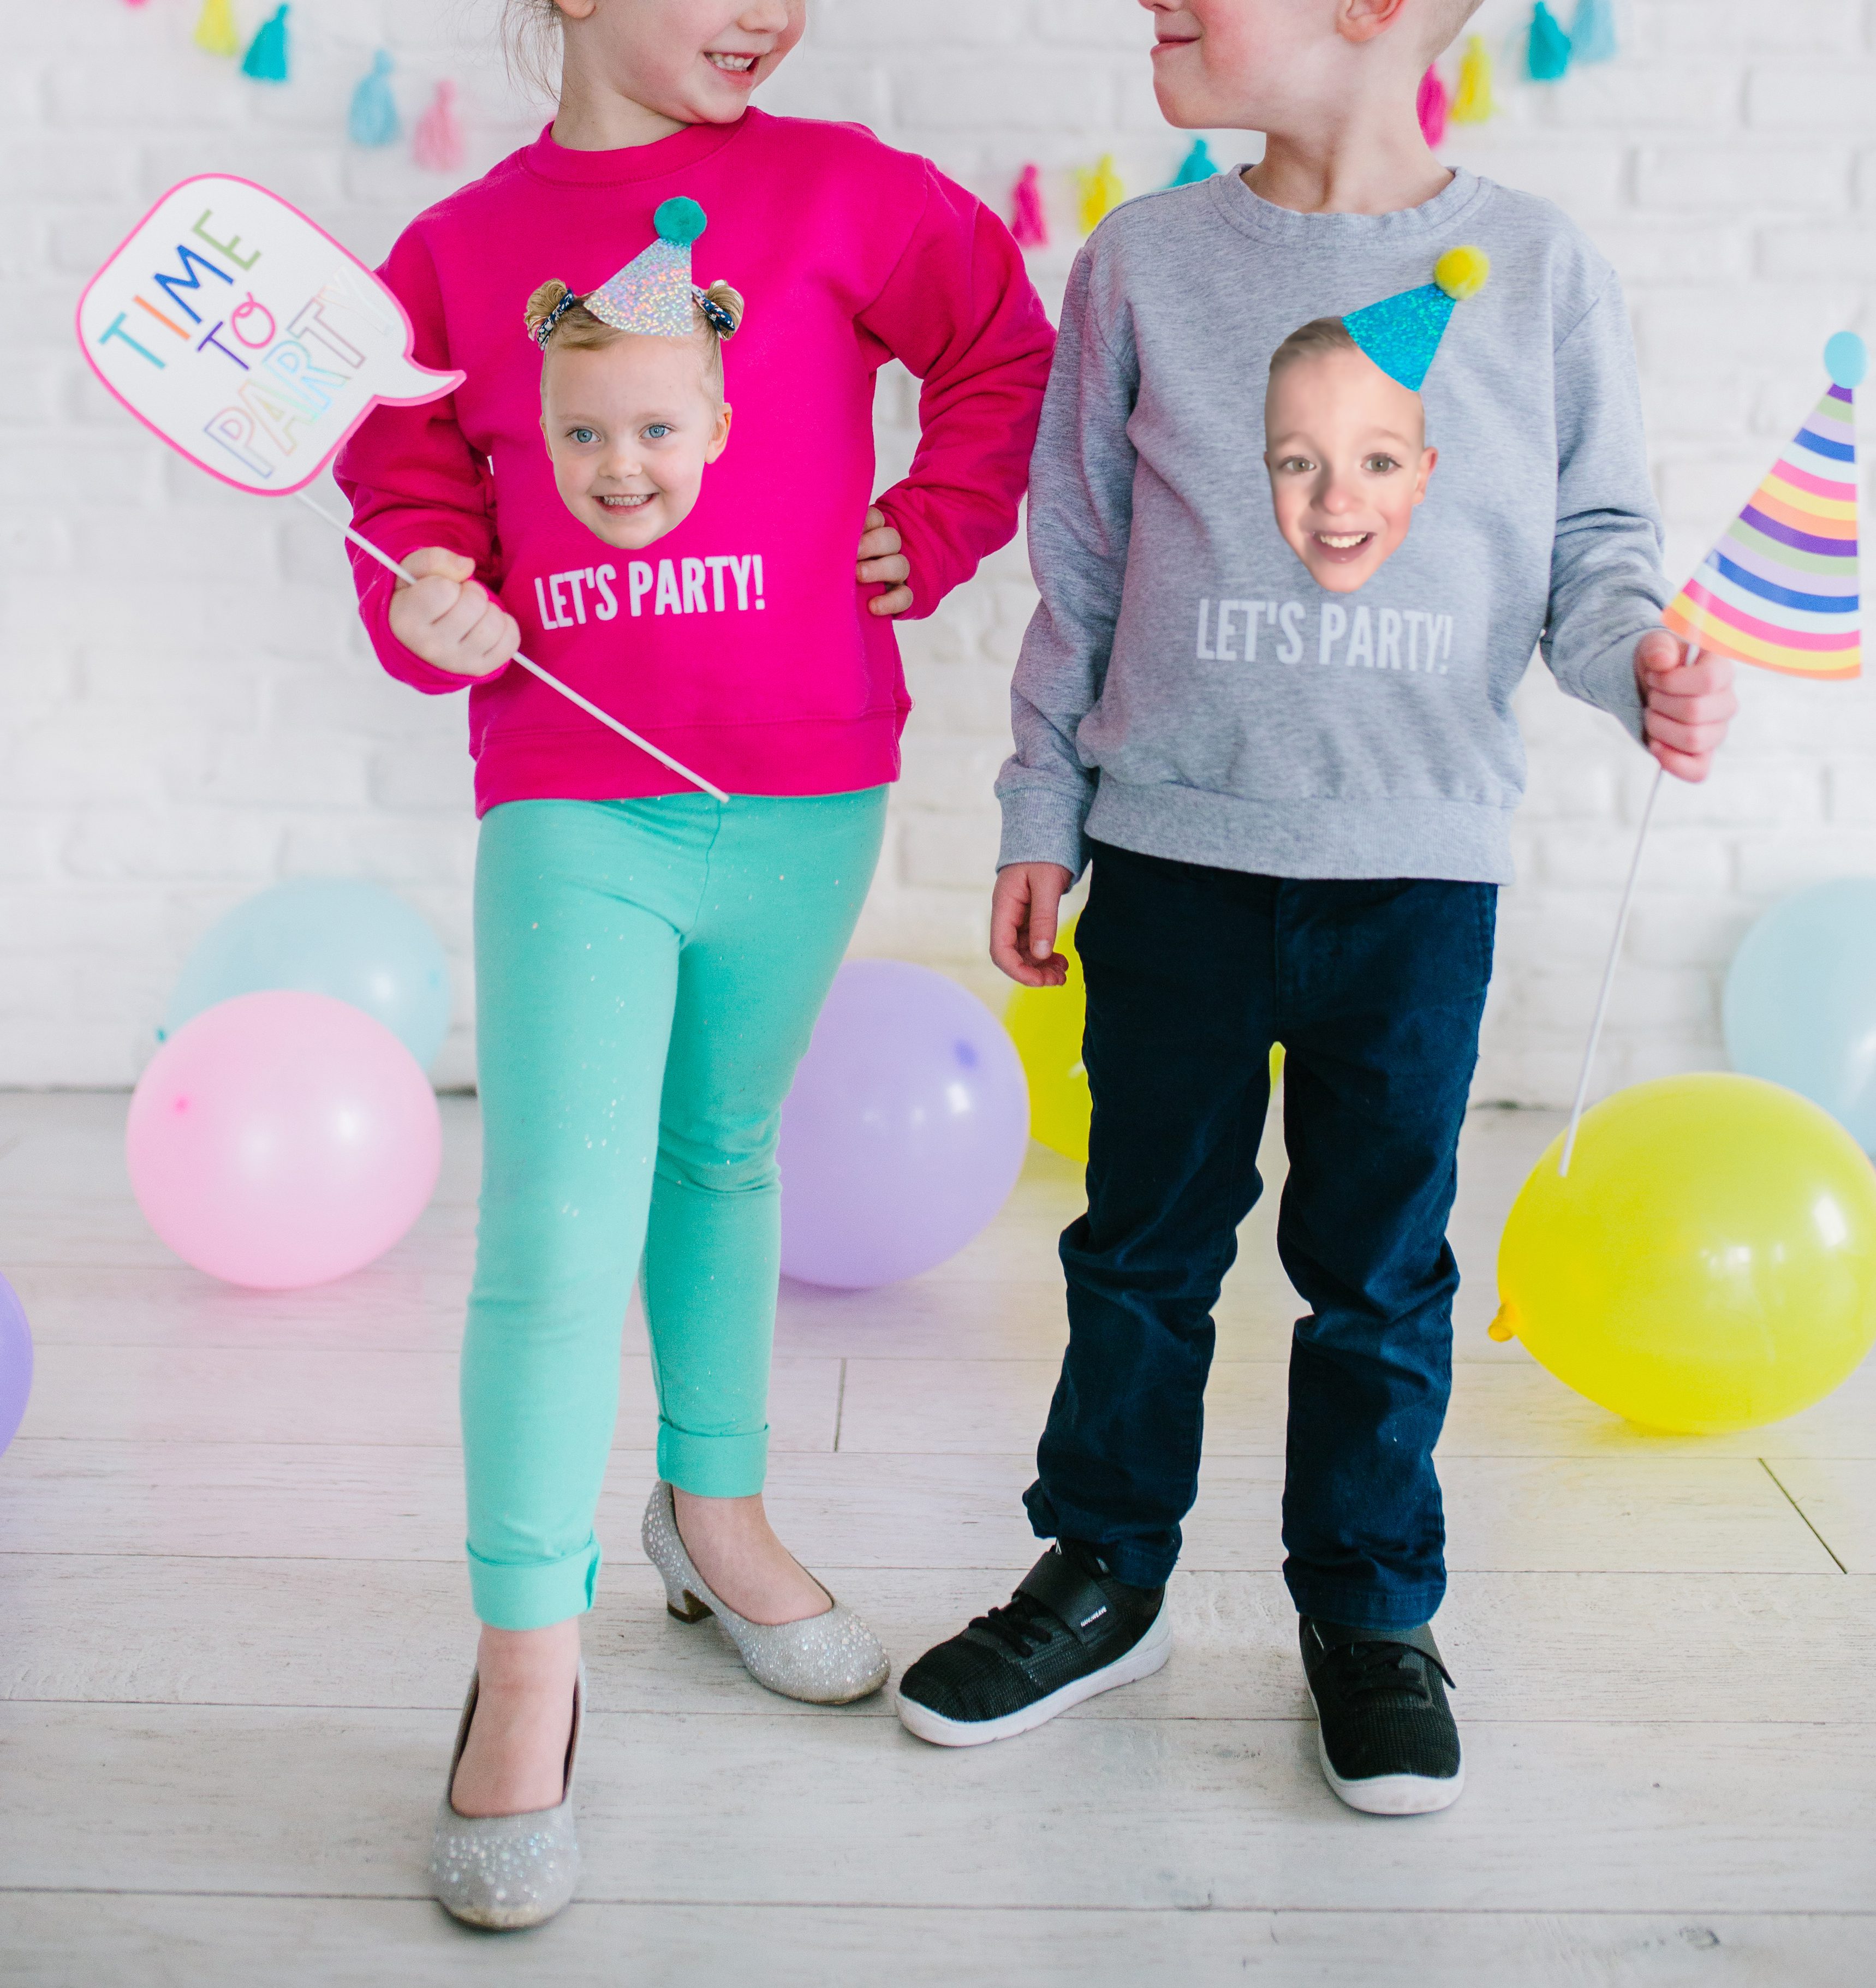
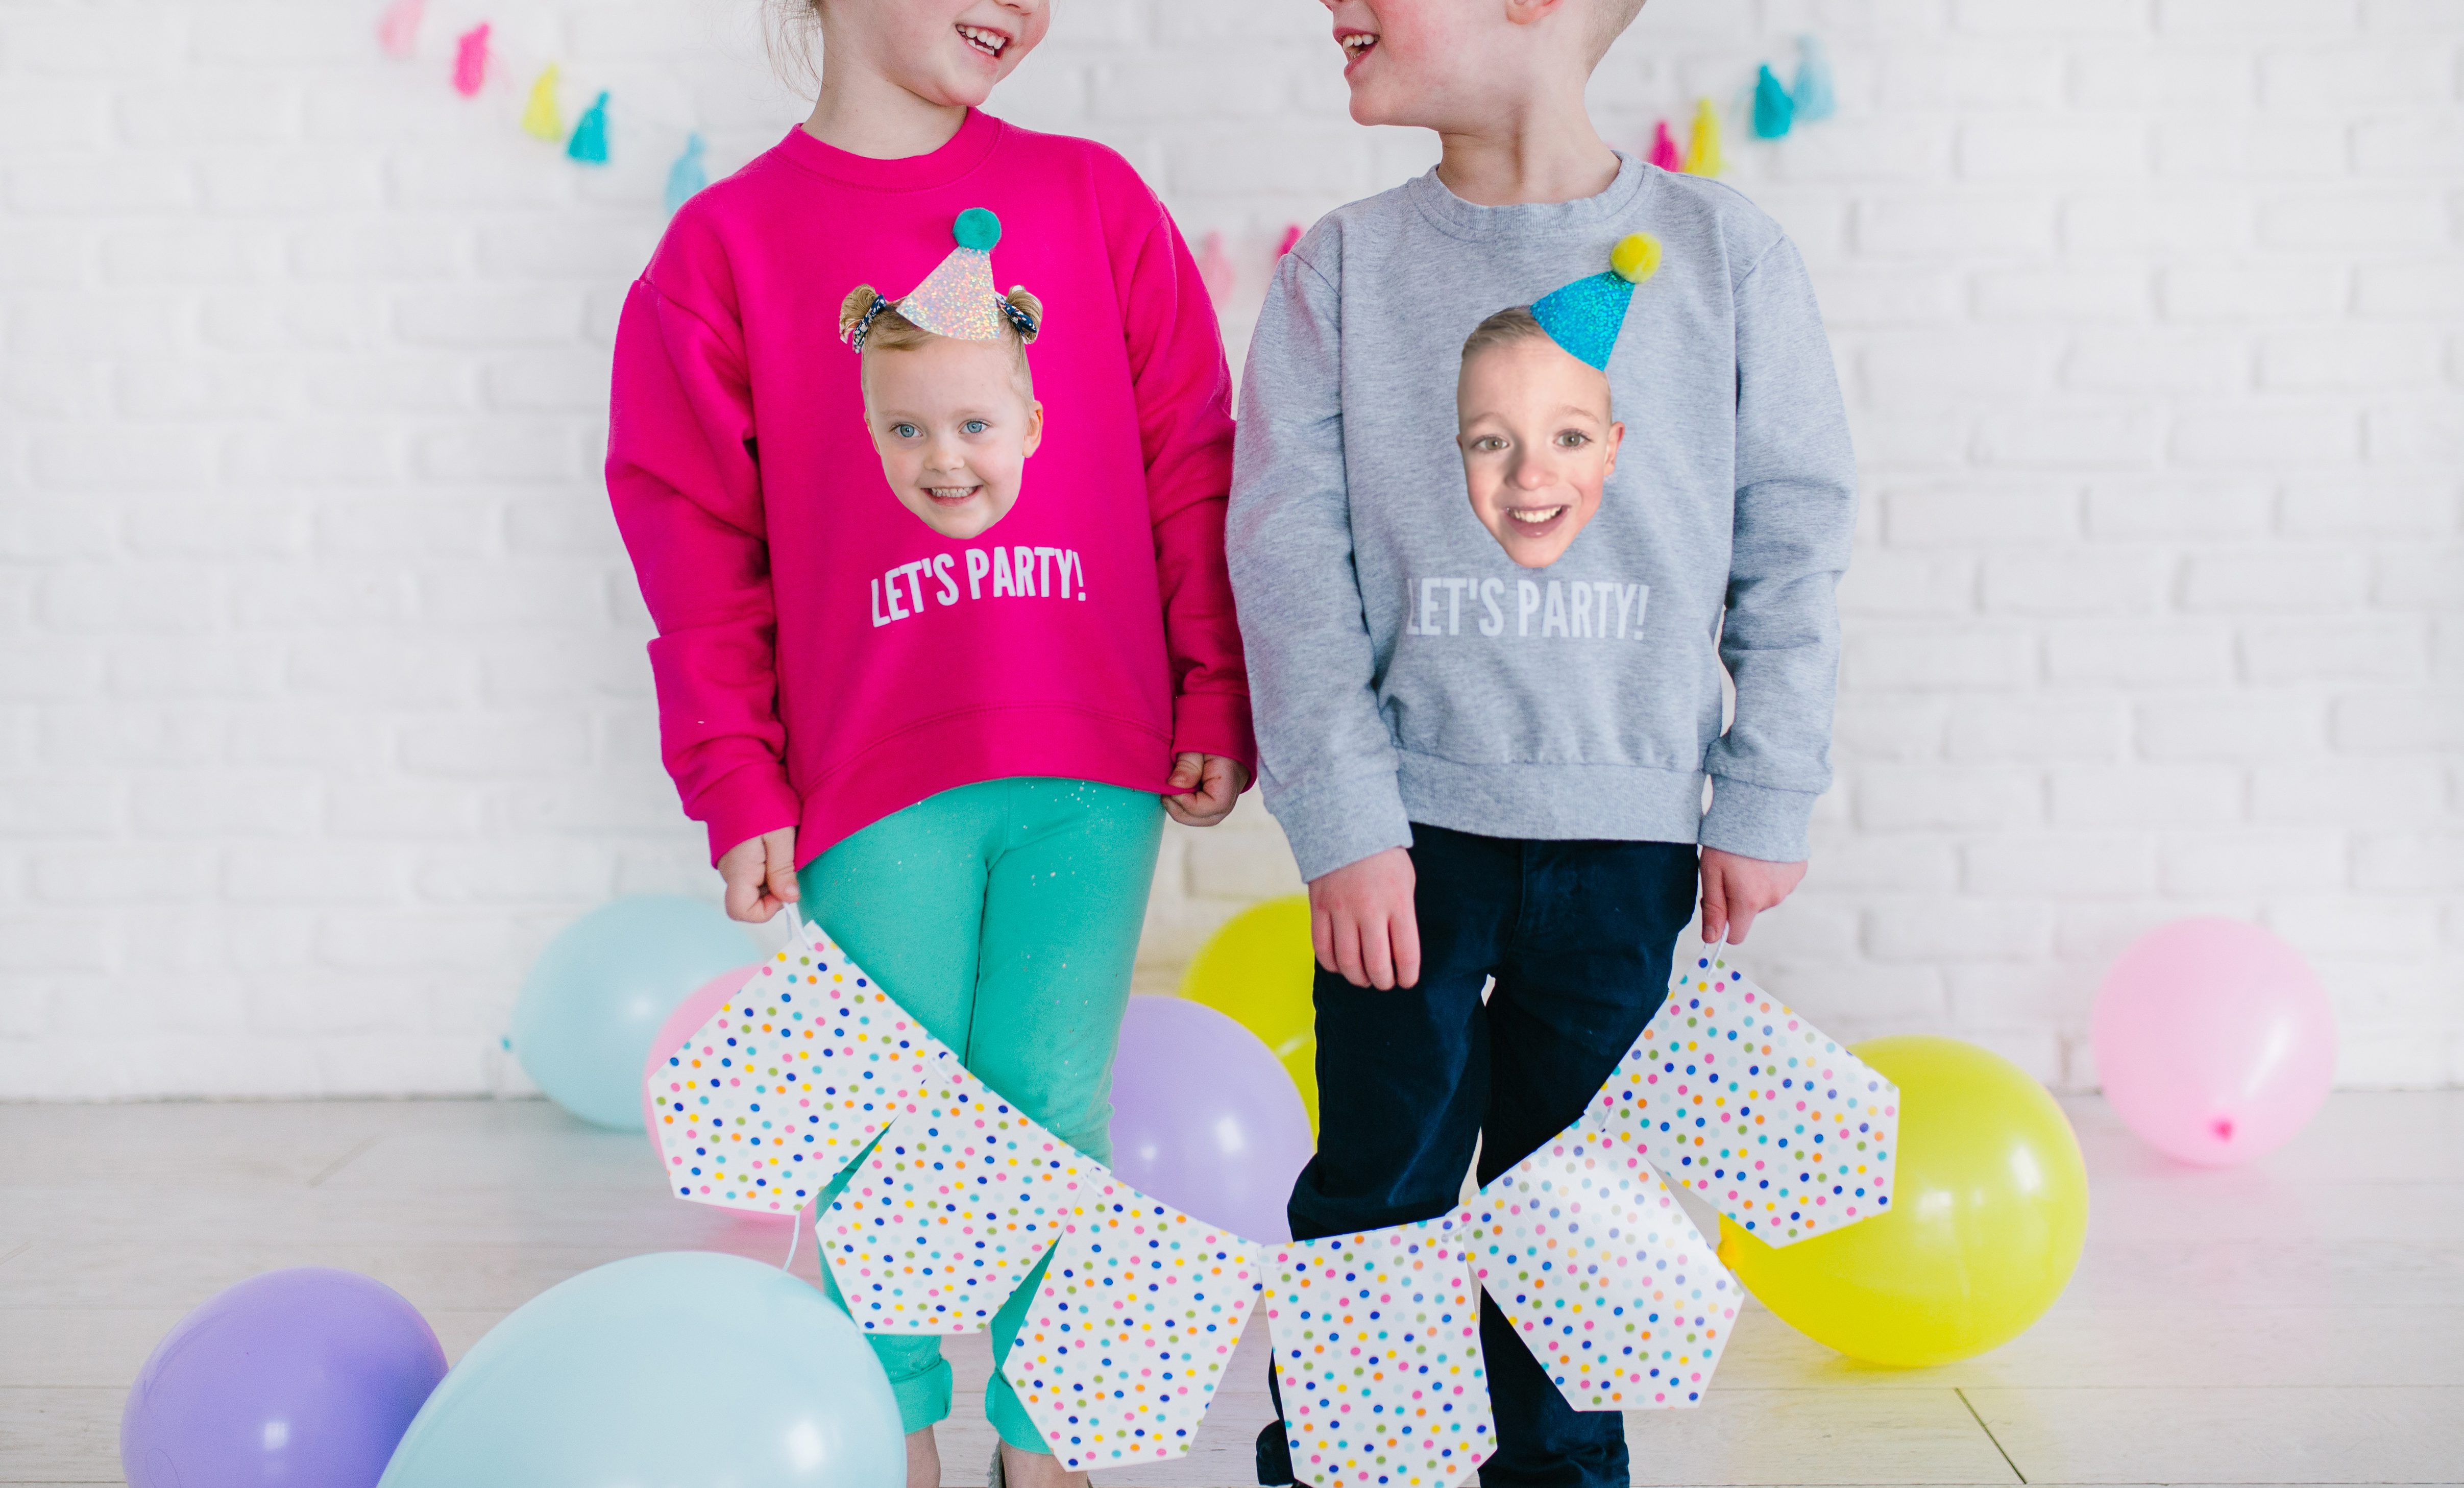
If you’ve followed us for a while, then you’re probably familiar with the tale of the twin cousins. BUT if you have no idea what we’re talking about, what you need to know is that we had babies on the same day in March 2014, even though their due dates were three months apart (you can learn more here or here). We love those rascals so much, and we cannot believe they will be turning five this month! So today we’re going to be making them the cutest DIY birthday shirts, using Photoshop Elements!
This tutorial is made SO simple with the help of a couple Photoshop Elements Guided Edits – Replace Background and Perfect Portrait – which provide each simple step for achieving amazing edits to your image. And with the free 30 day trial of Photoshop Elements, anyone can make this project! Keep reading for the full tutorial!
Supplies needed to make your own birthday shirt
Photoshop Elements
Blank shirt
Printable Heat Transfer Material
Holographic Heat Transfer Vinyl
Heat Transfer Vinyl Letters
Scissors
Pom pom
How to make your own birthday shirt
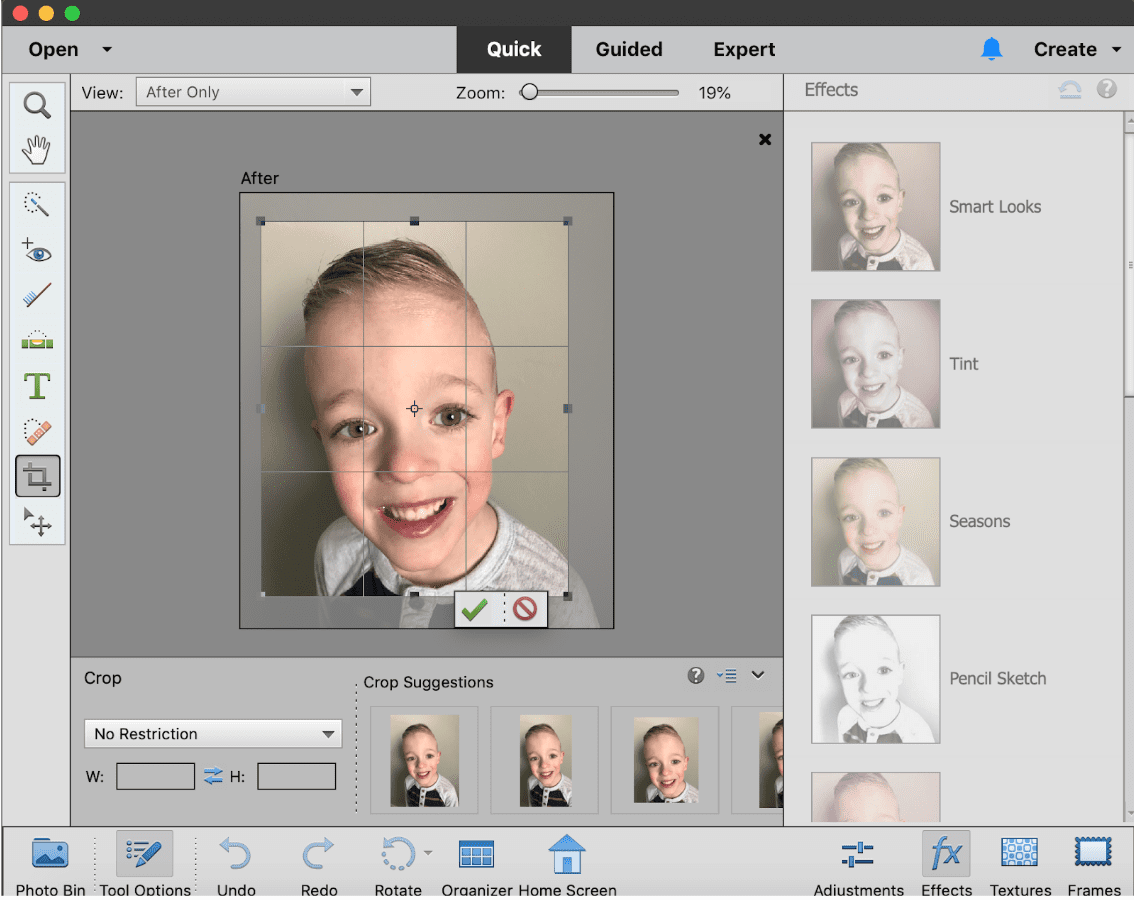
Step 1: Take a photo of your child and upload it into Photoshop Elements. It doesn’t need to be fancy – I snapped mine on my phone. But for best results, shoot against a simple backdrop, and get in as close as you can so your child’s face fills the screen, which will give the highest resolution image and highest quality end result. Crop the image around the face.
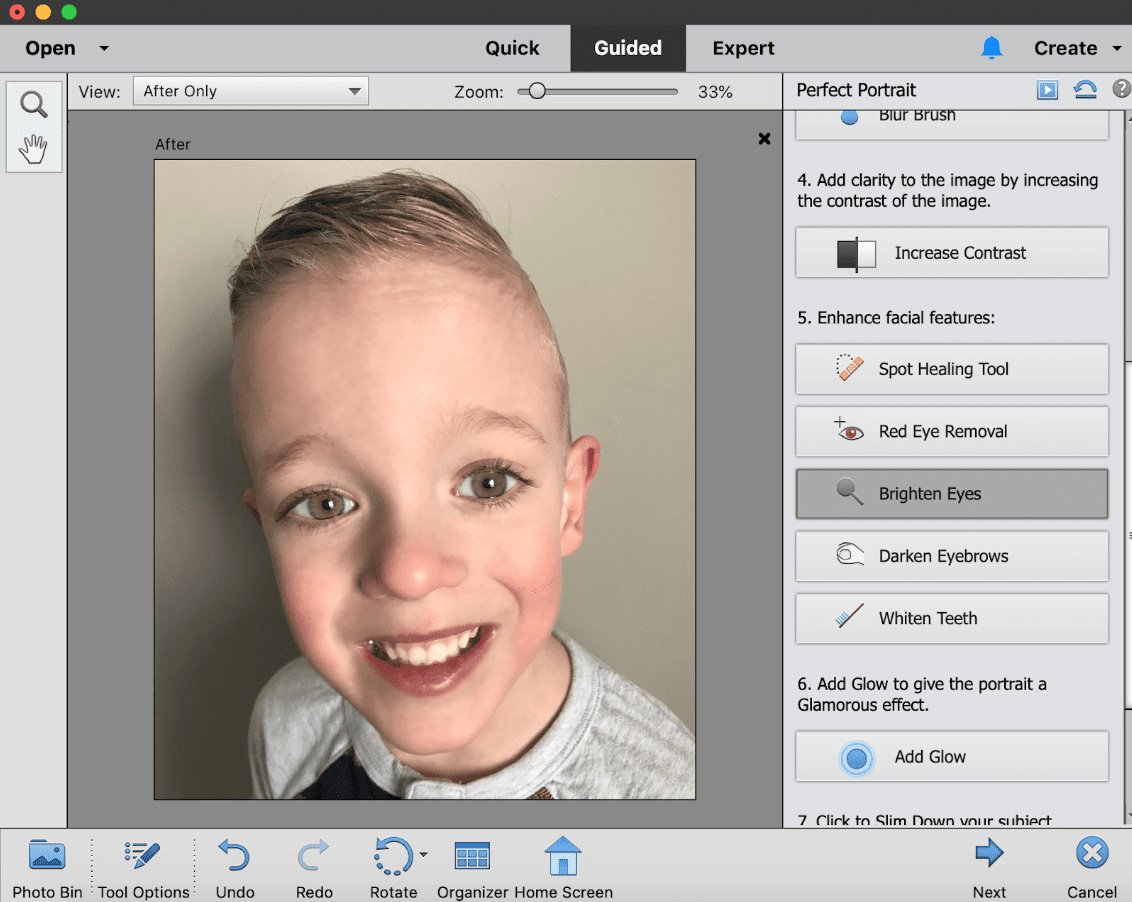
Step 2: Open Guided Edits, then select the Special Edits tab and Perfect Portrait. Here you can smooth skin, touch up spots, brighten eyes, whiten teeth, and more. Just select from the options on the right side. When you’re done making edits to the portrait, click the next button and continue editing In Quick.

Step 3: Open Special Edits in Guided Edits again, and this time select Replace Background. Follow the prompts on the right to select the portion of the image you want to keep. I used the Auto option to make my initial selection, and then the Brush to clean it up a little bit.
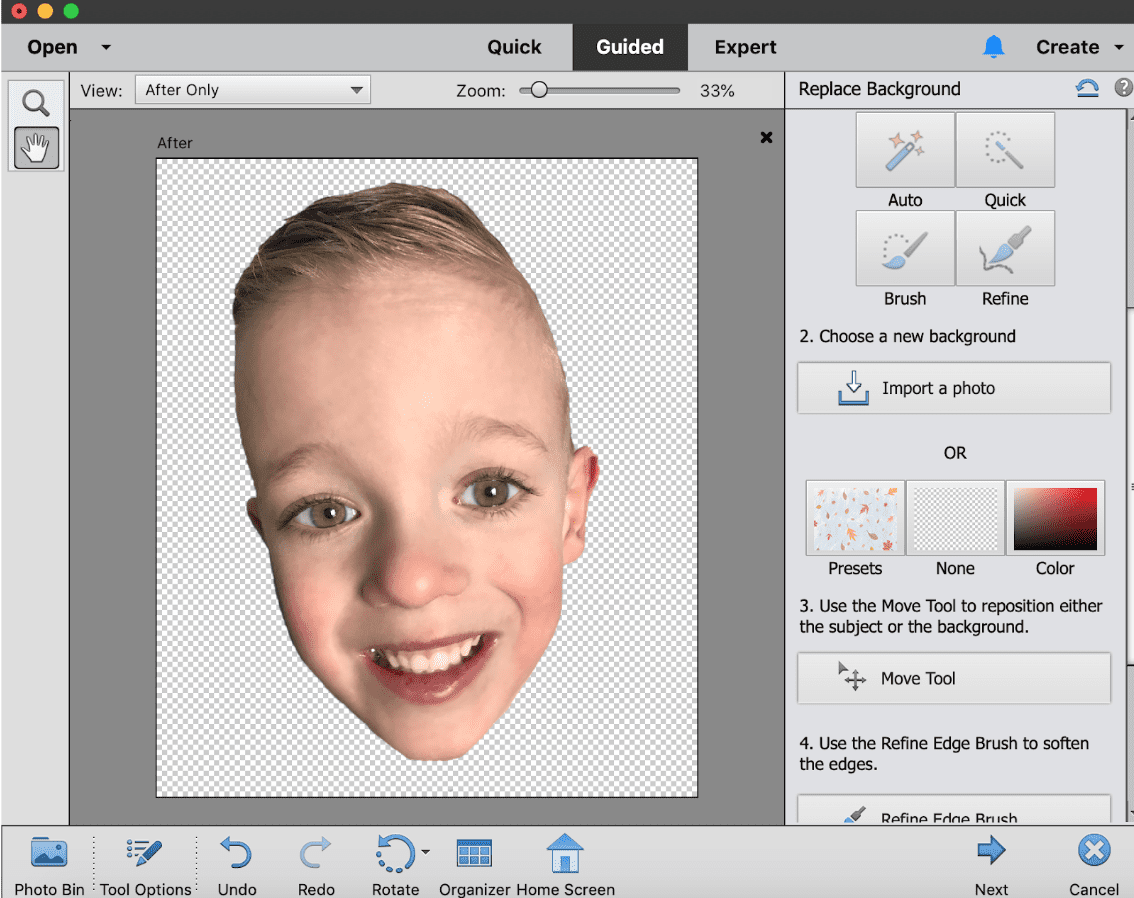
Step 4: Under Choose a New Background, click the None option to remove your background. After you’ve finished editing your image, it’s time to print! Load the Printable Heat Transfer Material into your printer, and open the Print options in Photoshop Elements. For these little sweatshirts, I chose to print them 4×6 size, but you can make adjustments to best fit your project.
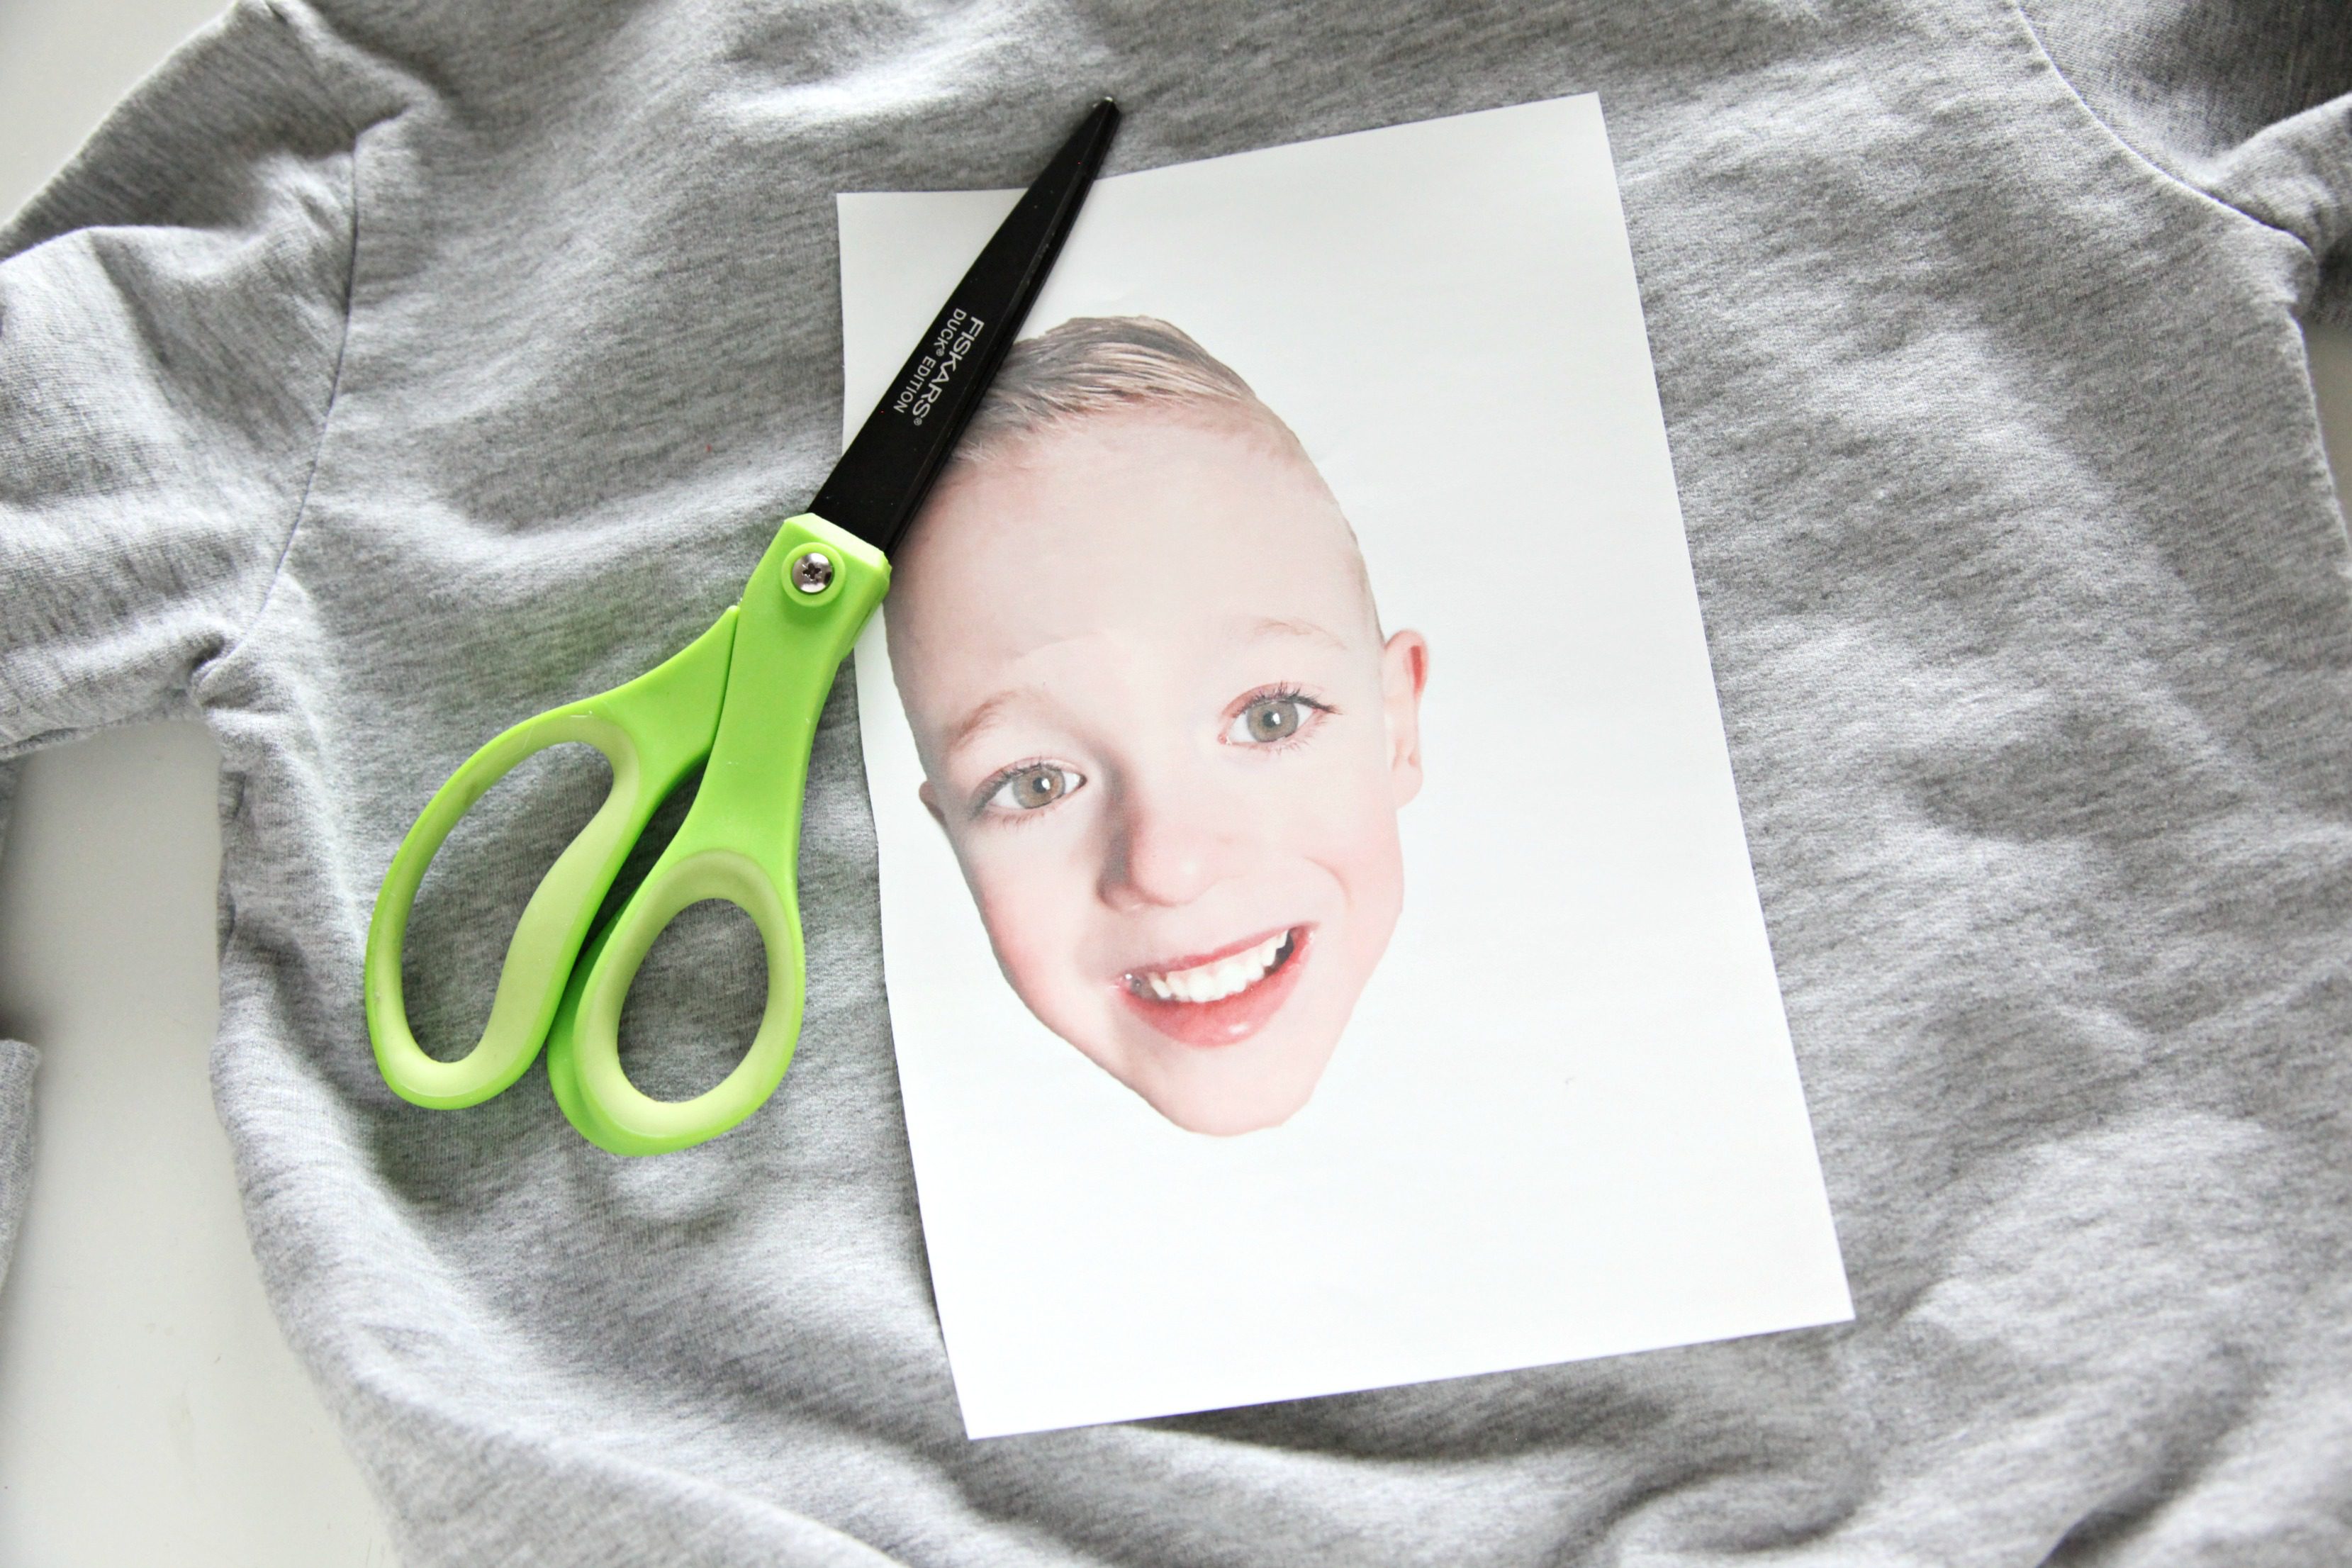
Step 6: Cut out the face, and set it aside.
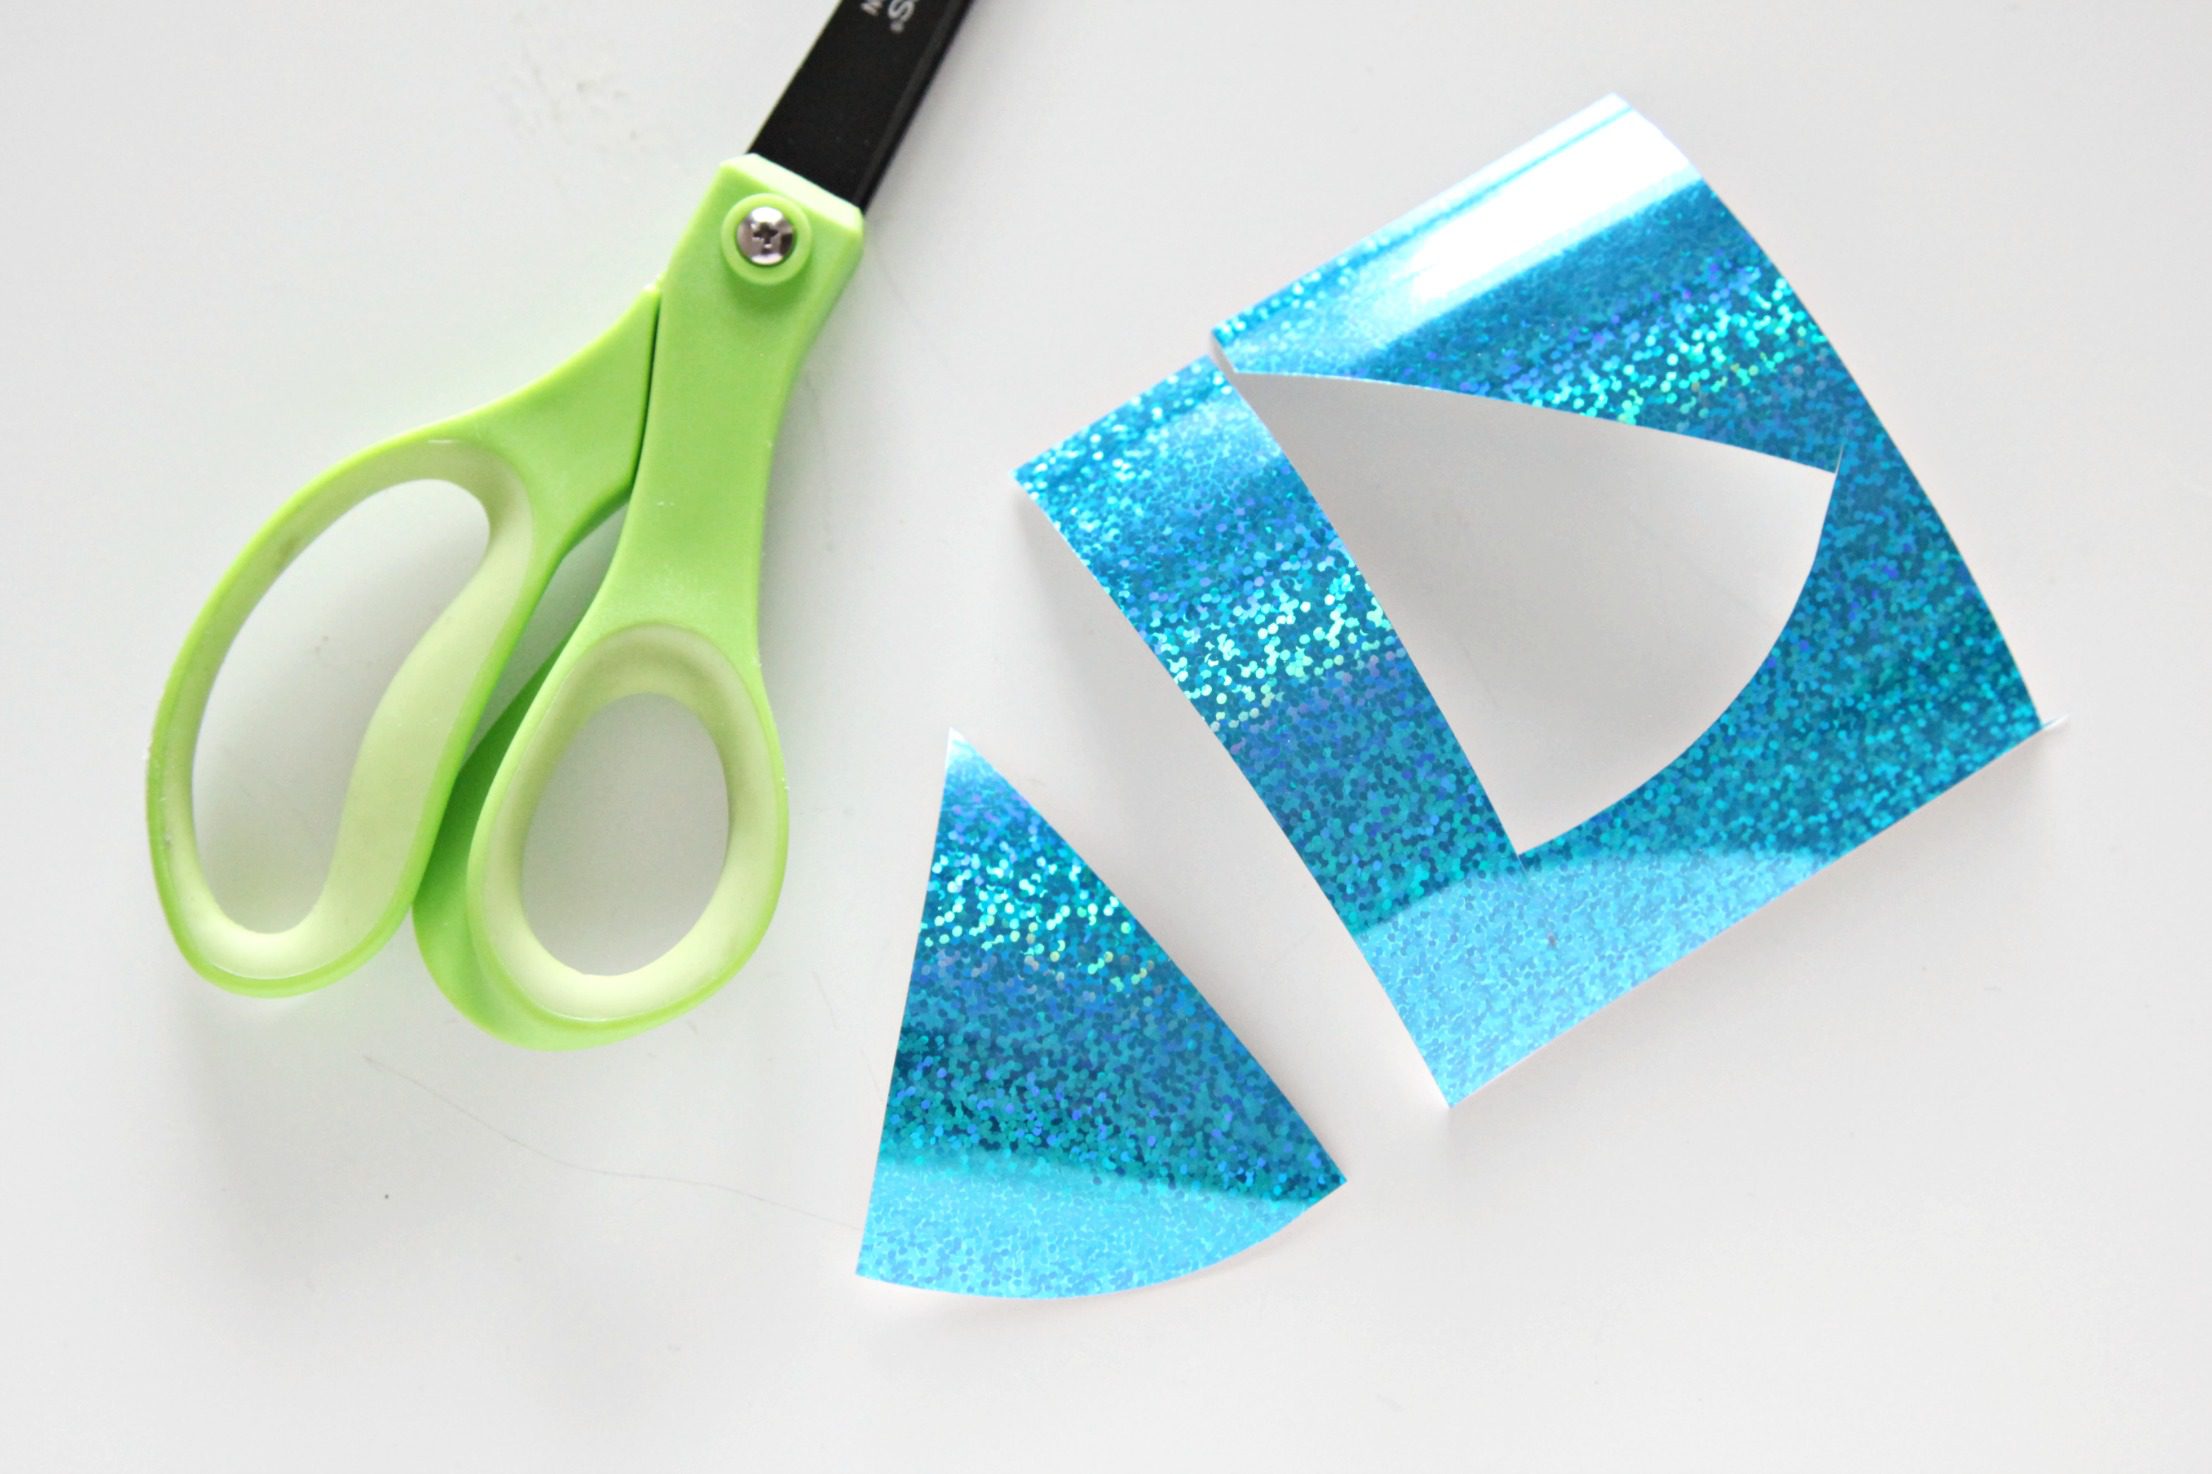
Step 7: Cut a party hat shape from the Holographic Heat Transfer Vinyl.
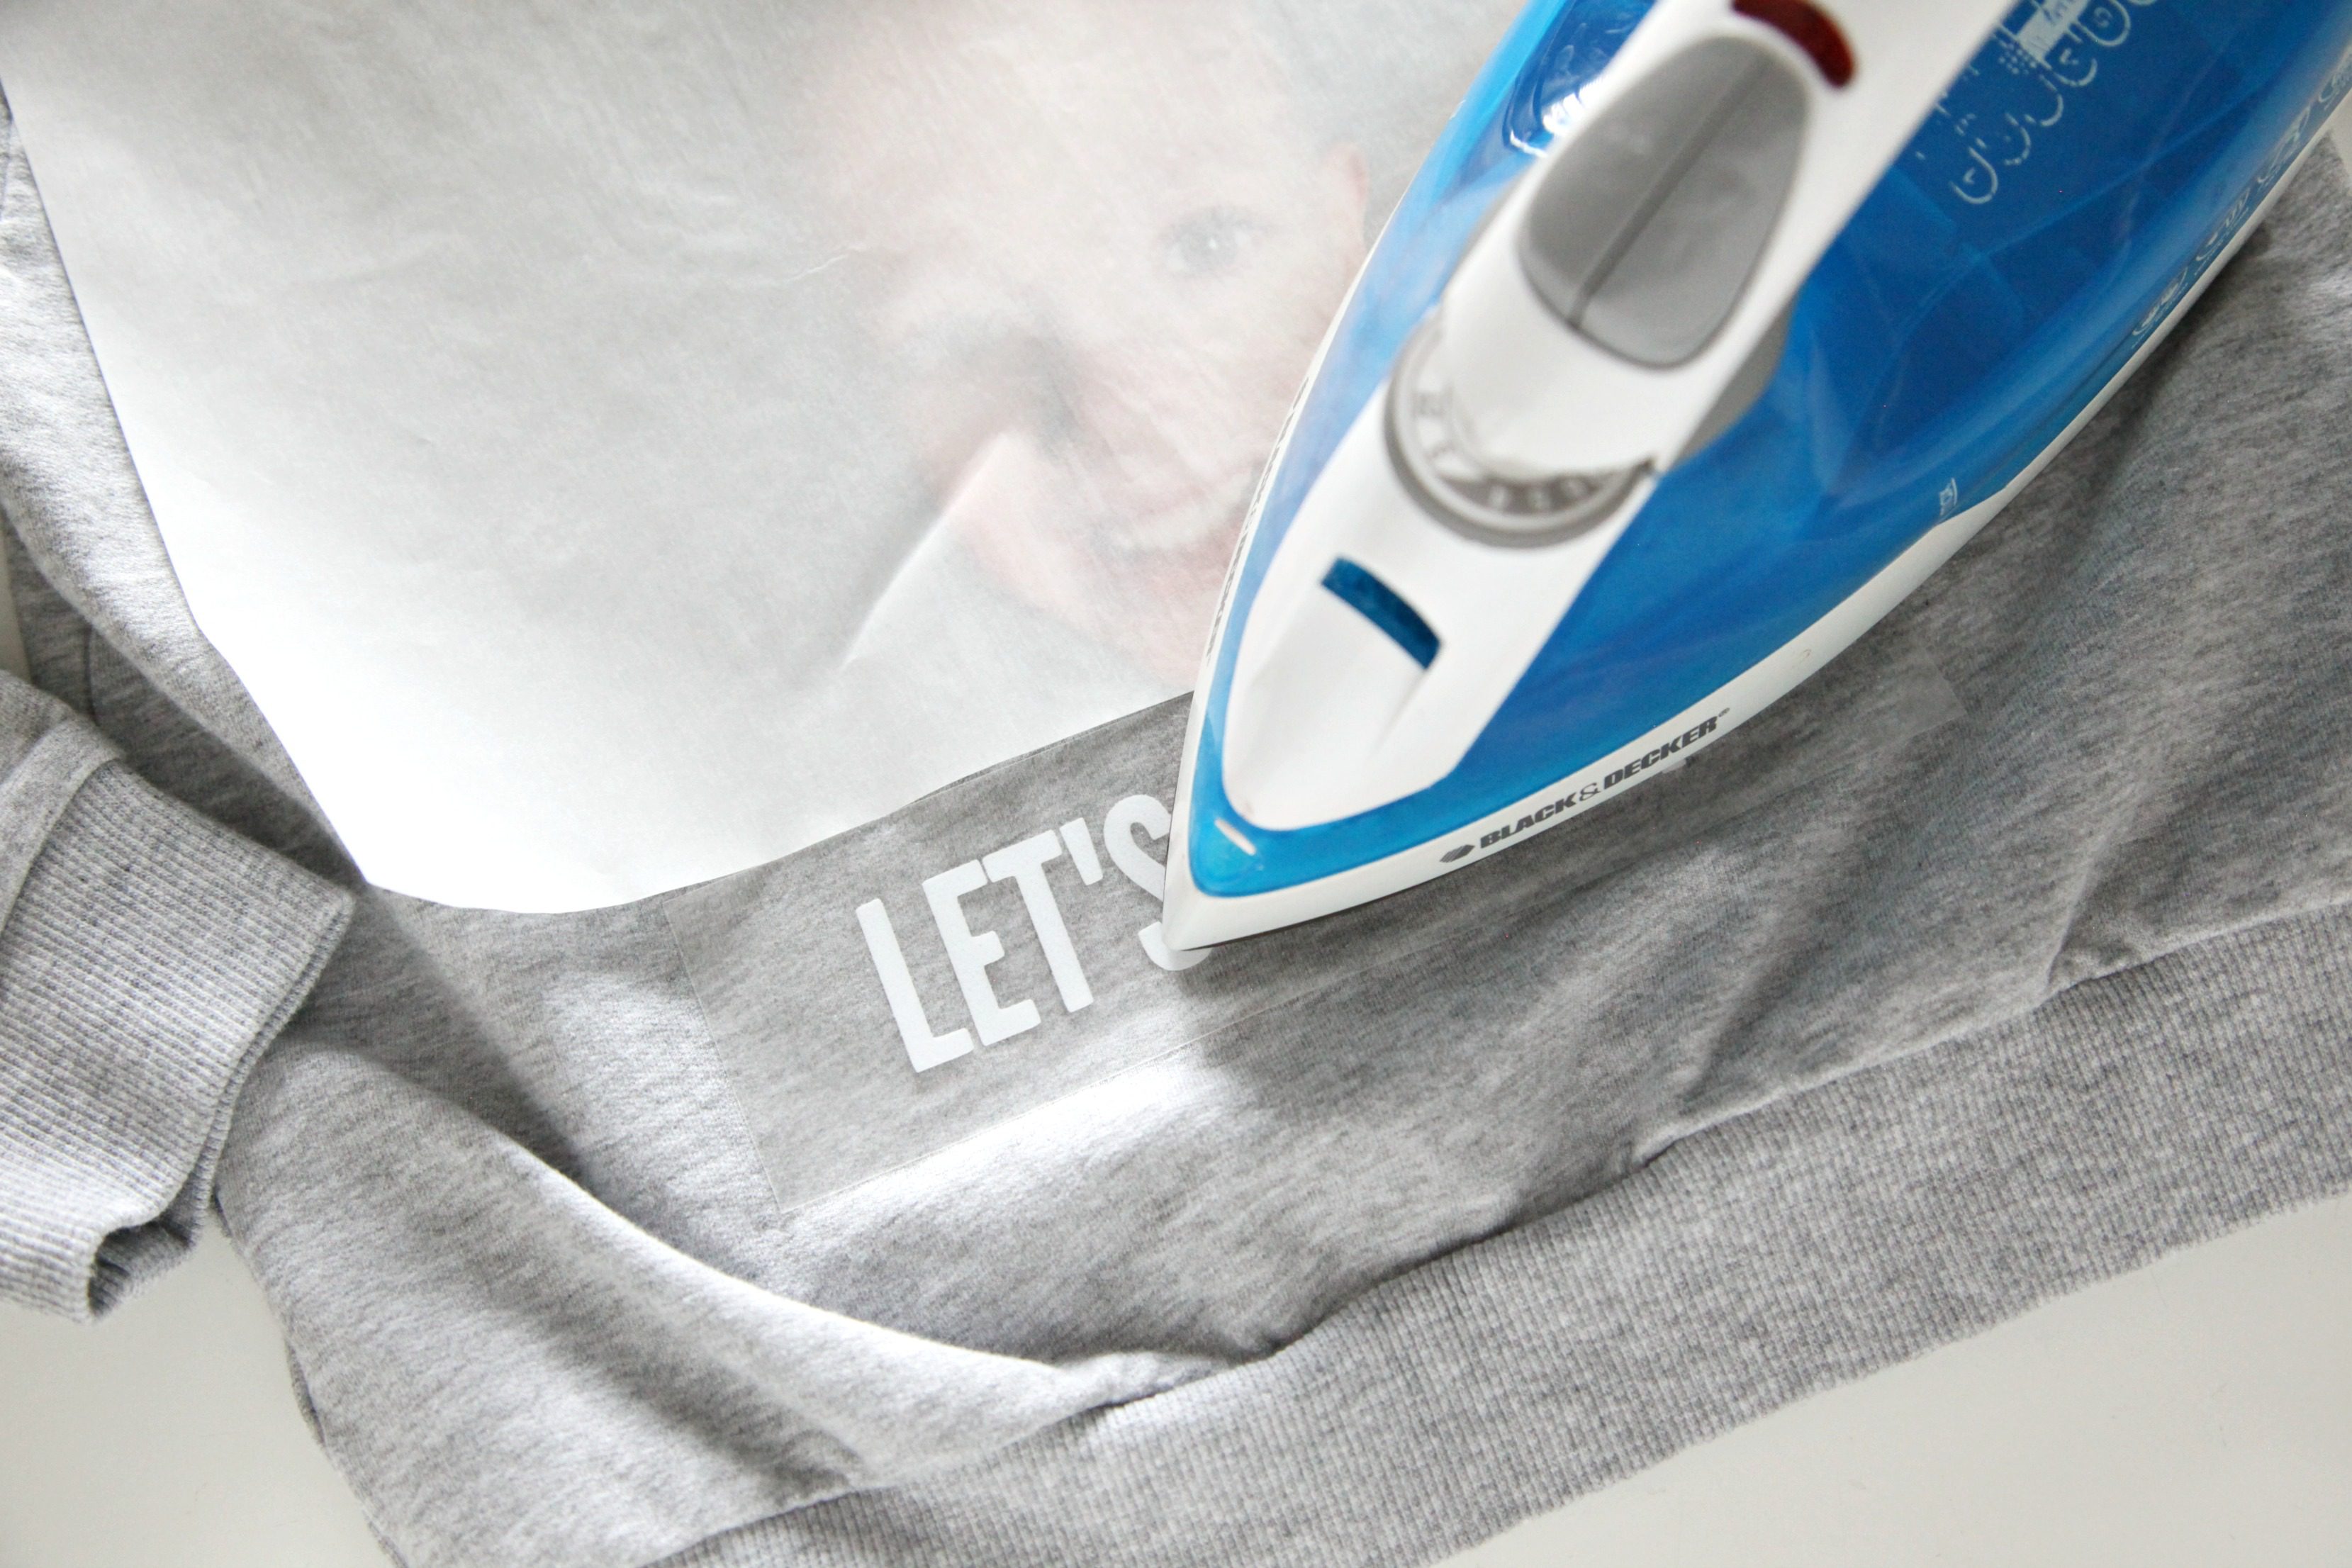
Step 8: Arrange the face, hat, and letters on the shirt. Follow the instructions for each material to apply them to the shirt.

Step 9: Add a pom pom (my favorite part!) to the top of the hat using hot glue, fabric glue, or a needle and thread.
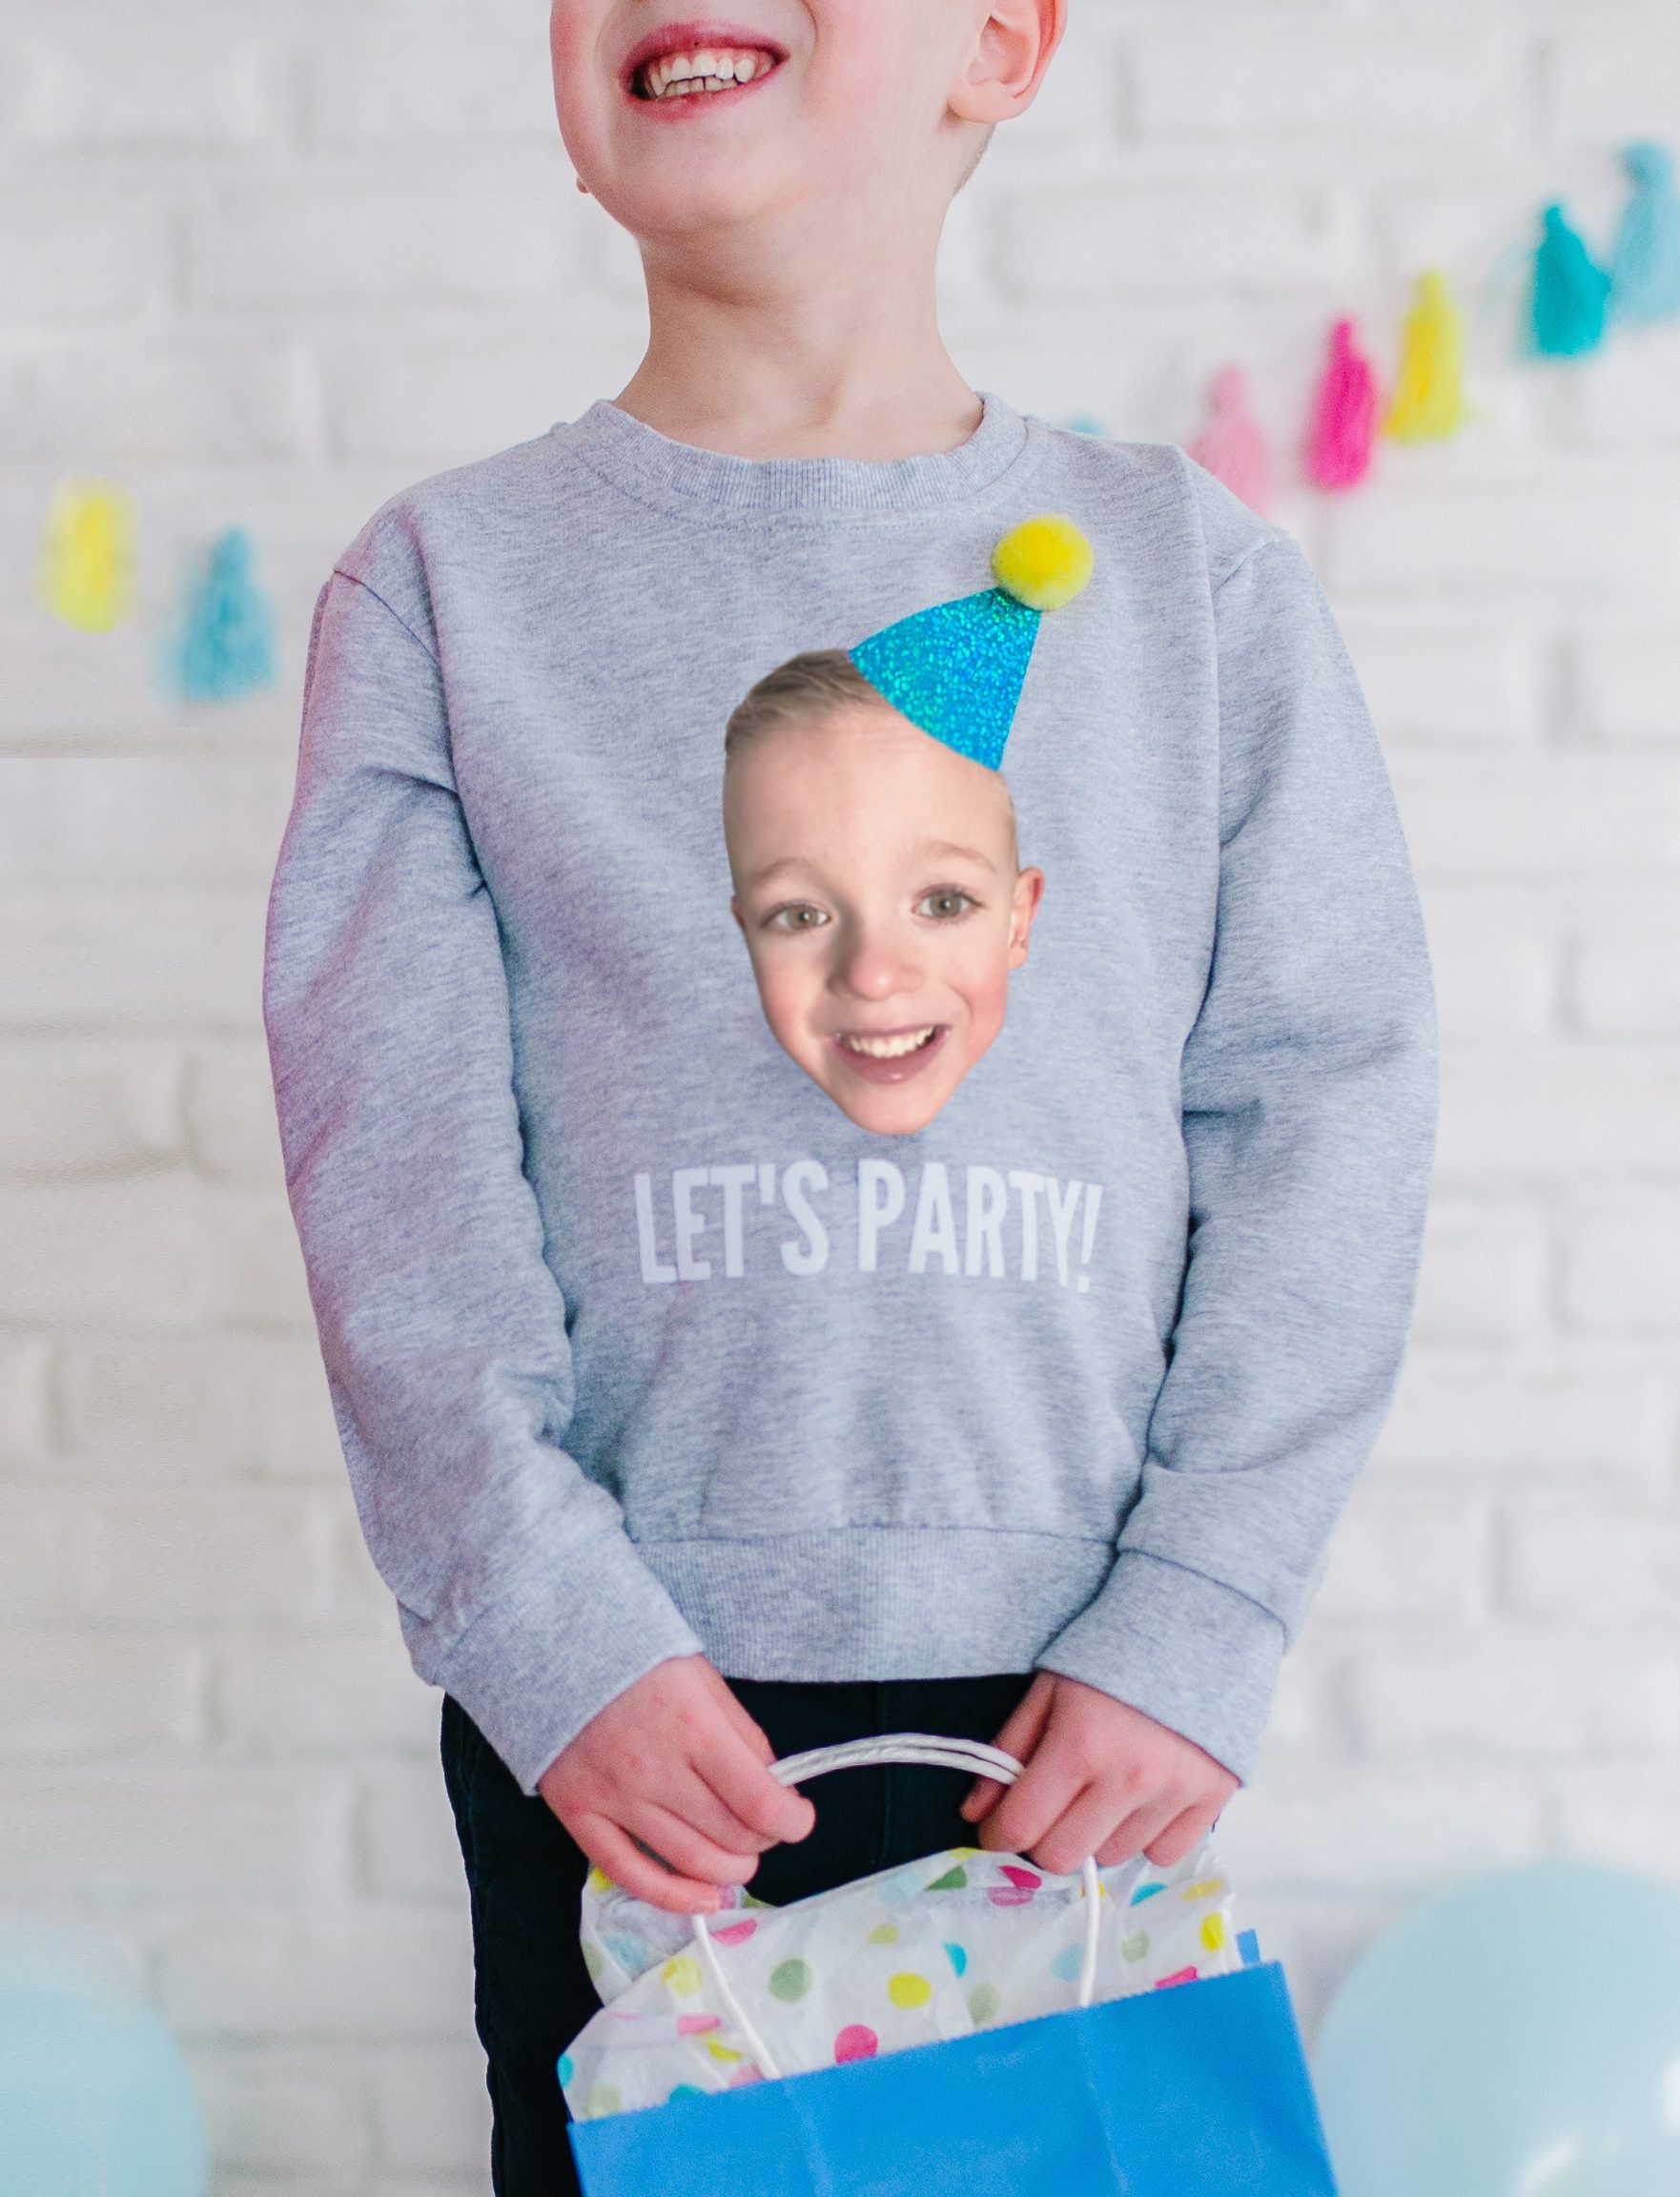
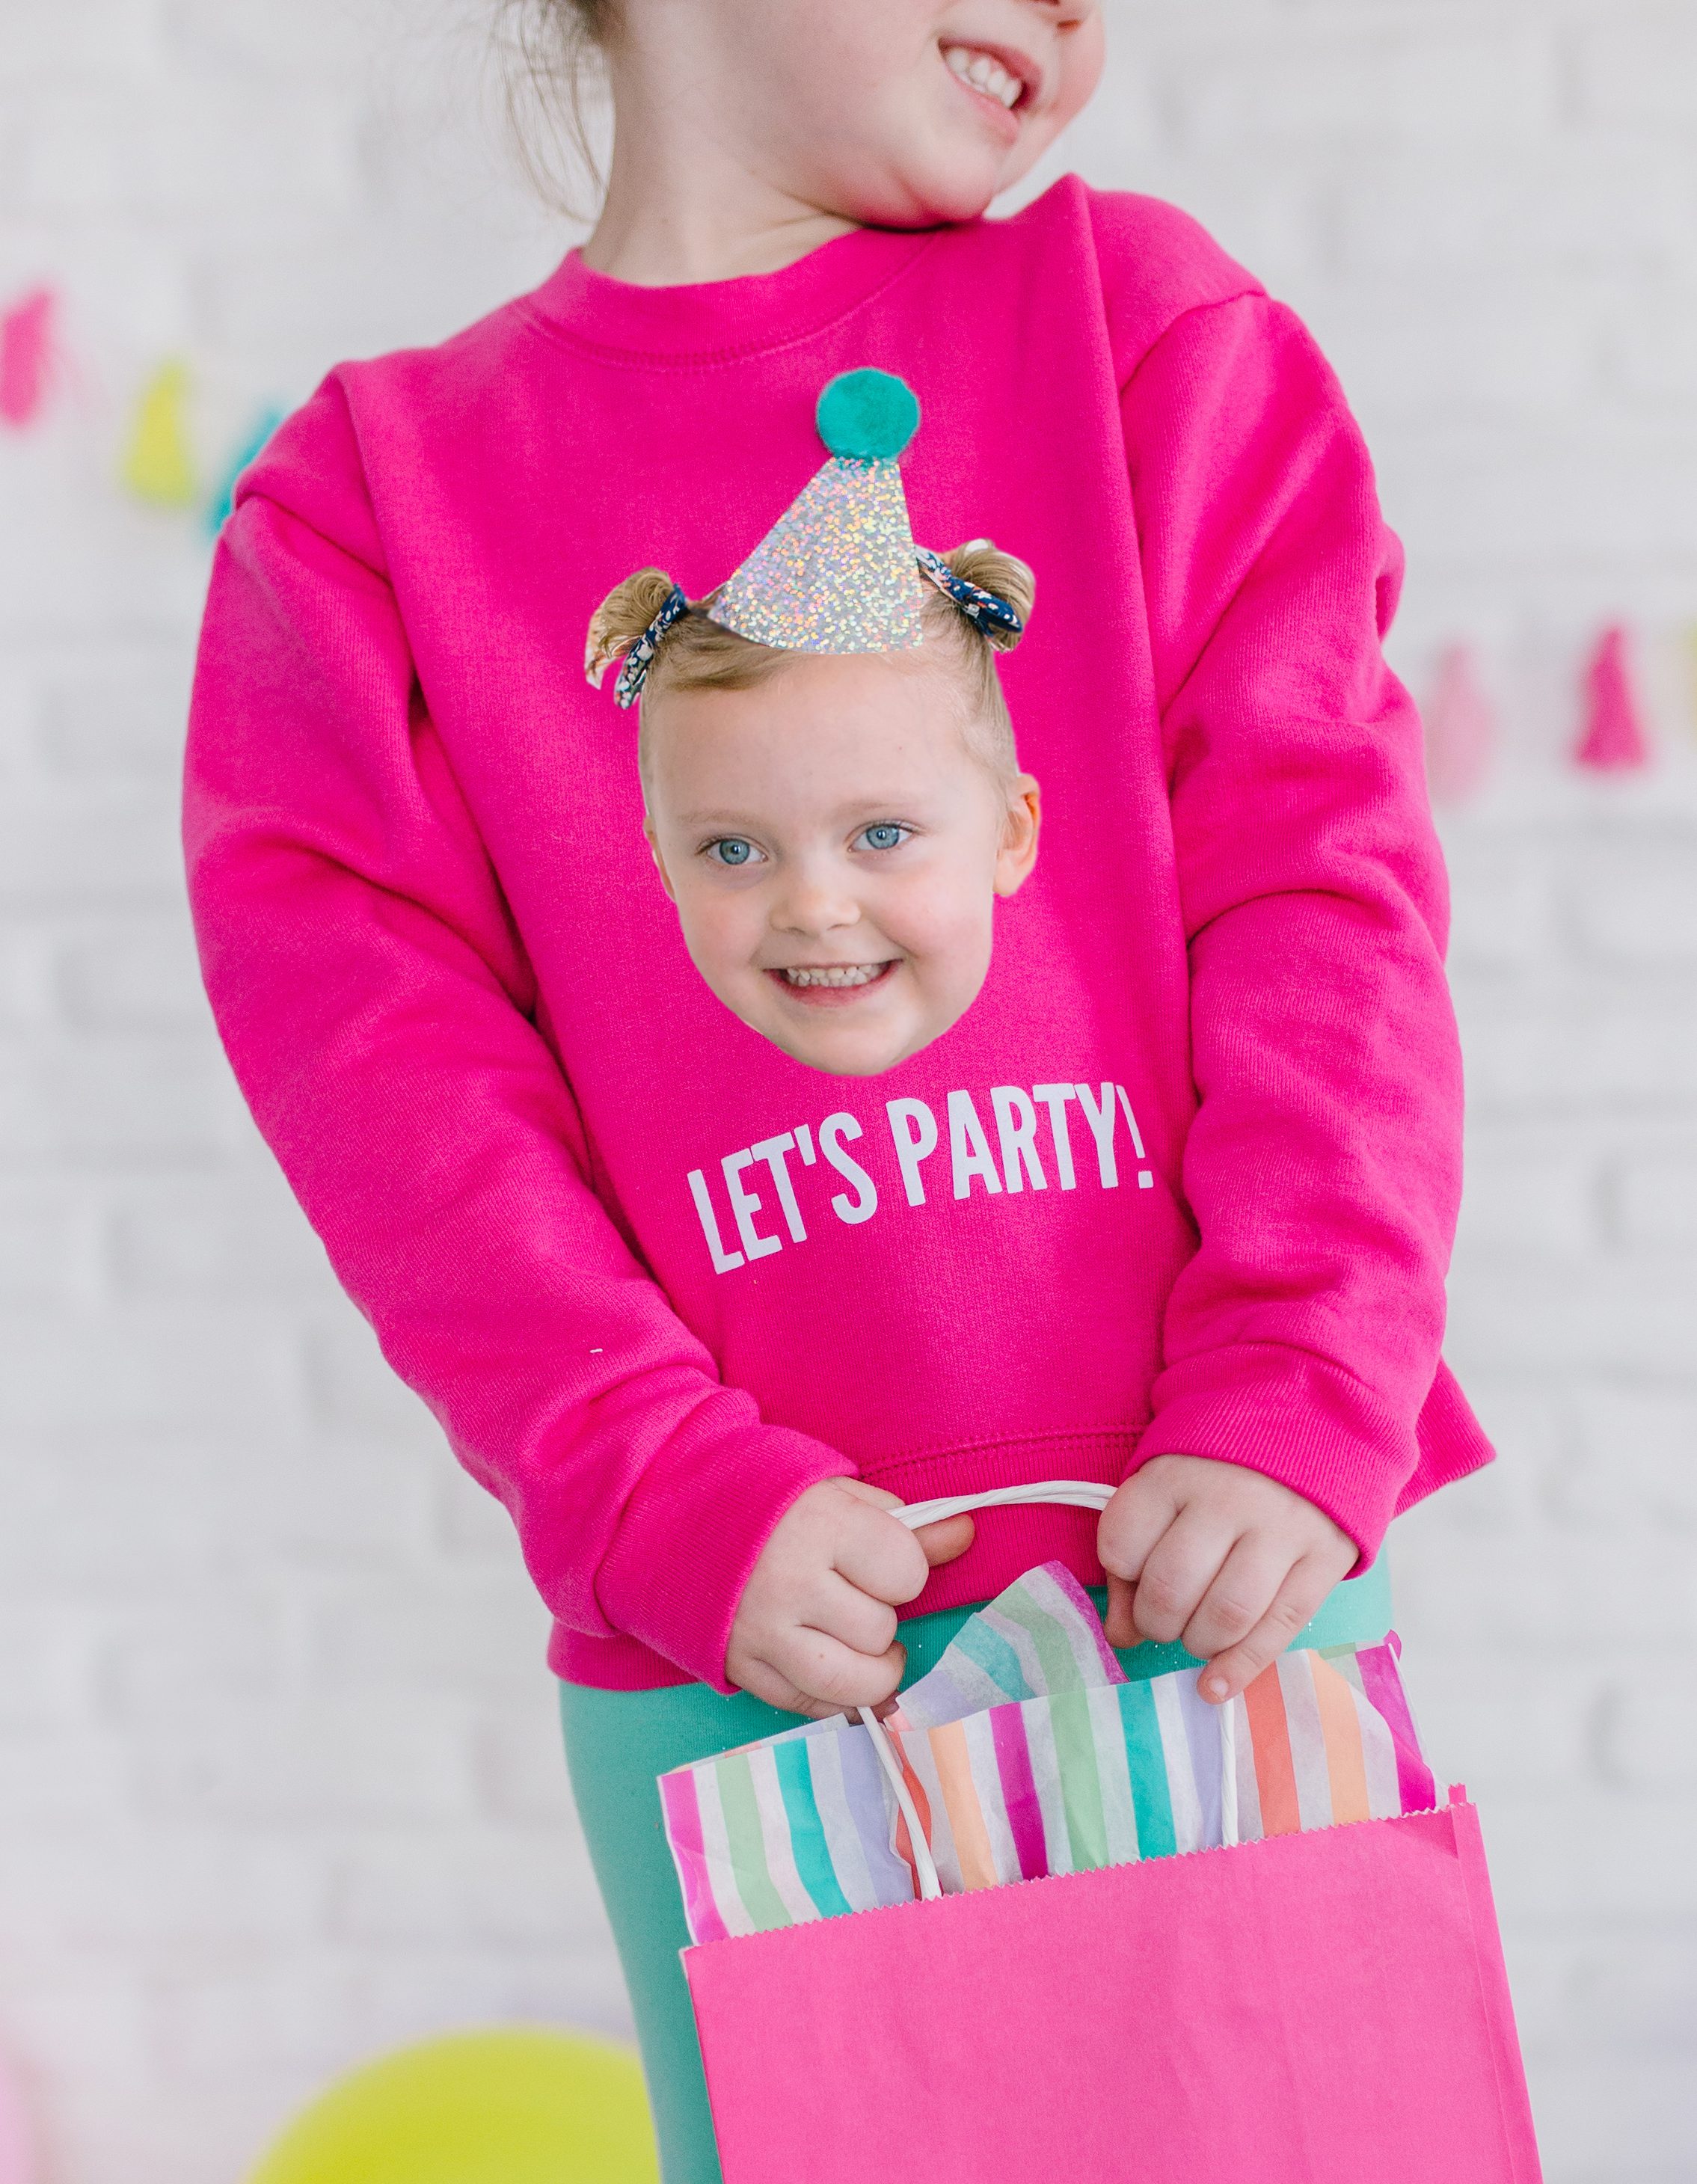
And now you have the cutest personalized birthday shirt that your birthday boy/girl is sure to love!
 Don’t forget to try out Photoshop Elements by downloading the free 30 day trial. It is so fun to work with, and I can’t believe how easy it makes this project!
Happy crafting!
xo, Sam
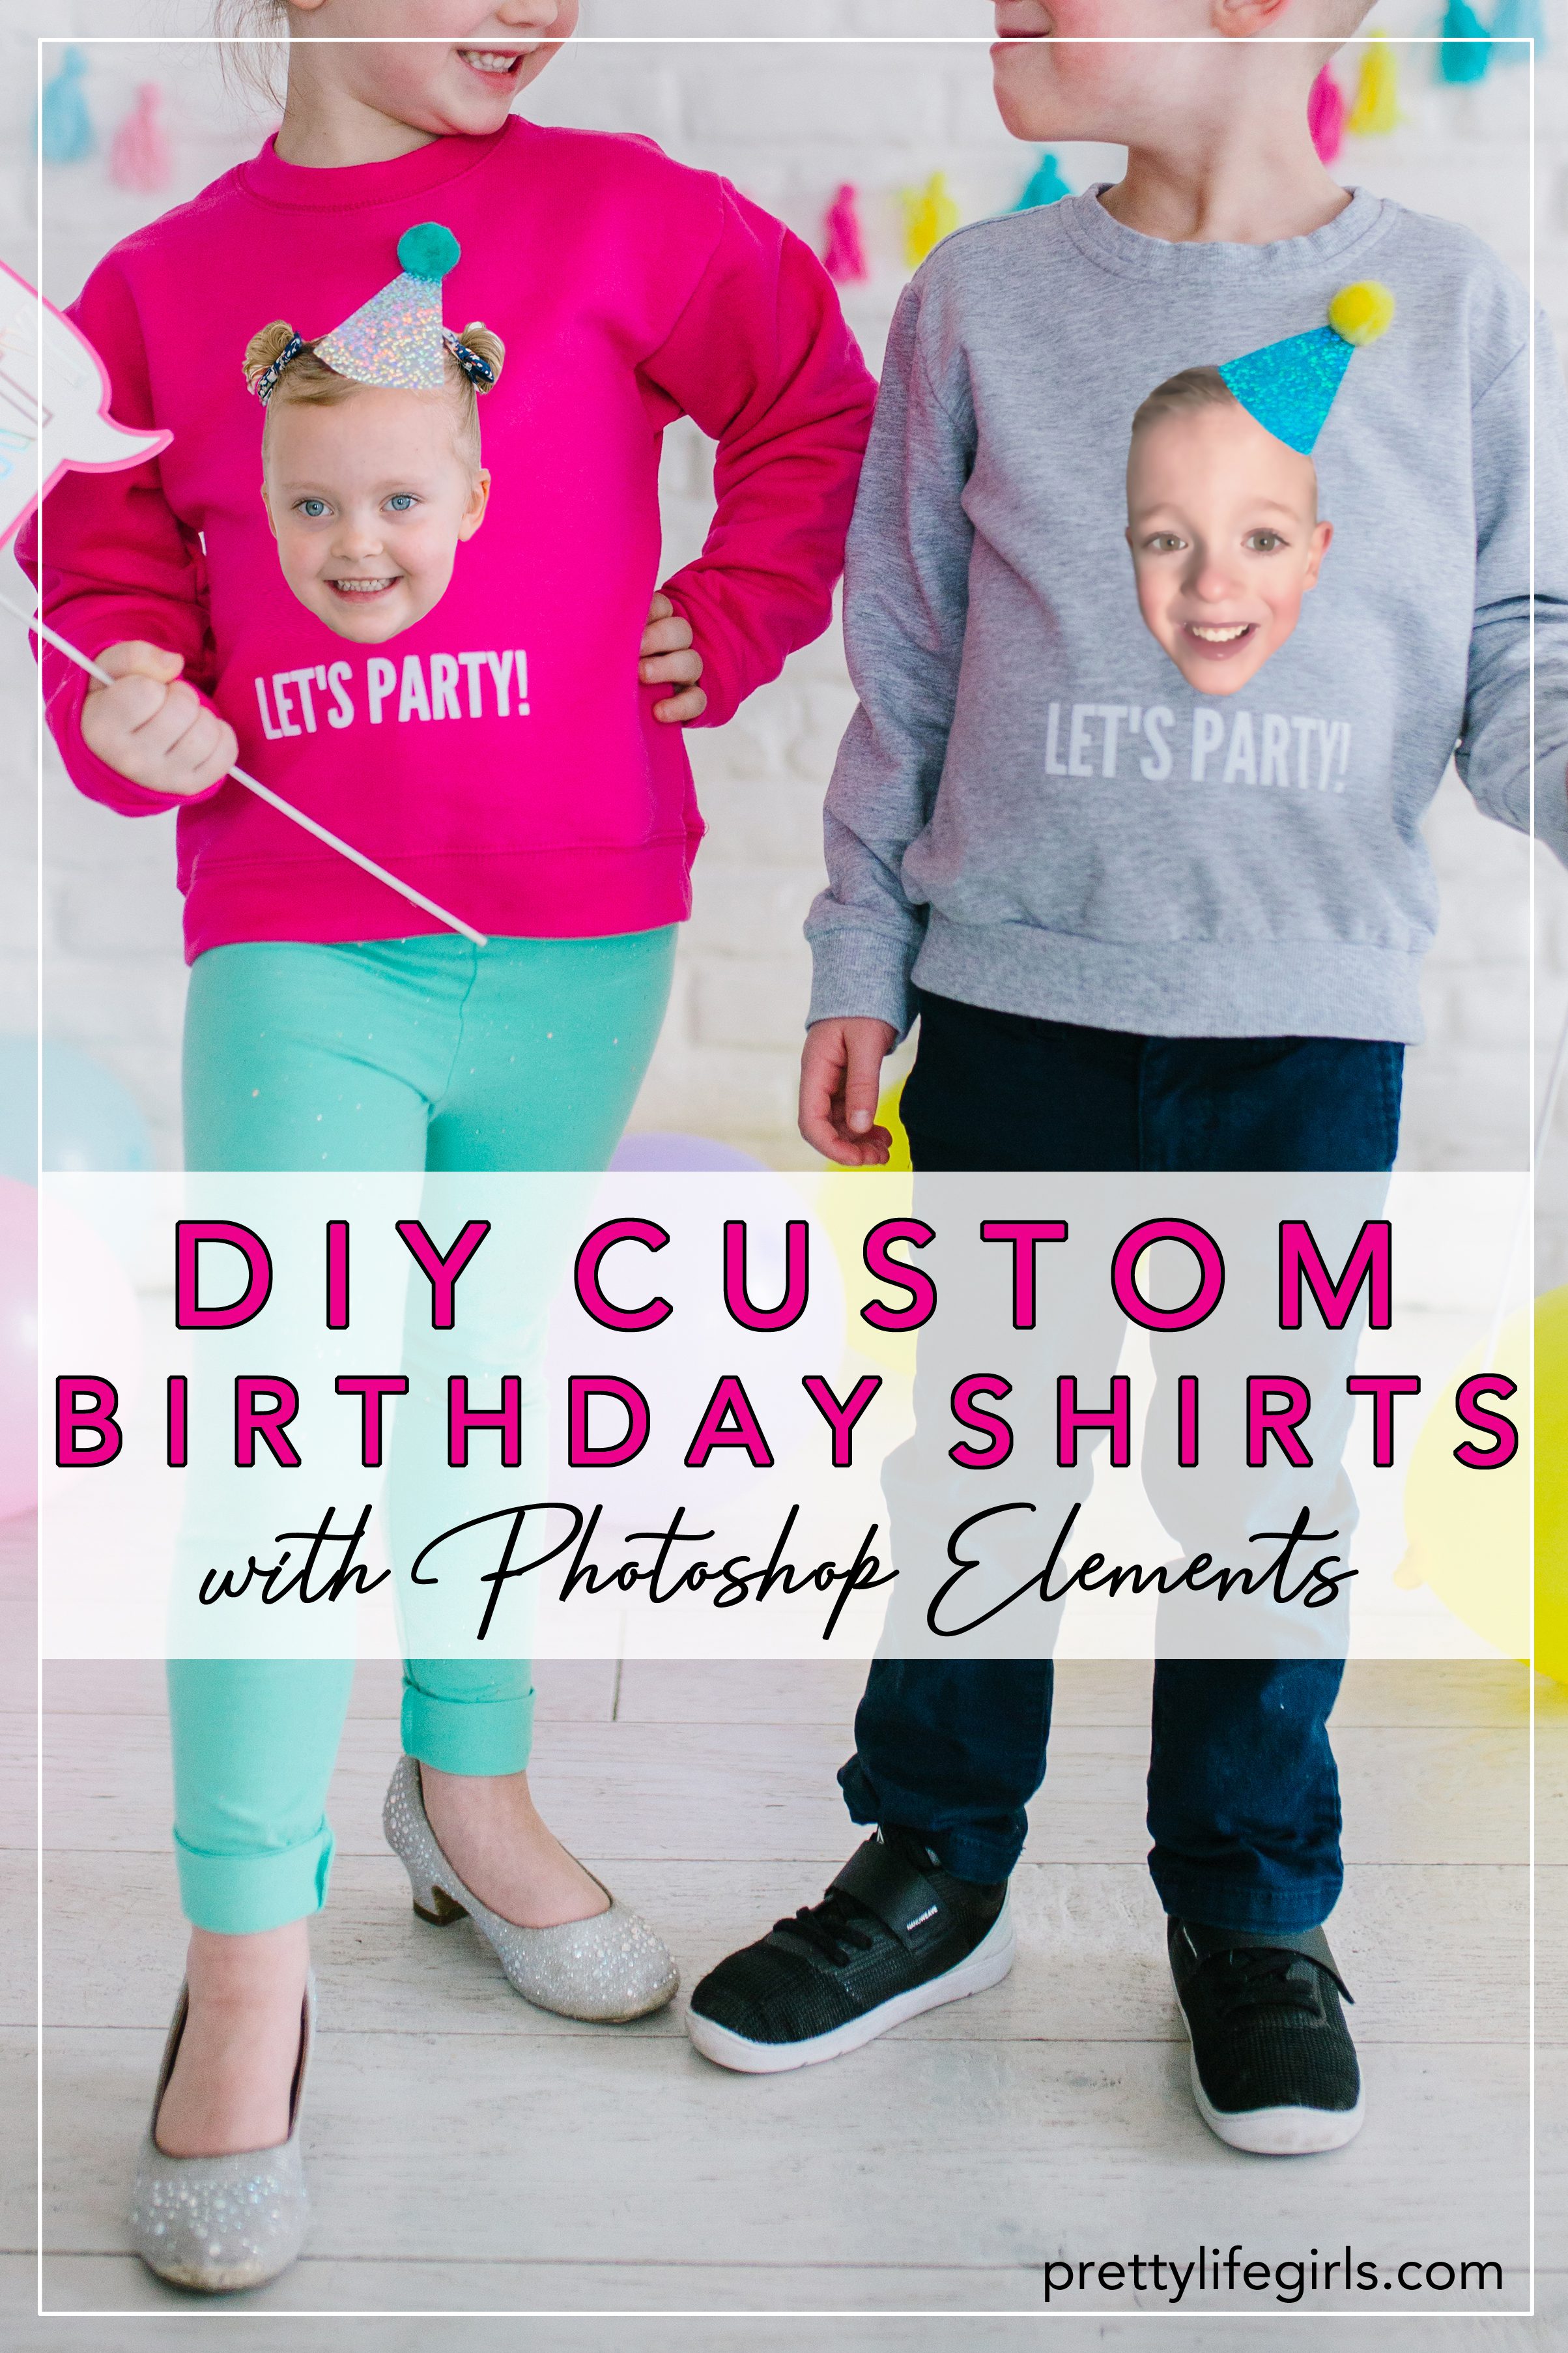
Photo Credit: Elise Curtis

