


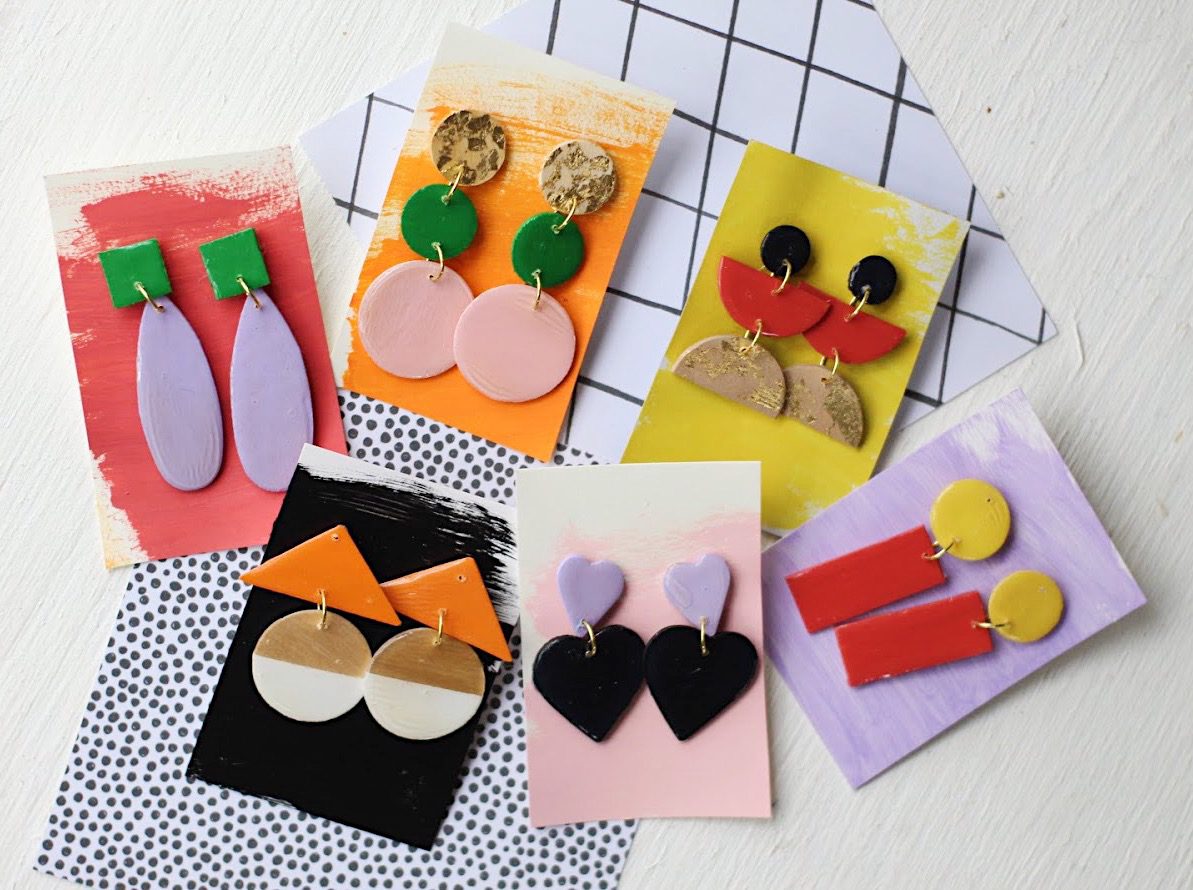
We all know that all DIY gifts aren’t created equal. A crocheted blanket in cozy wool from a beloved grandmother? Yes, please! An oddly-shaped bowl/mug/planter thing that leaks when you actually put liquid in it from a well-intentioned but clay-challenged friend? Not so much. That’s why, for me, when it comes to DIY gifts, I like to keep it simple. Nothing too detailed or tricky that might not be the taste of the receiver or that has a high margin of error. That’s why, when I started seeing more and more geometric earrings trending, and especially when I saw these cuties from Ampersand Design Studio, I knew I had to make these stylish and simple accessories for my girlfriends: something totally unique and fresh that you can’t mess up and that will give a little extra sass to their outfits.
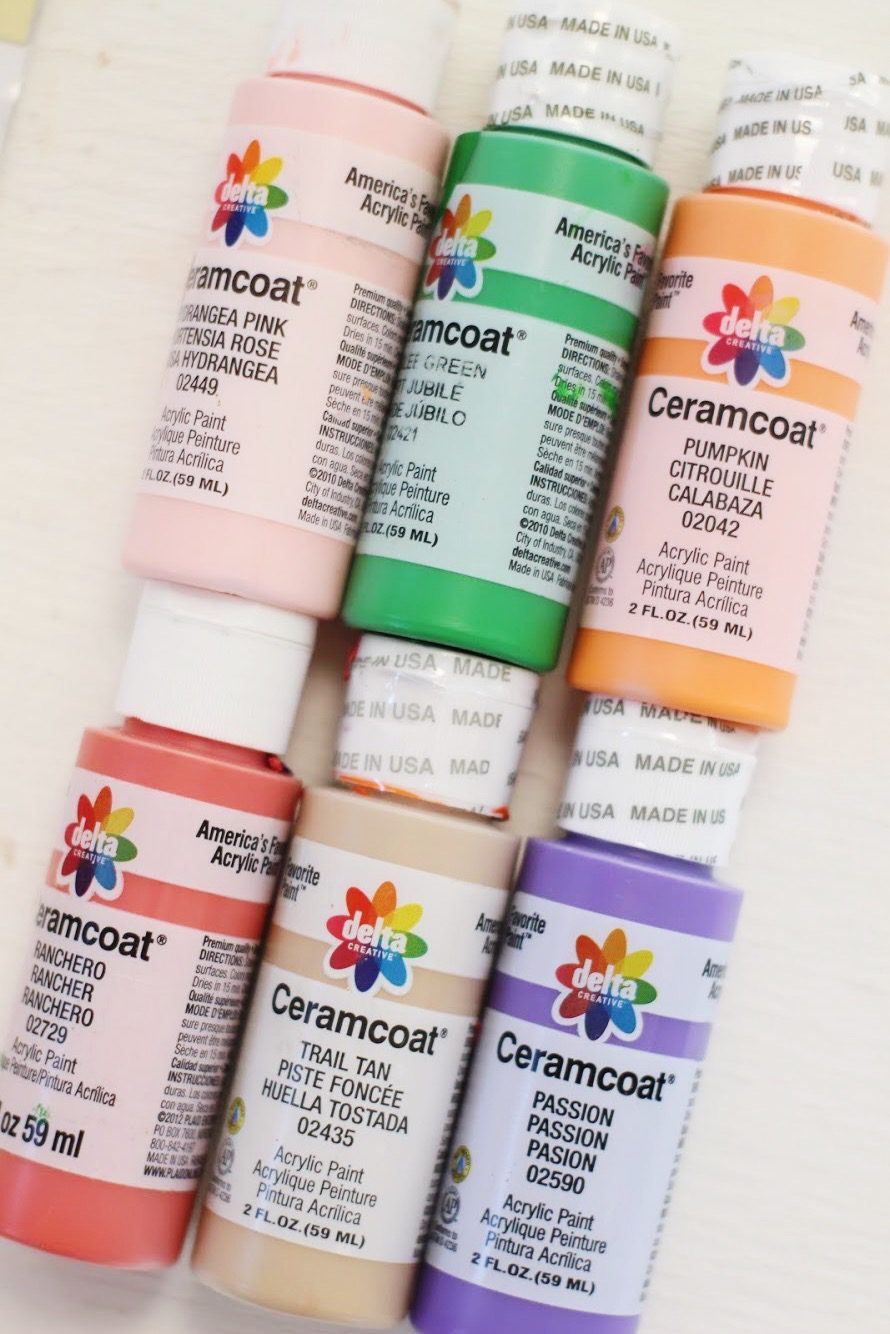
To achieve the pop of color I needed to make these earrings stand out, I turned to one of my tried and true, favorite paint lines: Delta® Ceramcoat Acrylic Paint from Target! Delta Ceramcoat Acrylic Paint is an all-purpose, premium quality acrylic paint formulated specifically for the decorative painter and craft enthusiast. Its rich and creamy formula provides excellent coverage that is consistent on all porous surfaces—such as wood, terracotta, plaster, and paper mache! Plus, it dries to a beautiful matte finish and all colors are water-based and non-toxic, making cleanup easy with soap and water.
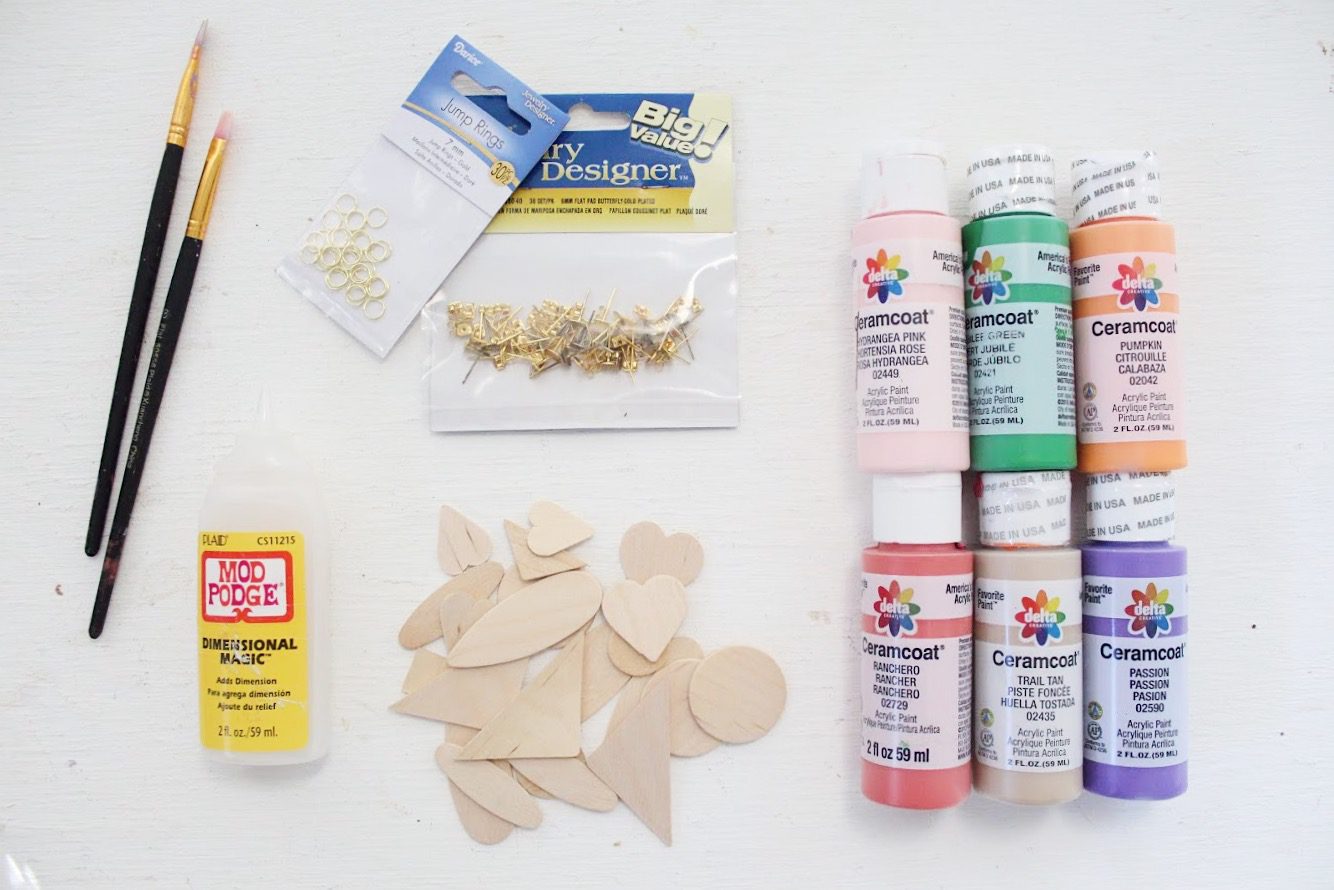
Supplies Needed:
Delta Ceramcoat Acrylic Paint (Find Delta Ceramcoat Acrylic Paint at Target in 22 colors and six new Flash Metallic colors at Target in the craft aisle or at Target.com!)
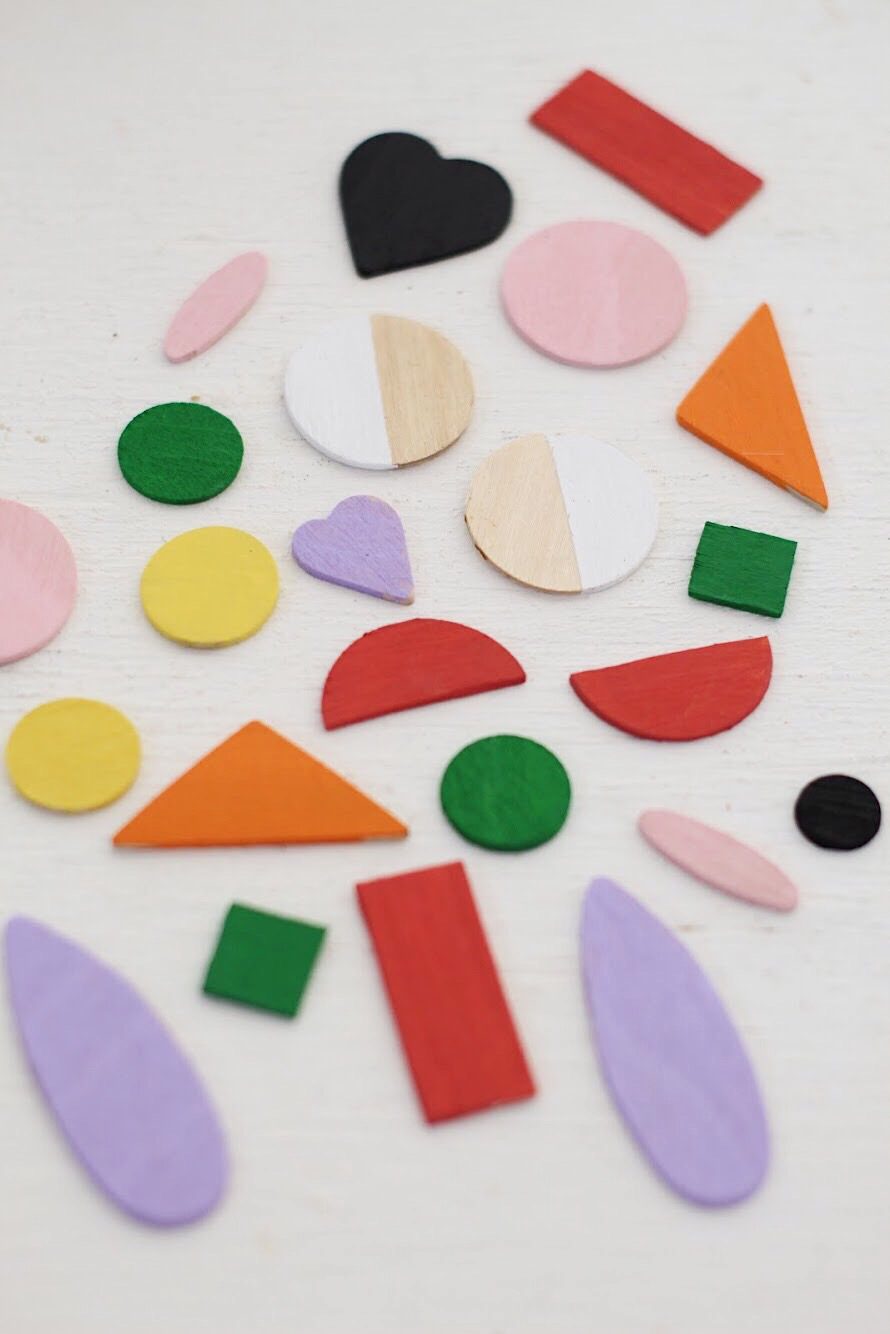
Small Unfinished Wood Pieces
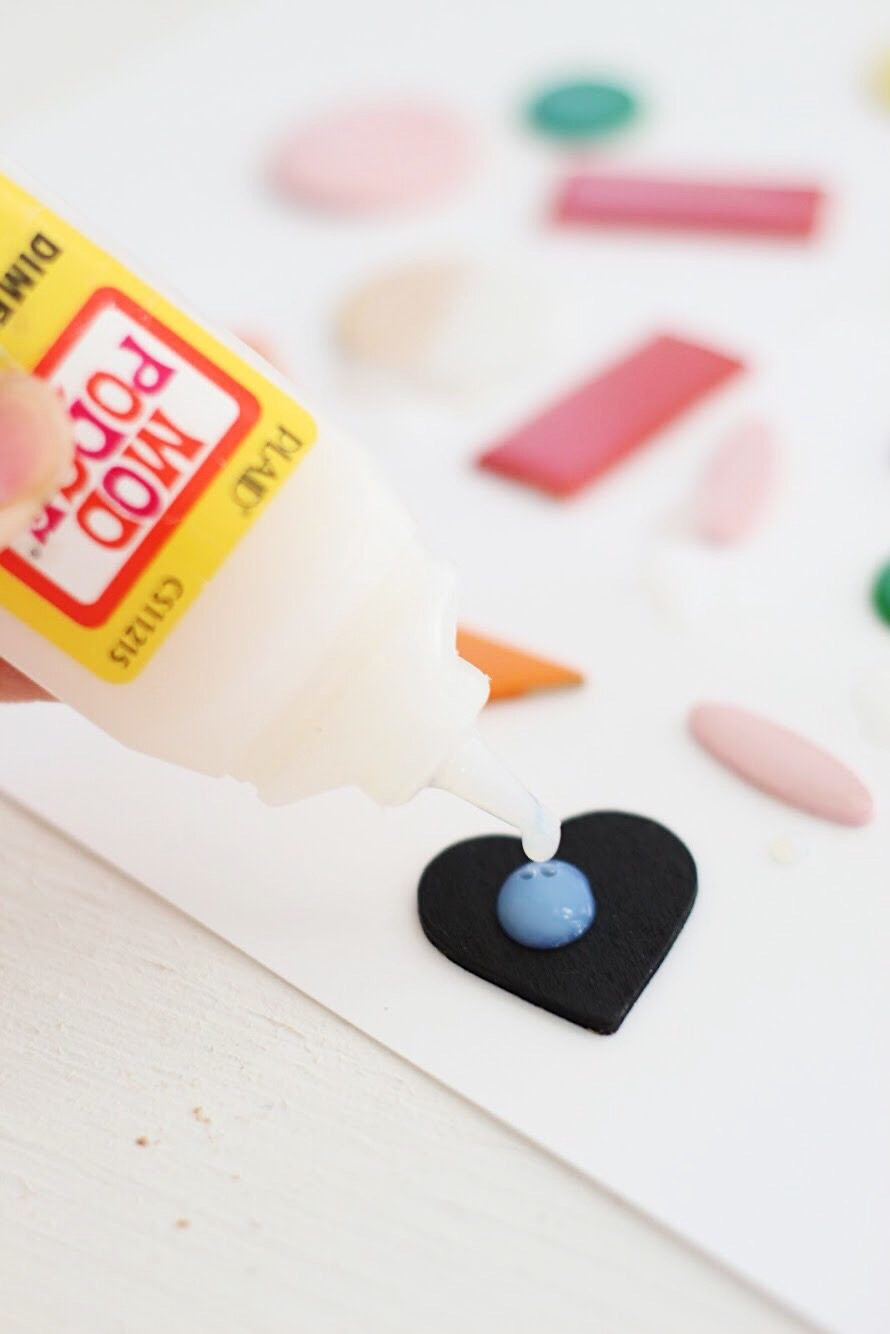
Mod Podge Dimensional Magic
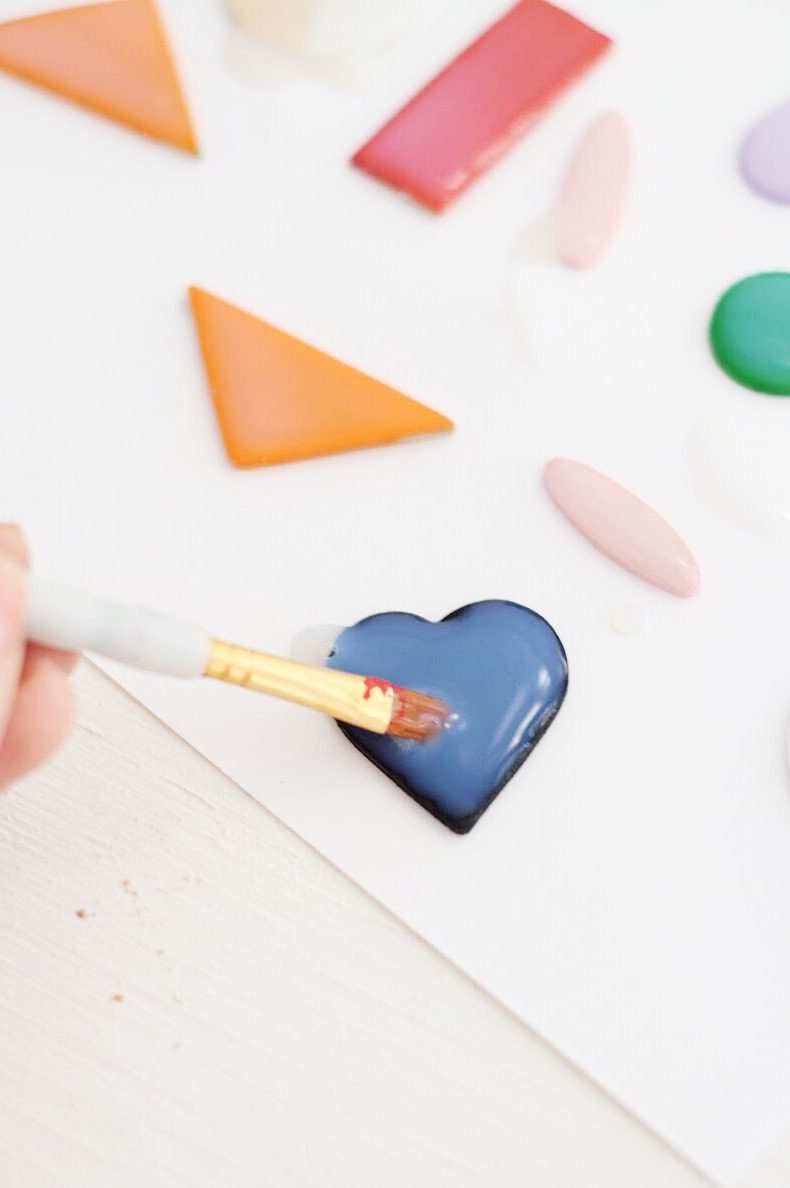
Folk Art Paint Brushes
Brass Jump Rings for Jewelry Making
Brass Earring Posts for Jewelry Making
Glue
Drill

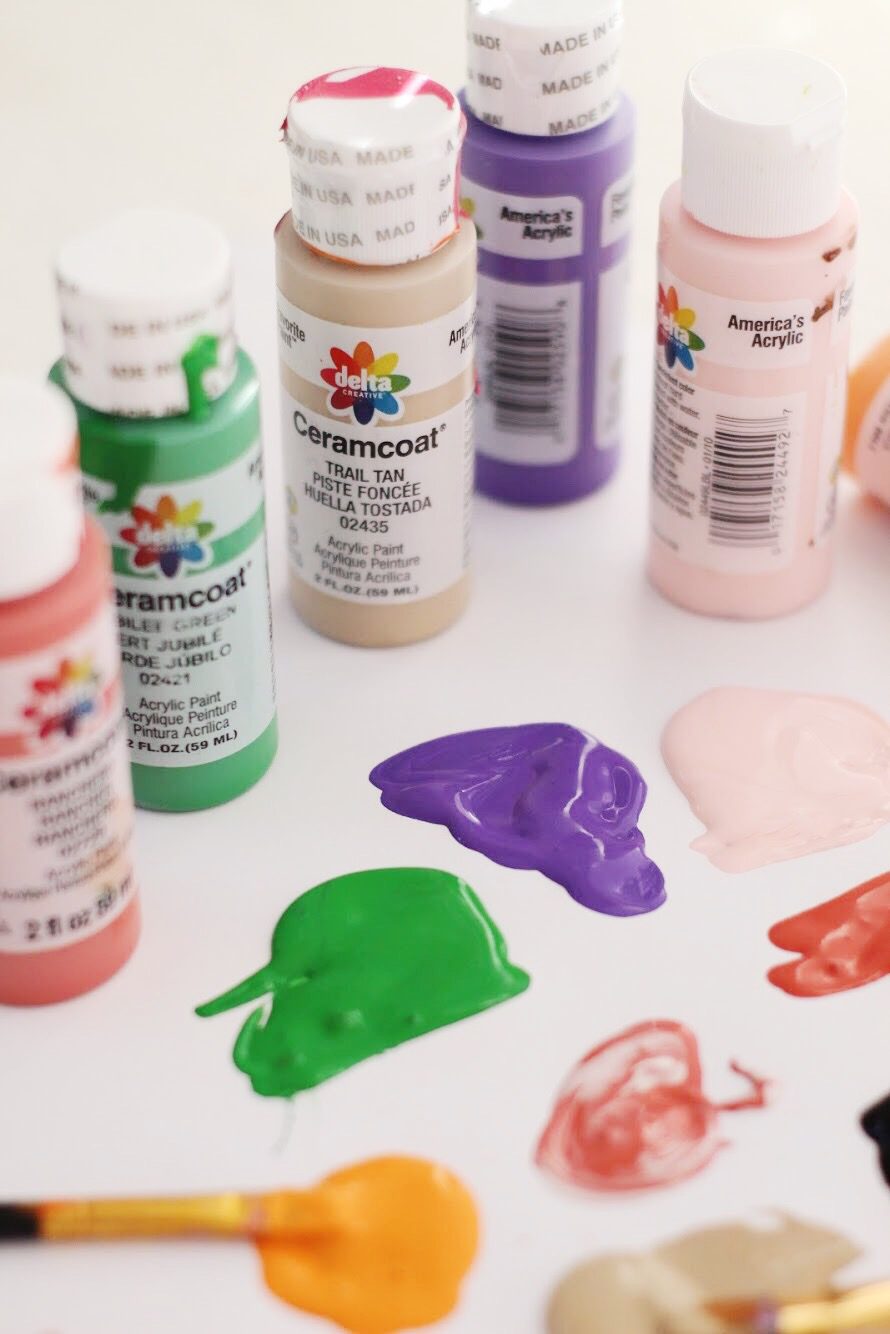
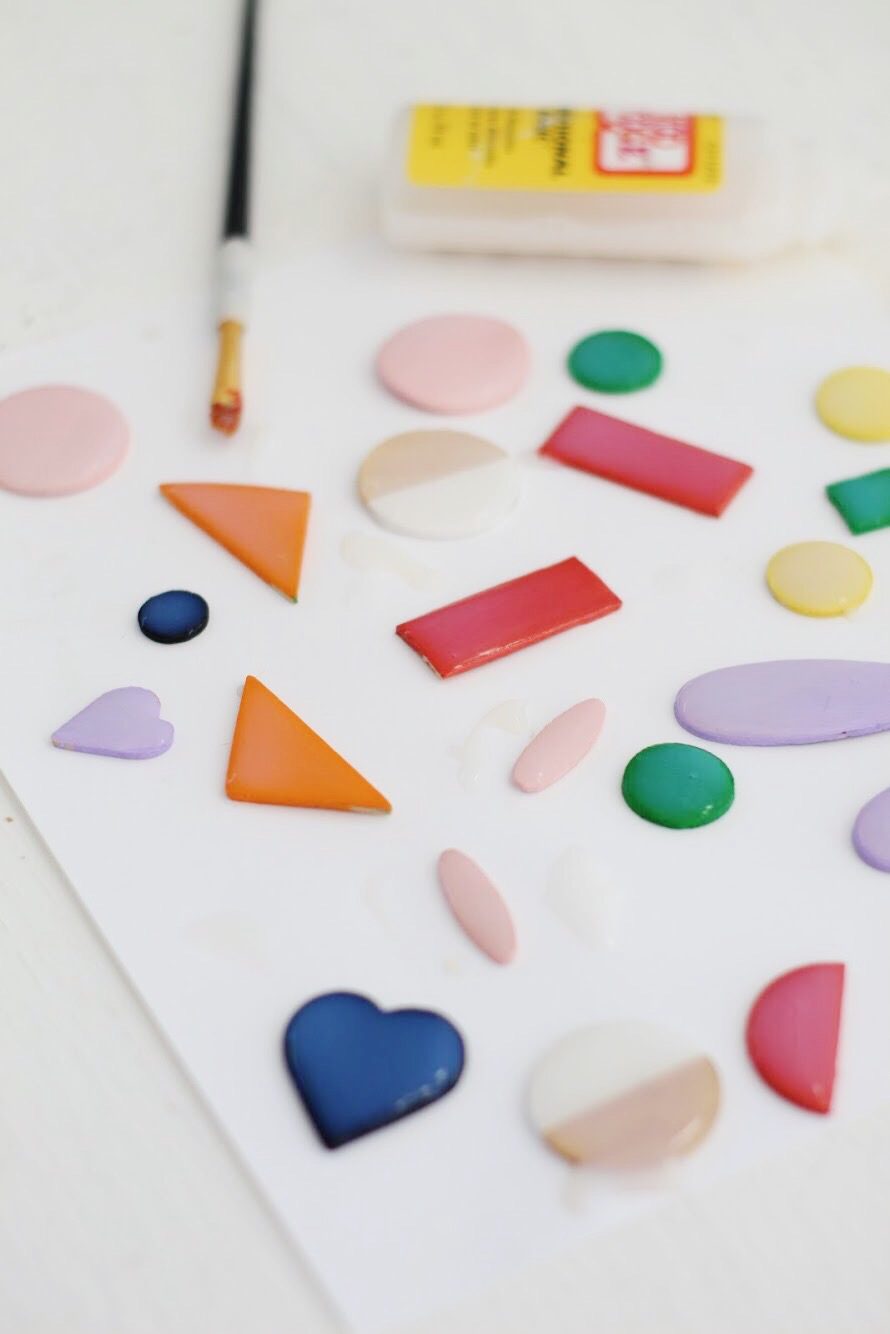
1. If you are a planner, begin by laying out your shapes and matching them up in the way you would like to connect them as finished earrings. Then, once you know what shapes will go together, it’s time to paint! You can have fun with this part. Only paint half of one, try some splatter, etc. I even added a little bit of goldleaf for a little extra interest! Paint each piece with 2 coats of paint, then let dry completely.

2. Once the pieces are completely dry, it’s time to add your Mod Podge Dimensional Magic! If you never have use this stuff before it really is magic. It gives these earrings a great shine and makes them a little more sturdy so they won’t crack when you drill them. Apply a generous coat on each shape, using a brush to move it around until it covers the whole shape. Let dry for 24 hours.
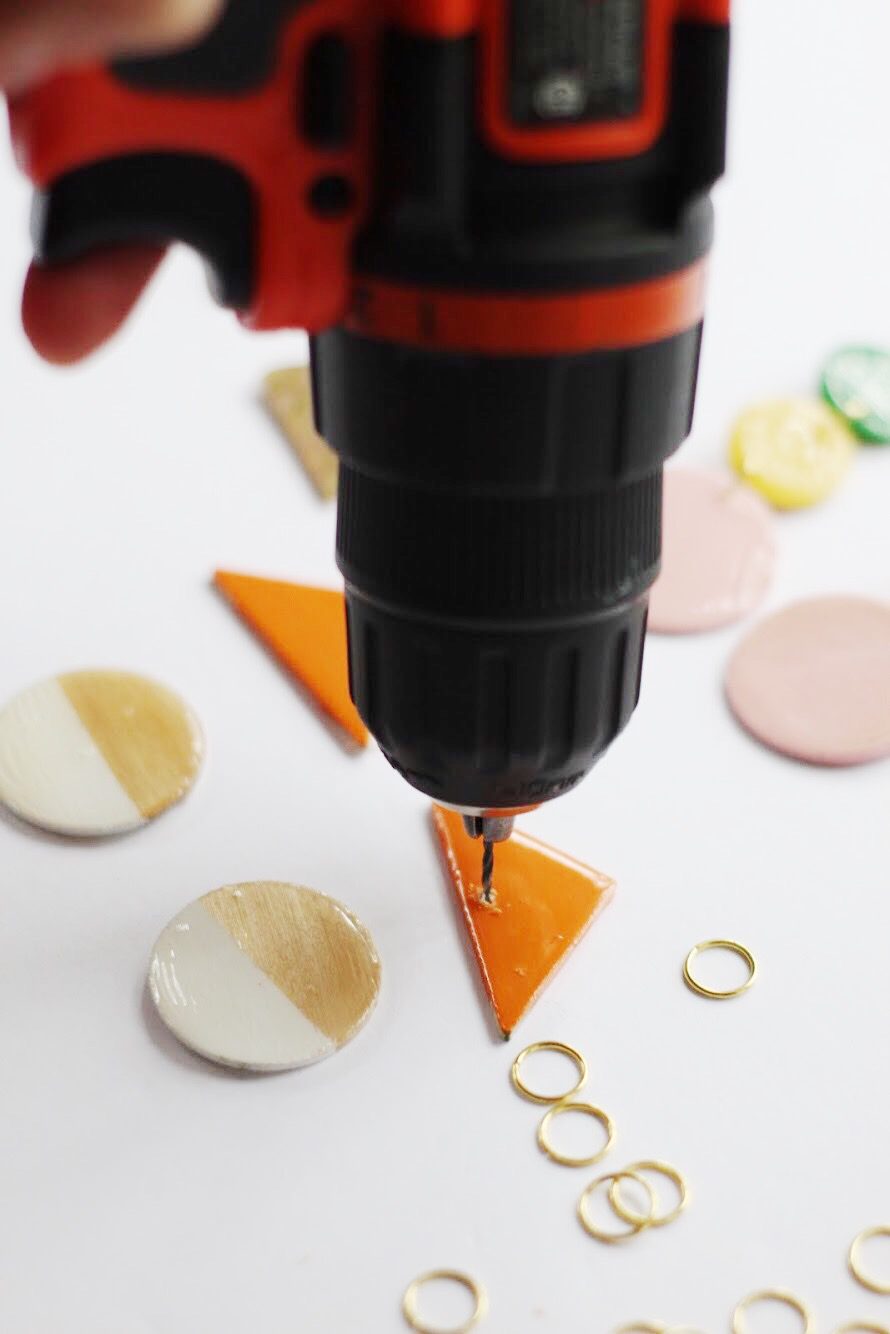
3. Now it’s time to bust out the power tools! Drill a small hole in each spot where you plan to connect your pieces with a jump ring.

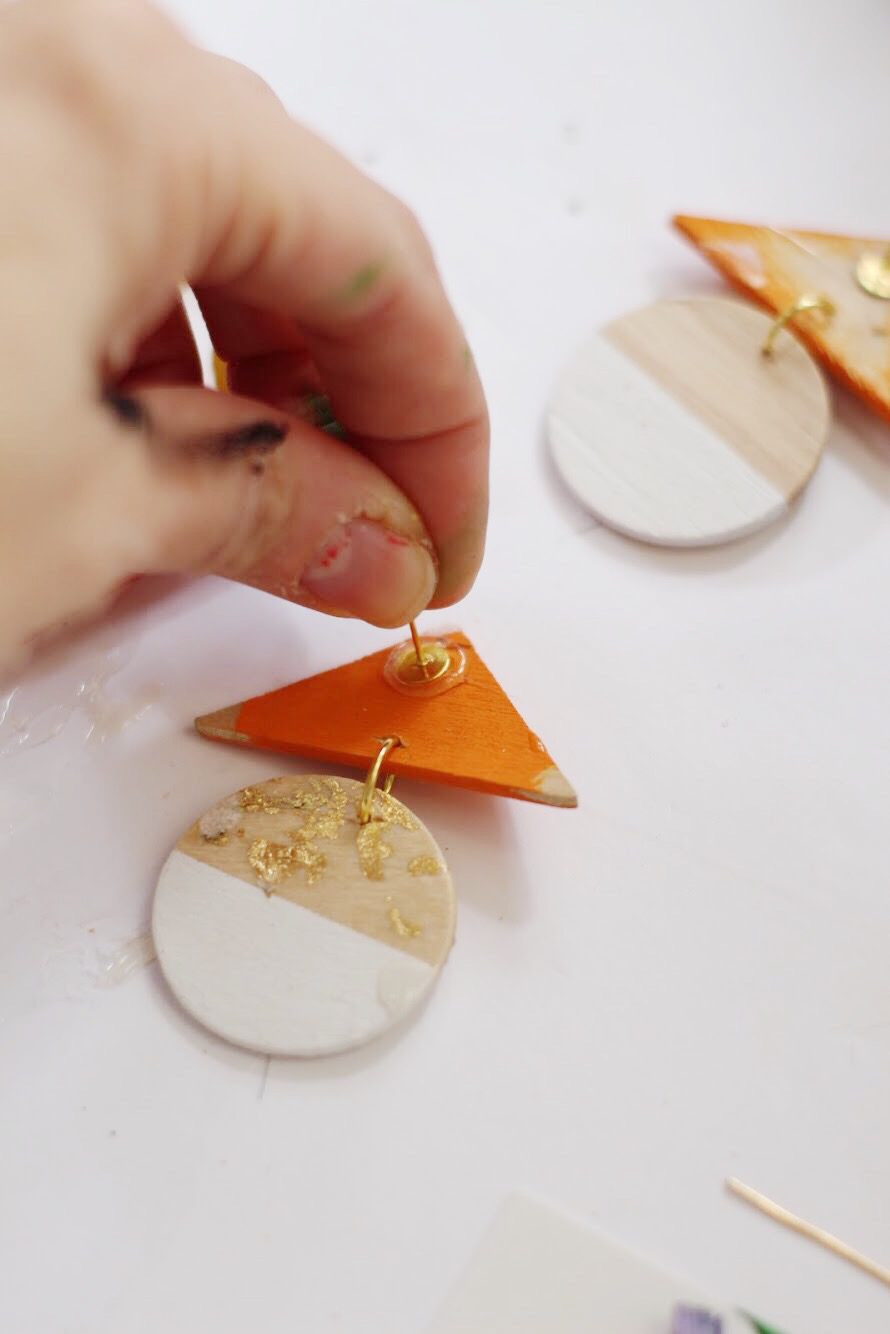
4. Bend your jump rings apart and connect the pieces by looping the rings through the holes you drilled. Then, bend the ring back together until it is closed.
5. Place a dot of glue on the back of the earring where you would like the earring post to go and press the post into the glue. Let glue dry completely.
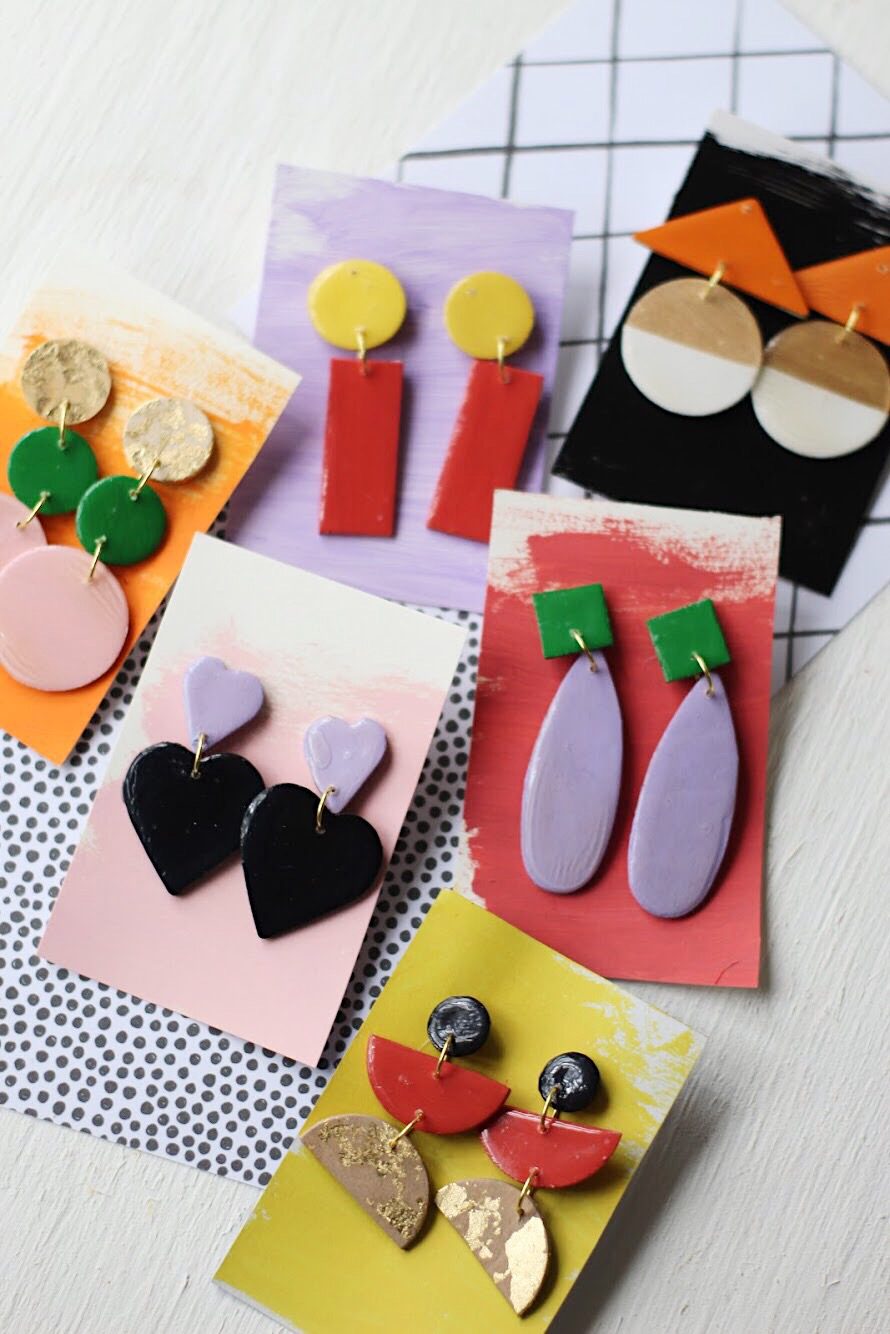
That’s it! Now you have a whole bunch of chic, fun, one-of-a-kind earrings you can box up and give out to friends! You can grab a piece of cardstock and brush it with more Delta Ceramcoat paint, then stick you earrings through it to add even more style to your gift!

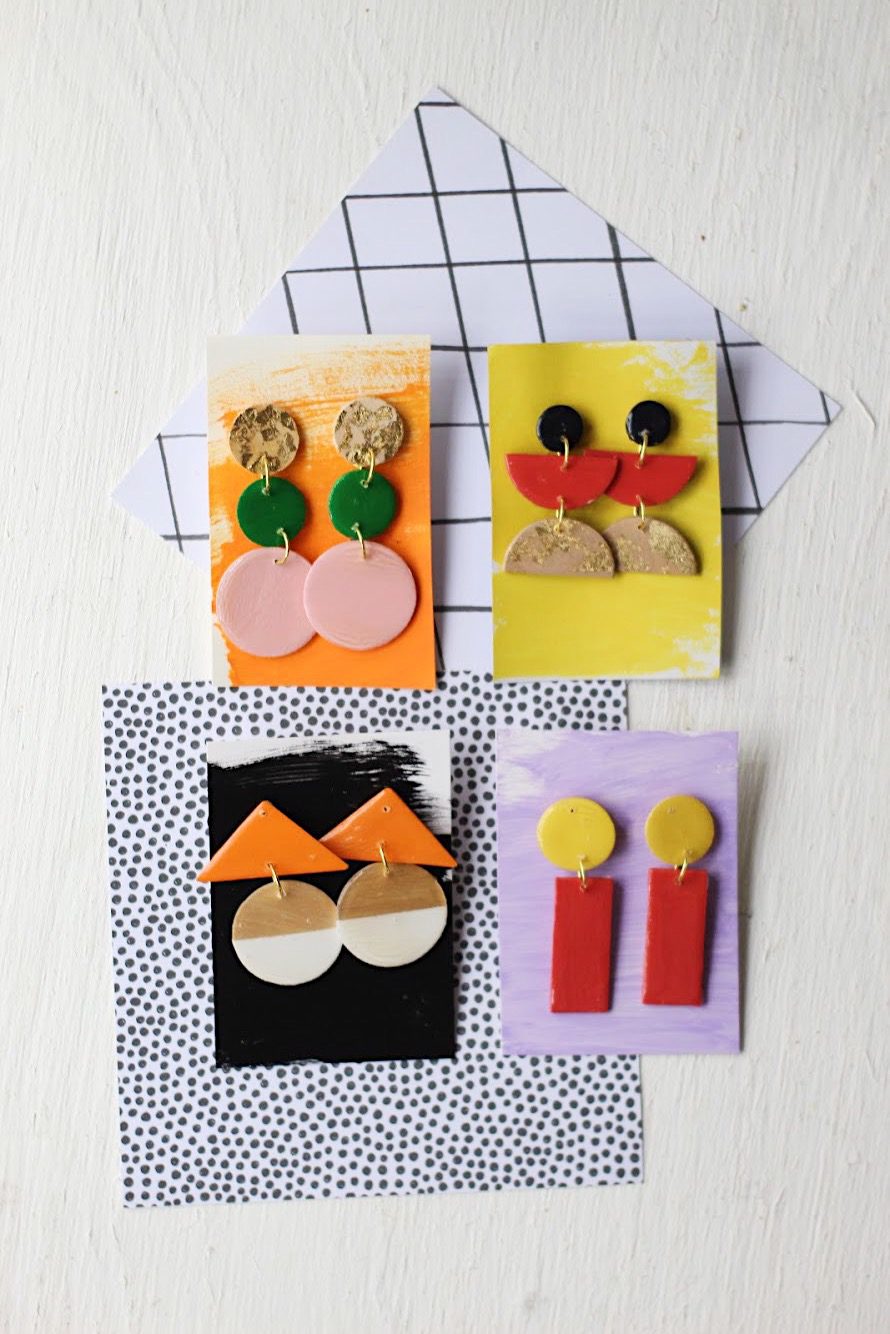

There are so many fun variations you can do on this project and with all of the shades of Delta Ceramcoat paint, the possibilities are endless! Make them for all of your friends in their favorite colors, or make a bunch for yourself to make all your outfits!


What gift ideas are you DIY-ing this holiday season? We’d love to hear all about it! And for lots of crafty gift inspo be sure to visit our friends at Plaid Crafts on Facebook, Instagram, Pinterest, and at Plaid Online!
ox. Liz

