


This post was sponsored by Plaid Crafts. All opinions expressed are my own.
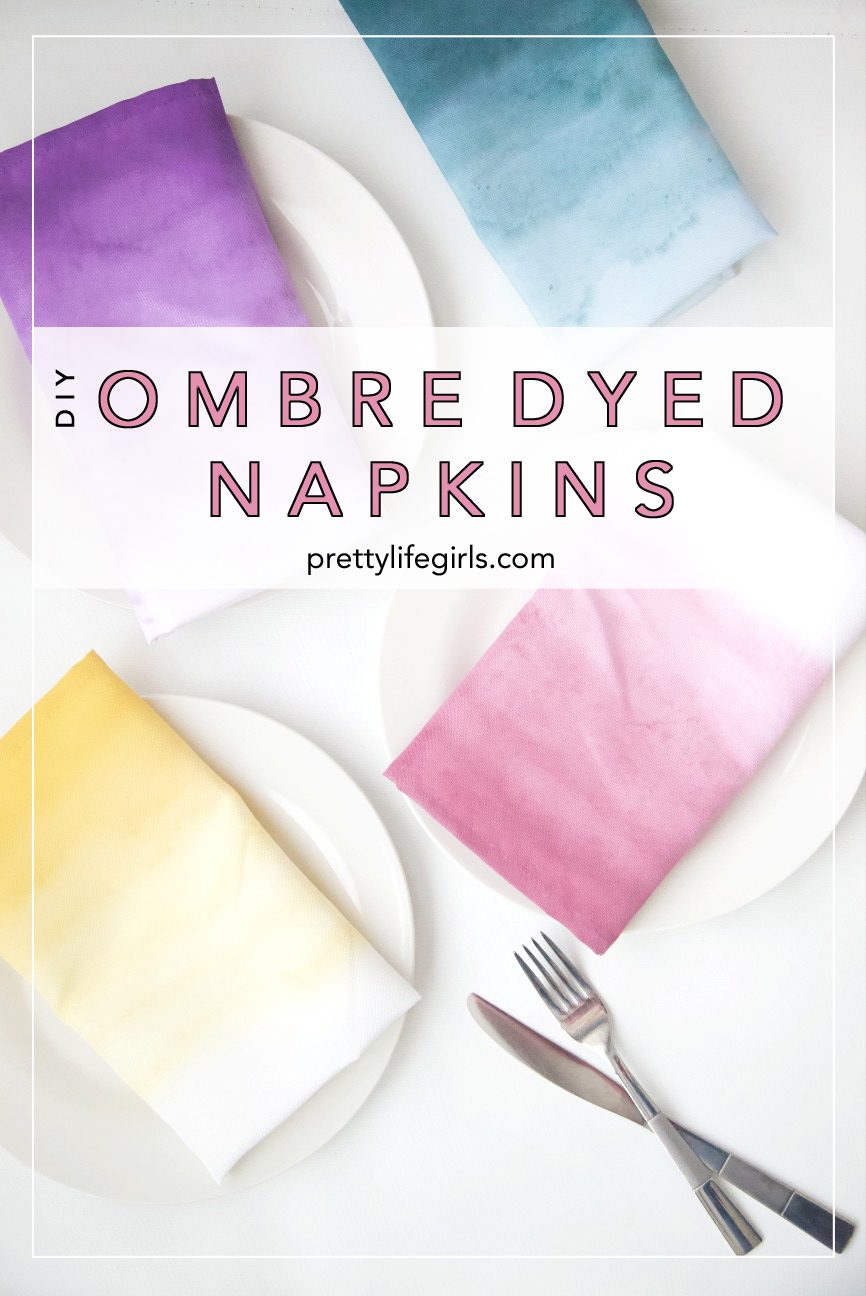
Thanksgiving is coming fast! If you are hosting and want to up your game, we have the perfect project for you! These gorgeous DIY Ombre Dyed Napkins are so simple to make, using Fabric Creations Soft Fabric Ink. And we even have a bonus tutorial for Tassel Napkin Rings. Keep scrolling to see how we made both! 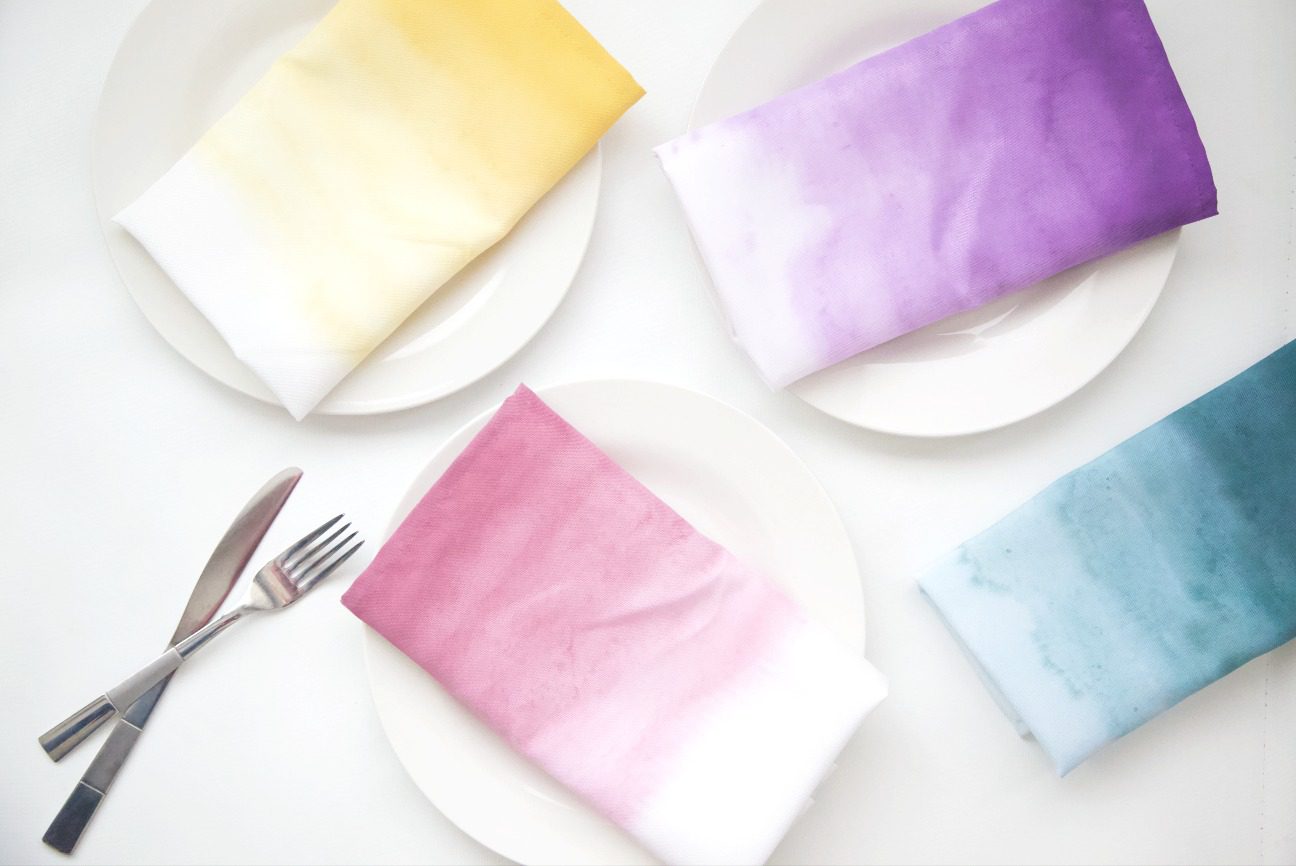
Supplies needed to make your own Ombre Dyed Napkins
Cloth napkins
Fabric Creations Soft Fabric Ink
Paint Brush
Supplies needed to make your own Tassel Napkin Rings
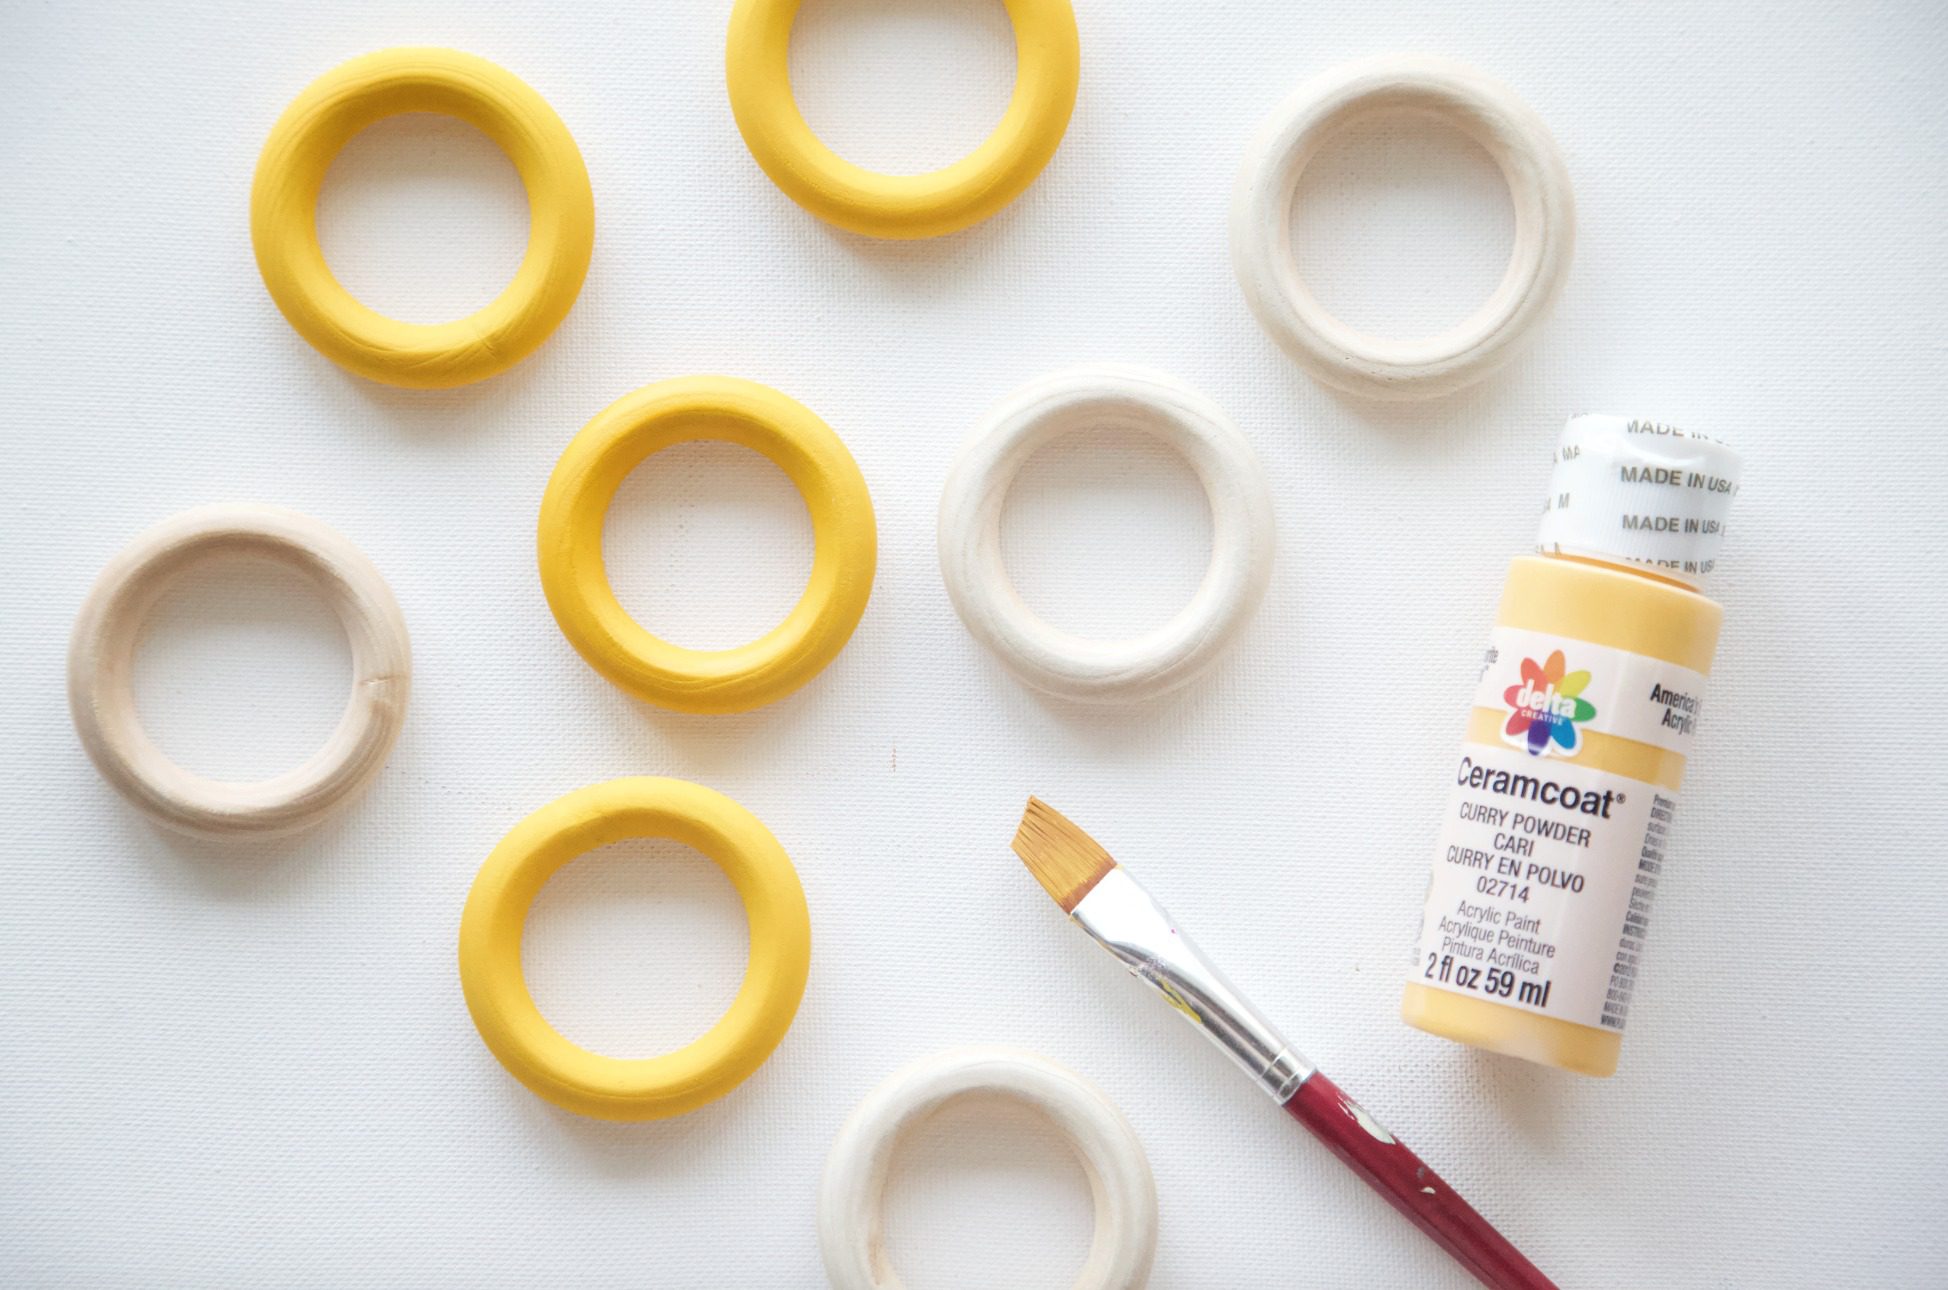
Unfinished wood rings
Acrylic paint
Embroidery floss (one per ring)
Gold wire
Fishing Line

Step 1: Put a quarter size (you can add more in needed) fabric ink in a bowl with 1/4 cup water. Mix well. Note: These inks mix beautifully, so if the perfect color doesn’t exist, you can make it!
If you aren’t familiar with Fabric Creation Soft Fabric Inks, they are water-based and non-toxic fabric inks perfect for hand painting, stenciling, sponging, stamping, and color-blocking on fabrics. The soft-body
consistency is perfect for brushwork and easy to use on a wide variety of fabrics.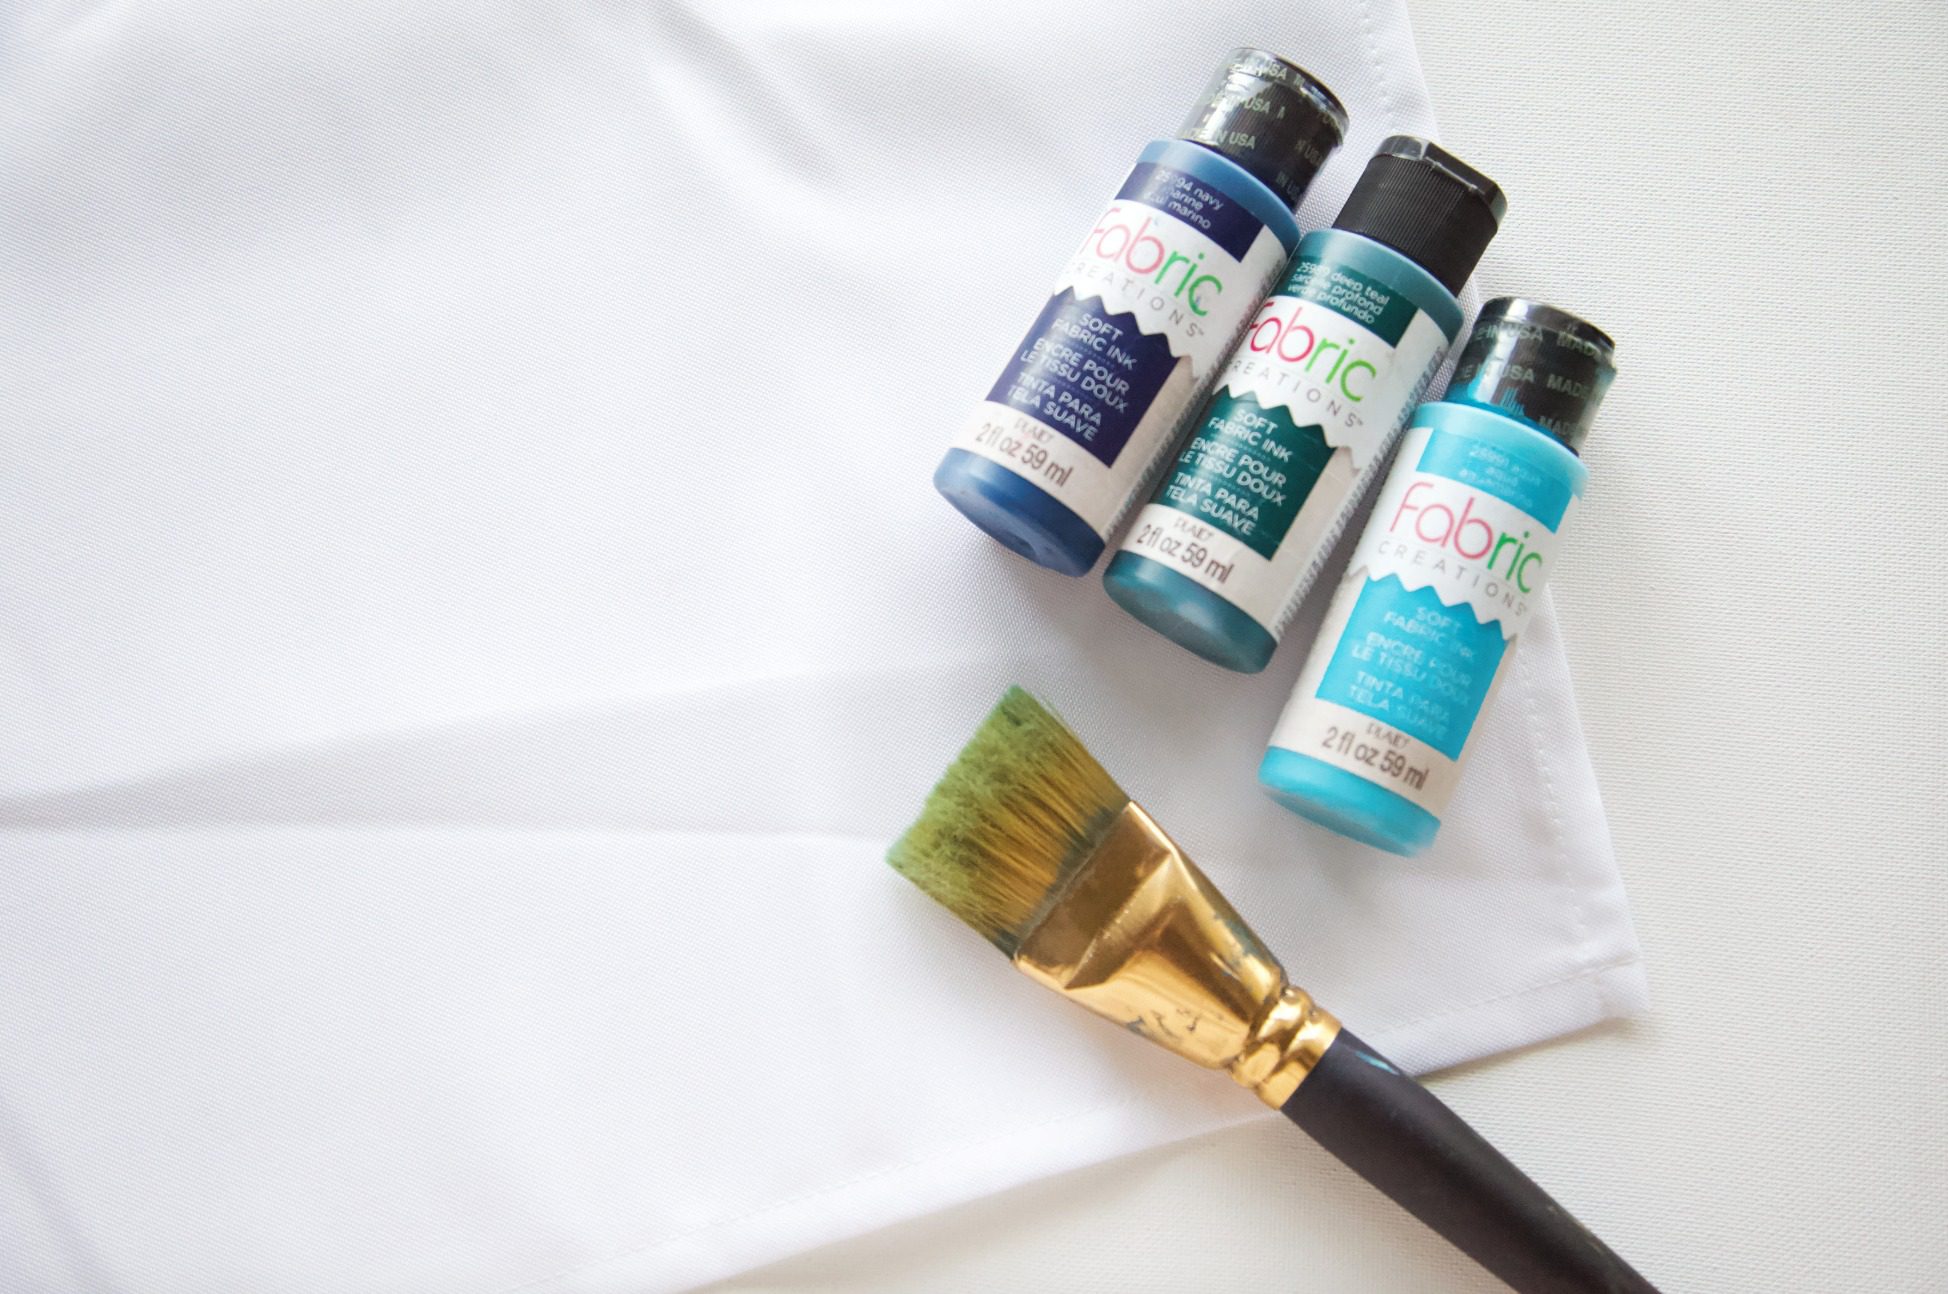
Step 2: With your brush, apply your first line of ink on the bottom of the napkin. 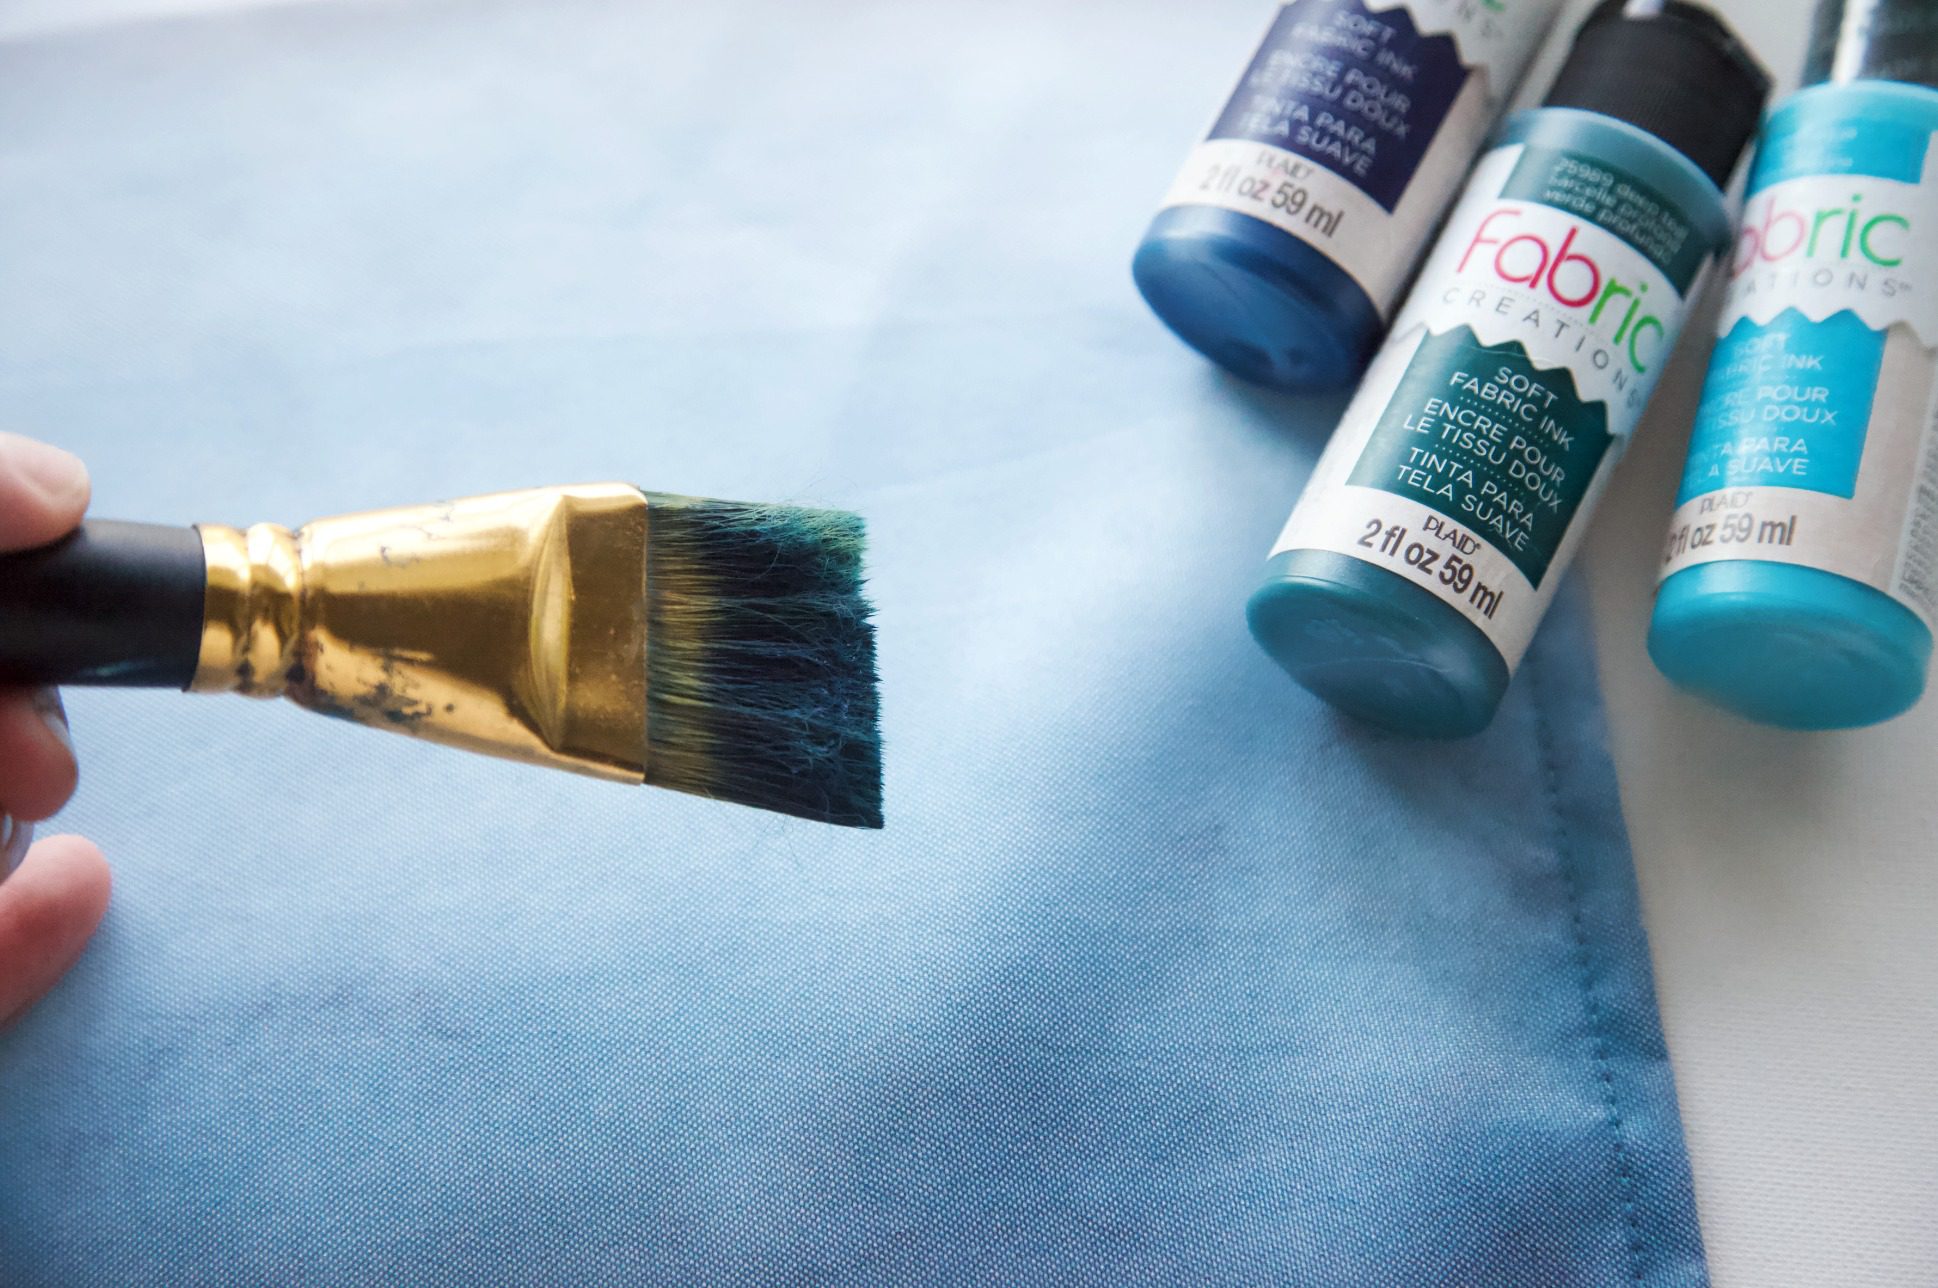
Step 3: Add more water with each stripe, so the color gets lighter as you move up the cloth. This process is really based on preference, so if you want it to get lighter quicker, add more water. 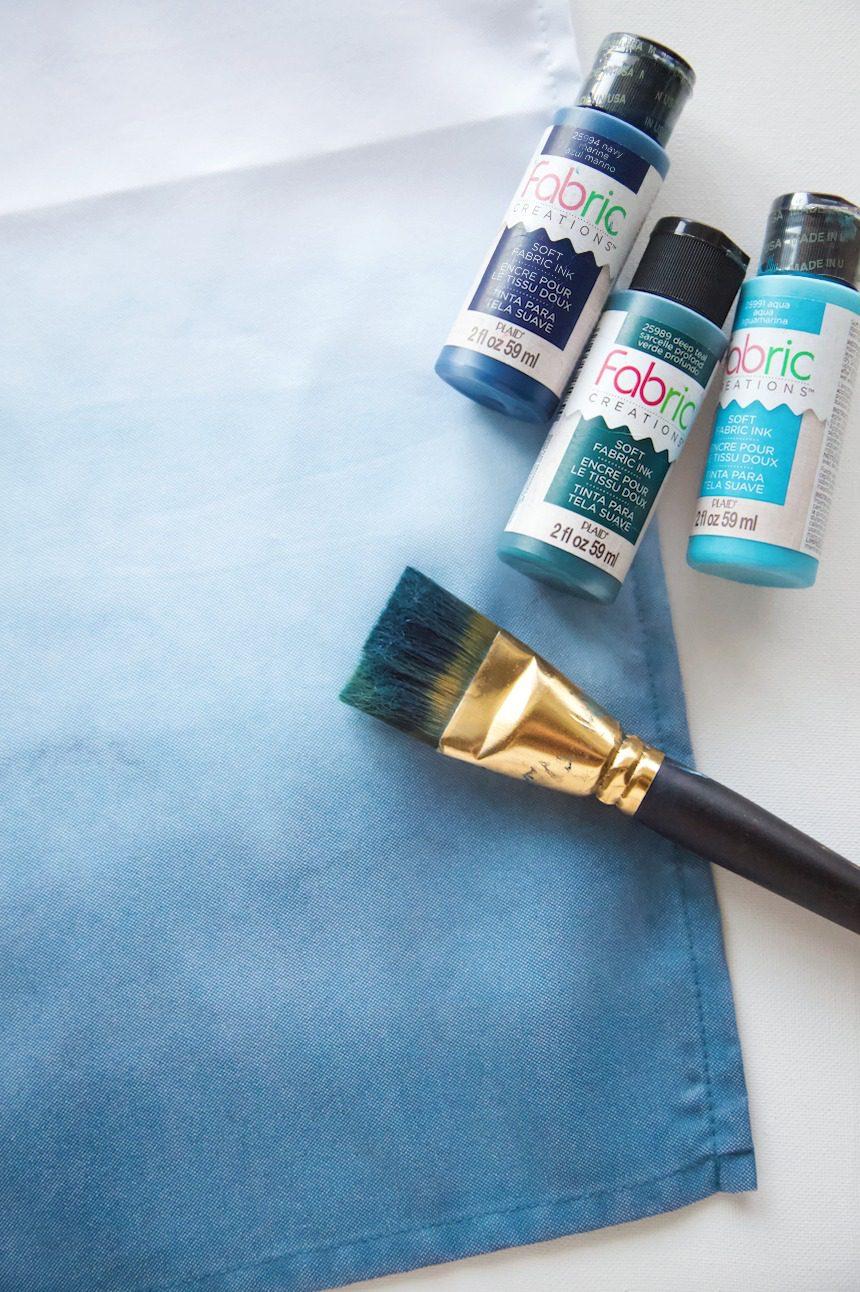
Step 4: Hang the napkins to dry overnight. Then heat seat them with an iron. After heat setting, you can wash your napkins, but be aware the color may fade slightly with washing. 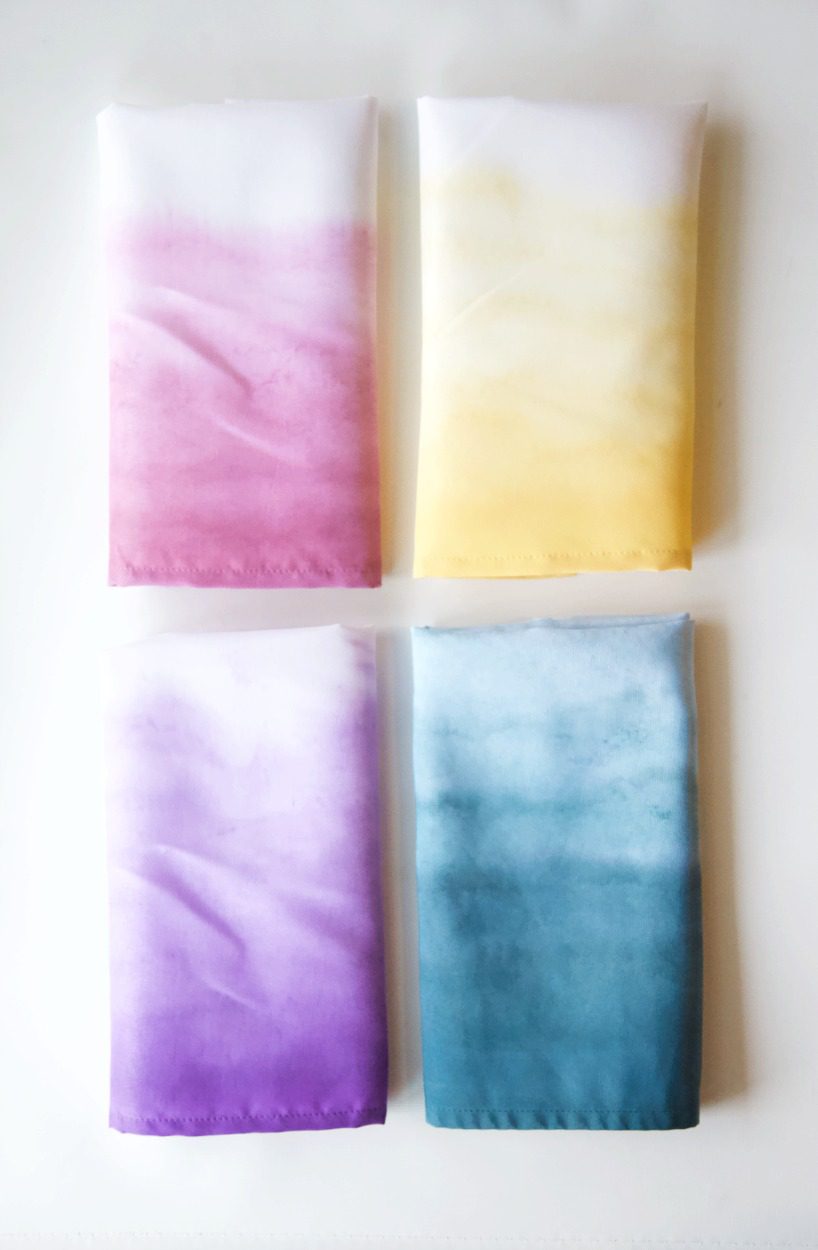
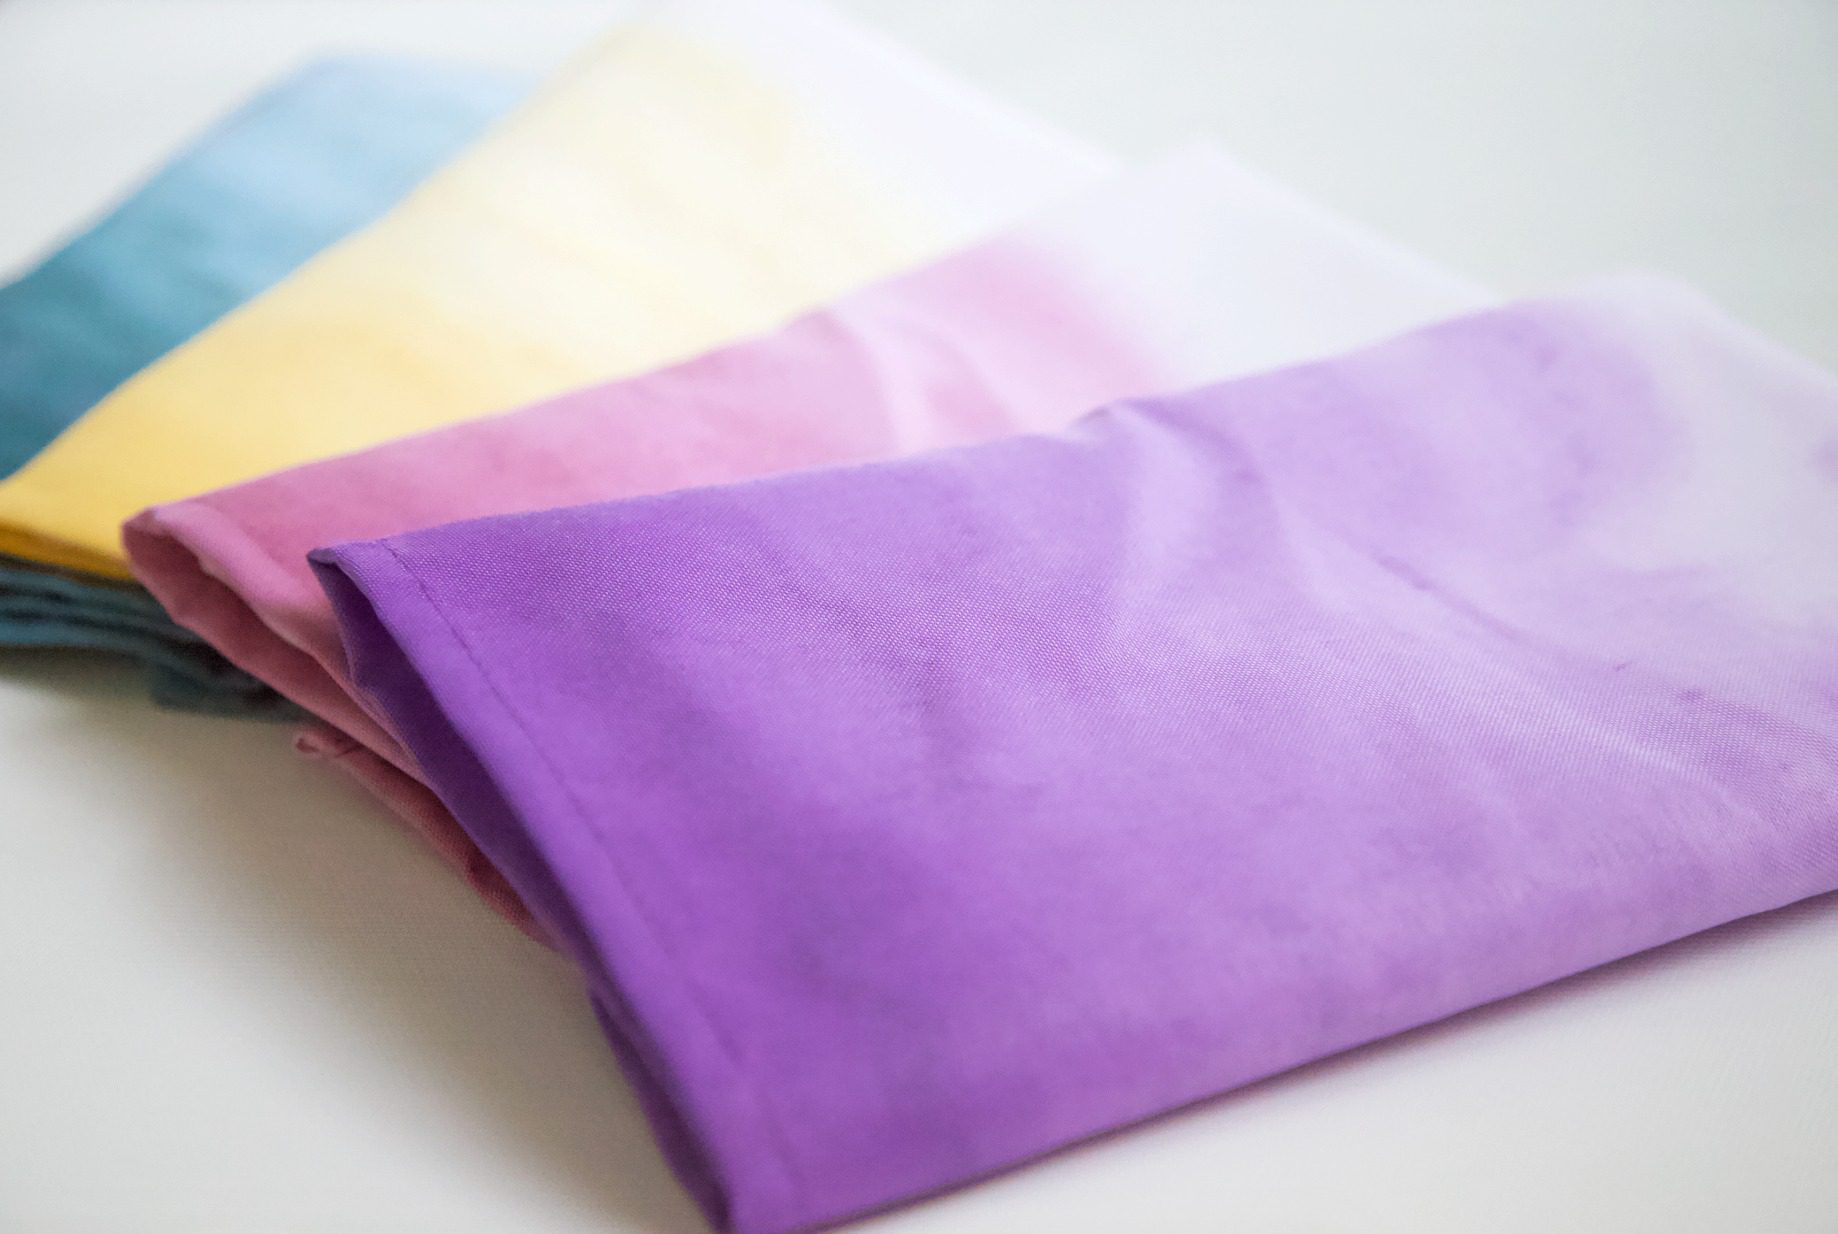
Look how pretty! And it really only took 5-10 minutes to apply the ink. Your guests will be so impressed with your beautiful, handmade, one-of-a-kind napkins! 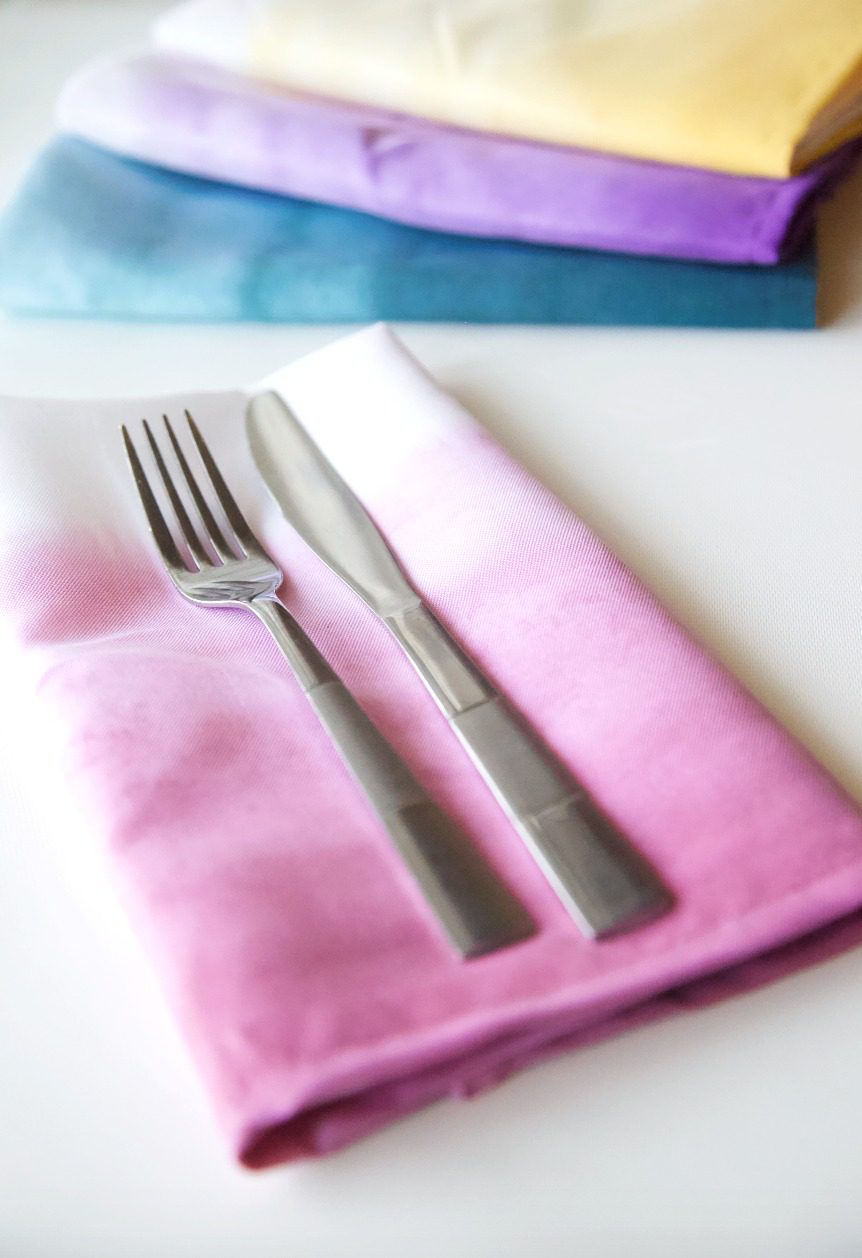
Now onto the Tassel Napkin Rings…
Step 1: Paint the wood rings the color of your choice. Let dry. I chose to use Delta Ceramcoat Acrylic Paint because it has a flat finish, dries within minutes of application, and works great on wood.
Step 2: Tie fishing line around the center of the embroidery floss. 
Step 3: Fold the floss over the ring and tie fishing line to bring both ends of the floss together, creating the tassel shape. 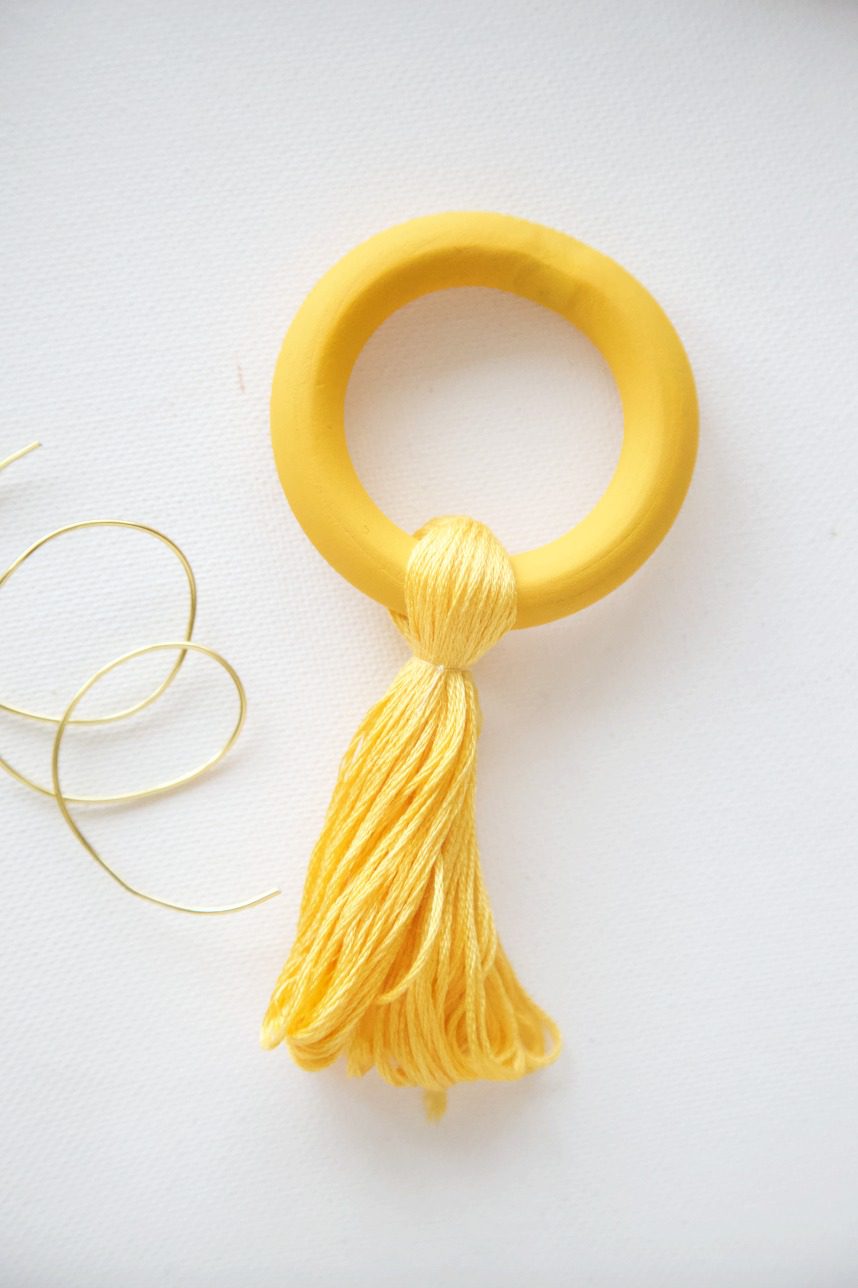
Step 4: Wrap gold wire around the floss to secure the tassel and make it look pretty. 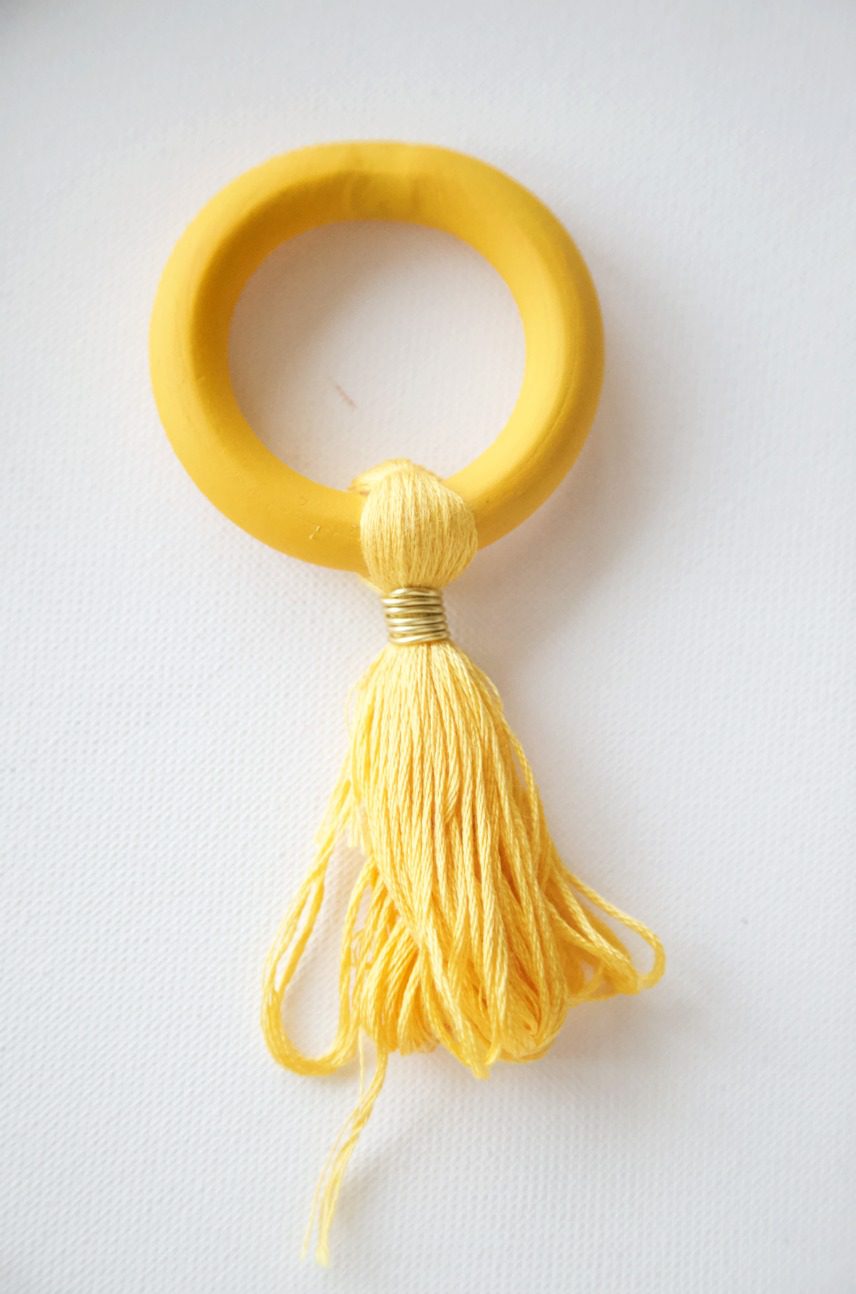
Step 5: Cut the ends of the floss.
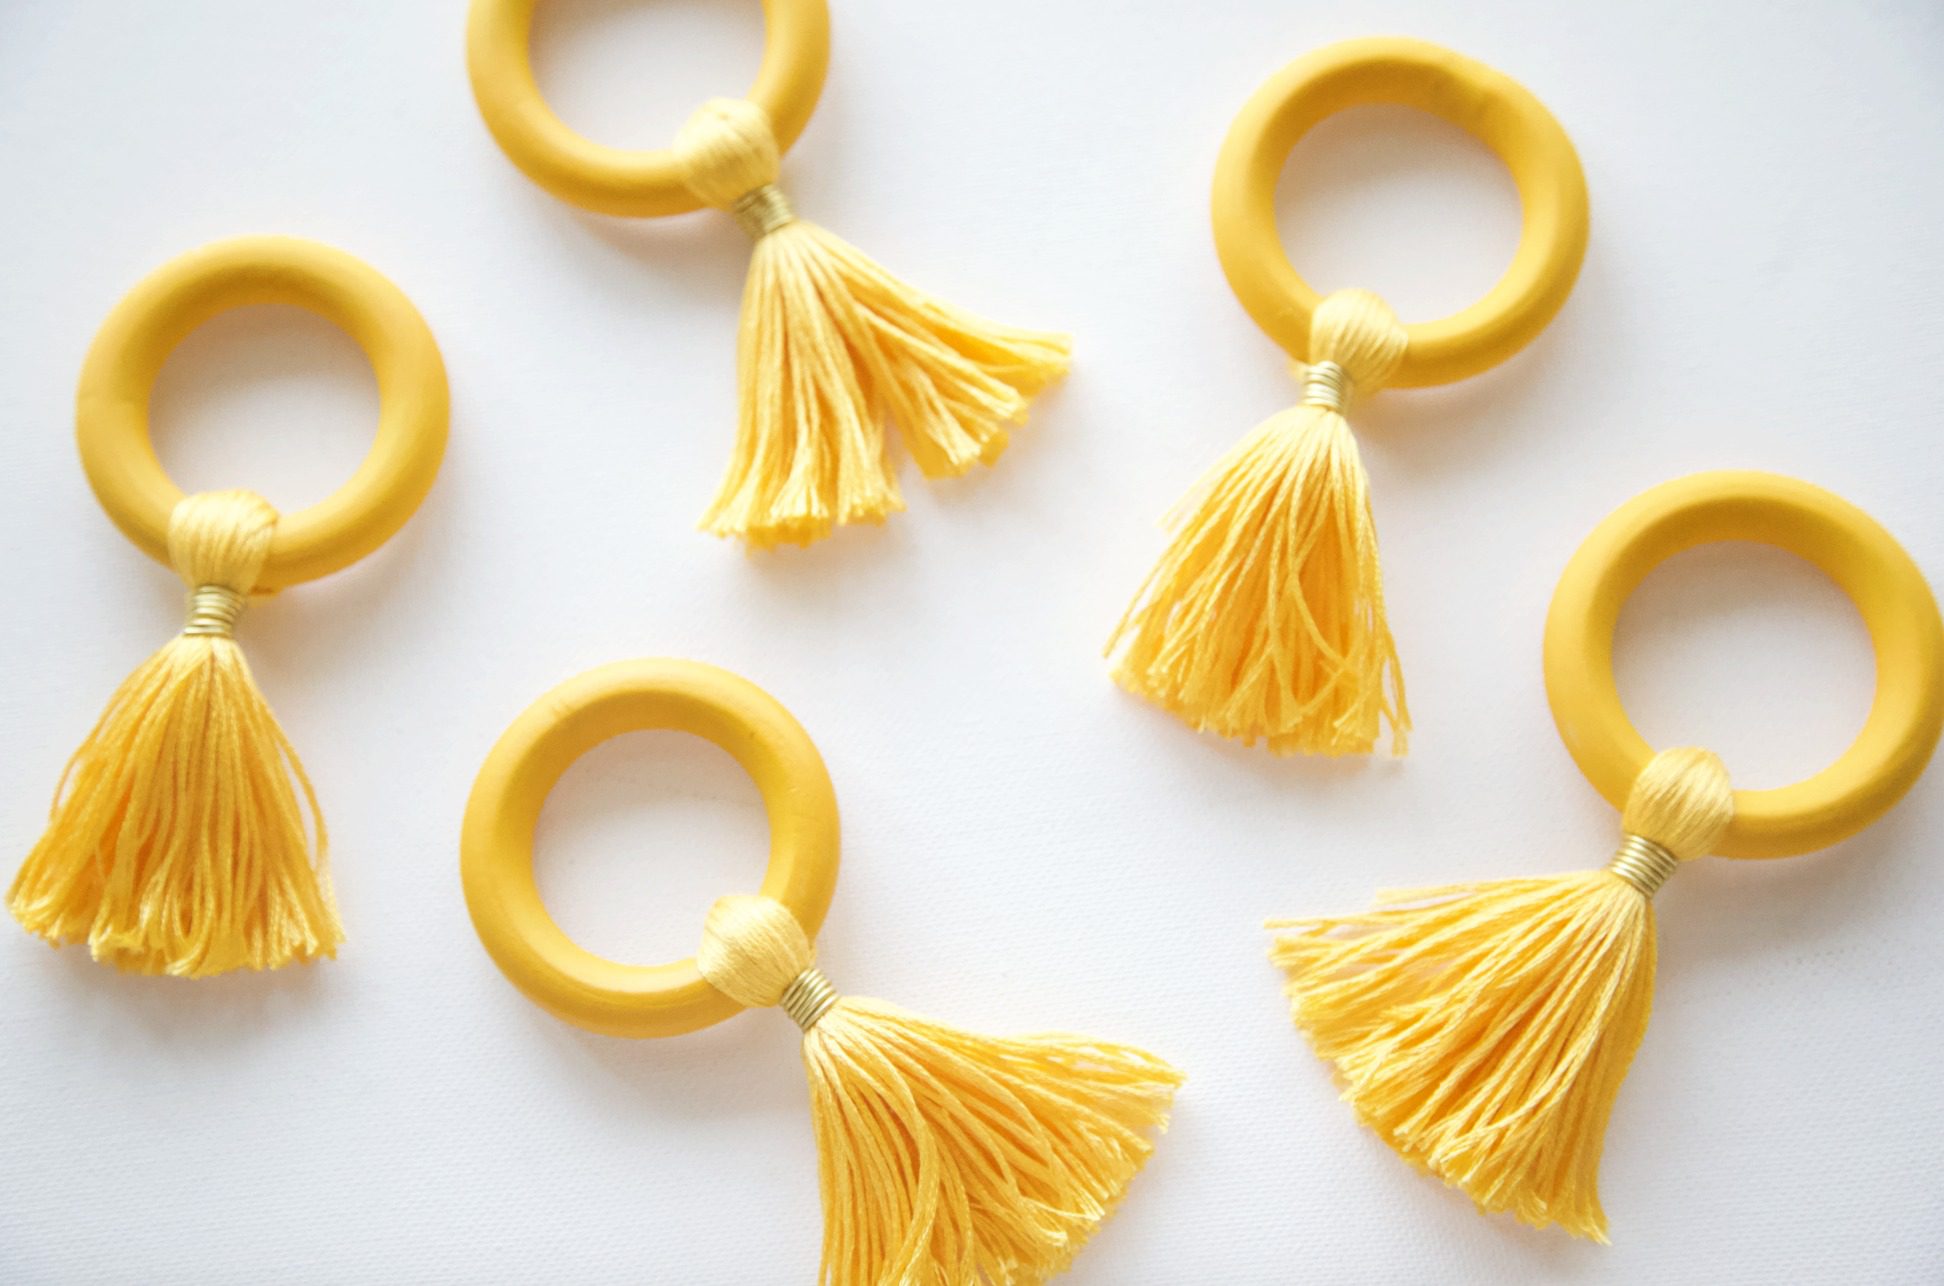
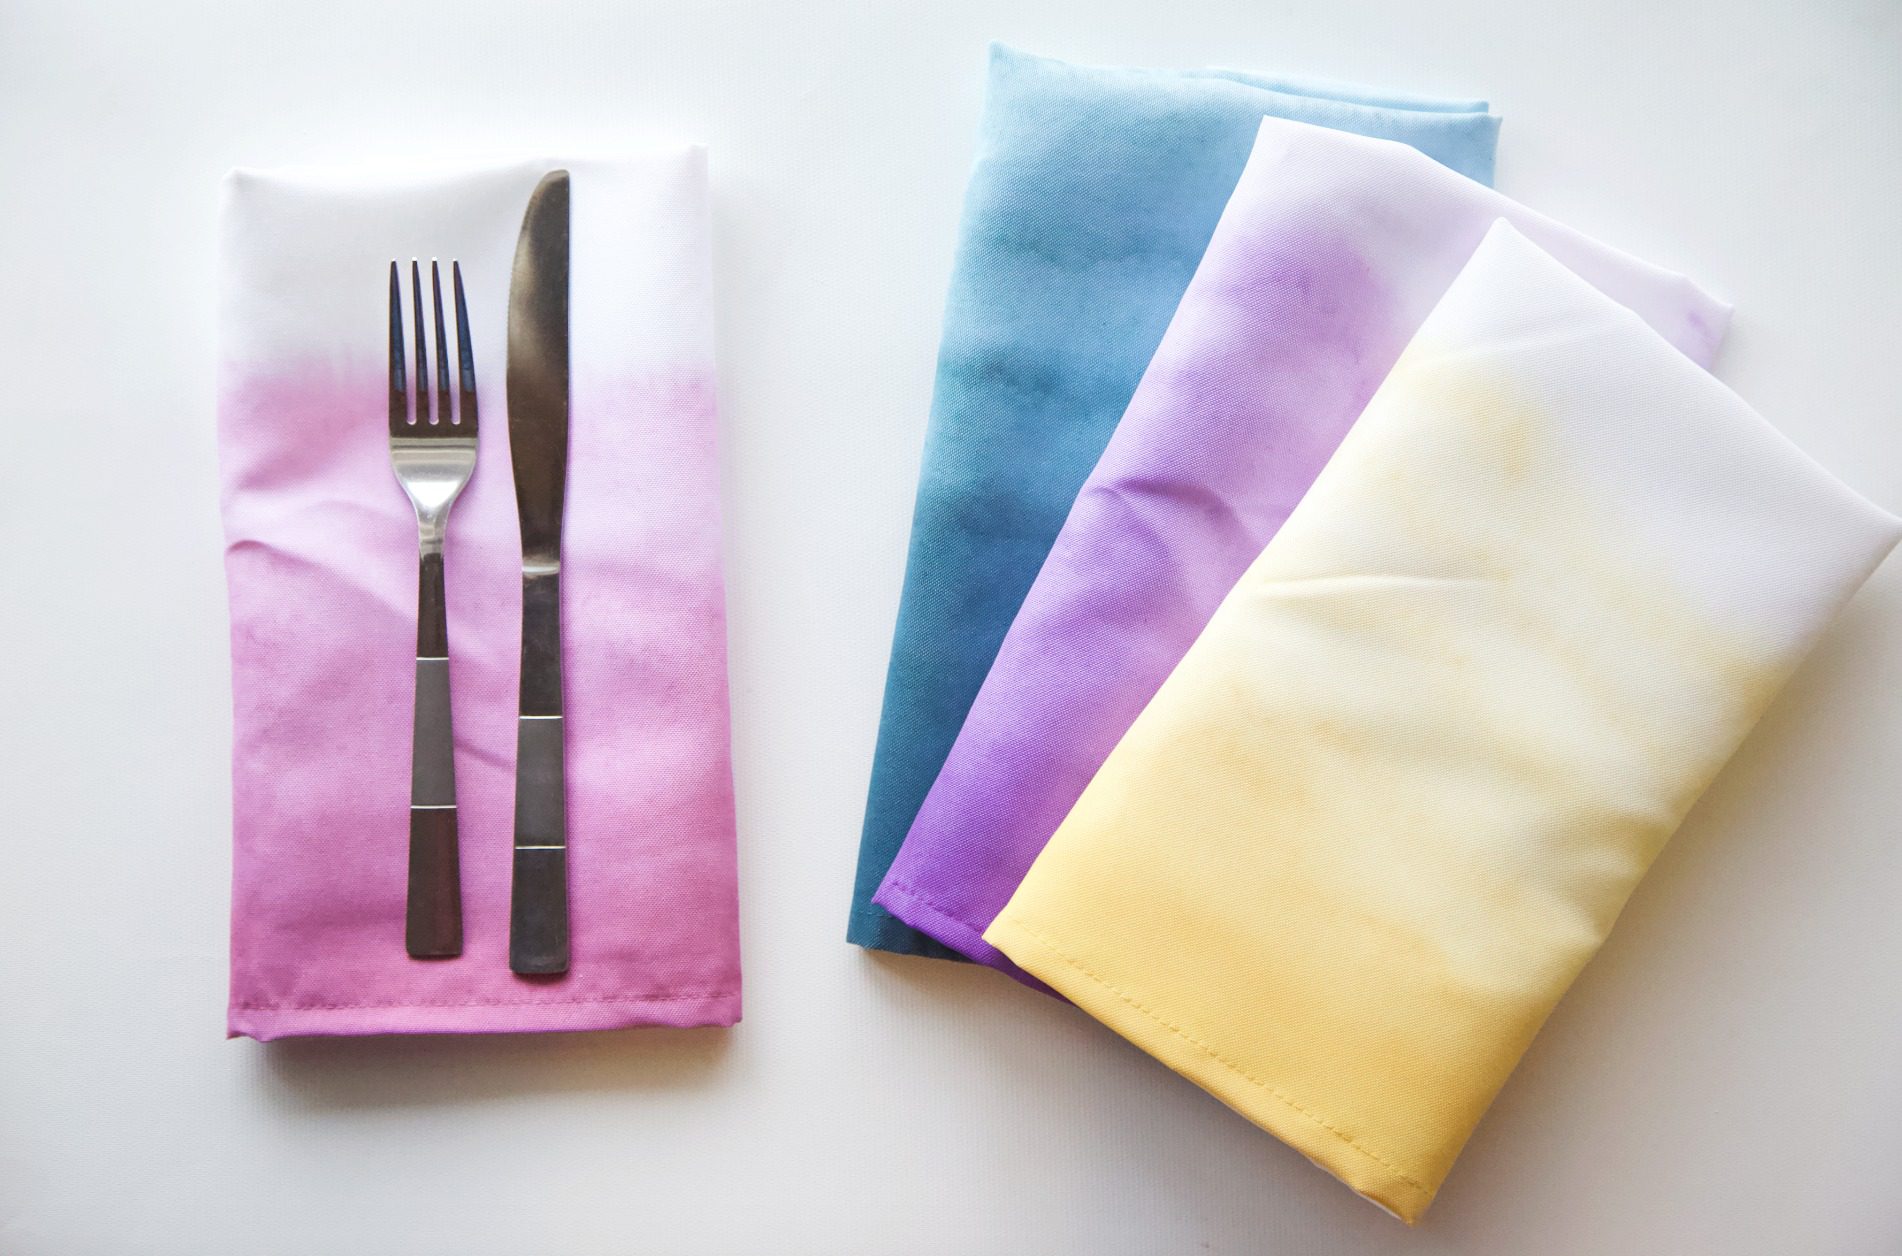
These rings and napkins are both so easy and fun to make. I love the napkins in varying colors, like those pictured above, but a set of the same color is gorgeous, too!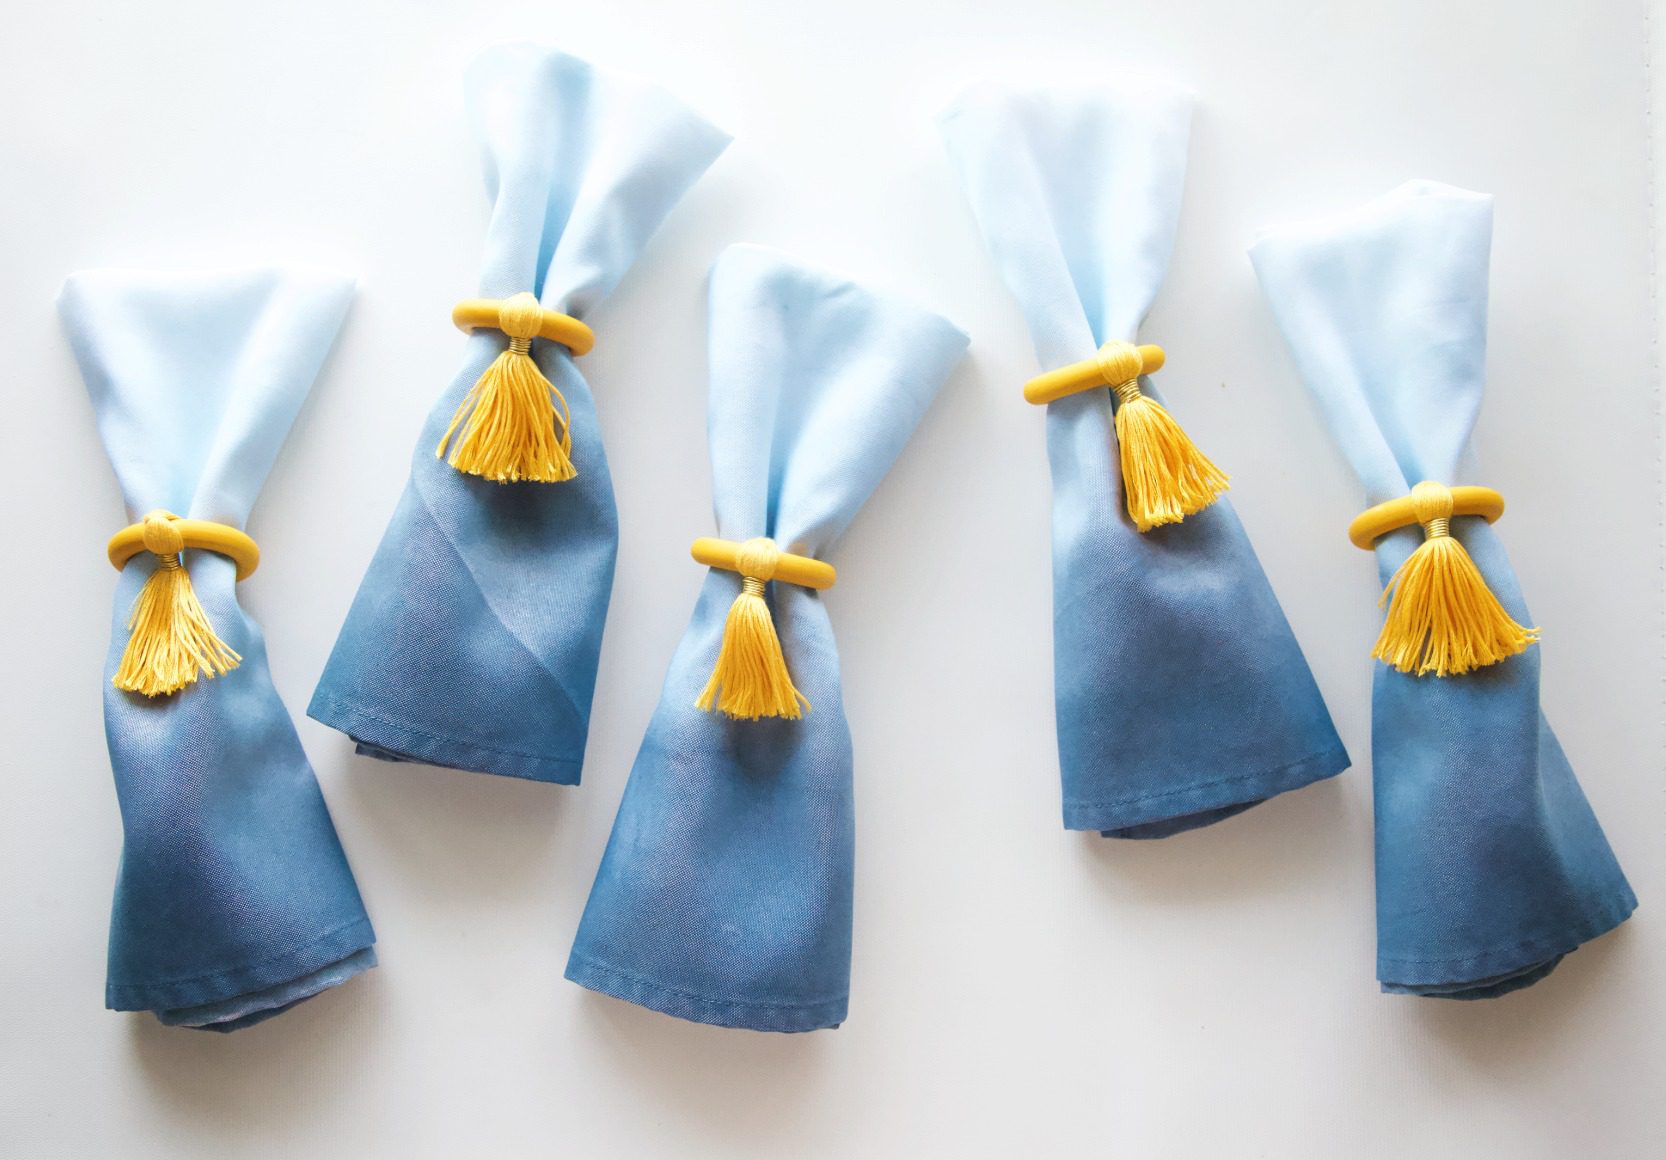
Either way, you can’t go wrong. They are sure to take your Thanksgiving/Friendsgiving/Dinner Party tablescape to the next level!
Be sure to check out the other Plaid Creators’ Friendsgiving or Thanksgiving tablescape projects! Click the links below to find everything you need for a pretty colorful tablescape – and a kids table too!
- The Cards We Drew – Table Runner
- Flamingo Toes – DIY Glittered Wood Slice Chargers
- Amy Latta Creations – Glittered Pear Placecards
- Cherished Bliss – Cranberry Centerpieces
- Erin Spain – Wine Charms
- Made to Be a Momma – Thankful Turkeys
- Positively Splendid – Pocket Chair Covers
- Petticoat Junktion – Kids Table Centerpiece
Happy crafting!
xo, Sam
Looking for more Thanksgiving craft inspiration? Check out these projects from some of our crafty friends!
Rustic Fall Tablescape – Laura’s Crafty Life
DIY Place Cards – Leap of Faith Crafting
Thanksgiving Tablescape – The Crafty Blog Stalker
Plaid Tablescape – Polka Dotted Blue Jay
DIY Thanksgiving Table Decorations – Pineapple Paper Co
Thanksgiving Table Decorations – She’s Crafty Crafty
White Pumpkin Thanksgiving Centerpieces – Rachel Teodoro
Simple Thanksgiving Place Setting – Sugar Bee Crafts
Modern Rustic Thanksgiving Tablescape – That’s What Che Said
Burlap Pumpkin Place Setting – The Scrap Shoppe

