


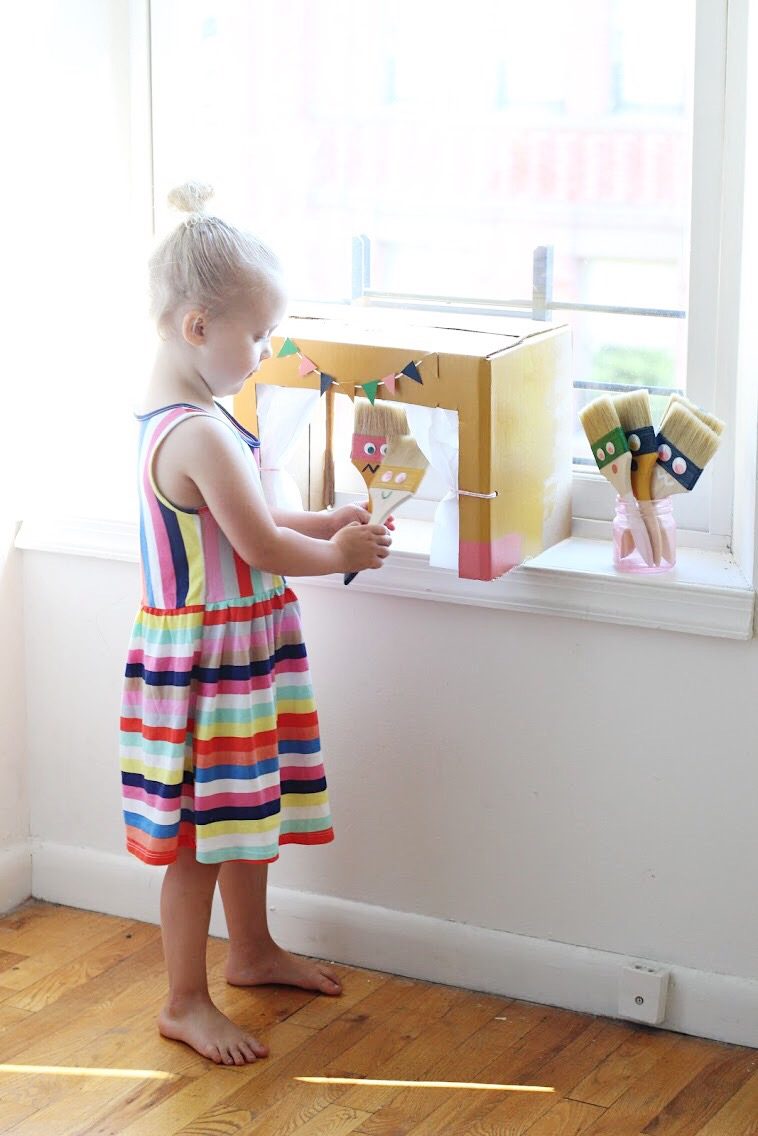
Today was the last day of school here in NYC! It was so much fun and there is nothing like the high of that last day feeling. No alarms to set tomorrow! No backpacks to pack or homework to do! I’m thrilled. However, it does feel like NYC gets out so late and that we have a lot of summering to catch up on, including summer crafts, so we’re getting right down to it! Today we are so excited to be participating in Create Your Summer with Plaid Crafts and team up with a handful of the Plaid Creators to make 5 fun summer DIY projects for the kiddos! For our project we are making the funnest little paintbrush puppets and a puppet theater that the kids can make and create with all summer long! Here is how we did it:
Supplies Needed:
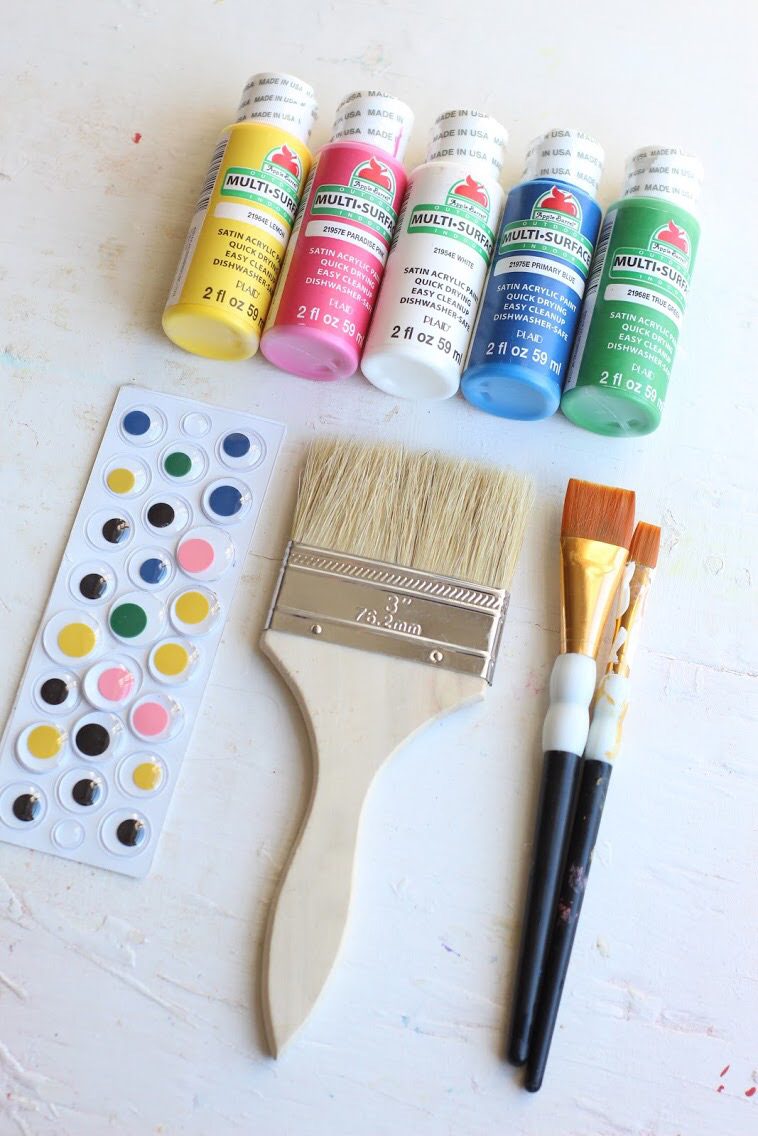
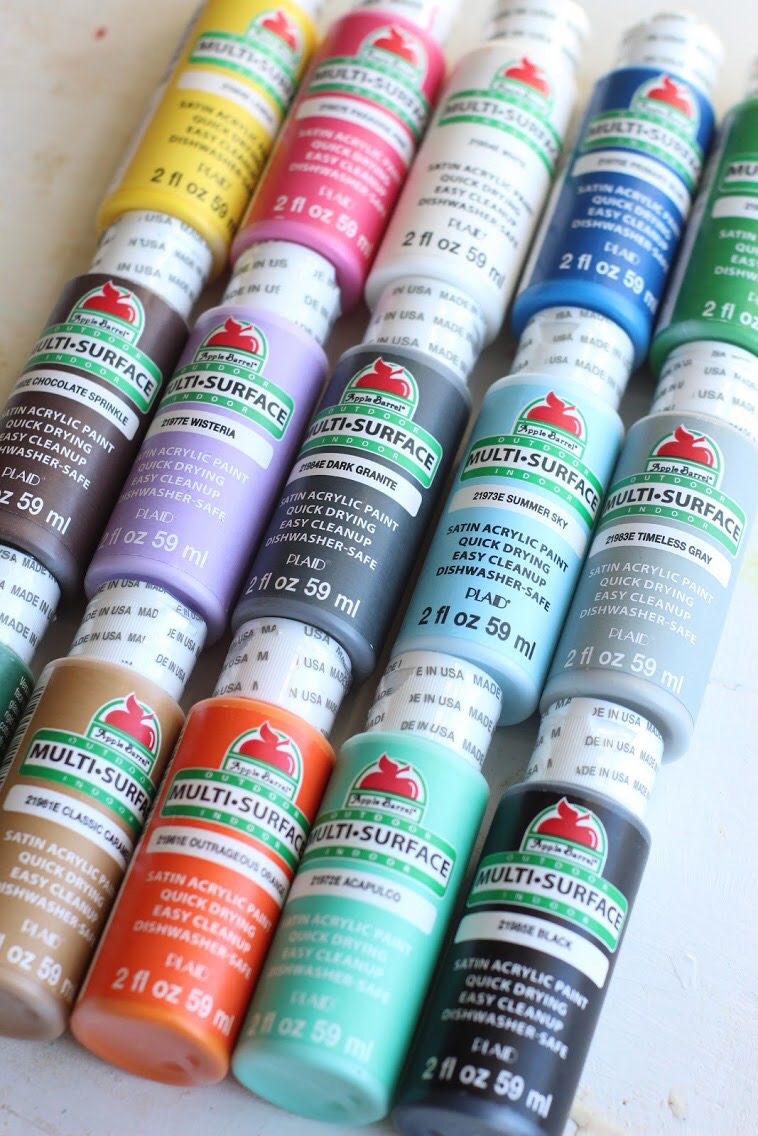
Apple Barrel Multi-Surface Paint
FolkArt Brush Set
3″ Wooden Paint Brushes
Googly Eyes
Cardboard Box
Baker’s Twine
Cardstock
Glue Gun + Sticks
Scissors
Tissue Paper
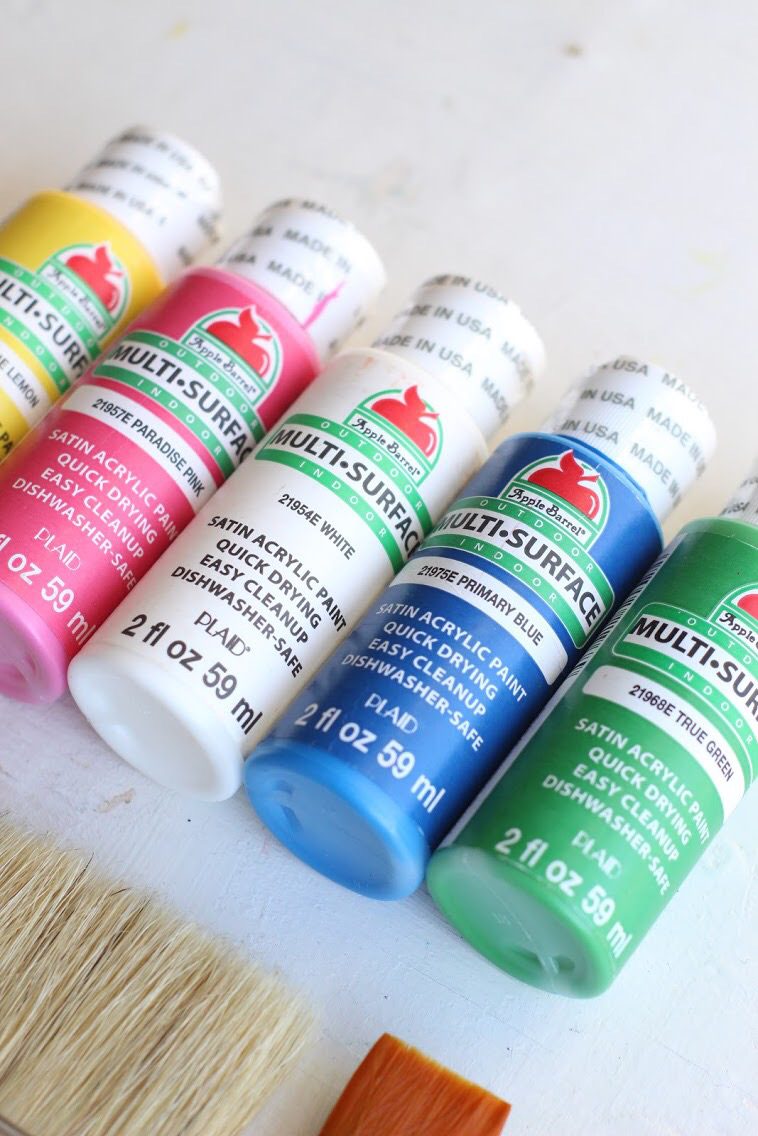
This Apple Barrel Paint Set is the perfect staple for all crafters. It has all of the colors you need, is easy to use and applies beautifully. We even mixed some of the colors to get the exact shade we wanted, making the possibilities endless with this set. Plus, it is totally affordable and will keep your little crafters painting all summer long.

Make your puppet brushes:
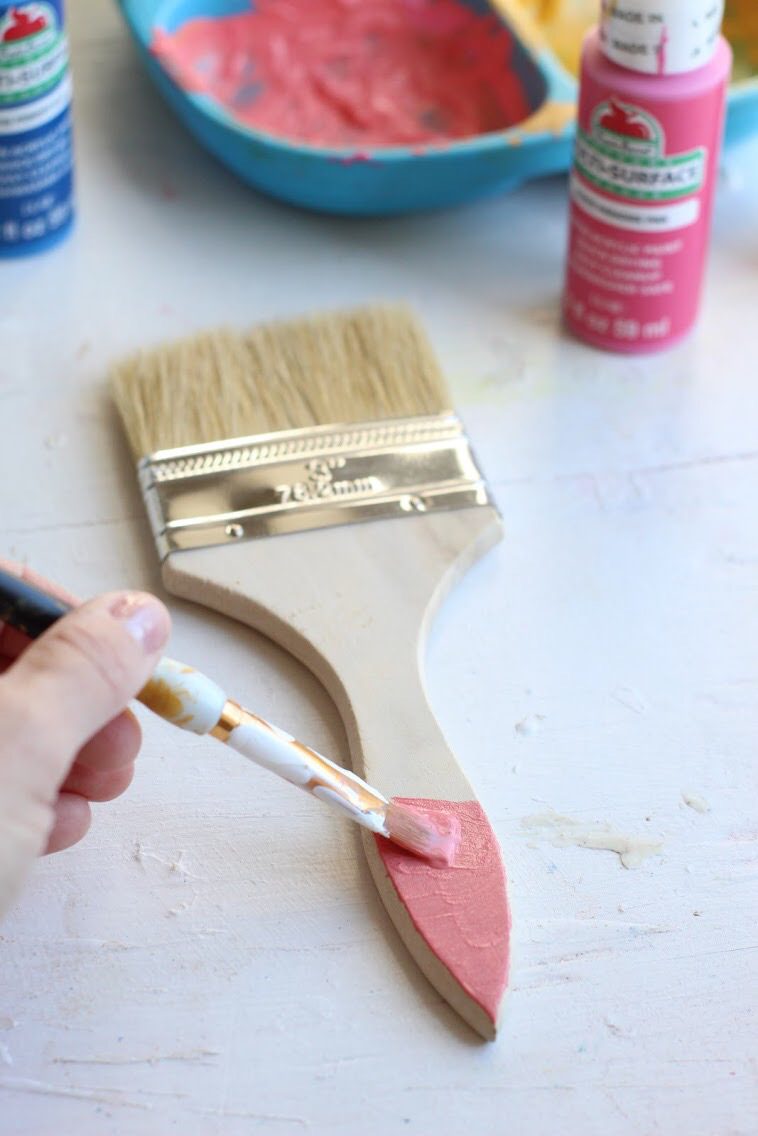
- To begin making your puppets, start by doing some color blocking on the handles of your brushes with your paints! You can do this buy taping off the area and painting or you can freehand it! I had fun alternating the colors and the placement of the color block on each of the brushes.
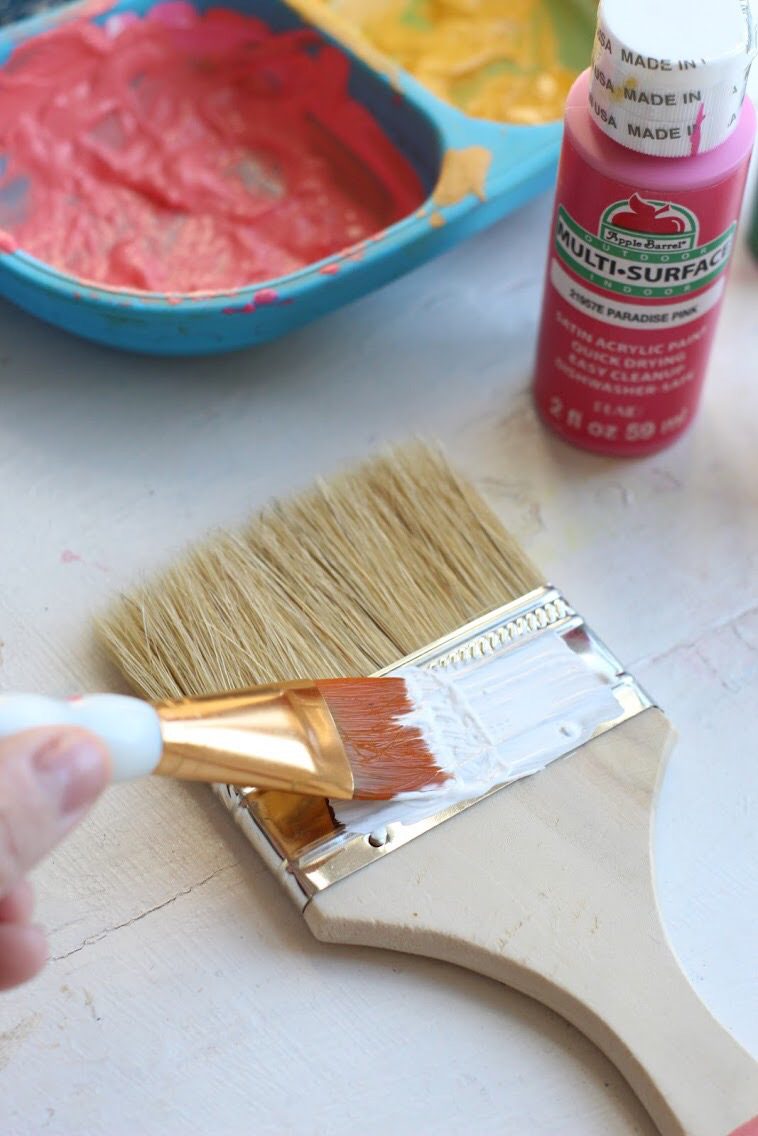
2. You’ll also want to paint the metal part of the brush. Apply two coats and let all paint dry completely.
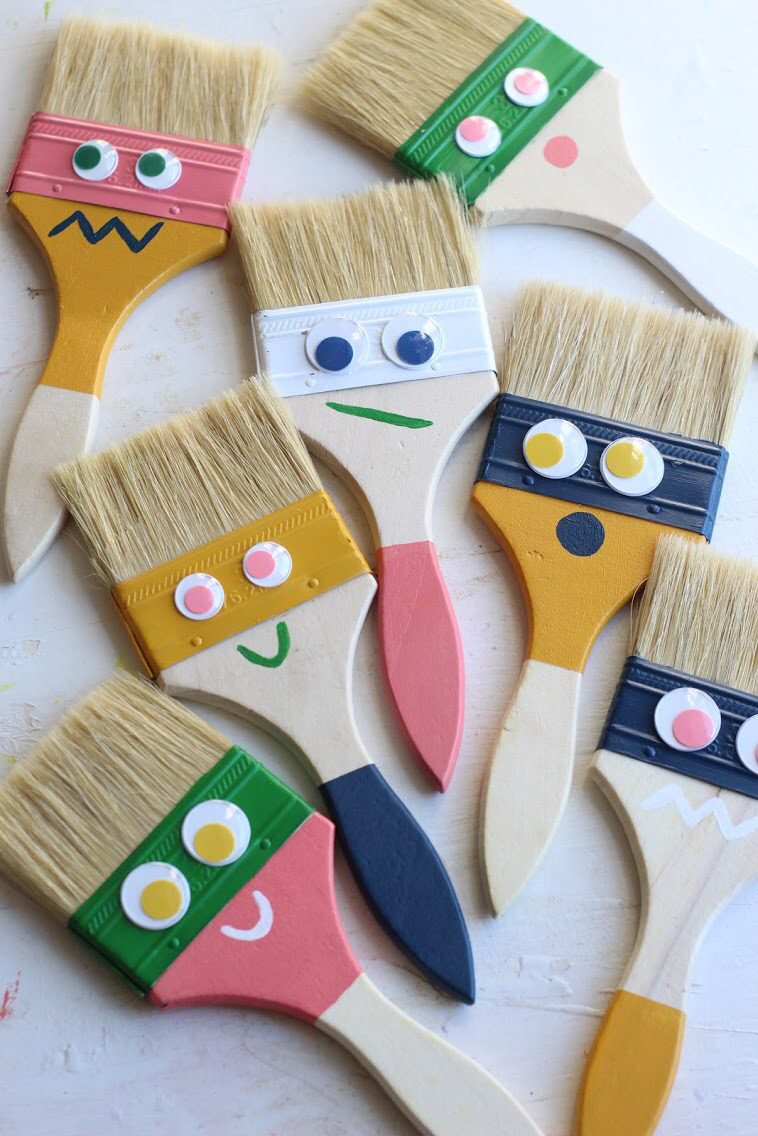
3. Give your brushes some character by painting on mouths! It was fun to imagine the different shapes of the mouths with the kids and help them create the characters they would play with as they went along.

4. Apply a dot of glue to your googly eyes to make them extra secure and press them into the metal part of the brushes.

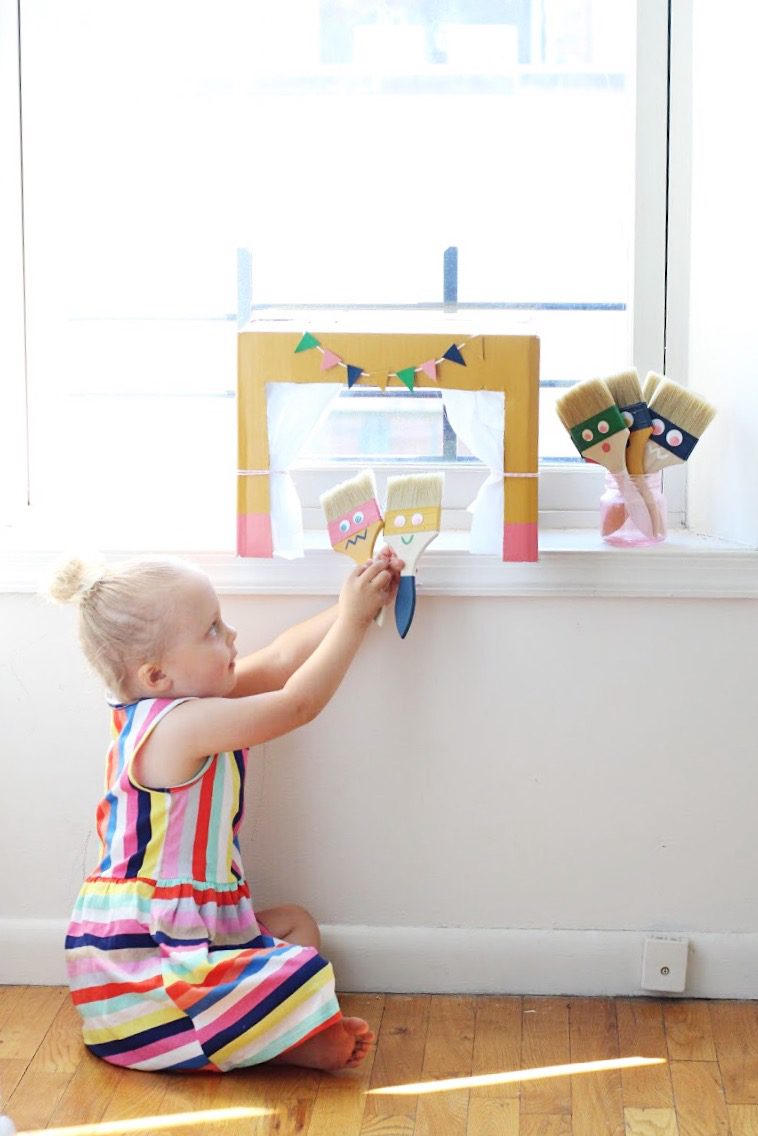
That’s it! Aren’t they fun? I love how each of them have little personalities and my kids got a kick out of their spiky bristle hair! This project is so awesome because you may already have most or all of the supplies you need in your garage!
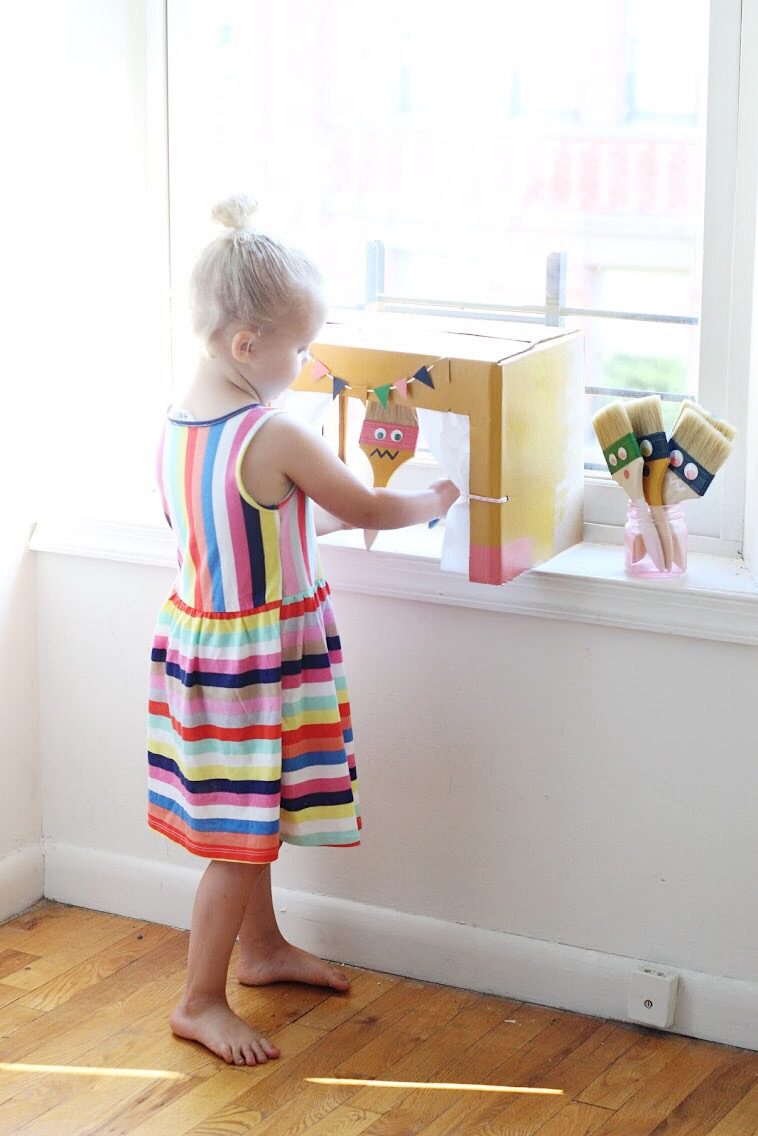
Now that the puppets have come to life it’s time to make a place for them to perform!
Make your theater:
Now to make your theater! To begin, simply cut an opening in the back and front of a cardboard box. Next, I painted the exterior with two coats, giving it a dipped effect on the bottom. Then, I hot glued tissue paper to the inside of the front opening, and tied them off with baker’s twine. Lastly, to add some interest I painted cardstock, let it dry, then cut out flags that I attached to baker’s twine with hot glue. I then attached the bunting to the theater with hot glue.

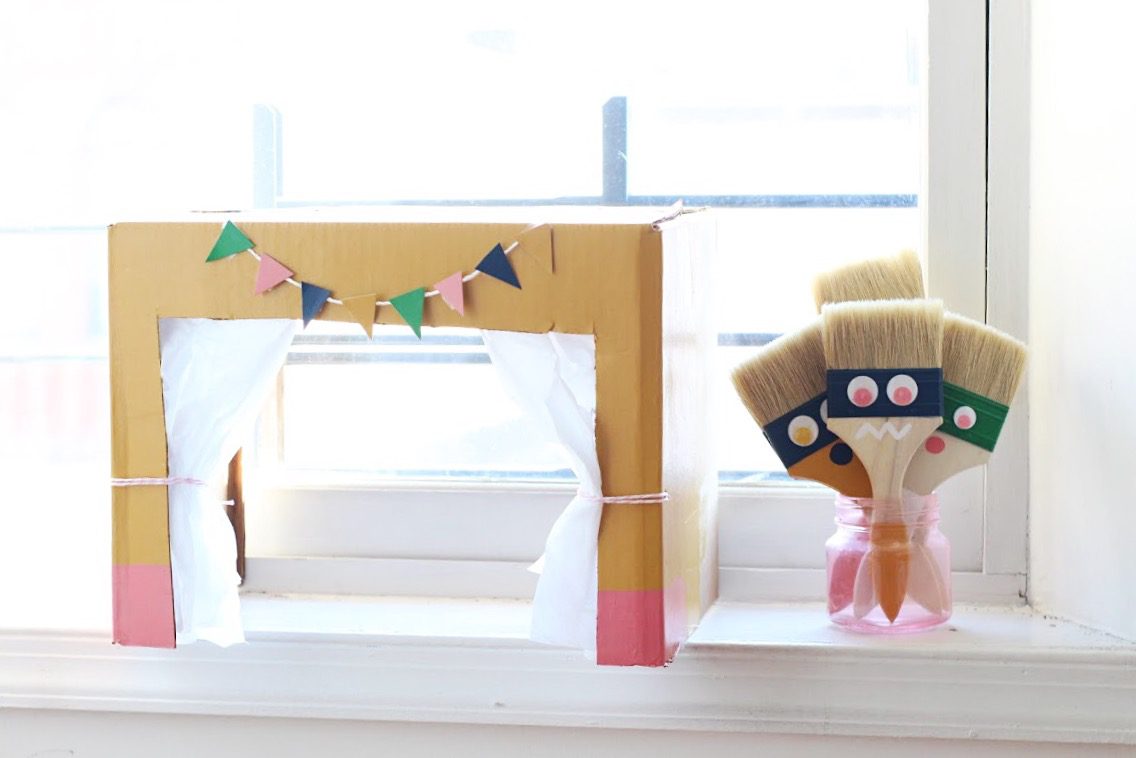
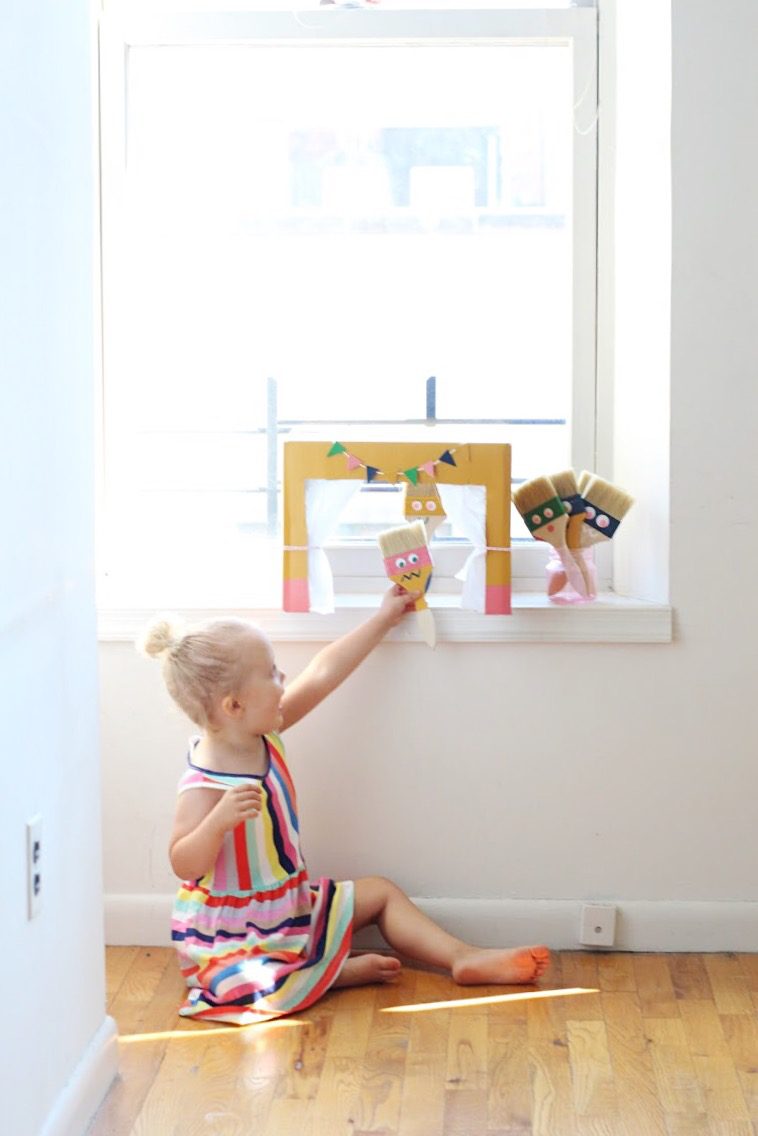
Now your puppet theater is ready and so are the performers! All you have to do is sit back and enjoy the show!
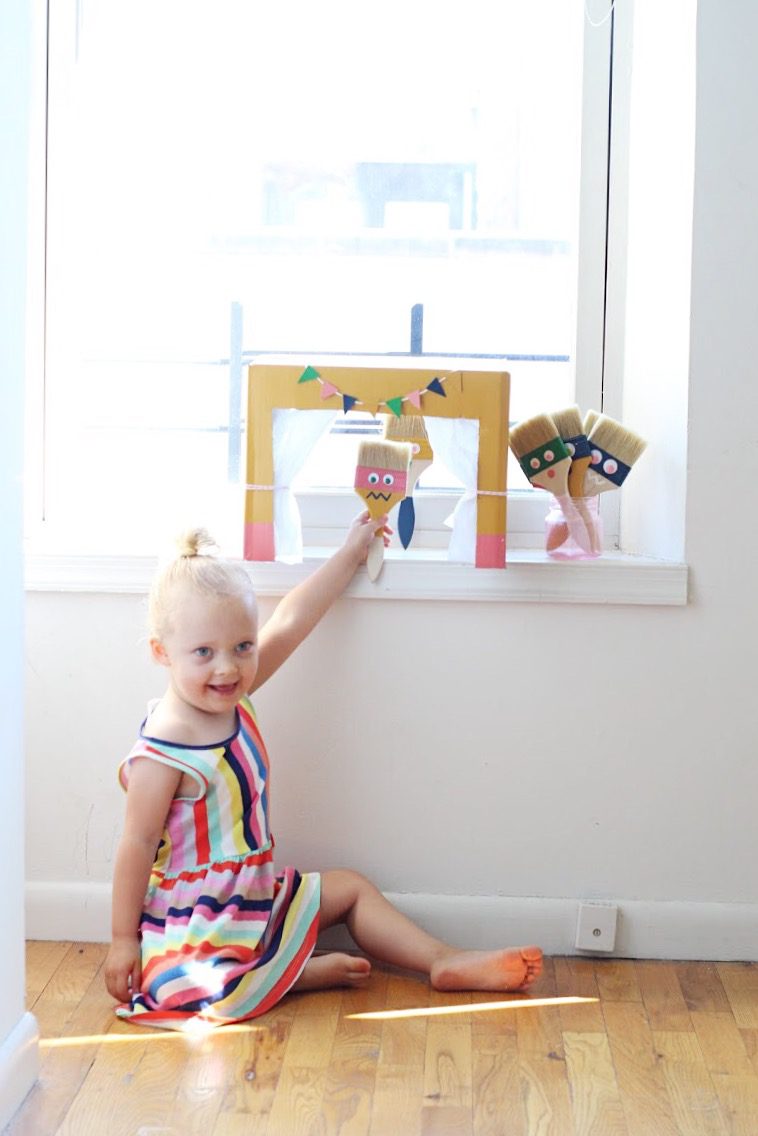
This project was such a blast. You and really let your kid’s personalities shine from making the puppets, to designing and making the theater, to letting their imaginations run wild with little performances. Such a sweet way to spend a summer afternoon!

What DIY projects are you looking forward to doing with your kiddos this summer? For lots of inspo be sure to visit the other Create Your Summer Projects from the Plaid Creators by visiting Plaid on Facebook! And for more DIY inspiration, be sure to follow Plaid on Instagram, Pinterest, and at Plaid Online!
ox. Liz


These brushes are adorable! I’m obsessed!
What a fun and creative activitie
http://www.amysfashionblog.com/blog-home