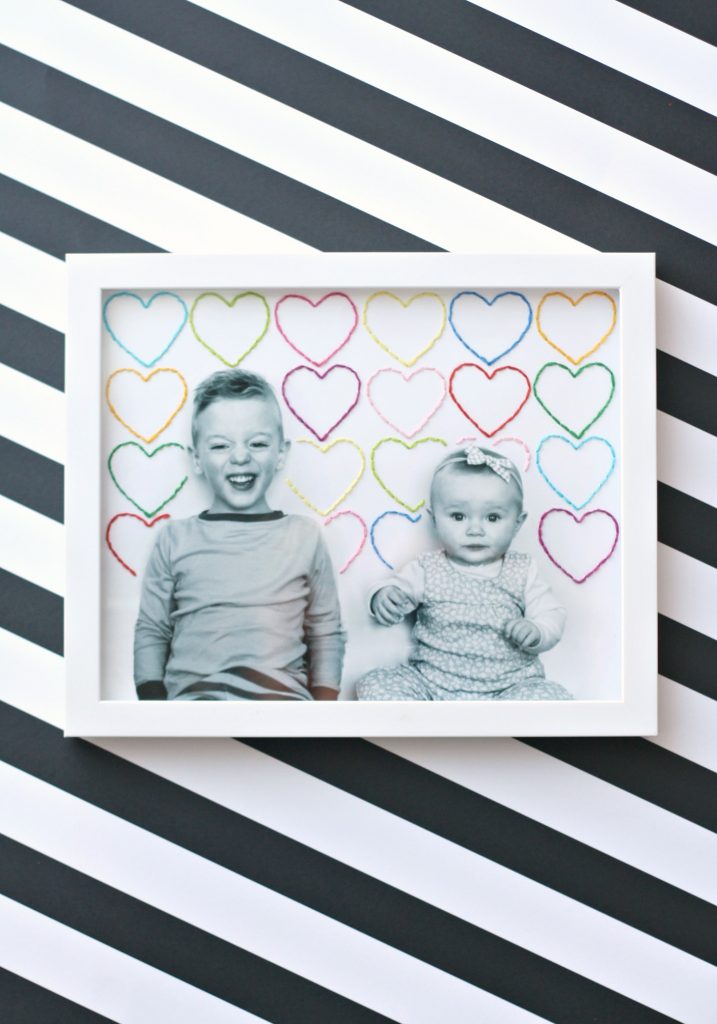
These DIY Embroidered Photos were originally created for Consumer Crafts.
Earlier this year, after taking down all my holiday decorations, my house (and I) felt sad. It made me 1) want to spruce things up a little bit with new decor, and 2) need a therapeutic activity to distract me from the seasonal depression that always follows the highs of the holidays. Enter: these DIY Embroidered Photos. These photos add so much personality to my house AND were the funnest to work on. Using simple stitches (I’m no pro when it comes to embroidery) with fun colors brought these pictures to life, and I love how they turned out.
Supplies needed to make your own Embroidered Photos


How to make your own Embroidered Photos
Step 1: Trace your design with pencil on your photo. I kept this one super simple and did hearts that I traced off my computer screen.
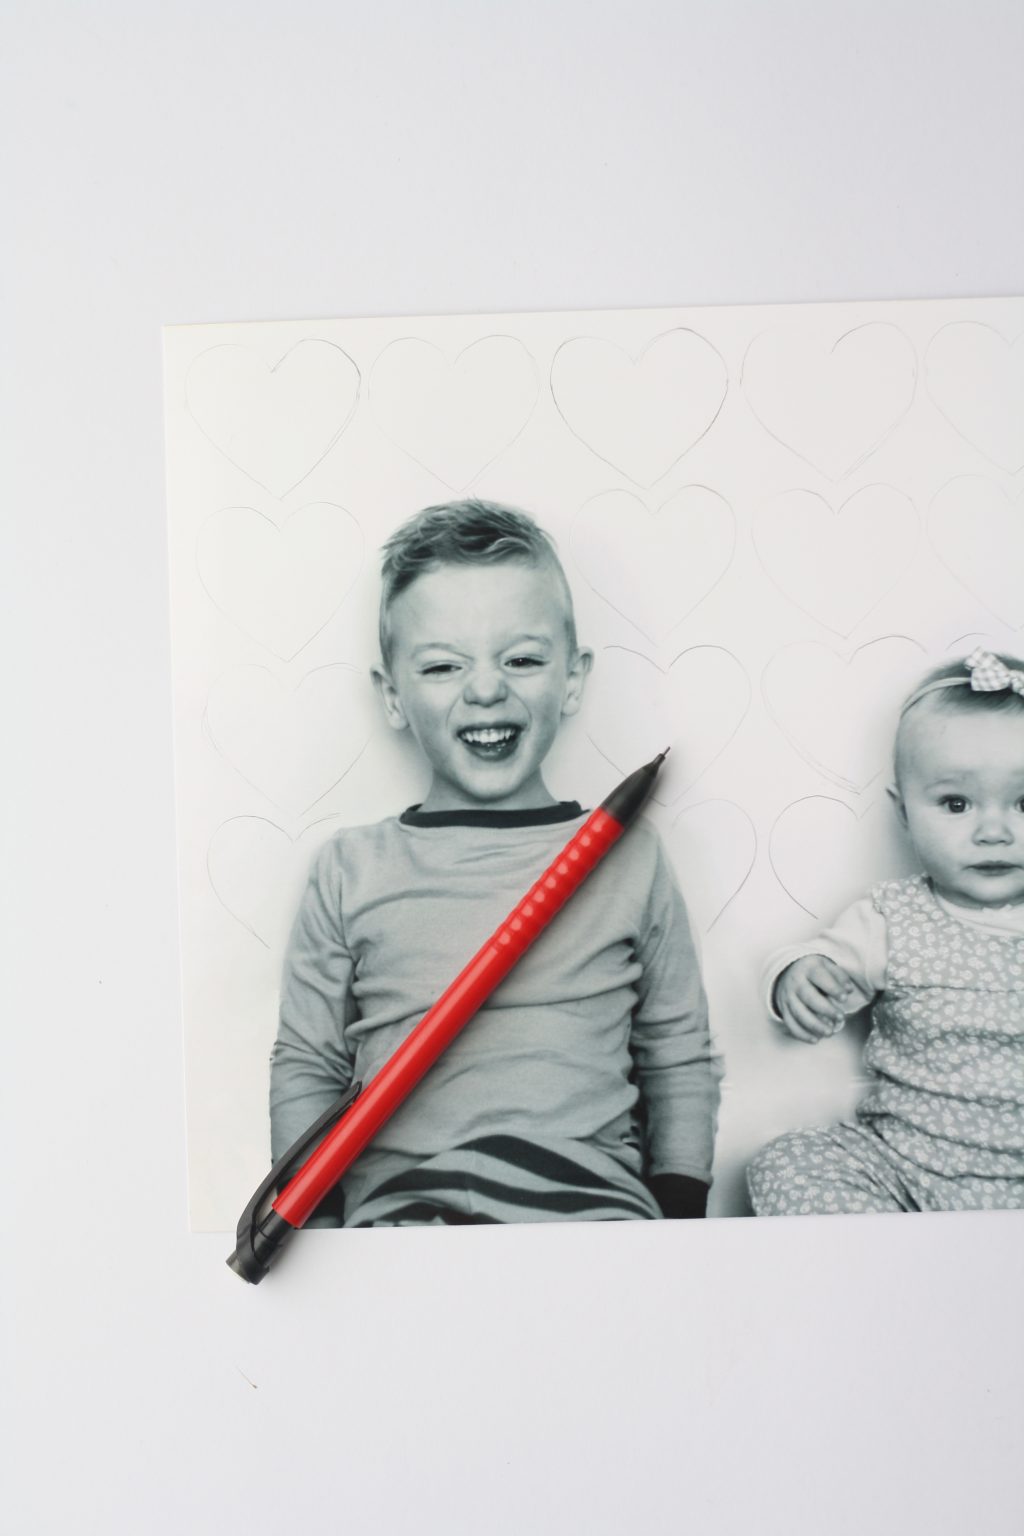

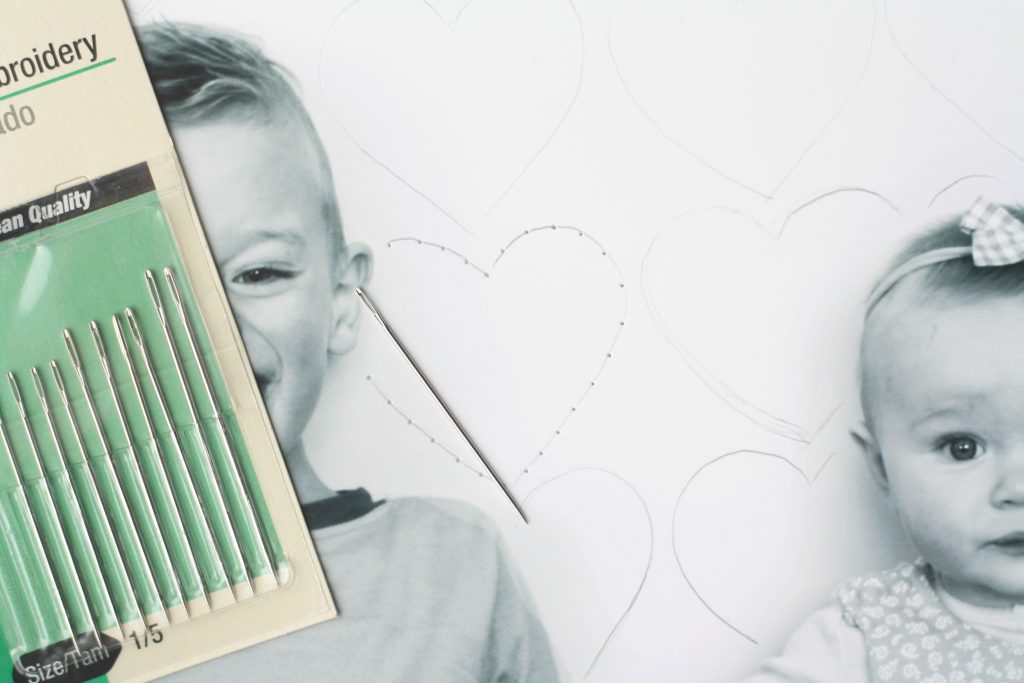

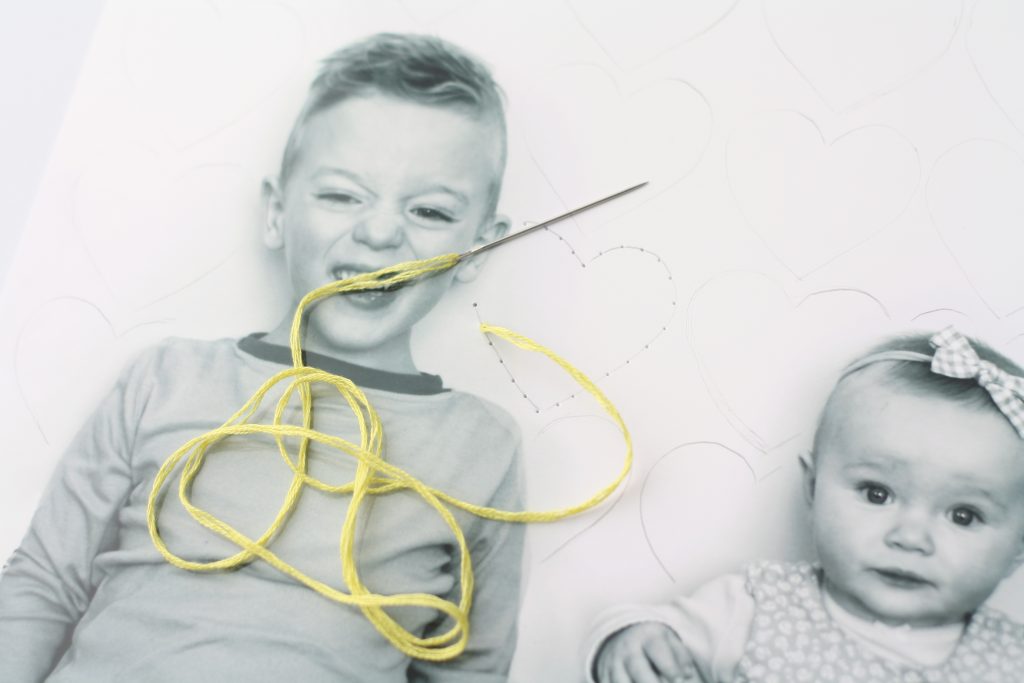

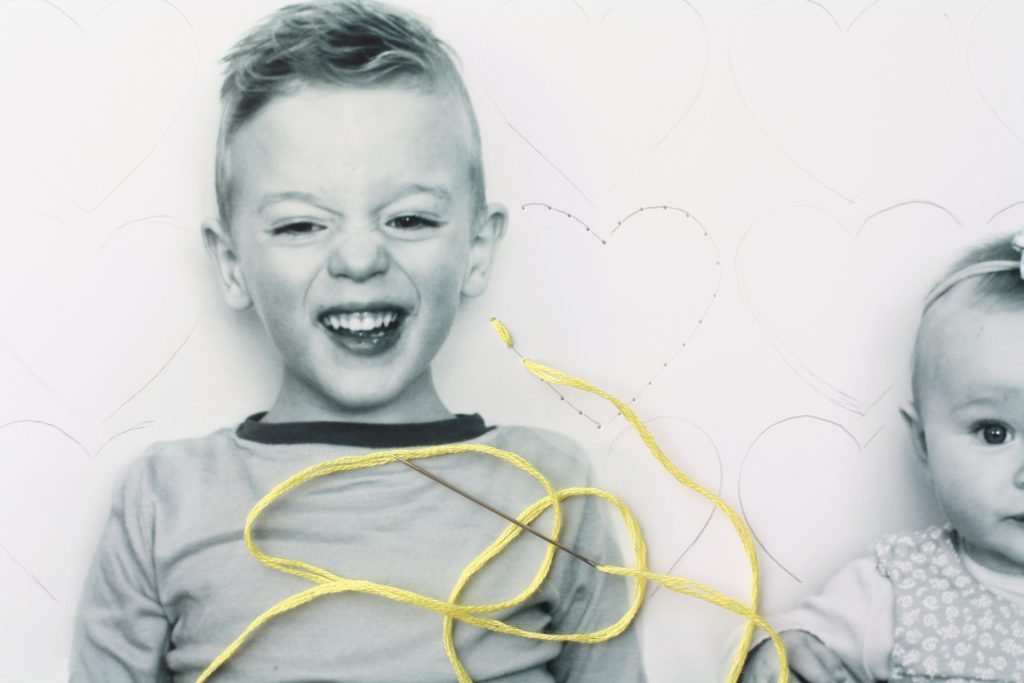



So cute, right?! I love the dimension of the embroidery on the photo.
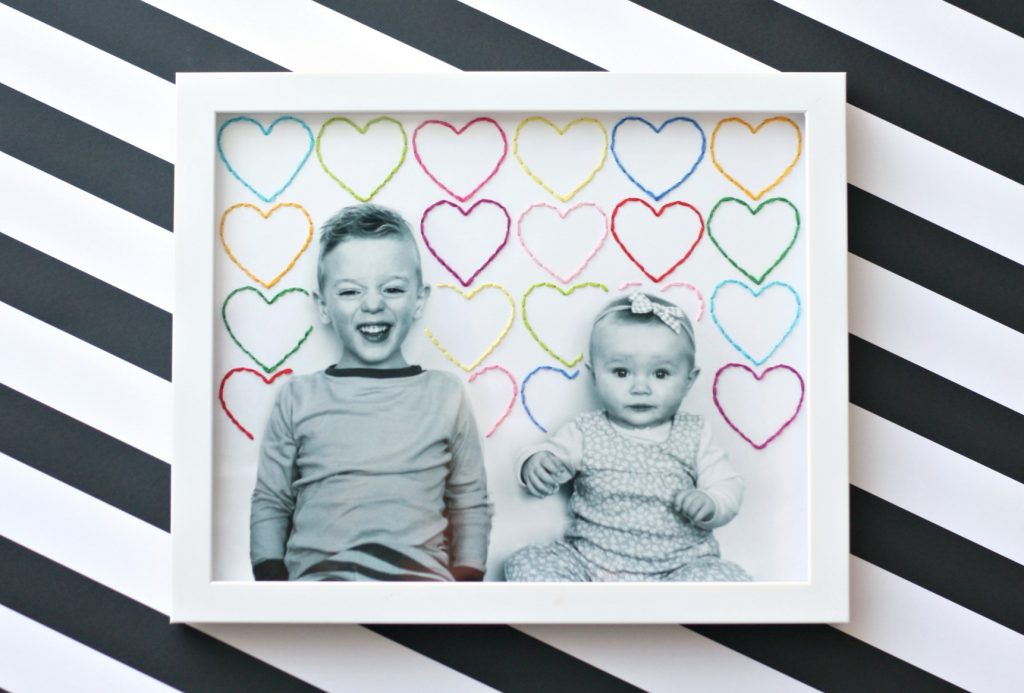

Isn’t is just the sweetest thing? And think of the possibilities! It would be the sweetest gift, too! I wanted a set, so I did three pictures, using the same colors but different designs, and I am completely obsessed with them.


Frame and display your heart embroidery photos, and any sadness you feel will go far far away!
Happy crafting!
xo, Sam
Check out these other easy stitching crafts!
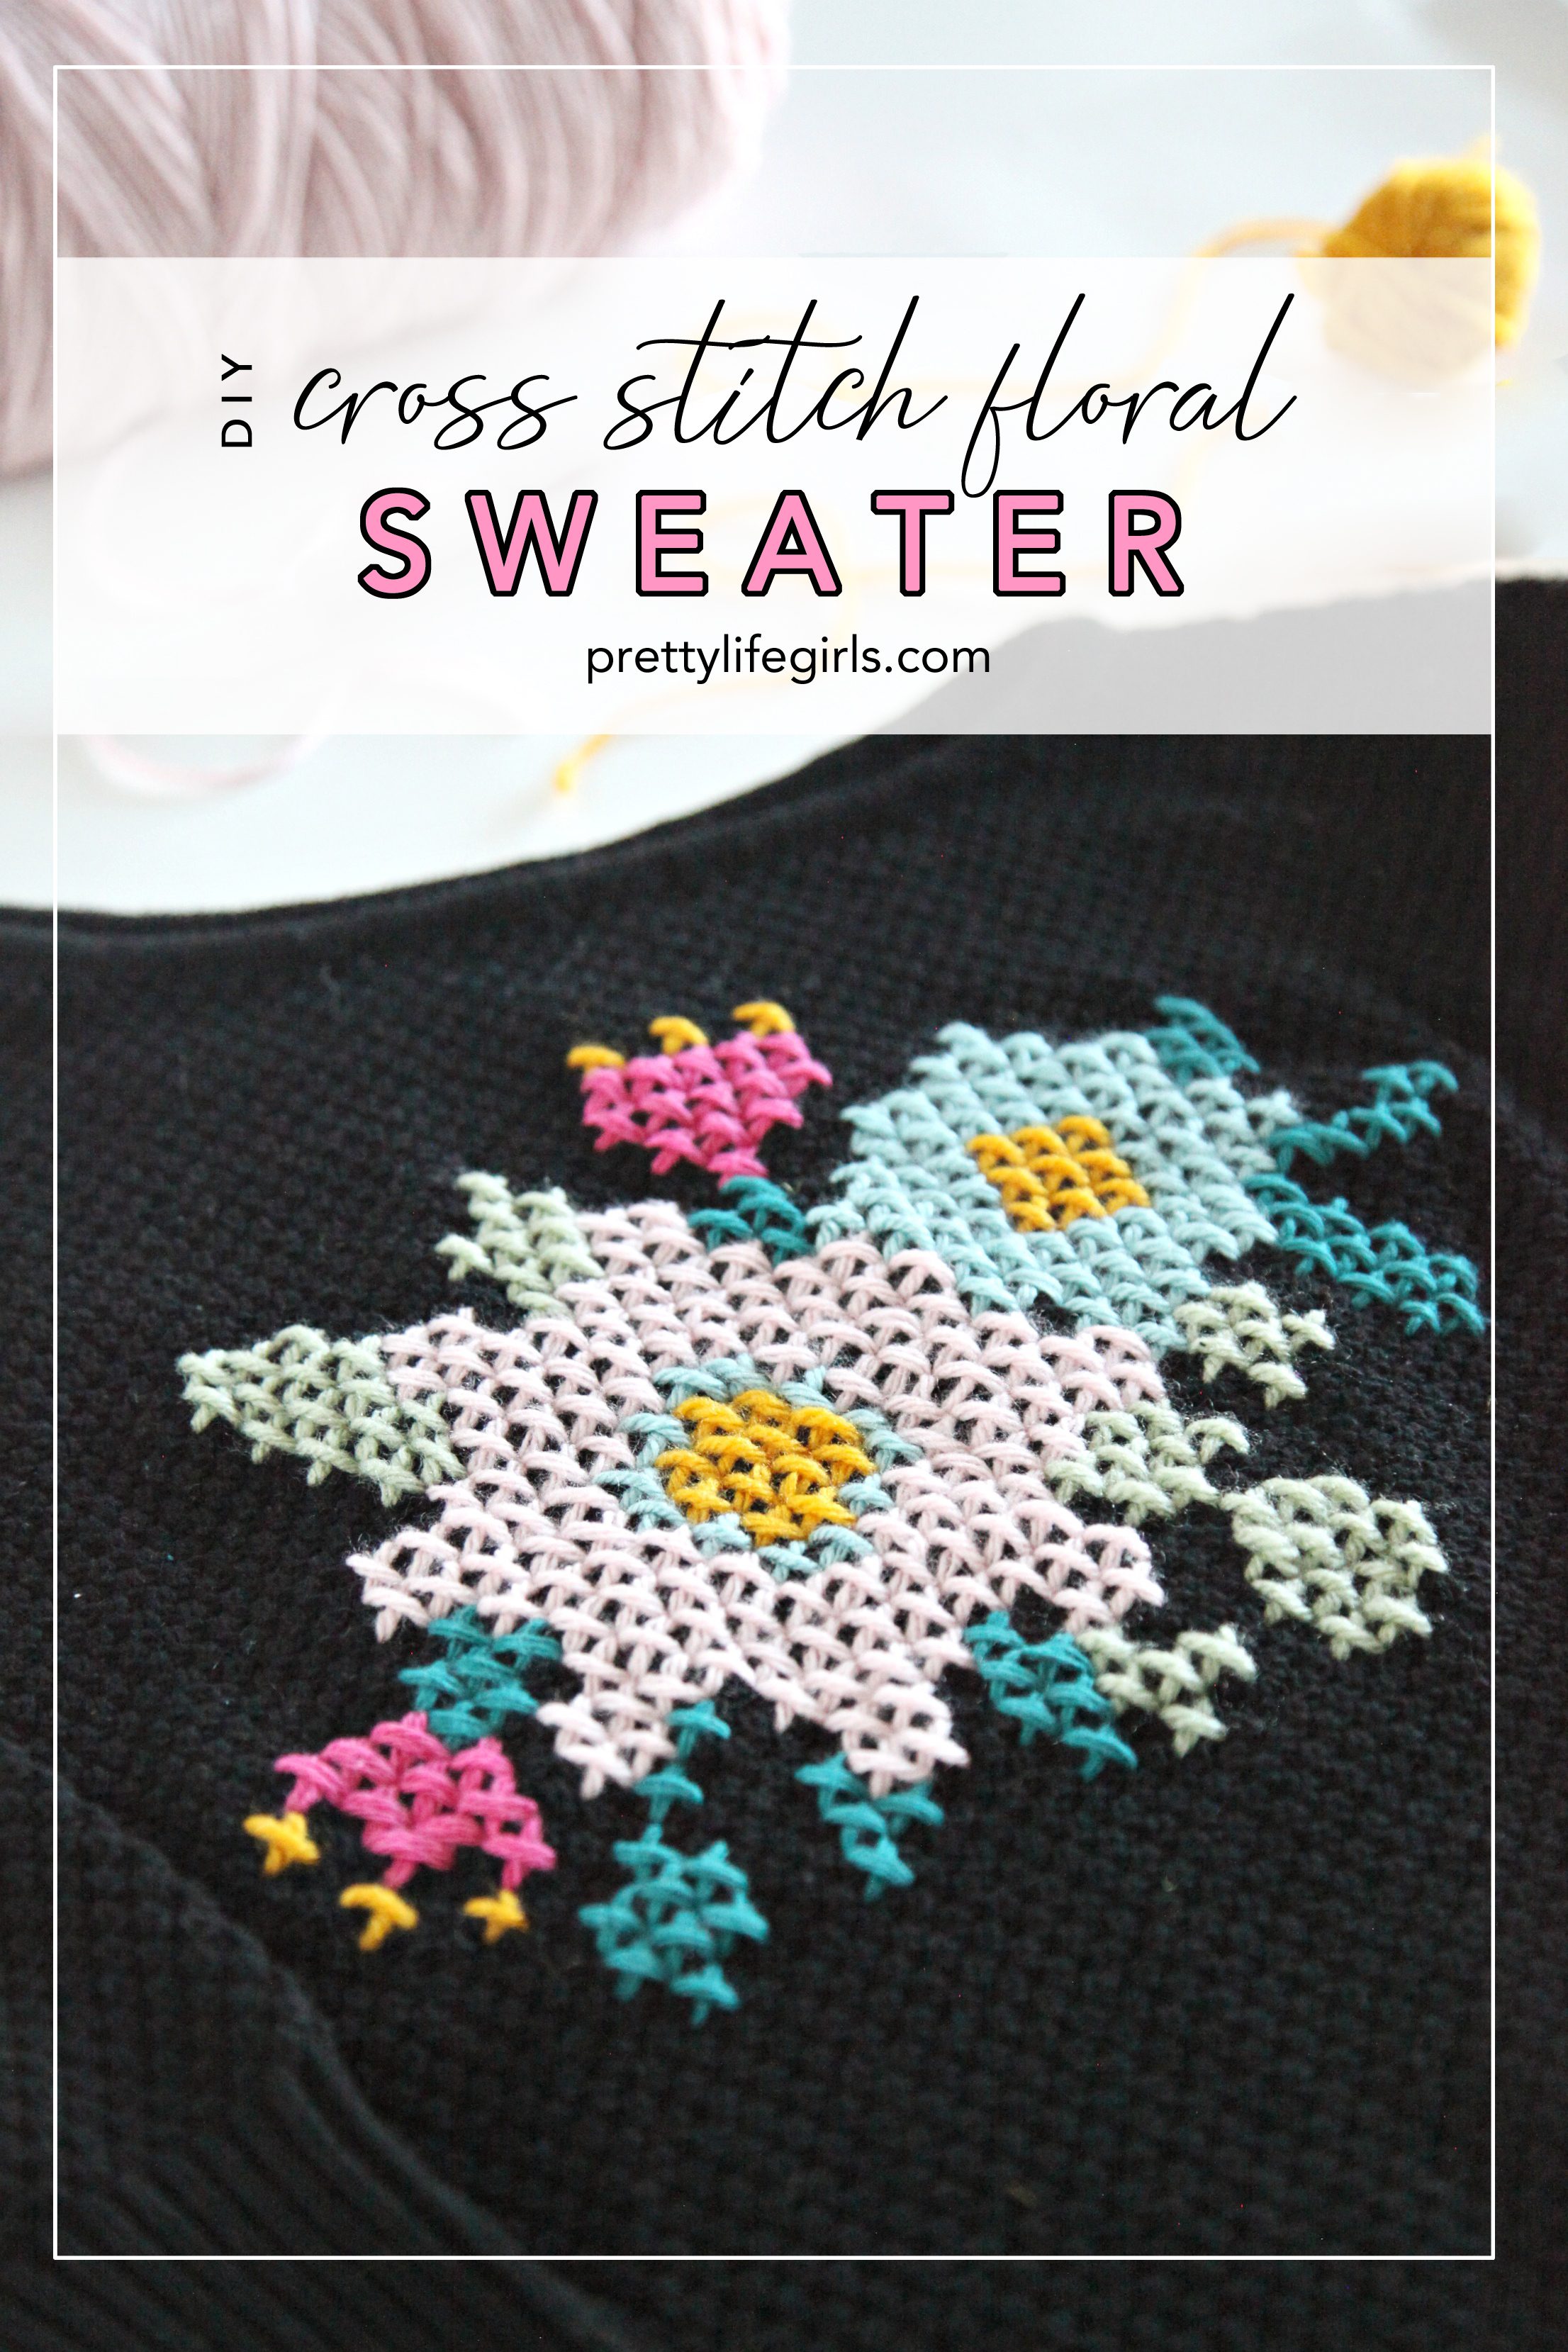

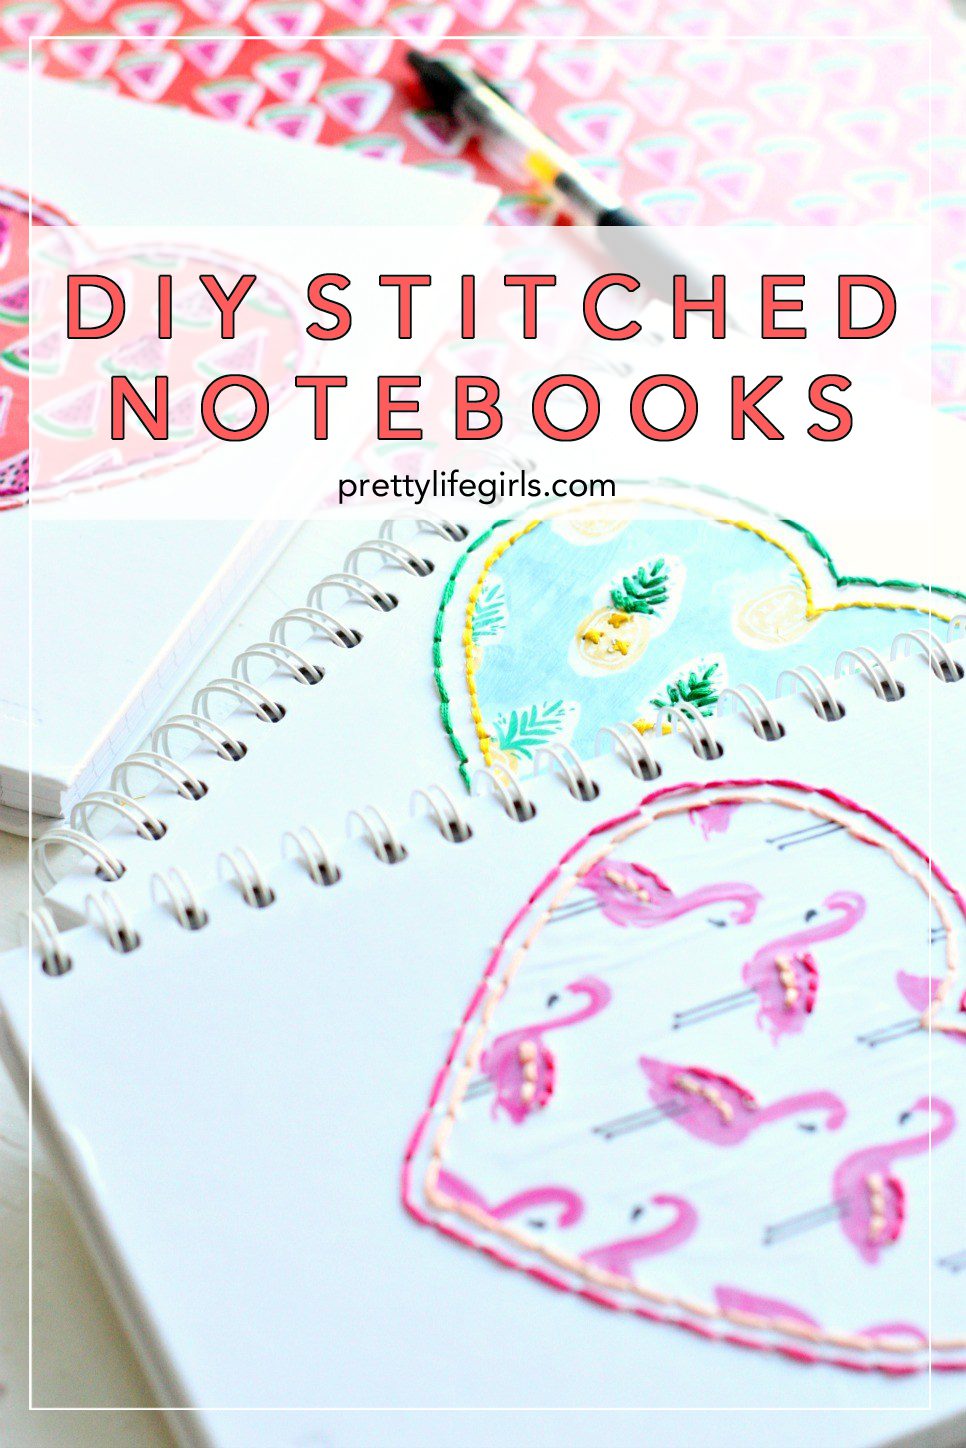




I love this idea so much you guys!!!!
This is so cute! I totally want to try this!
What a fun way to add some color to a black and white photo.
http://www.amysfashionblog.com/blog-home/