


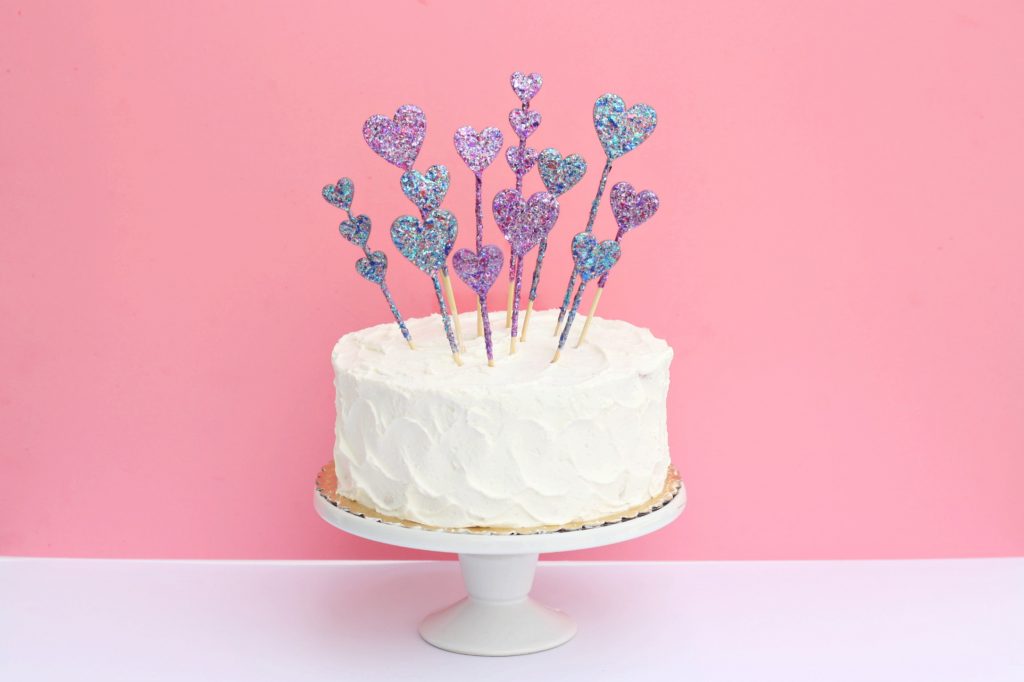
We are so excited to share these DIY Glitter Heart Cake Toppers, just in time for Valentine’s Day, but also totally adaptable for any special occasion (or if you just want a good excuse to buy yourself a cake)!
The star of this show is the new FolkArt ® Glitterific™ Acrylic Paint. You guys, this stuff is SO good. It is made of multiple size glitter particles suspended in a crystal clear base, providing beautiful glittery coverage that is mesmerizing! There are 10 colors available now at Plaid Online, with more colors launching later this spring! Here is how we made this fun project:
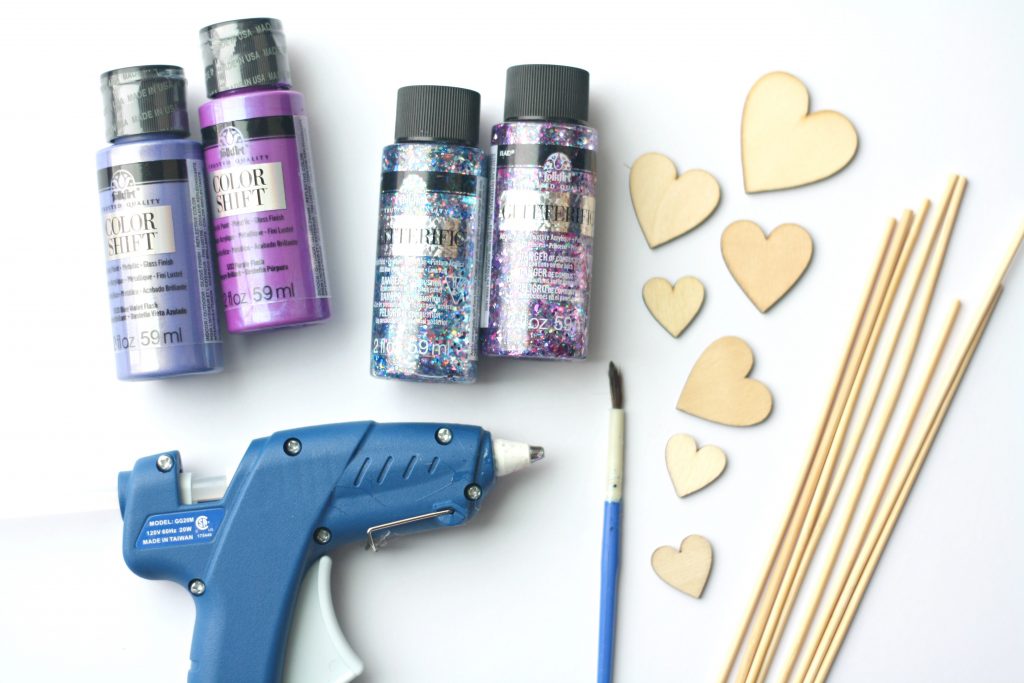
Supplies
- FolkArt ® Glitterific™ Acrylic Paint (get yours HERE!)
- FolkArt Color Shift
- Wood hearts
- Wood skewers
- Glue gun
- Paint brush
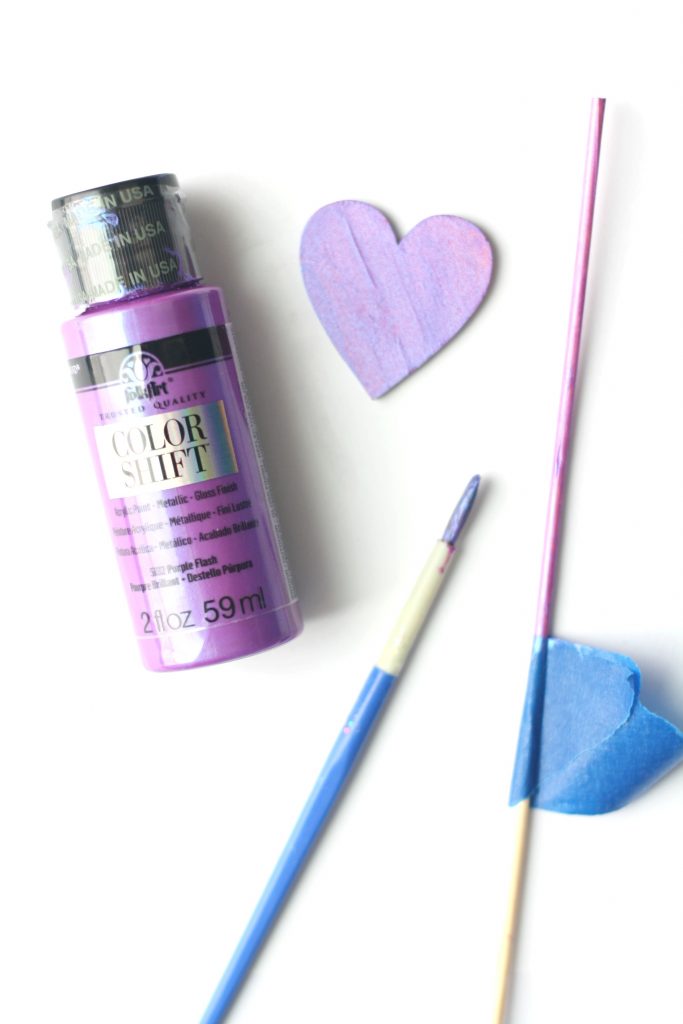
Step 1: Tape off the skewers. Then, apply one coat of Color Shift to the wooden hearts and skewers. Let dry.
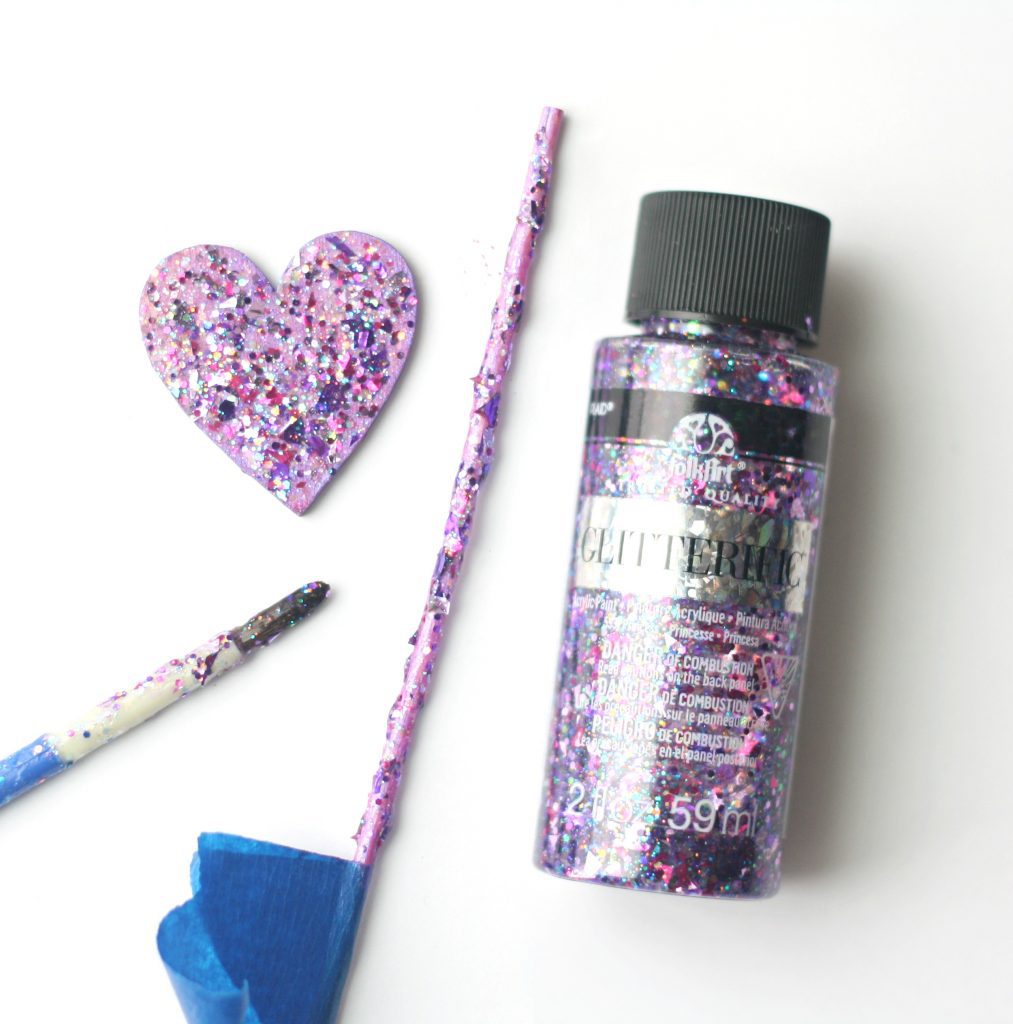
Step 2: After the Color Shift has dried completely, apply Glitterific to the wooden hearts and skewers. Let dry, and reapply coats as needed. Note that applying Glitterific works best by dabbing the glitter (as opposed to brushing it on).
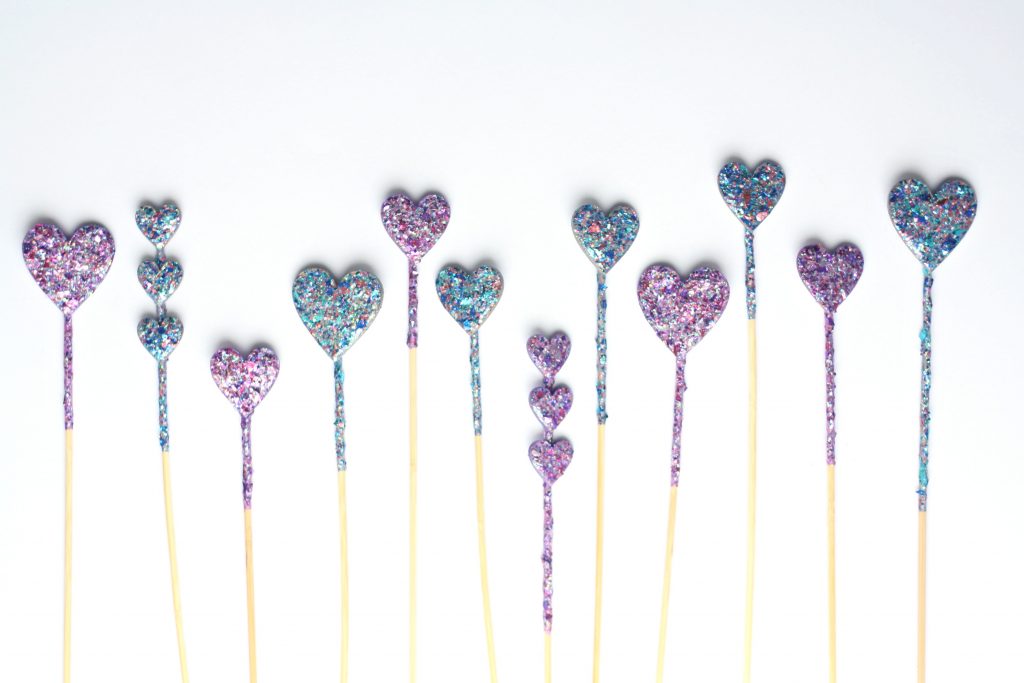
This is how the hearts and skewers looked after one coat of Glitterific. I added an additional coat after, which you can see in the finished pictures.
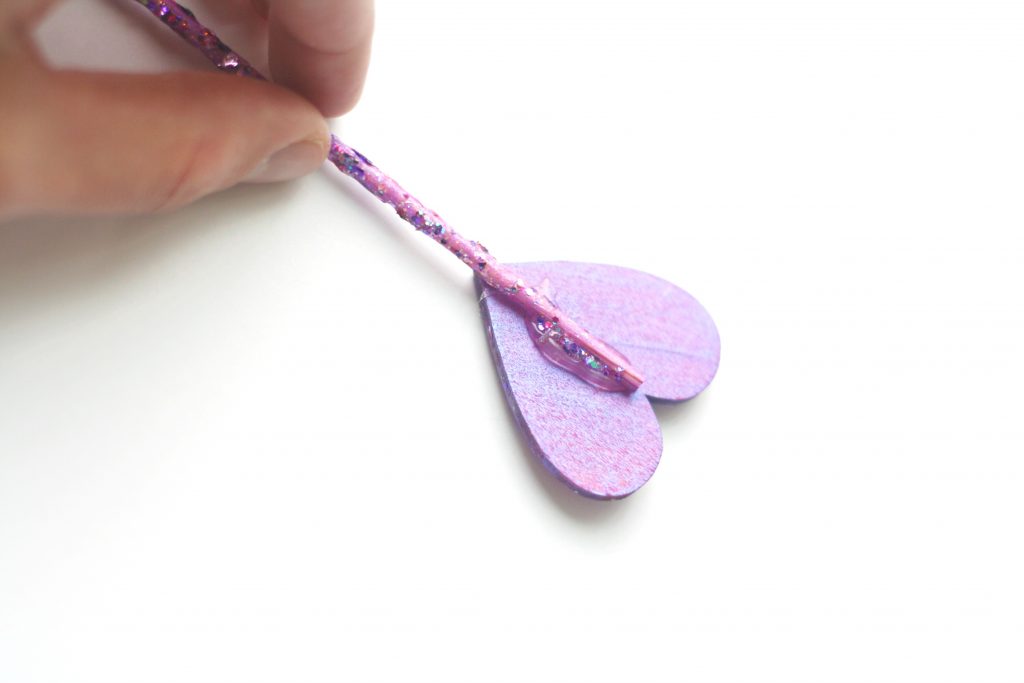
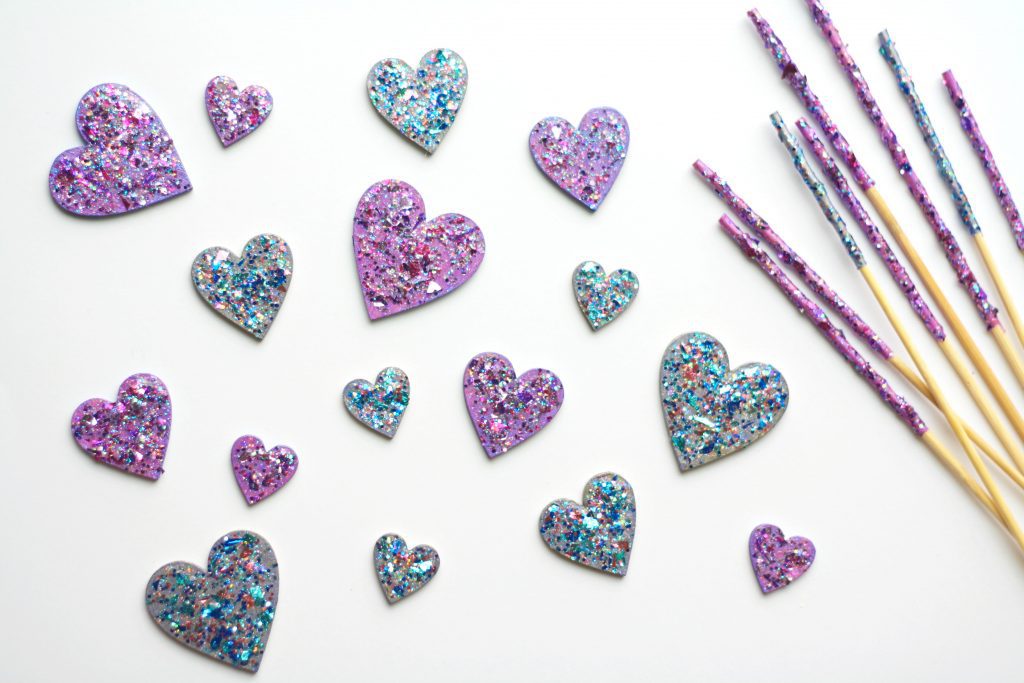
Step 3: After the glitter has dried completely, apply hot glue to the hearts and attach skewers.
Aren’t they so fun and sparkly?! Now, it’s time to stick them in the cake!

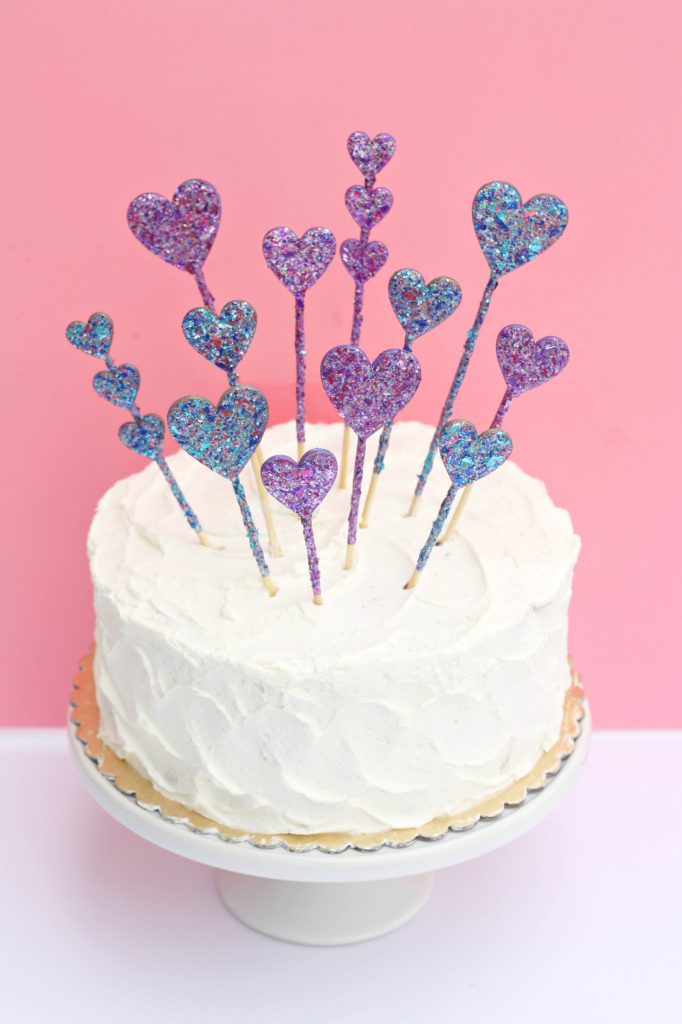

Happy crafting (and eating)!
xo, Sam
Check out the other Glitterific projects from our Plaid Creators friends!
Glitter Popsicle Stick Frame – Made to be a Momma
DIY Sparkle Earrings with FolkArt Glitterific – Amy Latta Creations
Let’s Be Adventurers Glitter Globe Banner – Flamingo Toes
DIY Hand Ring Dish – Positively Splendid
Mommy and Me Bracelets – The Cards We Drew


These are SOOOOO adorable! Perfect for Valentine’s day! Wouldn’t it be fun too to do a number for a kid’s birthday? Or a grownup’s!
Ok how fun are these!! I want to make them up to keep on hand for all the occaisions – because I stink at cake decorating!!
These look so cute! I love them!
Paige
http://thehappyflammily.com
those are too cute.
http://www.amysfashionblog.com/blog-home/