


I spent the last couple of weeks in Utah visiting family, and while I was there my mom mentioned that she wanted something fun to hang on her front door and give it an update. Since I am a city dweller now and don’t really have a front porch or front door that many people see, I jumped at the chance to make something for her pretty porch! Plus, she wanted something a little different than the typical wreath that would make her door stand out, and guys, I was up for the challenge!
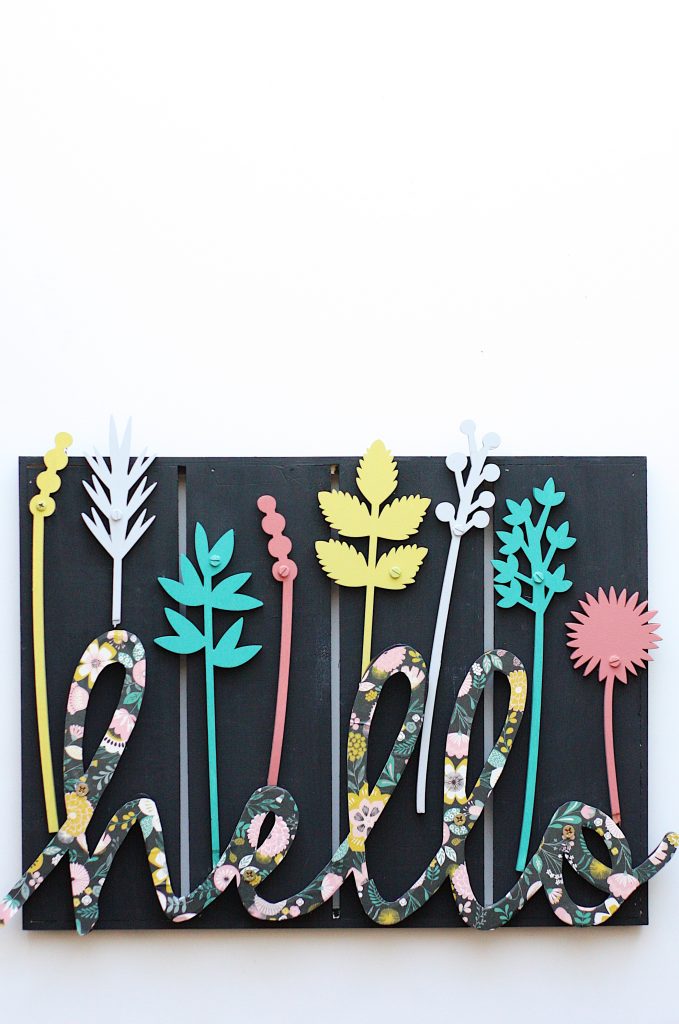
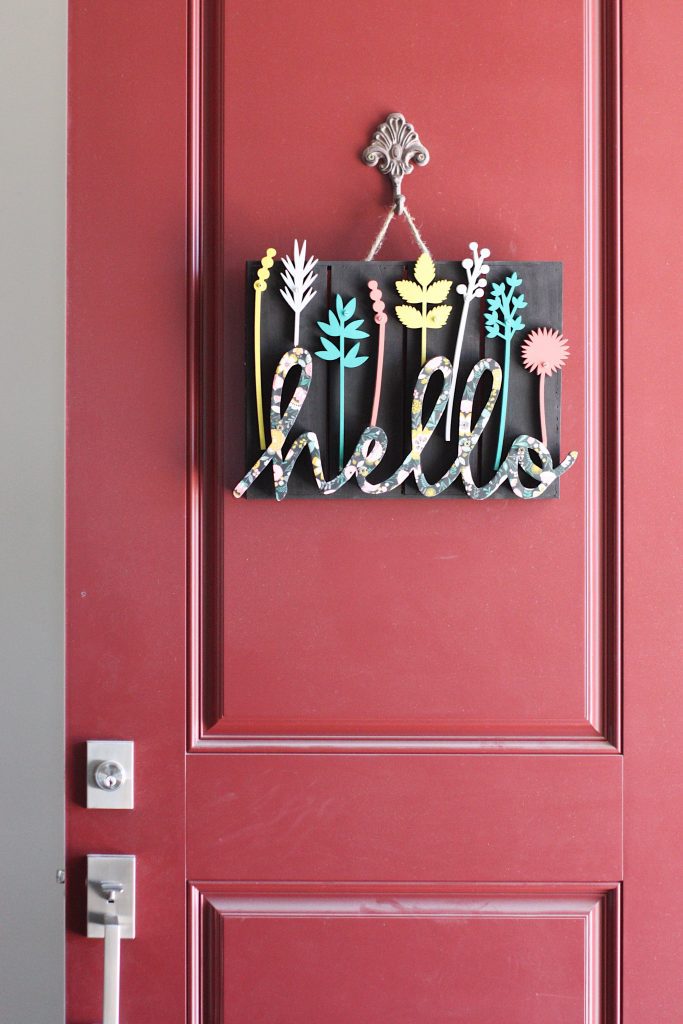
So, today I’m sharing this fun “Hello” front door sign I made for my mom’s front porch! To make this sign I used one of my favorite products EVER, FolkArt® Home Decor Chalk Paint. If you aren’t already stocked up in your craft room with this product, get on it! I guarantee that it will cover more beautifully than any other paint you’ve got and the color line is the prettiest. Here’s what we did with it:
Supplies Needed:
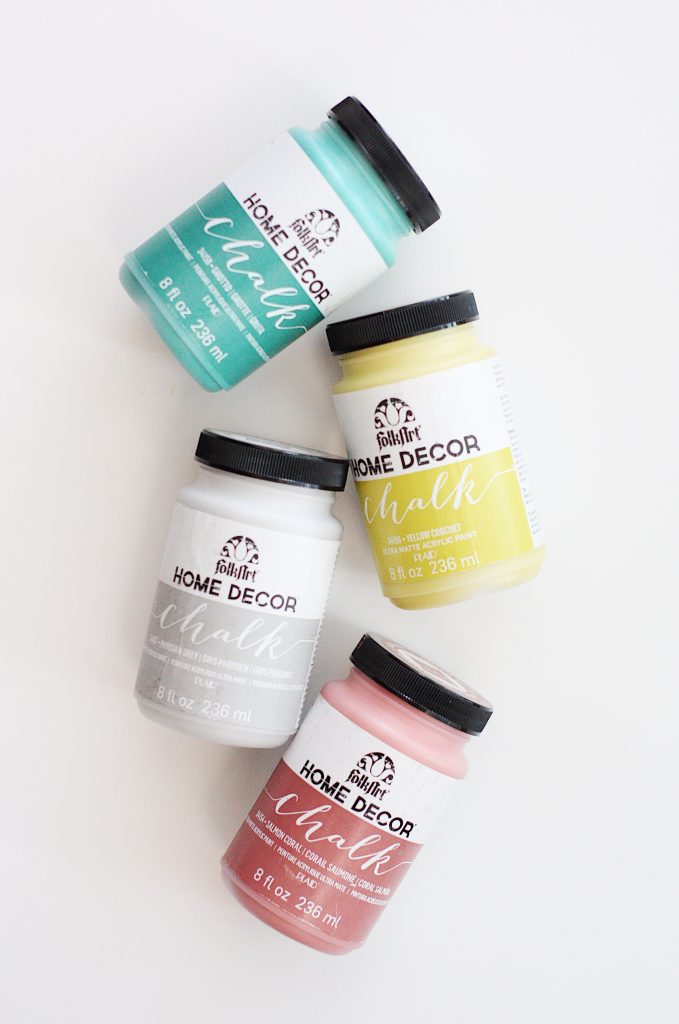
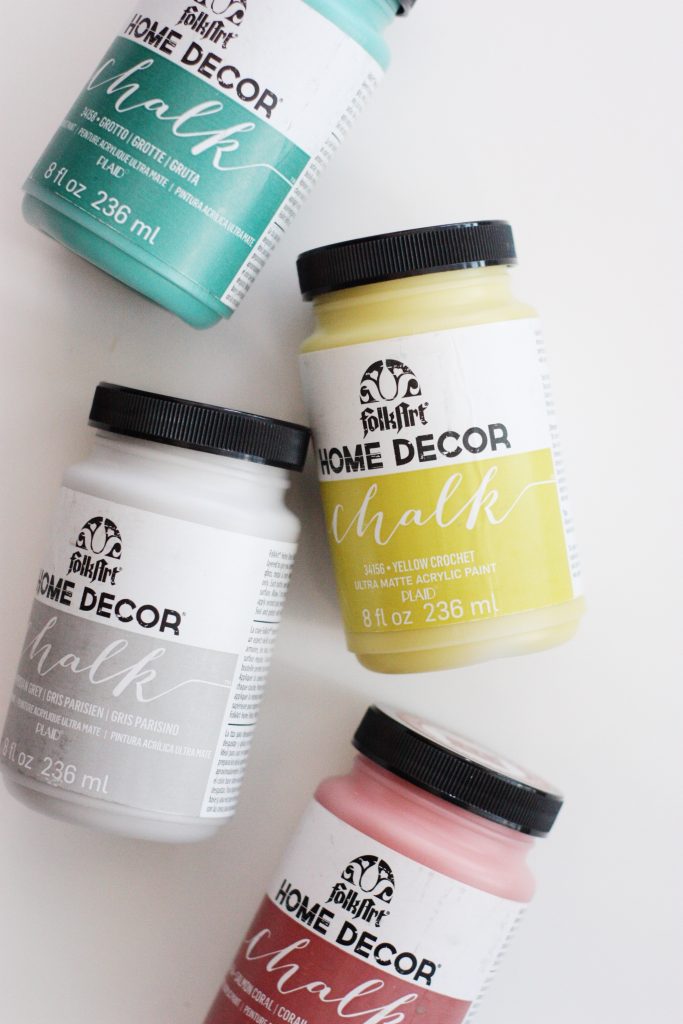
FolkArt® Home Decor Chalk Paint
FolkArt® Home Decor Brushes
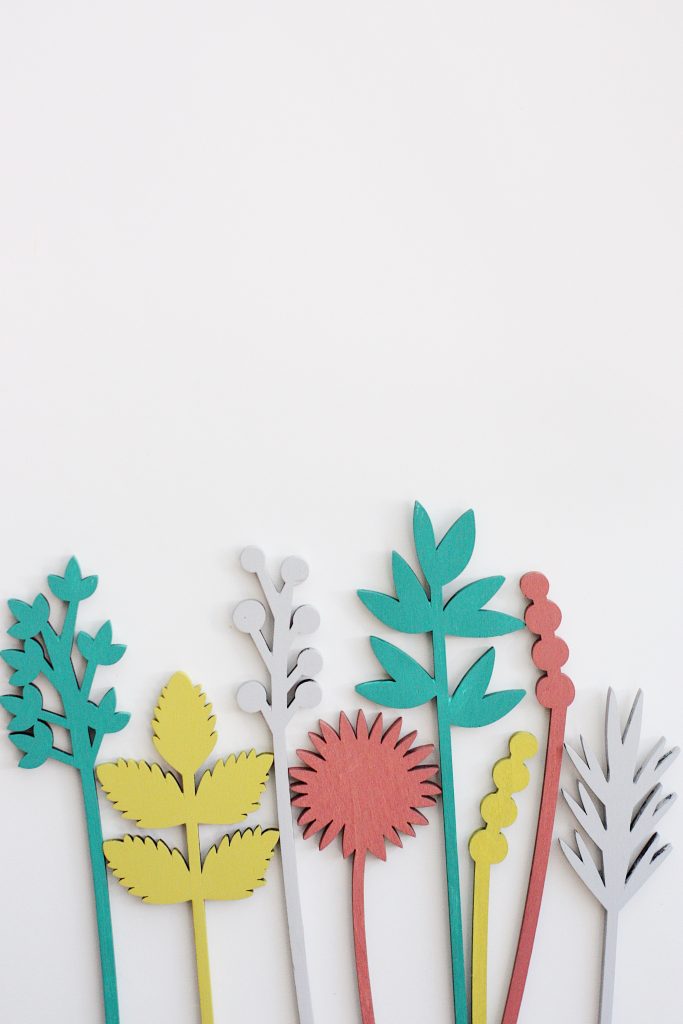
Unfinished Wood Flowers
Unfinished Hello Sign
Scrapbook Paper
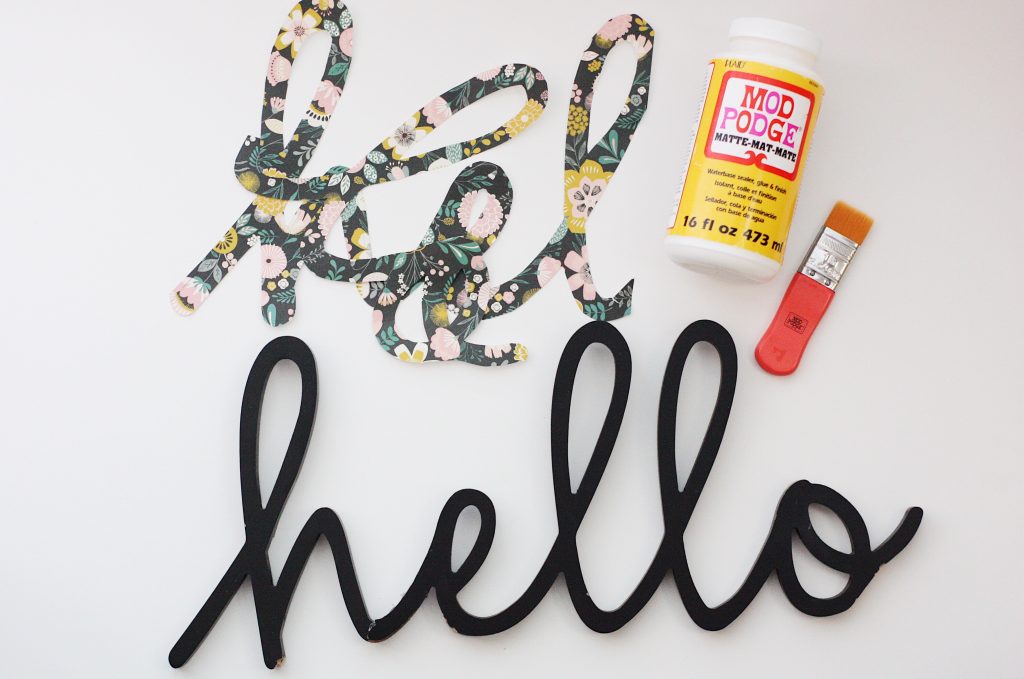
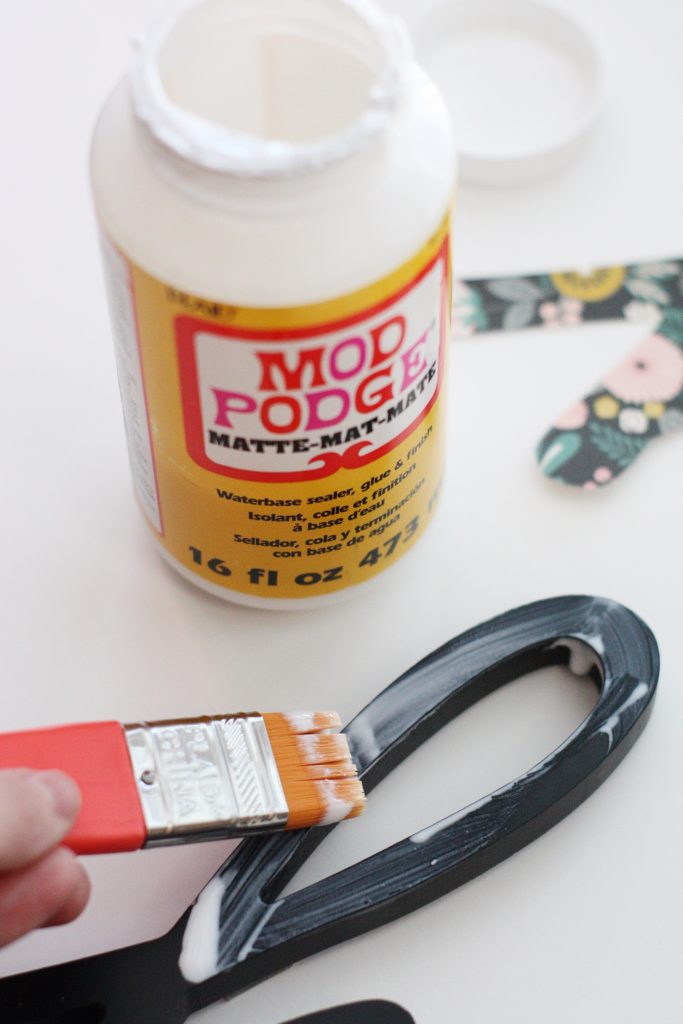
Mod Podge + Brush
Drill/Screw Driver/Screws

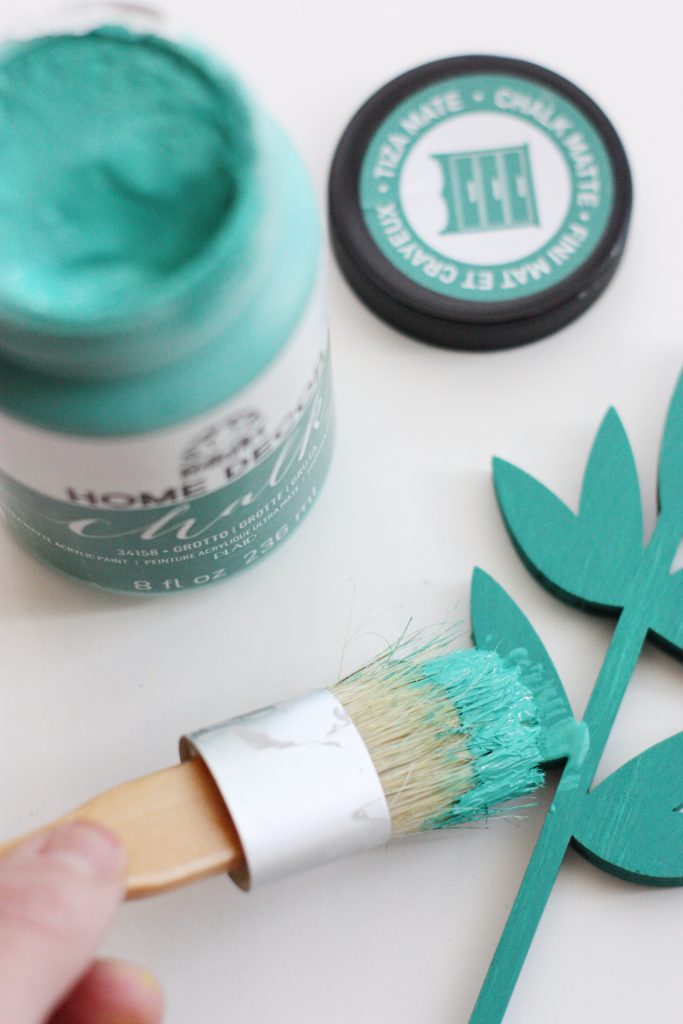
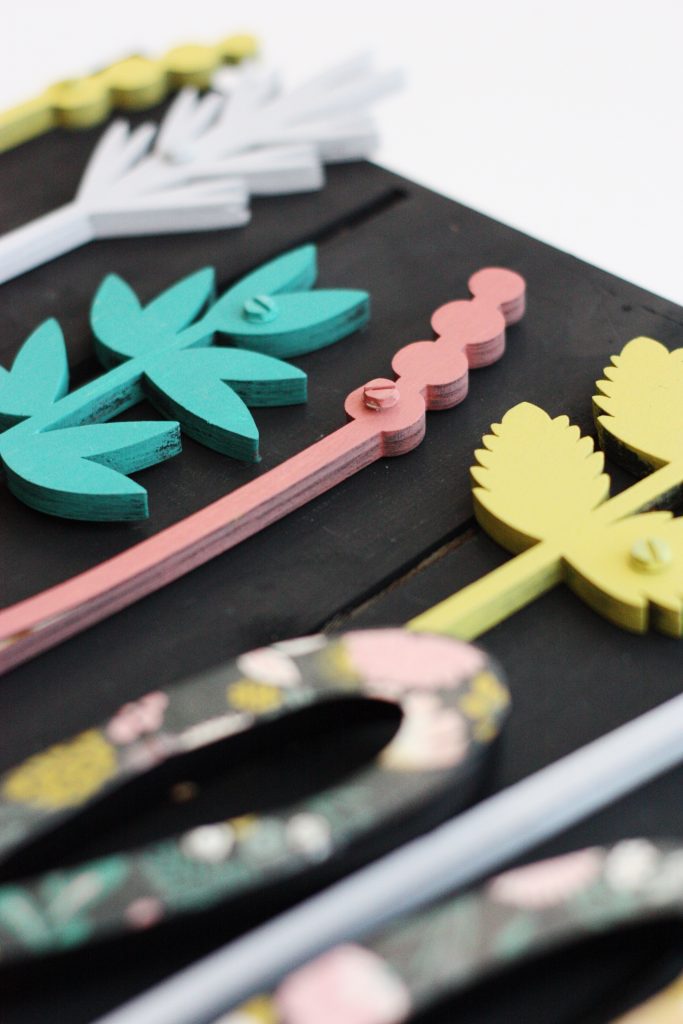
- Paint your sign and flowers. I am so obsessed with the color line on this paint and used Grotto, Parisian, Yellow Crochet, Salmon Coral, and Rich Black to make the sign. For each piece I applied two coats, but that isn’t always necessary since this paint covers so well and finishes ultra-matte. Once they are painted, make sure all pieces dry completely.

The colors! I love them so much. I’m telling you, this paint is the BEST. Plus, it requires no sanding or priming, it’s perfect for layers and distressing, is water-based and non-toxic and comes in sizes from 2 oz. all the way up to 32 oz. for your bigger furniture projects.
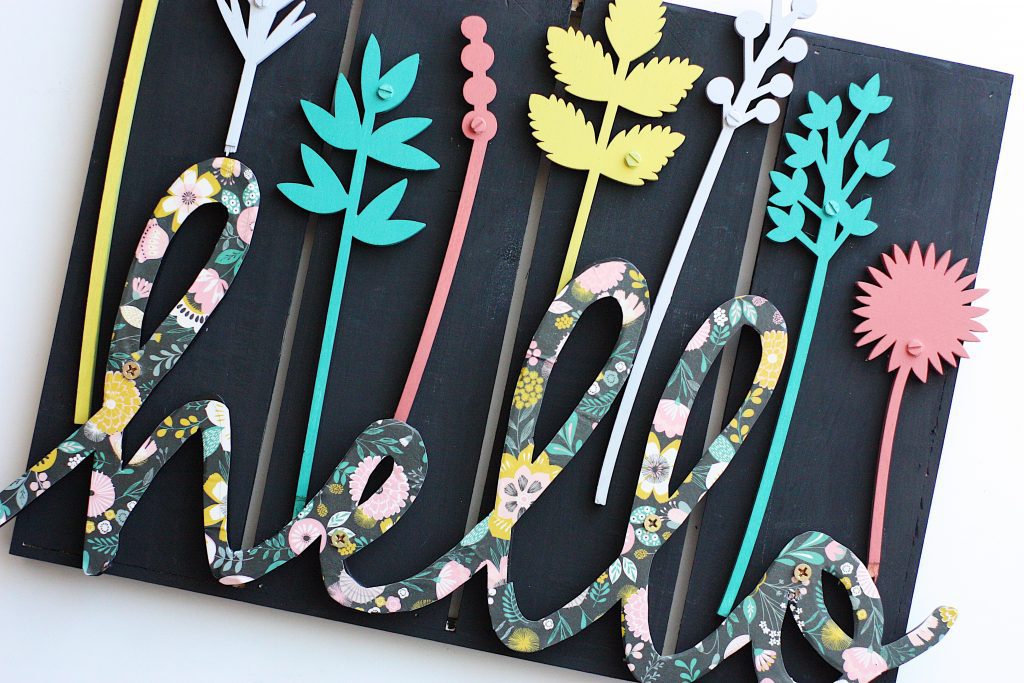
2. Once everything is painted it’s time to make your “hello” pop. I found this wood sign at my local craft store but have seen several like it on Etsy if your store doesn’t have it. Trace your sign on your craft paper and cut out. Then, apply it to your sign according to the Mod Podge package directions. Be sure to seal, too, then let dry completely.
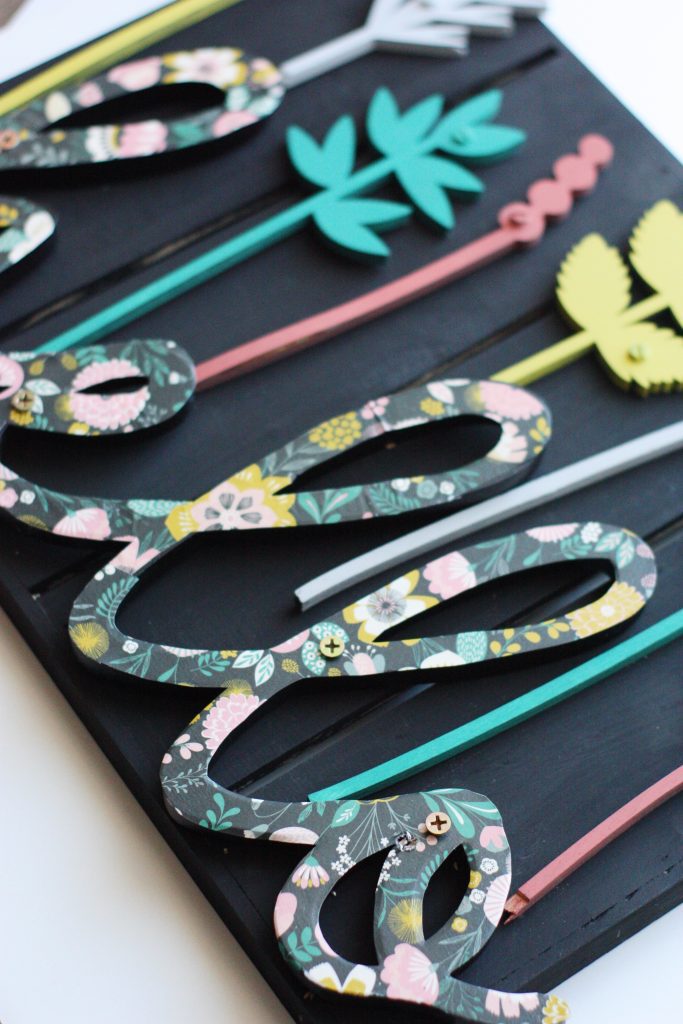
3. Now it’s time to assemble! I recommend laying out your board and all of the pieces and arranging them first before busting out the power tools. Then, once you know where you would like everything to go, drill holes through all of the pieces, then attach them to the board with screws. This will not only make the board super sturdy, but it gives it a fun industrial element.
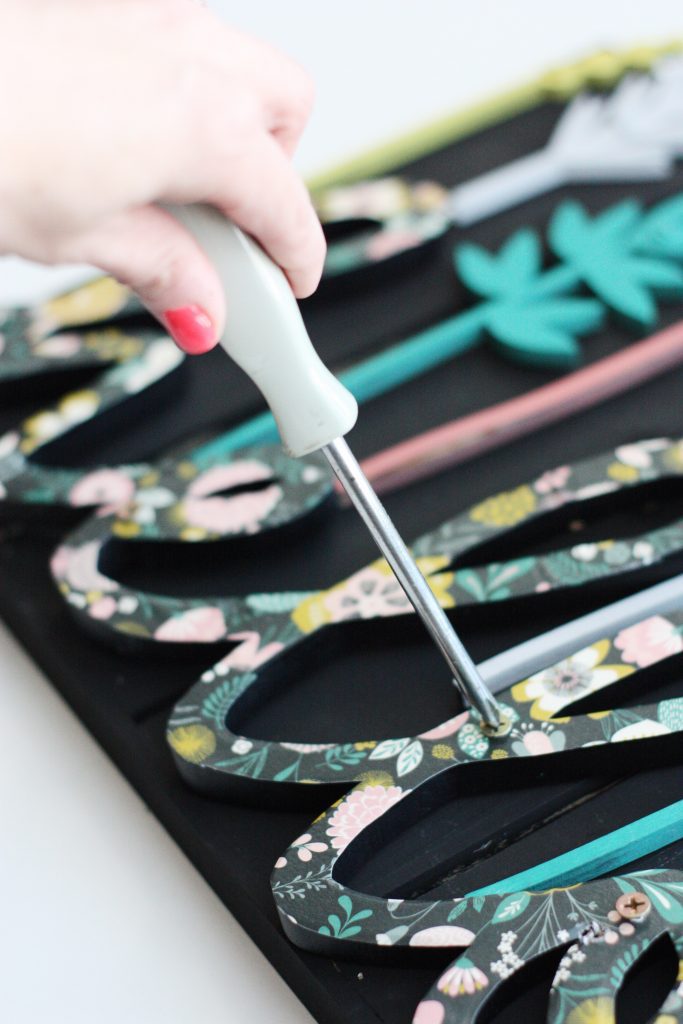
If desired, you can paint over the screws to match the flowers! I love how they look painted.
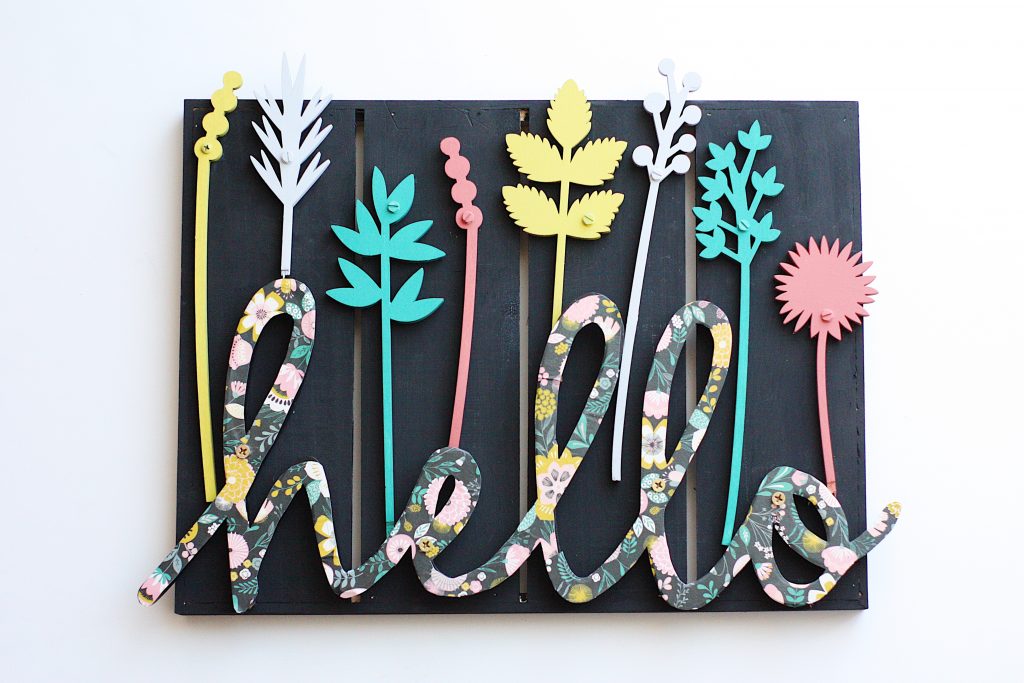
That’s it! Now you’re ready to attach a string or some twine (I just attached mine with a couple of staples from a staple gun on the back), and hang on your door!
I mean, it’s so cute, people won’t be able to stop themselves from coming to your door! However, should that happen and you develop a front-door stalker, don’t hold me responsible. It’s the sign’s fault.
What plans do you have to sass-up your front porch for summer? I’d love to hear what you have up your sleeve! And be sure to follow Plaid Crafts on Facebook, Instagram, Pinterest, and via Email for lots more craft inspiration!
ox. Liz


Really cute project! Did you find the wooden flowers at Michael’s?
Great projects! Fun use of Chalk Paint!
Love it!