


As children of a blogger, my kids are cursed to always have a camera in their cute little faces. I tell myself that one day they will thank me when they can go back and see the ways their lives were documented, but for now I am just annoying the heck out of them when I tell them I want to take their picture. And while they hate being in front of the camera, I have seen them line up toys and pretend to take pictures of them, or have watched them copy me when I am shooting some cookies or a craft. This little budding interest in my camera got my wheels turning about the kind of cameras I could give them in their stockings this year, and maybe ease their disdain for my camera. But, since they are really little still and aren’t ready for a real camera of their own, I decided some toy cameras would be perfect. Plus, I love the idea of them using their imaginations to shoot their subjects.
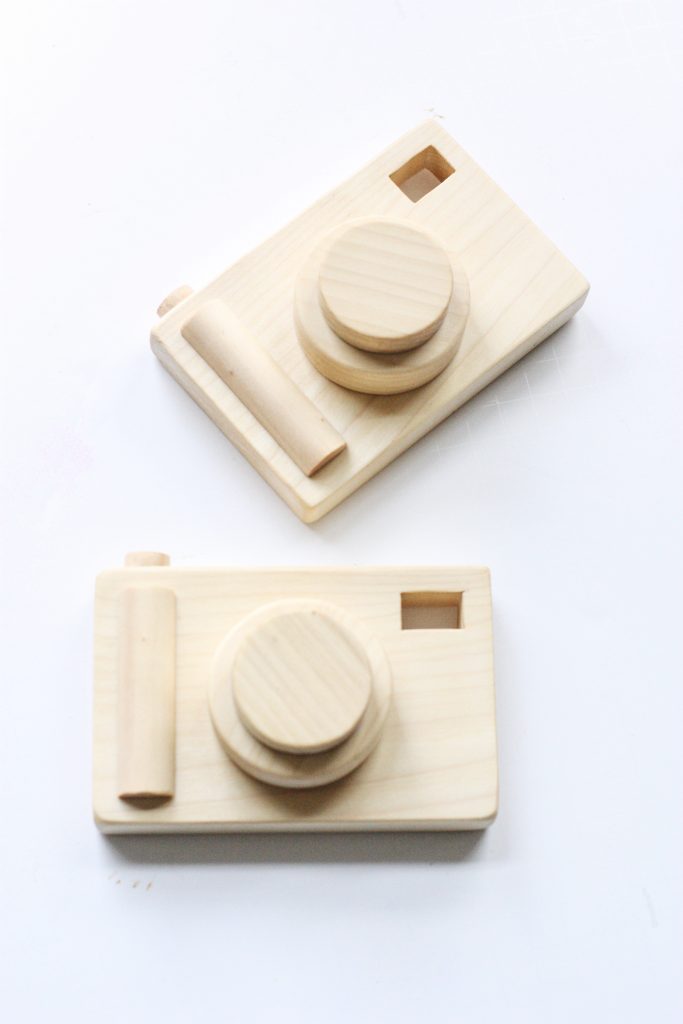
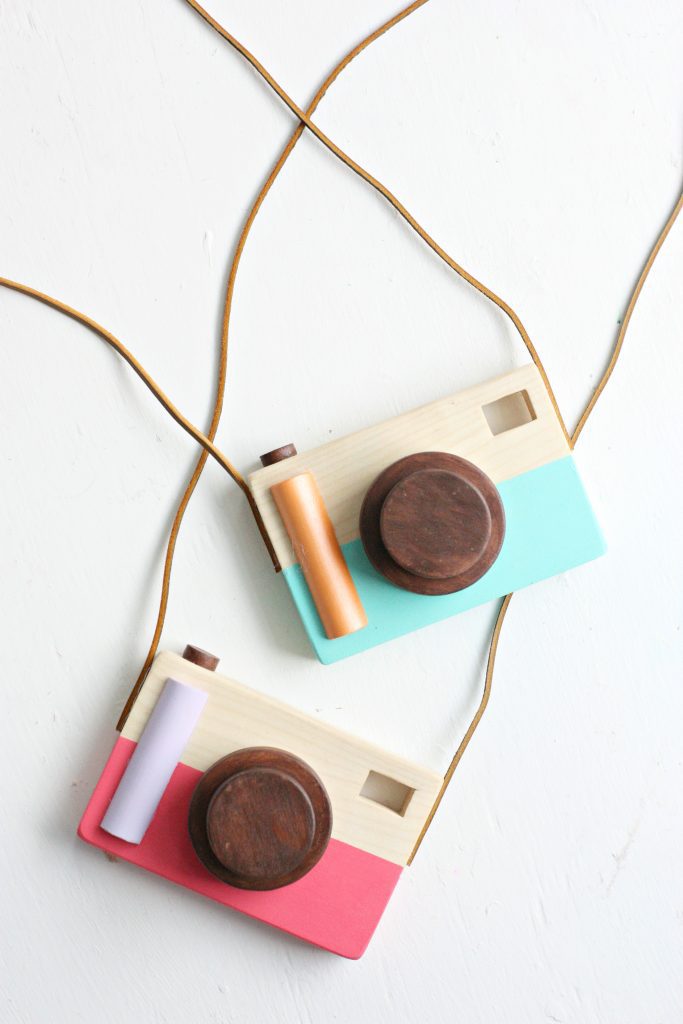
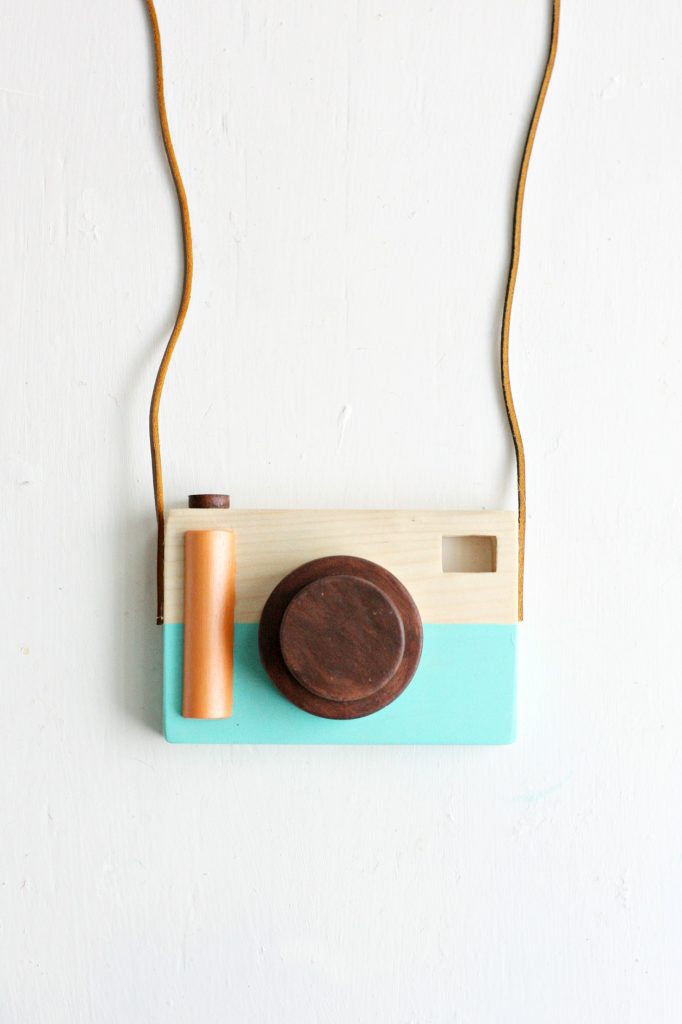
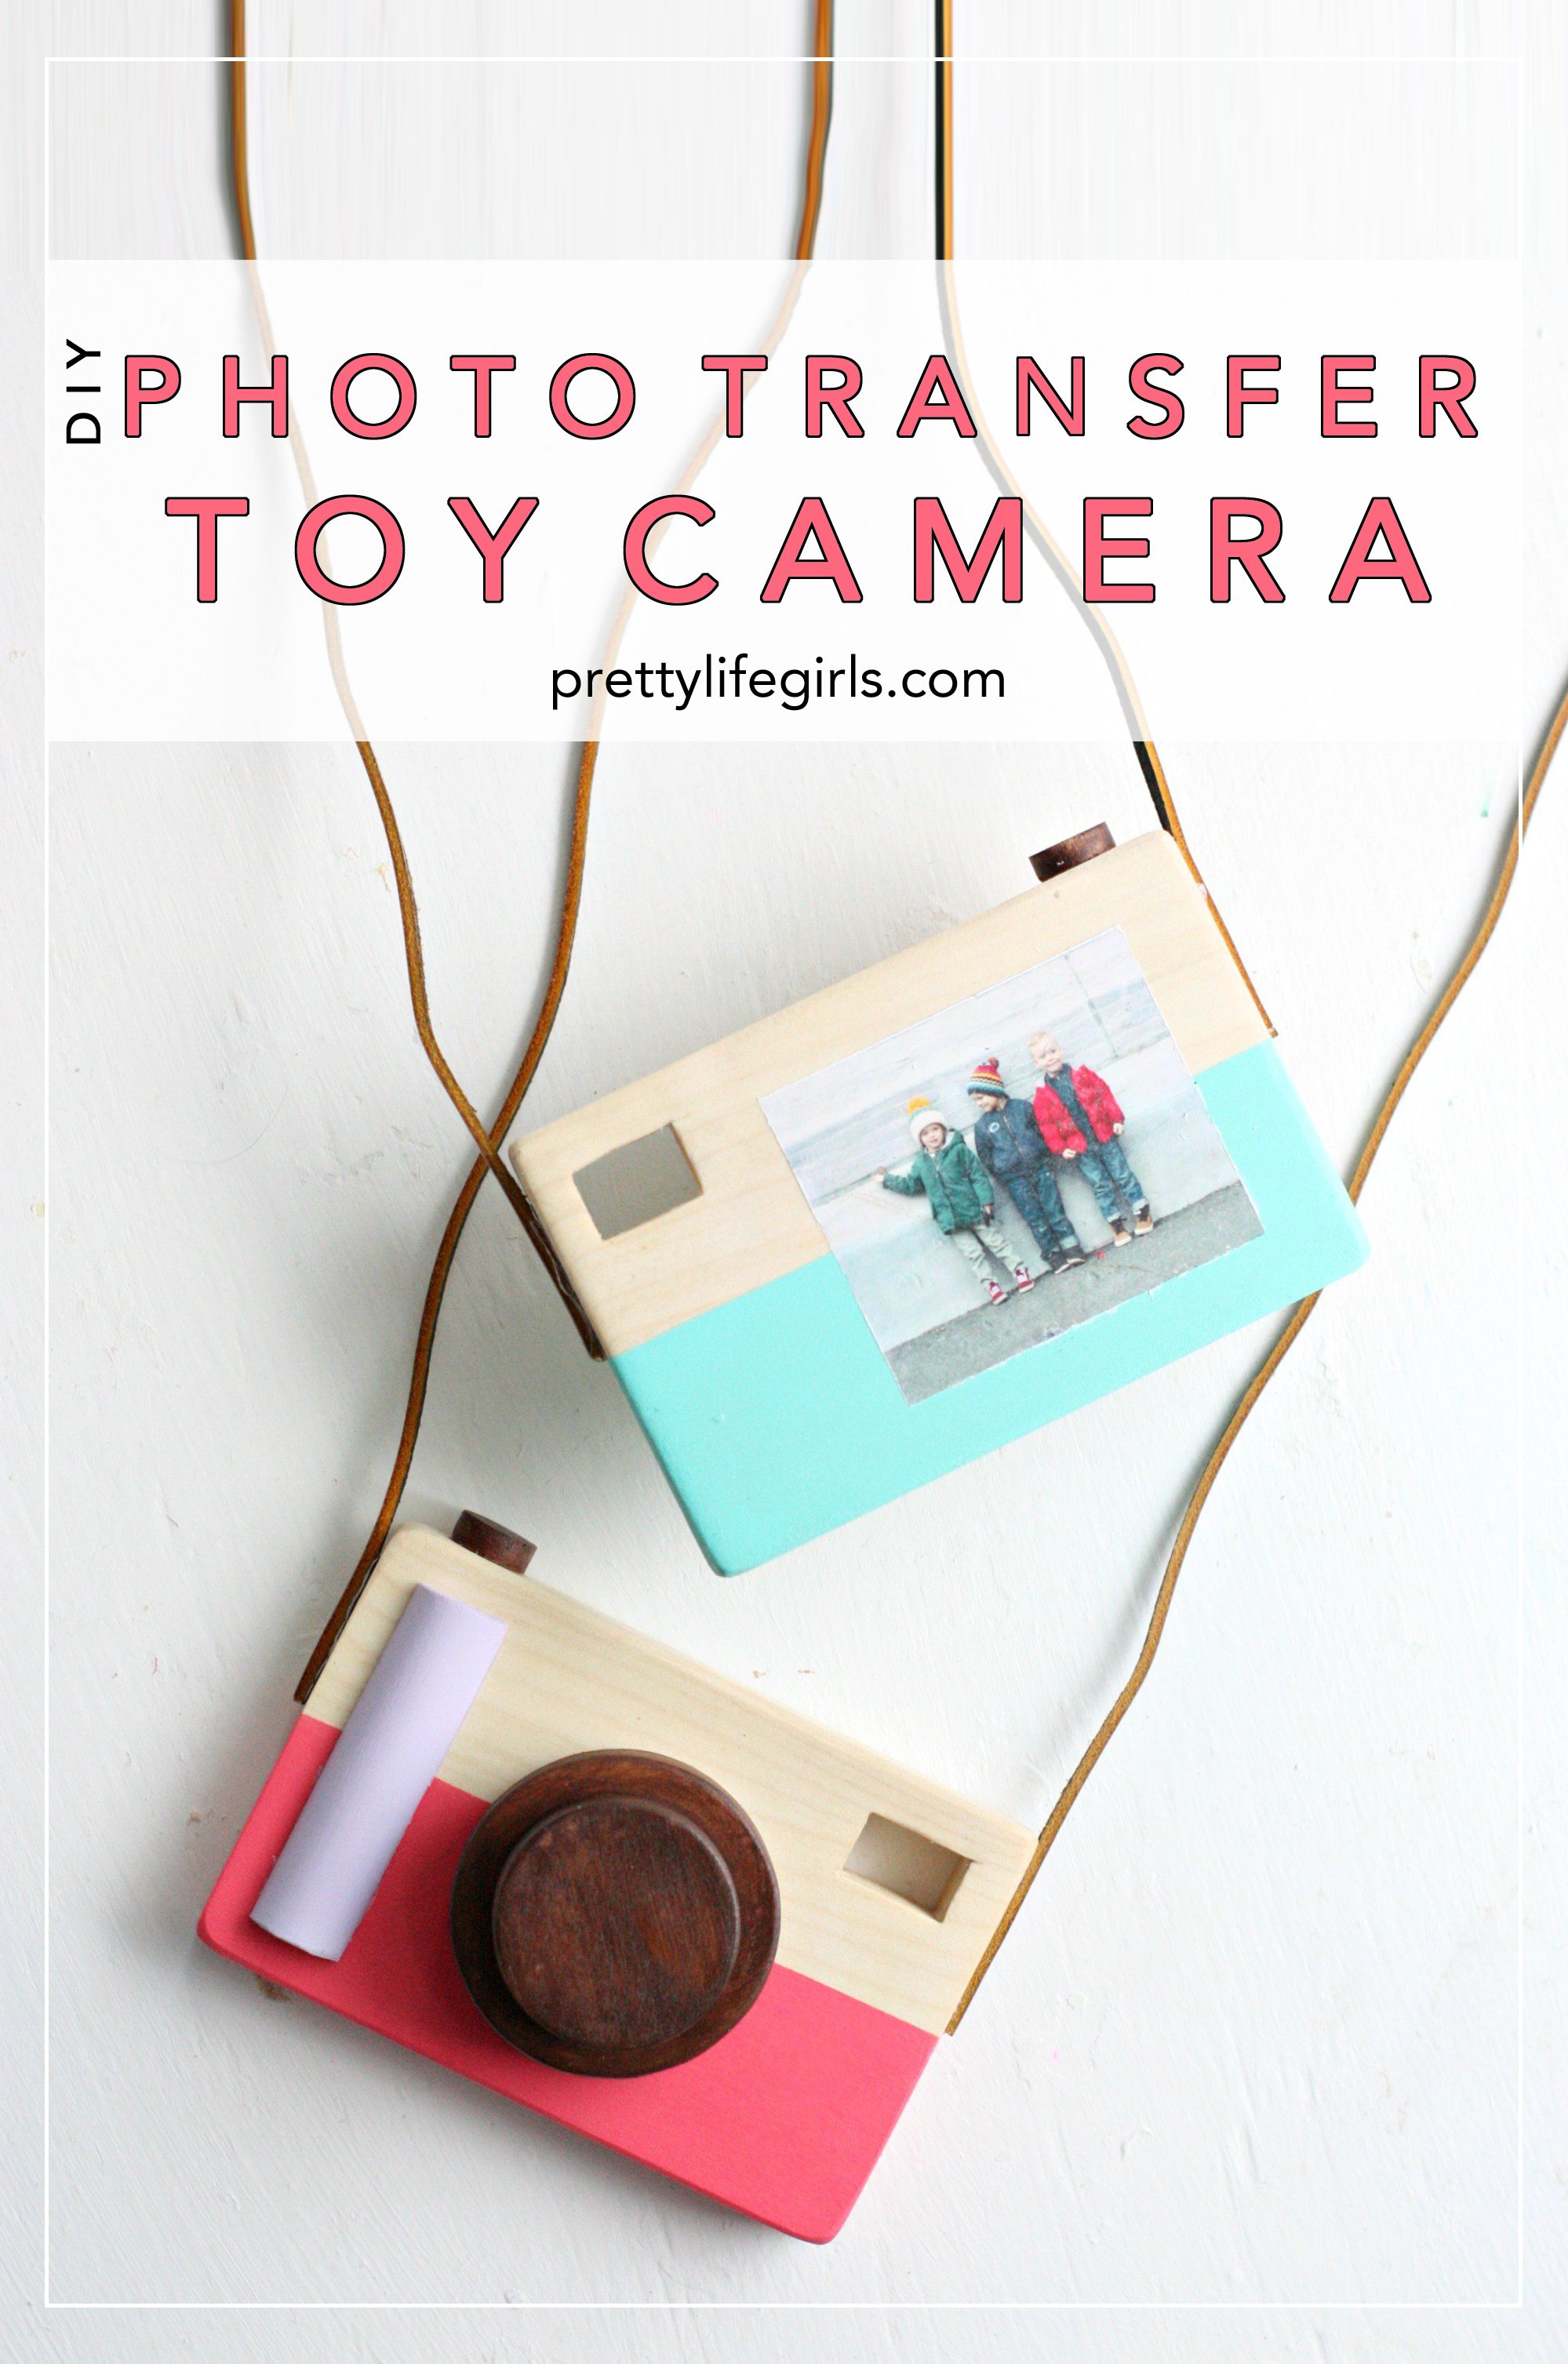
So, today I am sharing how I made these adorable toy cameras, perfect for the tiny photographers in your life. These cameras were so fun to make, plus I used Mod Podge Photo Transfer to give them a special personal touch, a “view-finder” with their own picture! Here’s how I did it:
Supplies Needed:
Unfinished Wooden Cameras
FolkArt Acrylic Paint
FolkArt Stain
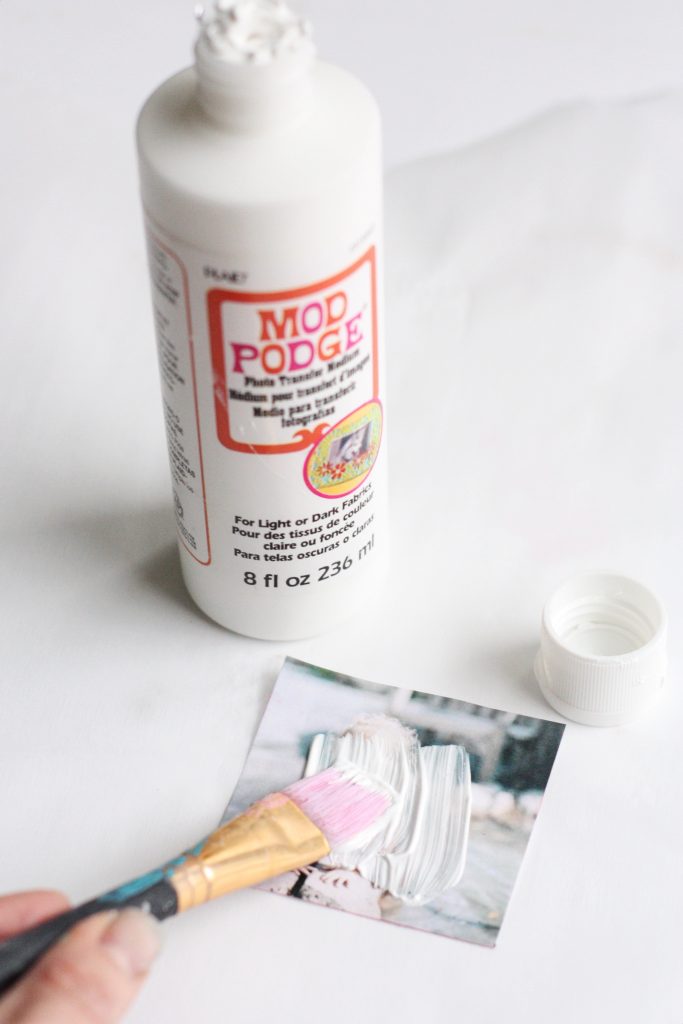
Mod Podge Photo Transfer Medium
Photo copied or laser-printed image
Cellulose Sponge
FolkArt Paint Brushes
Wax Paper
Leather shoelace (optional)
Glue gun + glue sticks (optional)
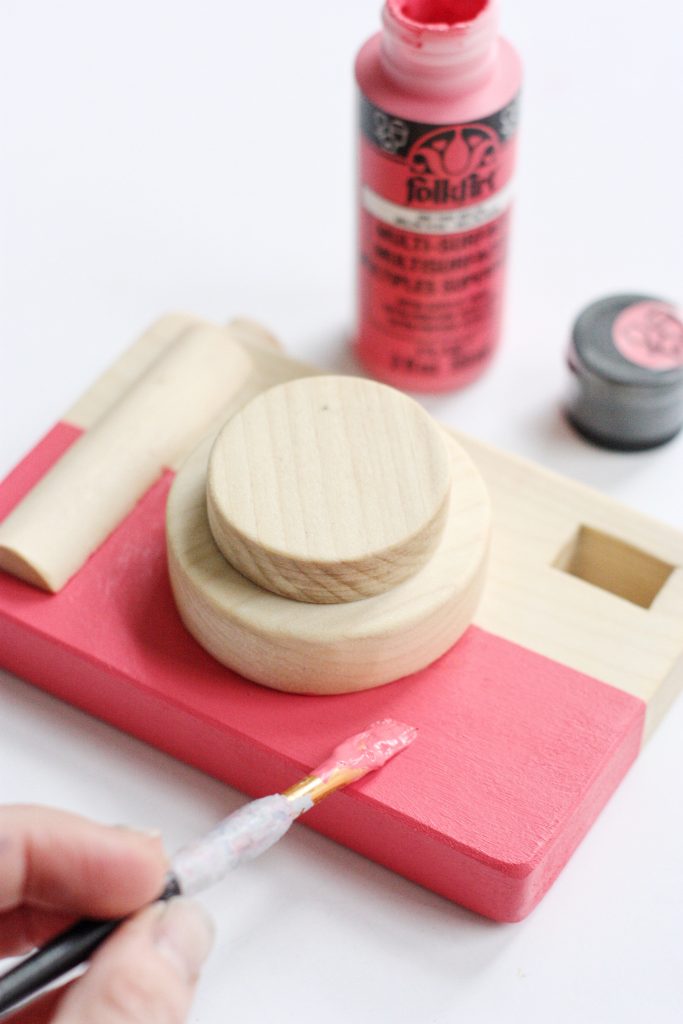
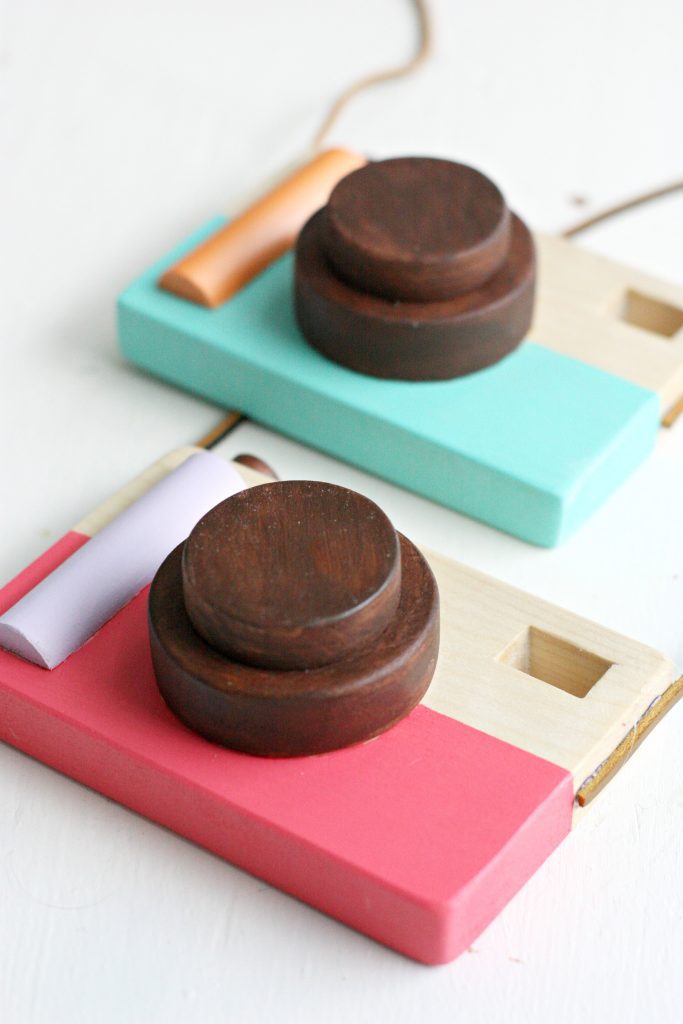
- Paint your cameras with acrylic paint. I taped off sections and gave it two coats. Let dry completely.

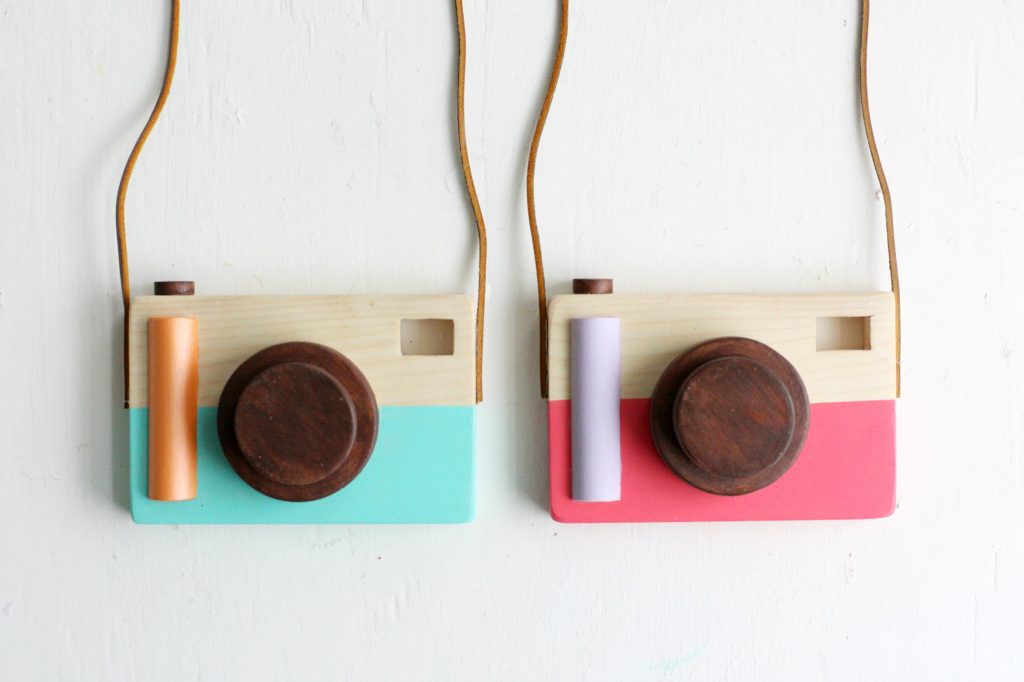
2. Once your paint has dried completely, it’s time to do your photo transfer! When selecting an image to transfer, do not use an actual photograph. You must always use a photocopy or laser printed version of the original (using a dry toner). Trim your image to fit your camera and lay face-up on your wax paper (this gives you more space to work). Apply Mod Podge Photo Transfer Medium directly onto the face of the image being transferred using a flat brush at medium thickness.
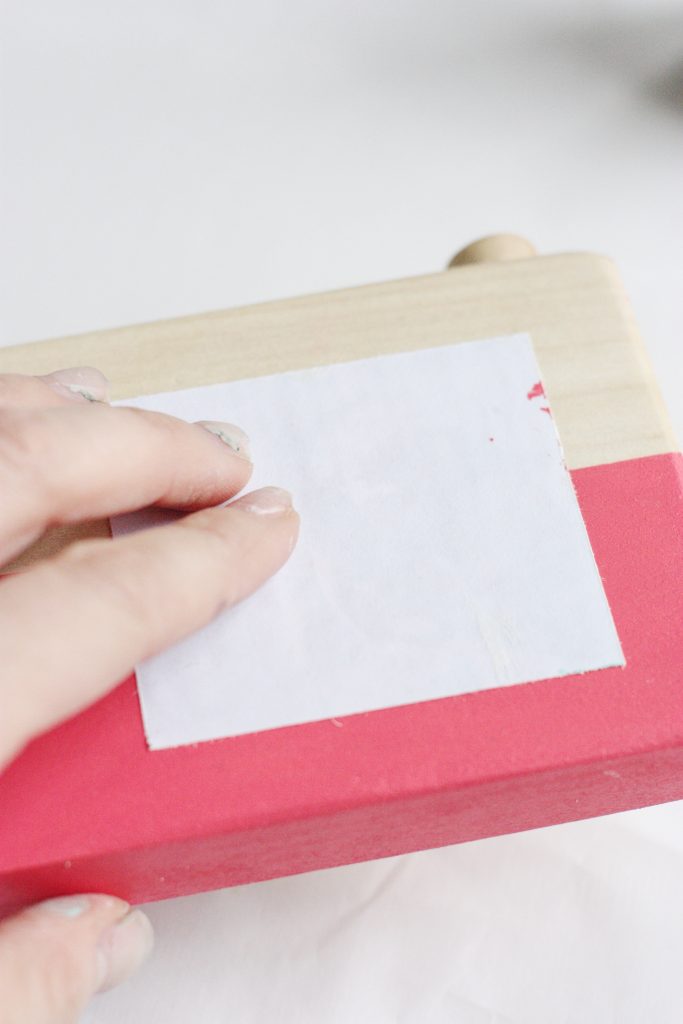
3. Cover the image completely with a medium layer of Mod Podge Photo Transfer medium. Then, carefully lift the image from the wax paper and lay it face-down on your camera. Use your fingers to lightly smooth the image and press out any air bubbles.
4. Let image rest for 24 hours (YES. 24! You can do this. It’s worth the wait!).
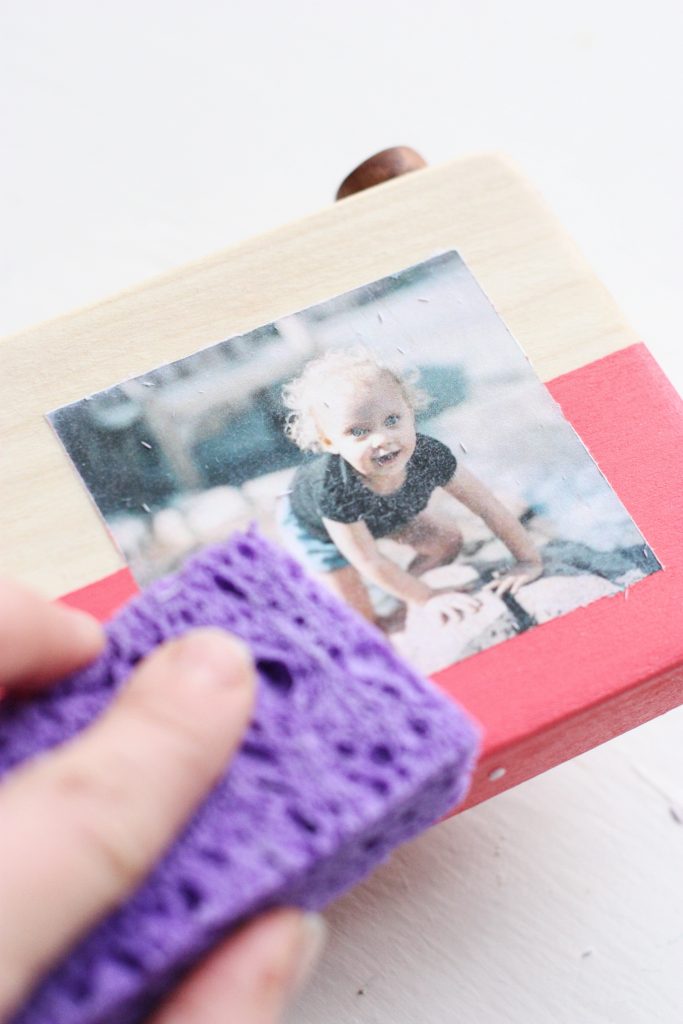
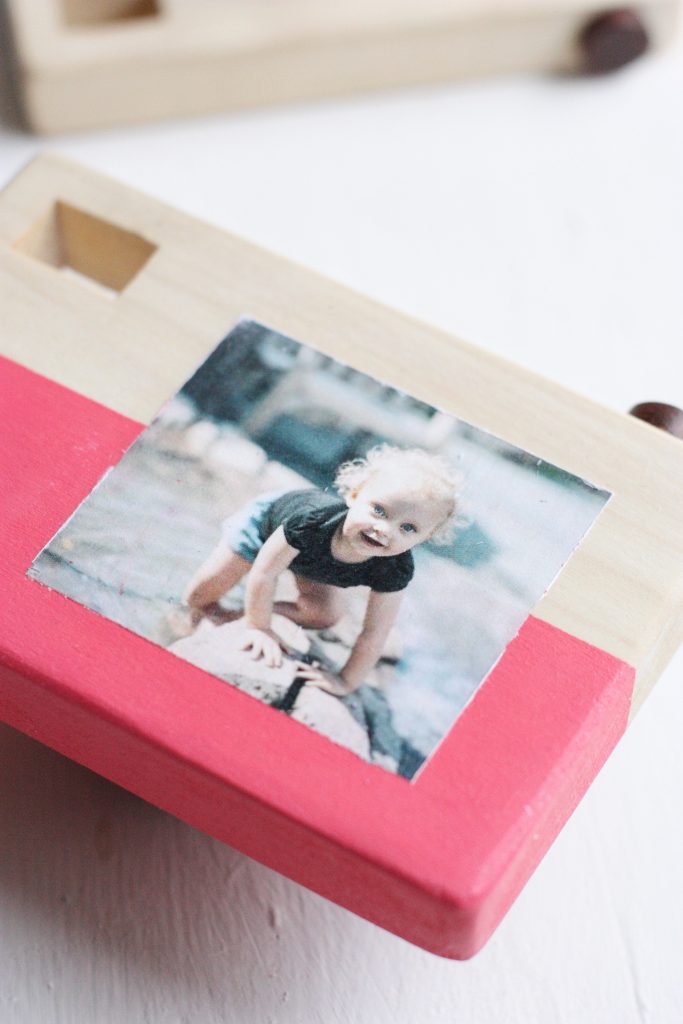
5. Once you have let the image rest for 24 hours, wet a cellulose sponge with water, squeeze out the excess water and then begin dampening the backside of your image with the wet sponge. The paper will immediately start to slough off, revealing your image! Rub away the paper using light pressure over the entire plaque. While wet, it may feel as though you have removed all the backing paper because the image will show through clearly within a few moments. However, you MUST allow the surface to dry and repeat this step. When dry, you will notice a white haze over your image which may be stronger in some areas. This white haze is the remains of the paper on the back of the image. Keep repeating this process until the white haze is completely removed, being careful not to rub it so much that it disturbs the image.
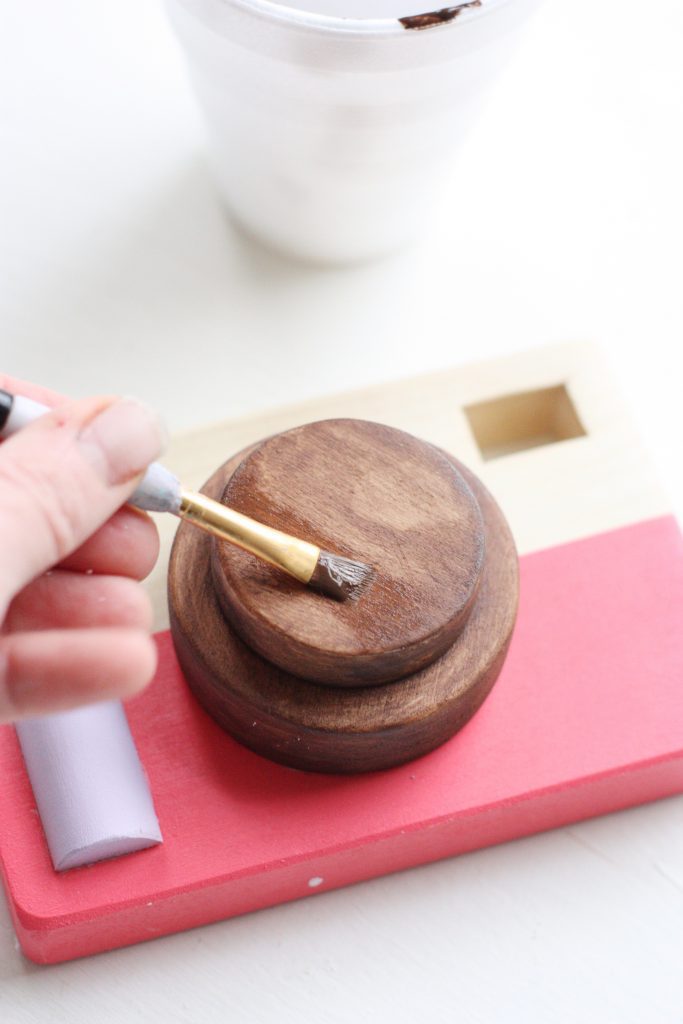
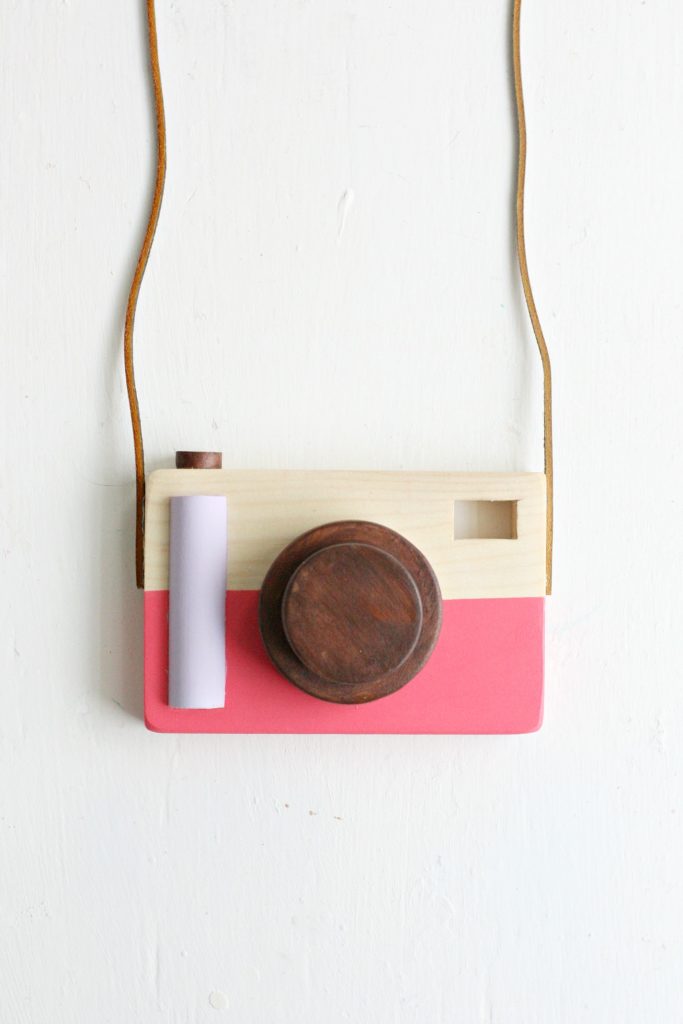
6. Allow the image to dry completely. While it is drying, apply the FolkArt Stain to the camera lens and button. Allow stain to dry completely.
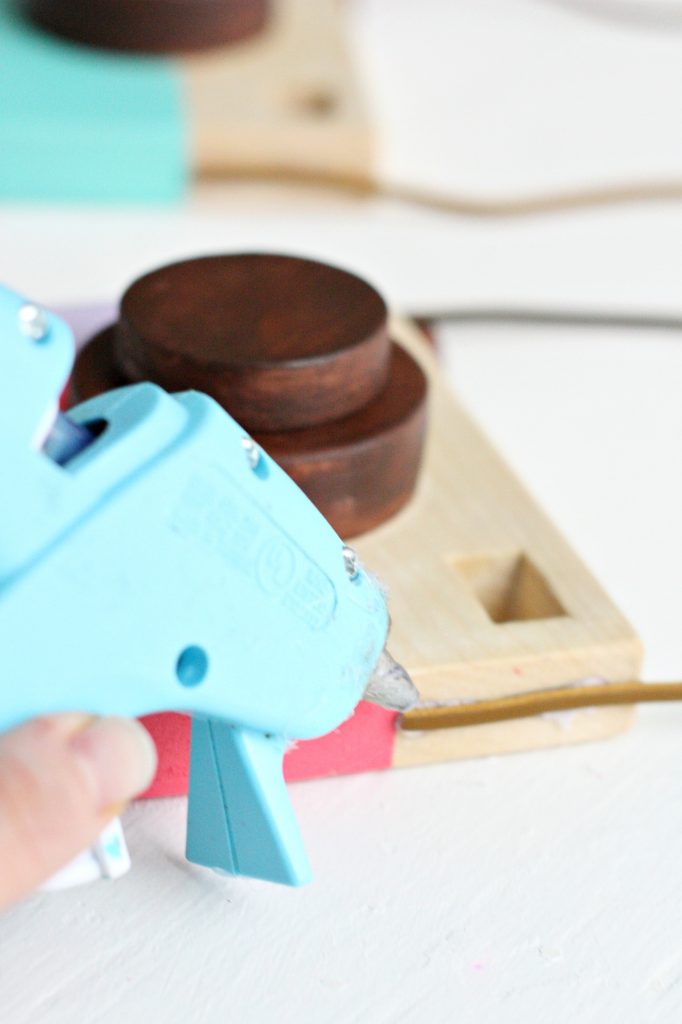
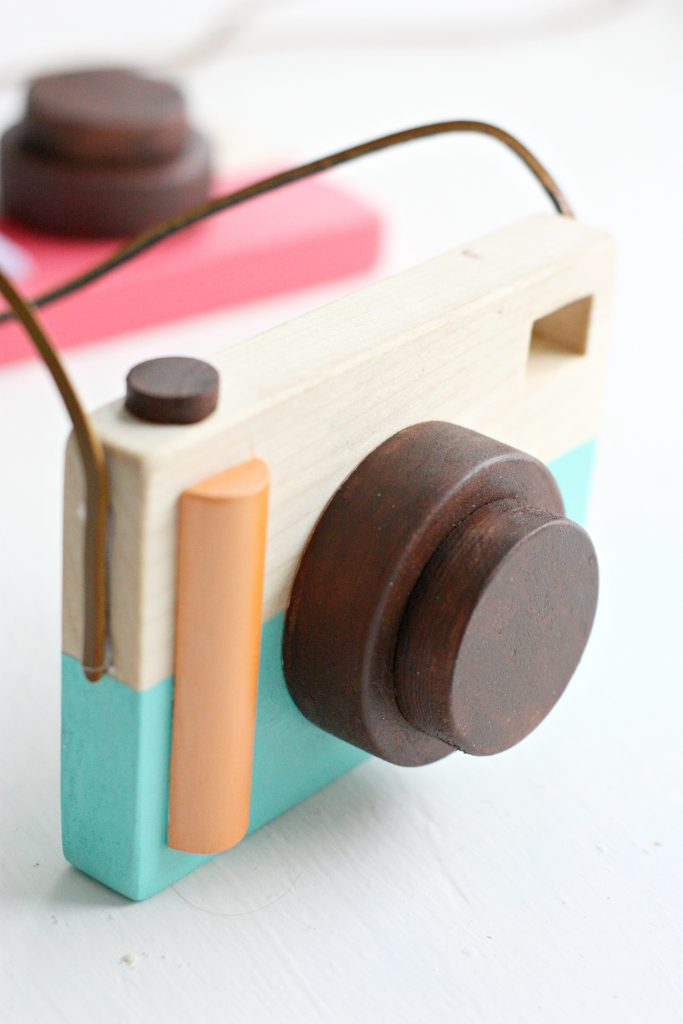
7. Using a hot glue gun, glue the leather shoe laces to either side of the camera to make a strap.
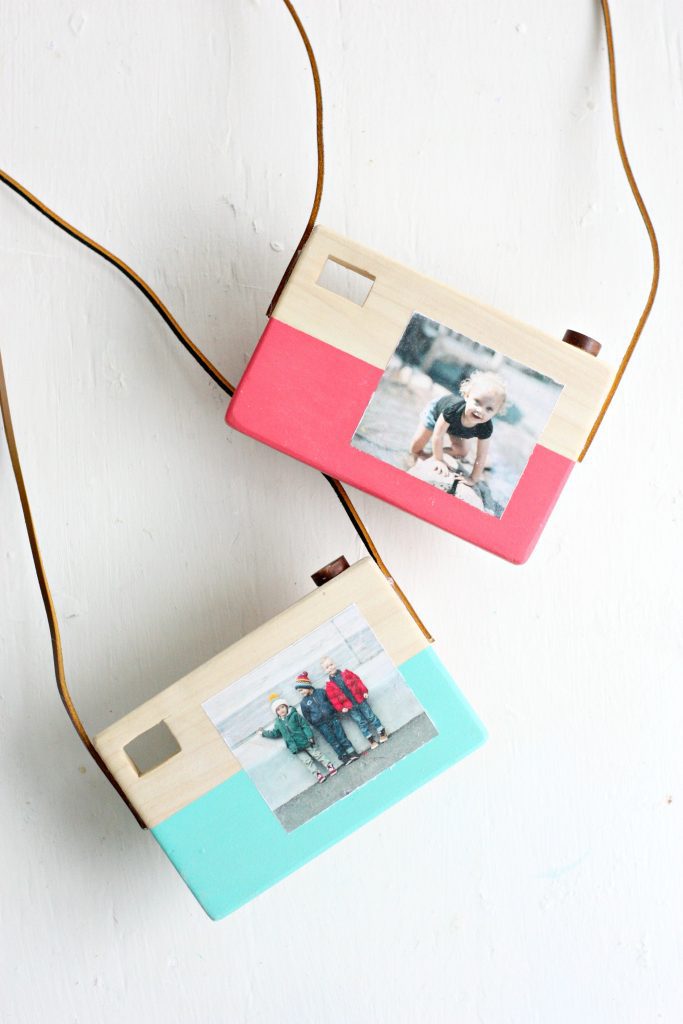
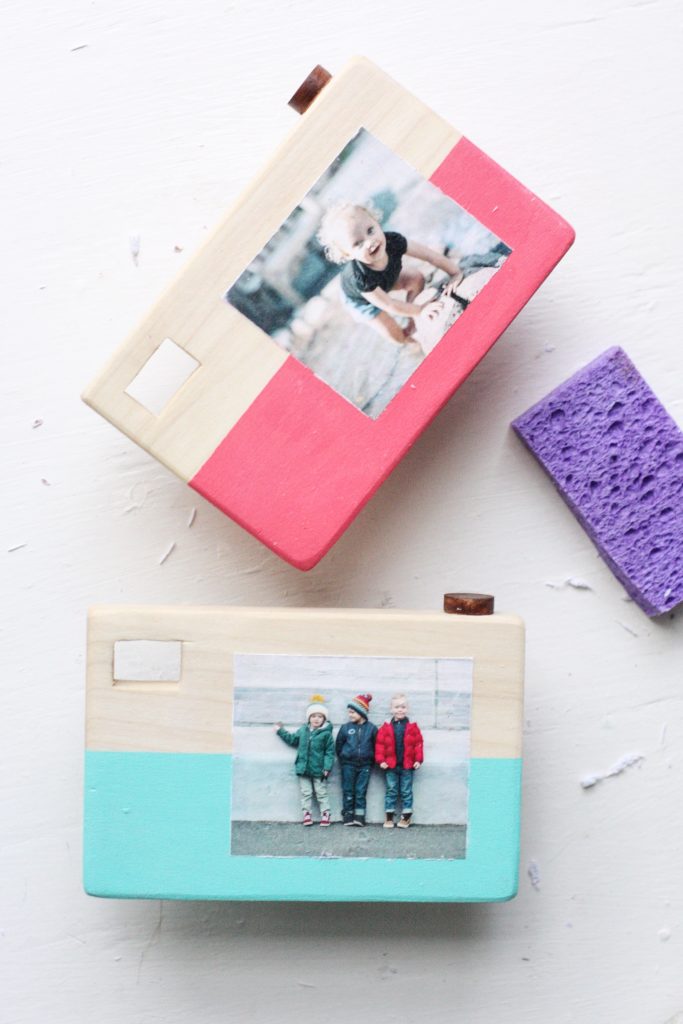
That’s it! Now your budding photographers can capture everything that catches their eye with these darling little cameras! I love how using the Mod Podge Photo Transfer made it so I could create a little “view finder” for the photographer to review, adding an extra touch to make it special. Mod Podge Photo Transfer is the neatest product because it can be used on so many surfaces to make your projects super unique and personalized, which I love.
I can’t wait to tuck these little cameras in my kiddo’s stockings and watch them play photographer. I wish MY camera was this cute!
What are your favorite DIY gifts you have made for your kiddos? I’d love to hear about them! And be sure to follow Plaid on Facebook, Instagram, Pinterest, and via Email as they celebrate 40 years of crafting with their incredible products!
ox. Liz


This is adorable.
http://www.amysfashionblog.com/blog-home/
[…] DIY Photo Transfer Toy Cameras from prettylifegirls.com […]
[…] DIY Photo Transfer Toy Camera […]
[…] DIY Wooden Toy Cameras | The Pretty Life Girls. Read more at prettylifegirls.com […]