


This post is sponsored by Plaid Crafts, but all thoughts and opinions are my own.
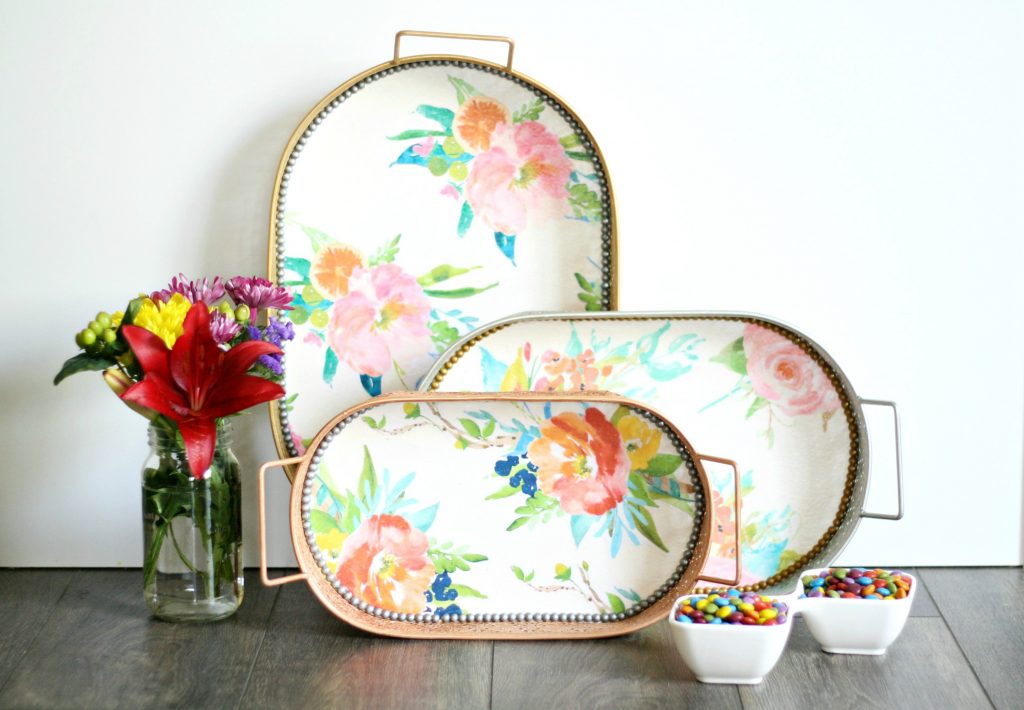
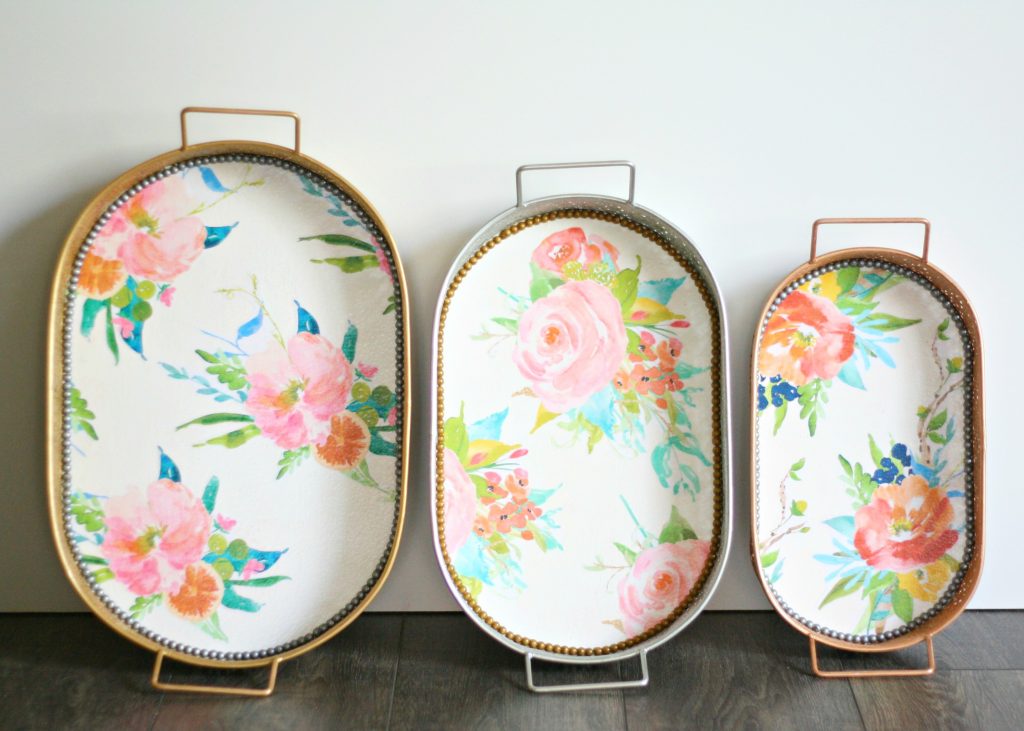
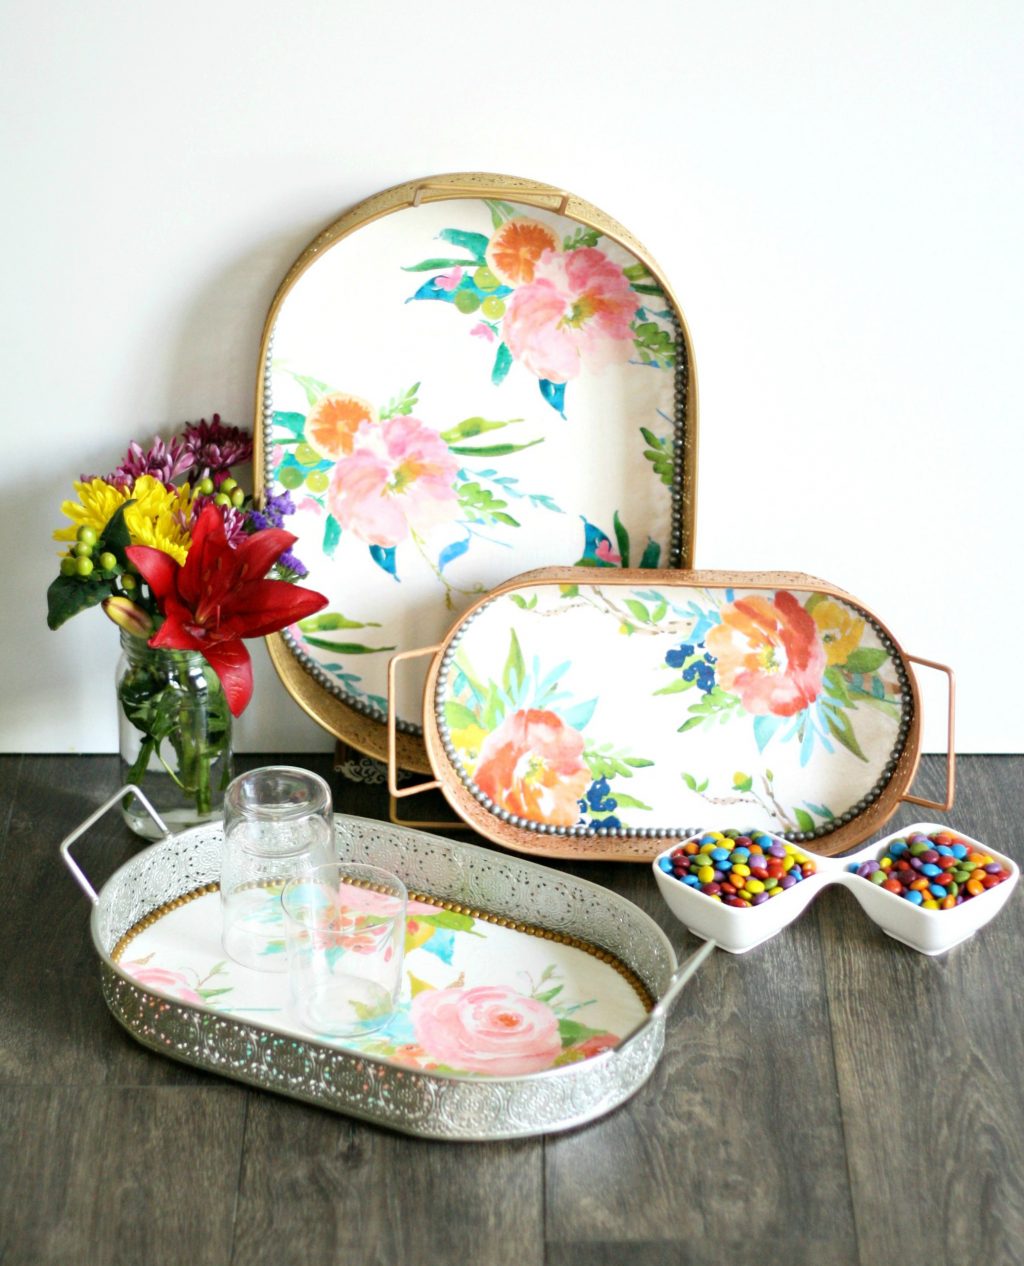
This month we are teaming up with Plaid Crafts to bring you the funnest DIY project! This project is the result of a challenge from Plaid to transform a thrifted find using Mod Podge. After finding this set of trays at the thrift store for $18, I was inspired by these gorgeous Anthro trays. And even though they aren’t really comparable, I love how my tray set turned out! The Anthropologie trays run $98-168 each, while mine ended up being under $30 for all three!
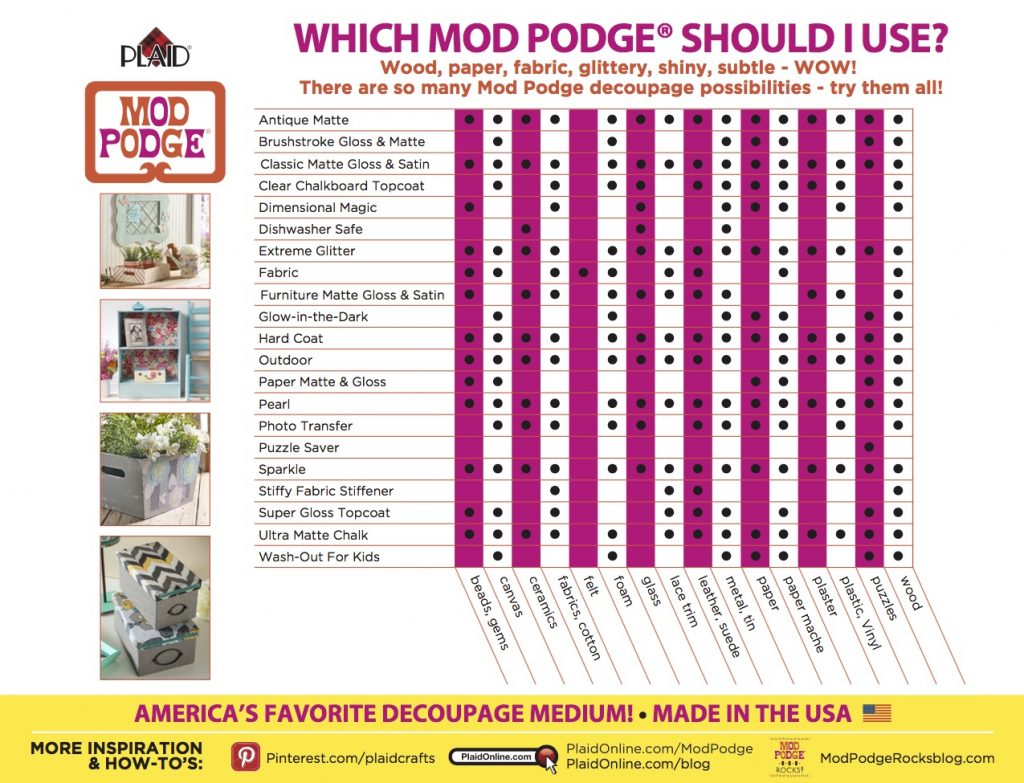
Now, if you aren’t familiar with Mod Podge, here is what you need to know… Mod Podge is an all-in-one glue, sealer, and finish of choice for decoupage and everyday crafting! There are more than 20 formulas, including our favorite dishwasher-safe, so there is a formula for almost any project!
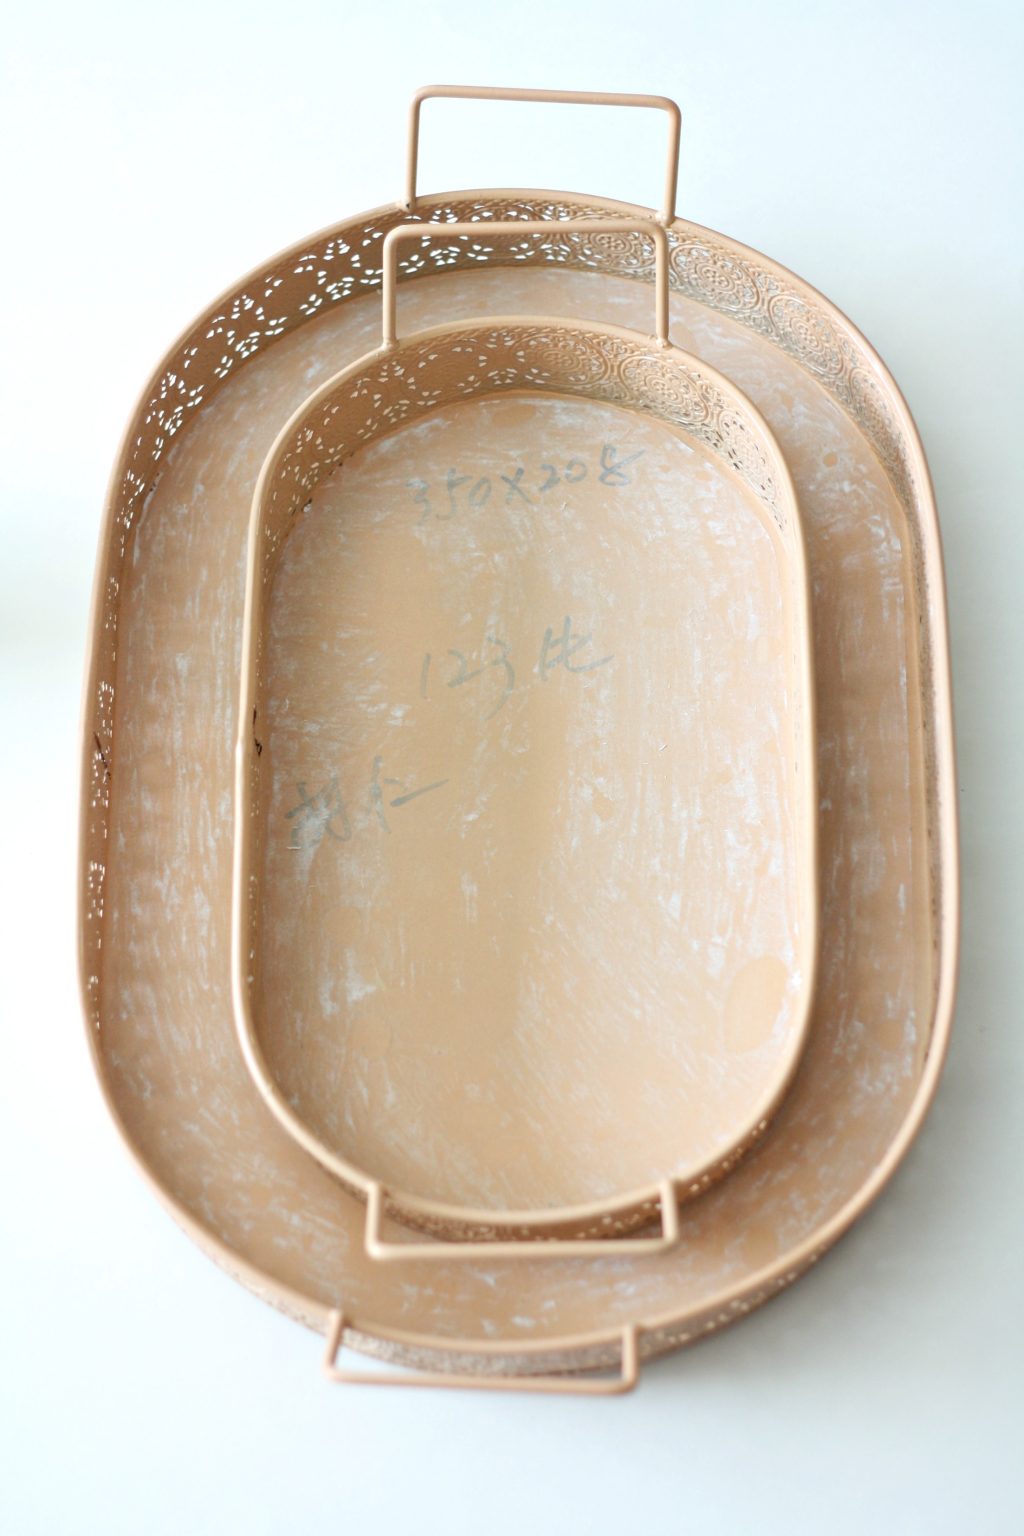
This is how the trays looked before. Let’s the transformation begin! Here is what I did…
Supplies
Tray set
Martha Stewart craft paint (metallic and white)
Paint brushes
Mod Podge
Floral printed paper
Mod Melter
Mod Melts
Mod Mold
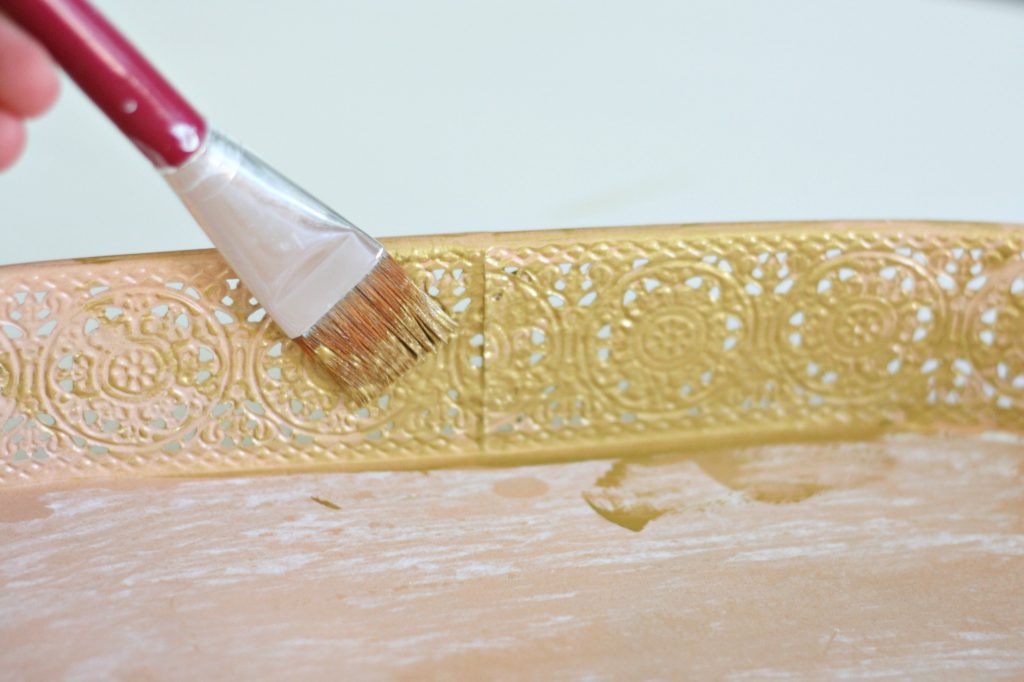
Step 1: Paint the sides of the tray in the metallic paint. Let dry.
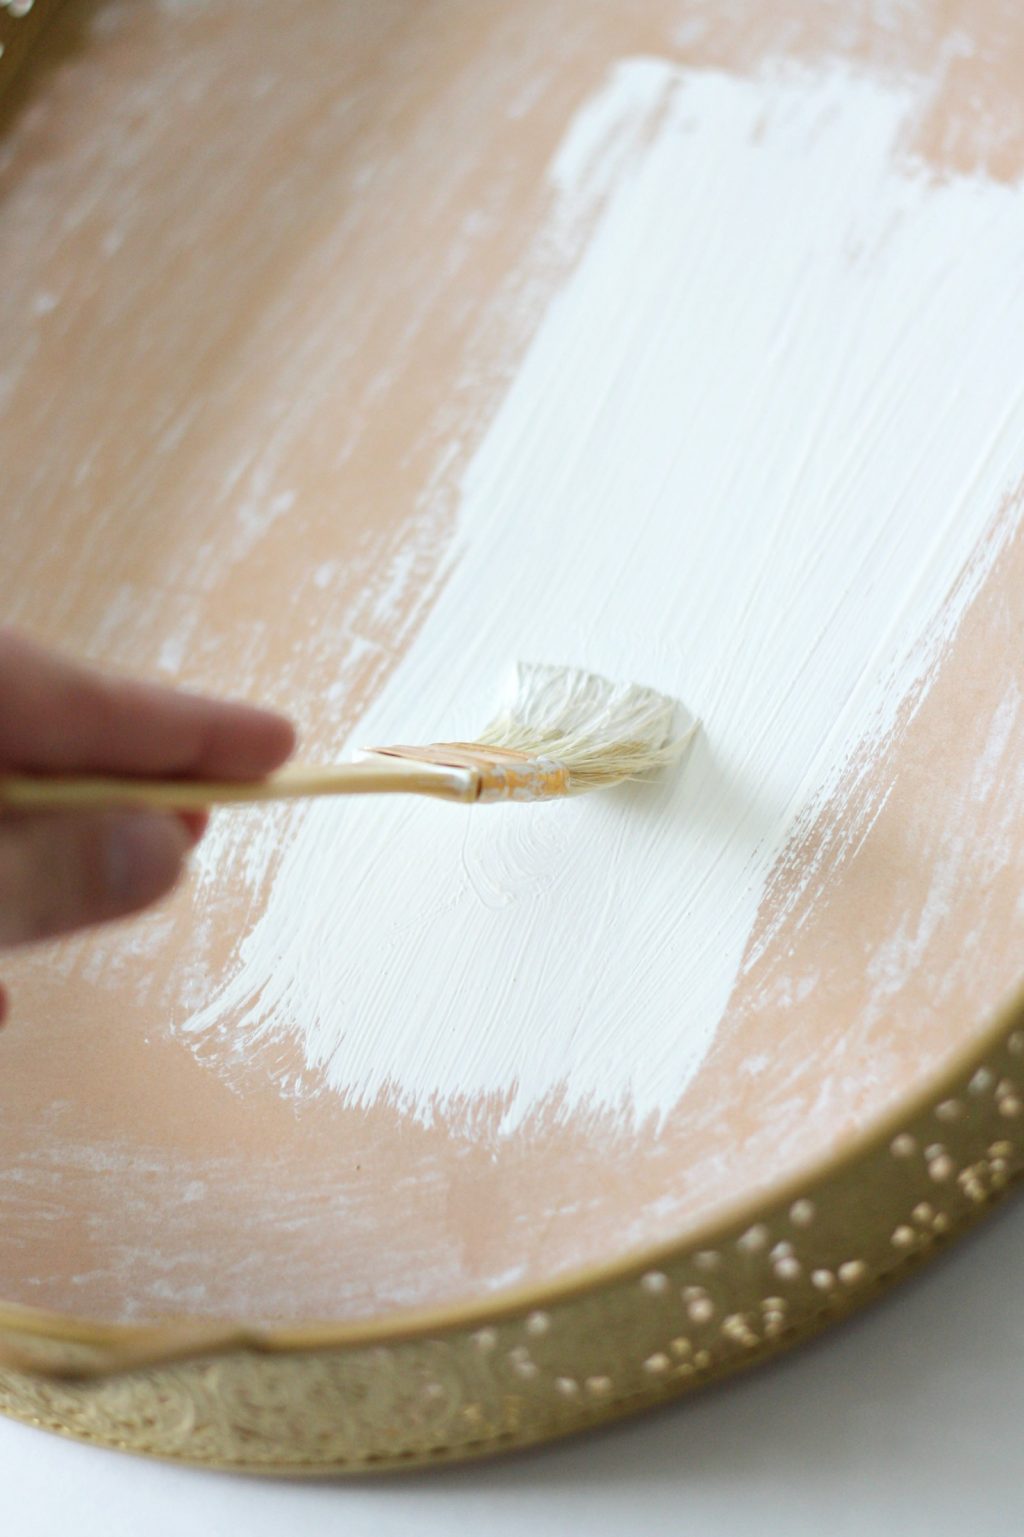
Step 2: Paint the bottom of the tray white. Let dry.
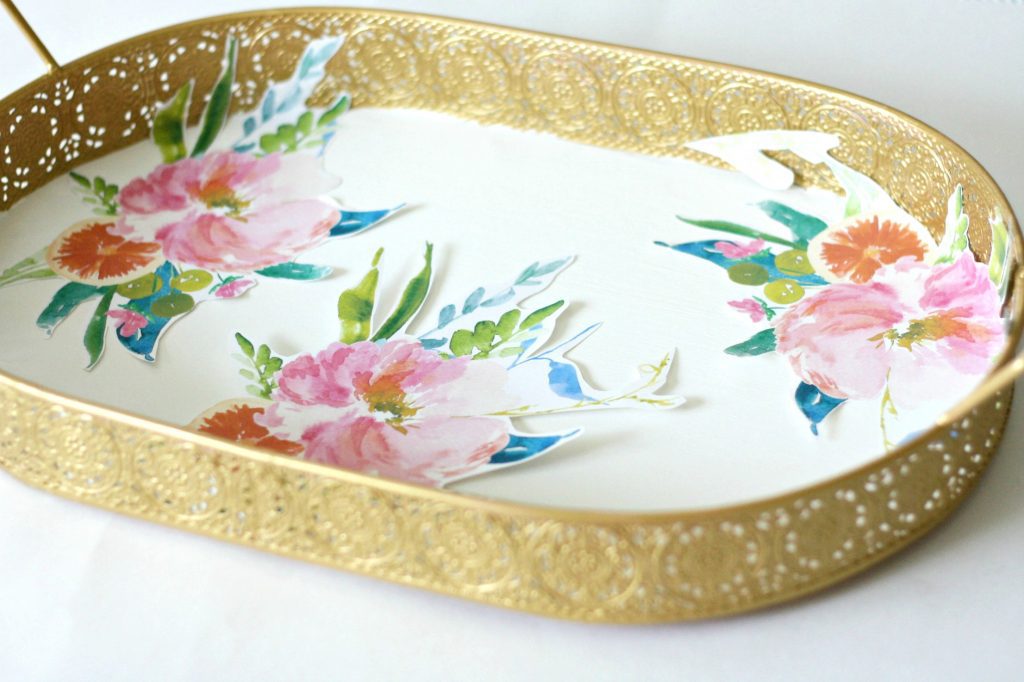
Step 3: Arrange paper design on the bottom of the tray.
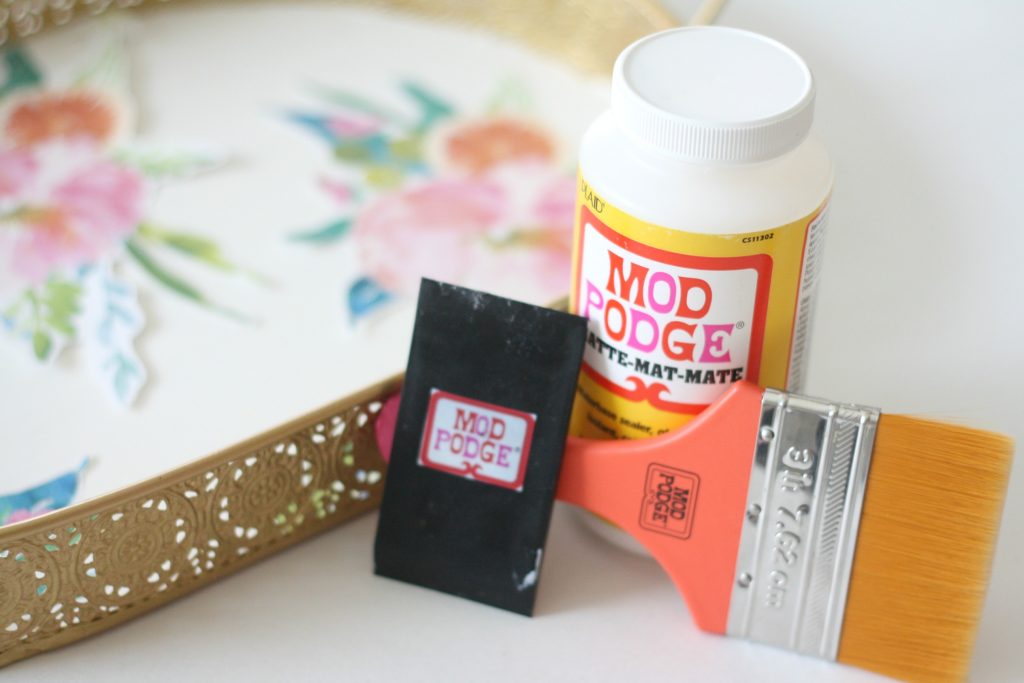
Step 4: Apply a thin layer of Mod Podge on the back side of the paper design. For this project, we are using the basic Matte formula, which is great for all types of craft projects. It dries quickly and clear and is easily sanded to a smooth matte finish. I also LOVE these new brushes for applying Mod Podge because it goes on so smoothly!
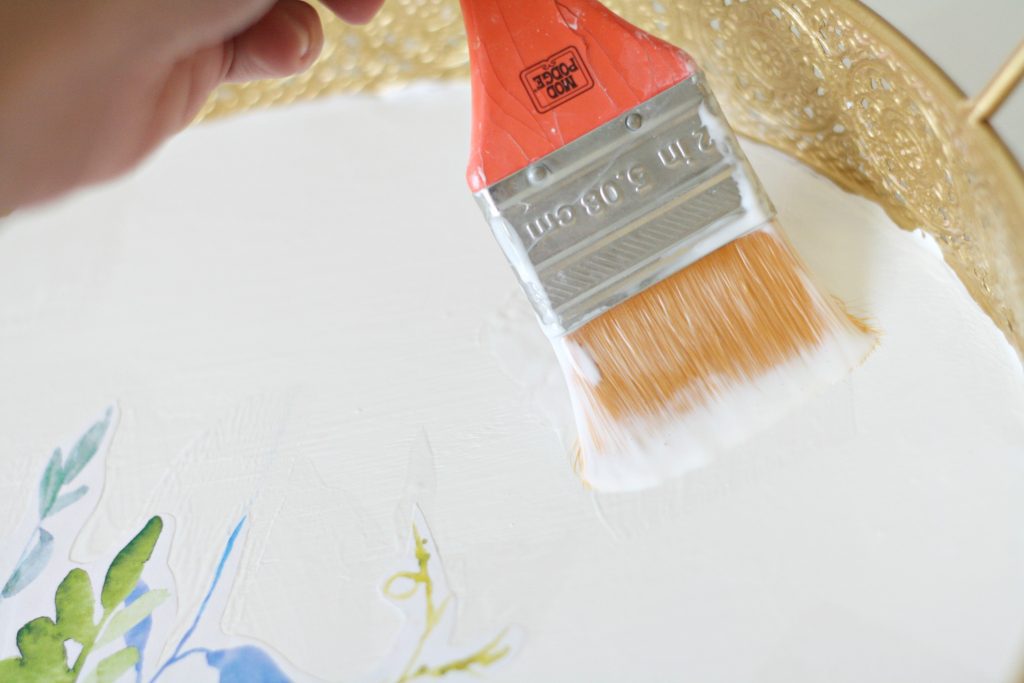
Step 5: Apply a thin layer of Mod Podge on the bottom of the tray.

Step 6: Carefully place the paper design on the bottom of the tray and smooth with your fingers, a roller, or scraper. Let dry.

Step 7: Apply a layer of Mod Podge over the bottom of the tray. I used a spouncer to apply the final layer so it would have some texture. Let dry.

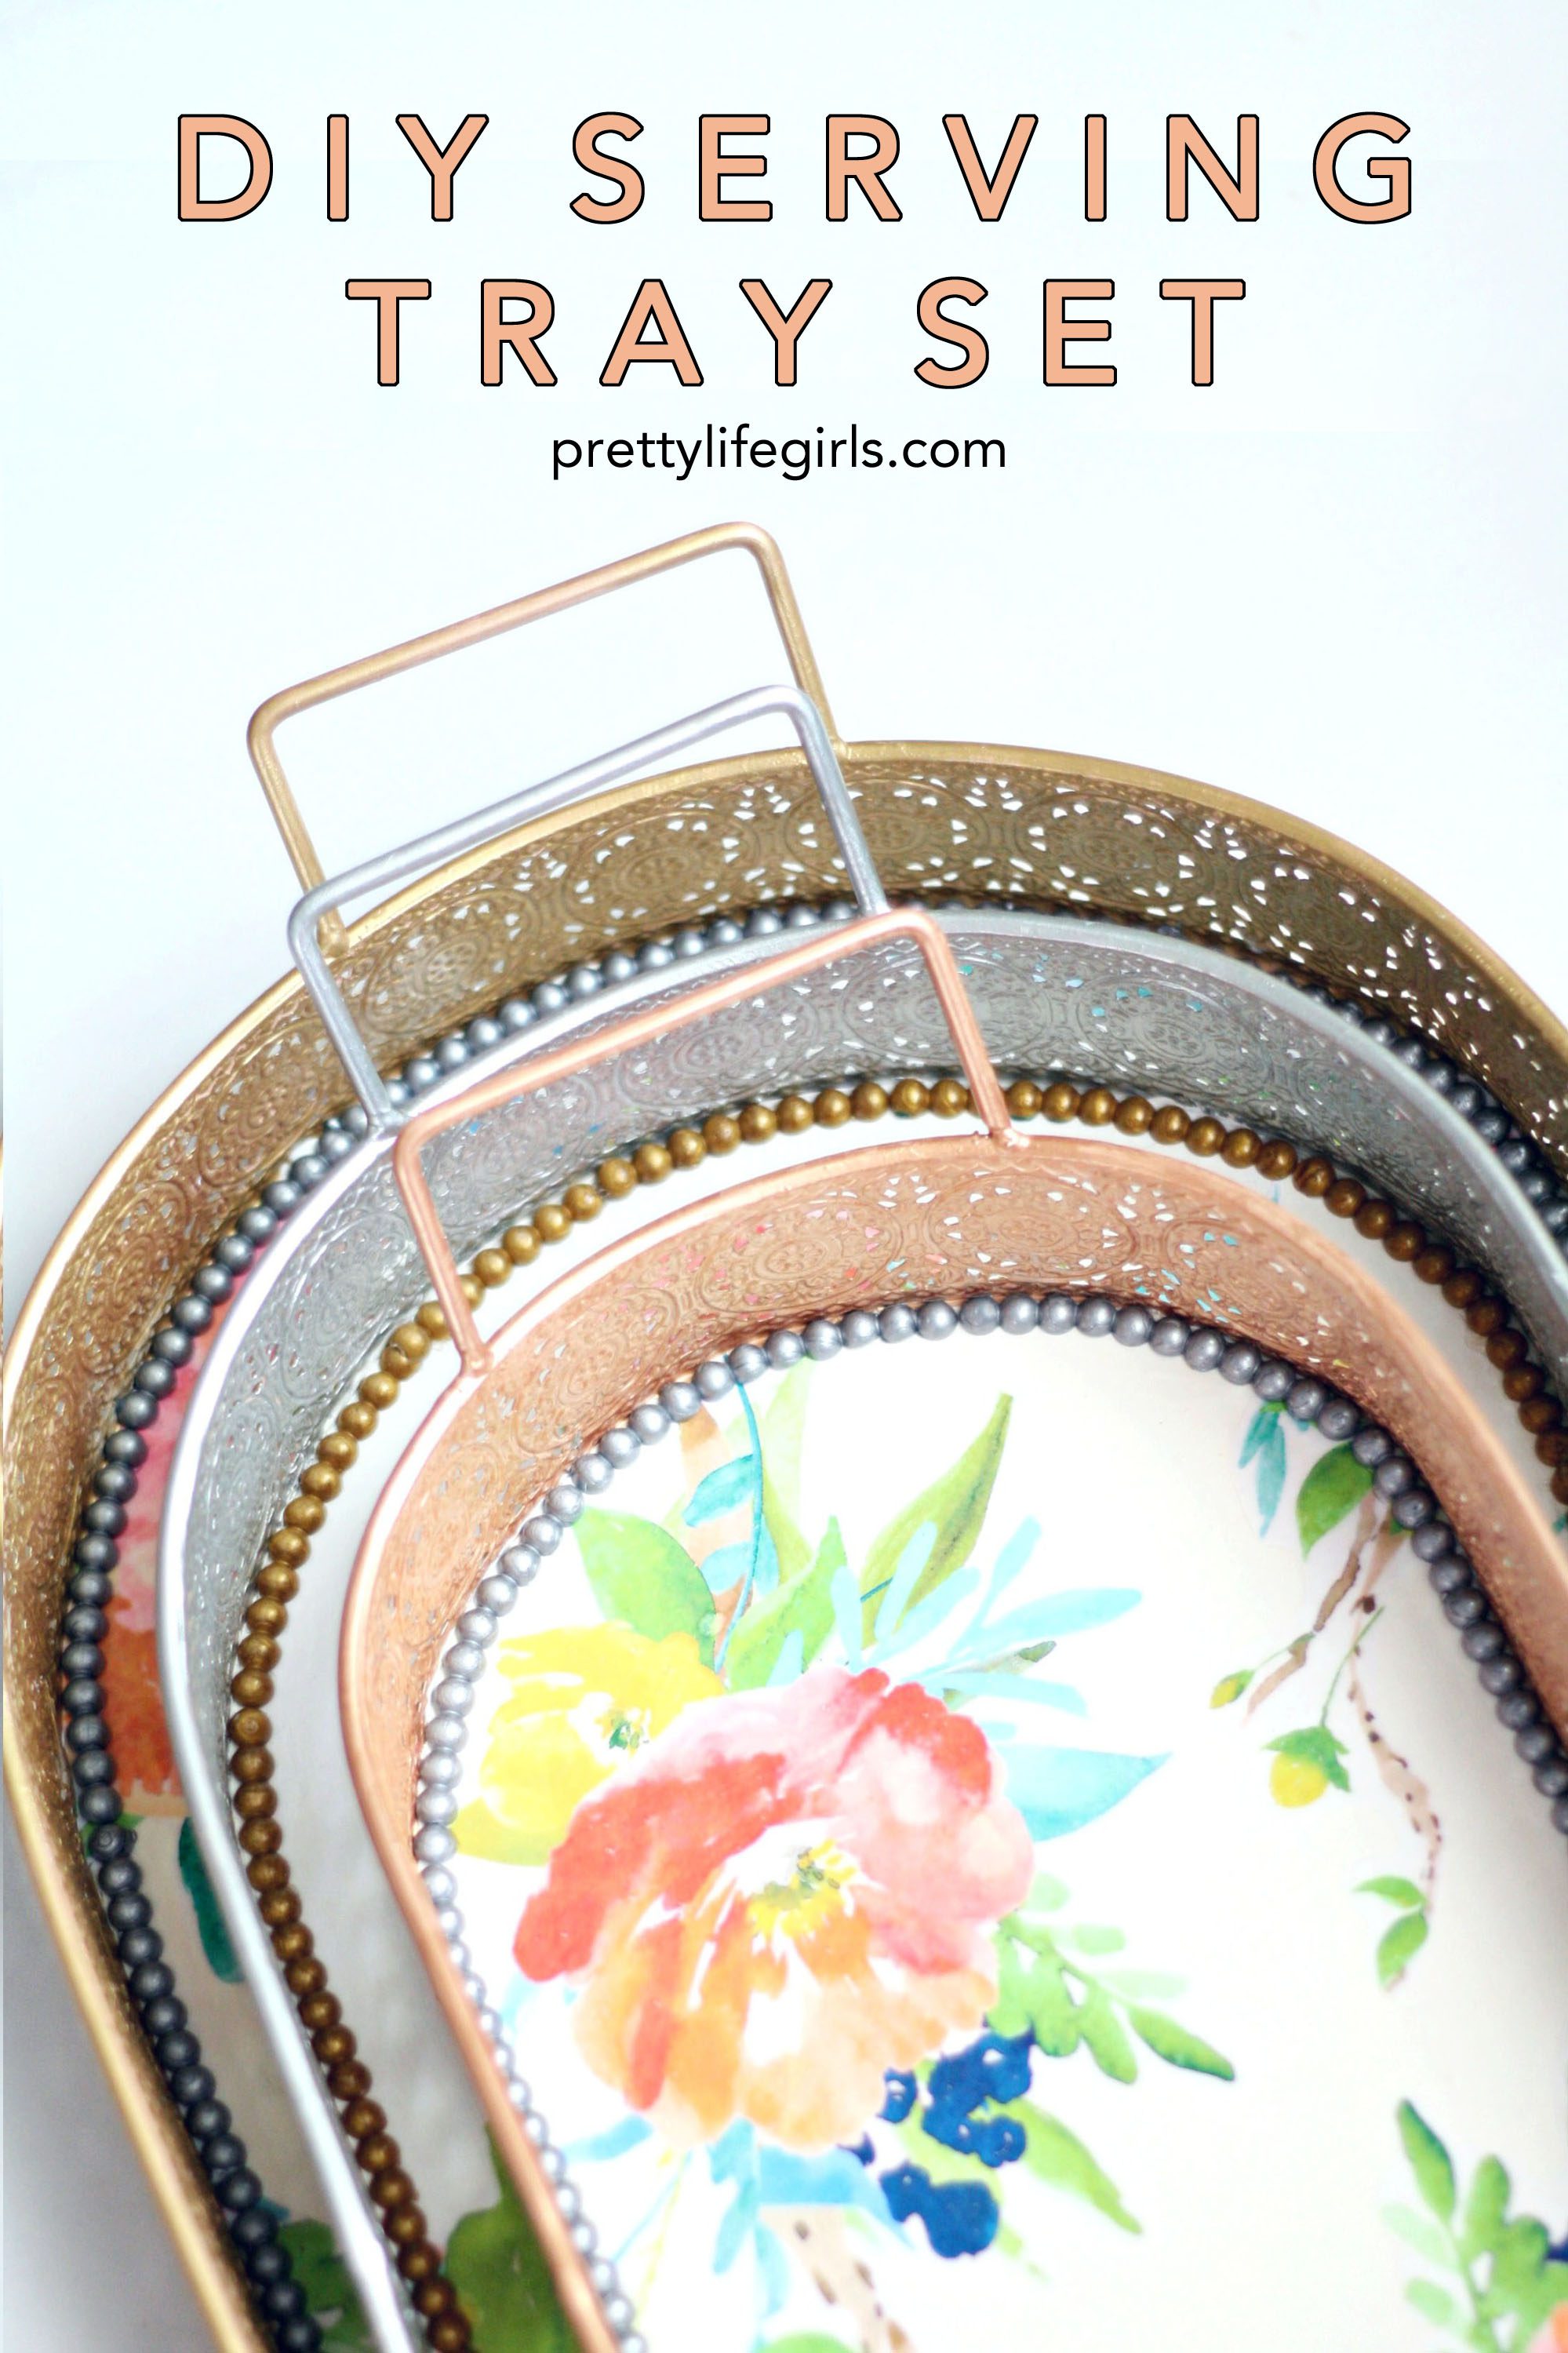
Step 8: Create your trim. Using the Mod Melter, Mod Melts, and Mod Molds, you can create all kinds of fun embellishments! In this case, I created a kind of bead/stud trim for the tray. Just put the Mod Melts in the Mod Melter and distribute into the Mod Molds. Let it cool, and pop it out of the mold! These tools are some of my very favorites to play with!
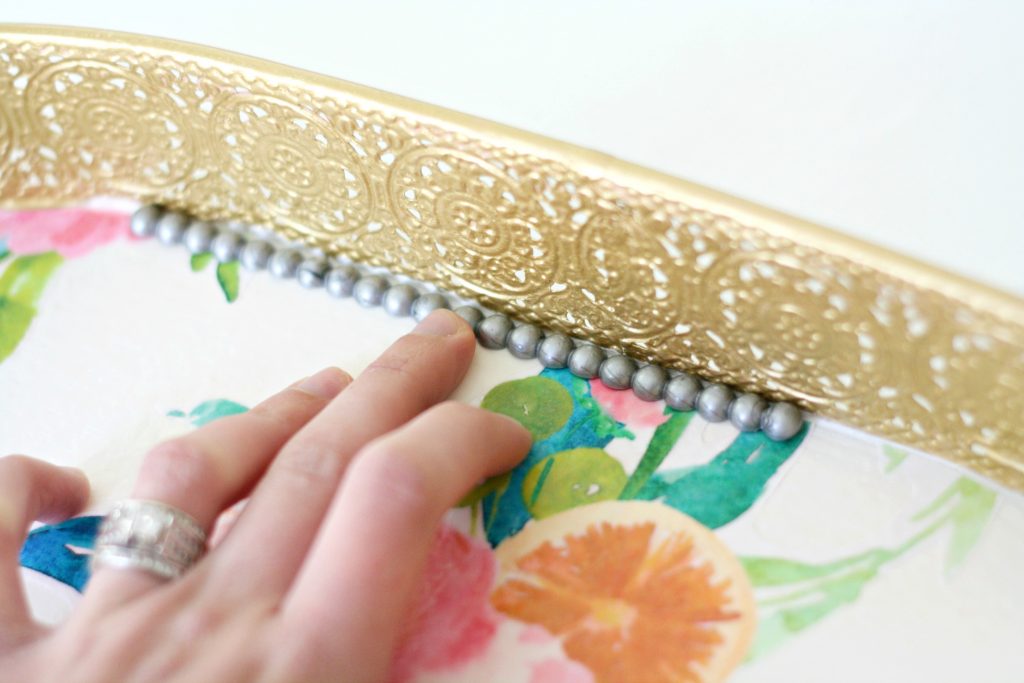
Step 9: Glue your molds to the edges of the tray bottom.
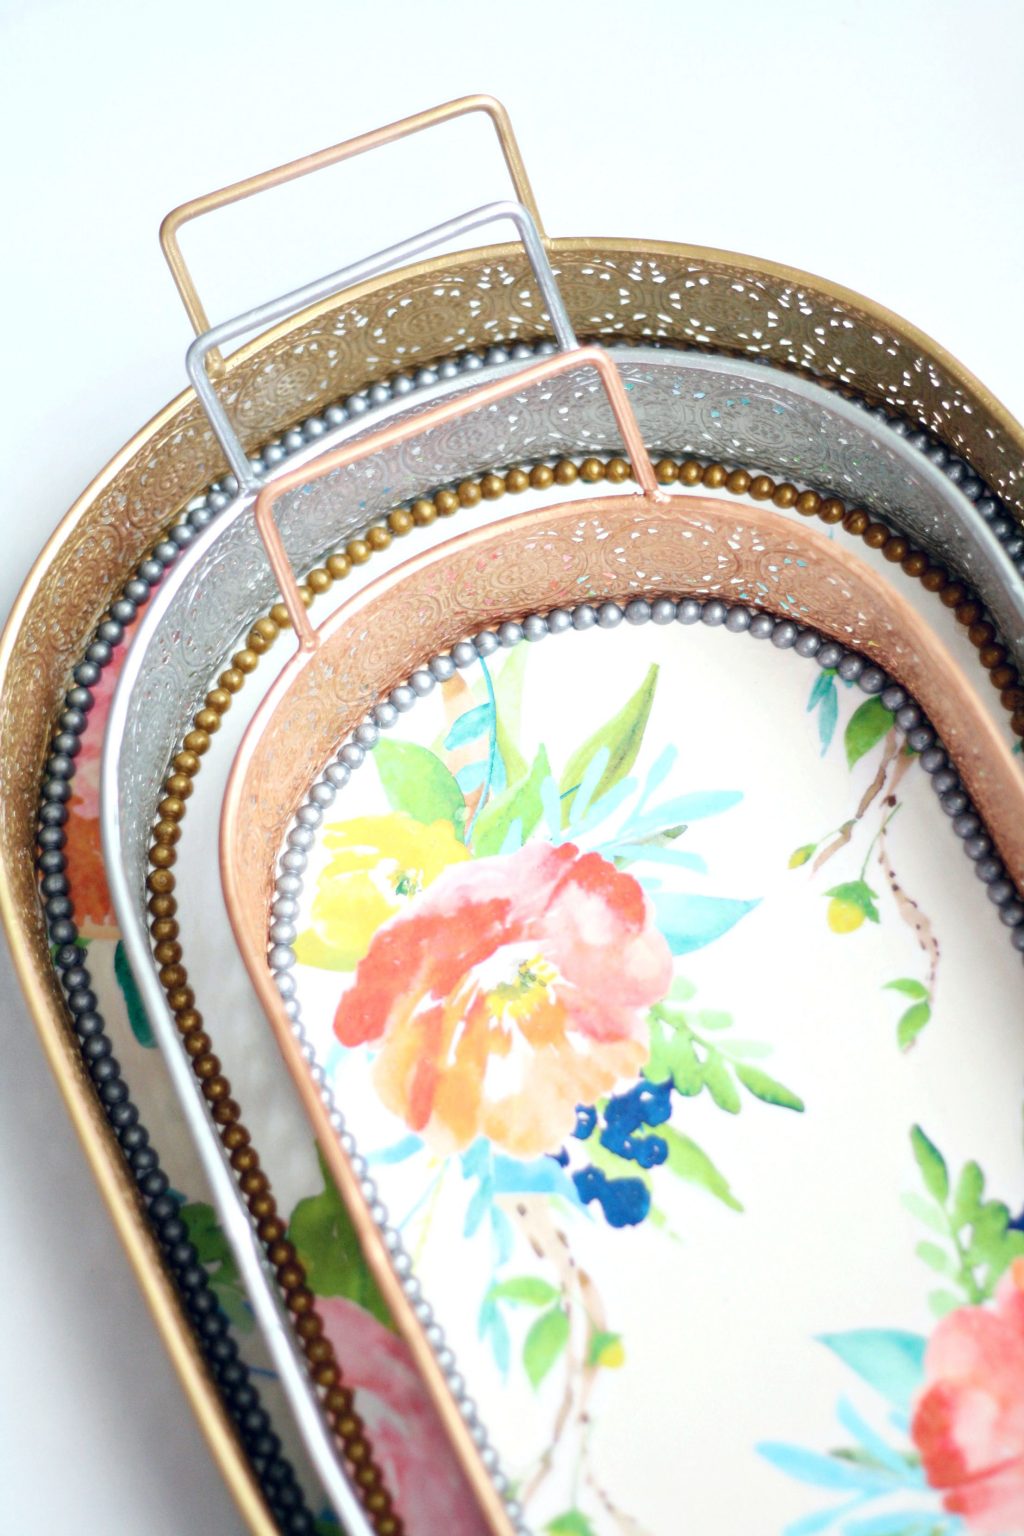
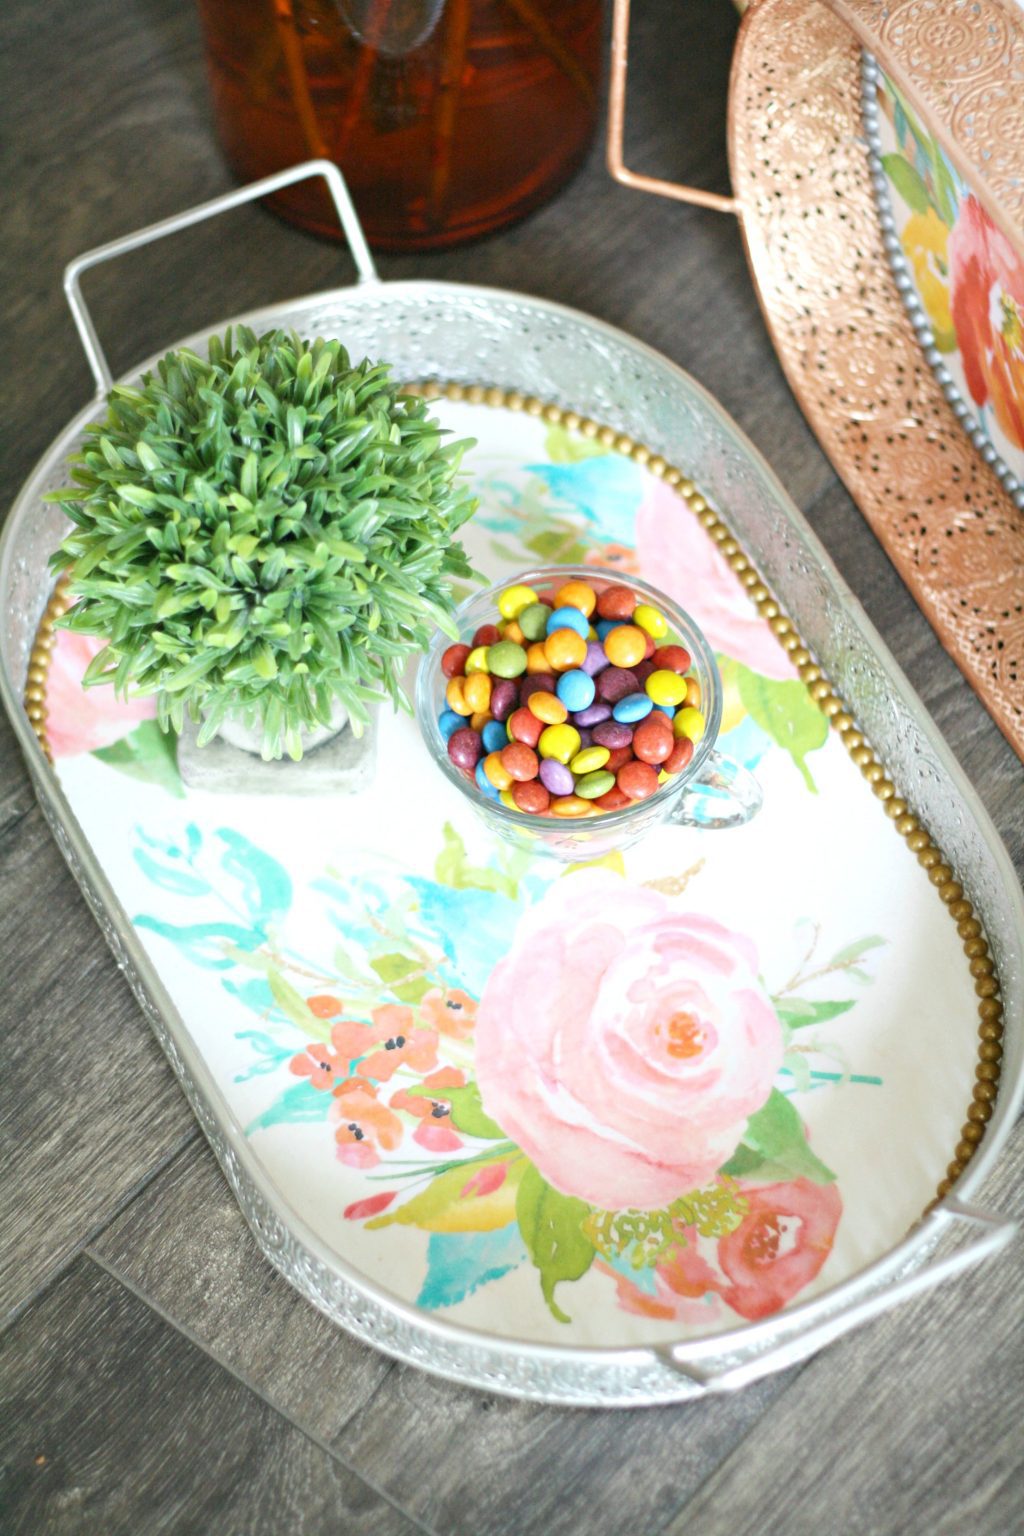
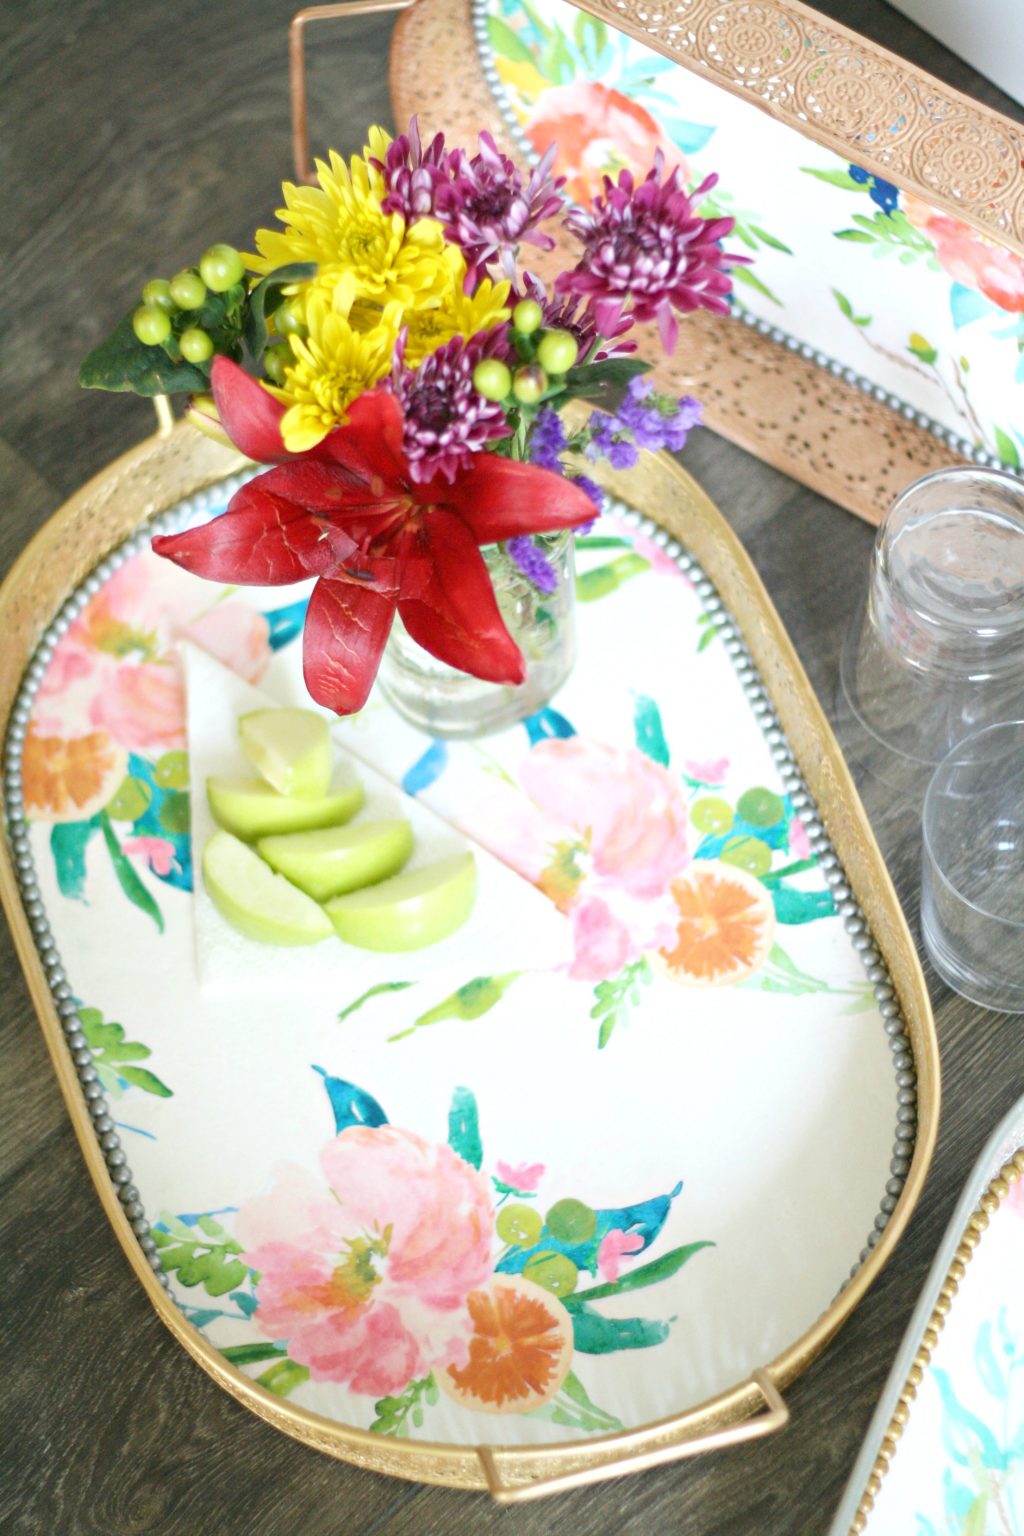
Look how pretty!!!
Now what are you gonna make with Mod Podge? We’d love to hear your ideas! And be sure to follow Plaid on Facebook, Instagram, Pinterest, and via Email as they celebrate 40 years of crafting!
xo, Sam
Be sure to check out the other Plaid Creators Mod Podge Projects!
Upcycled Window Makeover – The Cards We Drew
Decoupage Planter – Petticoat Junktion
Thrift Store Tray Makeover – Erin Spain
Princess Dress Nightstand Redo – Made to be a Momma
Babanees Inspired Stool – One Artsy Mama
Vintage Floral Ladder Shelves – Flamingo Toes
Positively Splendid – Mod Podge Chargers
Restoration Hardware Book Set – Cherished Bliss


The trays are so pretty and I really love the trim….great idea!
How stunning are these?! Really….love those flowers!
Those sure are pretty! Love the metallic with the floral…nice work!
Ok girls, these are amazing!! I love the transformation – now I’m going to be hunting up trays the next time I’m at the Thrift Store!!
These turned out awesome! They are so pretty!
Where was the floral paper purchased. What weight should the paper be?
Thank you for this idea, so pretty.
MaryAnn Leshick
Hi MaryAnn! I ordered the floral design on Etsy (https://www.etsy.com/shop/MossAndTwigPrints), and printed it on normal printer paper. I hope that helps!
Thank you
[…] a tray look even prettier with a decoupaged fabric or paper […]
[…] Source by anodtonavy […]