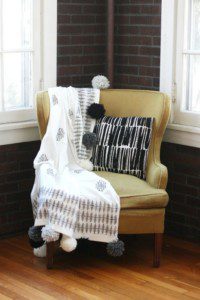

Today is an exciting day on the PLG, friends! This year is Plaid’s 40th anniversary (aka crafting MECCA) and as part of the big celebration, we have been named one of their Plaid Creators along with a handful of other fab bloggers, to bring you a bunch of fun projects for 2016 featuring new Plaid products and inspiration from the biggest DIY trends! So. Much. Fun.
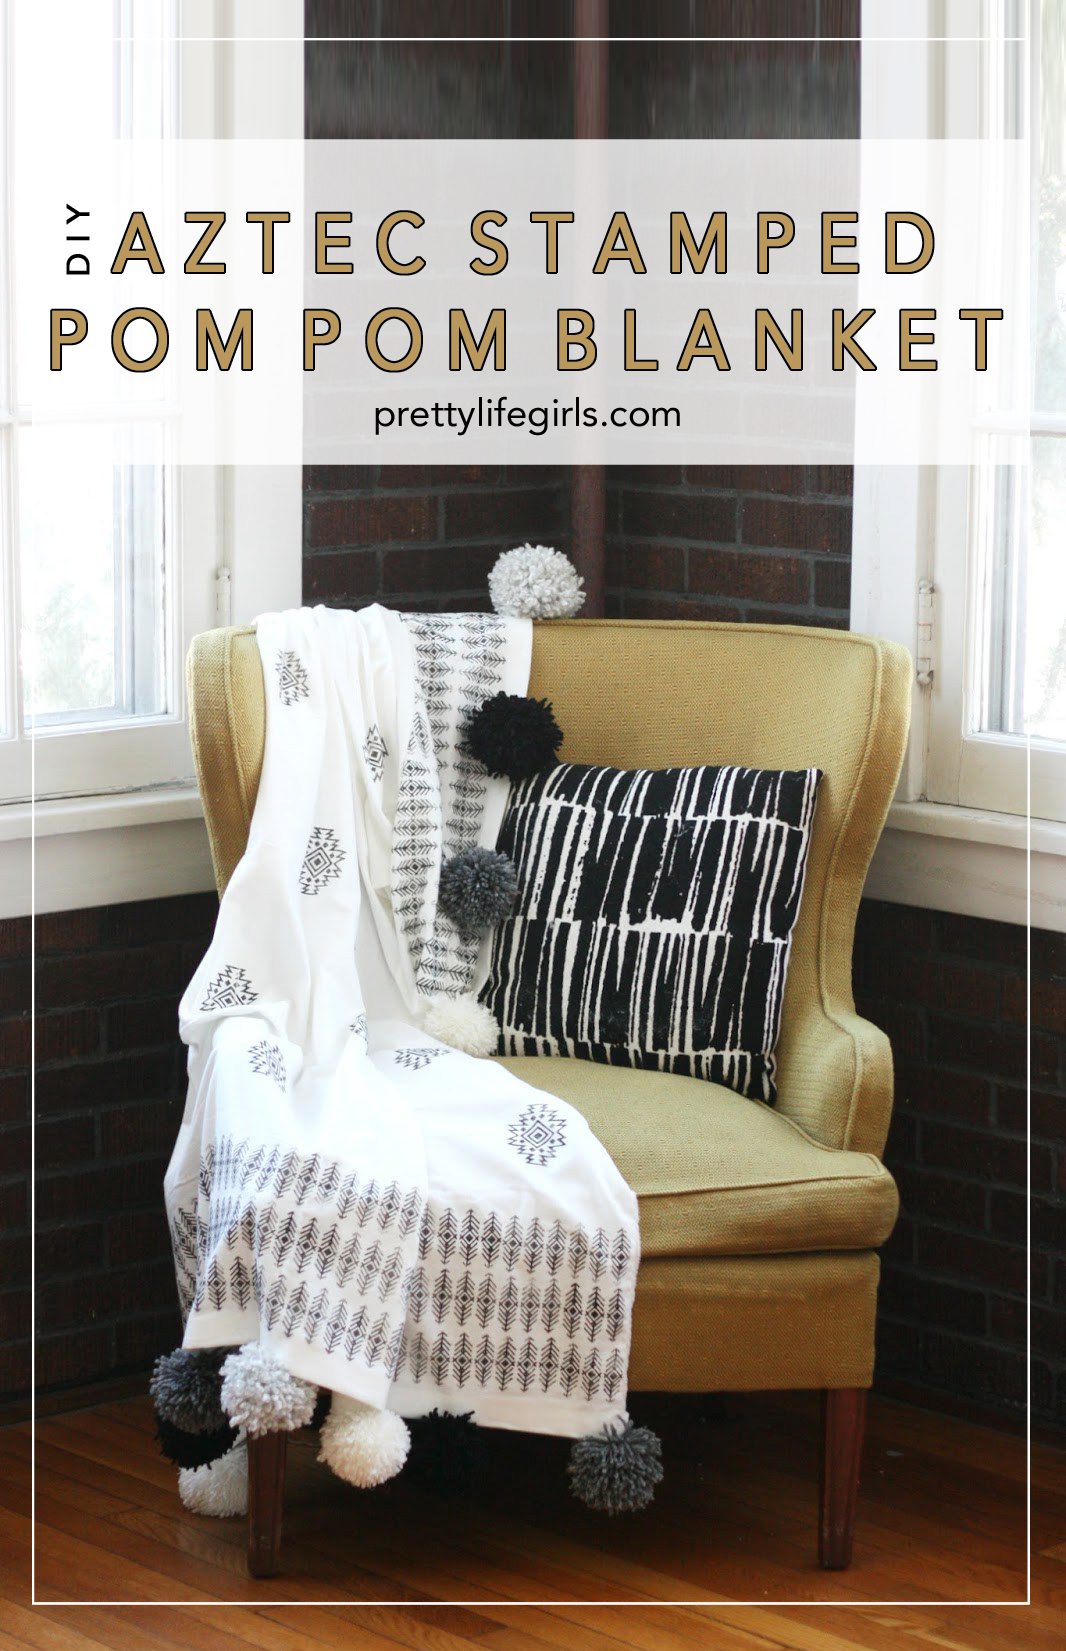
We are SO excited to kick off our inaugural Plaid Creators post by using their insanely cool Fabric Creations line! This line blows the opportunities for creating WIDE open. Using Plaid’s fabric inks and block printing stamps, you become the fabric designer, letting you create one-of-a-kind fabrics for all of your DIY projects. I’m obsessed. And I just made a blanket with the line and I’m obsessed with that too. It’s a love fest in the biggest way, and you’re gonna see why when I show you what I made.
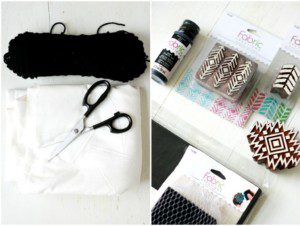

Supplies
3-4 yards of flannel
Yarn
Needle
Fabric Creations™ Block Printing Stamps (I used the Medium Aztec Tile, and the Medium Tribal Arrows)
Fabric Creations™ Soft Fabric Inks
Fabric Creations™ Foam Printing Mats
Fabric Creations™ Sponge Cubes
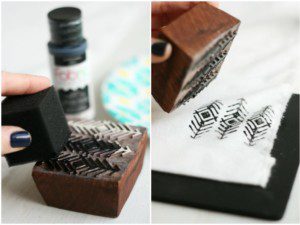

1. Open your flannel and slide the foam printing mat underneath where you are going to begin stamping. I can’t emphasize enough how important it is to use these mats! They give just the right amount of cushion and help every stamp go on evenly.
2. Apply a small amount of fabric ink to a sponge cube and dab on stamp. Using the sponge creates a kind of stamp pad so that the ink applies evenly to the stamp.
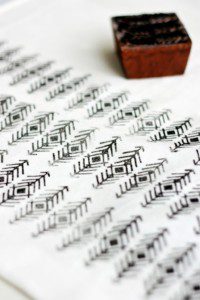

3. Stamp away! Apply light pressure when you press down and be sure to bring them up without twisting or moving the stamp. Also, I found that I liked inking my stamp after every application so that the prints stayed consistent color-wise.
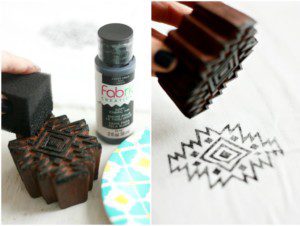

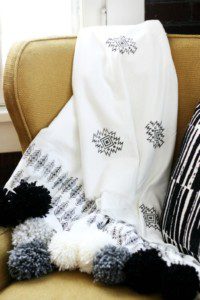
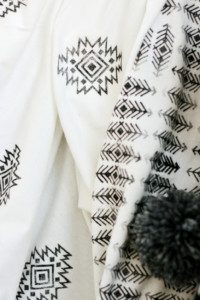
4. Repeat the steps above with each of the stamps you use. Then, let dry completely. This aztec one is my FAVE.
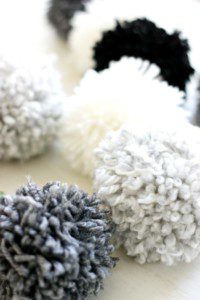

5. While you are letting your stamps dry, make your pom poms for your trim! You can refer to our previous post on how to make them here. The only edit I would make is that I wanted these pom poms to be bigger and denser than the ones for that hat, so instead of wrapping them around my hand, I wrapped them around a 4-inch piece of cardboard about 150 times. Then, I followed the rest of the steps as listed.
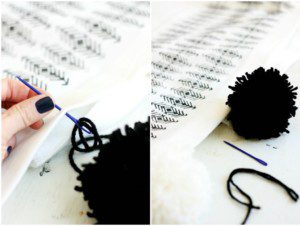

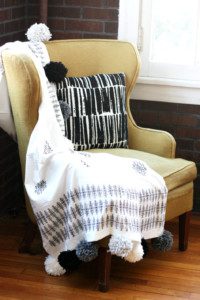
6. Once your paint is dry, attach your pom poms! I did this by threading a piece of yarn through the middle of the pom pom, then threading that piece of yarn through the edge of the flannel, tying the ends in a knot, the cutting off the excess. Piece. Of. Cake.
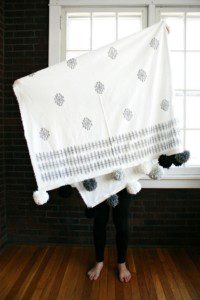





What fun DIY ideas do you have for this awesome Fabric Creations™line? You’ve gotta share your ideas with us! And be sure to follow Plaid on Facebook, Instagram, Pinterest, and via Email as they celebrate 40 years of crafting with crafty trivia, fun craft history and special giveaways all year long!
ox. Liz


I love that blanket! You did such an awesome job! I think I'm going to need some of these stamps in my life.
Paige
http://thehappyflammily.com
Super cute blanket. Have a great week.
http://www.amysfashionblog.com/blog-home/
I love this! What a great idea!! Looking forward to meeting you soon! ~Abbey, The Cards We Drew
I absolutely love this! I definitely need one! Such a great idea.
-Erin Spain
How stinkin adorable is this!! OBSESSED!
Where did you get the flannel fabric?
Just a my local fabric store. It doesn’t need to be anything fancy!
Does the paint withstand washing.