


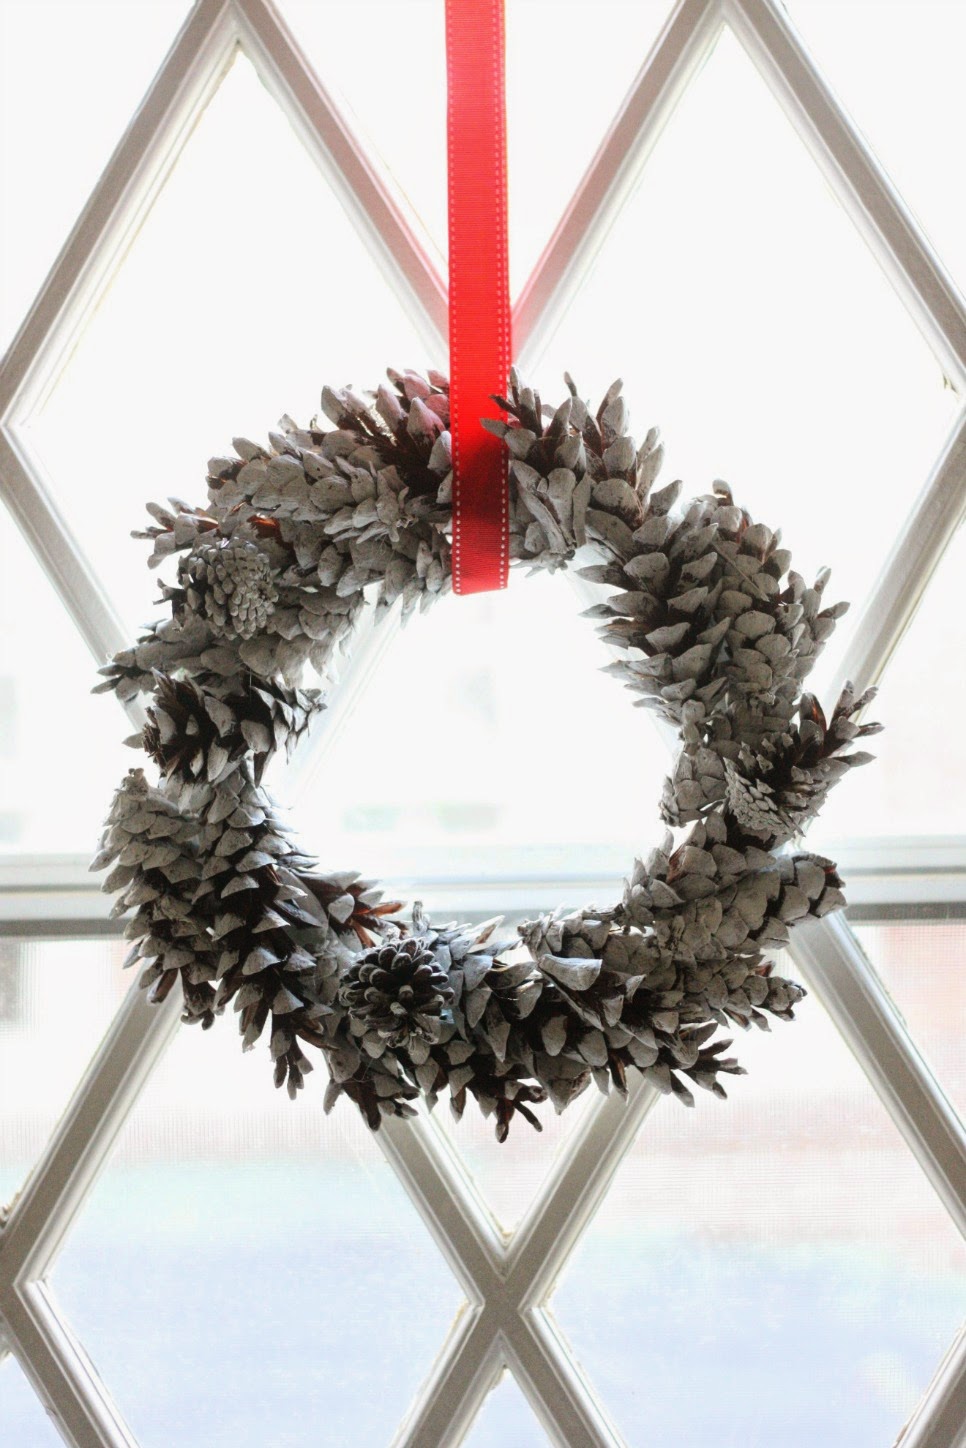
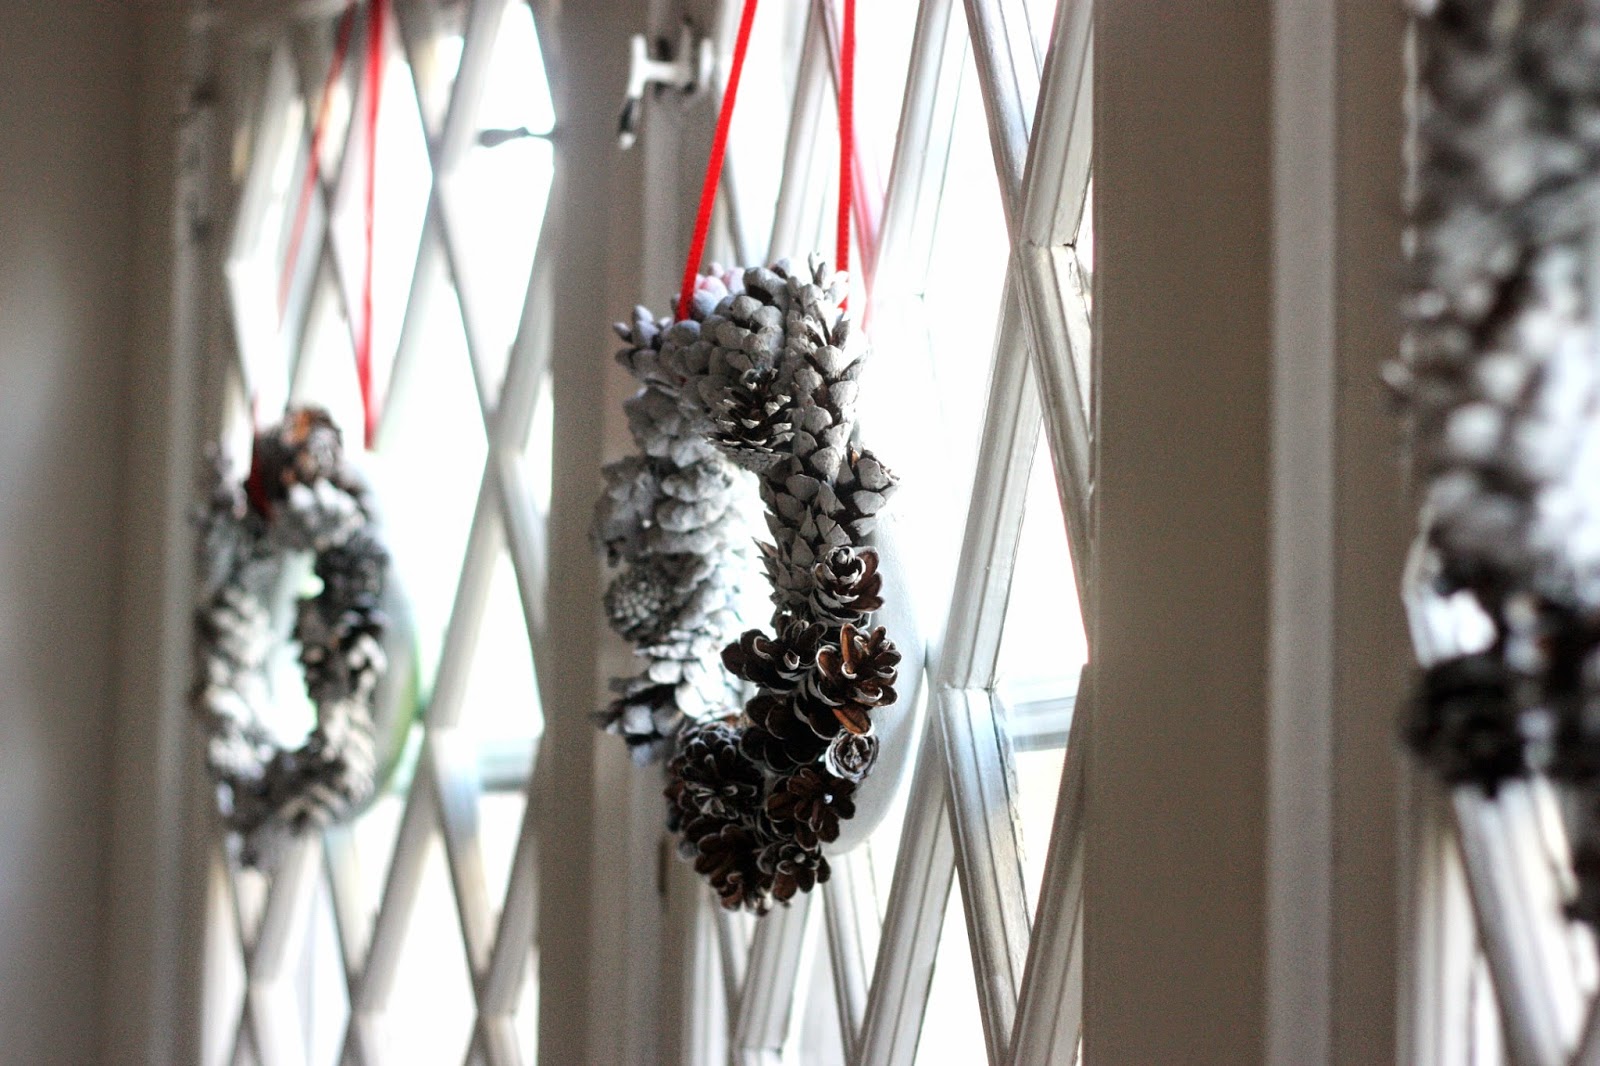
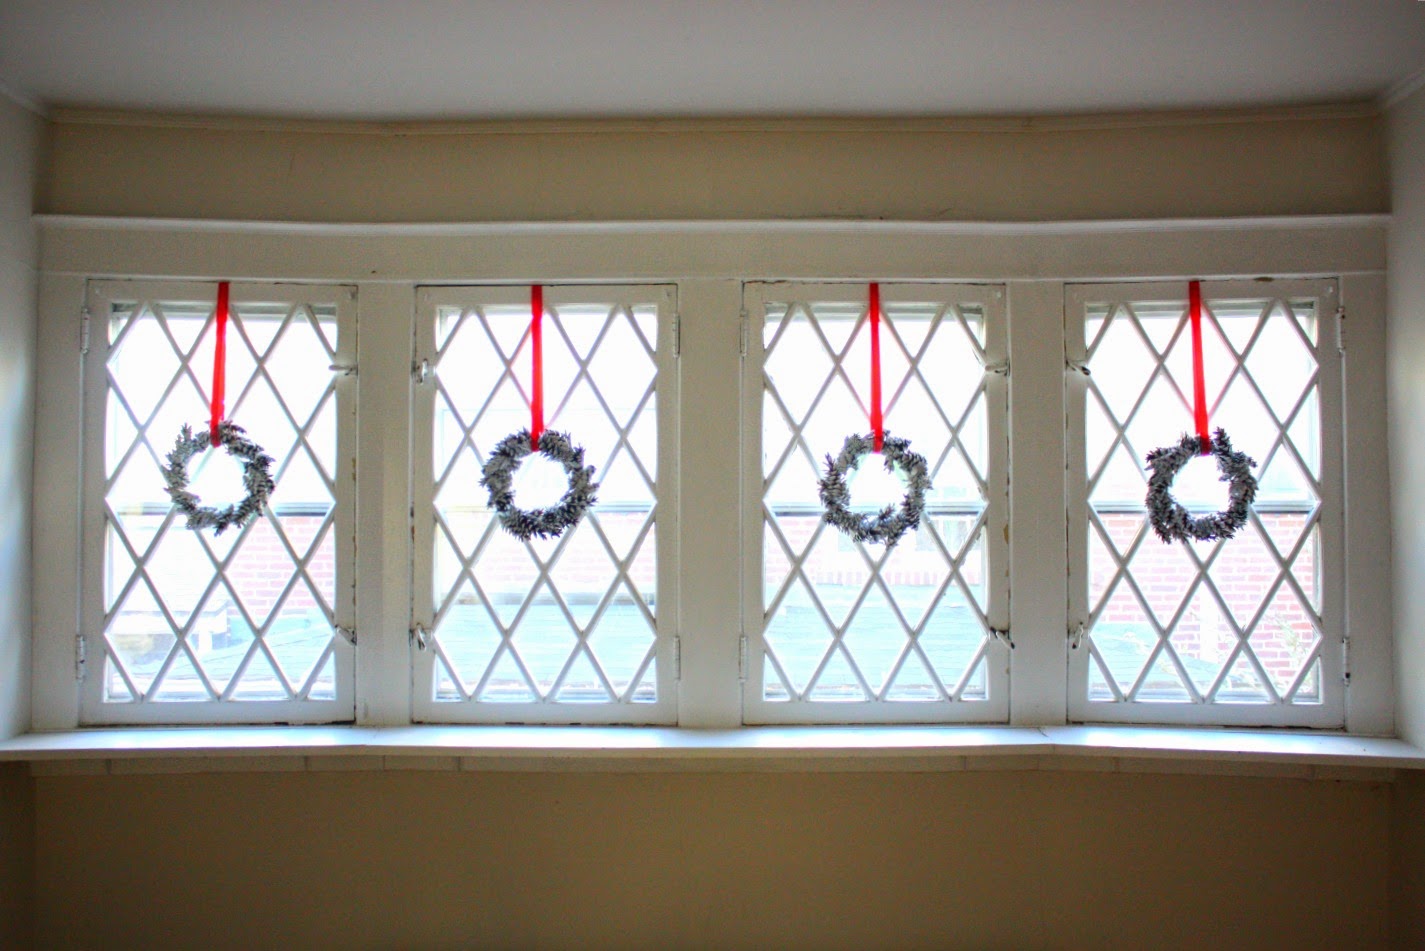
Christmas crafting time! Let’s get it on! My new house has about a billion windows so I wanted to make them a real focal point with my Christmas decorating. However, since there are so many I had to keep the project cheap and simple. So, I came up with these mini pine cone wreaths that I have a mini obsession with. Here’s what I did:
Supplies Needed:
-Wreath Form (You can find these at Michaels)
-Pine Cones (Found mine for free, courtesy of the trees at our local high school)
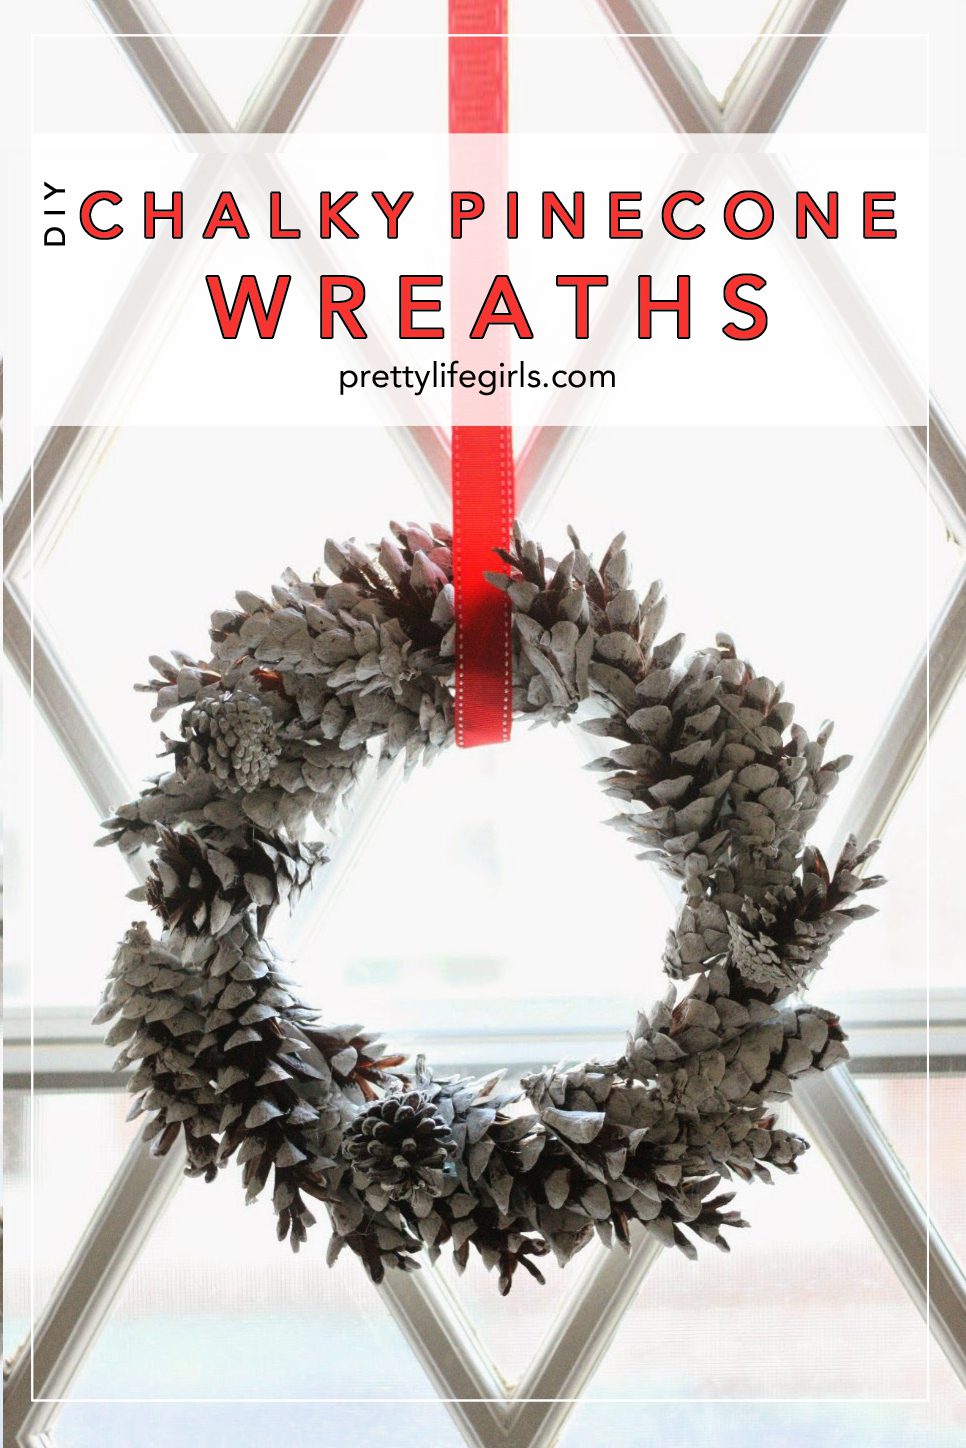
-Craft Paint + Paint Brush (I used Americana Decor Chalky Finish Paint from Michaels and I love the chalky/distressed/matte finish it gave the wreaths)
-A knife, exacto or other sharp variety
-Glue Gun
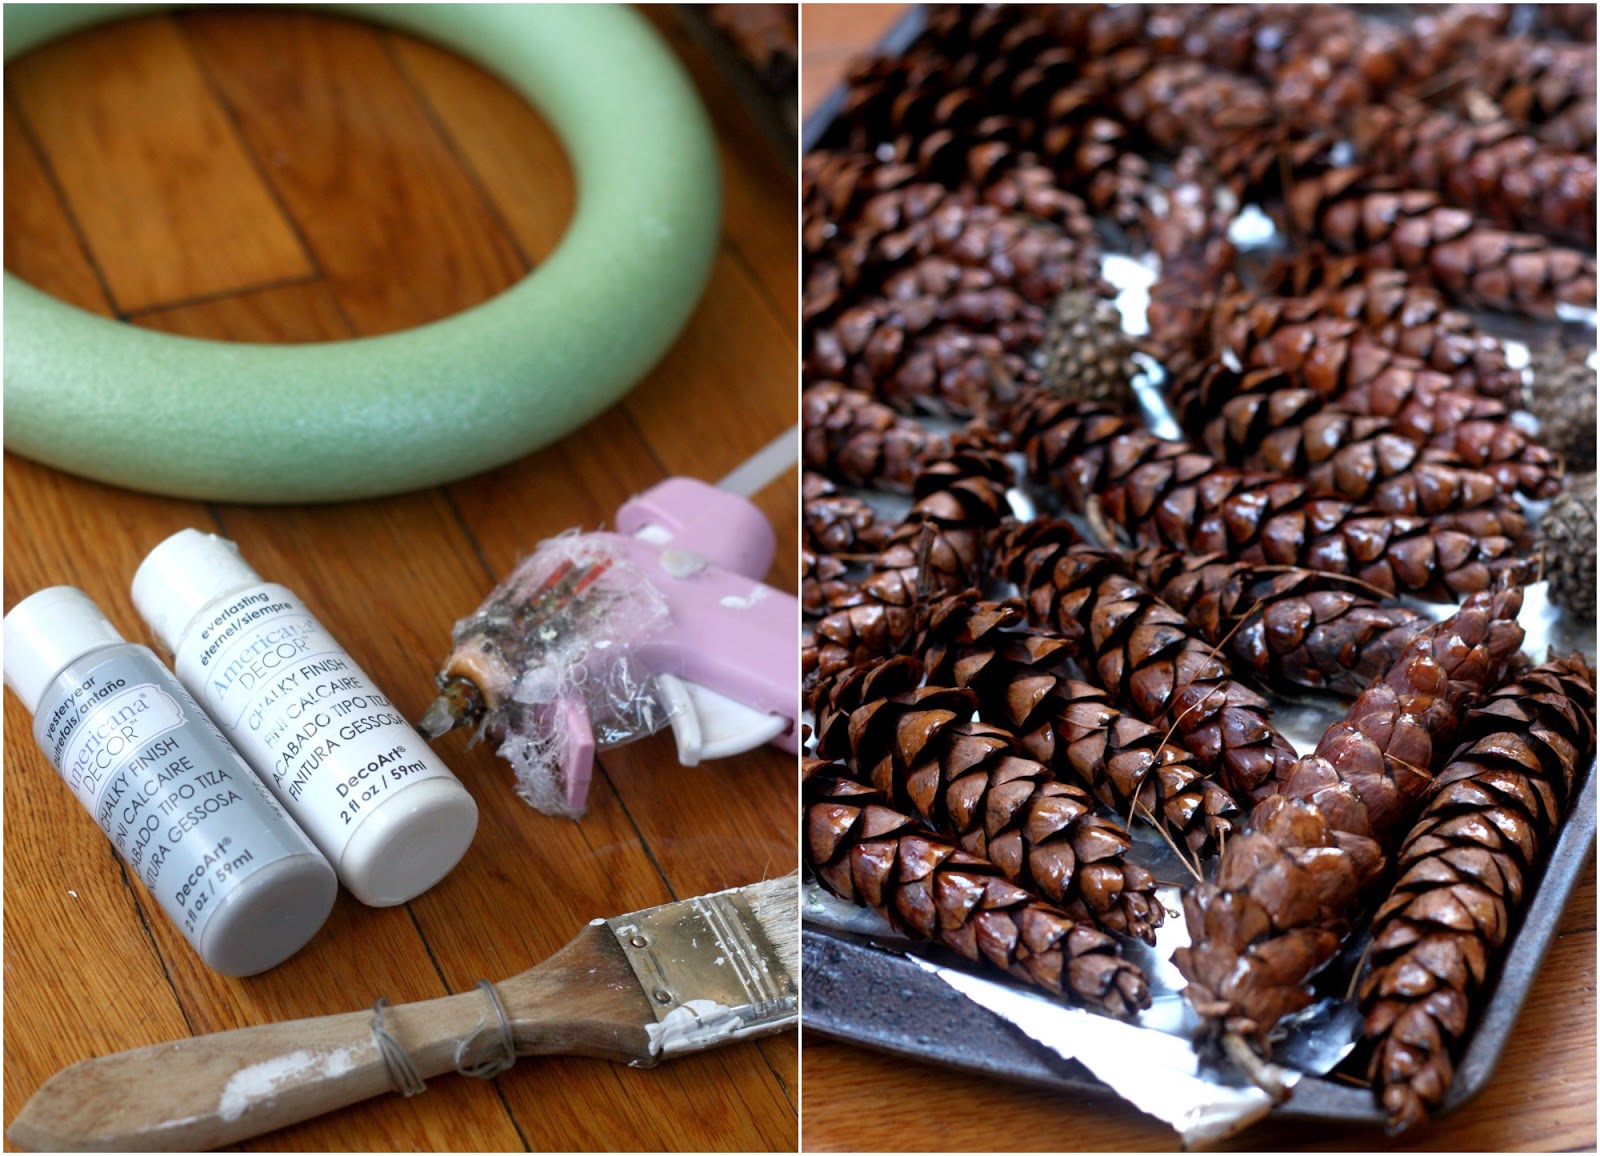
1. First, you will want to prep your pine cones if you found them out in nature. To do this, soak them in sink full of hot water + 1 c. of vinegar for a few minutes. Next, transfer them to a foil-lined cookie sheet and put them in the oven on 250 degrees for about an hour. This will get rid of bugs, get rid of the sticky sap, and dry them out. Plus, it will make your house smell OUTRAGEOUSLY good.
2. Next, get your wreath form ready. I found it was easier to glue down the pine cones if the surface of the form was flat and not round. To do this, I used a knife to shave off some of the form to make it flat on one side. After you have done this, paint the wreath form the color you are painting your pine cones and let dry.

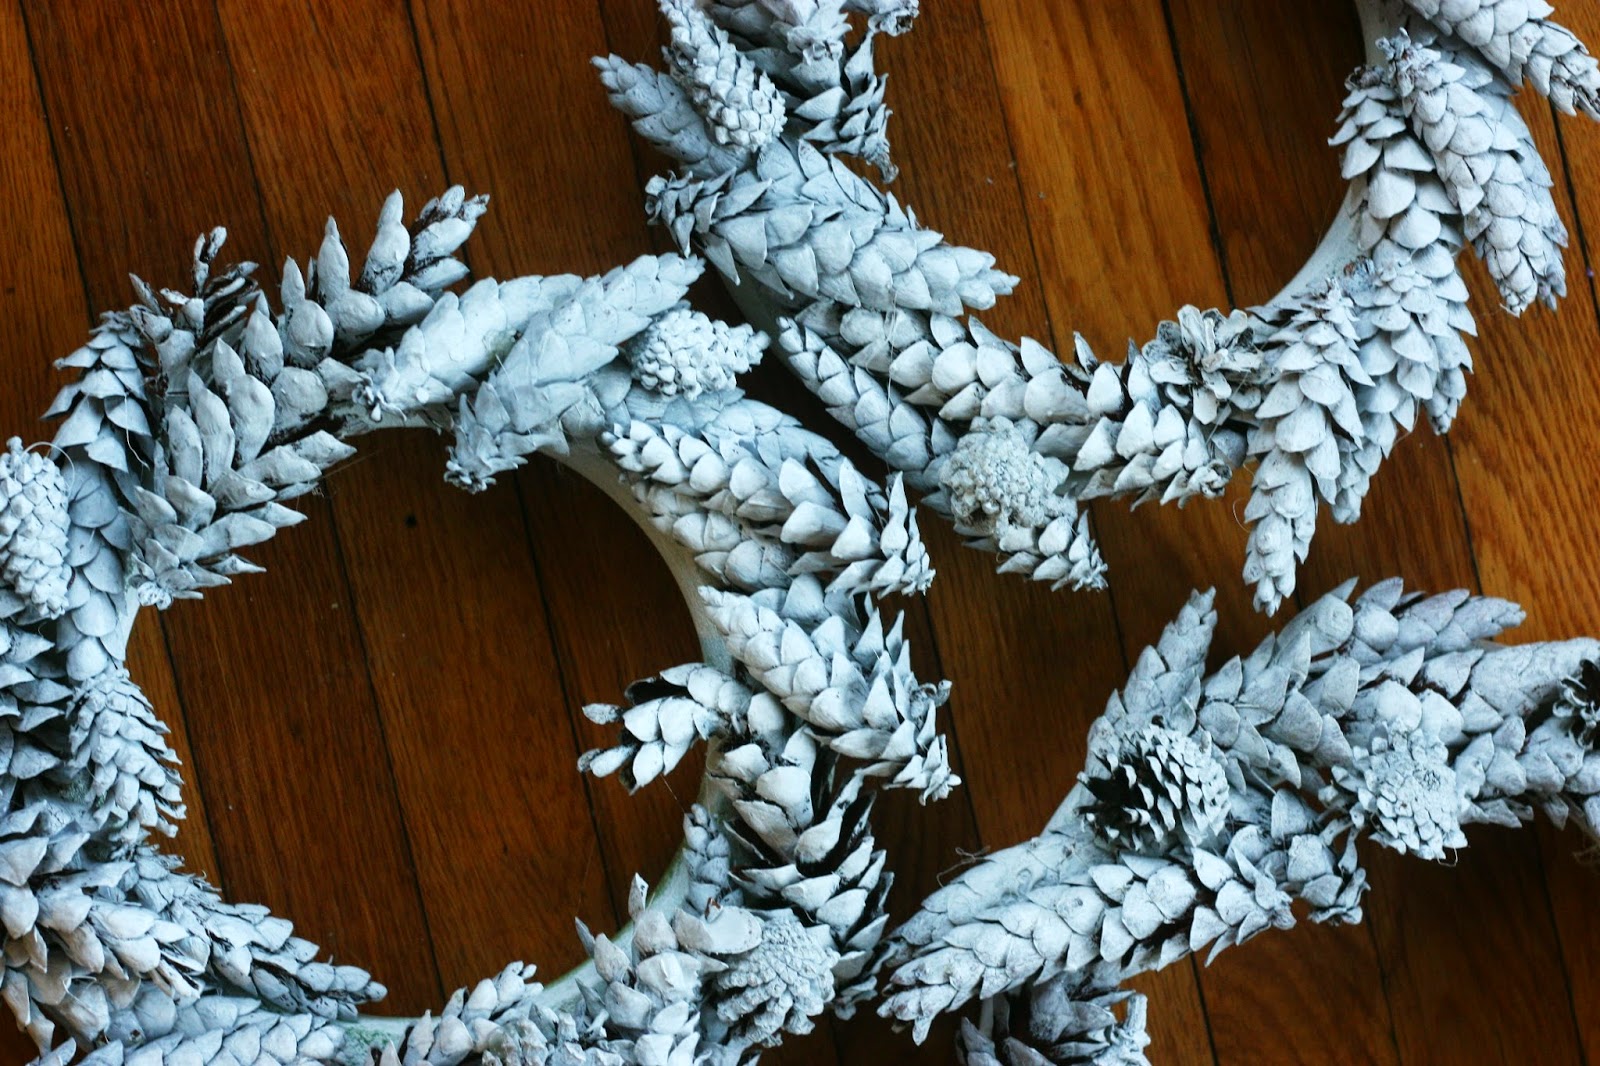
3. While your wreath form is drying paint your pine cones! I found that I paint brush with bristles worked best to get the kinds of coverage I wanted.

4. Once the pine cones are dry, hot glue them to the form! There really are no rules with this. I just kept gluing pine cones until I liked how it looked!

That’s it! Hang those suckers, get some hot chocolate, turn on some White Christmas and let that Christmas spirit get the best of you!

Want to make your own wreaths or another chalky-finish craft? Well, it’s your lucky day because today you can enter to win 8 colors of your choice of Americana Decor Chalky Finish paint, as well as clear and dark creme waxes, Soft Touch varnish, waxing brush and 2 stencils of your choice! Get to entering below and happy holiday crafting!
ox. Liz
Americana Decor Chalky Finish paint is available in Michaels in the wood and finishes aisle. Visit the DecoArt Chalky Finish website for more chalk paint ideas at http://decoart.com/chalkyfinish.


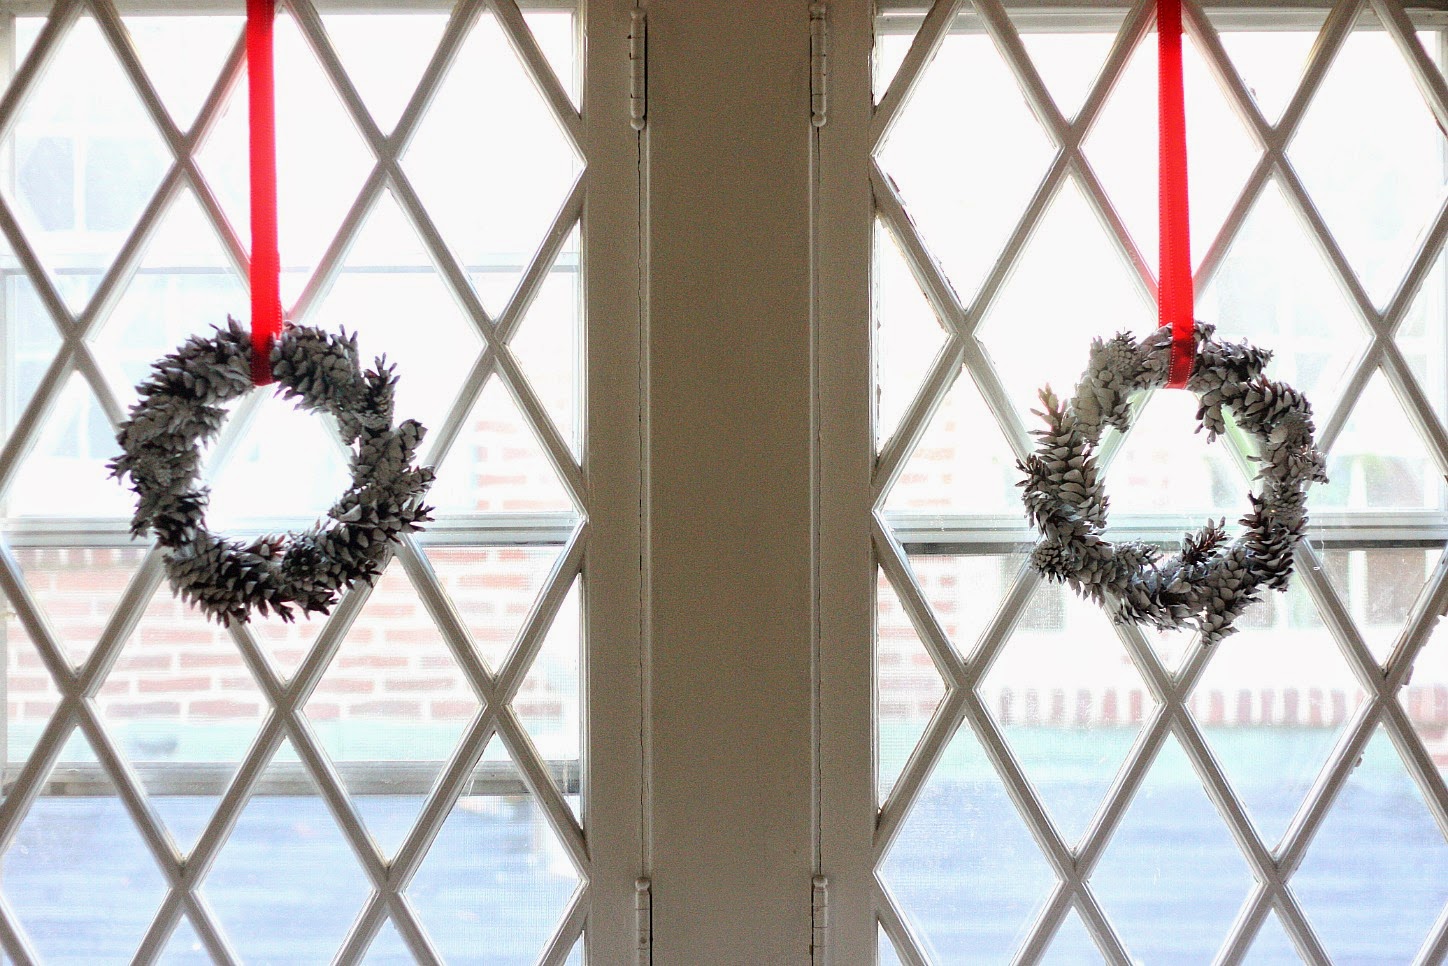
These wreaths look so gorgeous in your windows! I'm definitely going to have to try this!
Paige
http://thehappyflammily.com
SO pretty! I would have never thought to use chalky paint on pinecones. Pinning!
such a cute DIY project for the holiday season
So gorgeous!! Tx for the tutorial!!
Beautiful wreaths. I would love to try chalky paint.
[…] Pine Cone Wreath […]
This is a good project for me to do with my 8-year old grandson. We usually do some crafts for the holidays and this will be a surprise for his mother.
[…] DIY Painted Chalky Pinecone Wreaths […]
Amazing post! Looks awesome and I love chalky paint. I will try this. Thanks for sharing this post.