


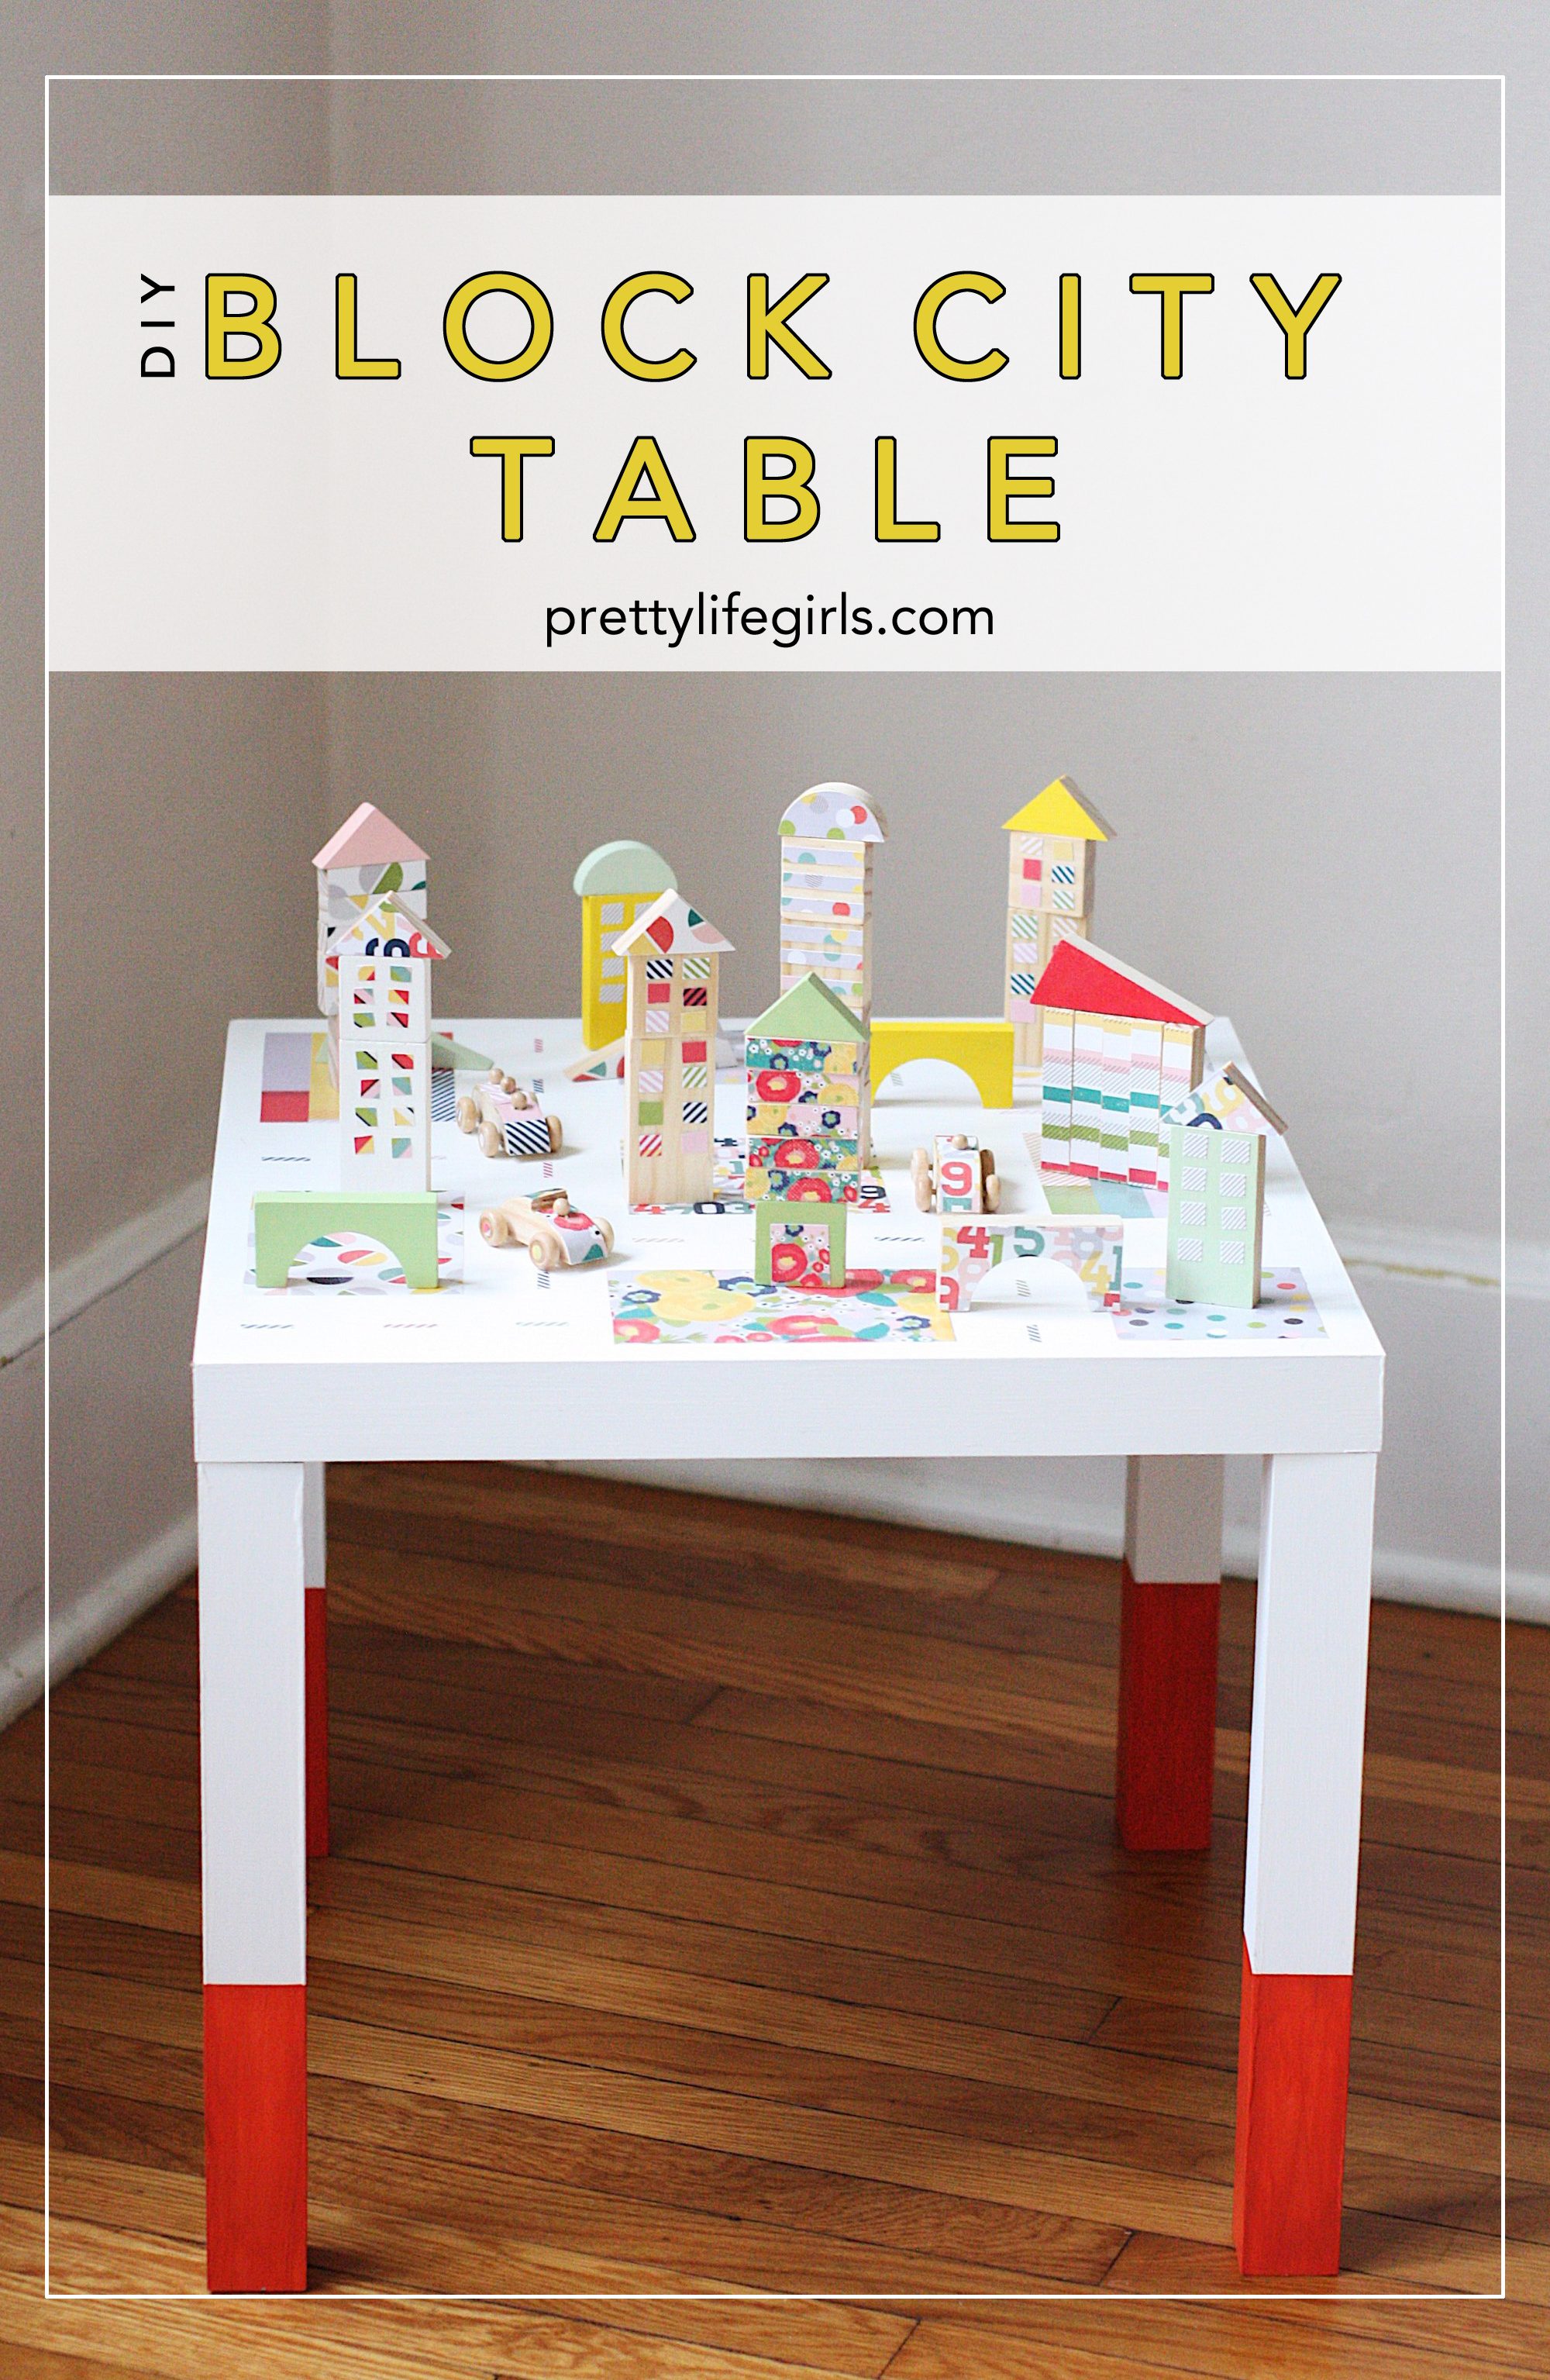
Some of my favorite holidays are on their way here and I’m getting especially excited because they mean celebrating the people who make life so much better: moms, dads and teachers! When my son started preschool almost 2 years ago, I was so freaked out by the whole thing. What if he doesn’t fit in? What if his needs aren’t met? Well, as it turns out, those feelings were downright ridiculous because he had an angel teacher who made him feel like a million the second he walked into the classroom. Teachers! They’re amazing. And because they’re so amazing, we’ve teamed up with Plaid Crafts to do a little “adopt a classroom” project for my son’s school and show a little appreciation in a fun way with this DIY Block City Table!
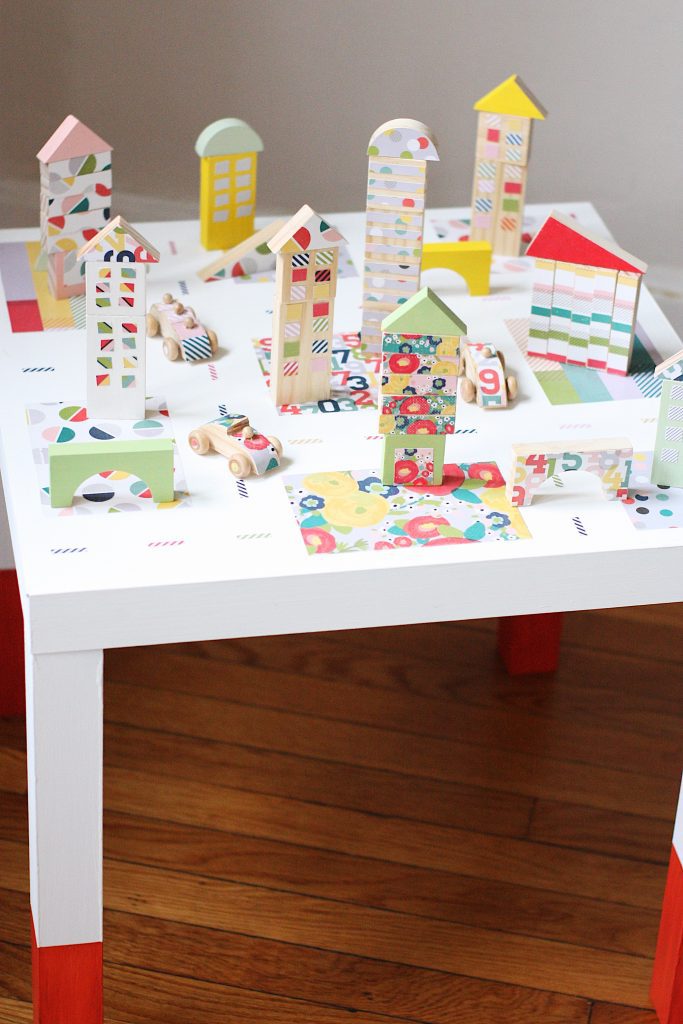
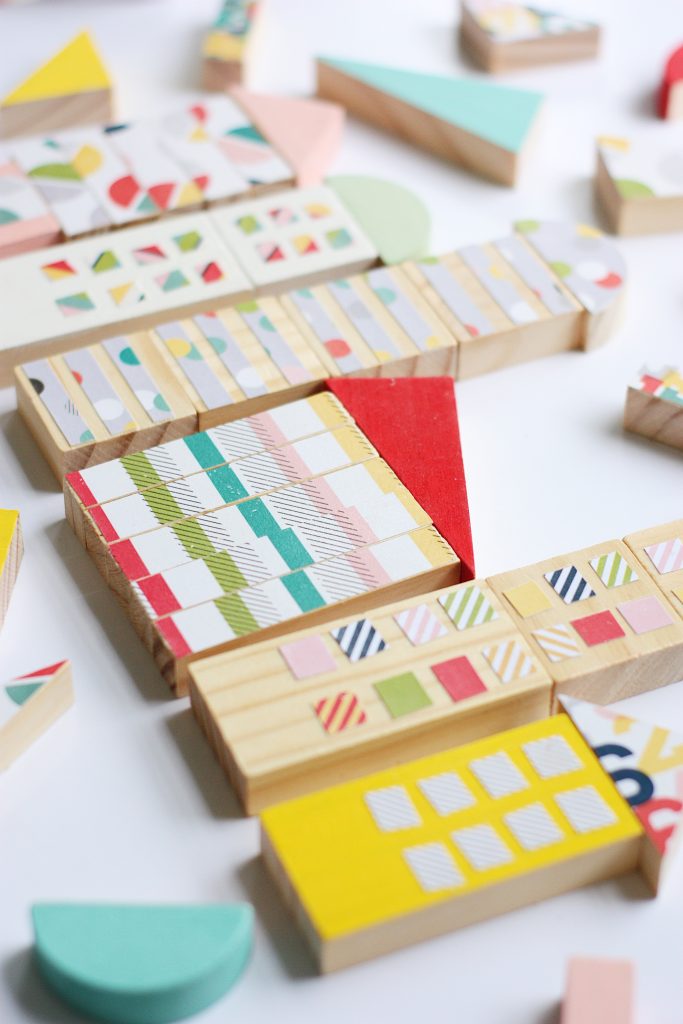
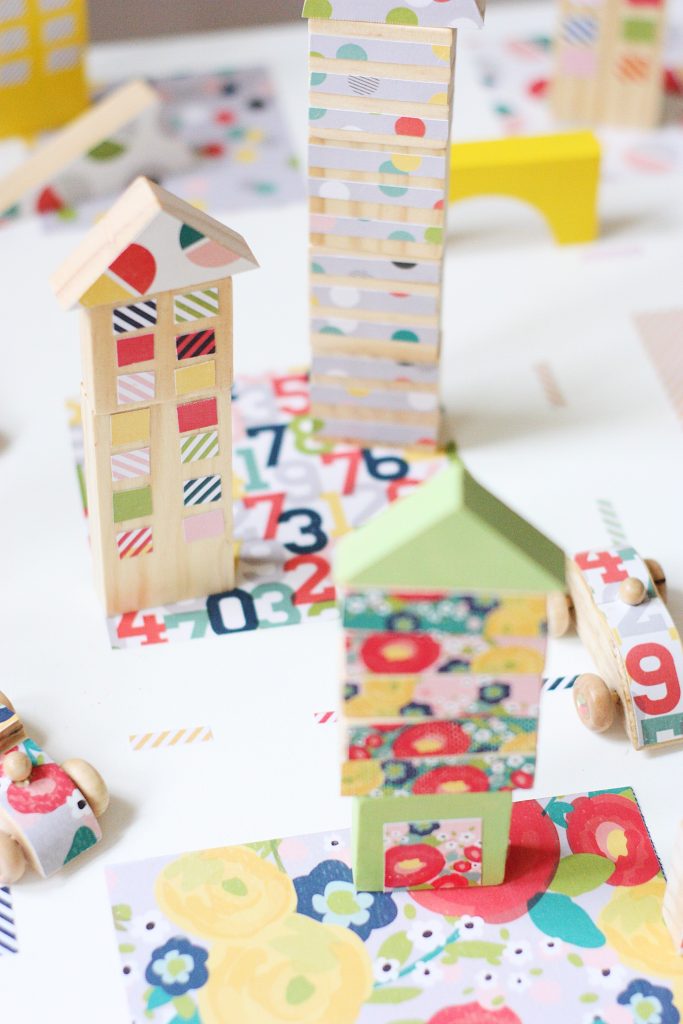
This project was such a treat to put together and would be great for everything from classrooms to home playrooms. Since my son is still in preschool and those kids do a lot of hands-on play, I knew I wanted to create a one-of-a-kind toy with lots of colors and shapes and ways to be creative. Plus, Redd has been obsessed with NYC from our recent travels, so creating a little city seemed perfect, and by using Mod Podge Gloss, I was able to create blocks with all different kinds of patterns. Then, once the blocks were made, we used even more Mod Podge Gloss to upcycle a side table that wasn’t being used to make the perfect setting for city building.
Here’s how we did it:
Supplies Needed:
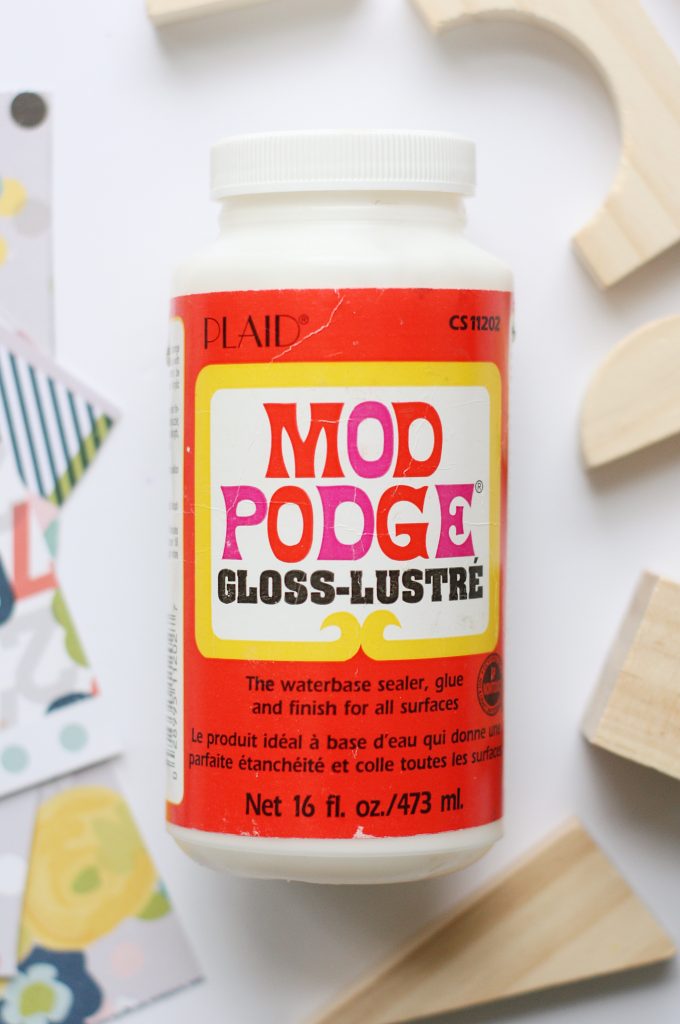
Mod Podge Gloss
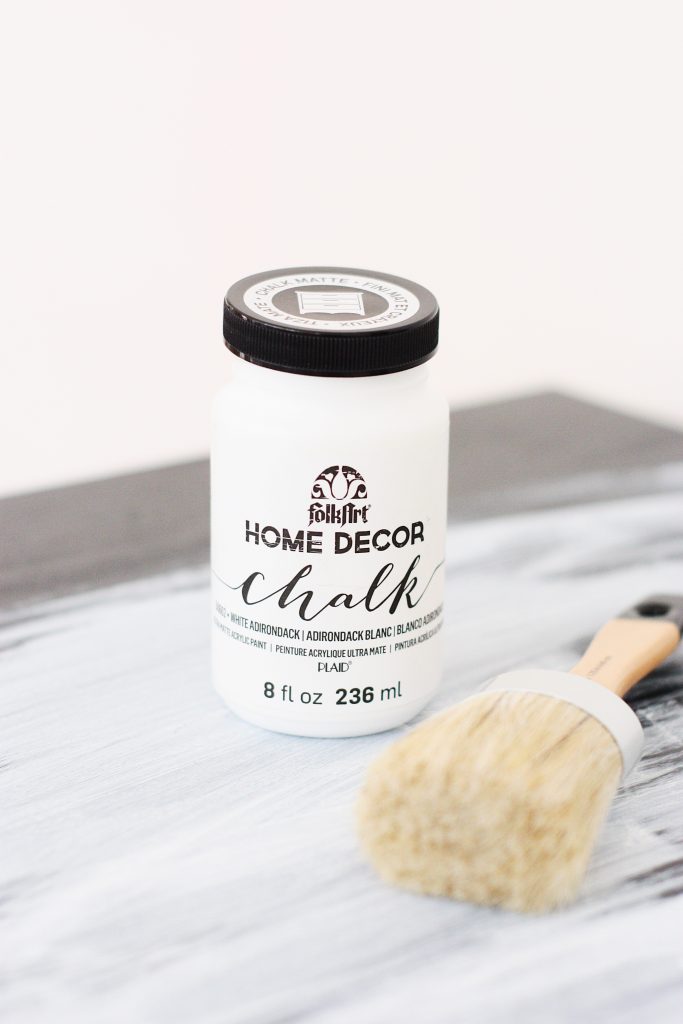
Brushes (two small brushes for applying Mod Podge and paint to the blocks, one large foam brush for applying Mod Podge to the table, one large foam brush for painting the table accent legs, and one FolkArt® Home Décor Chalk Finish Brush)
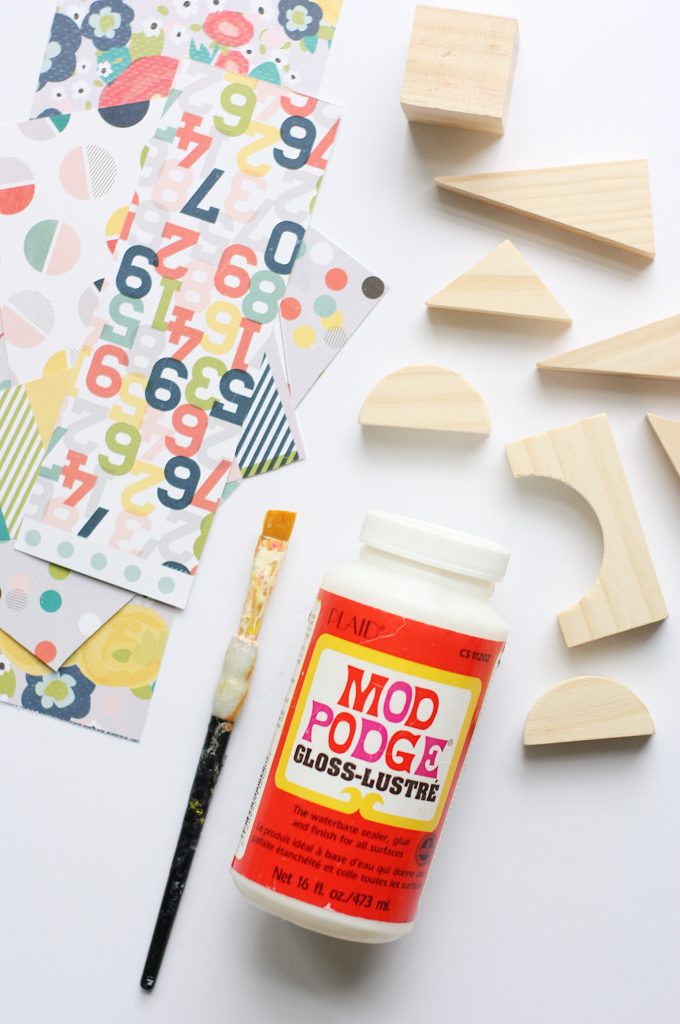
Unfinished Wooden Blocks & Cars (I found mine here)
Scrapbook Paper
FolkArt® Multi-Surface Paint
FolkArt® Chalk Paint
Small Side Table
Painter’s Tape
Pencil
Scissors

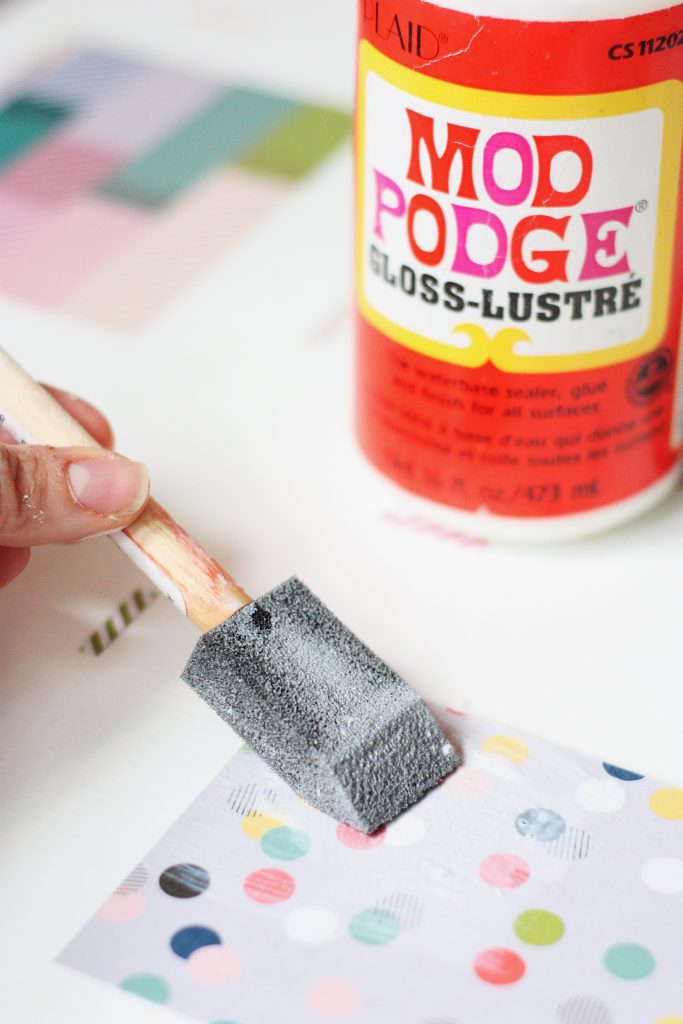
- Using a pencil, trace half of the blocks on the scrapbook paper and cut out paper to fit the blocks. Apply Mod Podge to the surface of the block and attach the paper. Use fingers to smooth out any bumps. Let dry for 15-20 minutes. (For more resources on perfect Mod Podge application, this page and this page are the BEST.)
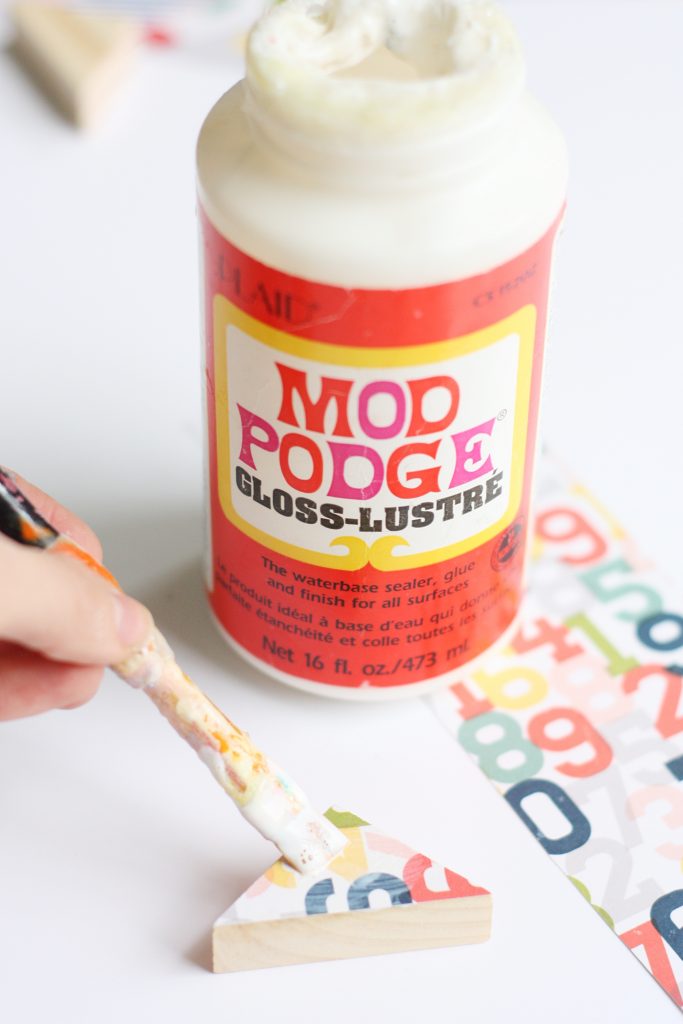
2. Seal your paper onto the blocks by applying a thick coat of Mod Podge over the paper using a small paint brush. Let dry completely.
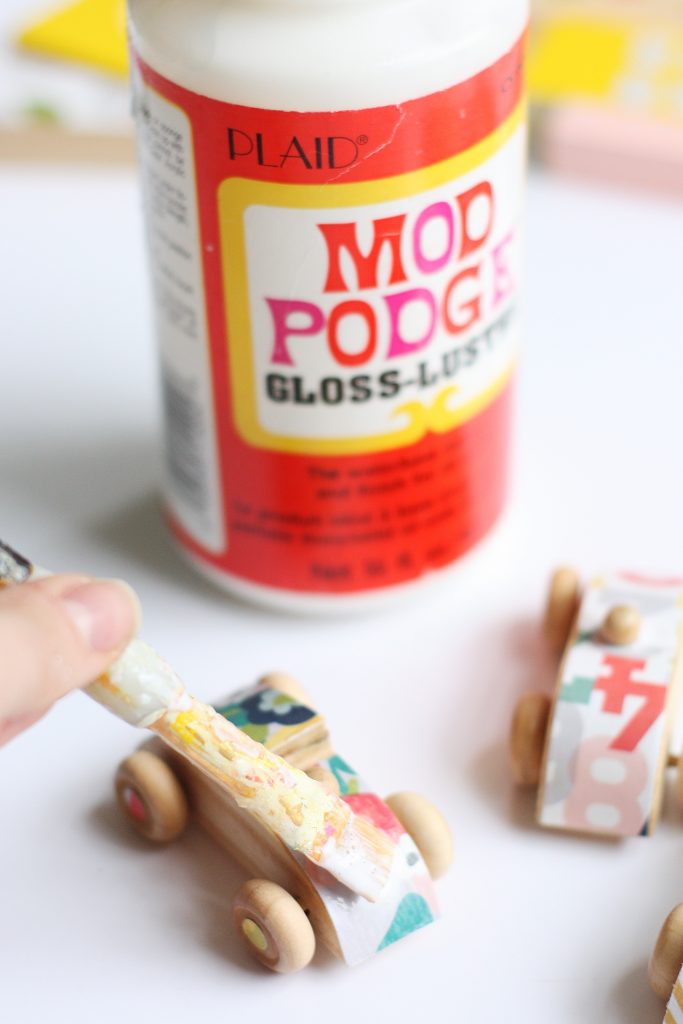
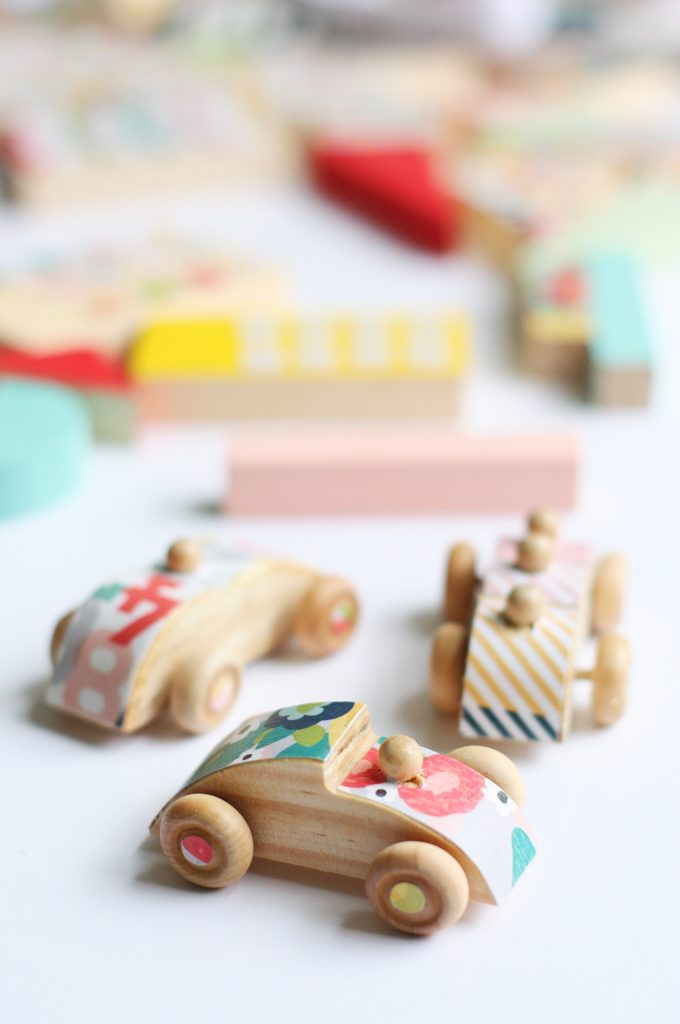
3. Repeat steps 1 & 2 to apply paper to the wooden cars.
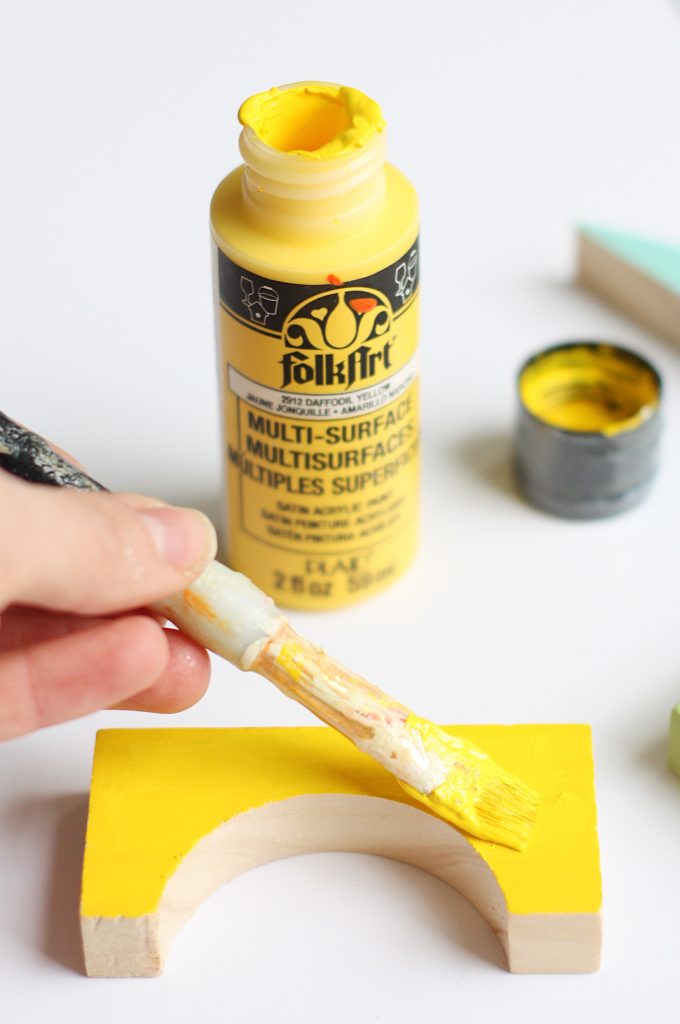
4. Paint the remaining blocks using 2 coats of FolkArt Multi-Surface paint. Let dry completely.
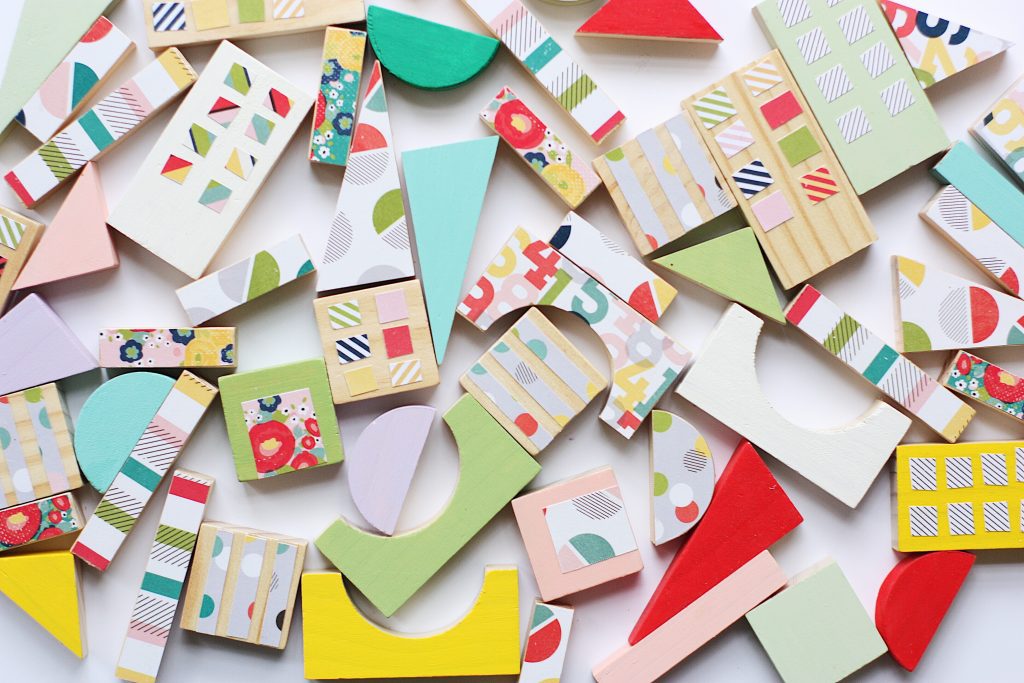

Aren’t they cute? I want to live in this colorful city!
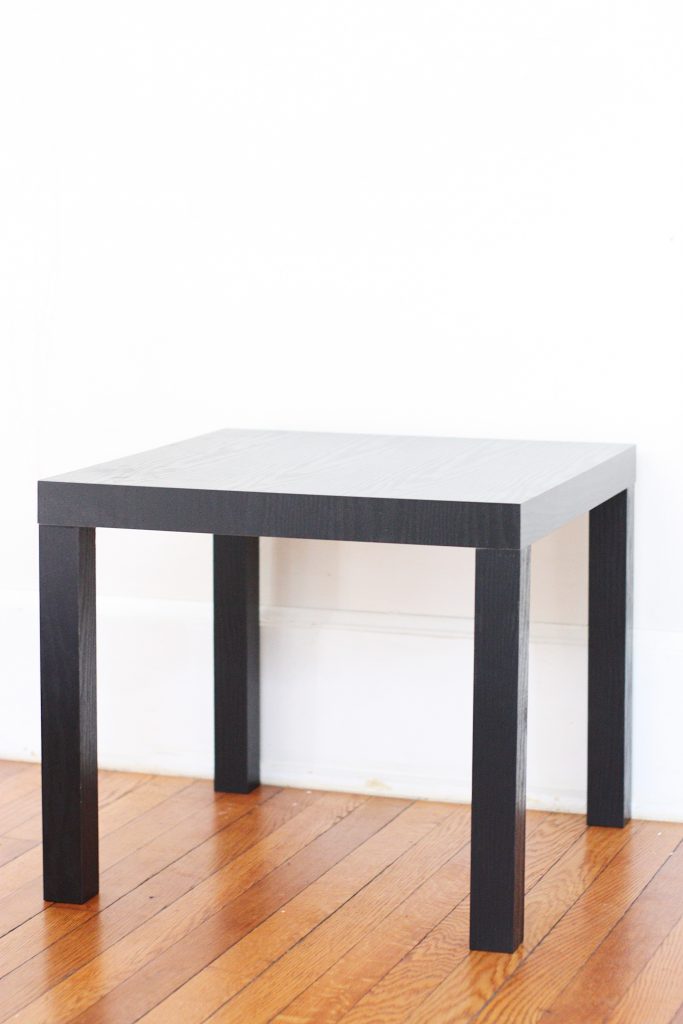
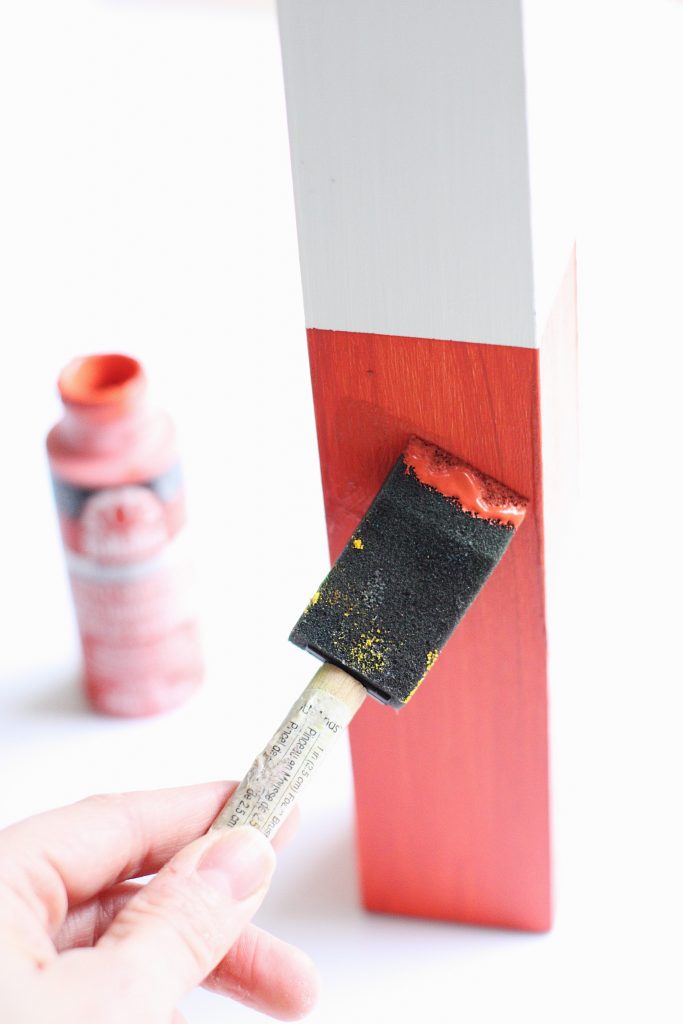
5. Next, it’s time to make your table! Using a FolkArt Home Décor Chalk Paint Brush, apply FolkArt Chalk Paint to your side table. I applied two coats, then let it dry completely.

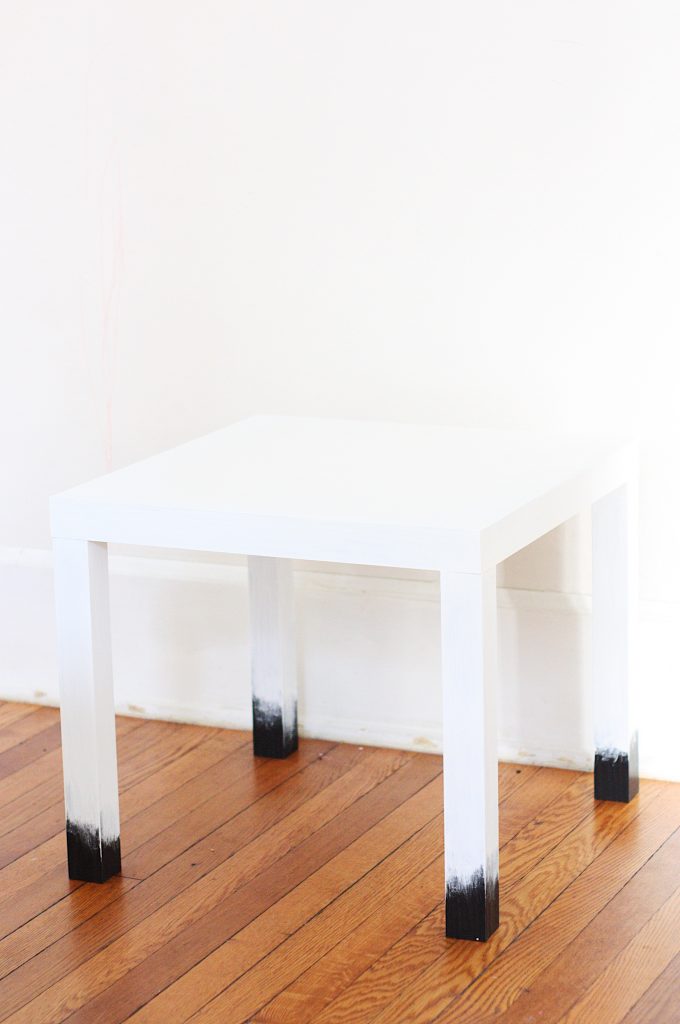
6. Tape of the ends of the table legs and apply an accent color to the bottoms. Apply two coats. Let dry completely, then remove the tape.
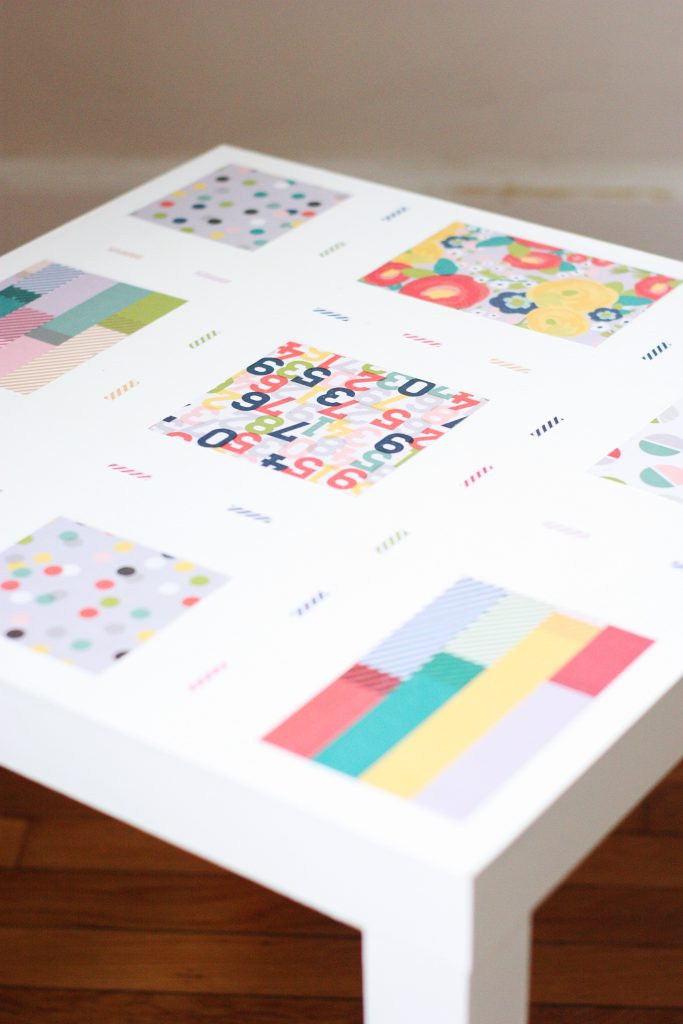
7. Using remaining scrapbook paper, cut out blocks of paper, and small rectangles for road markings. Attach them to the table top by applying Mod Podge to the table and the back of the paper. Use fingers or a brayer to smooth out any bumps. Let dry for 15-20 minutes then seal the paper with a liberal amount of Mod Podge. Apply 2 coats, if desired. Let dry completely.
That’s it! Now it’s time to build our city!
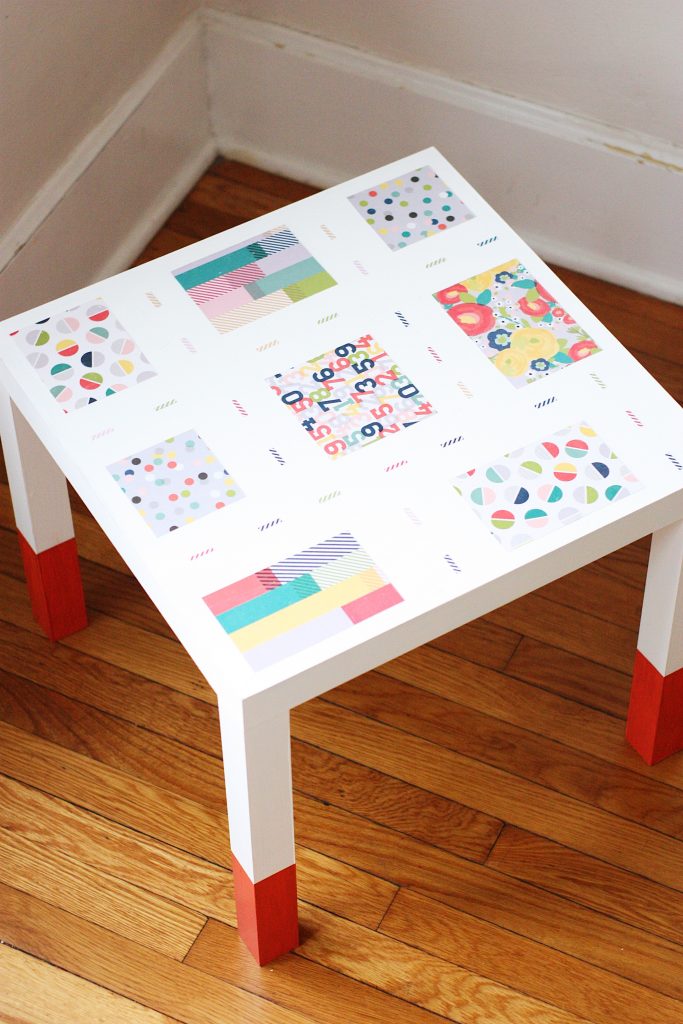
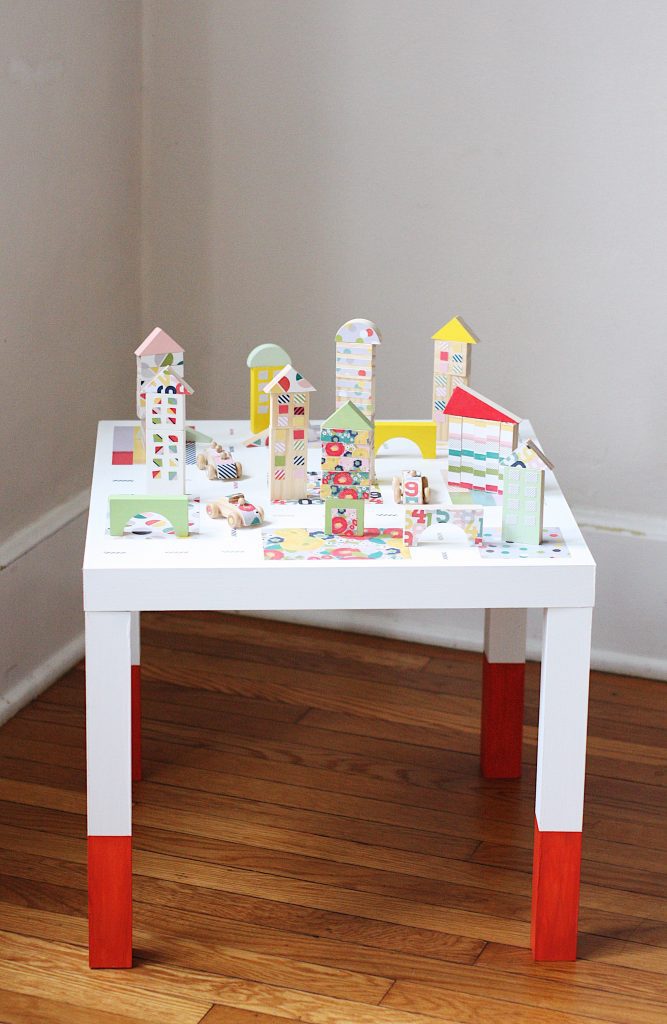
Isn’t this city the cutest? I love the idea of my son’s class getting excited over all of the fun patterns and colors, and think it’s so fun to imagine all of the different kinds of cities they will build!


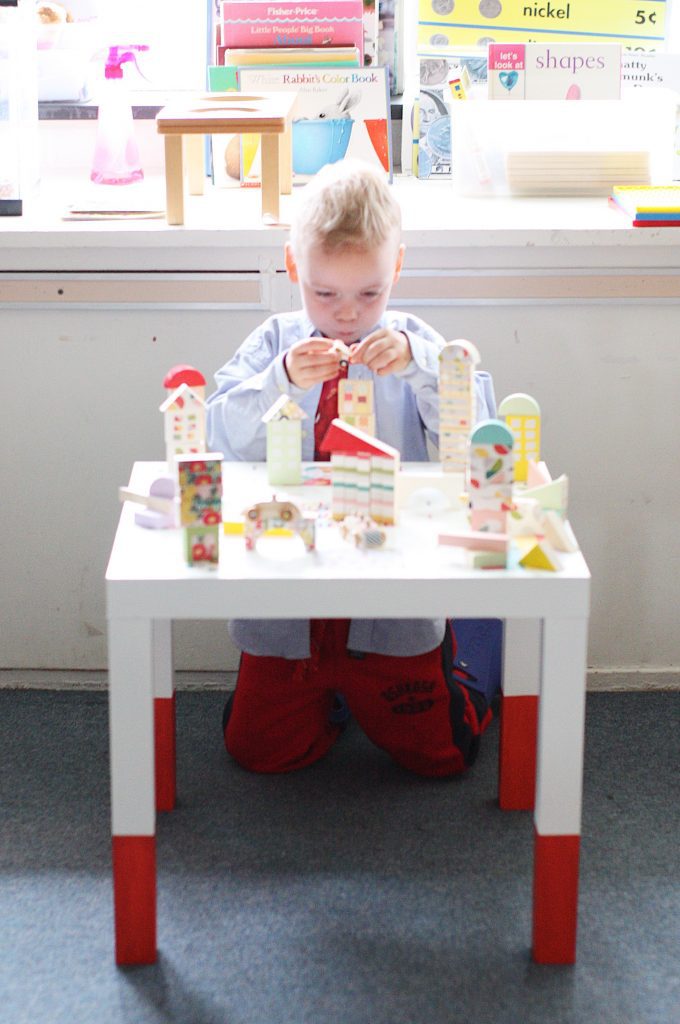
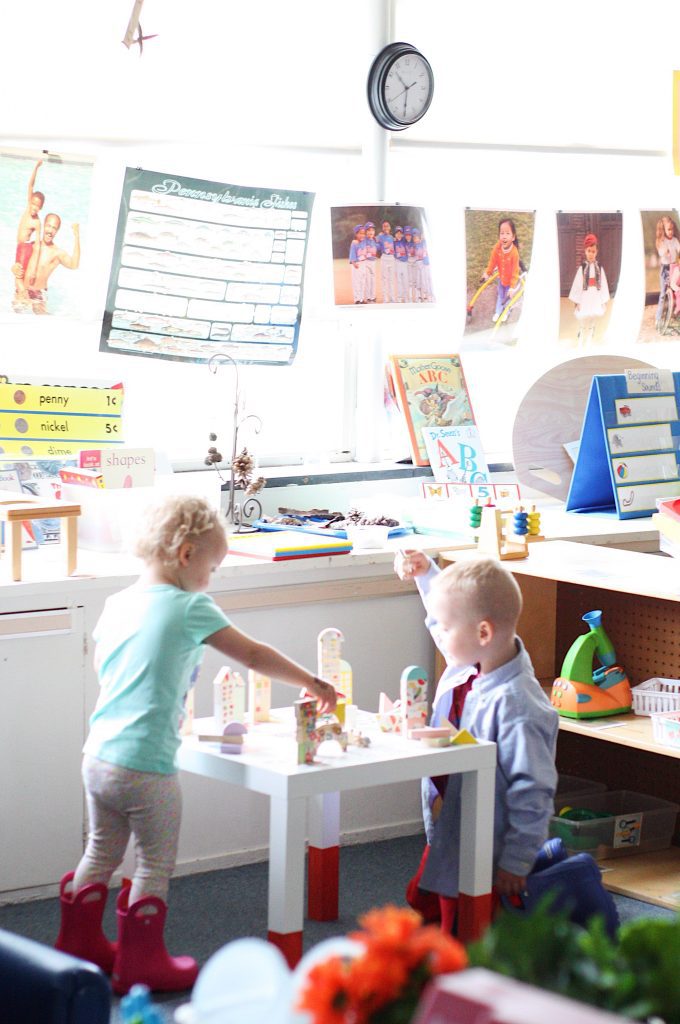
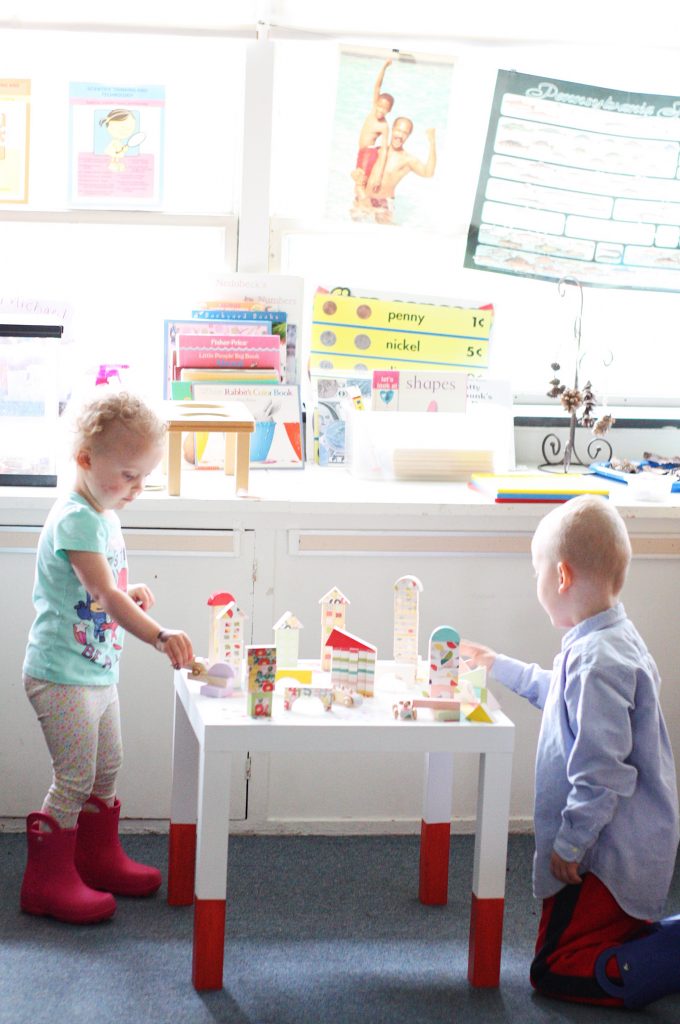
And, once it was finished, we delivered it to the classroom! The kiddos approved.

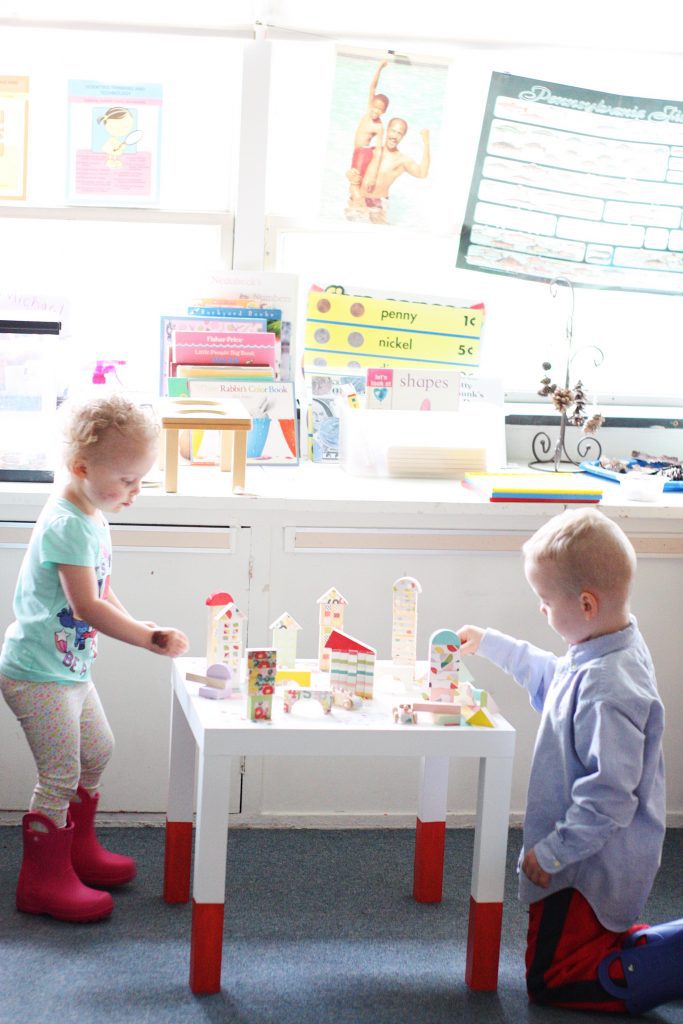
Isn’t this the funnest? I loved seeing the table get used in the classroom! Plus, to celebrate teachers AND the 50th Anniversary of Mod Podge, Plaid Crafts has created an educator’s content hub that has everything teachers need to incorporate Mod Podge into their classroom, including:
• Lesson plans
• Free Monthly downloads
• Project inspiration
• Instructional videos
• Printable project calendar …and more!
So, whether you are a teacher, parent, or just someone who loves Mod Podge, we invite you to join the celebration! Find out more right here: www.plaidonline.com/modpodge50.
What ideas do you have for showing appreciation to the wonderful teachers in your world? I’d love to hear! And for more ideas and inspiration, be sure to keep up with Plaid Crafts on Facebook, Instagram, Pinterest, and via Email!
ox. Liz
Check out the Mod Podge projects from the other Plaid Creators!


[…] DIY City Block Table: This DIY city block table will get kids imaginations going in ways other toys can’t! They […]
[…] DIY Block City Table […]
[…] DIY Block City Table […]
[…] DIY Block City Table […]