


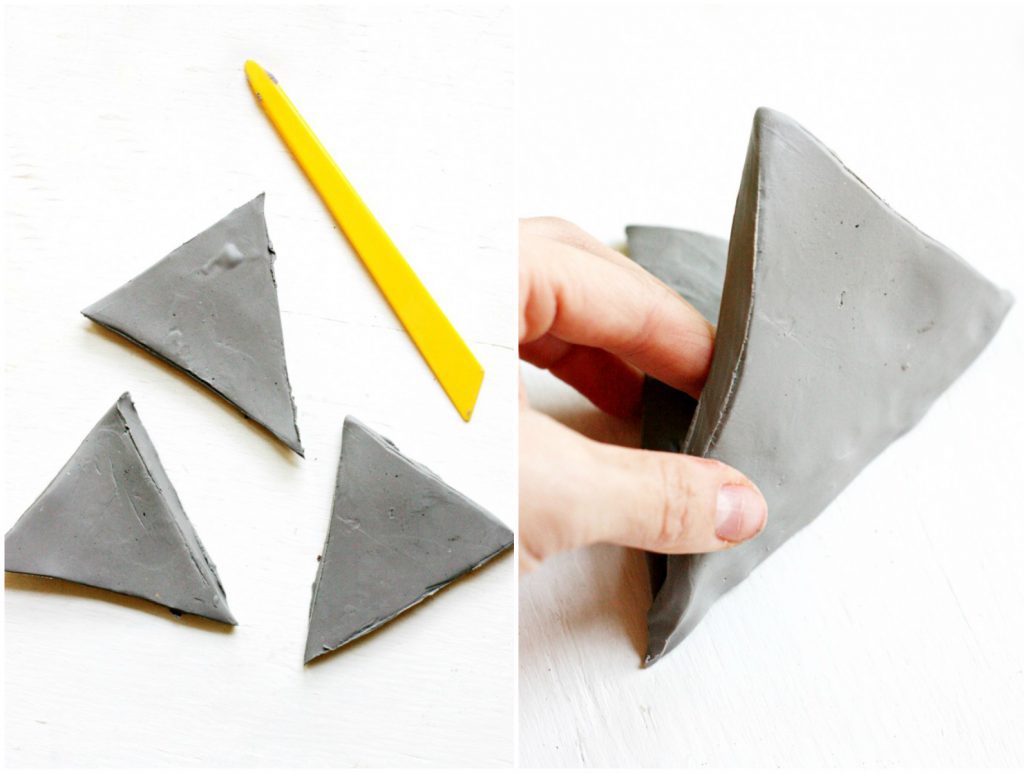
3. Very carefully mold your sides together, smoothing the clay until all seams disappear (this is especially important on the inside since you want the planters to be water-tight), and you like the shape of the pot.
Now, let’s pause for a quick crafter’s note. When I was photographing this particular planter I forgot to poke a hole in each triangle for the rope. It worked out fine since this clay is still relatively soft even after it’s baked so I was able to easily drill in holes. However, if you don’t have a drill, or just want to make your life easier, make sure to punch a hole in each triangle BEFORE baking. With my other pot I used a straw to do this and it worked great!
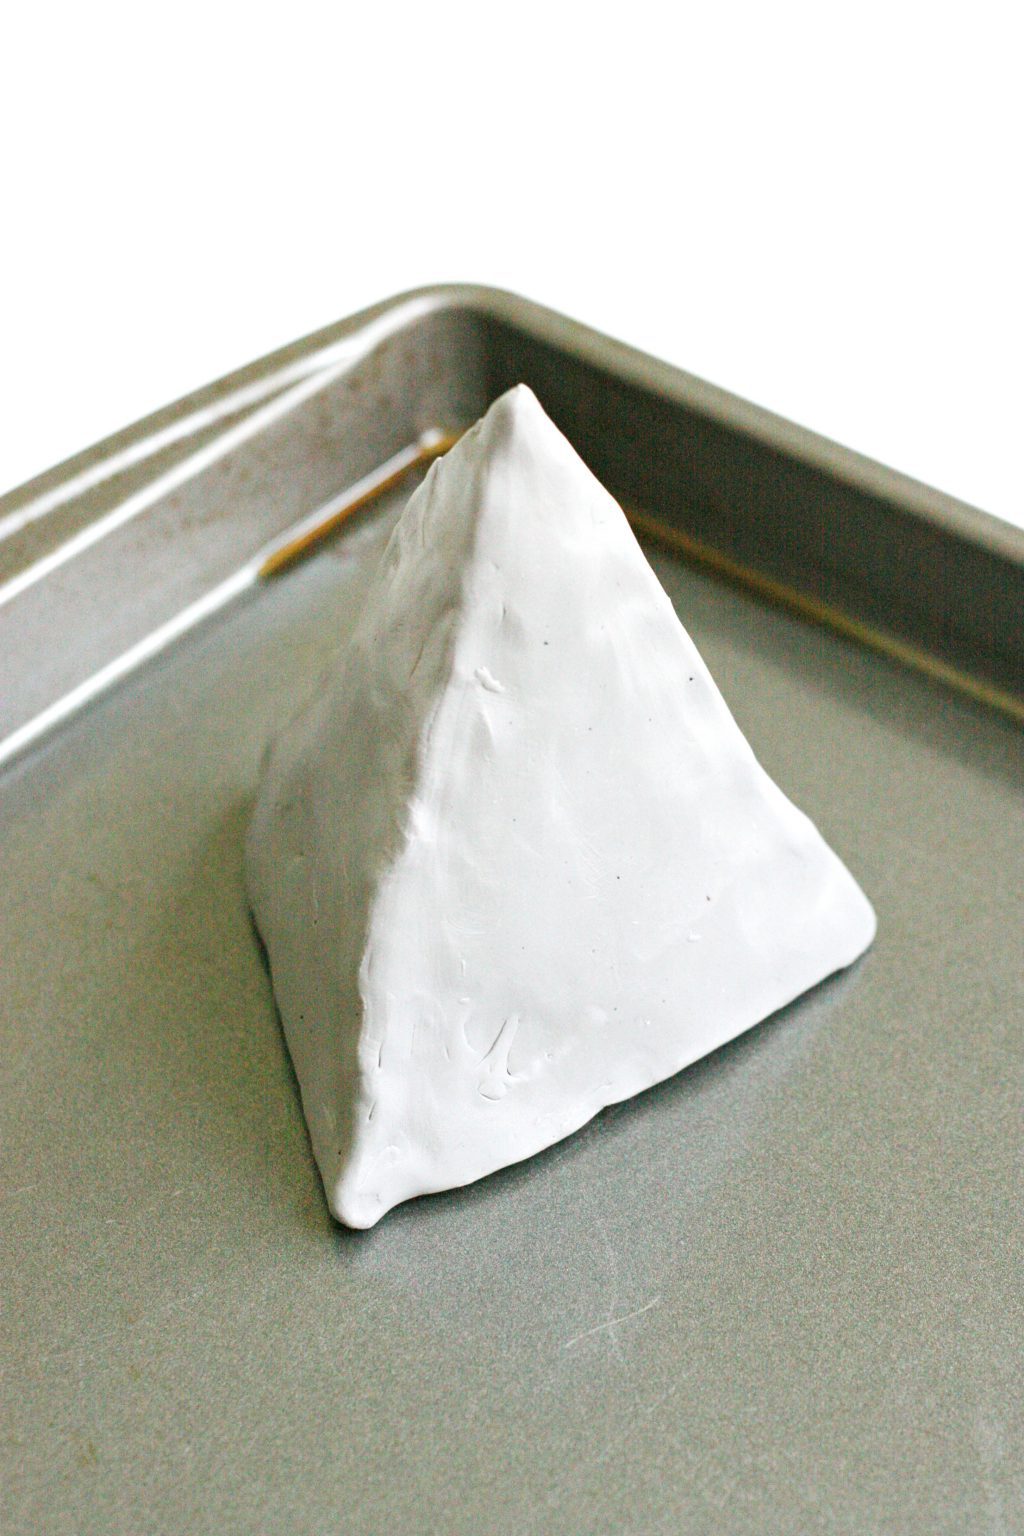
4. Bake your pot according to your package directions, checking on it regularly at first to make sure that it holds its shape.
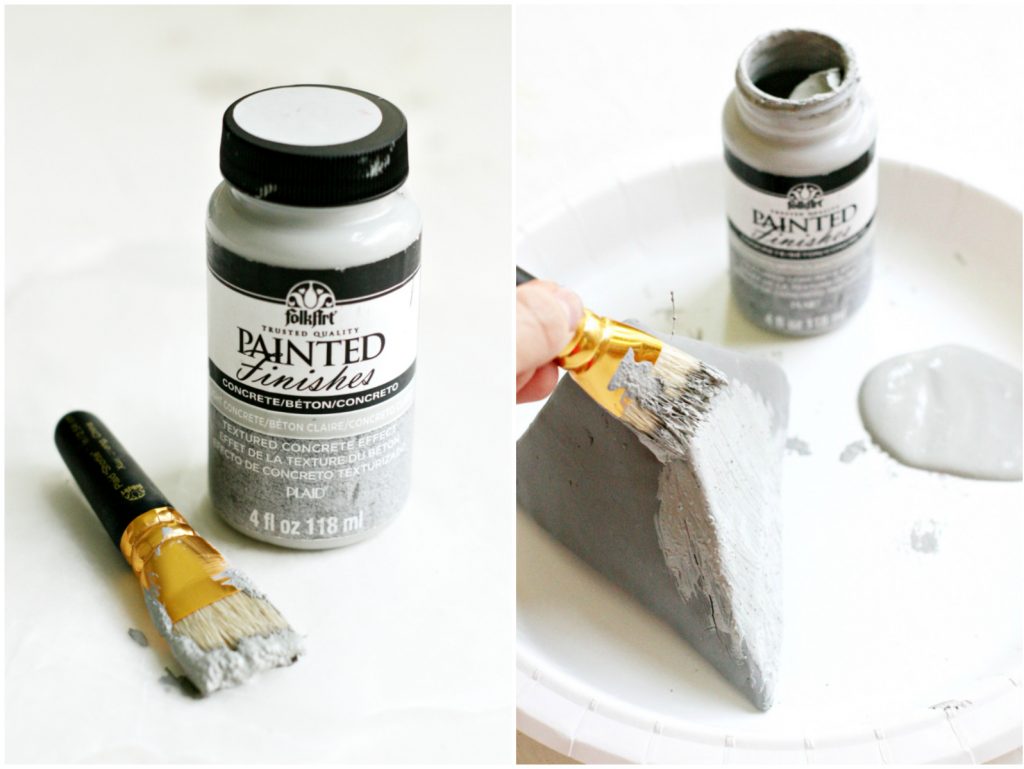
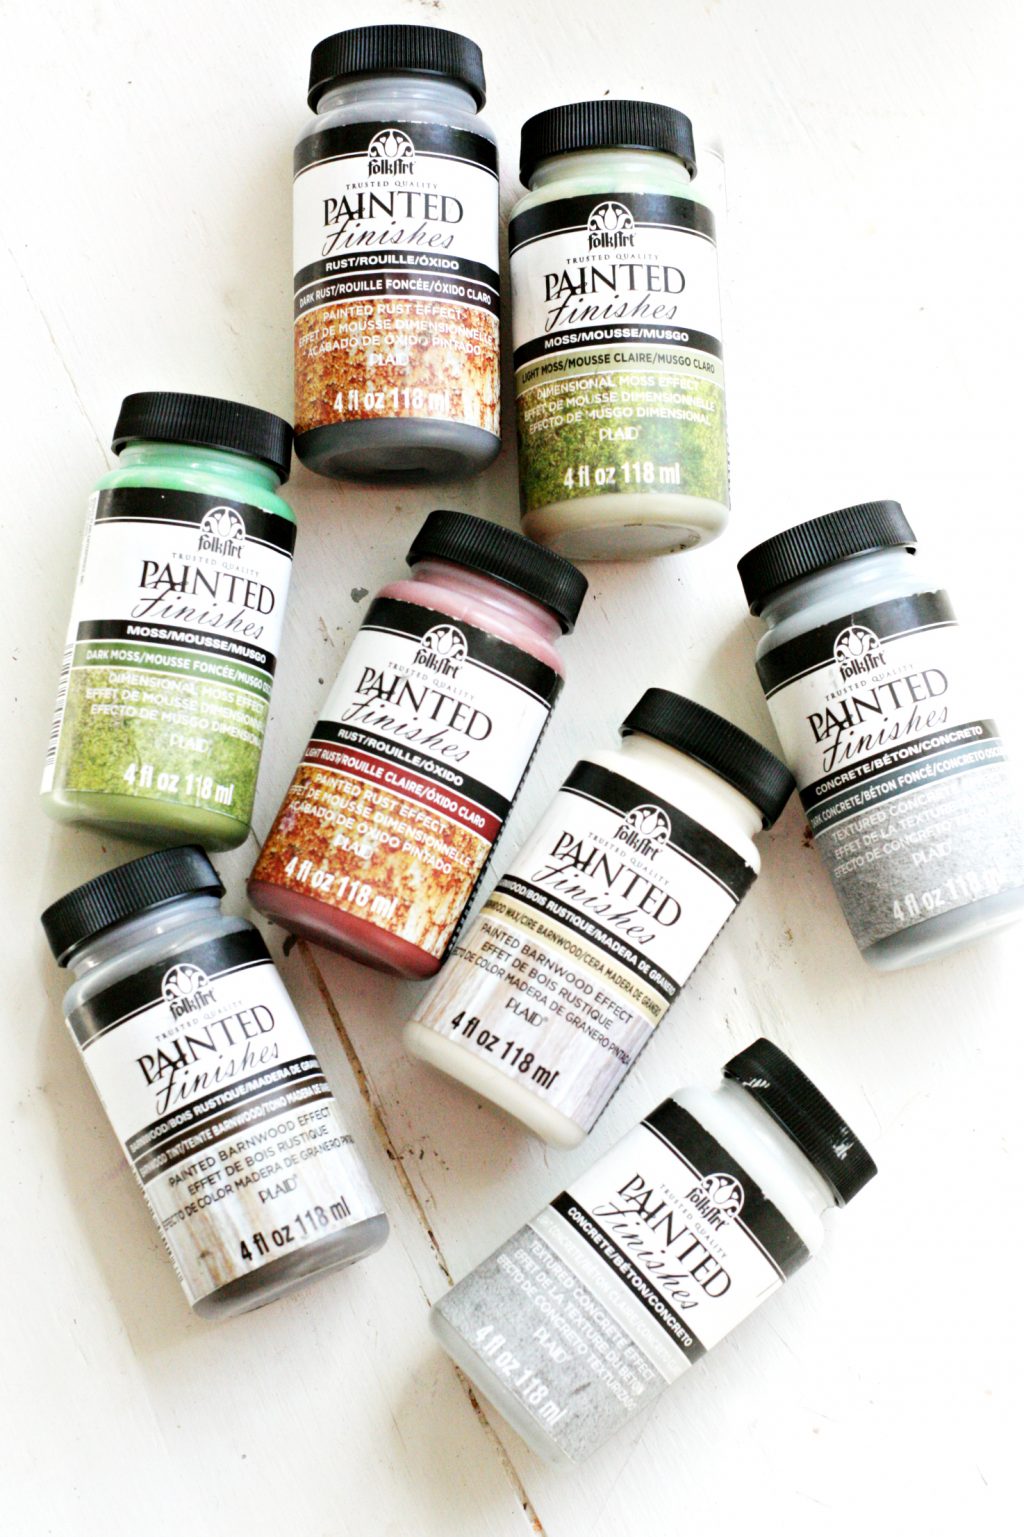
5. Now my favorite part! Once your pot has cooled completely, add your FolkArt Painted Finishes! Application is foolproof since it is a super easy-to-use, dab-on formula. Plus, this step was so fun because the pot was so flat and boring after it was baked and applying the paint gave it so much dimension and texture!
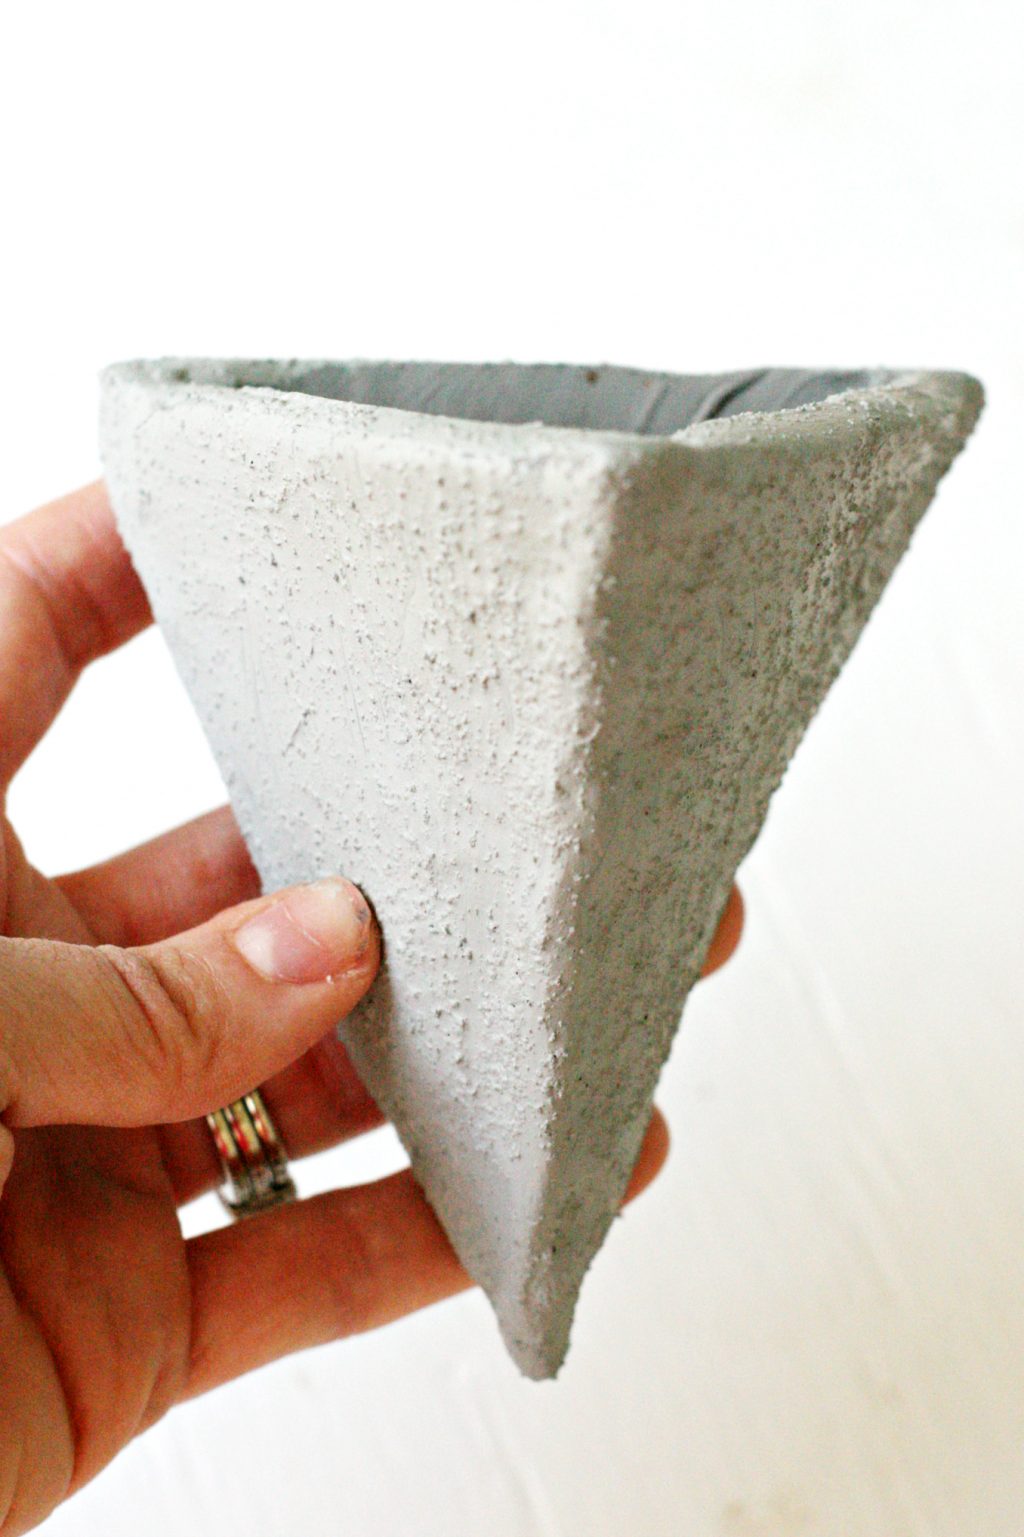
Can you believe you get all of that texture from a paint? The. Coolest. Plus, since we used oven bake clay, these pots are so light, it only looks like they are dense and heavy.
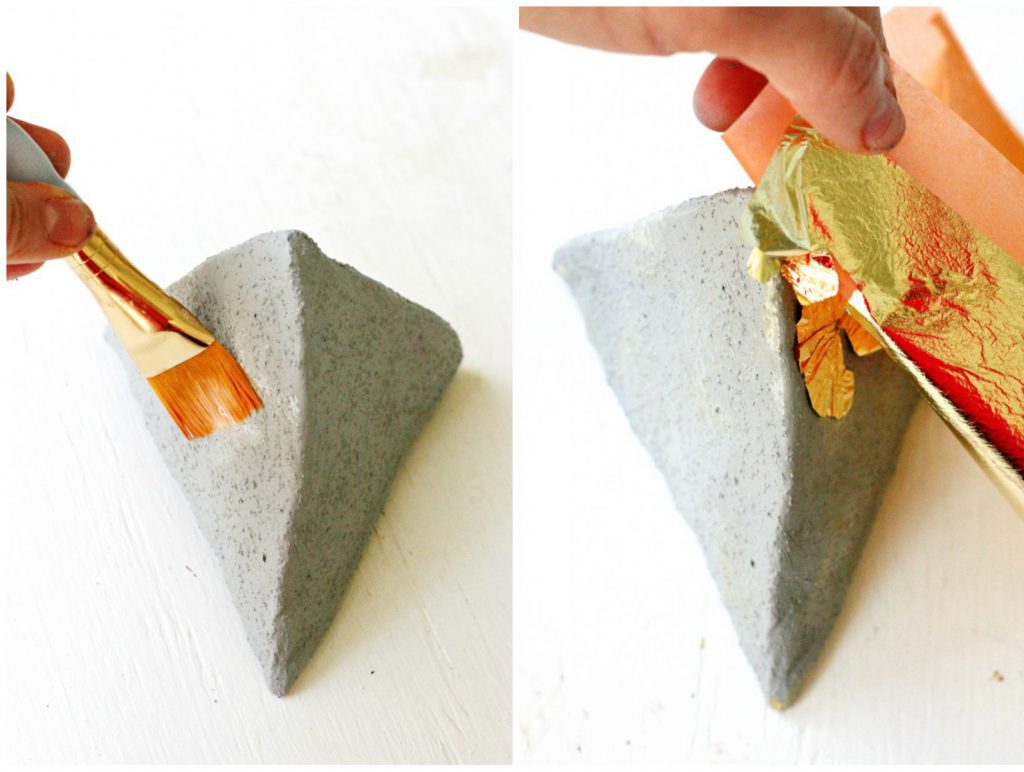
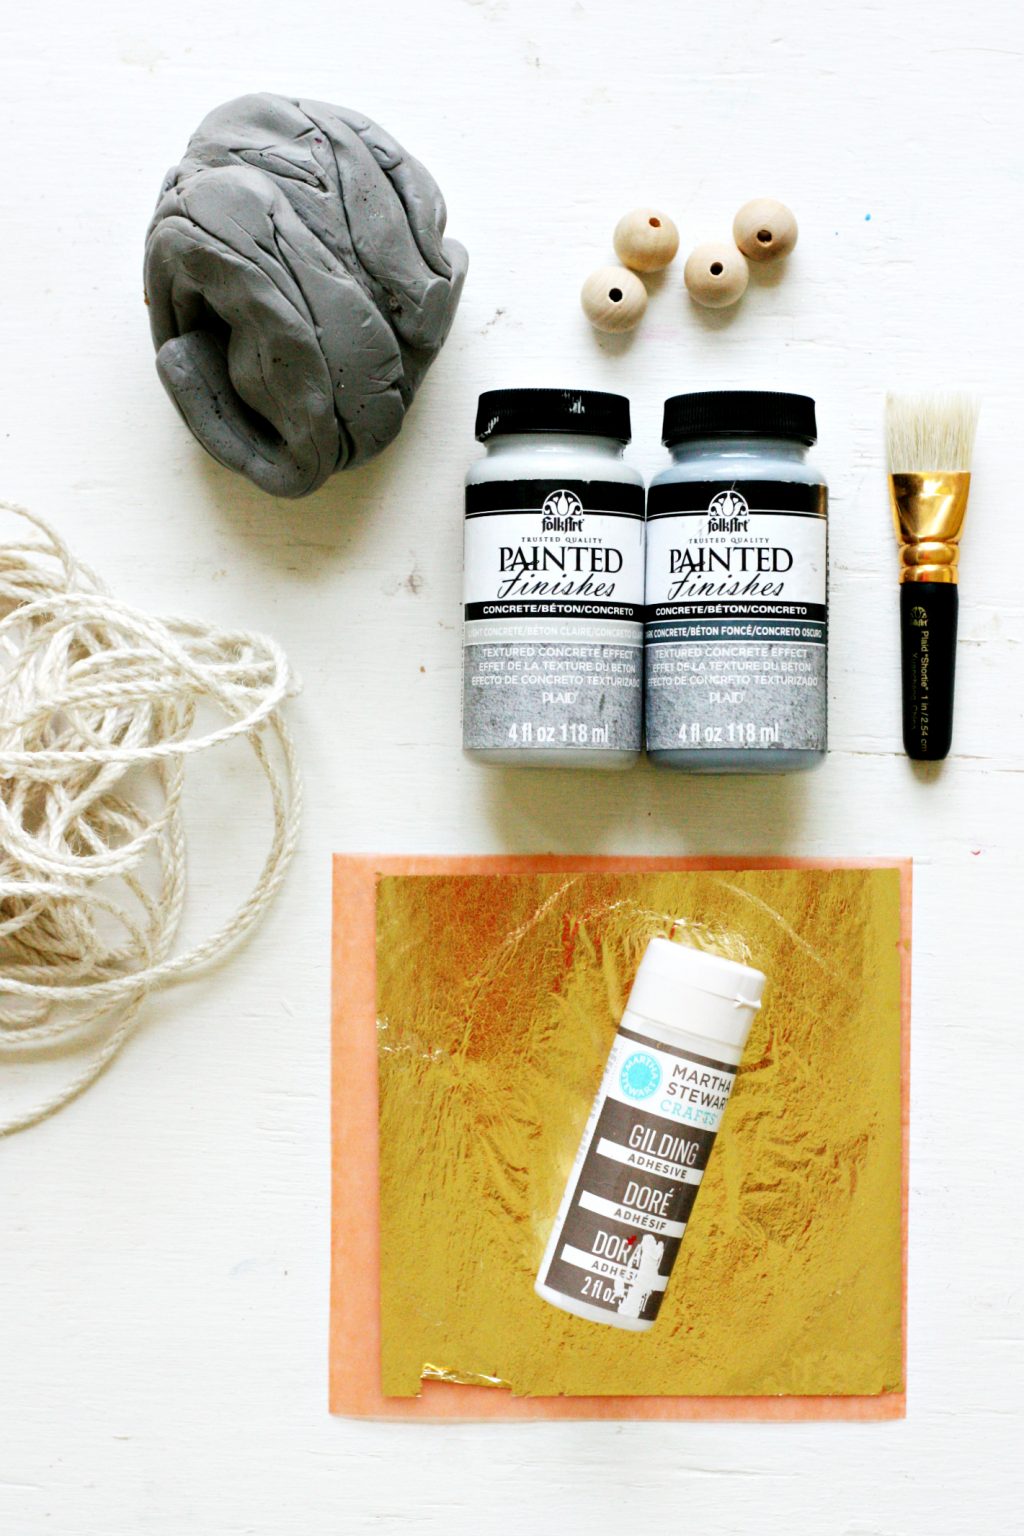
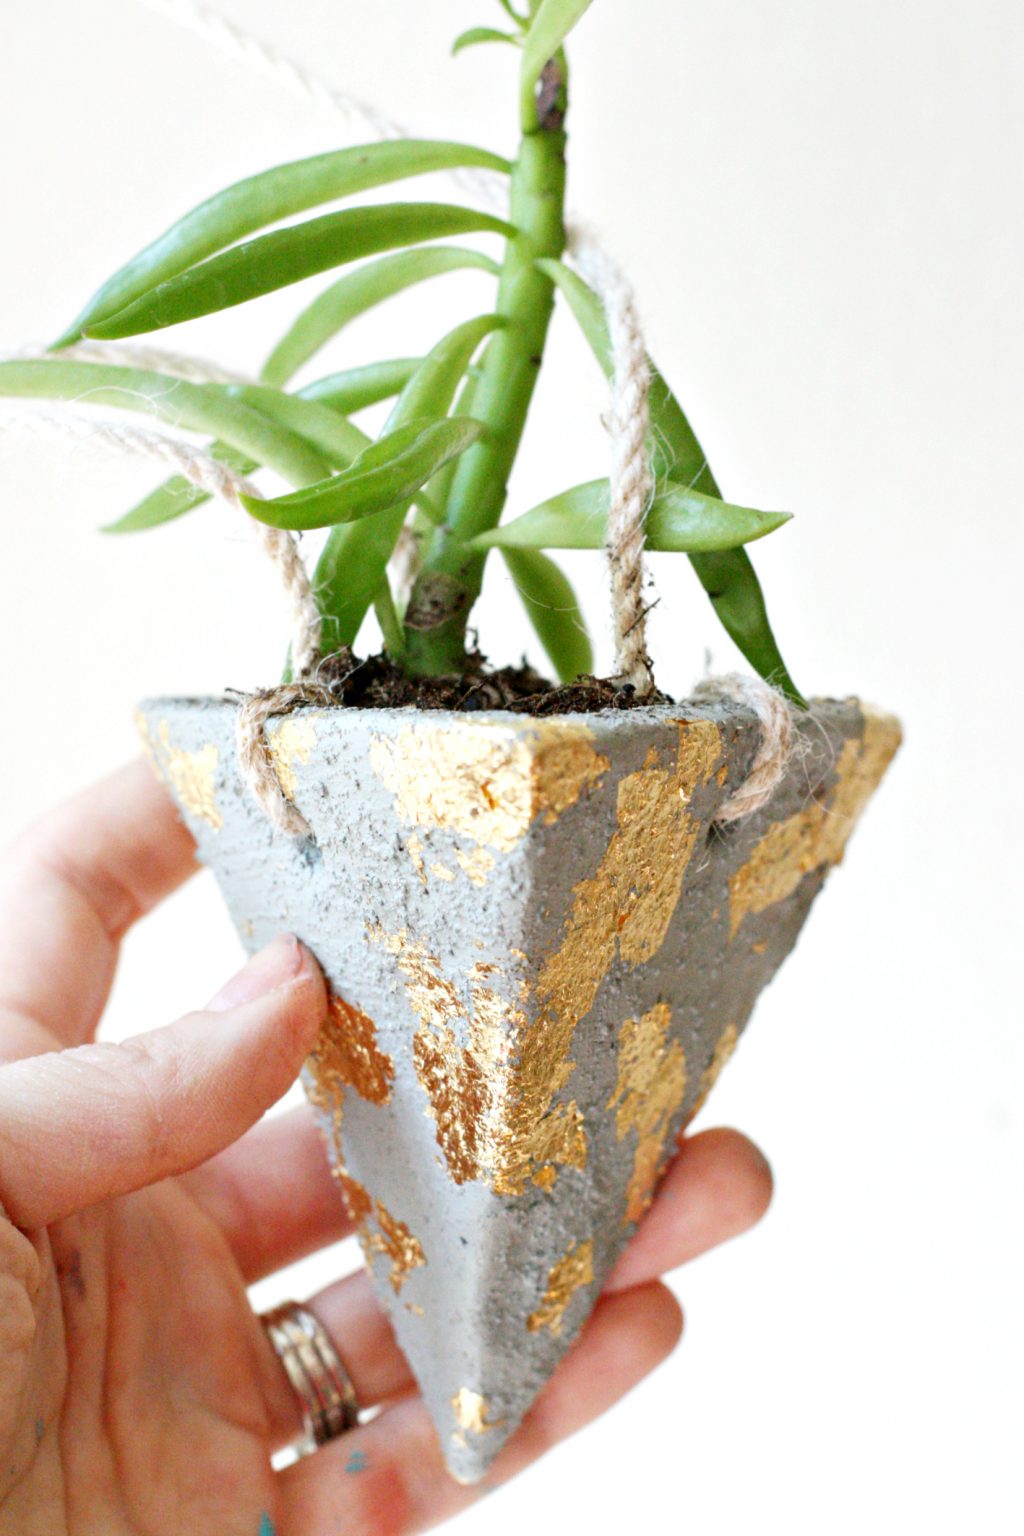
6. Once you have let your paint dry completely, it’s time to apply your gilding! To apply, blot pot with glue and let dry until it turns from white to clear. Once the glue is clear, rub on your gilding sheets and pull up, leaving behind gold pieces on the pot. Feel free to use your fingers or a gilding brush to smooth pieces against the pot.
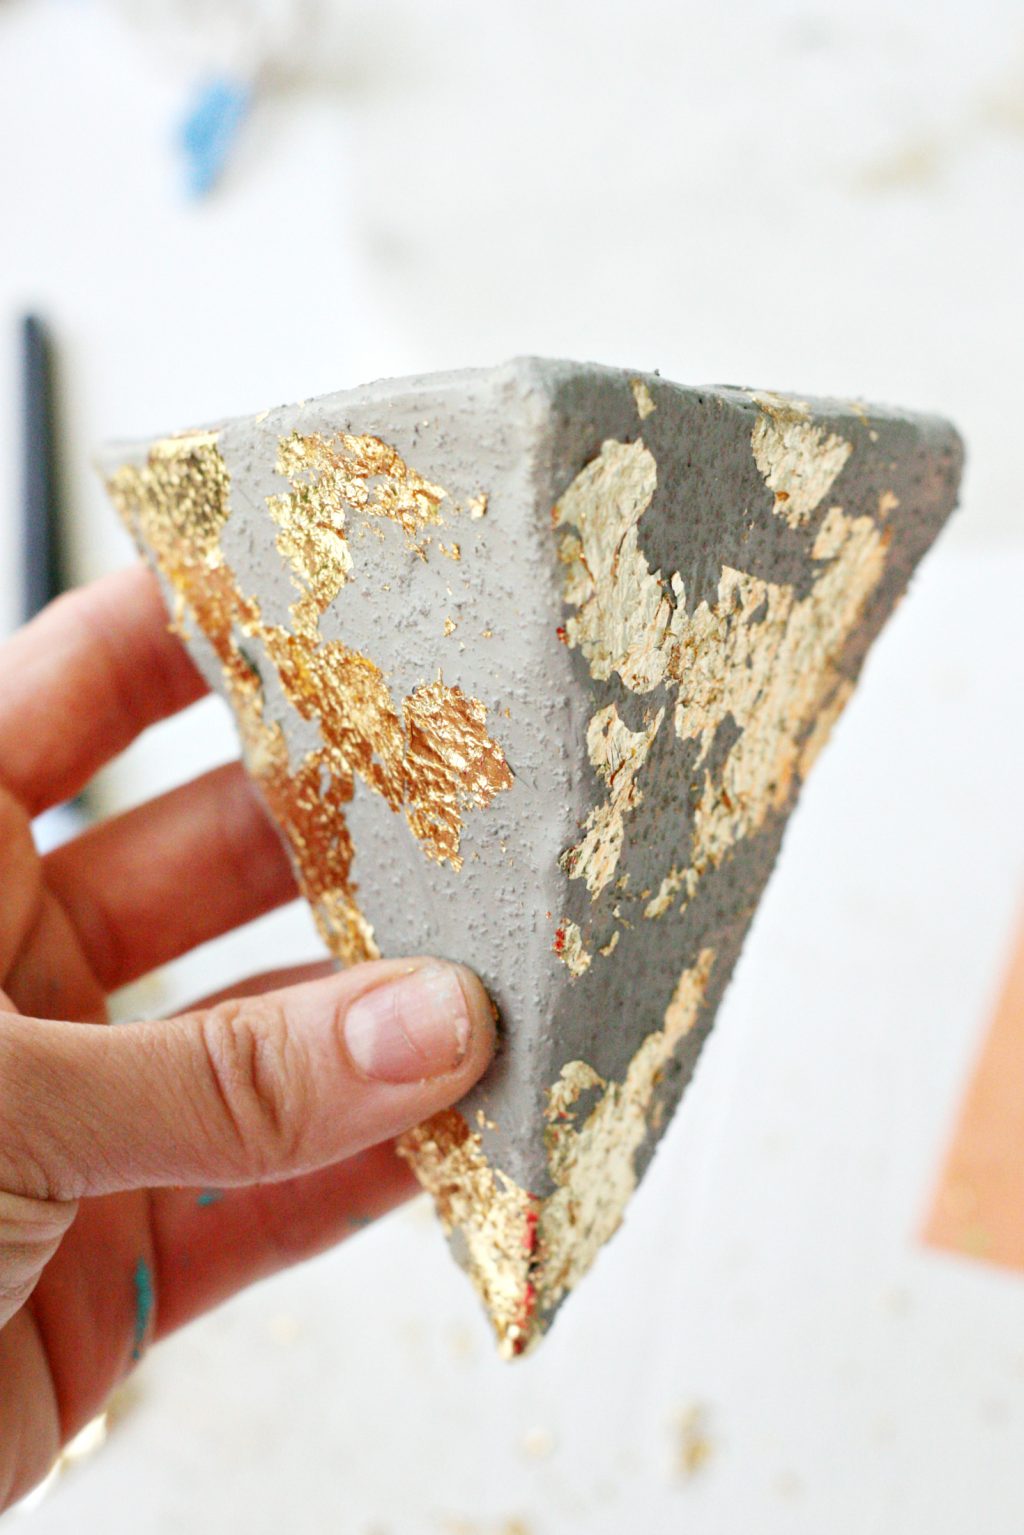
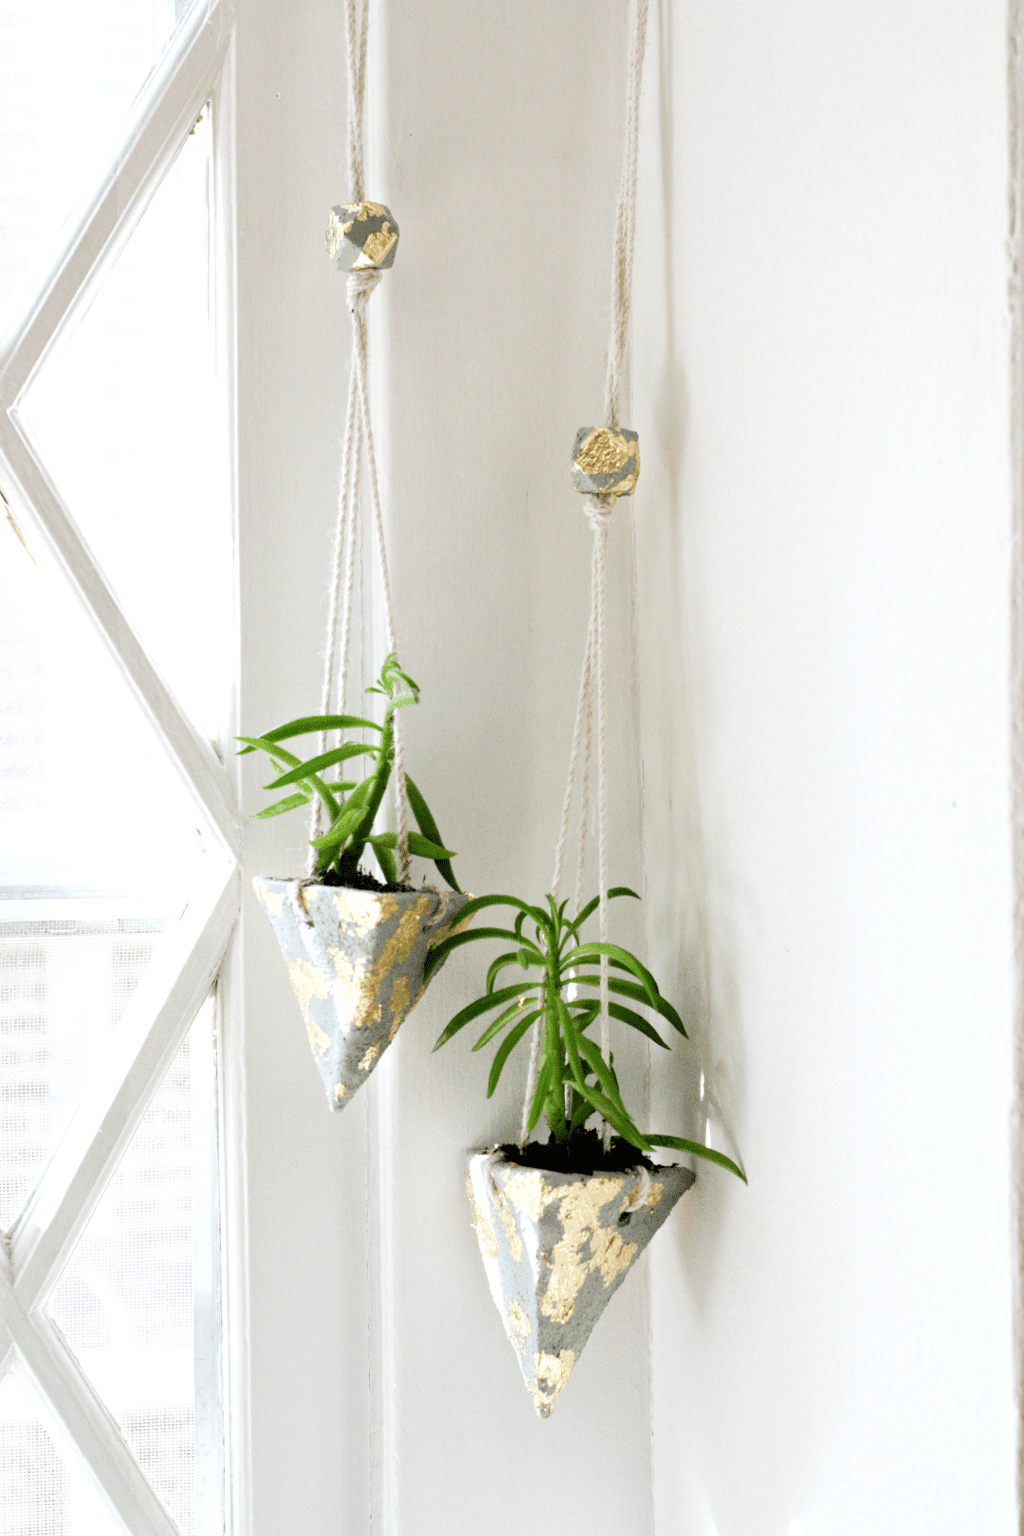
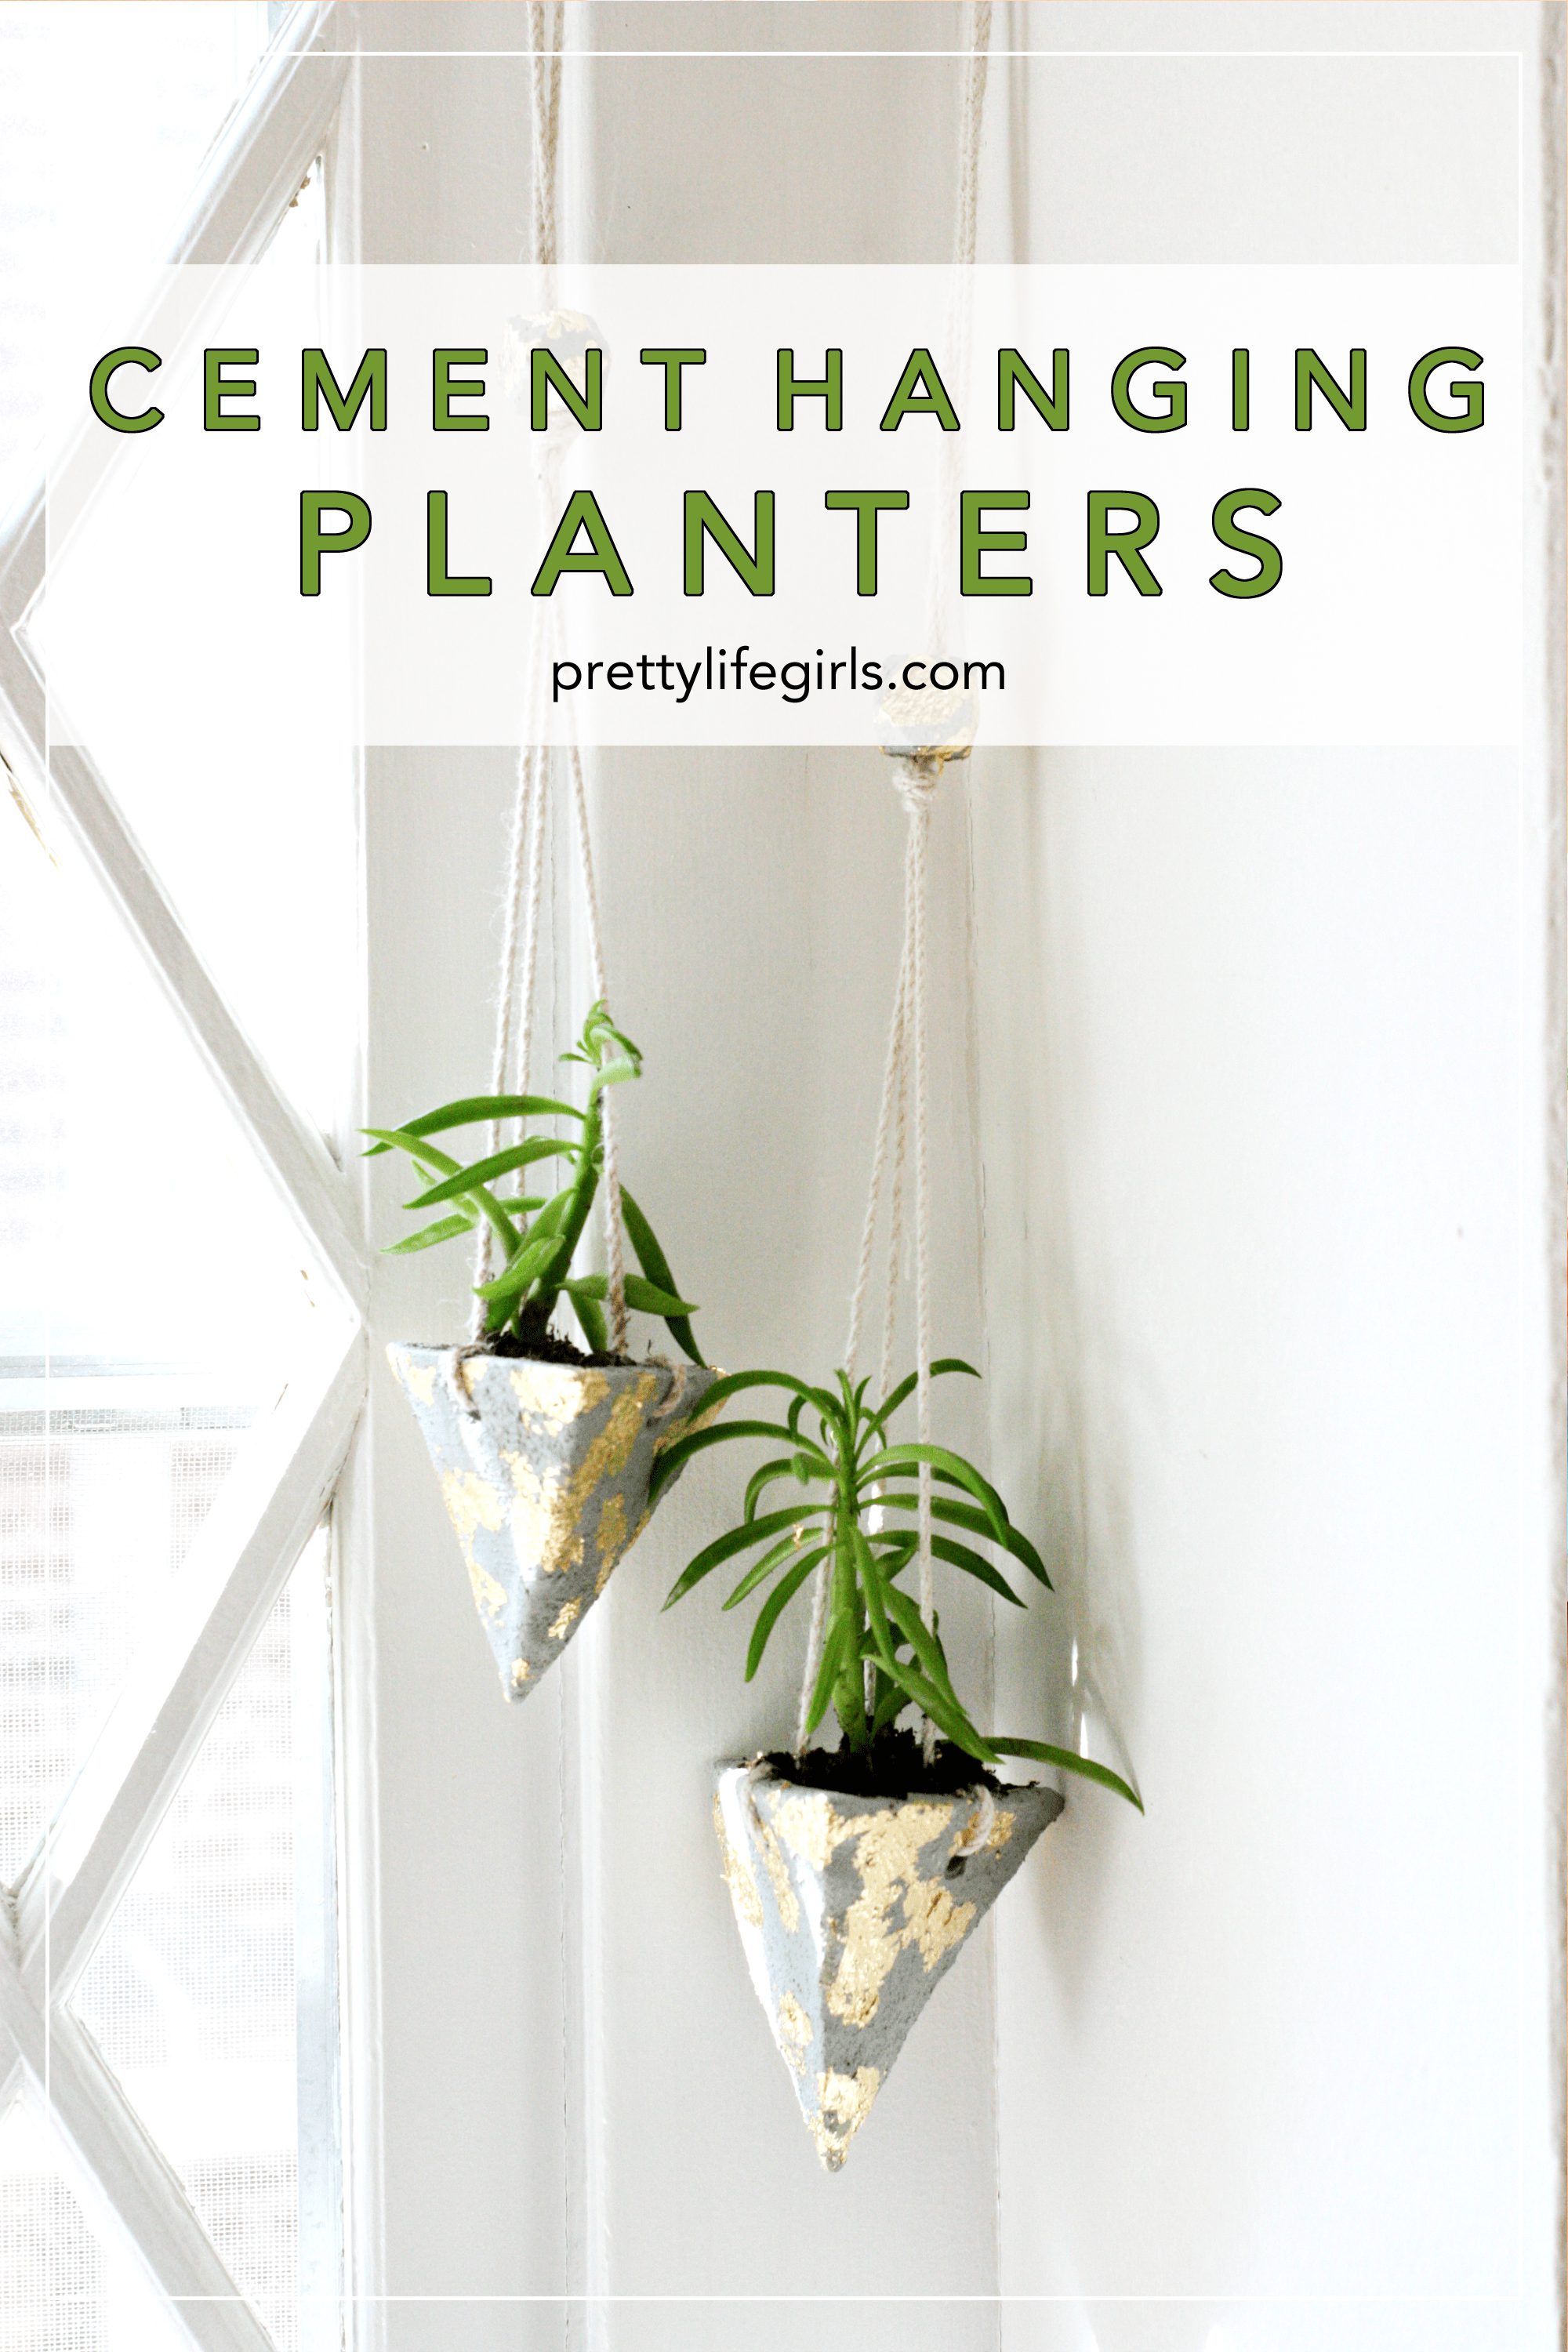
Isn’t it gorgeous? I am obsessed with the contrast of the gold with the more industrial look of this concrete!
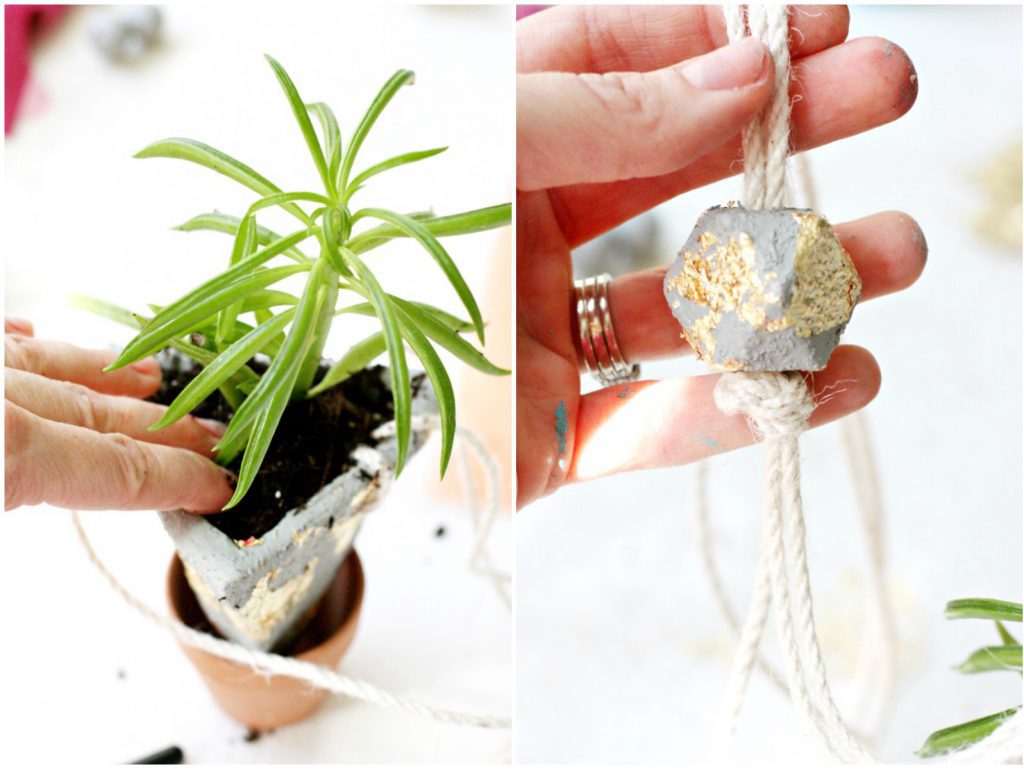
7. Once you have applied your gold gilding, it’s time to plant and attach your rope! Using the holes you created before baking, string a piece of rope through each hole and tie off near each hole. Next, lift the pot by the rope and make sure the pot hangs straight before tying off a knot a foot or so above the pot. Thread the ends through the bead, then knot the ends together again at the top so it is easy to hang.
That’s it! Now you have a couple of beautiful concrete planters that no one will ever know are not made of concrete! I think that pretty much makes you a magician. David Blaine better watch his back.
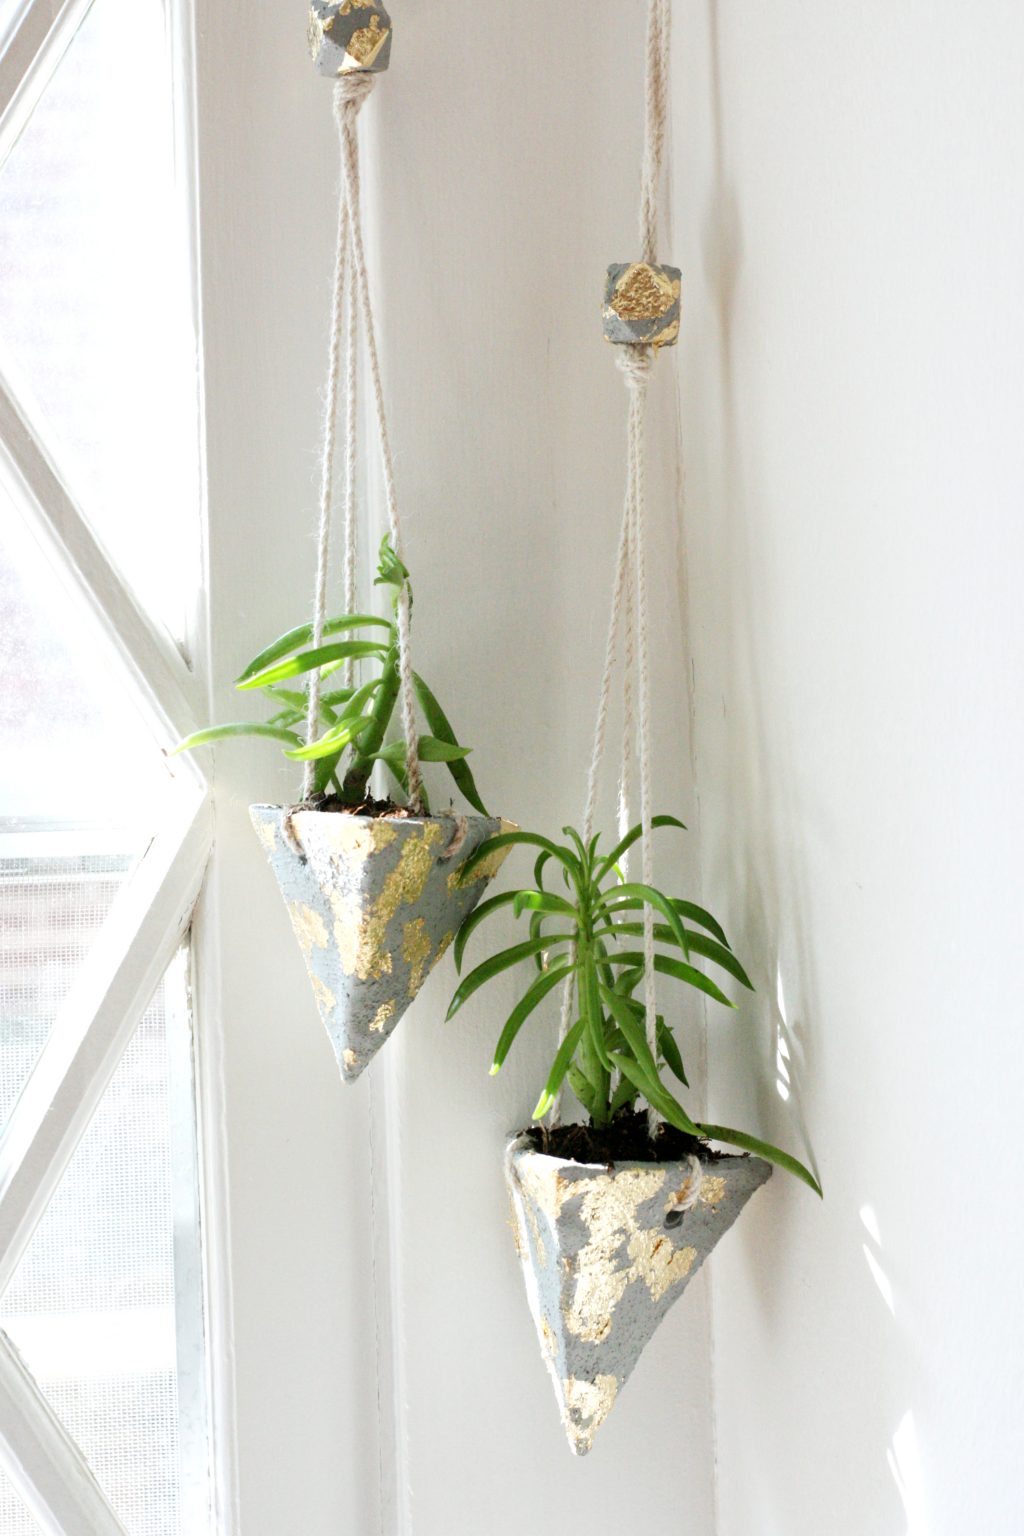
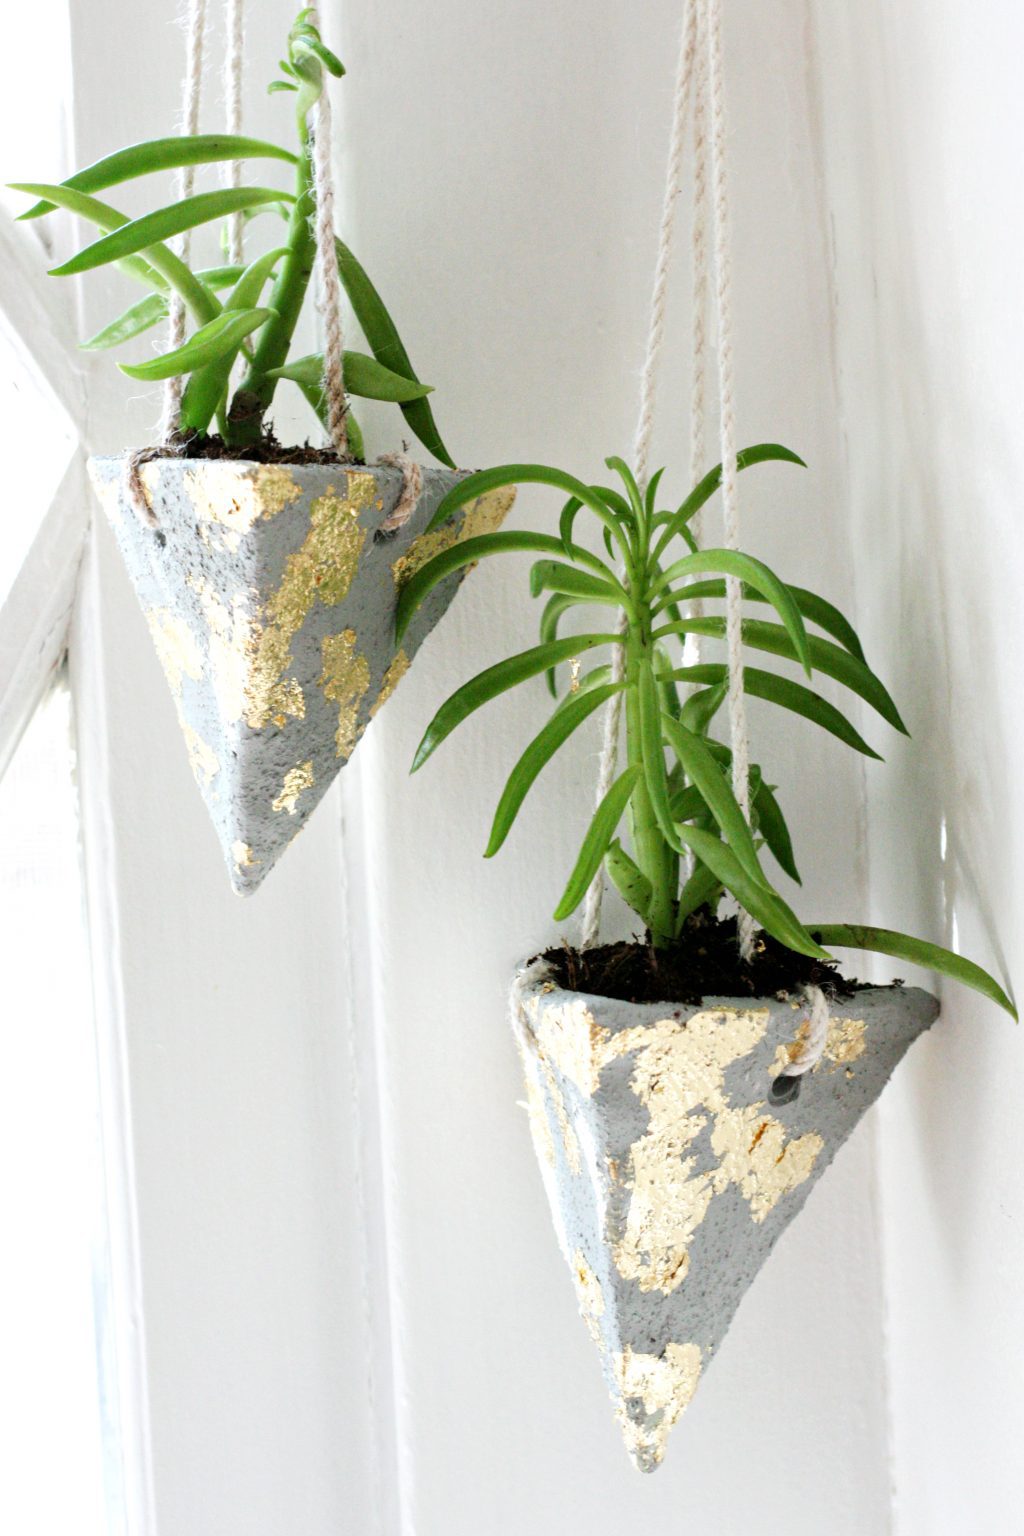 The way the light hits that gilding gives me major heart eyes, and all of the contrasting textures (concrete, gold, rope, and that green plant) are so beautiful together. I’ll be loving these babies for a loooong time.
What fun projects do you have in mind for all of these cool FolkArt Painted Finishes? Maybe a cool rusty, mossy birdhouse? Or maybe some pots of your own? We’d love to hear your ideas! And be sure to follow Plaid on Facebook, Instagram, Pinterest, and via Email as they celebrate 40 years of crafting with more super cool new product launches!
ox. Liz


Beautiful and so much fun!
The concrete/gold combo is FABulous! Love! I think the whole project looks super fun and it’s so creative…I’d have never thought they were made from clay. Wow!
Super cute planter. Have a great weekend.
http://www.amysfashionblog.com/blog-home/
[…] DIY Cement Hanging Planters | Pretty Life Girls […]
[…] these free plans to create hanging planters that look like concrete, but they are not made from concrete at […]
[…] is such a fun way to add some visual interest to a project, like these Cement Hanging Planters. Just dab the gilding adhesive on the craft’s surface where you’d like gold to appear. […]
[…] DIY Cement Hanging Planters […]